Endgame progress in Project Slayers 2 runs almost entirely through bosses. They hand out the strongest katanas, demon weapons, head and face slots, full outfits, and the ultimate move tied to each style or Blood Demon Art. The problem is travel time: the roster is spread across Bamboo Grove, Hidden Mist, Mistfall Harbor, Windy Peak, Iceveil Valley, and the Final Selection Plains, and several encounters sit behind fake walls, caves, night timers, or items you have to own before you arrive.
Quick answer: Farm the central Bamboo Grove loop in one run (Obanai through Fujiko), and handle Iceveil Valley separately after you own the Emberheart Lantern, since that region deals cold damage.
Boss HP and party scaling in Project Slayers 2
World bosses start at 3,000 HP and grow as more players join the fight, so a crowded server does not always mean faster kills.
- 1 player: 3,000 HP
- 2 players: 4,000 HP
- 3 players: 5,000 HP, and it keeps climbing with each extra attacker
Mini-bosses sit far below that. Water Trainee Sabito has only 600 HP and comes back roughly every two minutes, which makes him the cheapest repeat kill on the map if you are chasing a specific mask rather than a weapon.
Central route boss locations and drops
These bosses are packed tightly enough that a horse beats fast travel between most of them. Reaper and Daki cover the two best build-defining pieces for damage and survivability, while Rengoku and Gyutaro cover weapons.
| Boss | Location | Key drops |
|---|---|---|
| Obanai | Above Bamboo Grove | Serpent Haori, Serpent Katana, Serpent Mask |
| Zentaro | Below Obanai, toward Hidden Mist | Thunder Haori, Thunder Katana |
| Sumari | Beyond Bamboo Grove (night only) | Outfit, Necklace, ultimate move |
| Yahari | Beyond Bamboo Grove (night only) | Outfit, Necklace, ultimate move |
| Water Trainee Sabito | Central path | Water Trainee Outfit, Ghost Warding Mask, Scarred Warding Mask |
| Giyu | Near the bridge | Coin bags, materials |
| Reaper | Past Giyu | Reaper’s outfit, ultimate move |
| Daki | Cave behind the red gate by the waterfall | Golden Kanzashi, Bulwark set, ultimate move |
| Gyutaro | Deeper in Daki’s cave | Blood Sickles, Circular Slashes, outfit |
| Sanemi | Main path | Wind-themed set |
| Shinobu | Further along from Sanemi | Insect Breathing rewards |
| Rengoku | Across the suspension bridge | Flame Katana |
| Nezura | Below Rengoku’s cliff | Bamboo Muzzle, outfit, Missing Pyrokinesis |
| Gyomei | Near Hidden Mist Village | Early-game progression rewards |
| Fujiko | Cave in the Final Selection Plains | Bladed Wagasa, outfit, Ice Chest |
Reaper is the outfit target for damage-focused characters, and Daki covers the opposite end with the Golden Kanzashi and the Bulwark set for HP. Demon characters should treat Gyutaro as a priority for the Blood Sickles, which feed straight into the Blood ultimate through Circular Slashes. His outfit is the weakest part of his table.
Rengoku drops the Flame Katana, the strongest katana currently available, and it does not stop there. The Flame Katana upgrades into the Volcanic Katana through dungeons, so the kill is also the first step toward a V2 weapon. Nezura covers the face slot with the Bamboo Muzzle, and the same drop group includes the Pyro ultimate.
Clear Daki and Gyutaro in the same visit. They share the cave behind the red gate, with Daki closer to the waterfall and Gyutaro further inside.
Hidden, night-only, and item-gated bosses
Four encounters cannot be reached by following the roads, and two more only exist at certain times or with an item in your inventory. Skipping the requirement means arriving at an empty spawn point.
Akaza behind the fake wall at Windy Peak
Akaza sits inside the Windy Peak cliffs. Do not circle the base of the cliff. Climb to the upper section, find the fake wall, and walk through it into his arena. His table covers a Top, a Bottom, and the Shockwave move, which makes him a low priority if you are hunting best-in-slot gear.
Enmu in Dreamfall Hollow
Enmu is underground, past Mistfall Harbor. Travel from the harbor side toward Dreamfall Hollow, following the level 75 quest route, then look for the concealed drop near the end that takes you down to his arena. His outfit is part of the reward.
Sumari and Yahari at night
Both spawn beyond Bamboo Grove and both are night-only. Check the in-game time before you ride out. If the spawn is empty during the day, there is nothing else to search for there, and you simply return after dark to collect the Outfit, Necklace, and ultimate move.
Yeti in Iceveil Valley
The Yeti is the most gated fight on the list. Its cave sits near Butterfly Estate in Iceveil Valley, and the region applies cold damage, so the Emberheart Lantern is what lets you stay there. Summoning the Yeti itself needs a Frozen Heart, which comes out of boss chests, roaming and bandit chests, or the black market at a 25% chance. The Yeti then drops the Emberheart Lantern at a 25% rate.
The campfire in Iceveil Valley refills Cold Immunity while you sit at it, up to 10 minutes of protection. Top up before pushing toward Tengen and Doma.
| Boss | Location | Key drops |
|---|---|---|
| Yeti | Cave near Butterfly Estate, Iceveil Valley | Emberheart Lantern (25%) |
| Tengen | Snowy town near Frost Veil Shrine | Snow-region rewards |
| Doma | By the torii gate beyond Tengen | Black Lotus Crown, War Fans |
| Akaza | Fake wall, upper Windy Peak cliffs | Top, Bottom, Shockwave |
| Enmu | Dreamfall Hollow, past Mistfall Harbor | Enmu’s outfit |
Doma is the reason the northern trip is worth making. The Black Lotus Crown is the strongest head item currently available, and his War Fans are a top-tier demon weapon. Setting your spawn near Tengen at the shrine keeps the return trip short if you plan to repeat the run.
Level range needed before boss farming pays off
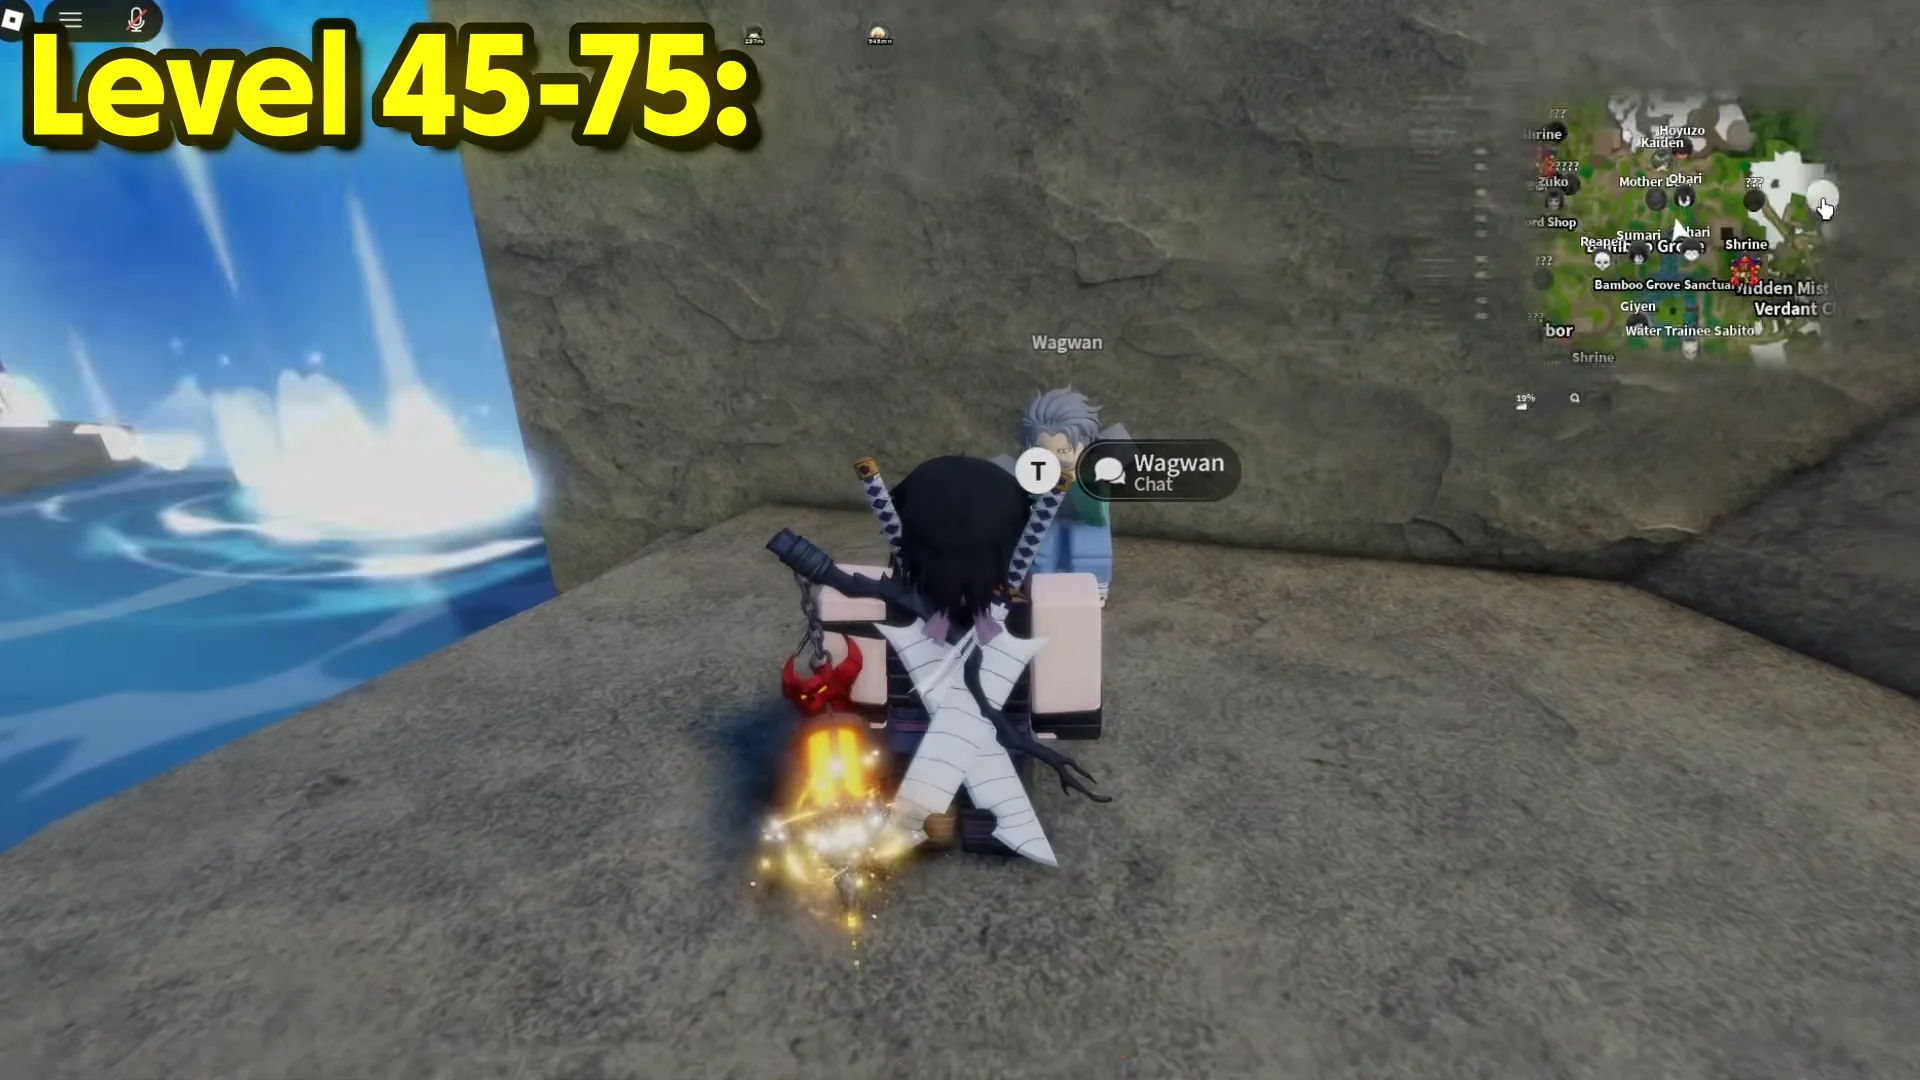
Boss zones are not hard-locked, but damage scaling makes underleveled attempts a waste of time. From level 45 to 75, Wagwan sits near the waterfall in Bamboo Grove beside Mother Bear and hands out Clear Hoyuzo’s Guard at level 40 and Hoyuzo at level 50, which stacks cleanly with Crow quests.
From 75 to 90, slayers start at Mistfall Harbor and head to Demon Slayer Goro at Butterfly Estate for Thin the Cavern Floor. Demons take the level 75 questgiver Demon Mokuro, found down by the water instead.
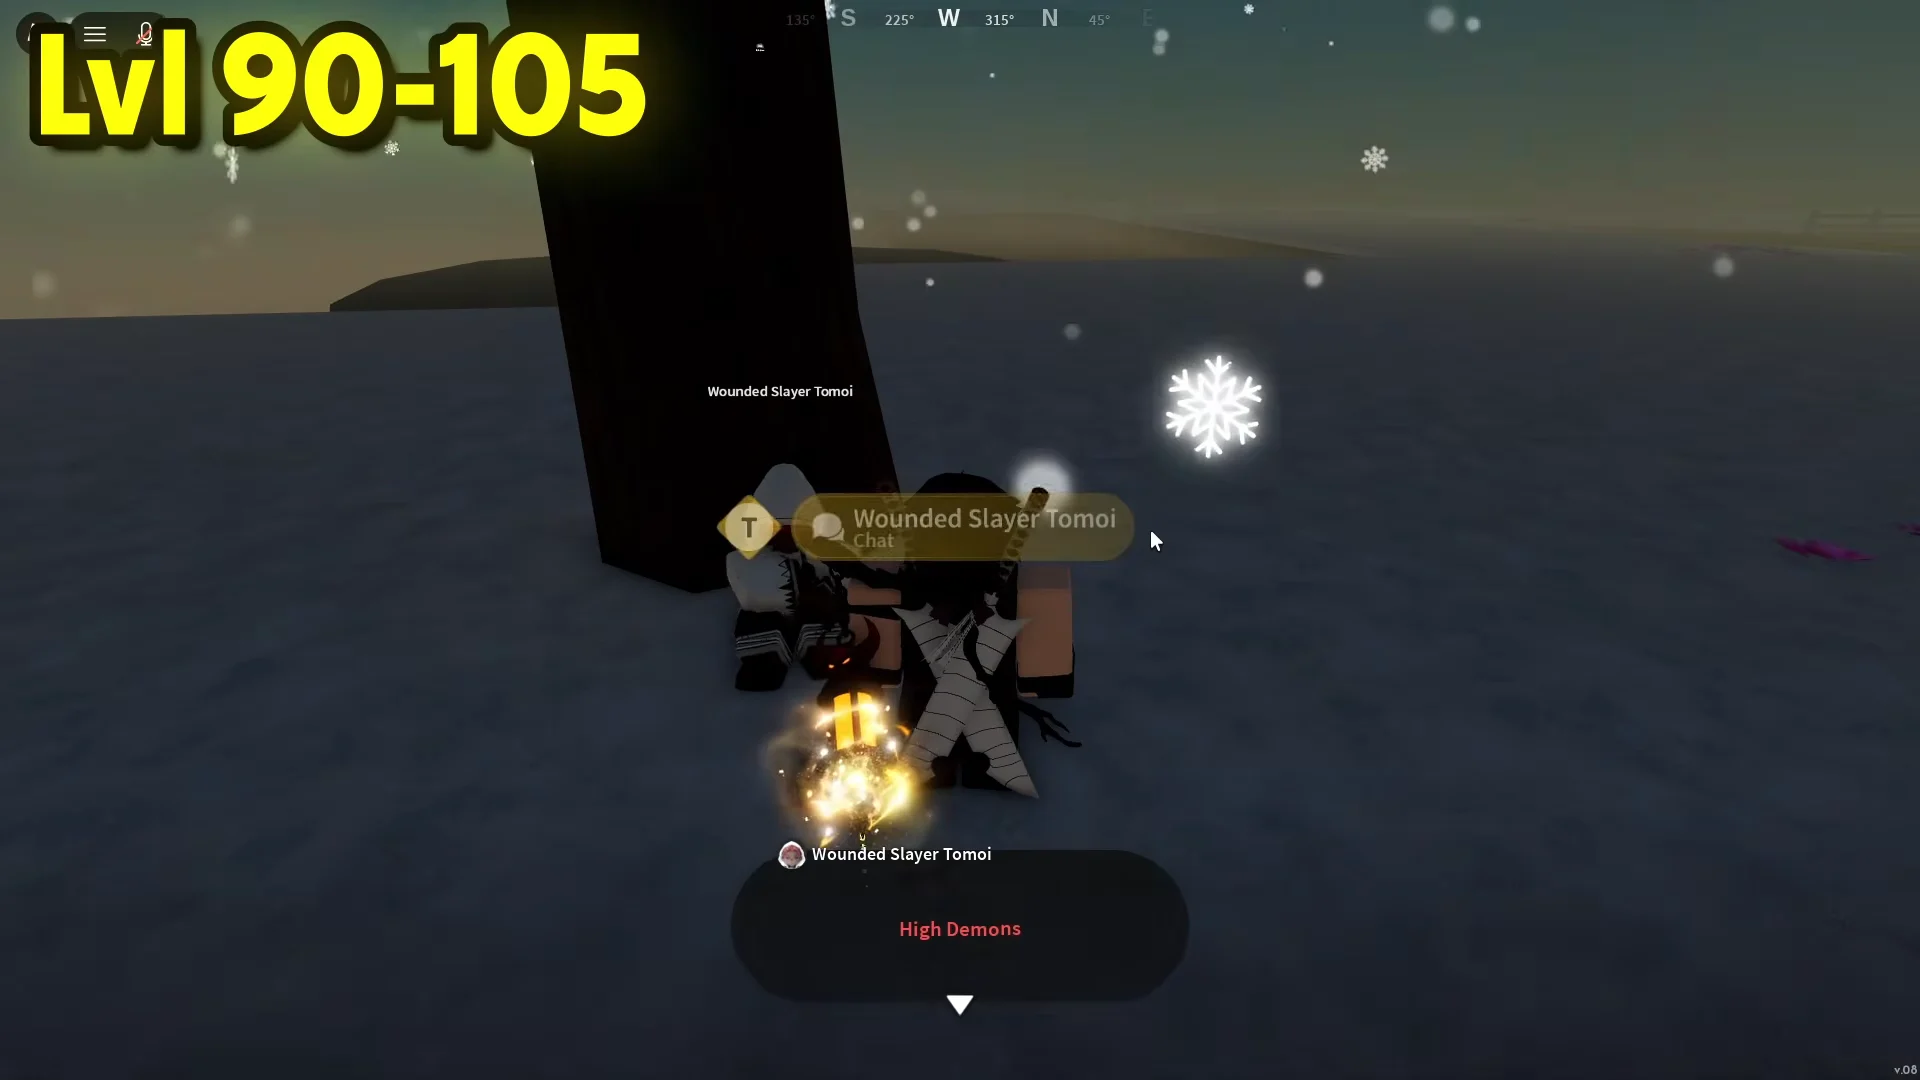
The 90 to 105 band splits the same way. Wounded Slayer Tomoi runs Drive Off the High Demons for slayers, Demon Delroy covers demons, and Iceveil Guard Shiro adds a supply wagon quest on top.
Demon Slayer Mitsu, across the bridge in Iceveil Valley, carries you from 105 to 125 against frost and burning demons. After 125, Kasugai Crow boss missions become the best return, targeting Gyutai, Nezura, Datai, Akazo, and Enru for over 5,000 EXP per clear — which means your boss farming and your leveling finally point at the same fights.
Dungeon boss and V2 weapon crafting
You can access dungeons from level 65 onward. In Hidden Mist Village, take the quest from Blacksmith Togane, which directs you to the dungeon forge portal. Then, from the Mistfall Harbor Shrine, follow the Wilderness’s long bridge all the way to its end to reach the purple portal. Runs support either one player or a party.
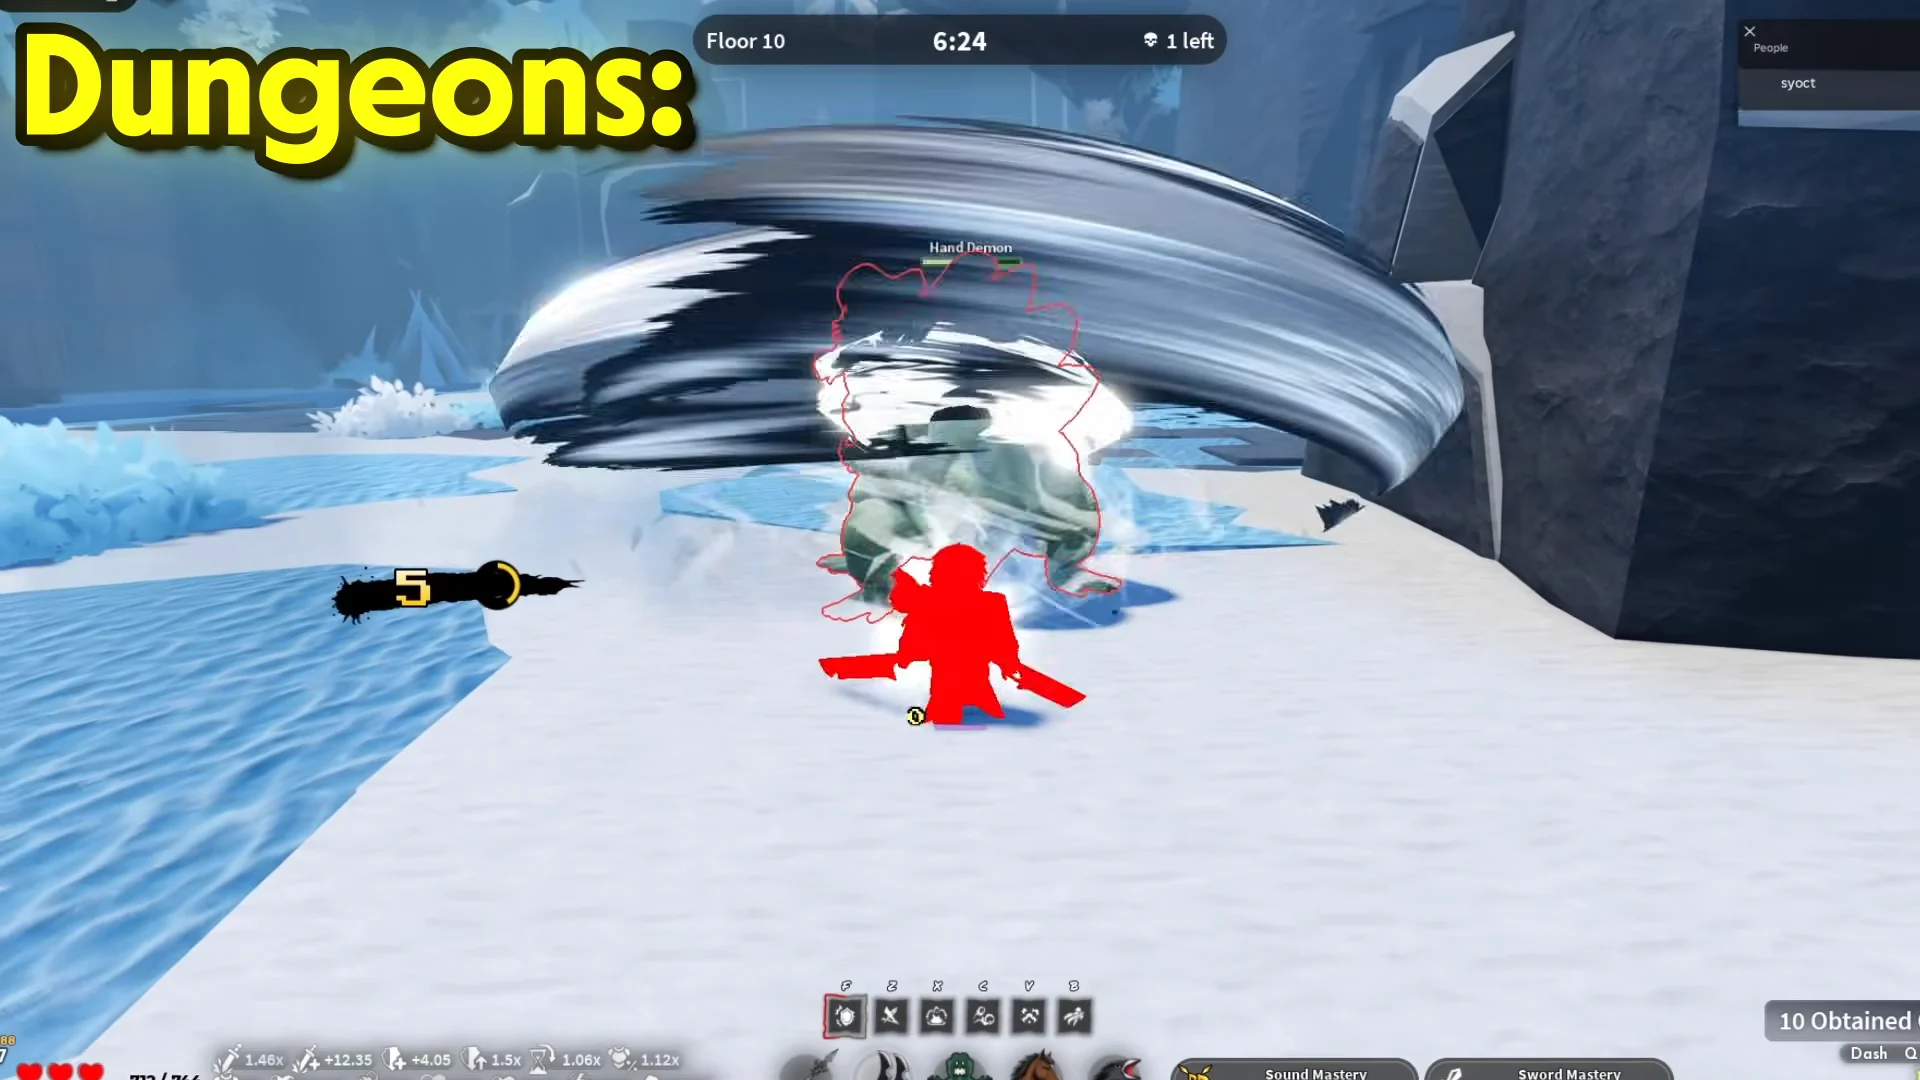
Inside, each combat floor offers modifier cards. Take permanent damage, points multipliers, and Max HP, and refuse negative traits such as No Guard. Floor 10 is the boss floor, where the Hand Demon waits. Bait its attacks rather than trading, then pick up the milestone reward cards.
Tower points do not carry over once you leave a dungeon match, so spend them before you exit. Changer Zeni in the Wen Area sells Mythic Refinement Ore for 30,000 tower points, and deeper runs fund weapon crafting outright — reaching Floor 42 for roughly 97,000 points, then dying to exit, is enough to craft the Reverb Cleavers at Togane’s Nichirin Forge.
The supporting materials come from ordinary farming. Ginzo at Mistfall Harbor sells Metal Scraps and Silk Thread, and the 3,000 HP world bosses on the central loop drop coin bags alongside crafting materials, so the same rotation feeds both your gear slots and your forge.
Nightfall Sickles schematic and the 10 levers
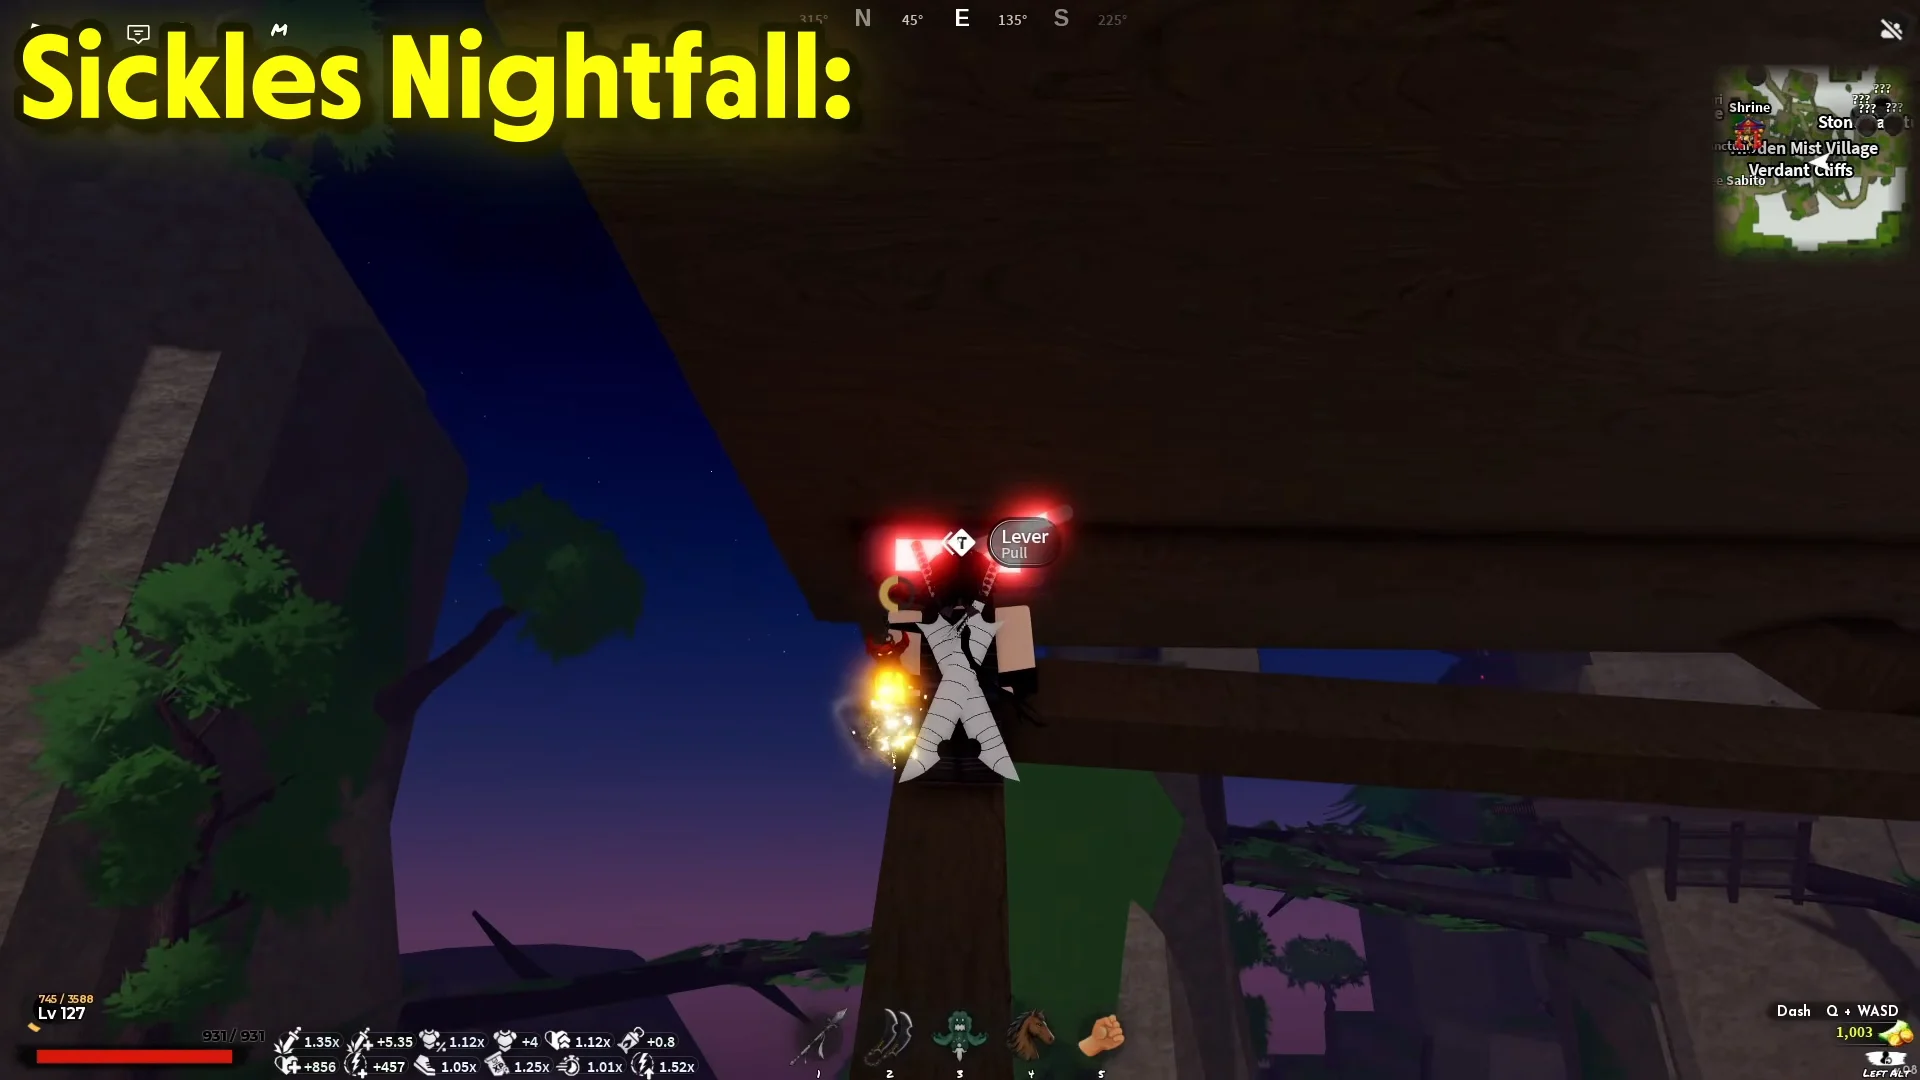
Not every endgame weapon comes out of a boss chest. The Nightfall Sickles schematic requires pulling 10 levers scattered across the map, and it should be done on a fresh or private server so none of them are already flipped. They sit in Hidden Mist Village, near Akaza, at the snow village underwater torii gate, above the pagoda, near the Stone trainer, underwater near Sabito, at Butterfly Estate, and inside the drainage pipe under the bridge.
Best boss farming route in Project Slayers 2
Mark each cave mouth and fake wall on your map the first time you find it. Ride a horse between spawns instead of fast travelling, since most of the loop is short hops.
How boss drops register after a kill
A successful boss kill always gives you an item chest. Cosmetics, weapons, and ultimate moves roll on their own separate chances on top of that, which is why two kills on the same boss can produce completely different results. One run may hand you nothing but the chest; the next can produce the outfit or the move.
That also explains the dry streaks. The Scarred Warding Mask from Sabito sits at a 2% drop chance, so expect a long series of two-minute respawns rather than a handful of kills. Treat every attempt as an independent roll, and pick your target by the item you actually need instead of fighting whichever boss is closest.
Project Slayers 2 is still in early access, so boss names, hidden entrances, and reward tables can shift between patches. After a major update, re-check the spawn you rely on most before committing to a full rotation.