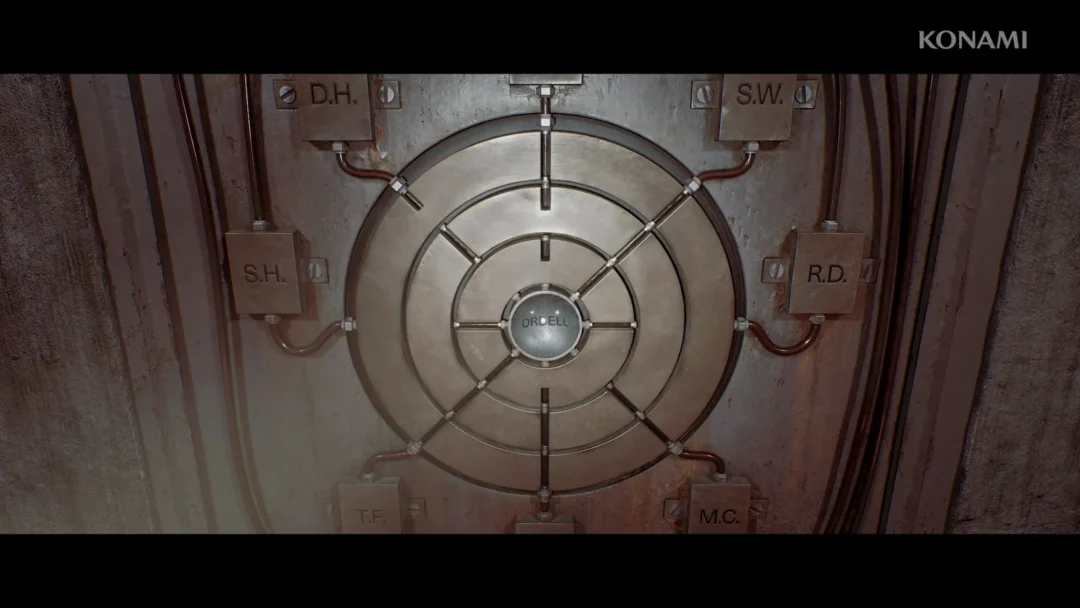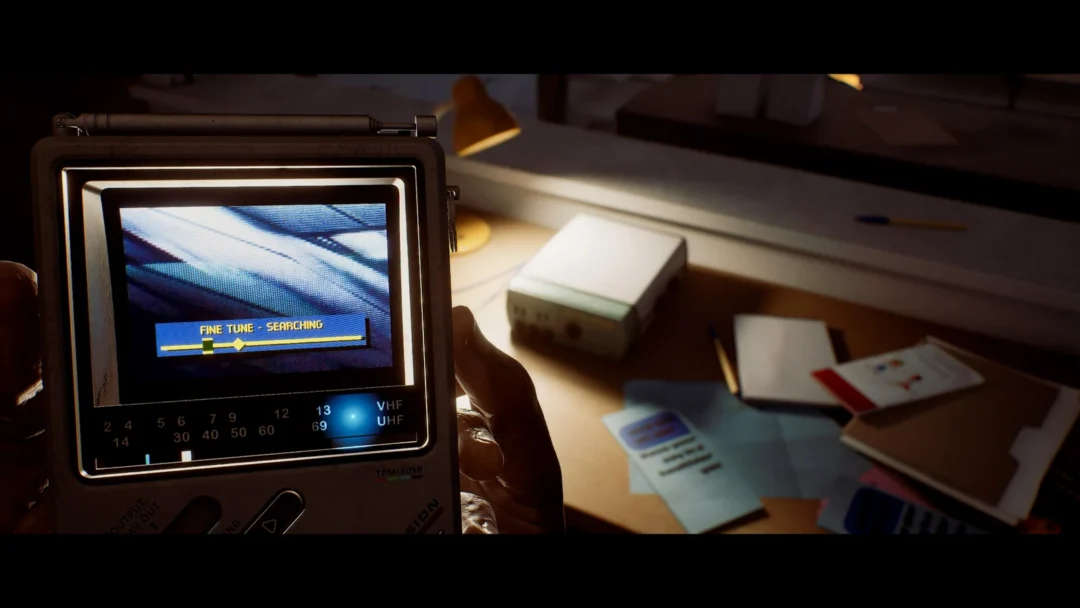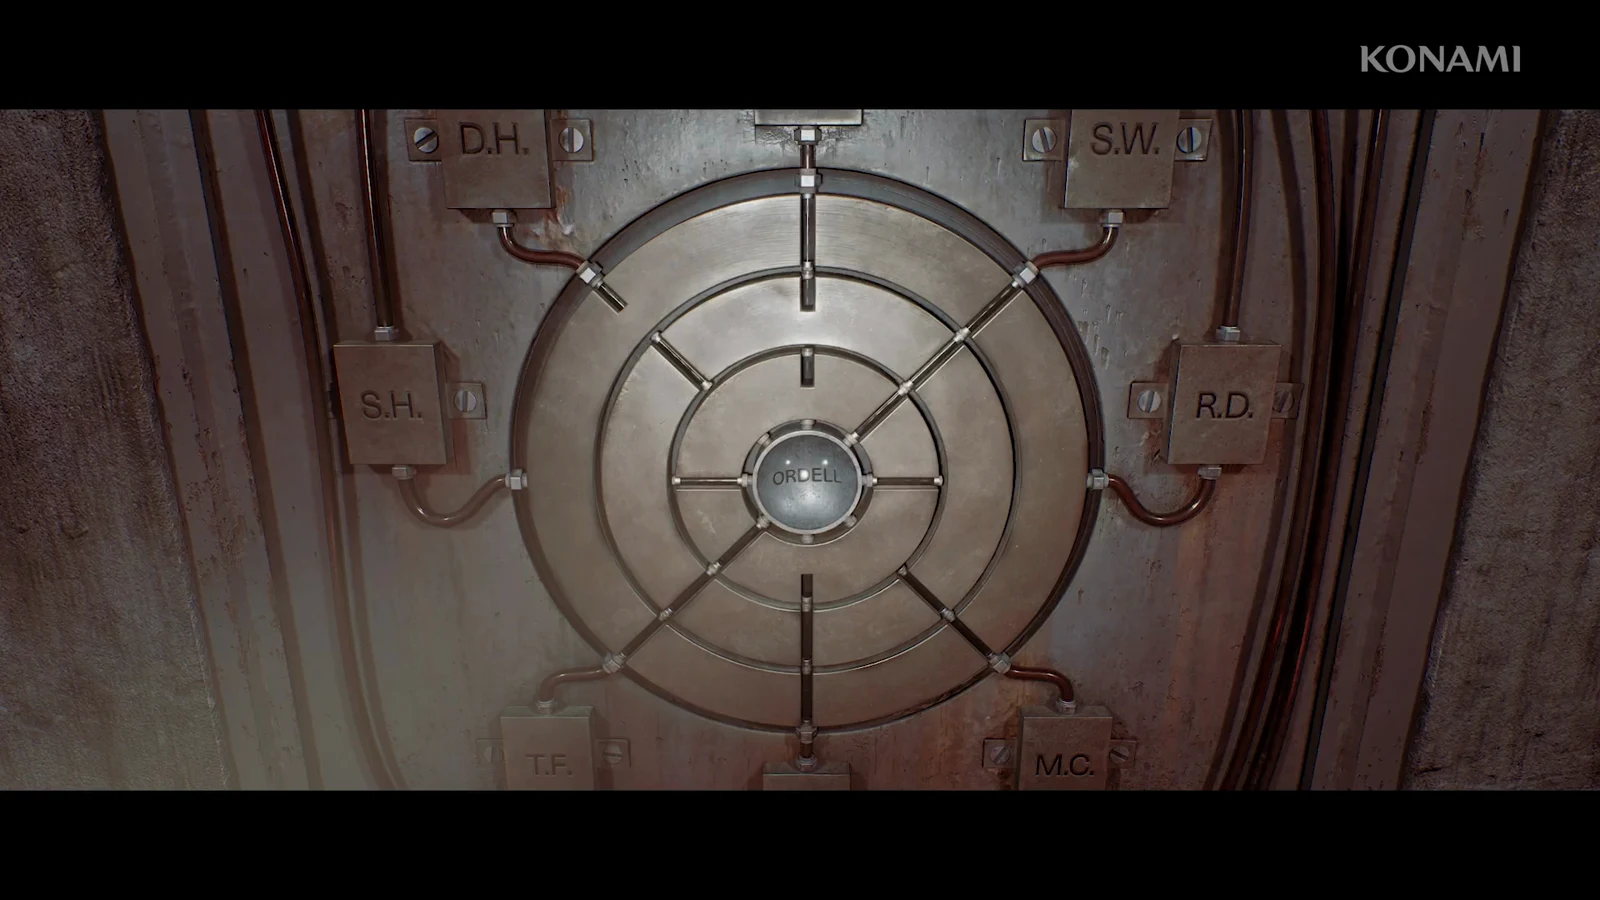
The AUX Room in Silent Hill Townfall holds three walls of red switches that each flip up or down. Every switch must sit in the right position so all three status lights turn from red to green. The room stays locked until you reach a specific point in the Remote Systems Control sequence, and the correct flips are hard to work out without the reference patterns.
Quick answer: Grab the AUX Key from the 0825 locker, enter the AUX Room on Level 1, load the AUX Disk, then flip the one-stripe, two-stripe, and three-stripe switch groups into the exact orders below to turn all three lights green.
Unlock the AUX Room in Silent Hill Townfall
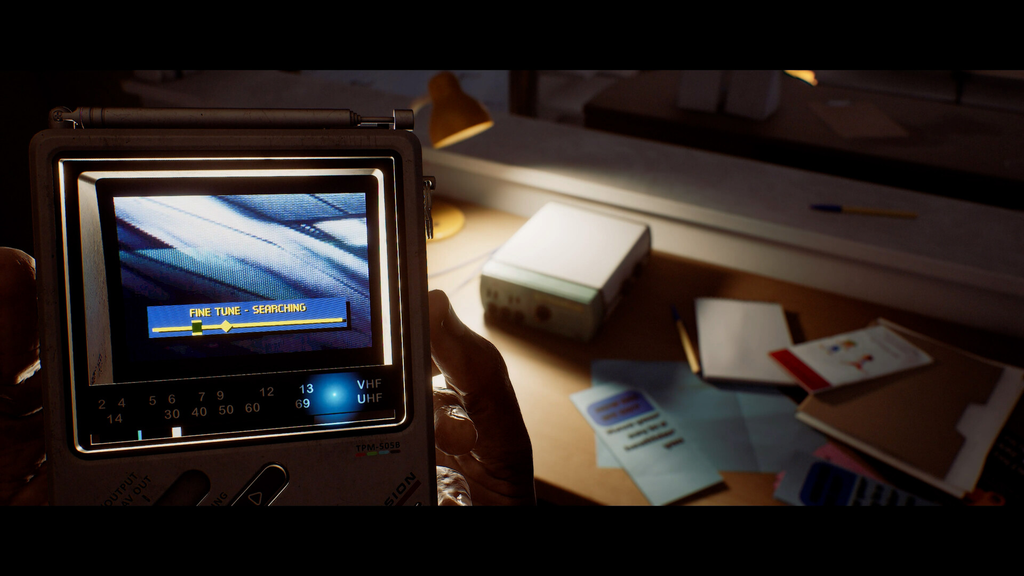
You cannot reach this room right away, unlike the JOE Room. It opens only after you have worked through most of the Remote Systems Control puzzle during the objective “Relive the events on CCTV.” At that point the prompter tells you the National Security Office used a locker code from management and took a key upstairs to manually open the auxiliary lines.
How the Auxiliary Lines switches work
Inside the AUX Room, open the cabinet to find the AUX Disk. Insert it into the computer in the same room to receive the Auxiliary Lines document, which shows three patterns:
1. | _ | | _ | _ | |
2. | _ _ _ | _ _ | |
3. _ | | | _ | _ |
The document is a direct map of the switches. A straight line (|) means that switch must face up, and a flat line (_) means it must face down. Each pattern belongs to a different group of switches marked with white paint stripes.
- One white stripe means the switch belongs to Line 1.
- Two white stripes mean the switch belongs to Line 2.
- Three white stripes mean the switch belongs to Line 3.
Your job is to complete each circuit by setting every switch in its group to the correct position. The orders below match the paint stripes and reading direction for each line.
Auxiliary Lines switch sequences
Line 1: nine single-stripe switches
Start on the right side of the room, close to the cabinet, and work right to left along the lowest pipes. These nine switches each carry a single white paint line. Set them in this order:
- Up
- Down
- Up
- Up
- Down
- Up
- Down
- Up
- Up
Once all nine single-stripe switches match this order, the first status light turns green.
Line 2: nine double-stripe switches
Start again from the right side of the room and move right to left along the middle row of pipes. These nine switches each carry two white paint lines. Set them in this order:
- Up
- Down
- Down
- Down
- Up
- Down
- Down
- Up
- Up
Getting all nine double-stripe switches correct turns the second status light green.
Line 3: eight triple-stripe switches
Use the reverse direction for this group. Begin beside the door on the room’s left, then handle the switches left to right. Eight switches span the top and middle pipes, with three white paint lines on each. Set them in this order:
- Down
- Up
- Up
- Up
- Down
- Up
- Down
- Up
Watch the reading direction carefully. Lines 1 and 2 are solved right to left from the cabinet, but Line 3 runs left to right from the door, so it is easy to flip the wrong switch if you keep the same starting point.
Once the final triple-stripe switch is set, the third status light turns green.
Confirm the puzzle is complete
You know the puzzle is done when all three red lights have switched to green, one per switch group. With every Auxiliary Line active, head back to the Remote Systems Control room and pick up the CCTV sequence where you left off.