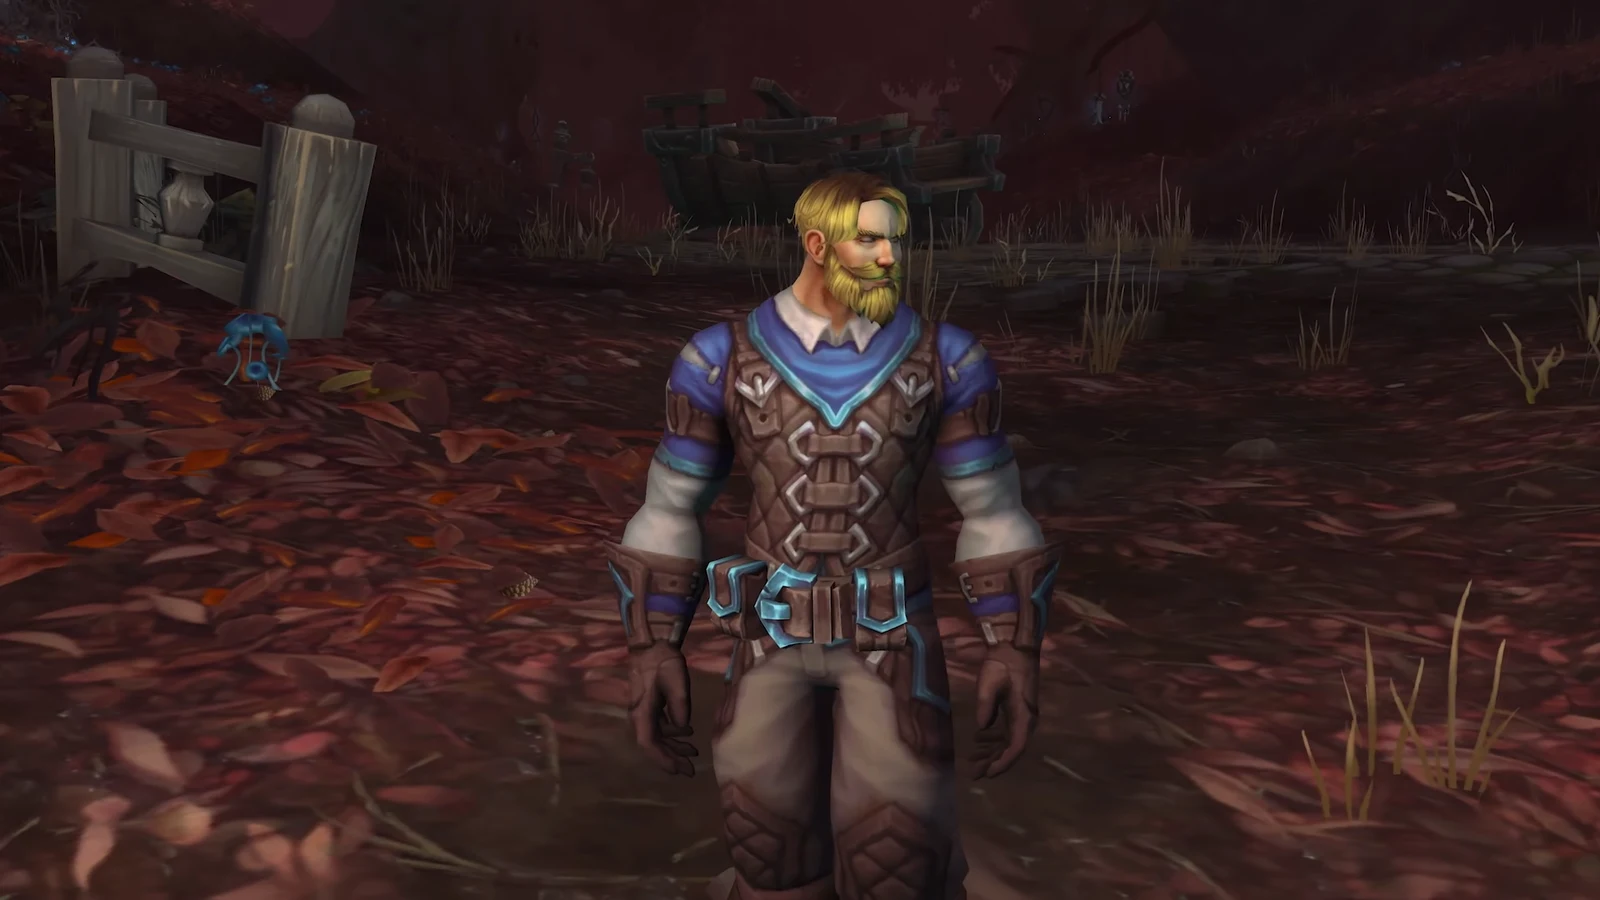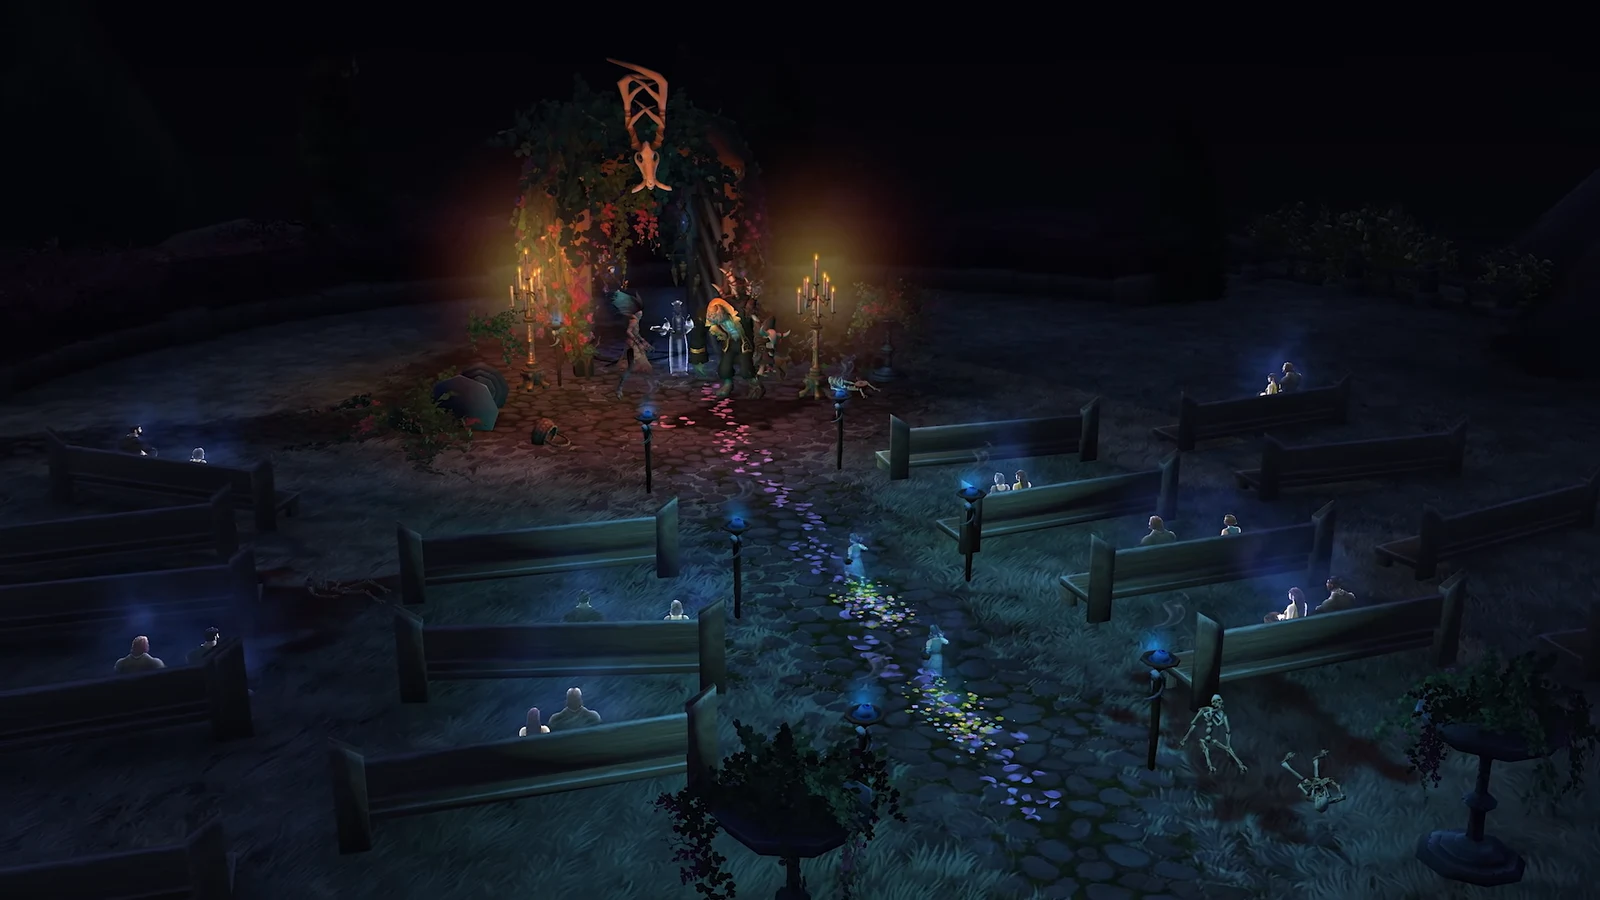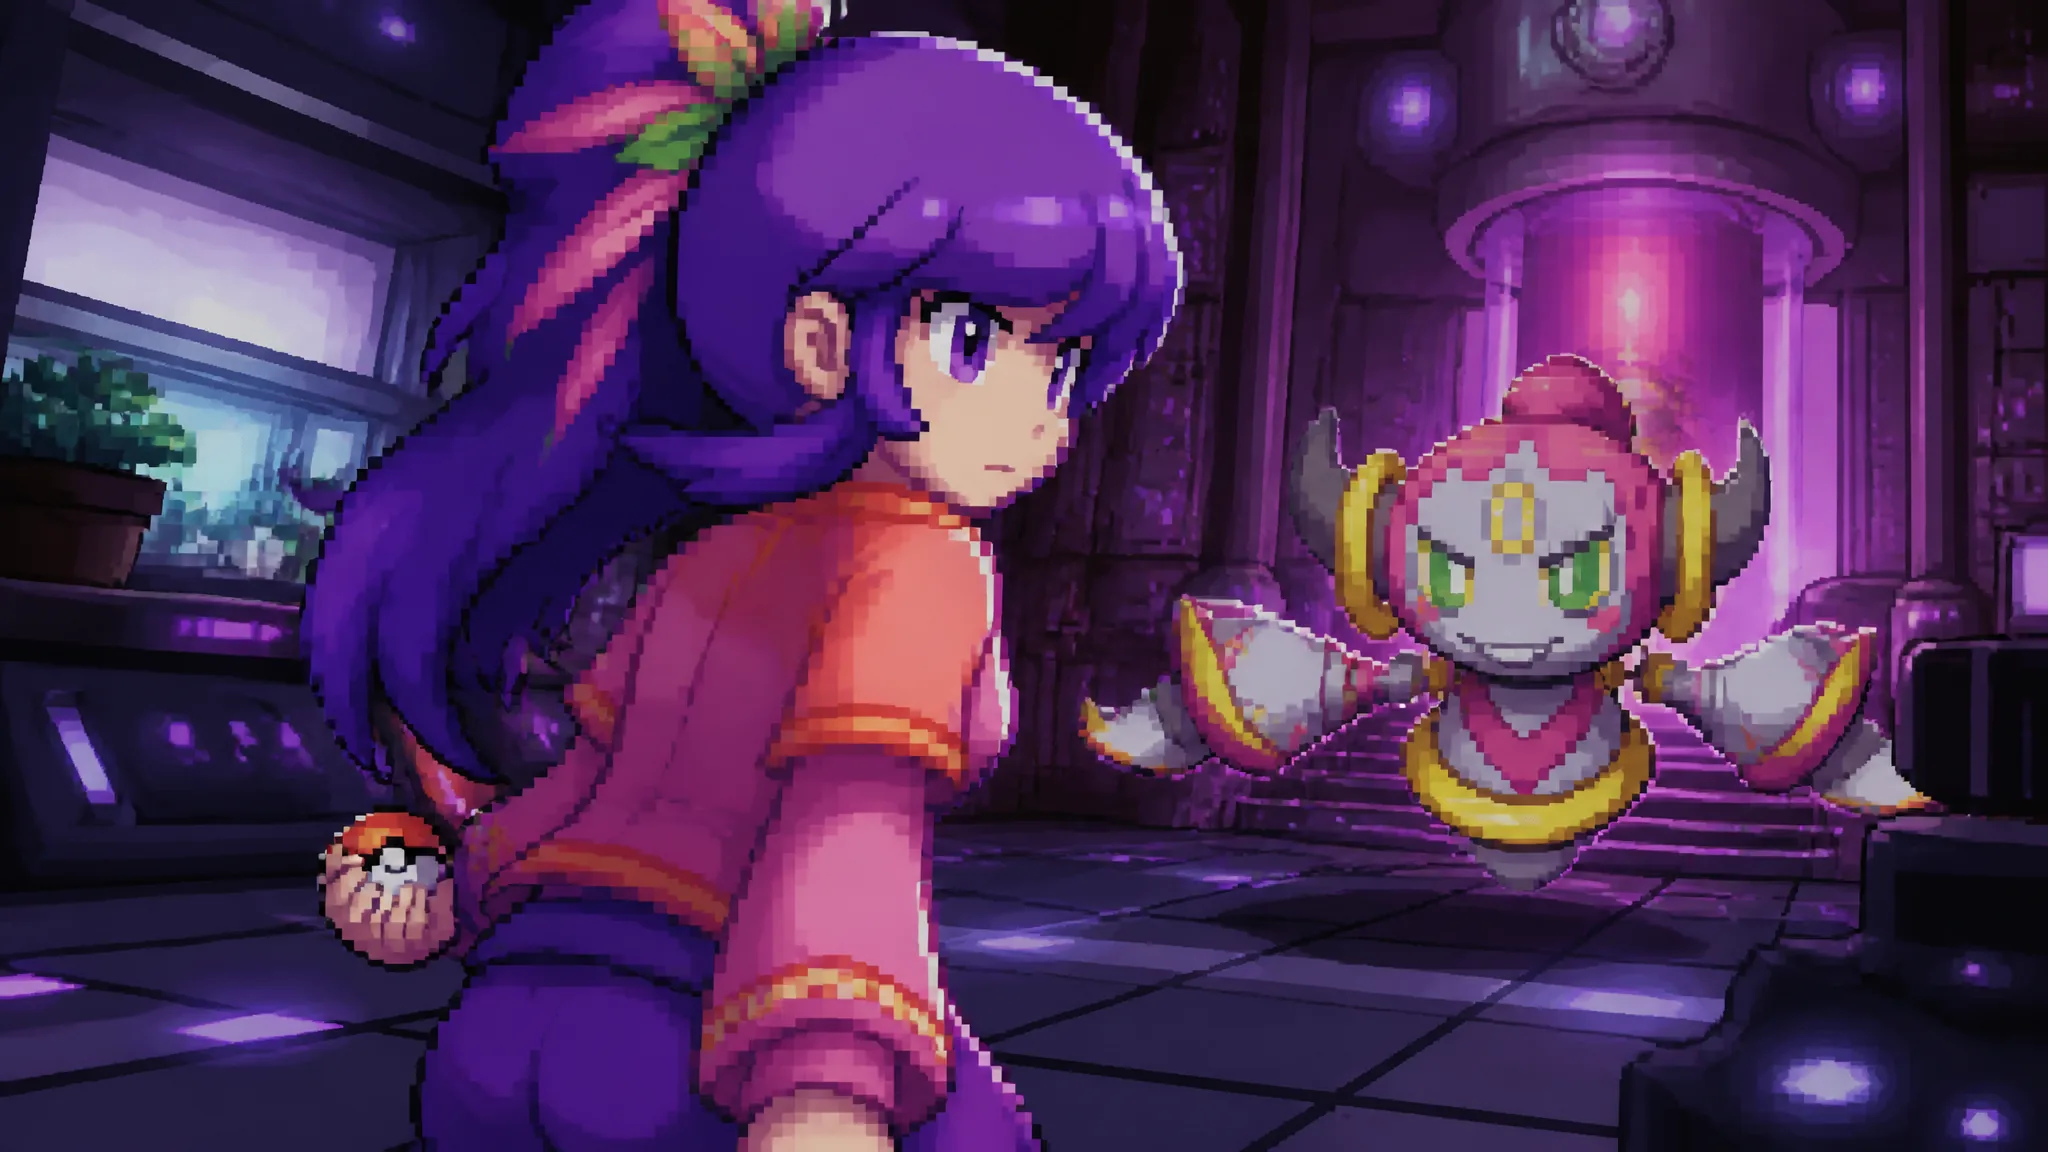
In Pokemon Rejuvenation V14, Zone Zero marks the point where the game no longer provides clear roads. This ruin used to be Hiyoshi City, Aevium’s capital, until Vitus and Nymiera’s conflict turned its residents to stone and brought down the buildings. The remaining route winds through open apartment interiors and the underground, while rubble covers the former streets.
Quick answer: Power the apartment complex with an Electric-type pulled from the Remote PC, buy Blast Powder from the Bladestar grunt stall, and use the switch menu to move Ren and Aelita past blocked paths.
Zone Zero requirements before the airship lands
Located in the Badlands, Zone Zero has the Pyramid Grounds to its north, Alamissa Urben to the south and Reldin Island to the west. From here, you can reach both Nastasia’s Airship and the Underground Sanctuary. Progress inside requires two field moves, though the Golden Hammer and Golden Gauntlet can replace them.
- Rock Smash and Strength, or the Golden Hammer and Golden Gauntlet.
- At least one Electric-type Pokémon reachable from the Remote PC.
- Money for Blast Powder, which is the only way past certain mineable rocks.
- A party that can handle wild encounters between roughly level 35 and level 88.
Box the Electric-type before you land rather than carrying it, since the generator puzzle lets you withdraw it on the spot and your party slots are better spent on the Bladestar fights.
Nastasia’s Airship: truce, team split and optional battles
The mission begins on a street in Grand Dream City, where Team Xen’s airship is waiting. Once aboard, the group meets Nastasia, Ren and Rhodea, then forms a tense truce around one objective: rescuing Melia, Alice and Allen. Isha designed the stasis pods holding all three, while a Mega Audino borrowed from Kreiss assists with treatment in the medical wing.
Before agreeing to leave, inspect the ship. Adam remains stuck in the storage room, trying to get rid of a clingy Braixen. Nastasia can take you to the lab; there, Geara is recuperating within a containment cylinder, having been scattered across reality.
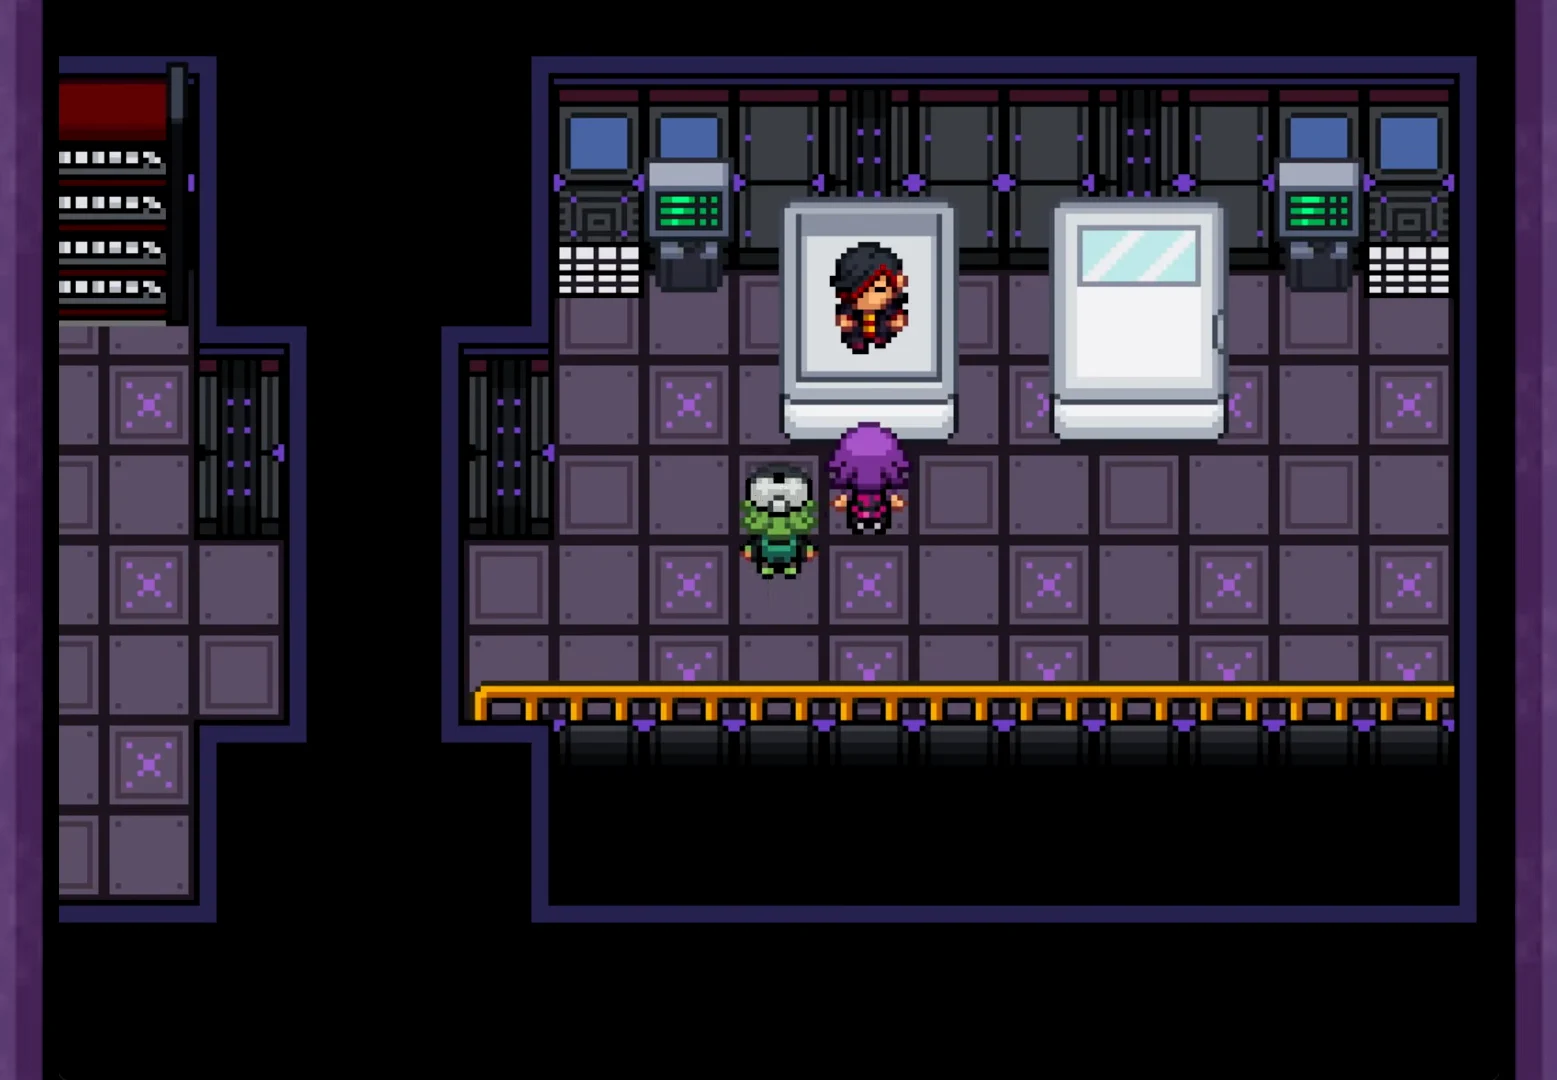
Nastasia displays a regional map with Grand Dream Stadium to the south, Eclysia Pyramid to the north and Zone Zero farther south, then assigns everyone to Team A, Team B and Team C. Their mission is to locate and destroy the Rift Bladestar is creating.
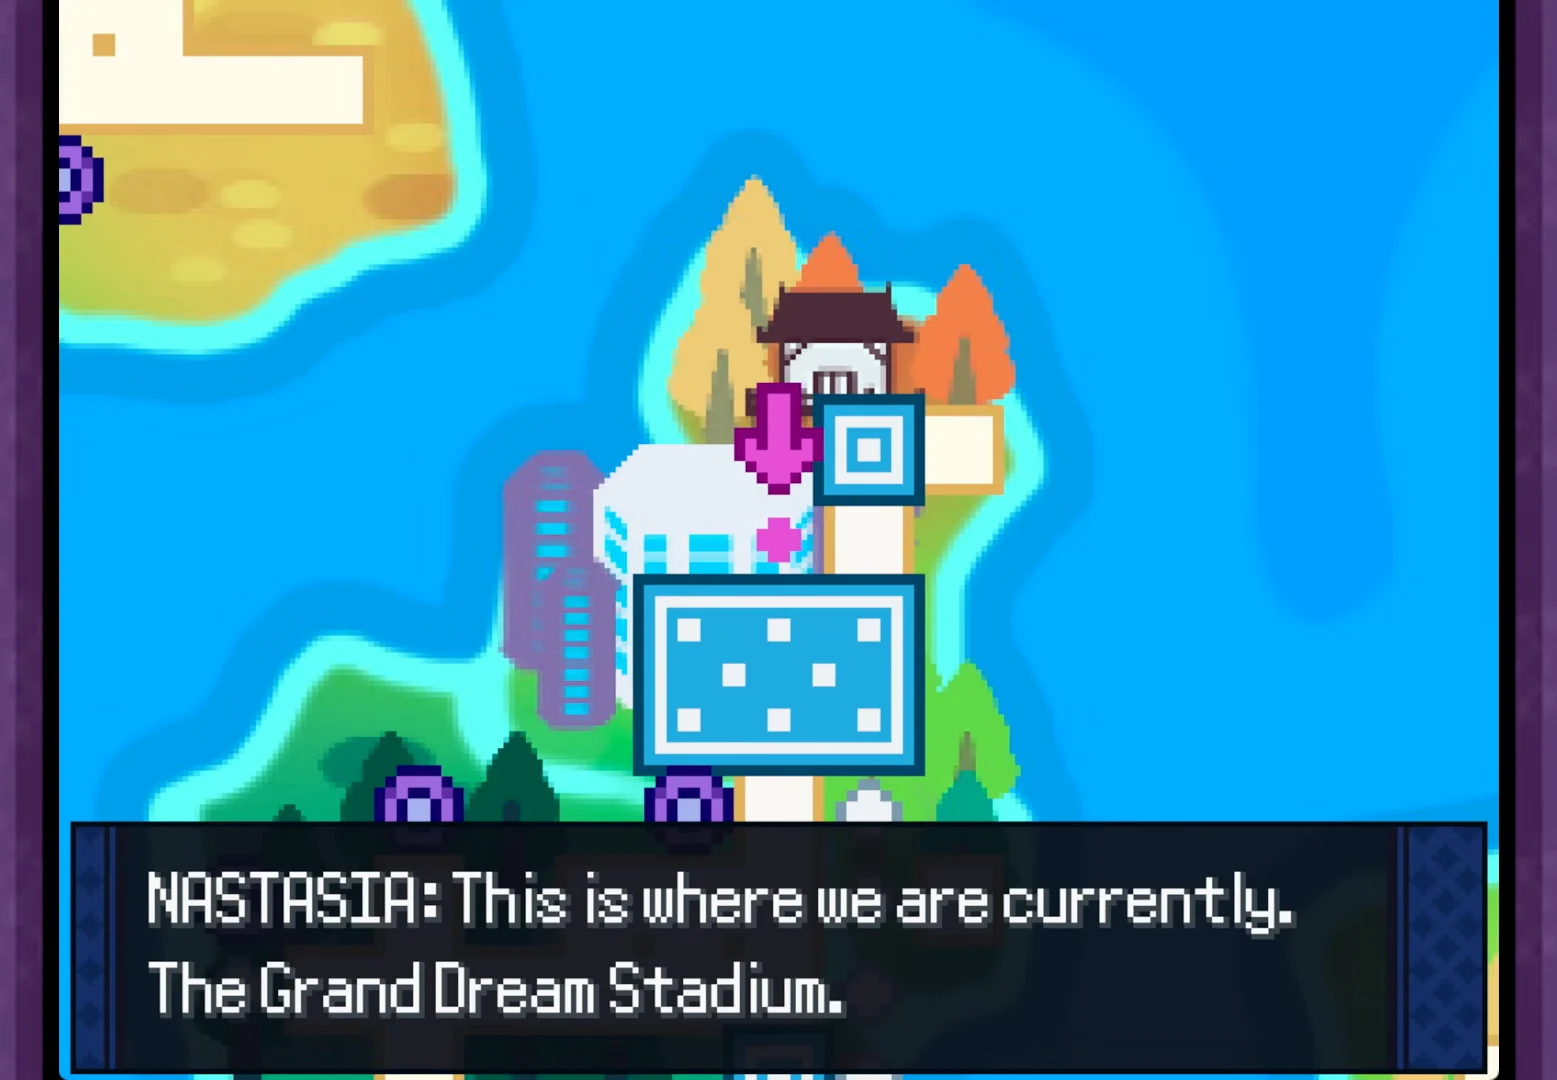
You can complete two battles before departure. Eli and Sharon challenge you to a double battle featuring Donphan and Honchkrow. In the central hall, unruly Team Xen grunts start another fight, leaving you and Leader Aelita to face Team Xen Dustin and Analyst Yasmine, who use Aegislash and Charjabug.
Aelita’s Sheridan Village flashback and the Cherrim Crest
Just before the ship arrives at the Badlands, the game places you in control of Aelita during a flashback. It follows her return to Sheridan Village and her journey to the spring, where a being called Kai’ya speaks with her and offers guidance.
Inside his house, Aelita hears Texen boasting before confronting him over Sheridan. Her arena opponent is Pseudo Sensei Texen, whose team includes Swampert and Dodrio. She later questions his motives and asks about his sister, Risa Raider. In an inner realm, Kai’ya then appears and guides Aelita toward accepting her true identity.
Back on the airship, Aelita hands over a Cherrim Crest she obtained from Kreiss. That item is the concrete reward from the whole flashback, so check your bag for it before moving on.
Zone Zero Outskirts: power the complex and open the colored doors
Bladestar trainer lineups in Zone Zero
| Trainer | Pokémon | Where |
|---|---|---|
| Bladestar Ernie | Ambush team | Locked hallway door |
| Bladestar Nic | Forretress, Bronzong, Vivillon | Apartment hallway |
| Bladestar Tirgon | Raichu, Unfezant, Persian | Apartment rooms |
| Popstar Risa Raider | Tuff-Puff (Jigglypuff) | Generator room, vs Aelita |
| Bladestar Nabeela | Gourgeist, Zweilous, Empoleon | Canyon |
| Bladestar Aurora | Aurorus, Vanilluxe | Canyon |
Risa Raider is the fight you do not control. Aelita and Ren find her in the generator room harassing Ren, and Aelita steps in herself against the party-hat Jigglypuff, Tuff-Puff. Everything else on the list is yours to plan around.
Crossing the canyon with the character switch menu
Past the generator room, Team A moves outside into the canyon, where switches and jumps carry the route rather than walking. Open the switch menu and swap control between the player, Ren and Aelita as the terrain demands. Ren clears boulders, and Aelita handles the ledges.
They cannot cross one particularly broad gap on their own. Ren’s robotic wings propel Aelita over it, allowing the route to Eclysia Pyramid to continue.
On the far side, a large contingent of Bladestar members surrounds Team A and blocks the route north. This is a scripted stop, not a wall you fight through alone. Rhodea, Adam, Sharon, Eli and Reina arrive as Team B and Team C backup to hold the grunts off while Team A presses on into the abandoned urban sector of crumbling apartment buildings.
Zone Zero shops, key items and wild encounters
Two grunts sell in the ruin and they are easy to walk straight past. The Male Grunt carries the single item you actually need.
| Vendor | Item | Price |
|---|---|---|
| Male Grunt | Blast Powder | 2,500 PD |
| Female Grunt | Poké Ball | 200 PD |
| Female Grunt | Great Ball | 600 PD |
| Female Grunt | Ultra Ball | 1,200 PD |
| Female Grunt | Super Repel | 500 PD |
| Female Grunt | Max Repel | 700 PD |
| Female Grunt | Escape Rope | 550 PD |
There are 39 recorded pickups across the outskirts, the Abandoned Apartments and the Apartment Depths. These are the ones worth a detour.
| Item | Where |
|---|---|
| Zygarde Cell | Zone Zero Outskirts, left of the entrance sign |
| Transmitter | From Nastasia during the story events |
| TM93 Wild Charge | Small path southeast of the 2nd Abandoned Apartment exit |
| Zone Zero Key | End of the path down the Lux Apartments |
| Rare Candy | End of the path northeast the Lux Apartments |
| Razor Claw | End of the path up the prison building |
| Fire Stone | Upper left from the crashed rocket, Inner Zone North |
| Rocky Helmet | Lever room B1, needs the Lux Apartments Key |
| Ability Capsule | Room before the ladder at the end |
The Lux Apartments door keys chain into each other, and the Lux Apartments Key itself only becomes available after the Jewel of Life story is over. Skipping that block now costs you nothing on the route to the pyramid.
Wild levels here are a range rather than a band, so check before you commit a low-level catch attempt.
| Pokémon | Levels | Rate |
|---|---|---|
| Helioptile | 35-79 | 32% |
| Maractus | 65-79 | 25% |
| Vullaby | 35-70 | 15% |
| Tauros | 70-81 | 10% |
| Heliolisk | 65-83 | 9% |
| Skorupi | 78-85 | 5% |
| Drapion | 80-88 | 2% |
| Mandibuzz | 80-88 | 2% |
| Skarmory | 75 | Interact |
| Gible | 35 | Interact |
Catch-up route if you are not at Chapter 14 yet
Zone Zero belongs to Chapter 14, “Death of One, Birth of Another,” which runs from Nastasia’s Ship through Zone Zero South and Zone Zero North to Eclysia Pyramid and Castle Zygara, ending with the Pyramid Point Badge. If you are further back, a few early milestones are worth flagging because they are easy to miss entirely.
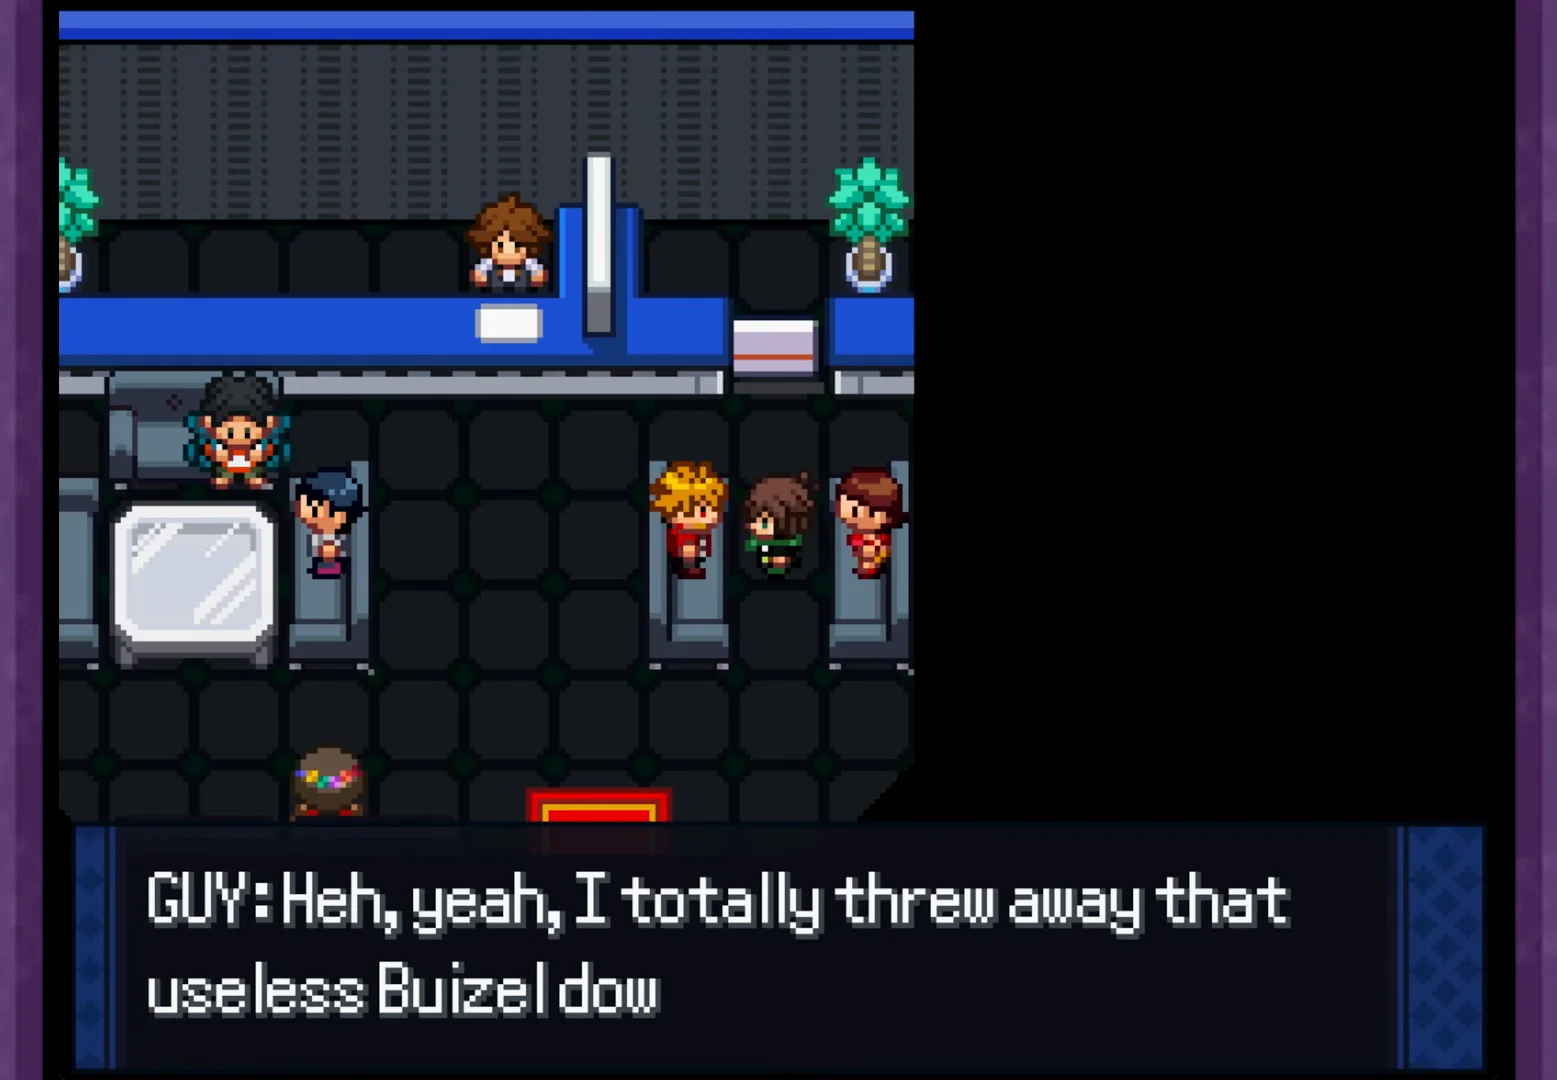
In Chapter 1, the Oceana Pier building holds a man who admits he abandoned a Buizel by the docks. Tracking that Buizel down leads to a battle with its former trainer, after which it joins you.
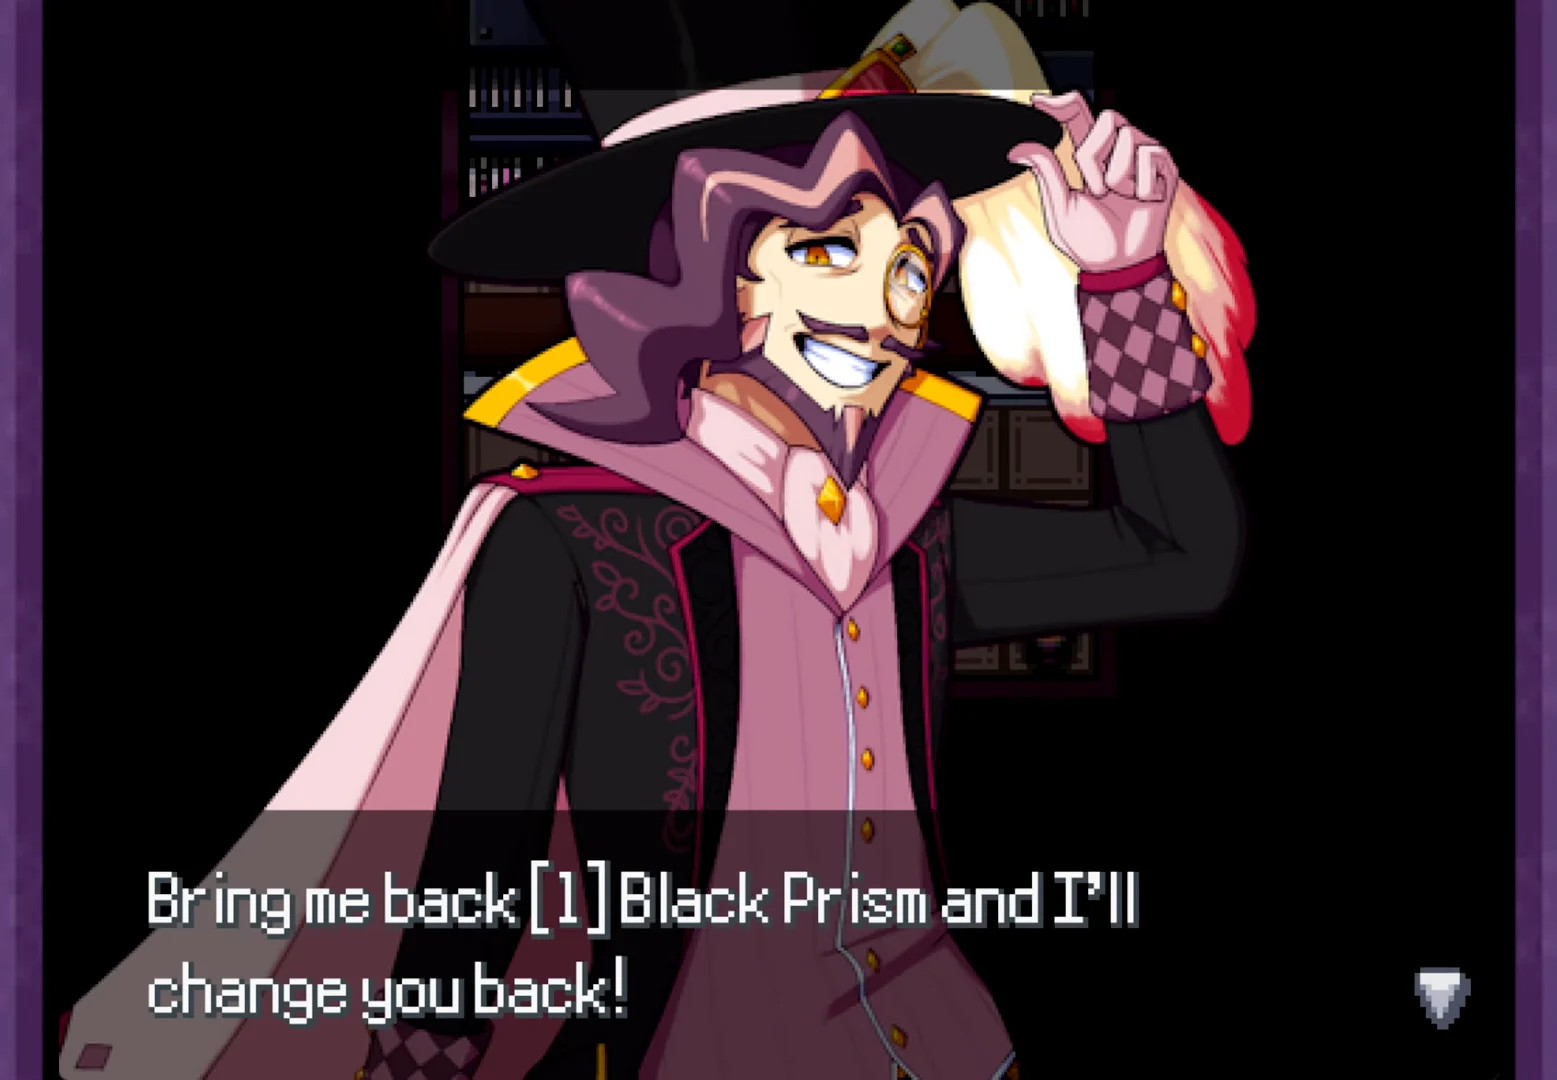
Mr. Luck’s Tent in Gearen Park is the other trap. Signing his contract changes your trainer’s face, and reversing it requires a Black Prism taken from a Prism Pokémon.
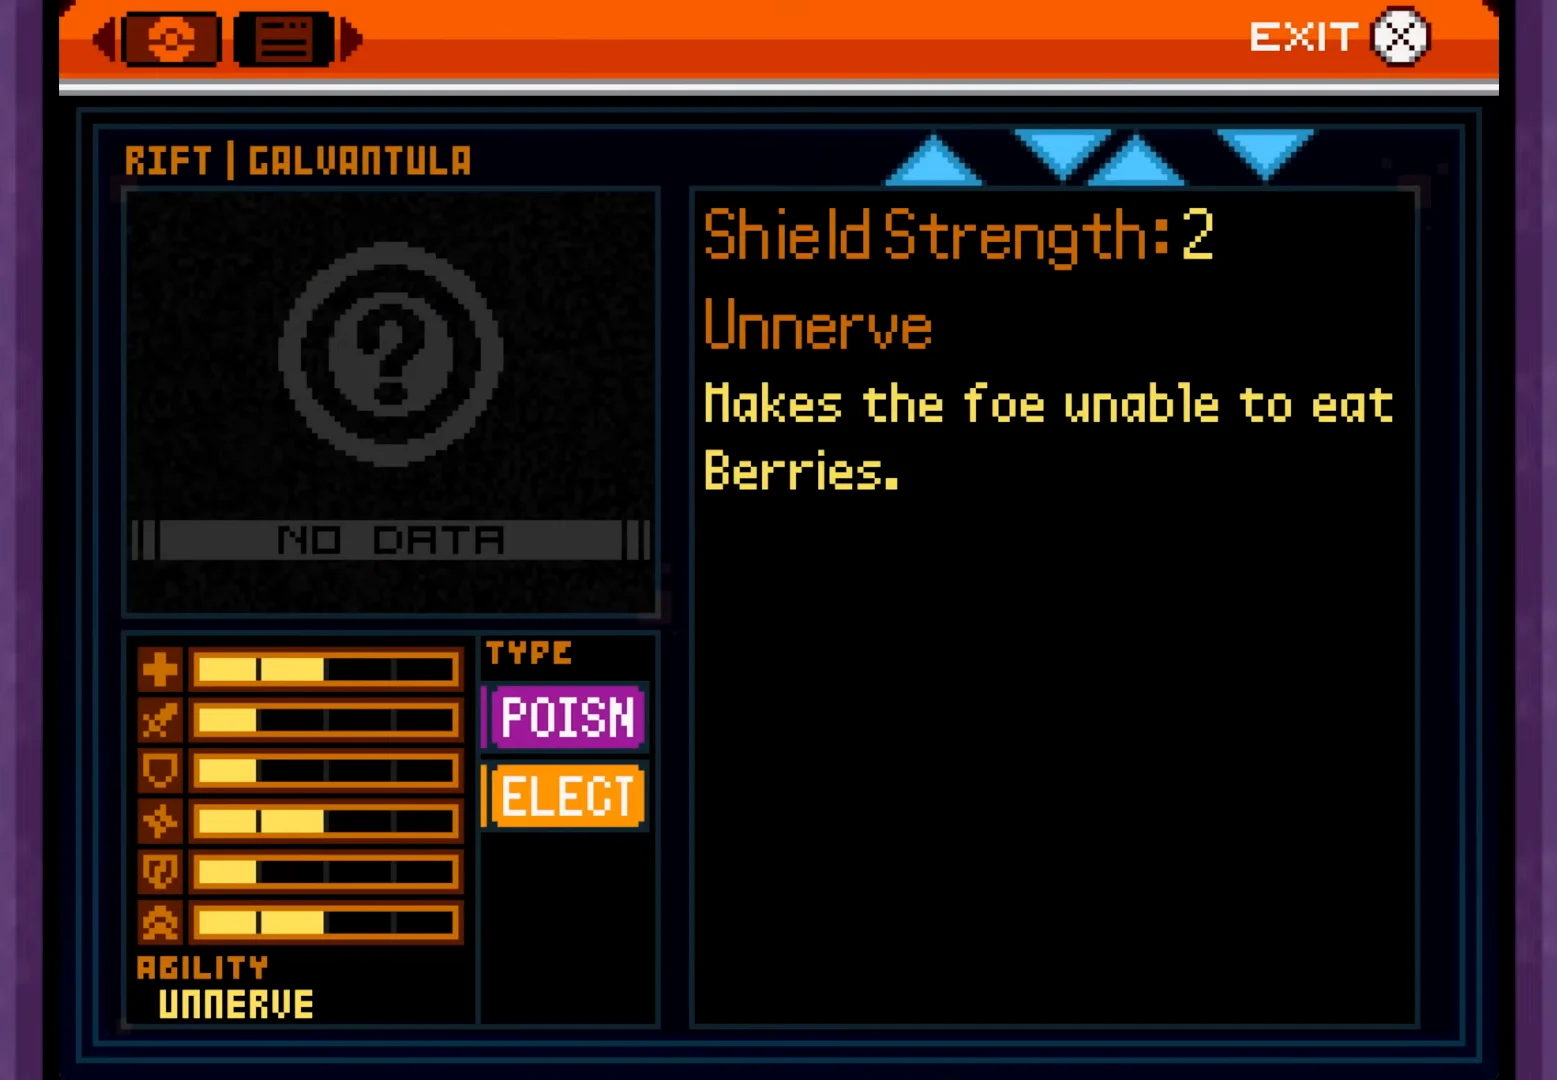
Rift fights start early too. Rift Galvantula hatches from a giant egg in the Rift Lethal Forest alongside a Joltik swarm, and its Dex entry lists it as Poison/Electric with the Unnerve ability.
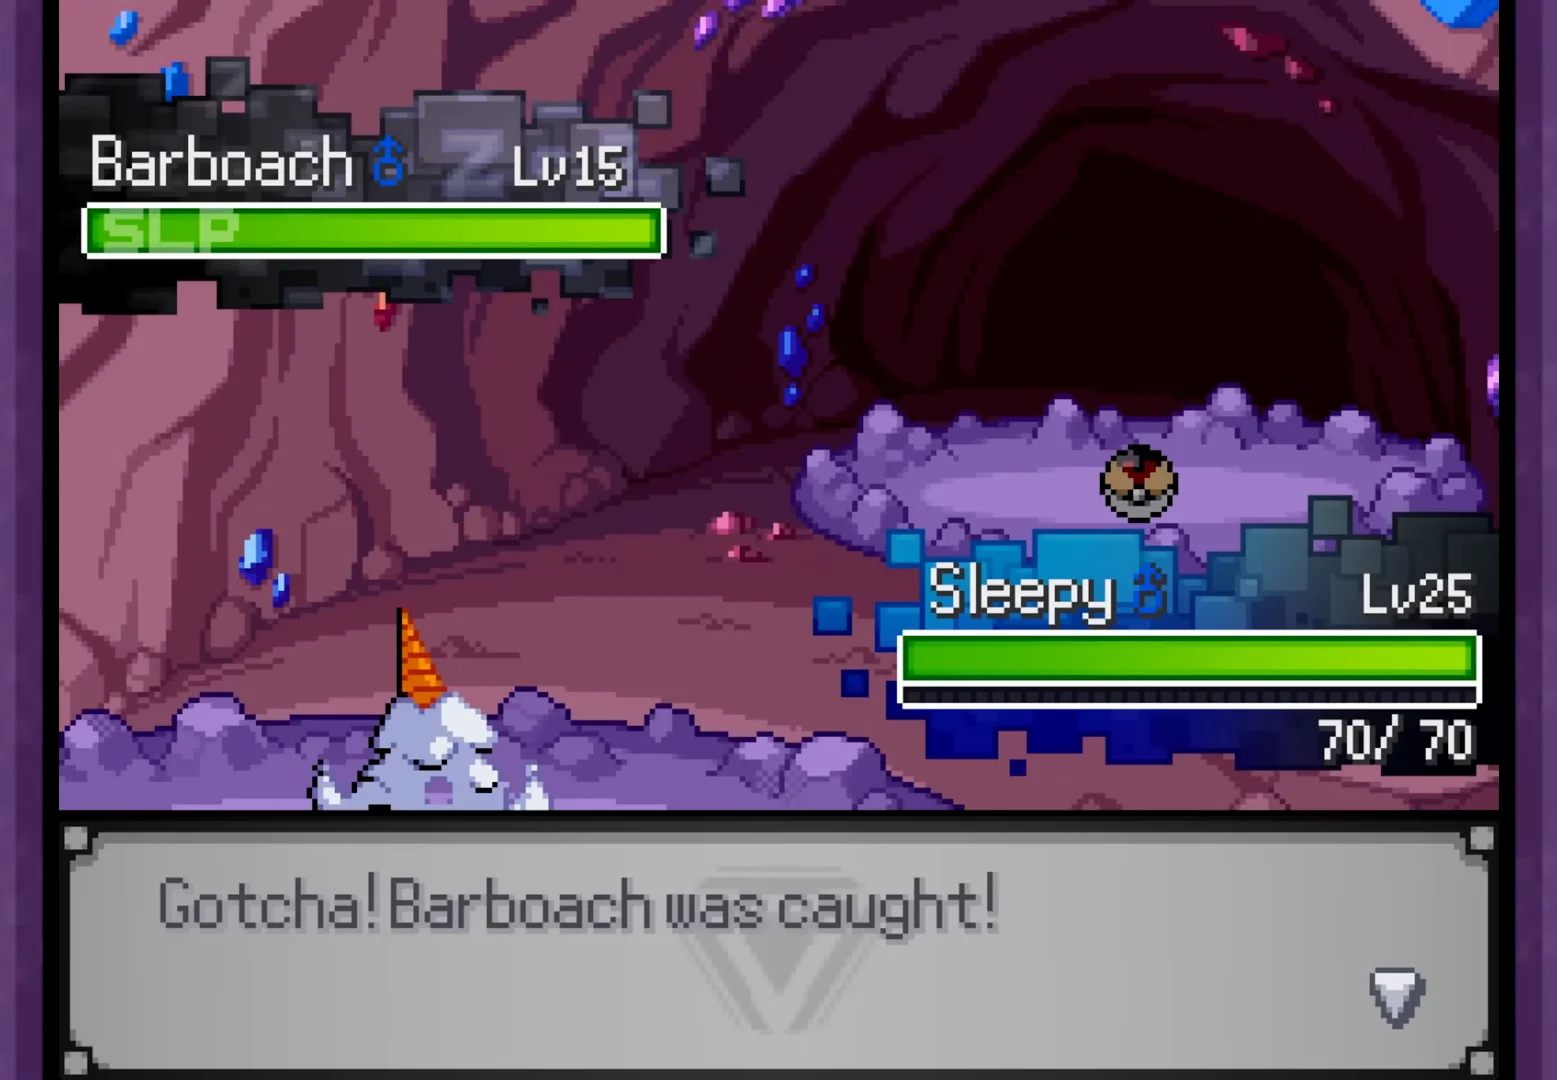
Amethyst Cave is where the Old Rod earns its slot. A Barboach hooked in the underground waterfall pond trades to Jimothy on a bench back on Route 2 for a Rock/Fighting Aevian Pidove.
Once those chapters are behind you, the Zone Zero run reduces to three things worth remembering. Keep an Electric-type in reach of the Remote PC, buy Blast Powder before you leave the entrance stalls, and treat the switch menu as a navigation tool rather than a cutscene gimmick. Everything between the airship and Eclysia Pyramid opens up from there.