Skill points in Slayers 2 are handed out at a steady rate, roughly three per level, and they feed a single branching tree shared by both paths. The tree is where movement, stamina, defense, weapon skills, and your Breathing or Blood Demon Arts forms all live, so a bad early spend slows traversal, farming, and story progress at the same time. Resets are rare, which makes the order you unlock nodes more important than the total number you own.
Quick answer: Take Wall Climb first, then Double Jump, then stamina, block, max health, and health regeneration. Damage nodes and Breathing or BDA forms come after those are secured.
How skill points work in Slayers 2
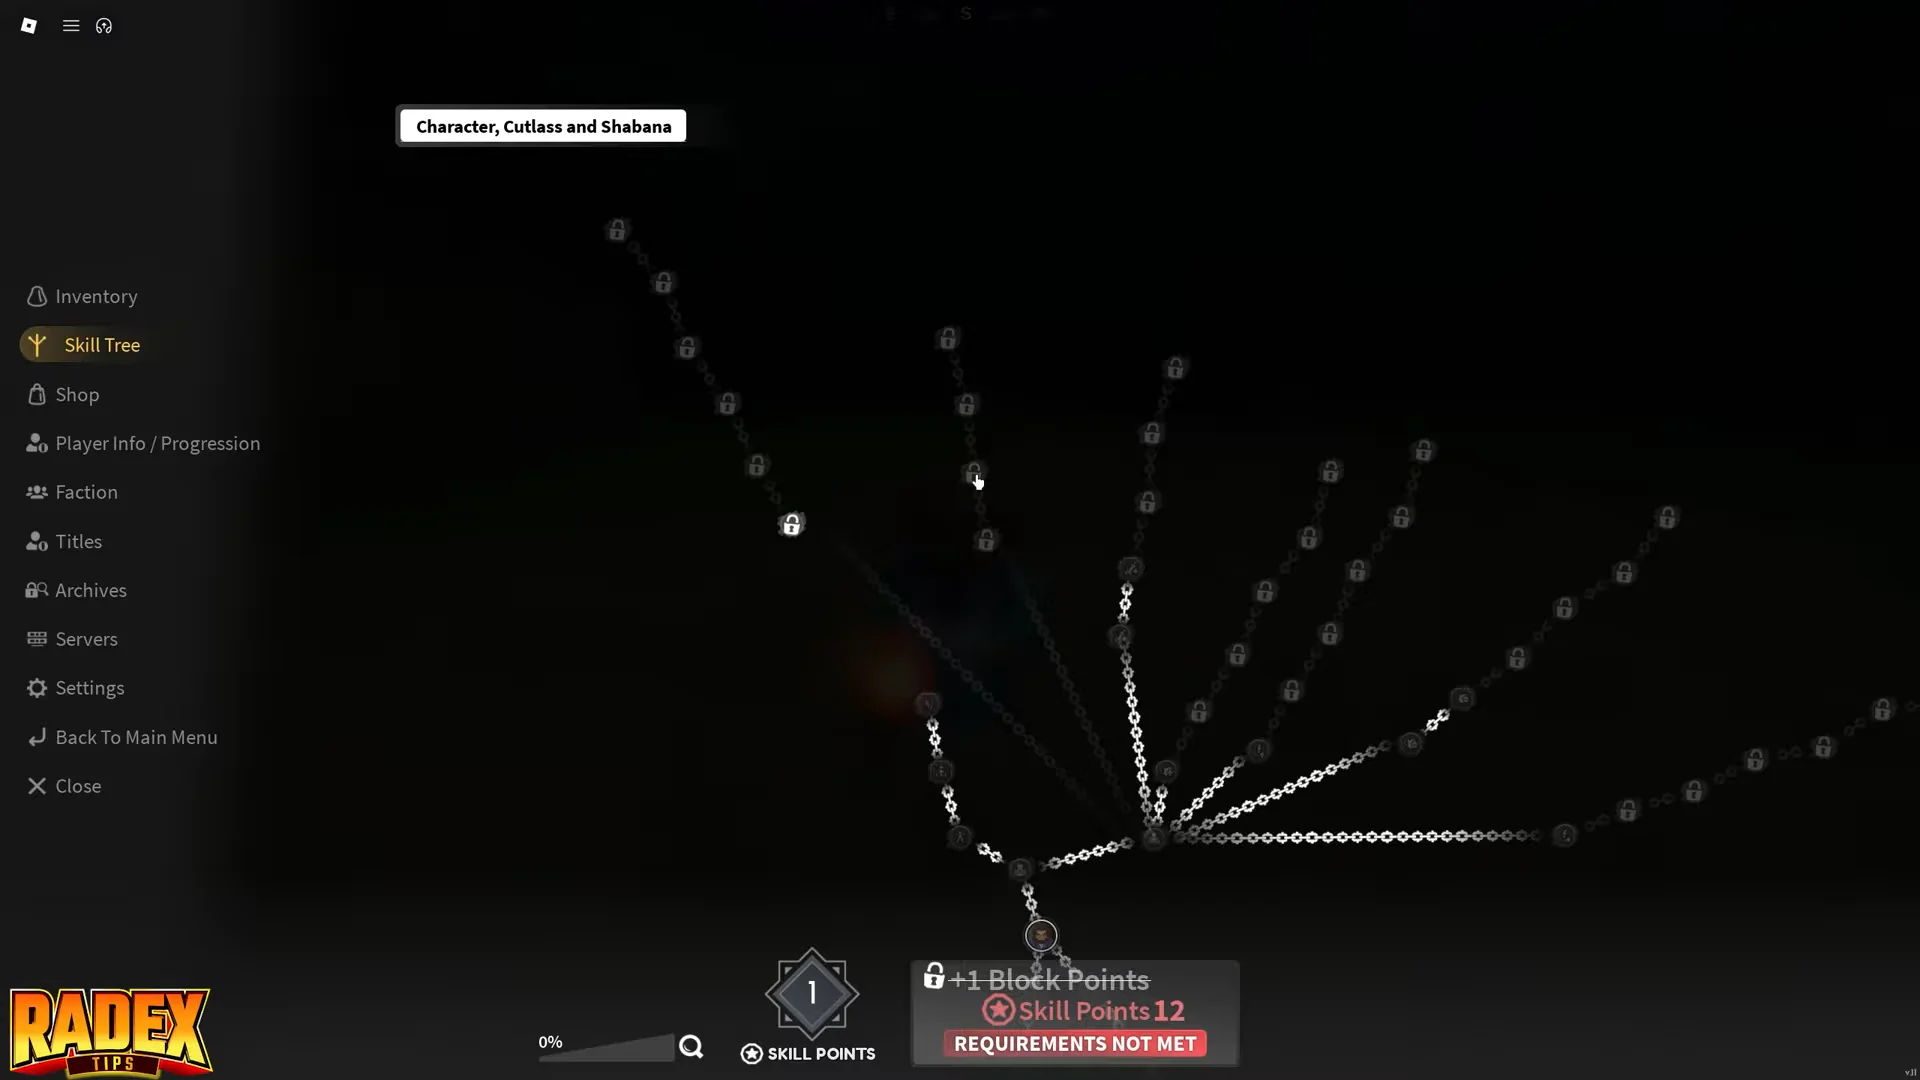
Every level grants universal skill points that can go anywhere on the tree. The menu splits into branches covering your character stats, your weapon type, and your combat style, and you open it from the character screen rather than from a trainer.
Character level is not the only gate. Higher-tier moves also require mastery, so you cannot simply bank points and buy an endgame form the moment you hit the level threshold. Level 25 is the point where Breathing trainers become available to Slayers, while Demons follow a reputation path instead.
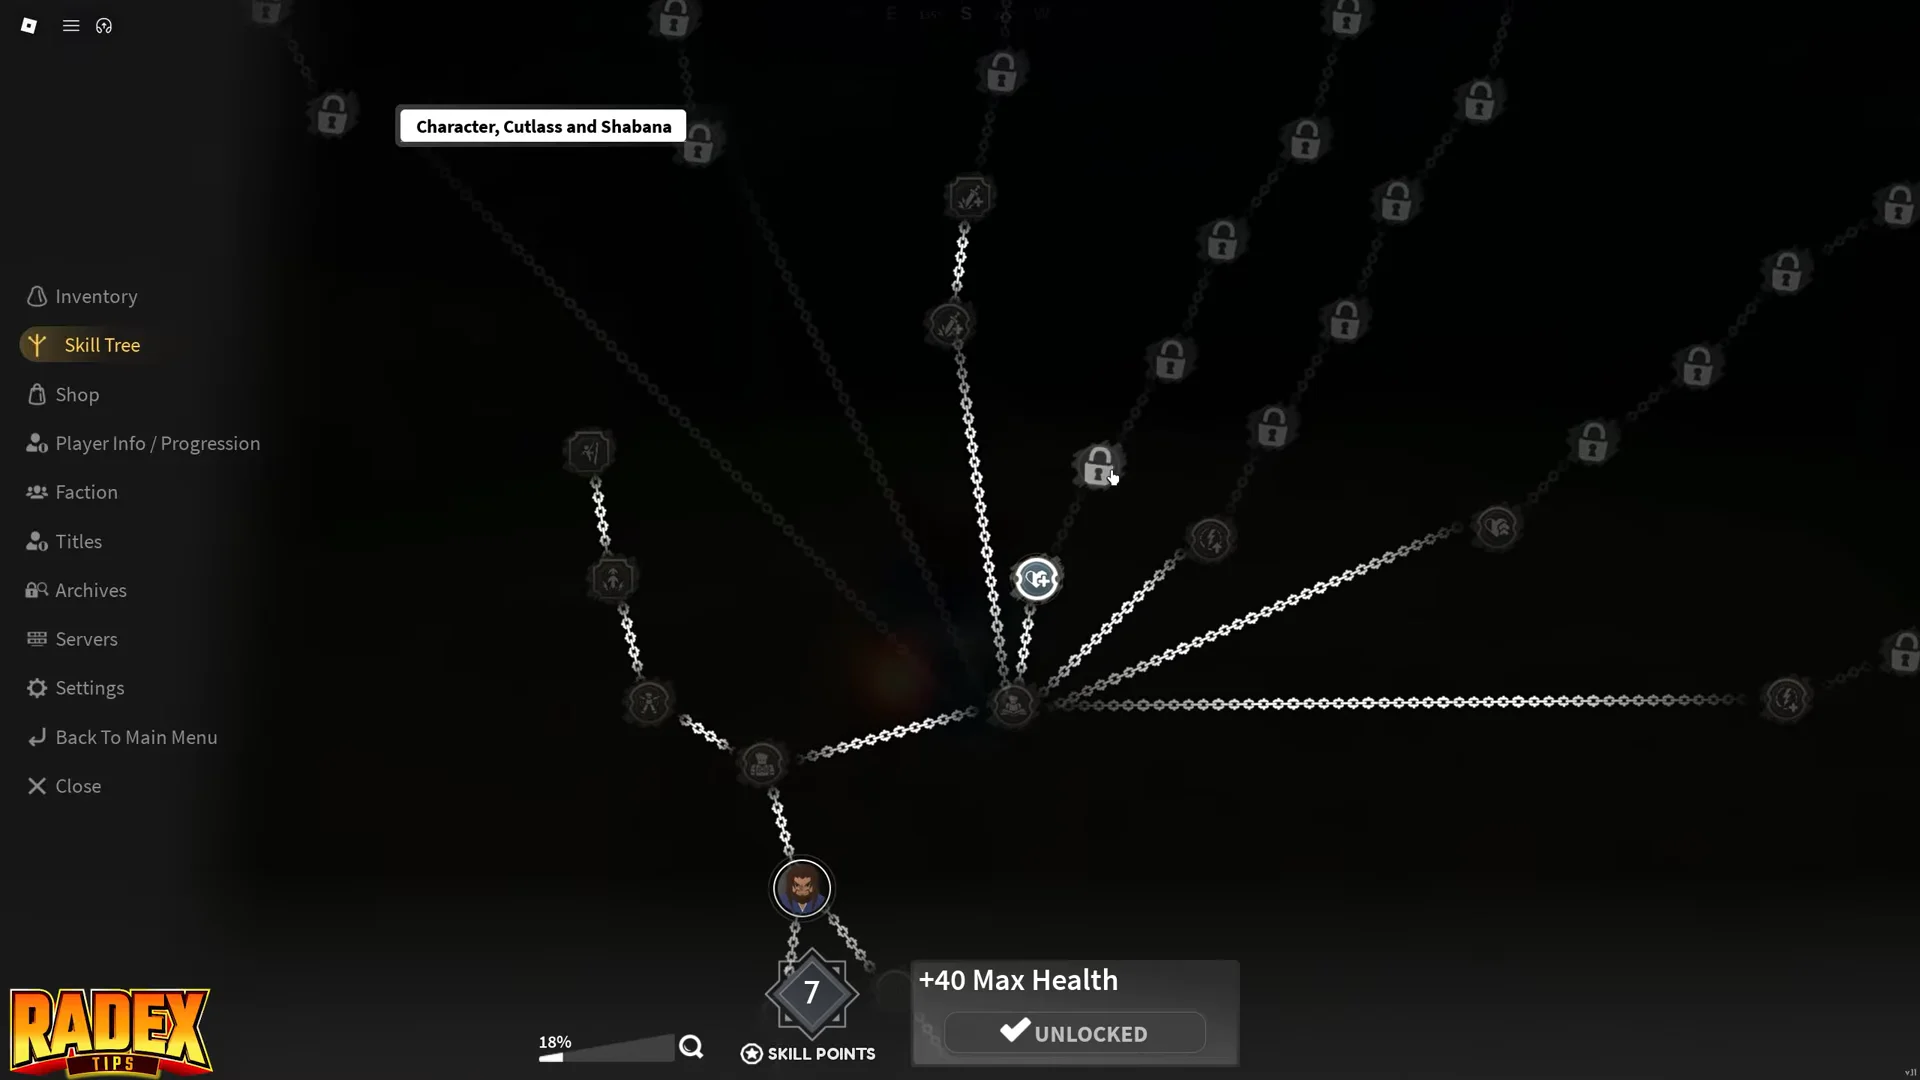
Plan as though you will never get a reset. A points-reset code sometimes appears alongside update rewards, but it is not a dependable safety net for an early damage dump.
Skill point priority order (levels 1–25)
The opening stretch is the same for Slayers and Demons, because both paths need to reach trainers, quest markers, and material farms before they specialize. The order below is the spend list from your first point to roughly level 25.
| Priority | Node | Why it comes first |
|---|---|---|
| 1 | Wall Climb | Trainers and shortcuts sit on cliffs |
| 2 | Double Jump | Open-world pathing and combat resets |
| 3 | Stamina | Every action drains the bar |
| 4 | Block | Survives material farms and bosses |
| 5 | Max health | Margin to learn attack patterns |
| 6 | Health regeneration | Cuts downtime between fights |
Wall Climb is traversal you cannot substitute. Several trainers and shortcut routes are simply unreachable without it, and running the long way around every cliff costs far more time than the point does. Double Jump smooths the rest of the map and gives you a reset option mid-combat.

After mobility, the survivability block matters more than raw numbers suggest. Staying on your feet 30 percent longer produces more total damage than a small flat hit bonus, because you finish combos instead of retreating. Stamina in particular decides whether you can chain a full combo and still afford a dodge.
Where Slayer and Demon builds split
Once traversal and survivability are covered, the two paths stop sharing a spend list. Breathing and Blood Demon Arts are path-locked systems, so points sunk into the opposite side are wasted. Commit to one before you start buying forms.
Slayer path: Breathing trainers at level 25
Breathing trainers gate on character level plus a material tribute. Expect to hand over Demon Horns from High Demons, often found around Iceveil Valley, and Beast Cores from Beast Born Demons. Farm those on the way up rather than arriving at the gate empty-handed.
Water is the most forgiving style to learn on, with defensive forms and generous recovery windows. Thunder, Sound, and Insect hit harder over the mid-game once you can execute faster inputs. Match your clan passive to the style you actually trained instead of chasing a famous surname.
Demon path: reputation instead of trainers
Access to demonic arts depends on evil reputation rather than a trainer-level requirement: visit Muzan in Mistfall Harbor after dark, collect Spider Lily, and then make the initial Blood Demon Art roll. Ice Manipulation, Shockwave, and Dream Manipulation sit near the top of most control and dueling rankings. Arrow Manipulation provides the easier starting option, while Blood Manipulation performs strongly for sustained PvE damage.
Whichever side you pick, buy your initial forms first once the system opens. A single unlocked form you can actually use beats several half-funded branches.
Weapon skill nodes: only buy what matches your weapon
The tree carries separate skill lines for each weapon type. Points spent on a line you are not holding do nothing, so invest only in the branch matching the weapon you currently use. If you plan to switch weapon types later, hold those points rather than splitting them across two lines.
Mid-game spending (levels 25–60+)
With mobility, survivability, and your first forms locked in, the remaining points move toward damage and mastery. Keep the sequence tight so you are never mid-purchase on something you cannot yet use.
- Damage and mastery nodes for your trained style, after the trainer unlock
- Cooldown reduction, which widens burst windows on long-cooldown forms
- Percentage damage scaling, which only pays off once base damage is already high
- Niche quality-of-life nodes last, once route-critical unlocks are finished
Slayers should be aiming at Final Selection around level 45, approached from Mistfall Harbor through the Butterfly Estate and across the southern bridge. Arrive with a Breathing Style bound, Wall Climb and Double Jump owned, and gear that can handle the Hand Demon fight.
Skill points are not the only permanent power source at this stage. Ren’s gourd shop at the Butterfly Estate converts Wen into Slayer Progress once you return his missing Nichirin Blade, and Ginzo at Mistfall Harbor buys Coin Stacks and Coin Piles once you return his Jewelry Box. Large gourds are the efficient purchase when you are funding real rank gains.
How to confirm your build is on track
A correctly ordered tree shows itself in three checks. You can scale a cliff face to reach a trainer without looking for a path around it. You can finish a full combo and still have stamina left for one dodge. And the form you trained appears bound and usable in combat rather than sitting greyed out in the menu behind a mastery requirement.
If any of those fail, the fix is almost always the same: you moved to damage nodes before the mobility and stamina block was complete. Since resets are scarce, the cheapest correction is to stop spending, finish the missing foundation nodes with your next few levels, and only then return to scaling damage.