Gaming Guide

Control Resonant Freeze Frame: Instant Photo Locations in Central (Both Cameras)

Where both Central cameras sit, how to flank each one, and how to confirm both Instant Photos are complete.

Where both Central cameras sit, how to flank each one, and how to confirm both Instant Photos are complete.

Image: Remedy Entertainment

Freeze Frame is one of the first side stories Central throws at you in Control Resonant, and it works on a simple trick: altered tripod cameras freeze everything in front of the lens, including Dylan. You cannot fight them and you cannot walk up to them from the front. You have to get behind them and close the lid.

Quick answer: Central has two Freeze Frame cameras — one at the bottom of the Watchtower’s Underground Supply Route stairs, one on a rooftop near Central Supply Route Station. Reset each camera, then shutter it from behind.


Both Freeze Frame camera locations in Central

CameraScene to look forWhere it isWay in
Watchtower cameraFrozen pigeons, scaffolding, big windowBottom of the Underground Supply Route stairsDrop through the ceiling opening below
Rooftop cameraDoorway across a warehouse roofRooftops near Central Supply Route StationWarehouse interior, then the upper walkway

Both cameras sit inside the Central 3 map layer, and both show up as camera icons once the side story is active. The Watchtower one marks near Central Checkpoint; the second overlooks the street by Central Supply Route Station.


Where the Freeze Frame quest and the Instant Photos come from

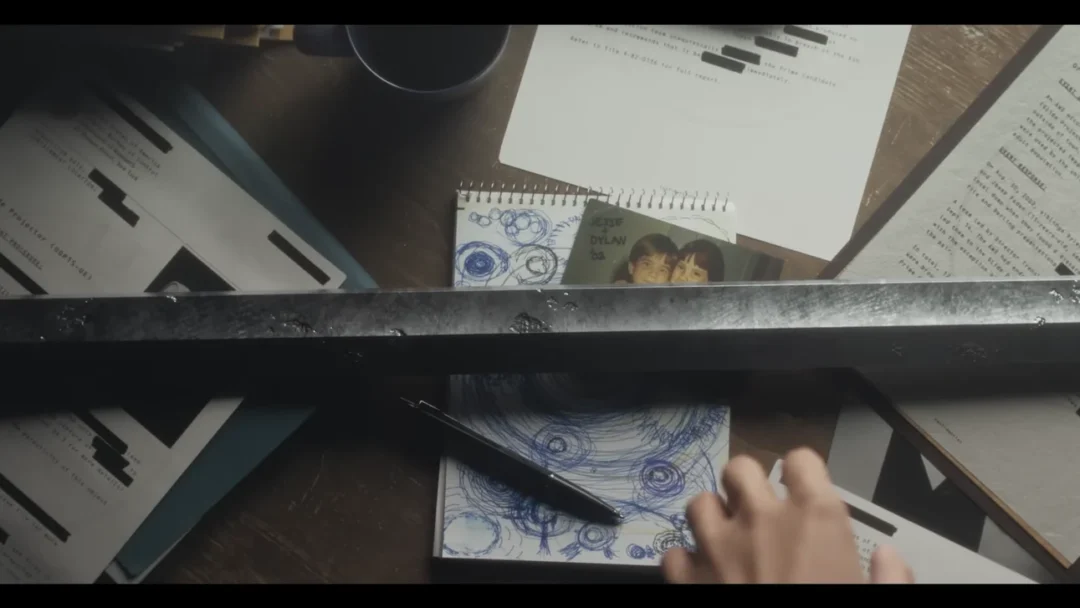
Find Freeze Frame on the Watchtower’s second level, beside Zoe. The Instant Photos are the clues: each shows a frozen scene from somewhere in the zone, and comparing the image with your surroundings confirms you are at the correct location.

You will collect one of them during Welcome to Manhattan without going out of your way. Inside the Field Command room at the FBC Field Office, the central desk holds the Level 1 Keycard you need for the main objective.
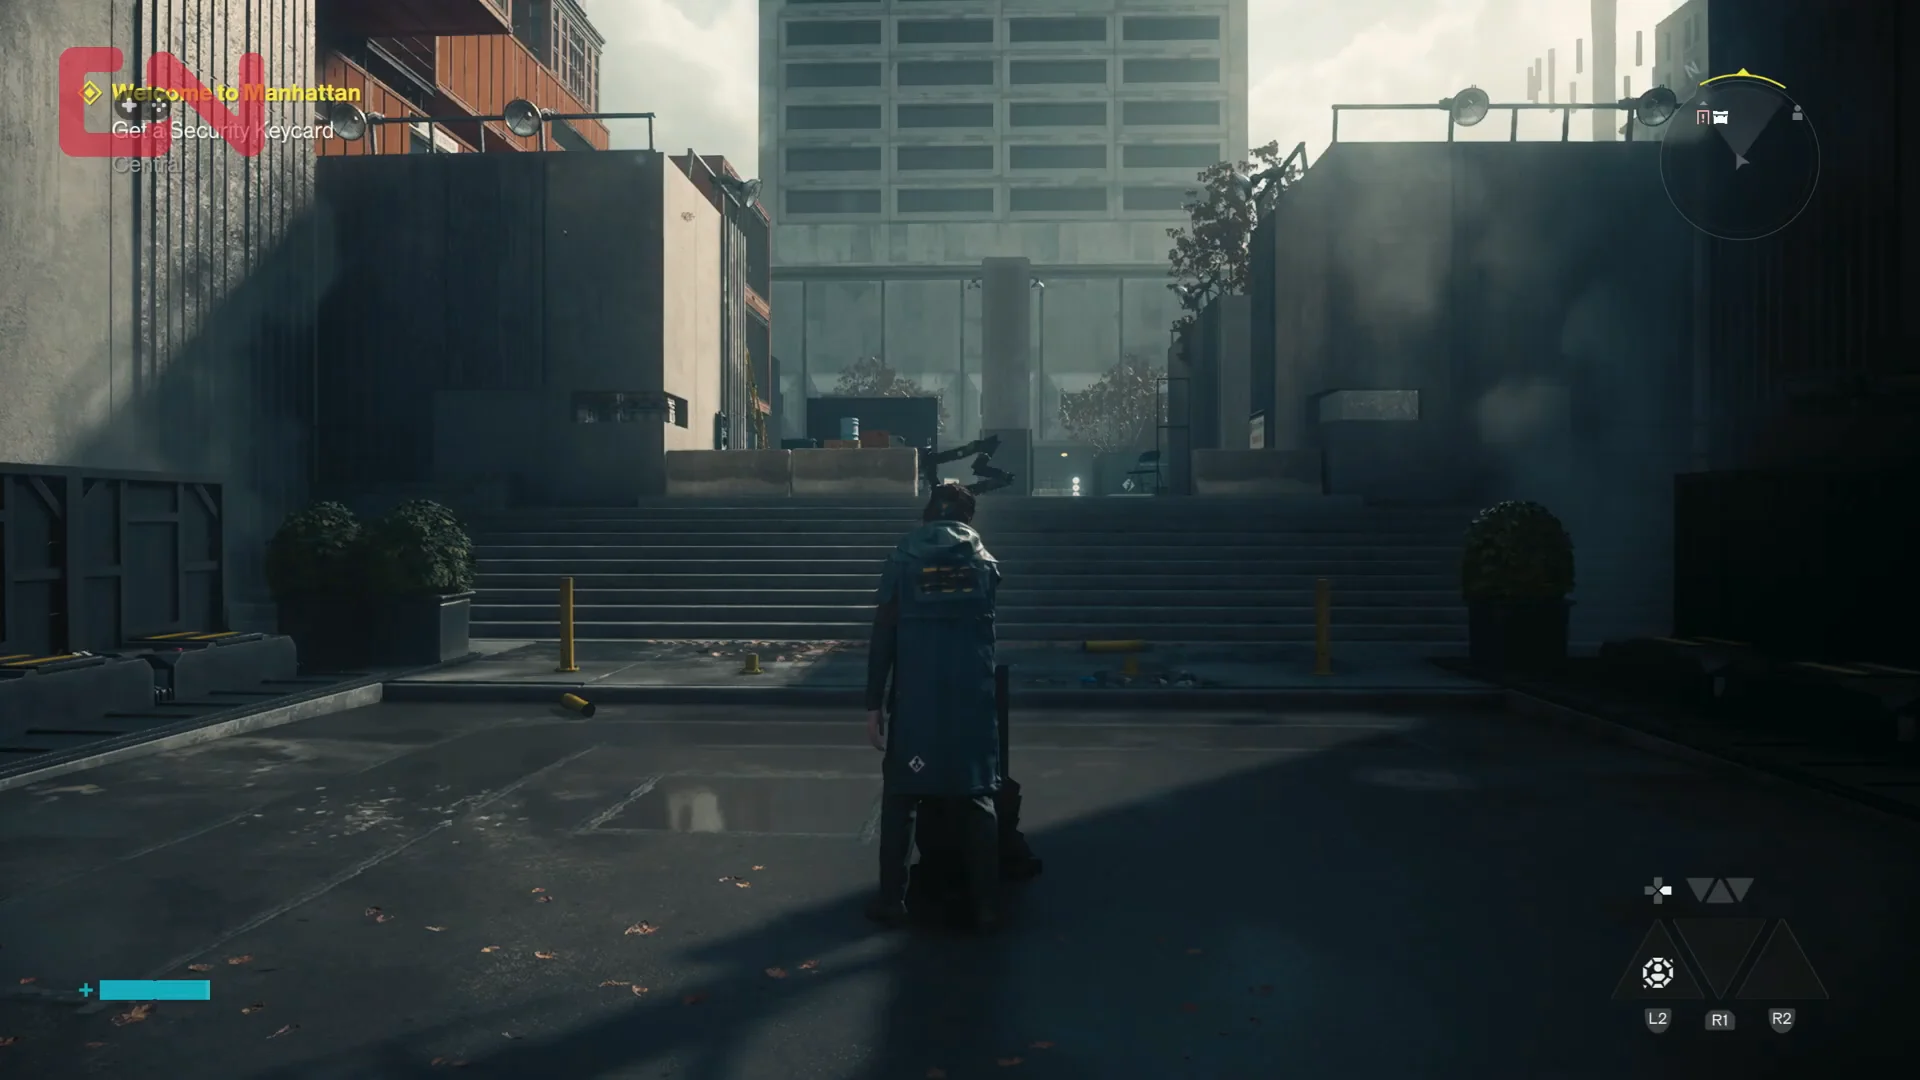
Welcome to Manhattan00:03Welcome to Manhattan
The exterior stairs up to Field Command, where the Level 1 Keycard and the first Instant Photo are waiting. Shown at 00:03 in GosuNoob’s video. Image: Remedy Entertainment

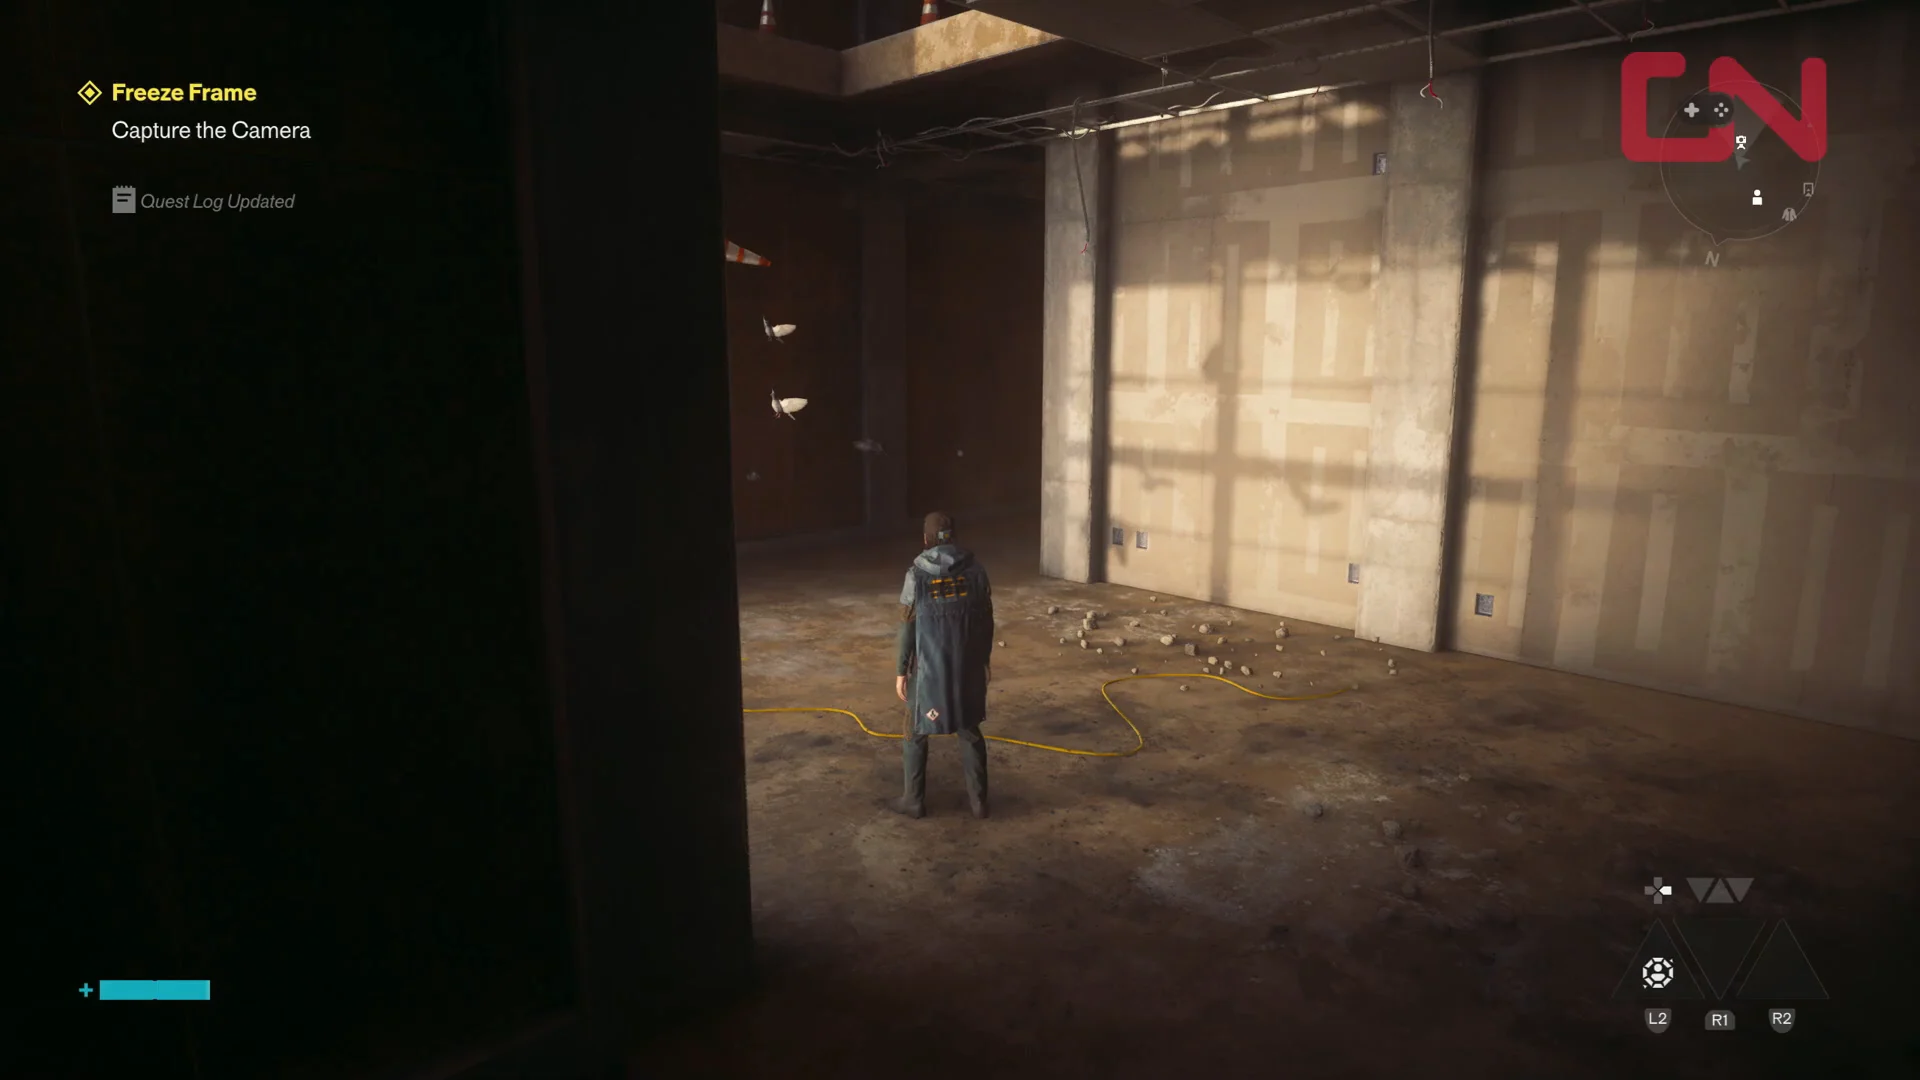
Check the side desks in the same room before you leave. One desk with an old computer on it holds an Instant Photo, and a fast travel talent point is unlocked here too. Open your inventory and you can flip through the photos you are carrying — one of them shows pigeons hanging motionless in front of a large window surrounded by scaffolding.
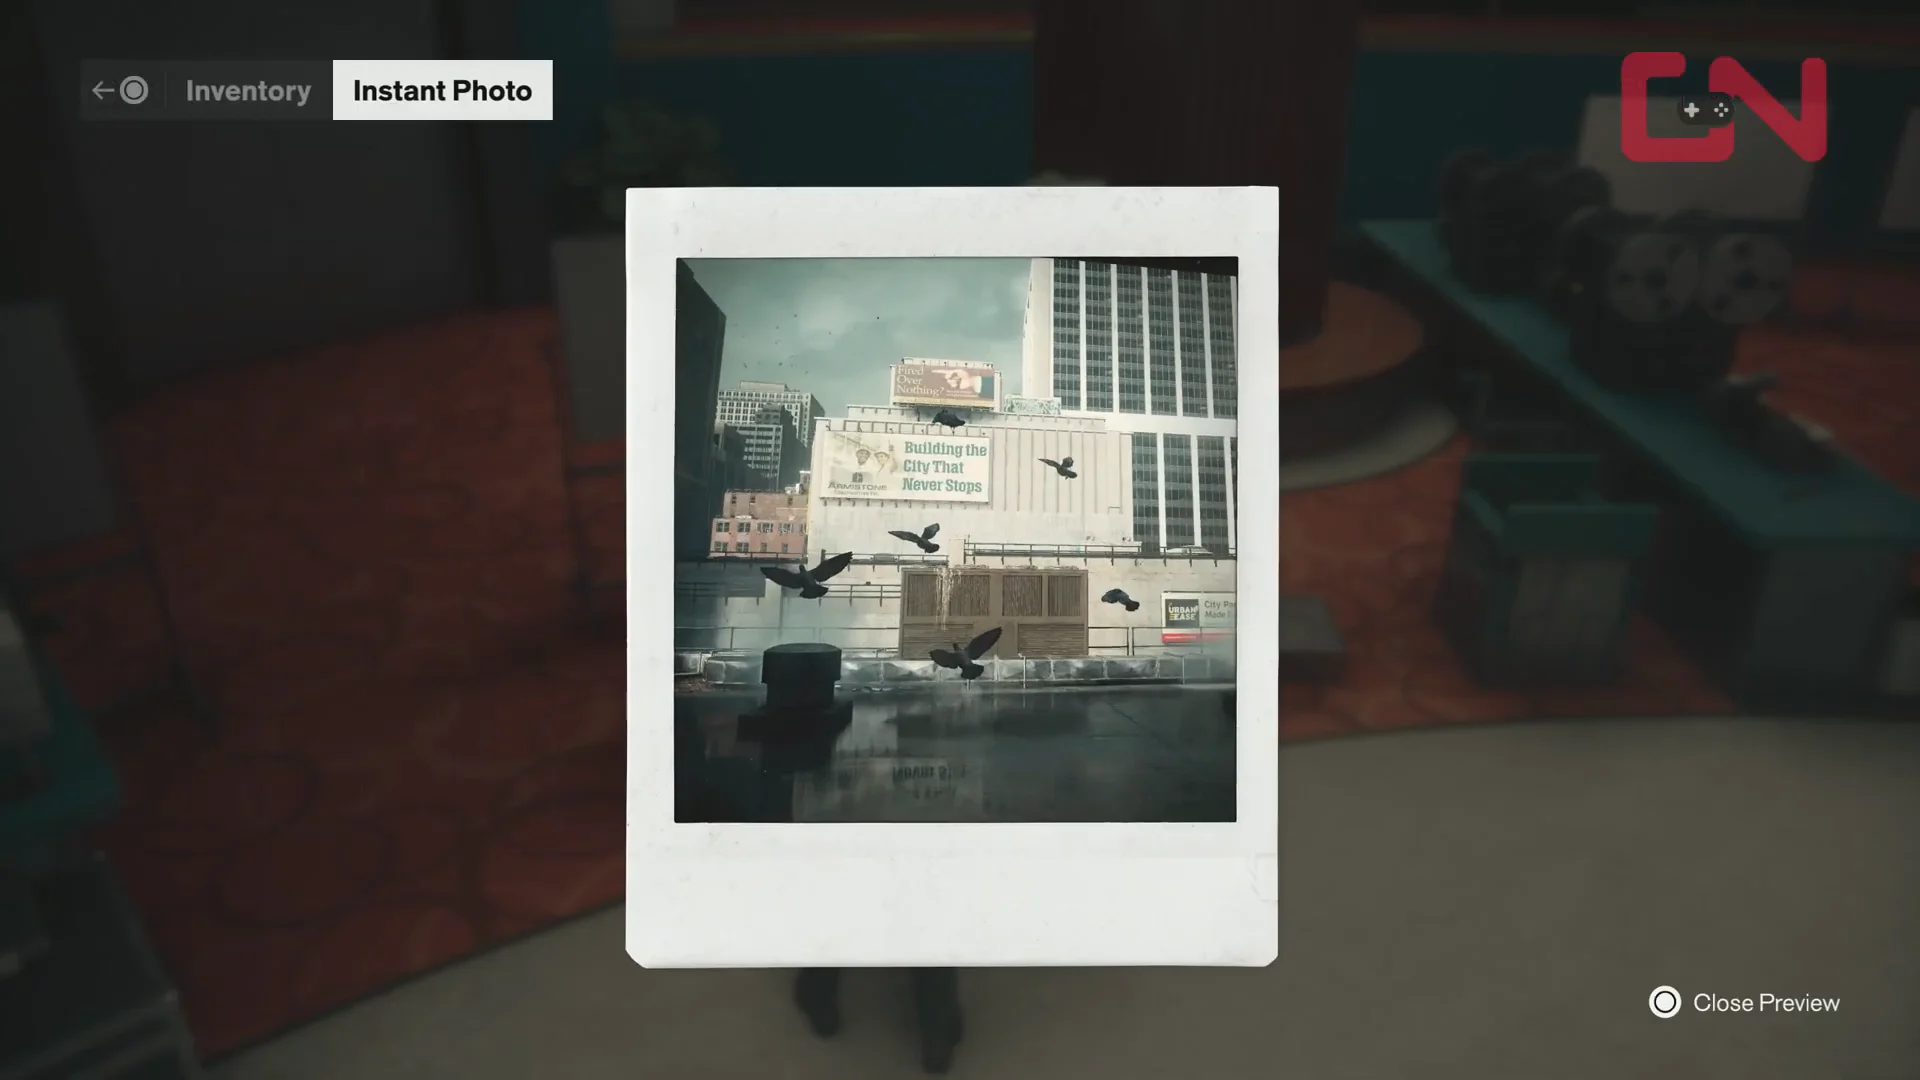
Inventory and Map Check00:55Inventory and Map Check
Instant Photos sit in the inventory as quest items, and each one previews the frozen scene you are looking for. Shown at 00:55 in GosuNoob’s video. Image: Remedy Entertainment

Every camera you shutter drops another Instant Photo, which points you toward the next one. Pick it up before you move on.


How the cameras freeze, reset, and shutter

All of them follow the same rules, so once the first one clicks the rest of the zone is routine.

  • Walking into the lens triggers a blue flash and freezes the whole scene, including you.
  • The freeze updates the quest log with the objective Capture the Camera and pins the camera on the map.
  • Backing out of the camera’s view — down stairs, off scaffolding, out a door — resets it.
  • Approach from behind and the interact prompt reads Shut Camera Lid (L1 on PlayStation).
  • Shutting the lid unfreezes the scene and marks that Instant Photo complete.

Camera 1: Below the Underground Supply Route in the Watchtower
Travel to the Watchtower. From Zoe’s office, head east until you reach a stairwell marked with an “Underground Supply Route” sign.
Go down as far as the stairs allow — six flights. At the bottom, turn left, and when you run into a wall, turn right through a partition, then right again to reach a run of scaffolding you can climb.
Navigating to Underground Supply Route02:14Navigating to Underground Supply Route
The unfinished service corridors below the Underground Supply Route stairs, just before the scaffolding climb. Shown at 02:14 in GosuNoob’s video. Image: Remedy Entertainment
Climb the scaffolding and walk forward onto the floor above. The camera flashes, the room locks up, and you will see pigeons suspended mid-air in front of the window — the exact scene from the Instant Photo.
Triggering Freeze Frame Side Quest02:28Triggering Freeze Frame Side Quest
The freeze effect triggers and the quest updates to Capture the Camera. Shown at 02:28 in GosuNoob’s video. Image: Remedy Entertainment
Once you can move again, retreat down the scaffolding to reset the camera. Do not walk toward the tripod from the front — it will just freeze you again.
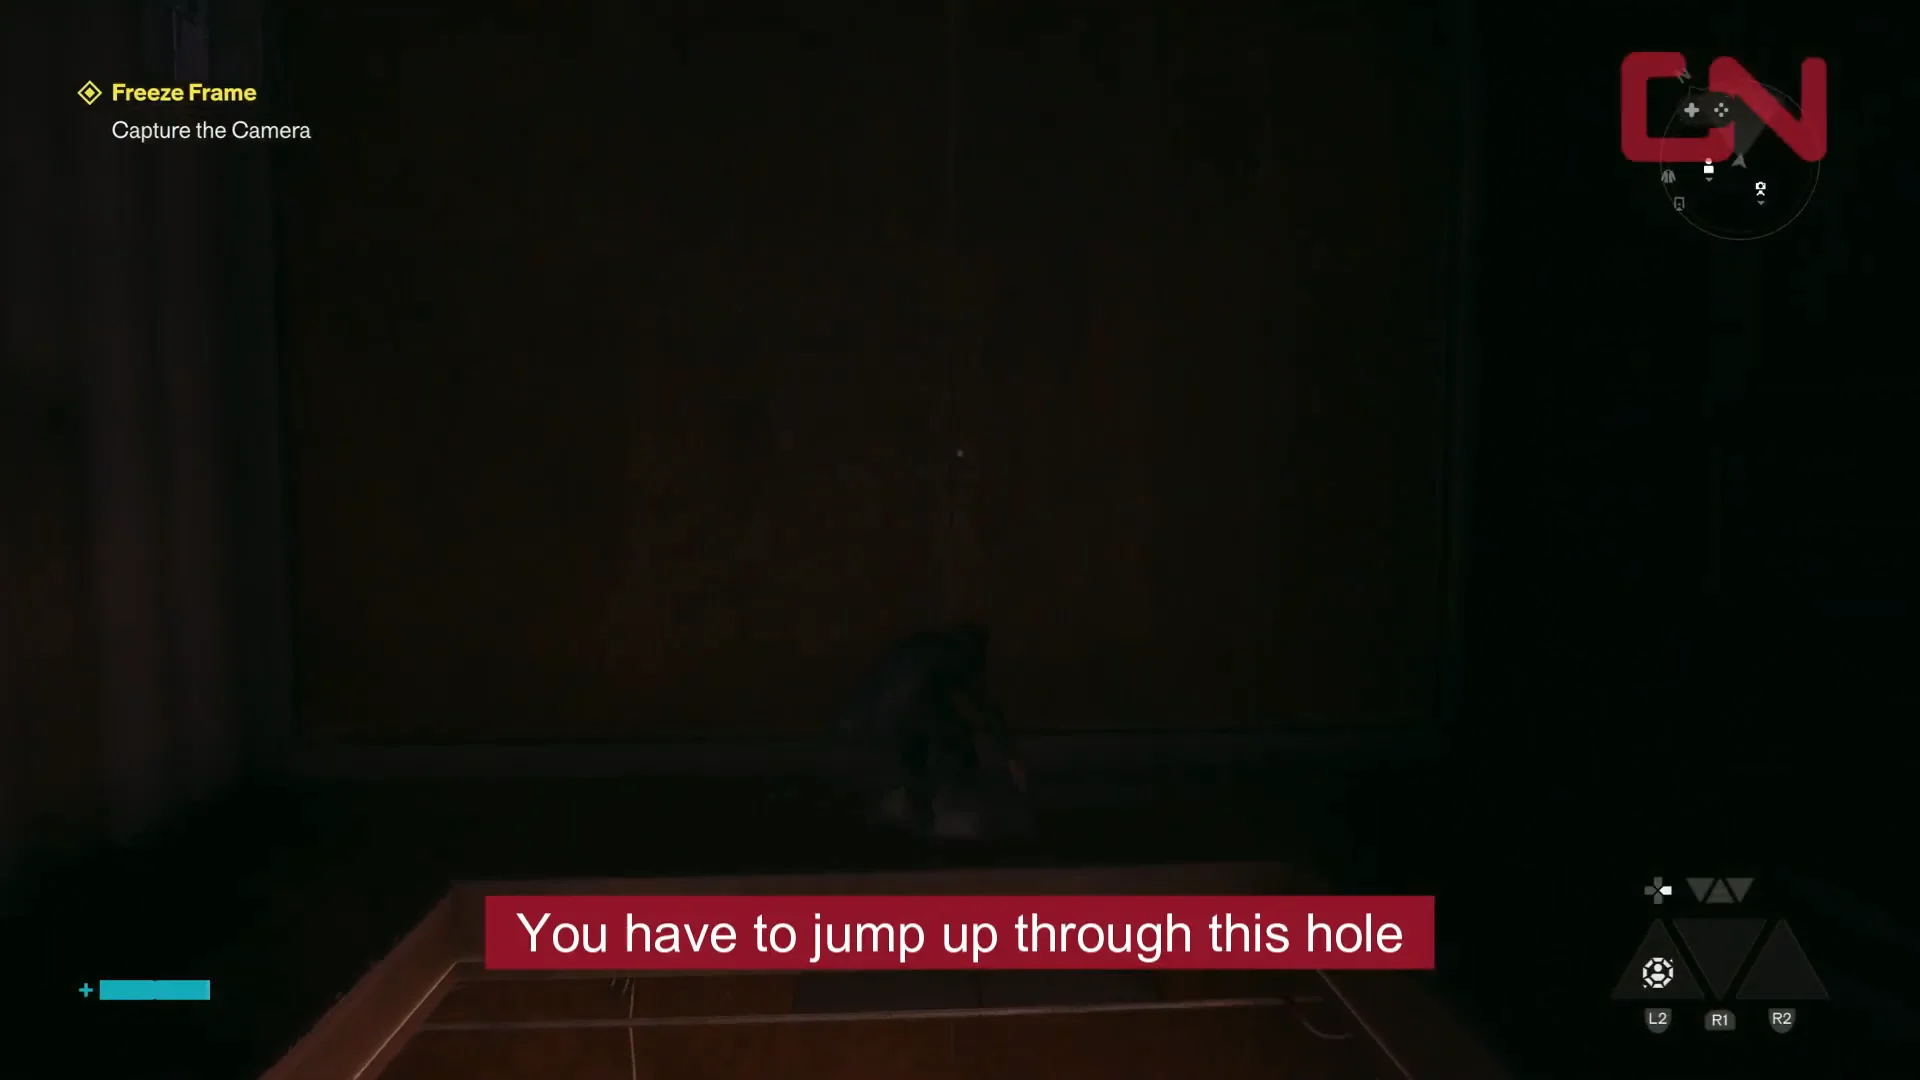
Use the room below to flank it. Jump up through the opening in that room’s ceiling and you come out in a corridor behind the camera. The alternative route is to elevate one floor above the scaffolding landing, jump the pit to the southeast, and drop down the hole behind it on the right — both end up in the same spot.
Sneaking Up on Camera 103:17Sneaking Up on Camera 1
Jumping through the ceiling opening puts you in the corridor behind the tripod. Shown at 03:17 in GosuNoob’s video. Image: Remedy Entertainment
Walk up behind the tripod, which is pointed out at the window, and use Shut Camera Lid. The pigeons drop, the room unfreezes, and the first Instant Photo is done.

Camera 2: Warehouse rooftop near Central Supply Route Station

You need the Level 1 Security Keycard from Field Command before you can reach this one.

Fast travel back to the Field Office rooftop door. Drop down to street level and follow the alley to the West Incursion Zone security gate, then use the keycard to open the doors.
Climb up and cross the rooftops, jumping between billboards until you can see the one reading “Building the City That Never Stops”. The camera scene is directly opposite it.
Step onto the air ducts facing the billboard and the camera fires from a doorway across the roof, freezing you in place. That confirms the position — the tripod is tucked into the doorway, not out in the open.
Back away down the stairs into the warehouse interior to reset it. Push open the double exit doors into the alley, then walk back in through the ground floor.
Clear the warehouse. There are Hiss on the ground and in the air inside, and it is far easier to deal with them before you start the climb than while you are lining up the approach.
Take the metal stairs up to the upper walkway. It runs straight to the back of the doorway the camera is sitting in.
Step out through the upper doorway behind the tripod and press Shut Camera Lid. The roof unfreezes and the second photo is marked off.

How to confirm both Central Instant Photos are complete

Open the loadout menu and look at your Instant Photos. A completed one carries a green checkmark, and the quest log updates each time a lid closes. Two checkmarks means Central is clear.
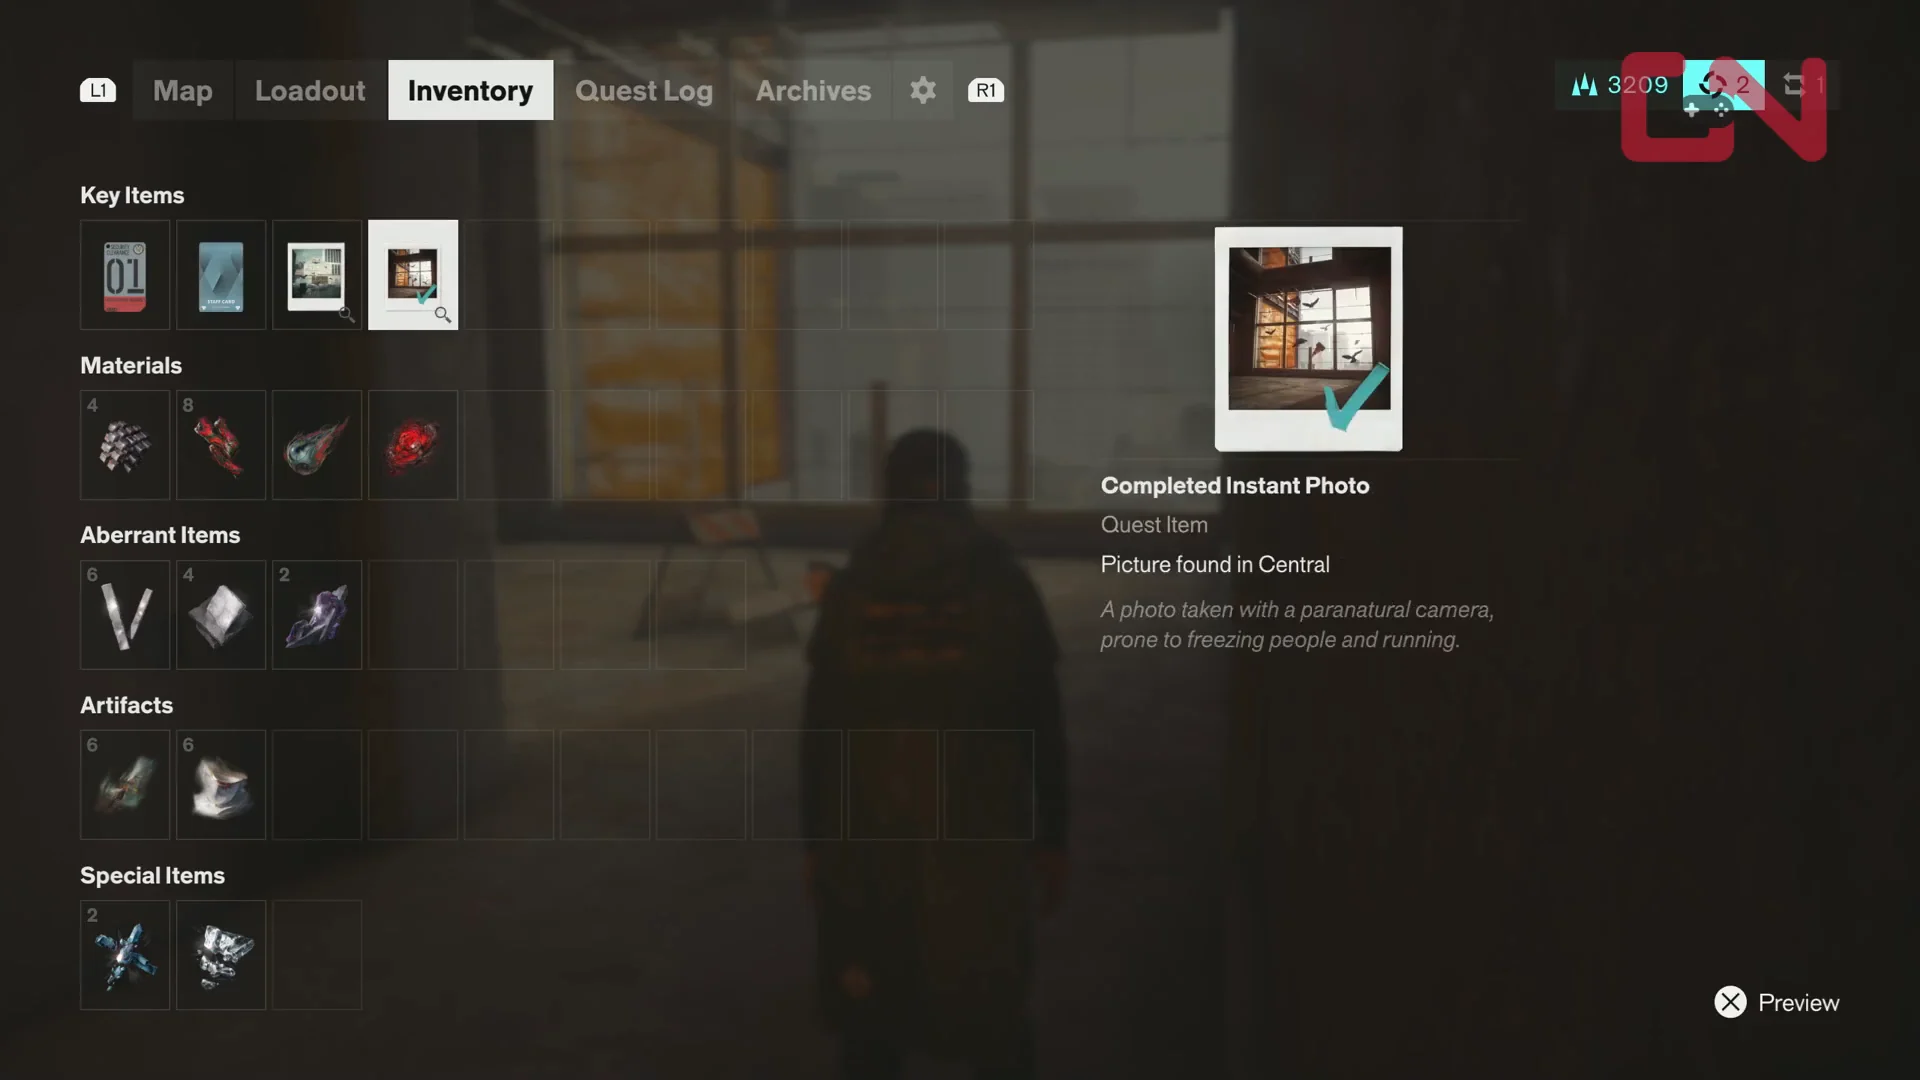
Checking Map and Completed Photo04:02Checking Map and Completed Photo
A green checkmark on the Instant Photo confirms that camera has been shuttered. Shown at 04:02 in GosuNoob’s video. Image: Remedy Entertainment

Freeze Frame does not end in Central. The side story runs across Manhattan with more cameras scattered through Downtown, the West Incursion Zone, the Park and the Unknown, and each photo you collect here feeds into that longer hunt. The mechanic never changes, though — find the flank, reset the lens, close the lid.