


In Control Resonant, Artifacts provide the passive side of Dylan Faden’s build. A slotted Artifact grants its modifier continuously, but a first playthrough gives you only three slots, making selection more important than the total number collected. You discover them around Manhattan as Untapped items, then convert them into usable gear at the Artifact Formation station in The Gap.
Quick answer: While learning the game, equip survivability Artifacts like Heart Monitor, 1996 Commemorative Coin, and Worn Eraser. When enemies become tankier, change to Brass Dusters, Pickpocket’s Tool, and Amulet. You can make these swaps for free whenever you want.
The two rules that decide your loadout
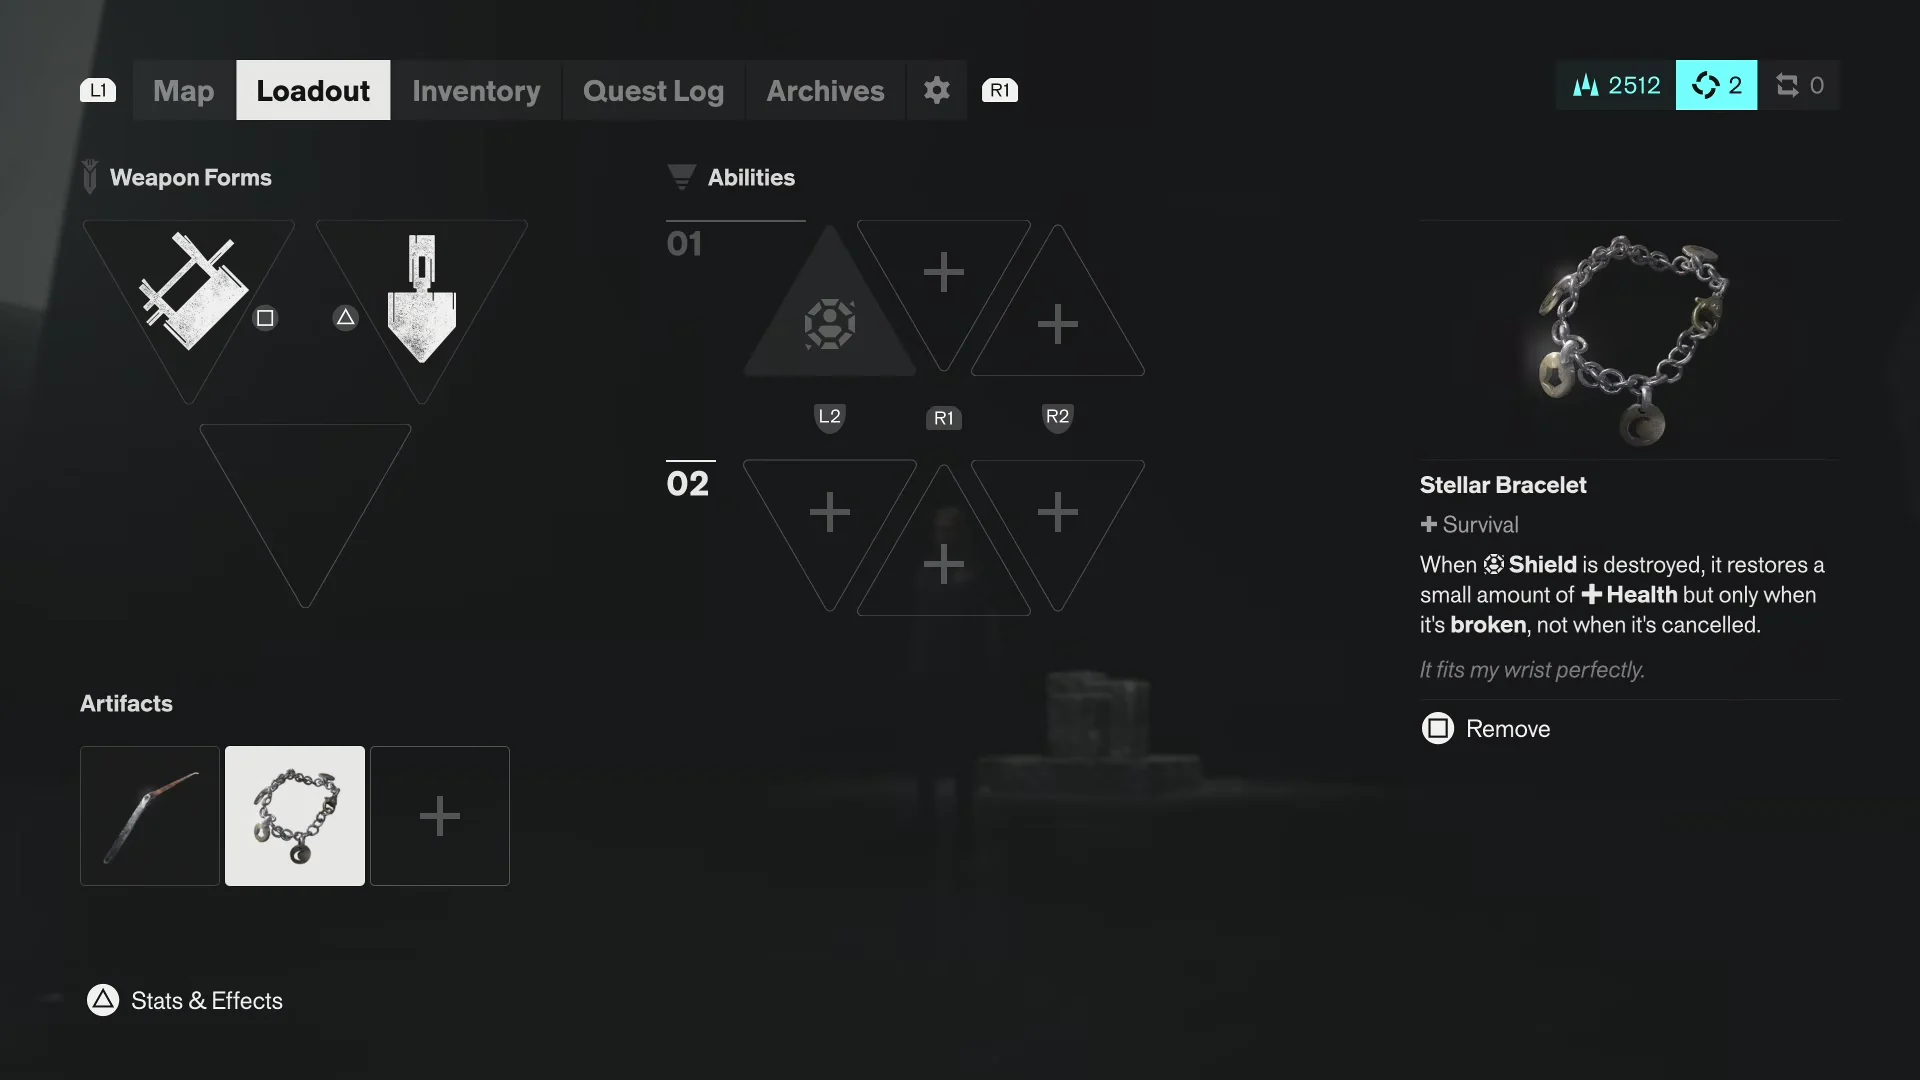
Artifact choices are governed by two limits. First, the initial run provides three passive slots; New Game Plus adds a fourth, and your crafted Artifacts come forward with Talents, abilities, and Aberrant upgrades.
The other limit comes from Artifact families. Two members of one family cannot be equipped at the same time, deliberately preventing overlapping effects. Choose a member, and keep that choice until you rebuild.
Anything you stop using can be recycled at the station to recover its materials, so there is no reason to hoard Artifacts you have already dismissed.
Best Artifacts for the early game
At the start, Dylan can go down before most enemies, and parries or deflects are unavailable. Until your dodge timing is reliable, healing and reduced damage are more valuable than a modest increase in offense.
Heart Monitor prevents one fatal blow and restores 20% of your health, often giving you enough life to close out a fight that seemed lost. Its effect destroys the Artifact when activated, so regard it as insurance for a single use, not a lasting upgrade.
With the 1996 Commemorative Coin, Health Elements provide substantially more value instead of simply increasing your durability. If you are conserving healing items between fights, each pickup carries you farther. The recipe requires 1,000 Source, 10 Ordered Image, and 7 Panicked Echo, making it an expensive early craft; wait until zone content gives you reliable Source income.
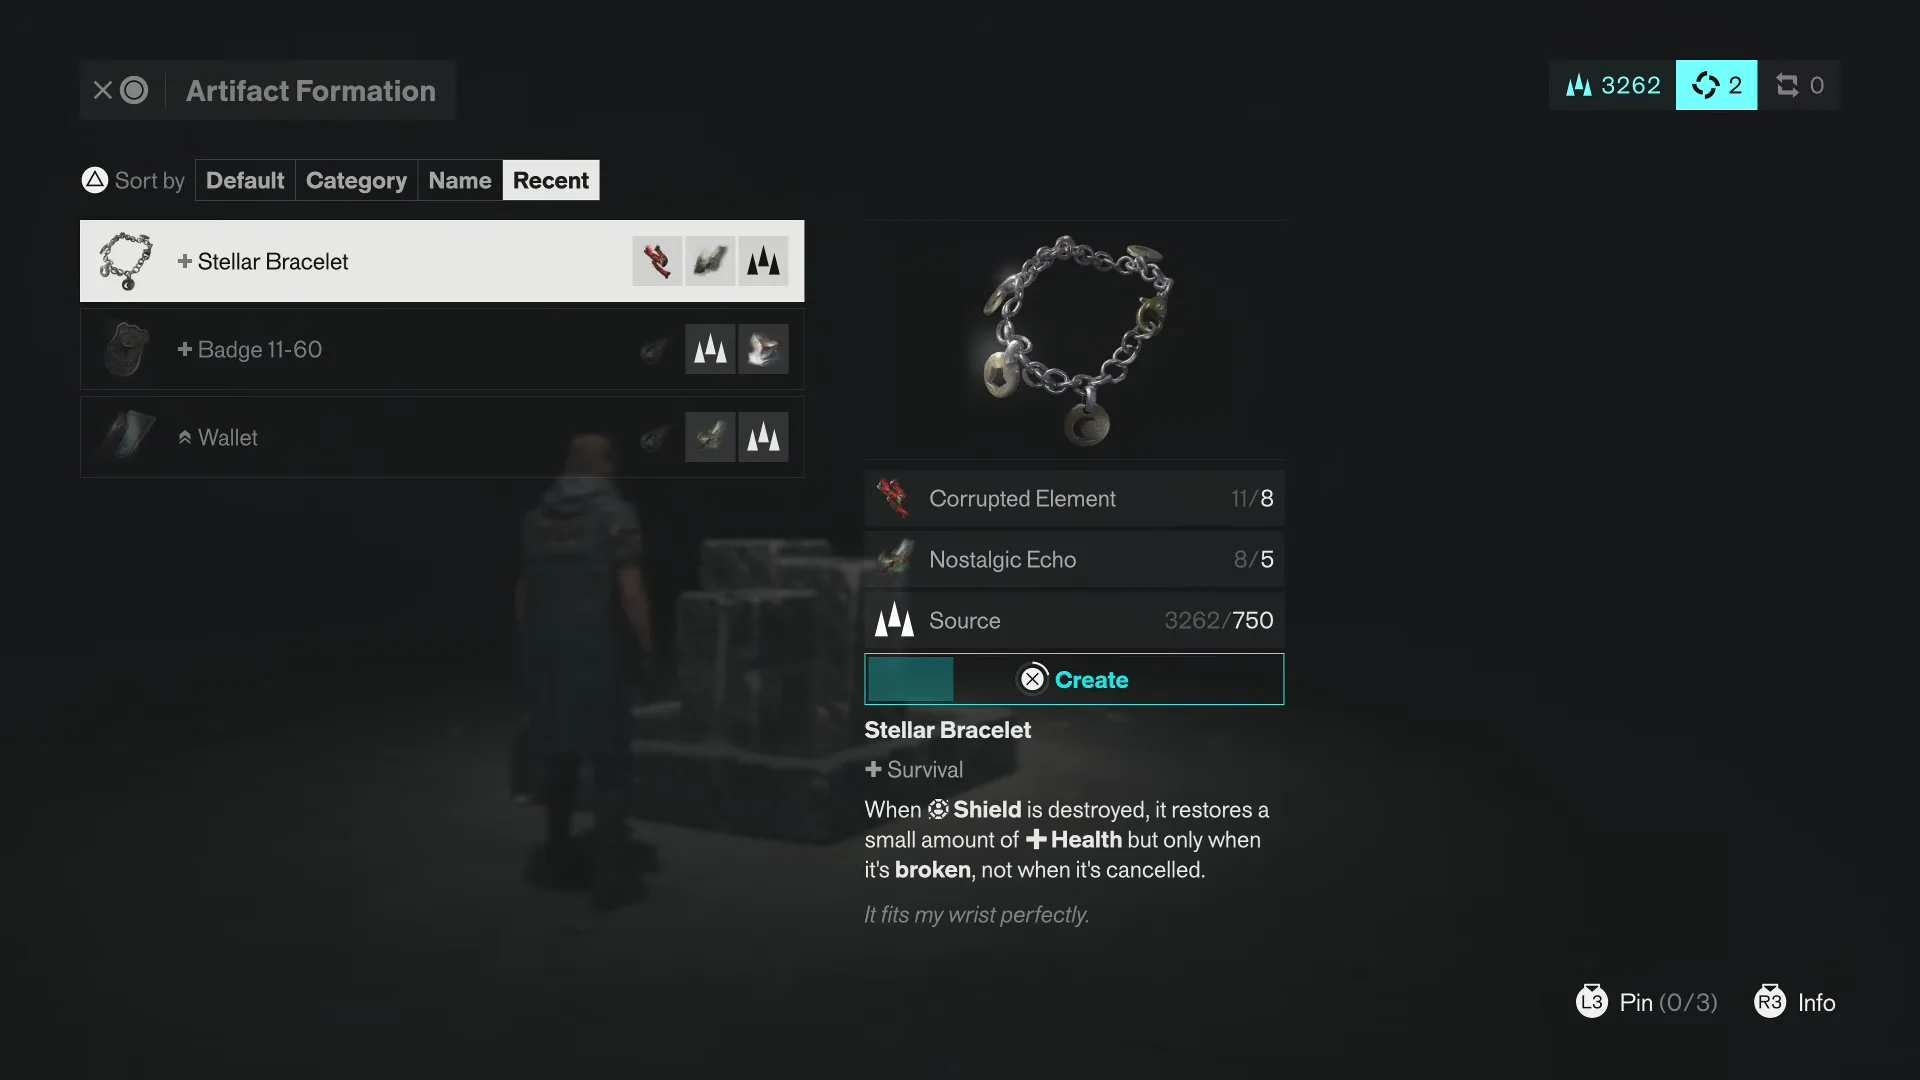
Worn Eraser reduces the buildup rate of every status effect, covering the whole category and usually making the specialized options unnecessary. For a shield-focused defense, consider the Stellar Bracelet: it restores a little Health when enemy damage breaks your Shield, but not when you dismiss the Shield yourself.
Cheap status resistance picks
Each of these three Artifacts requires only 150 Source and three Echoes, so you can make one immediately after finding its Untapped form. Their protection is specialized, but the low price makes them practical for a single troublesome zone.
- Amulet — grants +5% Critical Chance to every melee attack (3 Odd Echo).
- Face Mask — resistance to Infected (3 Mourning Echo).
- Lighter — grants resistance to Burn; costs 3 Quiet Echo.
Amulet remains a worthwhile choice from start to finish. Aberrant makes Dylan’s damage focus on melee, so the flat critical boost benefits almost his entire offense instead of being limited to a particular enemy. Use Face Mask or Lighter when one status is especially dangerous in an area; after you make Worn Eraser, those two have little reason to stay equipped.
Best Artifacts for late-game damage
As you reach later areas, enemy health rises sharply, reducing the value of defensive passives. Rework the build around damage and keeping abilities available instead.

Brass Dusters is the biggest raw uplift available, adding half again to your Combat Ability damage. Stripping Filter entirely is a real cost, since Filter is what staggers enemies, so it works best in a build that leans on one or two heavy ability hits rather than sustained pressure. It needs 8 Edible Glob, 750 Source, and 5 Violent Echo.
Pickpocket’s Tool is a powerful option that is easy to overlook. After a Perfect Dodge, your next Combat Ability costs zero Power, converting successful defense into free offense. Perfect Dodges drive the combat loop, so this requirement occurs frequently. Crafting it takes 350 Source and 7 Violent Echo, and nothing else.
Golden Earrings represent the reverse of the Brass Dusters bargain. The extra 20% Filter comes with 30% less Raw Damage, so take that exchange only when your loadout is designed around Filter; otherwise the loss outweighs the benefit. Wallet allows casting after Power is empty by spending Health, while its effect cannot reduce you below 5% Health by itself. It works well with the Commemorative Coin, but pairing it with Brass Dusters is risky if you already lack durability.
Full Artifact recipe list
To craft an Artifact, you must spend its corresponding Untapped version, found in Manhattan, and crafting destroys that item. Source is usually not the main obstacle; the required Echo type is. Missing a particular Echo can therefore stop one recipe even when your other supplies are plentiful.
| Artifact | Effect | Recipe (plus Untapped version) |
|---|---|---|
| Brass Dusters | +50% Raw Damage on Combat Abilities, no Filter | 8 Edible Glob, 750 Source, 5 Violent Echo |
| 1996 Commemorative Coin | Health Elements restore more Health | 10 Ordered Image, 1,000 Source, 7 Panicked Echo |
| Worn Eraser | Resistance to all negative status effects | 8 Ordered Image, 750 Source, 5 Odd Echo |
| Golden Earrings | +20% Filter, -30% Raw Damage | 10 Patterned Thought, 1,000 Source, 7 Odd Echo |
| Stellar Bracelet | Restores Health when Shield is broken by damage | 8 Corrupted Element, 750 Source, 5 Nostalgic Echo |
| Pickpocket’s Tool | Free Combat Ability after a Perfect Dodge | 350 Source, 7 Violent Echo |
| Heart Monitor | Prevents death, restores 20% Health, then breaks | 350 Source, 7 Mourning Echo |
| Wallet | Abilities spend Health at a 5% floor when out of Power | 250 Source, 5 Nostalgic Echo |
| Badge 11-60 | Far less damage from Environmental Hazards | 250 Source, 5 Quiet Echo |
| Amulet | Grants +5% Critical Chance to every melee attack | 150 Source, 3 Odd Echo |
| Face Mask | Resistance to Infected | 150 Source, 3 Mourning Echo |
| Lighter | Resistance to Burn | 150 Source, 3 Quiet Echo |
How to craft Artifacts at the Artifact Formation station
You make every Artifact at the Artifact Formation station in The Gap. This mindspace is linked to Dylan, and you may enter it whenever you want to test builds or purchase upgrades.
Two loadouts worth copying
Since changing equipment costs nothing, plan around two sets and alternate between them instead of trying to create one universally perfect trio.
- Learning set: Equip Heart Monitor, Worn Eraser, and 1996 Commemorative Coin to give yourself the most room for error while learning dodge windows.
- Damage set: Use Brass Dusters, Pickpocket’s Tool, and Amulet: Perfect Dodges grant free abilities, ability hits become stronger, and melee attacks gain a lasting critical boost.
Artifact crafting contributes to progression rewards: one unlocks with the first craft, another at 30 Artifacts crafted, and a separate reward comes from equipping three simultaneously. Using materials as you obtain them is therefore better than stockpiling them. In New Game Plus, the fourth slot becomes available and changes the balance. Four passive slots let you combine Brass Dusters with a defensive Artifact rather than selecting only one, allowing the more aggressive setups to function together.





