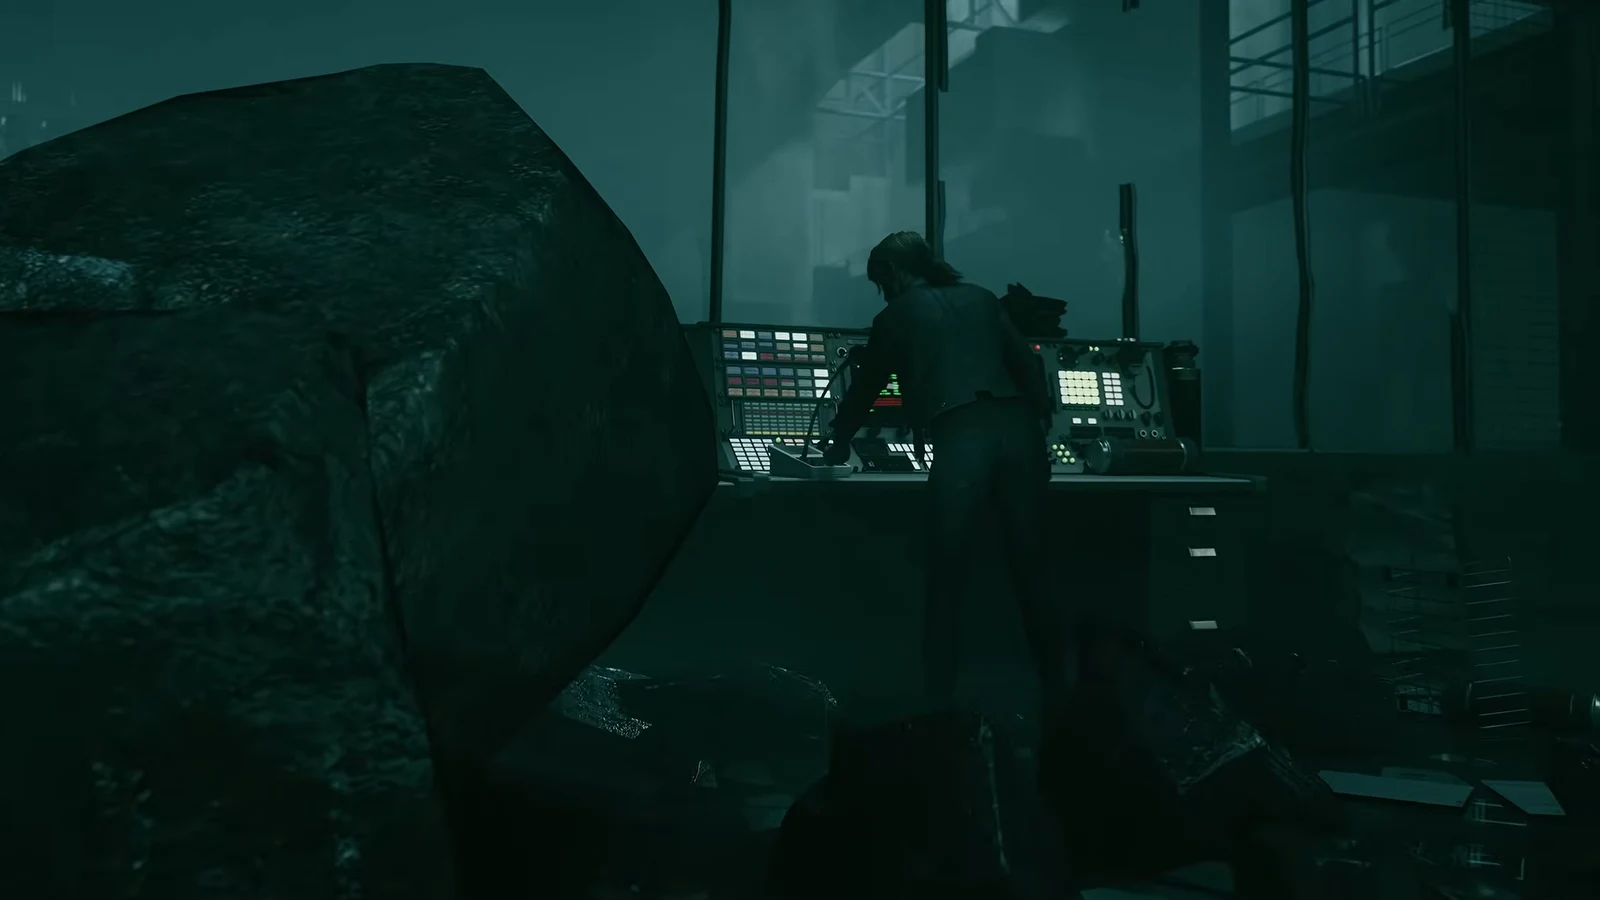
Unsupervised Science is one of the side stories in Control Resonant, Remedy Entertainment’s sequel that puts you in control of Dylan Faden as the Hiss spills out of the Oldest House and into a reshaped Manhattan. The task itself is simple in structure and easy to overshoot while you are chasing main missions: find the abandoned experiments scattered across the Zones and switch them off, one at a time.
Quick answer: Each experiment sits near a checkpoint, just past a stretch of mines. Read the written instructions posted at the experiment and follow them exactly to shut that one down.
Where the experiments are located in Control Resonant
Experiments are placed close to checkpoints, which makes them far easier to find than free-floating collectibles. The consistent pattern is that you pass a mined section of the route first, then arrive at the experiment site shortly afterward. If you are standing at a checkpoint and have not crossed any mines yet, you have not gone far enough.
Because checkpoints double as your respawn and fast-travel anchors, the practical approach is to sweep outward from each one you unlock rather than hunting blind. Activating Map Kits as you enter new Zones also makes these areas much easier to navigate, since the revealed map takes the guesswork out of retracing a route.
How to shut down each experiment
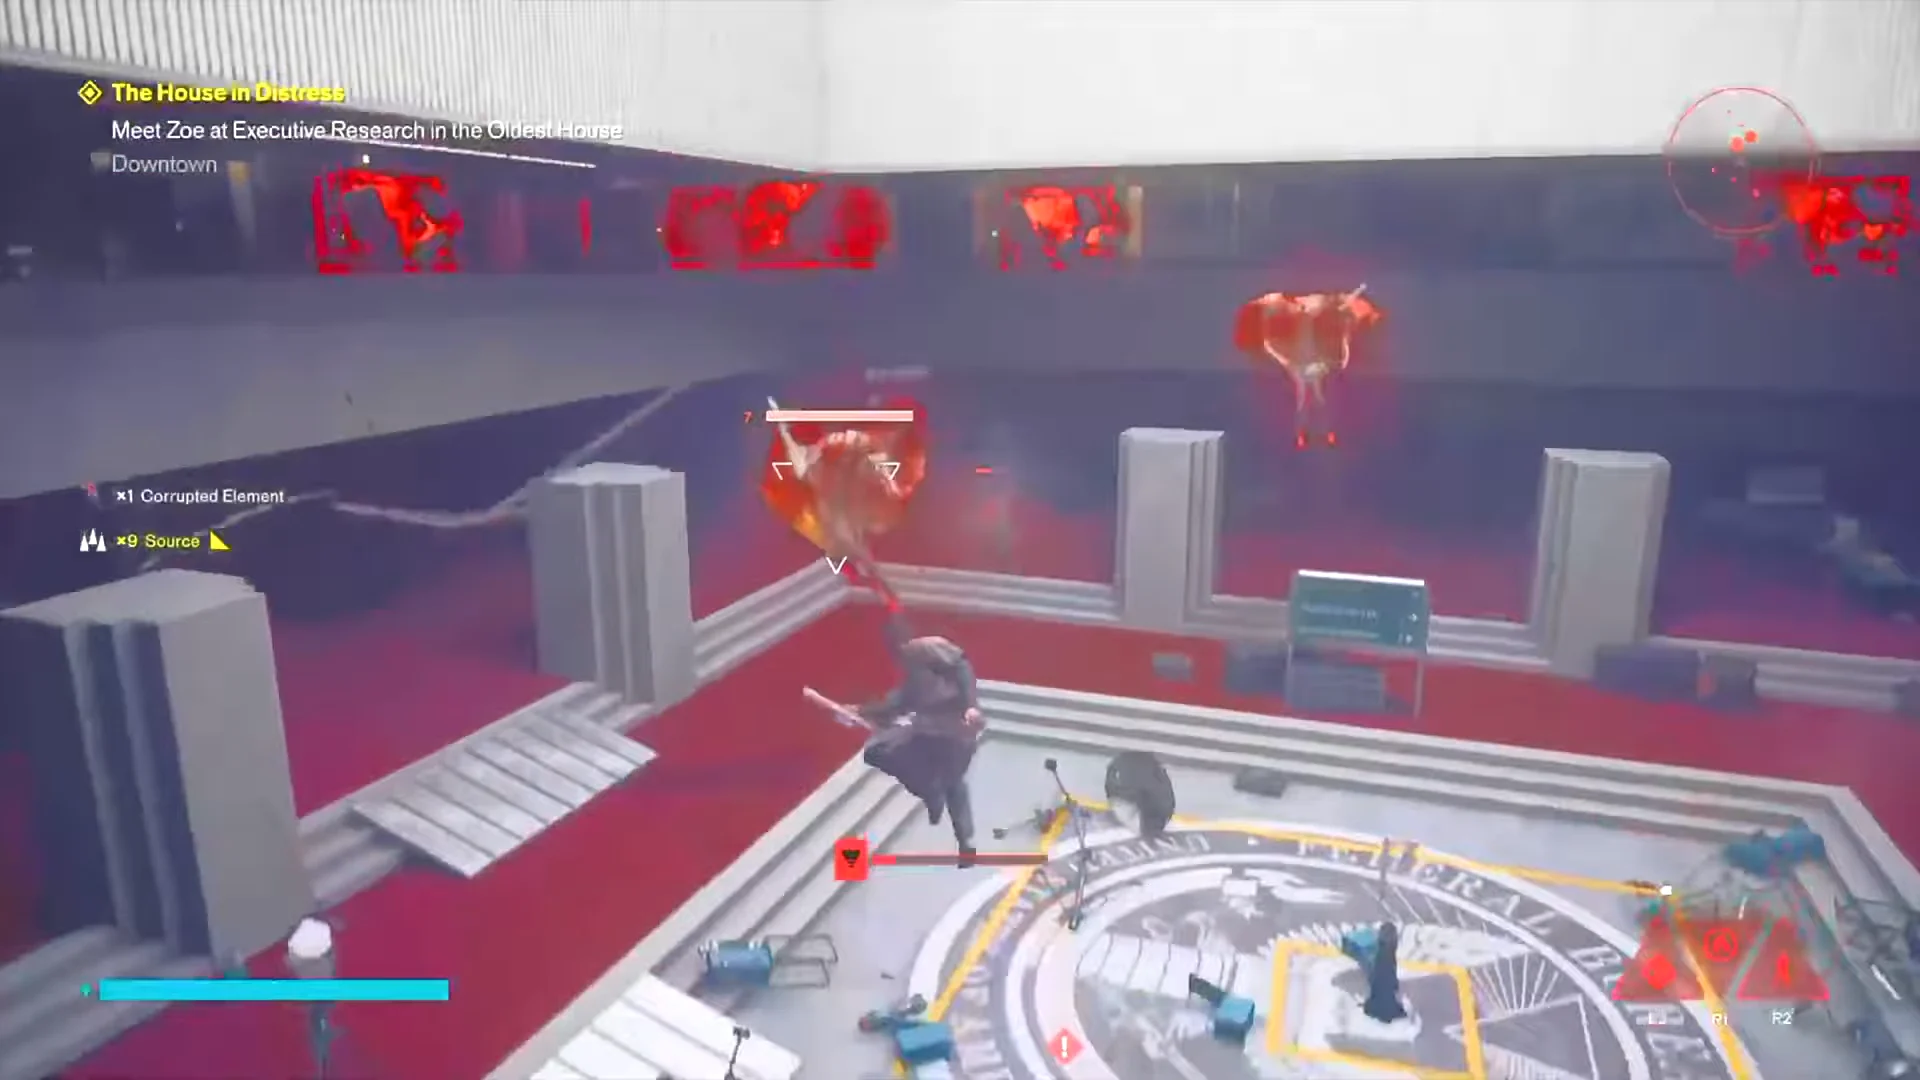
Shut down an experiment as soon as you find it. Defeating a Resonant triggers the Resonant Cycle, which revives enemies you have already killed and returns them slightly stronger, so anything you leave for later gets harder to walk back into.
Gear check before you go experiment hunting
These routes are not a boss fight, but they are not a stroll either. Open the Loadout menu and look at your Weapon Forms, your equipped Artifacts, and your ability slots before you set out. The primary Strike form, for example, lists its damage range and crit chance directly on that screen, so you can see at a glance whether you have been neglecting upgrades.
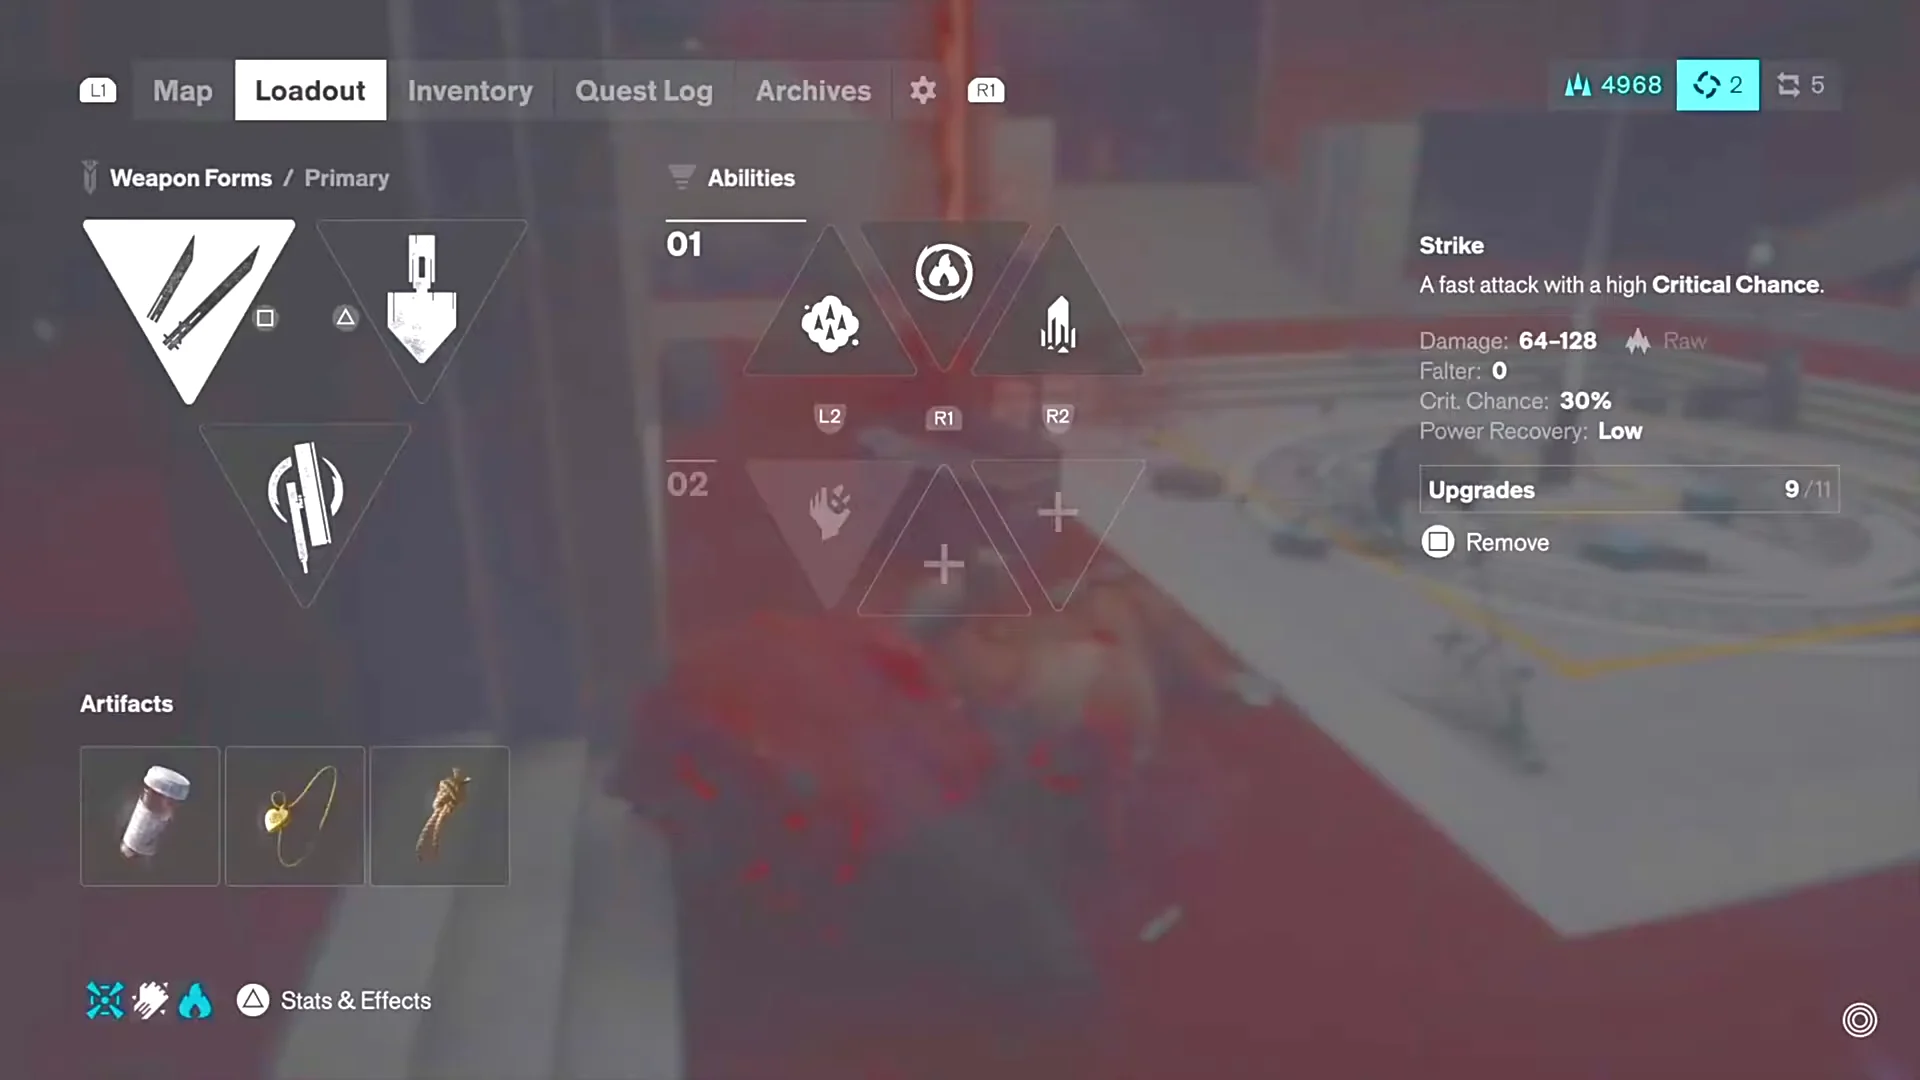
Artifact choice comes down to whether you want to survive or to kill faster. Early Artifacts lean toward healing and defense, which helps if you are still learning the combo system, while later ones deliver meaningful damage increases that you will want once enemies start carrying much larger health pools.
Open the Loadout menu, then choose Stats and Effects to see your current Power Level. Completing side stories such as this also provides dependable extra Talent Points, helping you reach the strength needed for the next main mission.
How to confirm Unsupervised Science progressed
Unsupervised Science lives in the Quest Log alongside the game’s other side stories, separate from the three main chains — Contain the Crisis, Search for Jesse, and Defeating Resonants. After each successful shutdown, check the Quest Log entry to see the objective tick over. If it has not moved, the written procedure at that experiment was not completed, and you can return to the same site and run it again.
There is no rush to finish it on a specific schedule. Every Zone stays accessible after the credits, and nothing on the completion checklist is flagged as permanently missable, so a post-game sweep from checkpoint to checkpoint will pick up anything you skipped on the first pass.
Why side stories are worth the detour
Side stories in Control Resonant are not padding. They pay out upgrade materials, outfits, and Artifact recipes, and several of them are short enough to knock out between main missions. Panopticon Service Request, for instance, hands over the Aramid Work Clothes outfit and the Untapped Feeding Bottle Artifact recipe for a trip to the Field Panopticon in Central.
Treat Unsupervised Science the same way. Every time you unlock a new checkpoint, take a few minutes to push past the mines and see what the researchers left running — the instructions are right there, and the payoff is a stronger Dylan heading into the next Resonant fight.