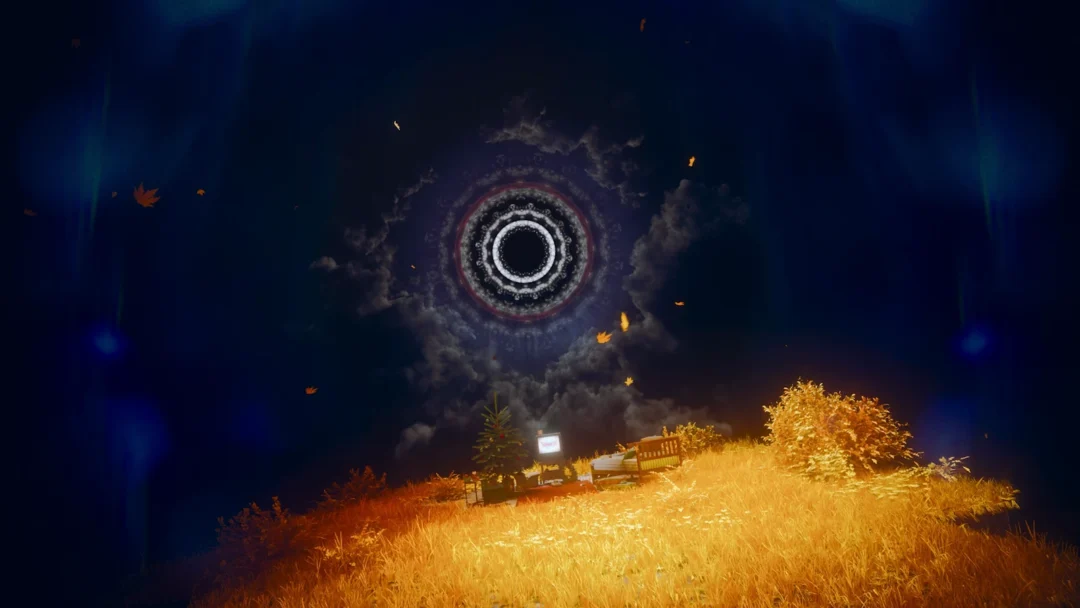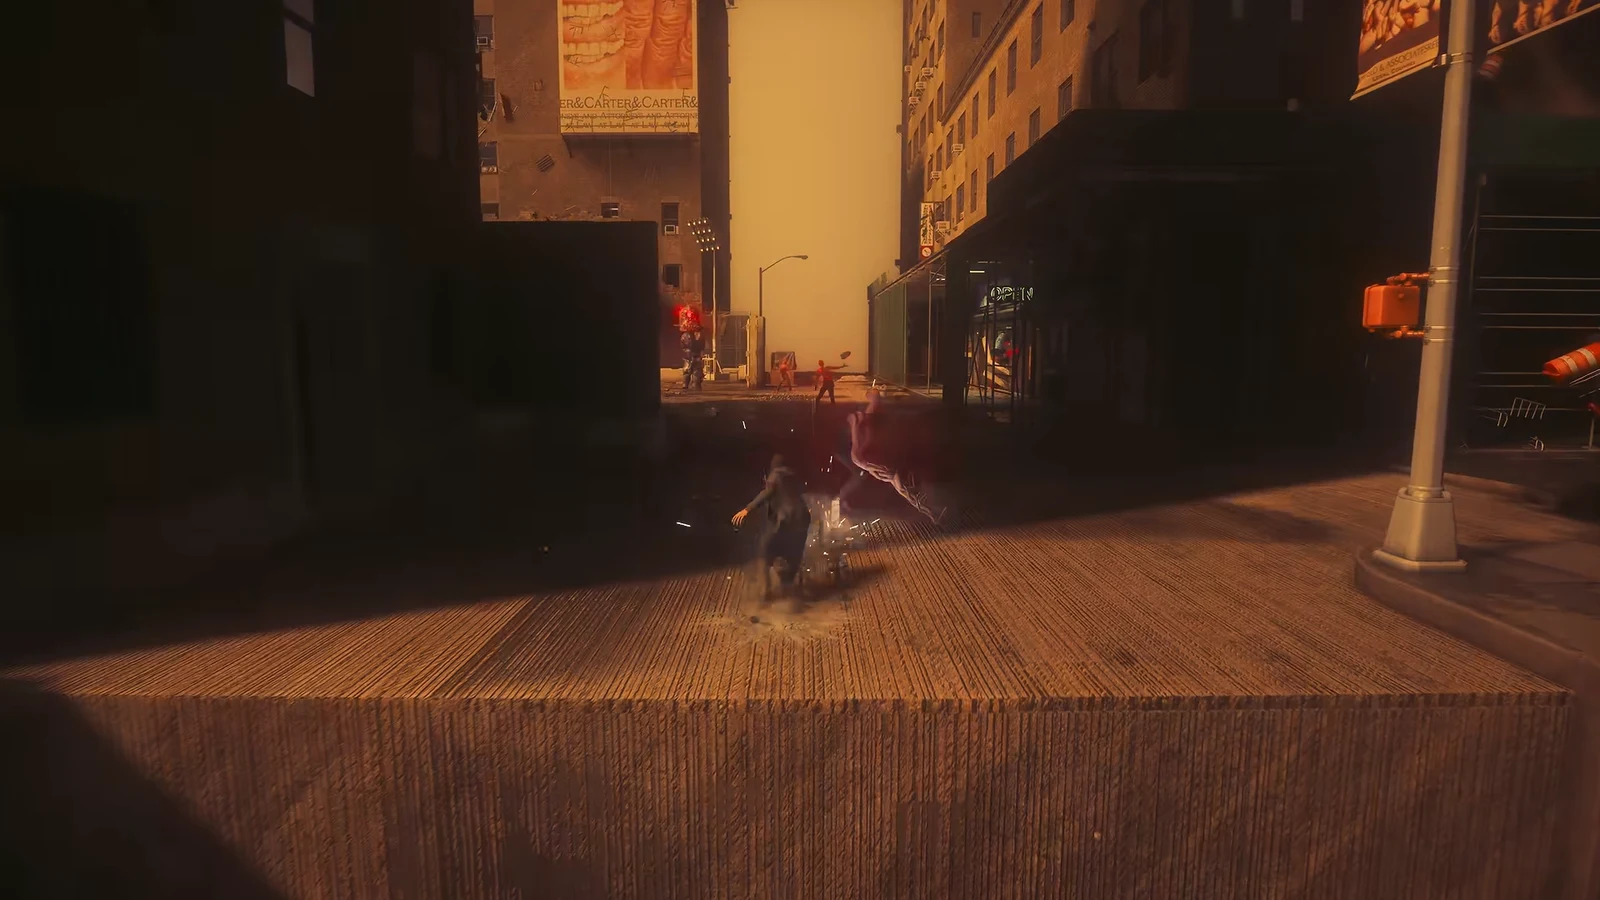
Dylan Faden’s campaign runs three quest chains at the same time rather than one straight list, and two of them hand over the traversal powers the main story quietly expects you to already own. The Quest Log keeps the chains separate, so an objective vanishing is usually a sign that another chain owes you progress, not a bug. Knowing which mission sits in which chain is what keeps a run moving instead of stalling at a wall you cannot cross yet.
Quick answer: There are 23 main quests — 15 story missions, three Search for Jesse Faults and five Resonant bosses (one per zone except the Evacuation Zone) — plus 18 side stories scattered across the city. A story run takes roughly 20 to 30 hours, and full completion runs 30 to 40.
The three quest chains and how they interlock
Everything the log tracks as a main mission belongs to one of three groups, and they trade off with each other instead of running end to end.
- Contain the Crisis takes the central narrative from Orientation through the epilogue.
- Search for Jesse is three Fault rituals, two of which grant a movement ability.
- Defeating Resonants tracks the five bosses tied to regions and serves as a checklist for completion.
Two log entries that look like extra missions are not. Notes: Plan of Attack and Notes: Jesse Sightings are grouping objectives that bundle work you are already doing and close themselves out. The Artist fight is folded into Orientation rather than counting as a separate Resonant.
All 15 story missions in campaign order
The story follows a set order: a prologue, three acts, then an epilogue. Some missions stop temporarily until you finish a Fault or defeat a Resonant; the sequence below matches the narrative.
| Mission | Starts at | Objective and reward |
|---|---|---|
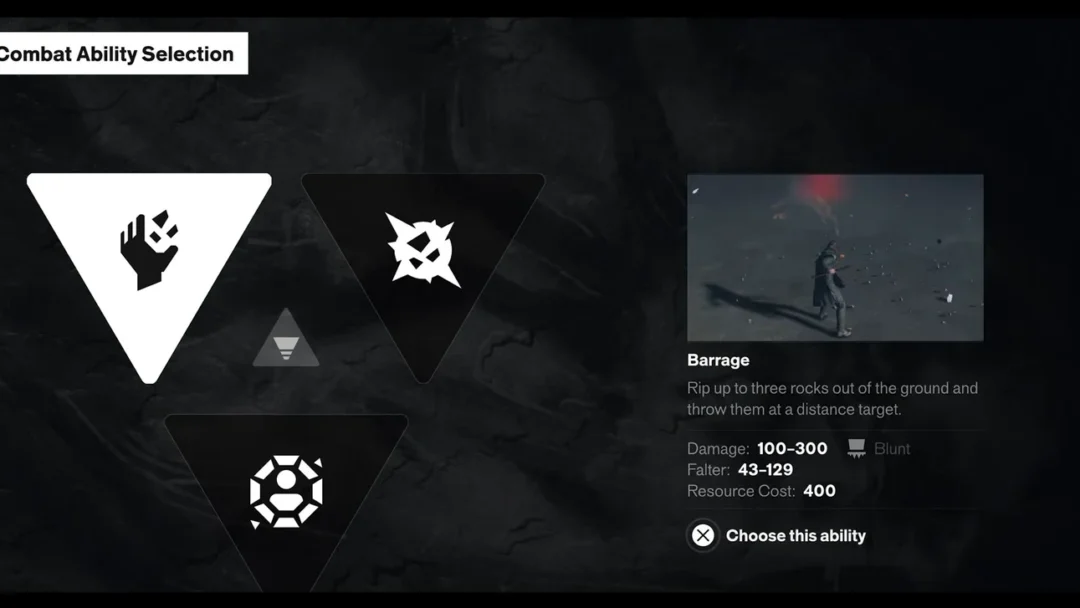
| Orientation | Oldest House, then Downtown | First Fault grants Rush; beat the Artist; pick Barrage, Volatile Anomaly or Shield |
| Welcome to Manhattan | Oldest House into Central | Clear the supply route; Level 1 Keycard, Living Shard |
| Evacuation Procedures | Watchtower, then the Evac Building | Rescue Arish; Level 2 Keycard, Living Shard, Agent Uniform |
| Arish’s Briefing | FBC Field Office, Central | Receive the next containment plan |
| Power Lines | Subway stations in Central and The Park | Restore Factory, East Park, Perimeter and Vanished stations; report to Dr. Florez |
| Into the Sinkhole | The Sinkhole | Install the probe relays and follow the music; closes Plan of Attack |
| Enemy of My Enemy | FBC Field Office, then CFD Platform | Defend and activate the CFD; needs three of the available Resonants down |
| Recursions and Iterations | Oldest House lobby, then the Underpass | Find the research team, track Grist, place the final probe relay |
| The House in Distress | Executive Research, Oldest House | Restore Interactions Lab power; Oldest House Fault ritual |
| The Hedron Link | After The House in Distress | Rescue Pope, defeat the Hedron Parallel |
| Sever the Hedron Links | The Unknown | Remove the links at both sites: the Patterned Field Office and the Patterned Evac Building. |
| Rebuild | After Sever the Hedron Links | Playable sequence; track the slide order in the dump |
| Fight to the Core | Red Sand Island, the Unknown | Reach the Hedron |
| The End | The Hedron | Final boss fight |
| The Beginning | Oldest House | Epilogue visit with Jesse |
Enemy of My Enemy is the gate that surprises people. It will not advance until you have handled three of the four Resonants available at that point, alongside finishing Power Lines and Into the Sinkhole. The Central Resonant and the West Incursion Zone Resonant are the pair the mission most reliably wants dealt with first.
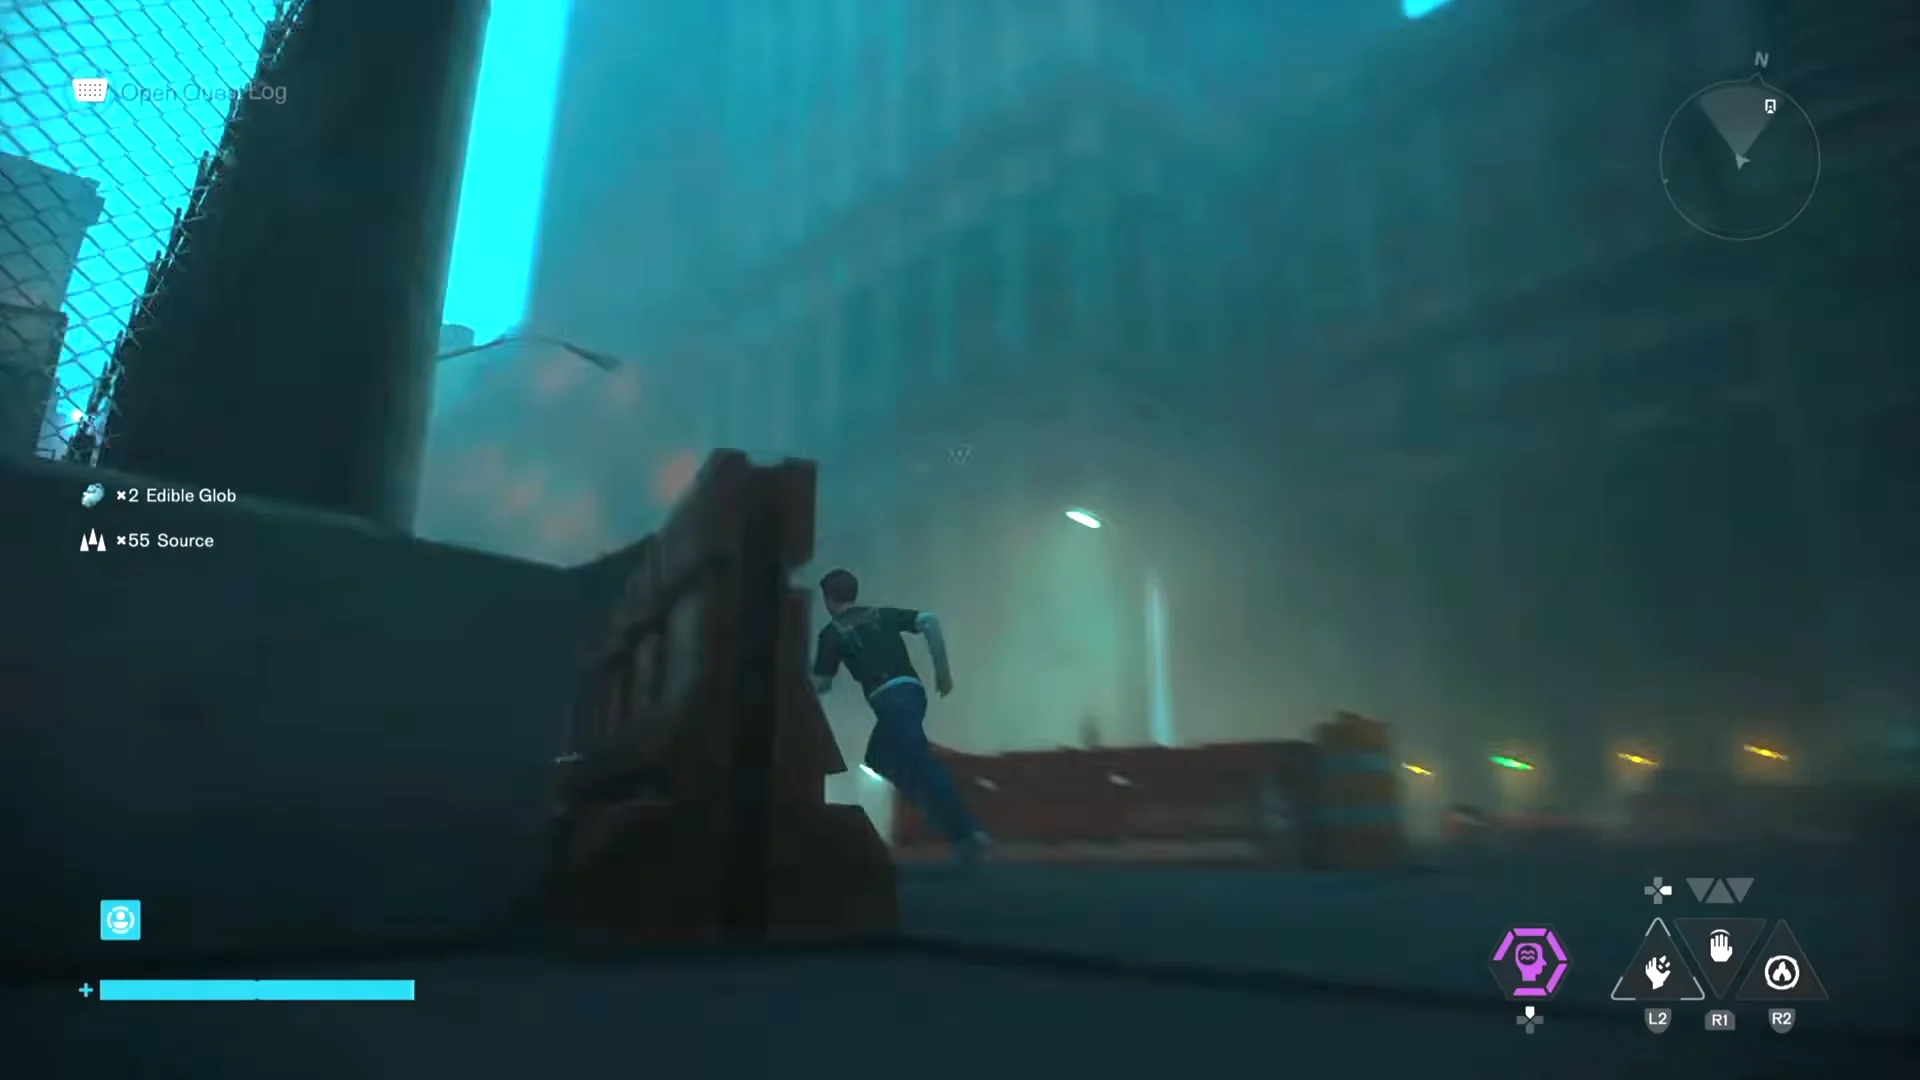
In Evacuation Procedures, you enter Evacuation Zone 9, a mist-covered area divided by a deep chasm. Pickups are located on either side of the main road; search both its northern and southern stretches before entering the Evac Building.
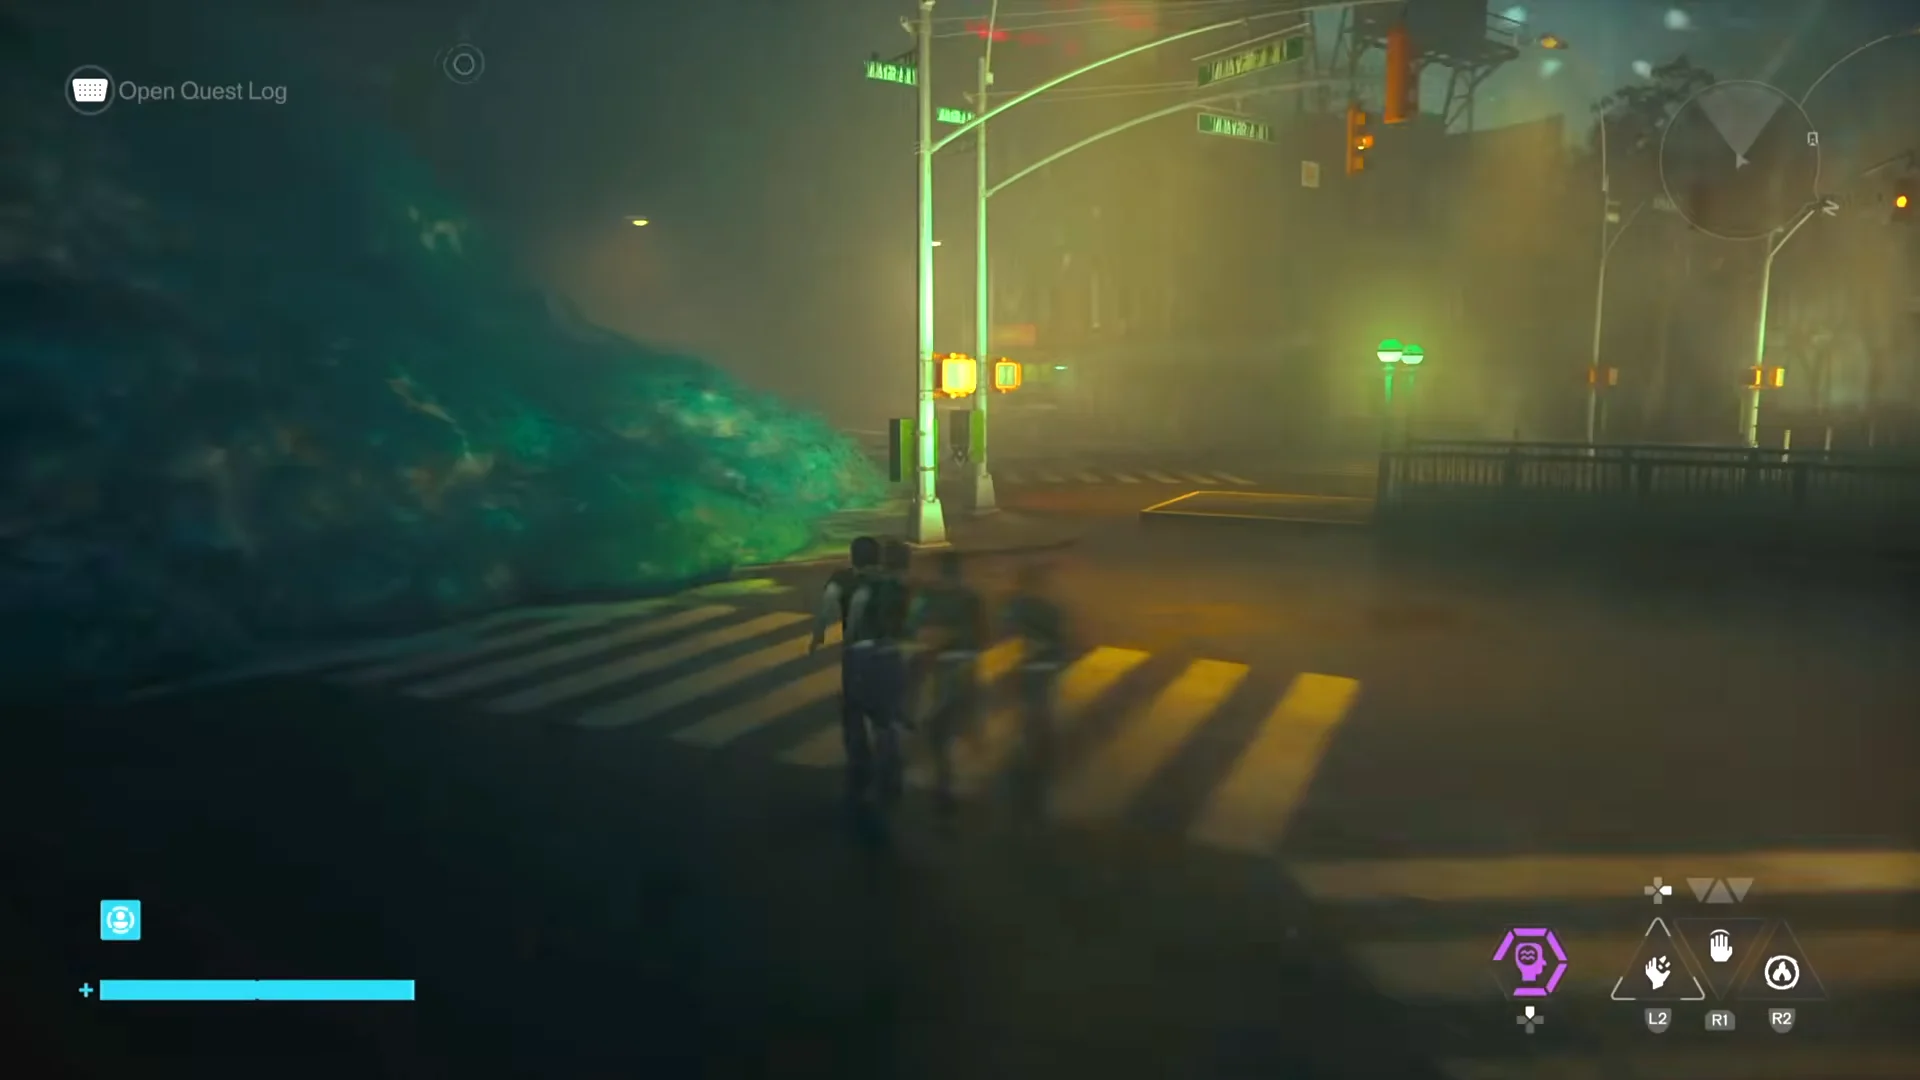
Side routes off the main road are worth clearing while you are here, since they drop Source and crafting materials on the way to the objective.
Search for Jesse: The three Faults and their abilities
All three Faults follow one pattern: a vision of Jesse appears, you track it down, enter the Fault, and help her complete a ritual. The first two grant traversal powers; completing all three is required to access the endgame.
| Fault | Start | Ability granted |
|---|---|---|
| The Incursion Fault | West Incursion Zone, Parking Garage; get the key, then enter via the roof | Shift — align with Gravity Anomalies to run along walls |
| The Subway Fault | Subway in the Evacuation Zone; requires Shift | Reach — pulls Dylan toward traversal points |
| The Underpass Fault | Island of orange pipes in the Underpass, from The Spire; requires Reach | None; advances Jesse’s story only |
Prioritize the Faults the moment they open. Skipping the Incursion Fault blocks the route to the Theater, and skipping the Subway Fault later leaves Dylan staring at a gap he simply cannot cross. Once you have both, moving between distant platforms and floating structures becomes straightforward.
Resonant bosses and the ability each one grants
There is a Resonant in each zone apart from the Evacuation Zone. Four bosses let you pick one of two abilities at the end, while the fifth grants Command outright. You must defeat all five to repair the Mural in the Gap, making them important beyond their fights.
| Zone | Quest | Boss | Ability choice |
|---|---|---|---|
| Central | The Central Resonant | The Deserter | Ignite or Inferno |
| West Incursion Zone | The West Incursion Zone Resonant | The Dancer | Ground Slam or Push |
| The Park | The Park Resonant | The Collective | Spore Burst or Growth |
| Underpass | The Underpass Resonant | The Physicist | Spike or Astral Rebuke |
| The Unknown | The Unknown Resonant | The Co-Director | Command |
Defeating a Resonant sets off a Resonant Cycle. Previously defeated enemies all return with a small increase in strength, so replenish Health and Power Upgrade Points before taking on the next boss.
The Central Resonant (The Deserter)
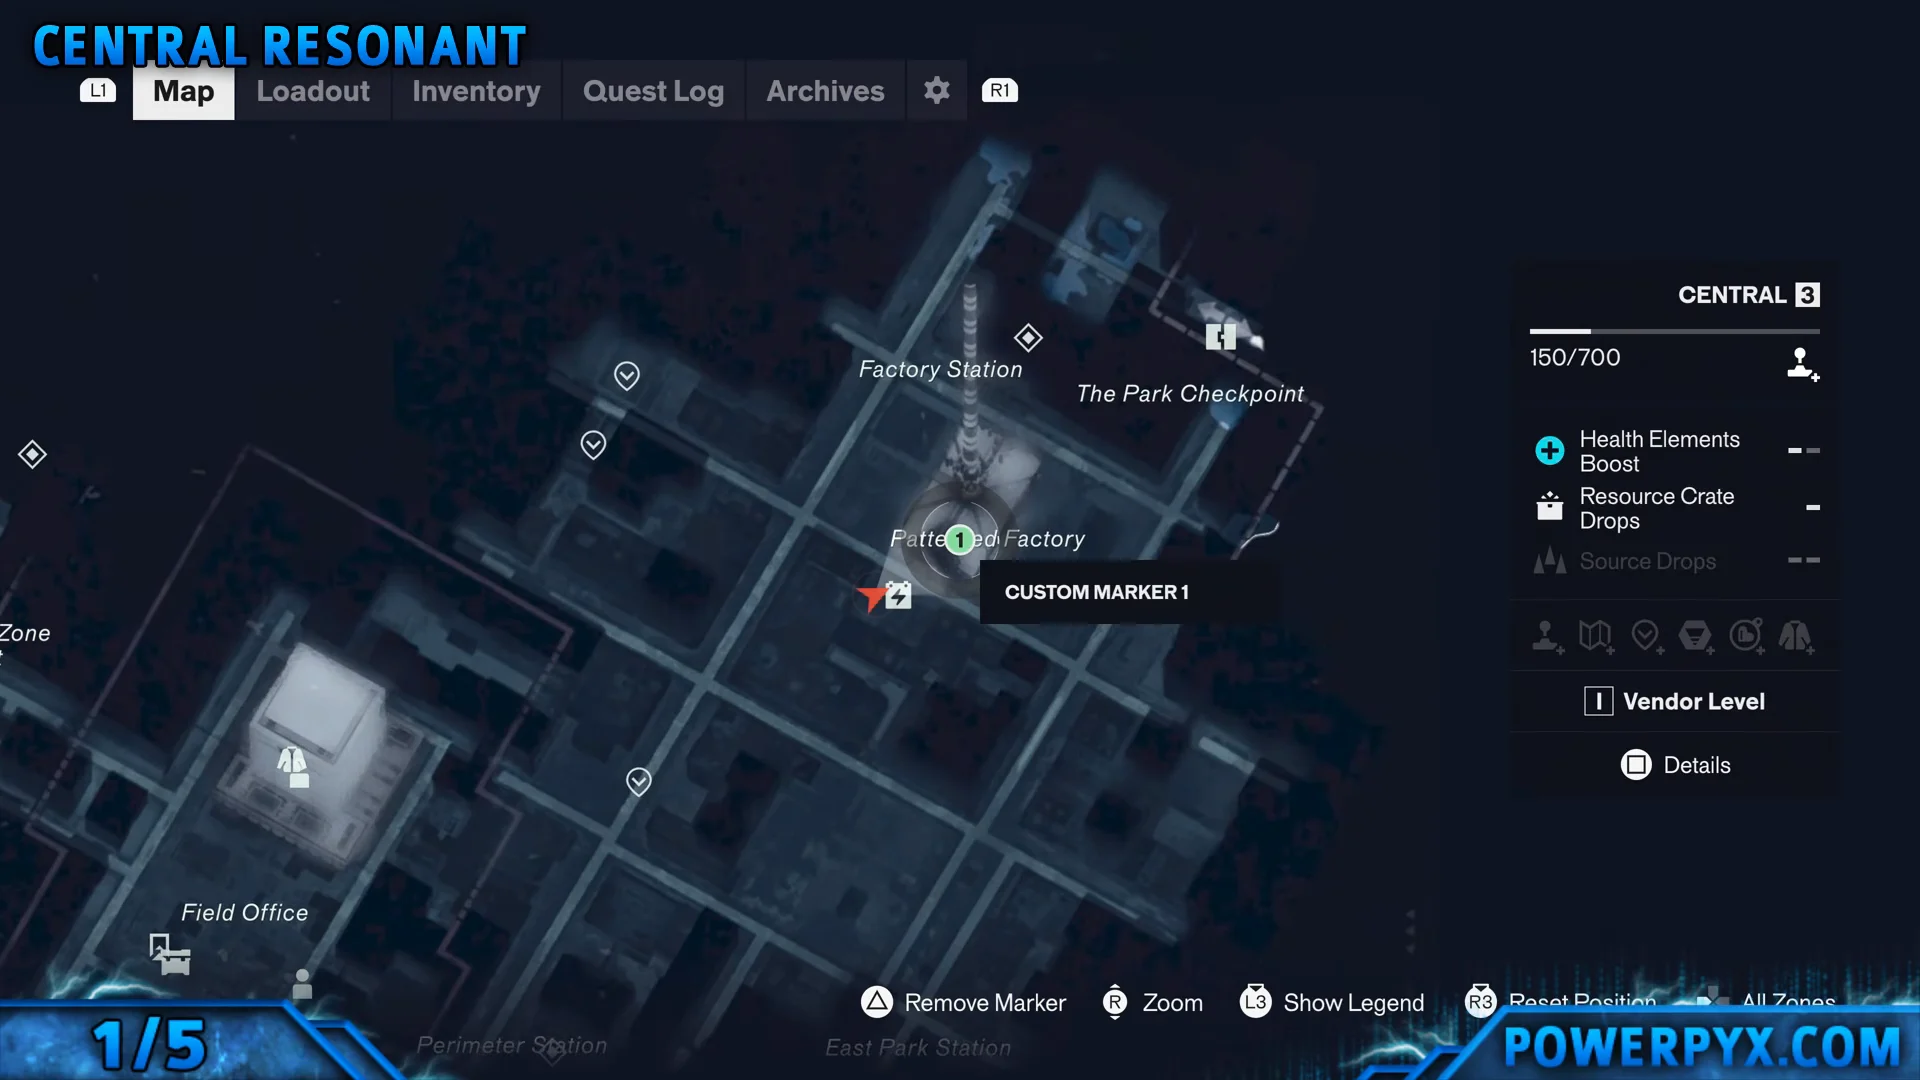
Inspect the Patterned Pipes on the factory wall in Central to start it, then climb to the roof, drop in through the broken door and take the lift down. Follow the scorch marks and destroy three heat tumors to open the furnace room where The Deserter waits.
The West Incursion Zone Resonant (The Dancer)
You need Shift from the Incursion Fault to reach the Patterned Theater. Cross the fractured streets and scaffolding lifts to the Empire Theater, descend into the dance hall and defeat The Dancer.
The Park Resonant (The Collective)
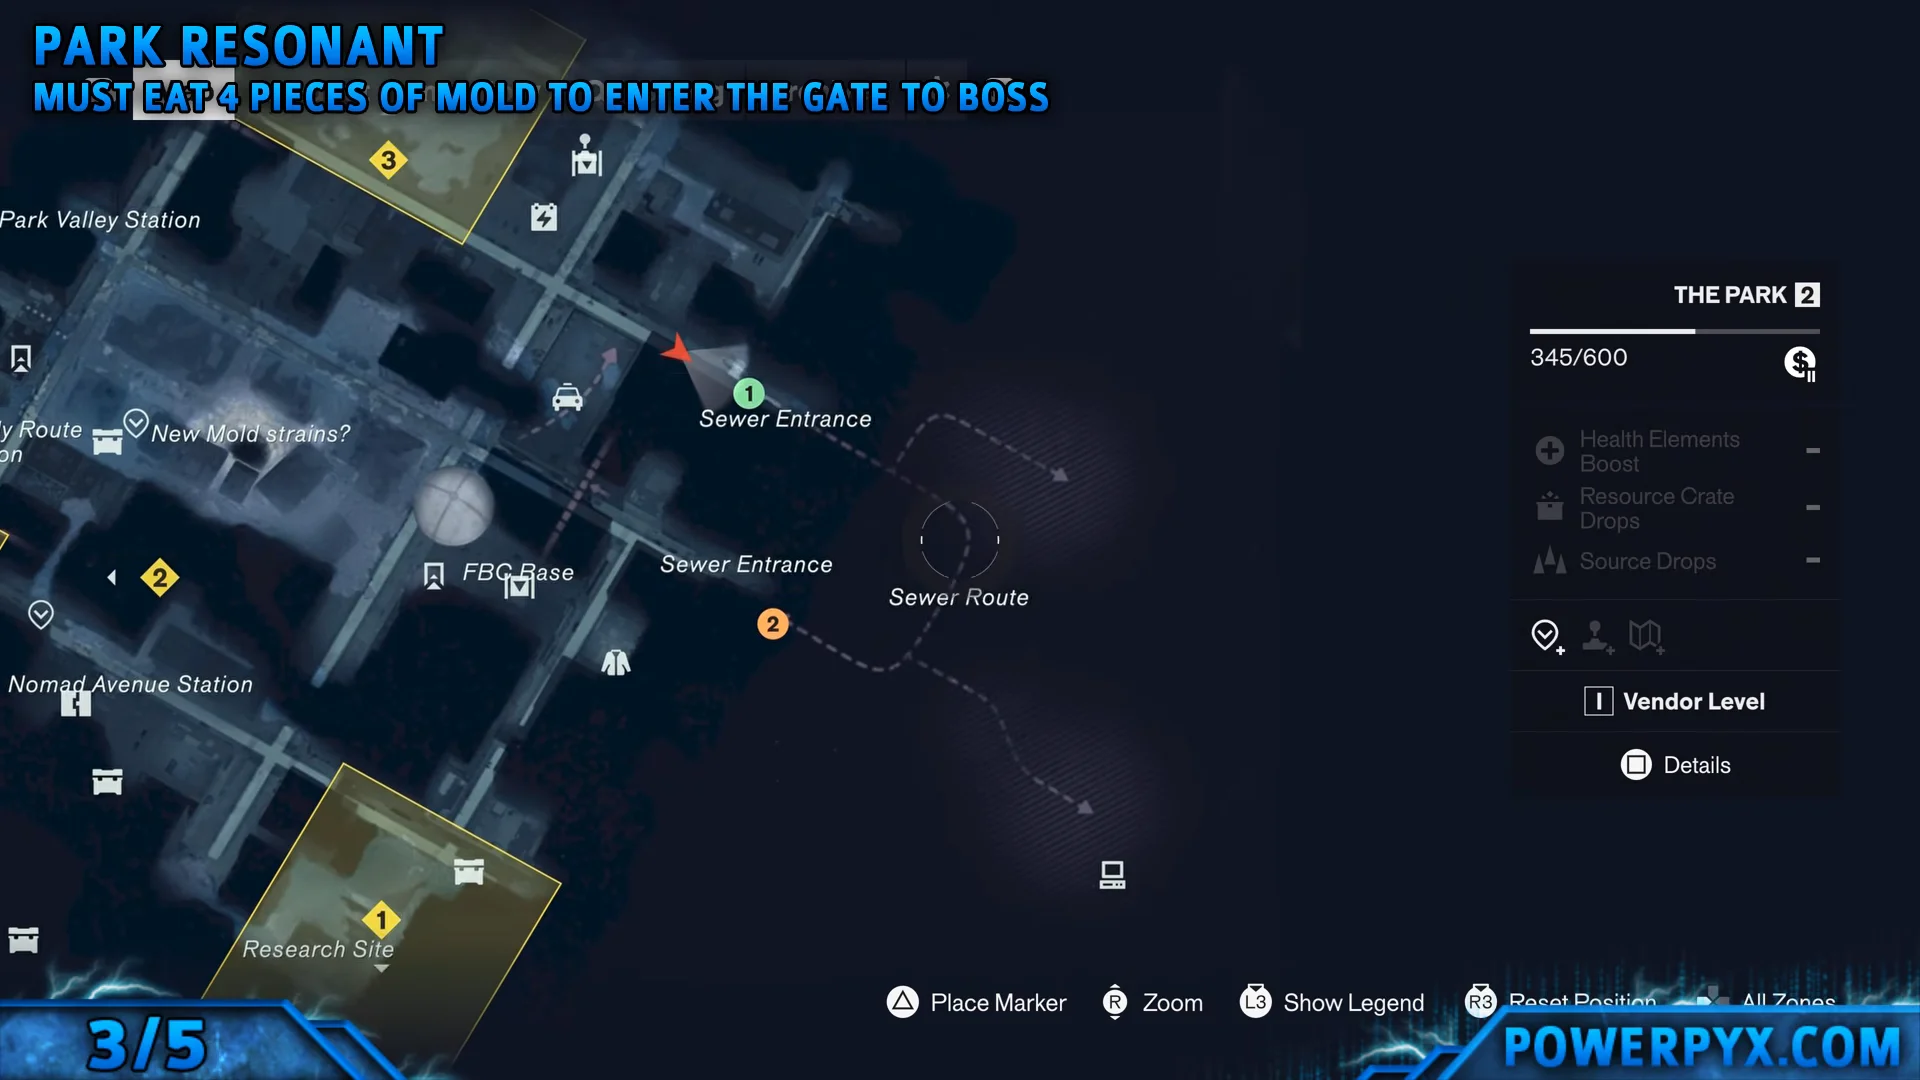
Eat four Mold strains to unlock the central Mold Gate: start with the Cafe Mold beside the Research Site, then reach Ronnie’s Pizza Place via the sewer, consume the Minimart Mold at Urban Fresh Mart, and get the Gym Mold from the sunken gym ruins. Once you have eaten all four, go through the gate and defeat The Collective.
The Underpass Resonant (The Physicist)
Go into the Astral Spire from the Underpass Fast Travel Door. Climb its modular platforms and pick up three Astral Keys on the floating islands; use them on the golden doors. Defeat The Physicist and cleanse the core to start the Astral Reconfiguration.
The Unknown Resonant (The Co-Director)
Use the Gravity Well to move among the upside-down buildings, where you meet Arish and his Rangers. Disrupt the pattern, escort the squad, and hold out through the ambush. Ride the elevator from the Patterned Field Office to the arena and defeat the boss to gain Command. In Navigating the Unknown, expect to rely heavily on the high ledges above the floating structures.
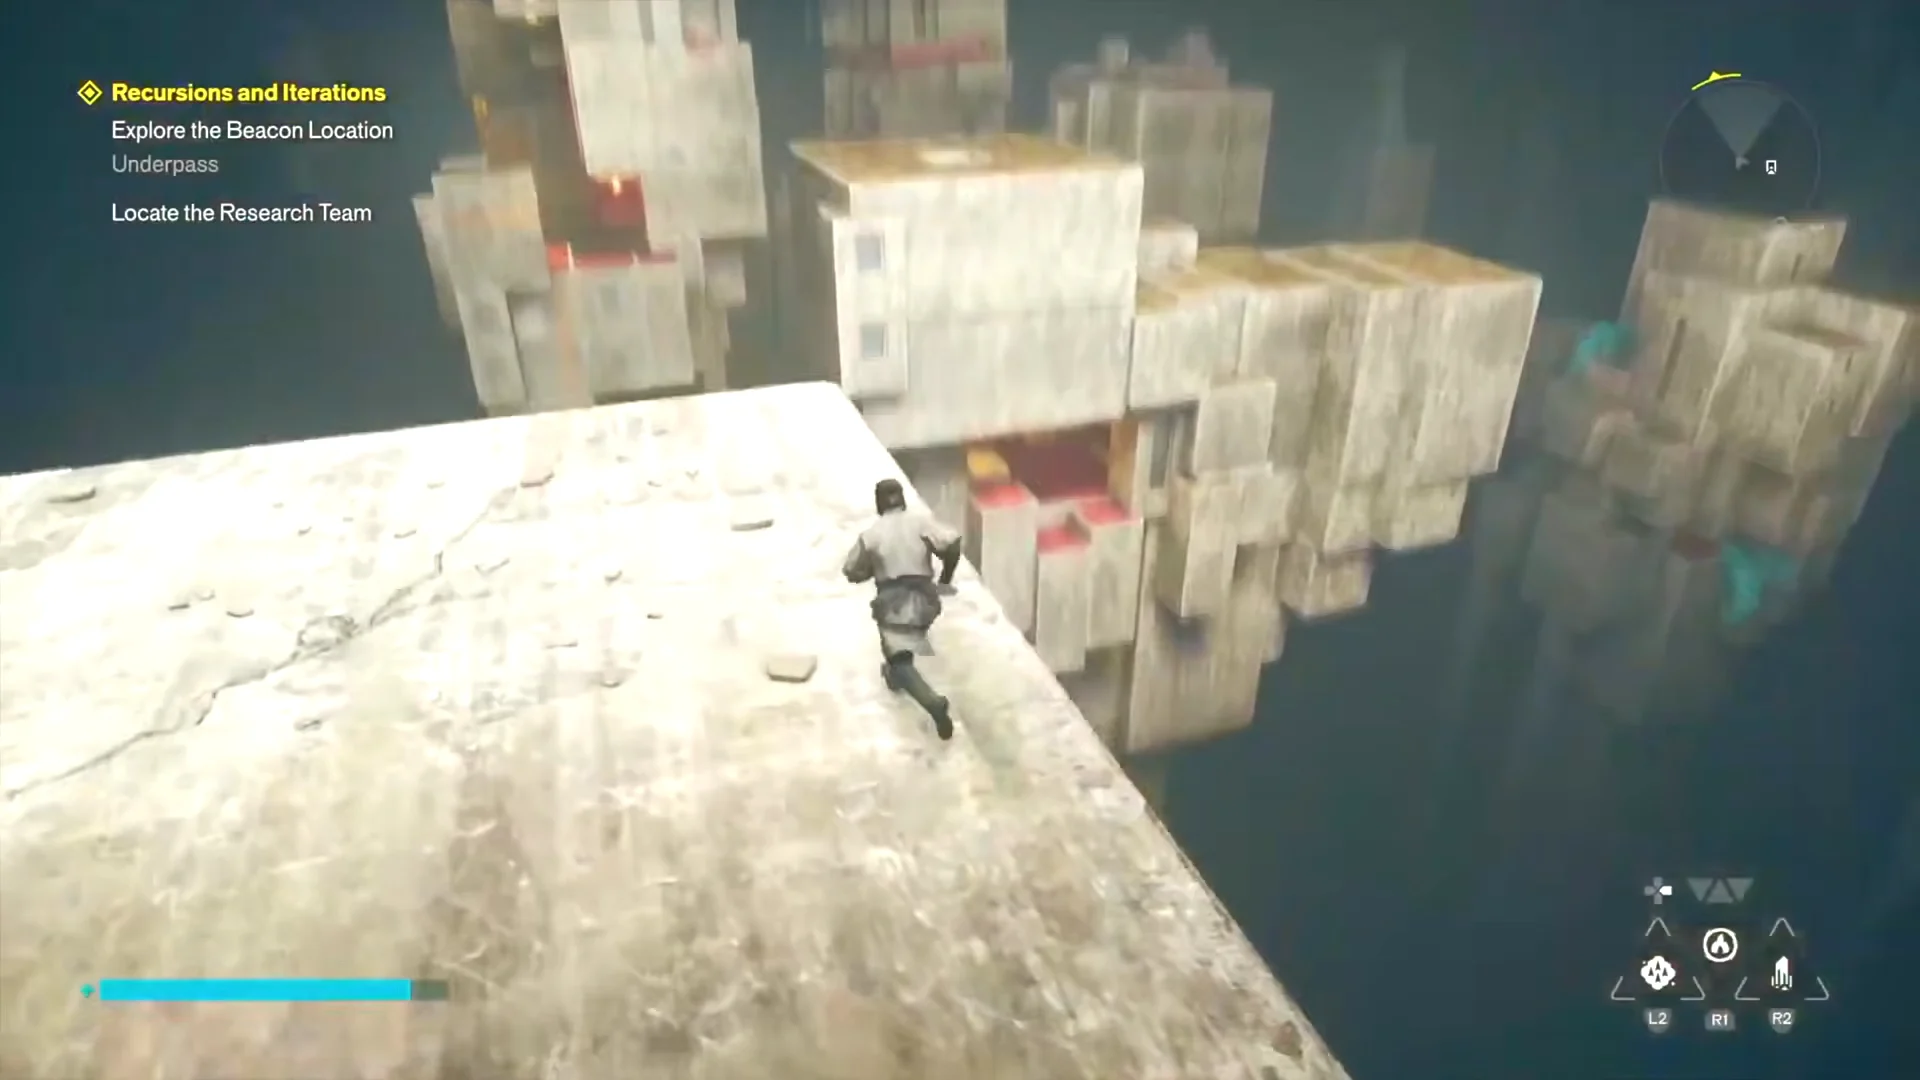
The forced roadblock during Recursions and Iterations
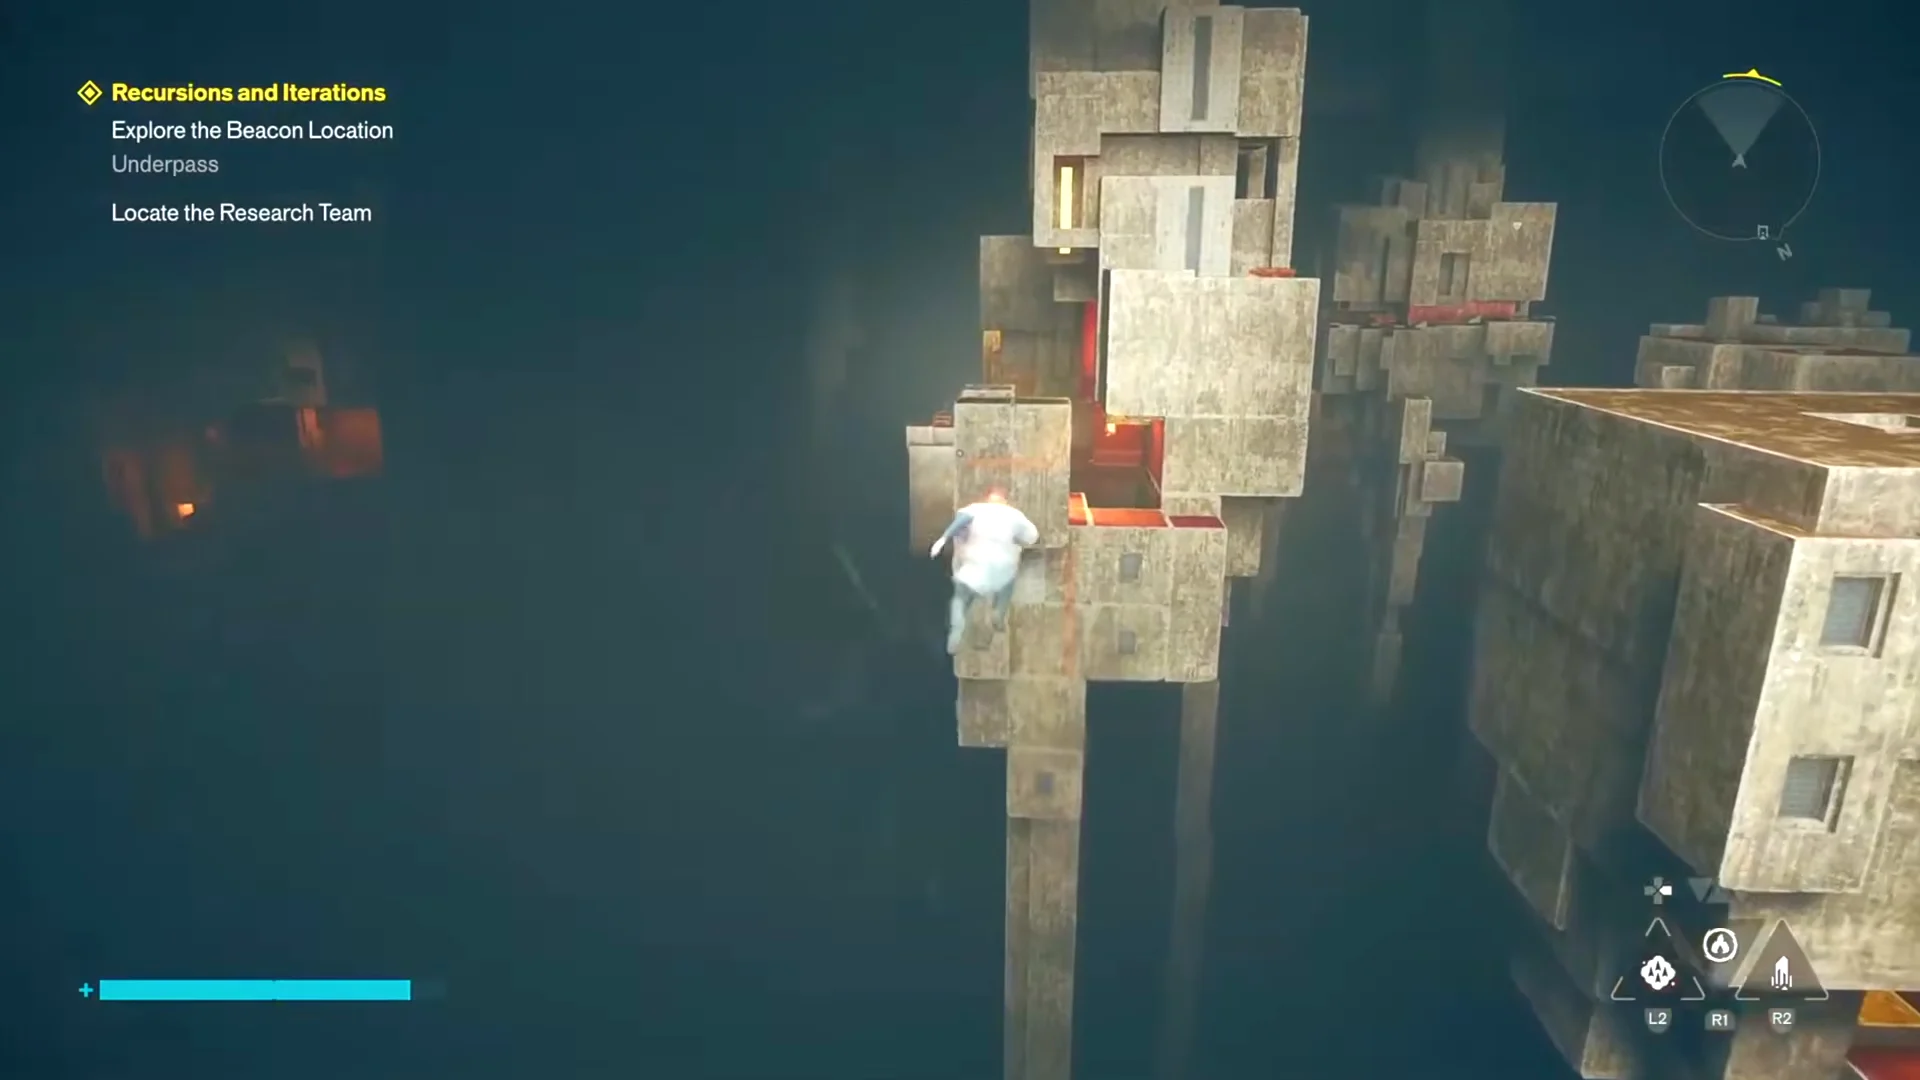
The campaign has one unavoidable break. Recursions and Iterations sends you into the Underpass to find the research team, and the route dead-ends at the island of orange pipes. Here is how to clear it.
After that, the story runs cleanly through The House in Distress and The Hedron Link before dropping you into the Unknown, where Pope’s Research and the main missions start trading off again.
All 18 side stories by zone
Outside the three quest chains, side stories reward upgrade materials, outfits, and Artifact recipes. NPCs give out a handful; most are added to the log when Dylan gets close to their trigger.
| Side story | Zone | Where it starts | Reward |
|---|---|---|---|
| Complete Set | Downtown | Auction House, northwest Downtown | — |
| Mapping the New New York | Downtown | Maintenance worker at the first Mapping Pylon | Reveals zone maps |
| Freeze Frame | Central | Second floor of the Watchtower, near Zoe | — |
| Panopticon Service Request | Central | Langston beside the FBC Field Office | Aramid Work Clothes, Untapped Feeding Bottle recipe |
| Crossing the Threshold | Central | Body at the loading docks to the Field Office’s west | Sensory Restraint Hood, Untapped Practice Knot recipe (if Dylan believes Wilson) |
| Unsupervised Science | Central | FBC test facility in the tunnel east of Patterned Factory | — |
| Carbon Copy (Parts I–III) | The Park / Central | Heidi in the Mold building west of FBC Base; Parts II and III follow after Act 1 | — |
| Into the Valley of Death | Central | Langston at the Field Office after Act 1 | — |
| Zoe’s Briefing | Central | After The Hedron Link, find Zoe at the Watchtower | Starts New Growth, as well as Maintenance Protocol. |
| New Growth | The Park | FBC team by the FBC Base door | Untapped Brass Dusters recipe, Budding Mycologist |
| Maintenance Protocol | Central | Oldest House alarm during Zoe’s Briefing | Standard Issue Coverall |
| Urban Survival | Evacuation Zone | File by the trapped parking lot, south of the zone | Plate Carrier M1, Untapped Heart Monitor recipe |
| Last Taxi | Evacuation Zone | Alley west of the Evac building; anomalous taxis span all zones | — |
| The Party Won’t Stop | West Incursion Zone | Apartment rooftop on the western street (needs Shift) | Varsity Jacket, Untapped Bar Blade |
| Pope’s Research | The Unknown | Automatic at the start of Act 3 | — |
| A New Directive | The Unknown | Call from a stranger while exploring the Unknown | — |
| Every Dog Has Her Day | Multiple zones | Retrieve a toy for any Mysterious Dog | — |
Although Pope’s Research is labeled optional, it is needed to navigate the Unknown and runs at the same time as Sever the Hedron Links. Keep advancing it as the endgame missions take turns.
Choices affect the rewards for a few side stories. In Crossing the Threshold, Dylan has to side with Wilson and personally carry AVP-3 to get the Sensory Restraint Hood and Untapped Practice Knot recipe; choosing the containment ending grants neither. For The Party Won’t Stop, hit every karaoke note perfectly to save all the partygoers and earn the Be What You Want to Be achievement—the only achievement in the game that can be missed. Reload the checkpoint if you miss a lyric.
World Feats and FBC Tasks
These activities are optional and repeatable, appearing both out in the world and on FBC bounty boards throughout each region. They refresh regularly and do not belong to the three main chains.
- World Feats: Mockery, then Suspended Extermination, then Hold the Line, then Altered Tracking, then Pattern Break, then Air Drop, then Mold Infestation, then The Firebreak Job, then Apex Hunt, then Hiss Hive.
- FBC Tasks: Escort Rangers, Collect Packages, Defeat Hostiles, Destroy Object, Scout Location and recurring Resonant tasks.
How to confirm each chain is finished
The Quest Log tracks most progress; three entries also mark milestones by completing on their own.
- Into the Sinkhole’s completion also closes Notes: Plan of Attack.
- Finishing the Underpass Fault closes Notes: Jesse Sightings and ends the Search for Jesse chain.
- During Sever the Hedron Links, Mapping the New New York finishes provided you activated Map Kits throughout every zone.
You can verify the Resonant chain by looking at the world rather than for a text entry. A Resonant Cycle cutscene plays for each kill, and the Mural in the Gap becomes repairable after all five bosses are defeated. If it still cannot be repaired, one Resonant remains alive; check the zone table, remembering that the Evacuation Zone has no boss. The Beginning concludes the epilogue at the Oldest House, but the world remains accessible afterward, letting you finish any side stories, Map Kits, or Resonants you left behind.