Downtown Manhattan has only one route into the wider city: the Central Checkpoint. It is inactive because the FBC maintenance worker responsible for it abandoned the assignment. In Welcome to Manhattan, Dylan must manually move an electrical charge through the streets, powering the five Power Core Stations in sequence while the charge rapidly fades.
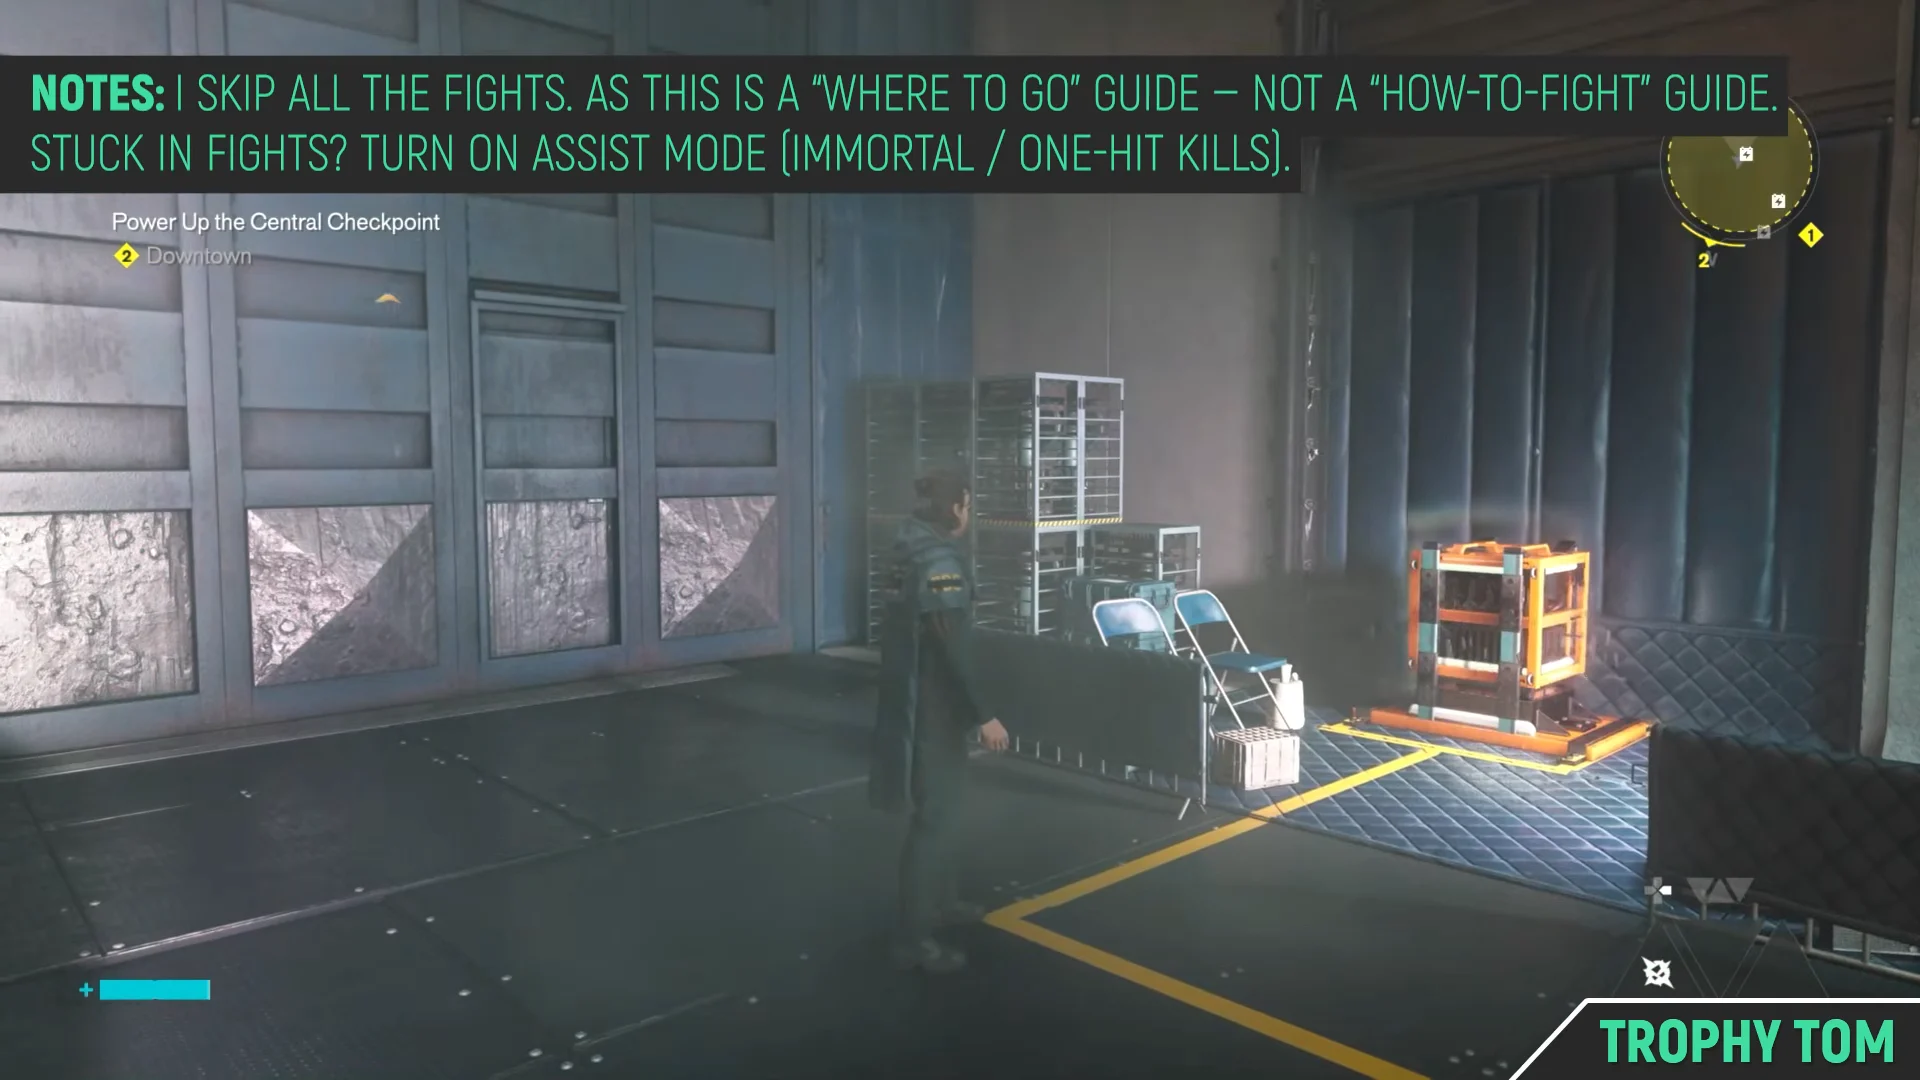
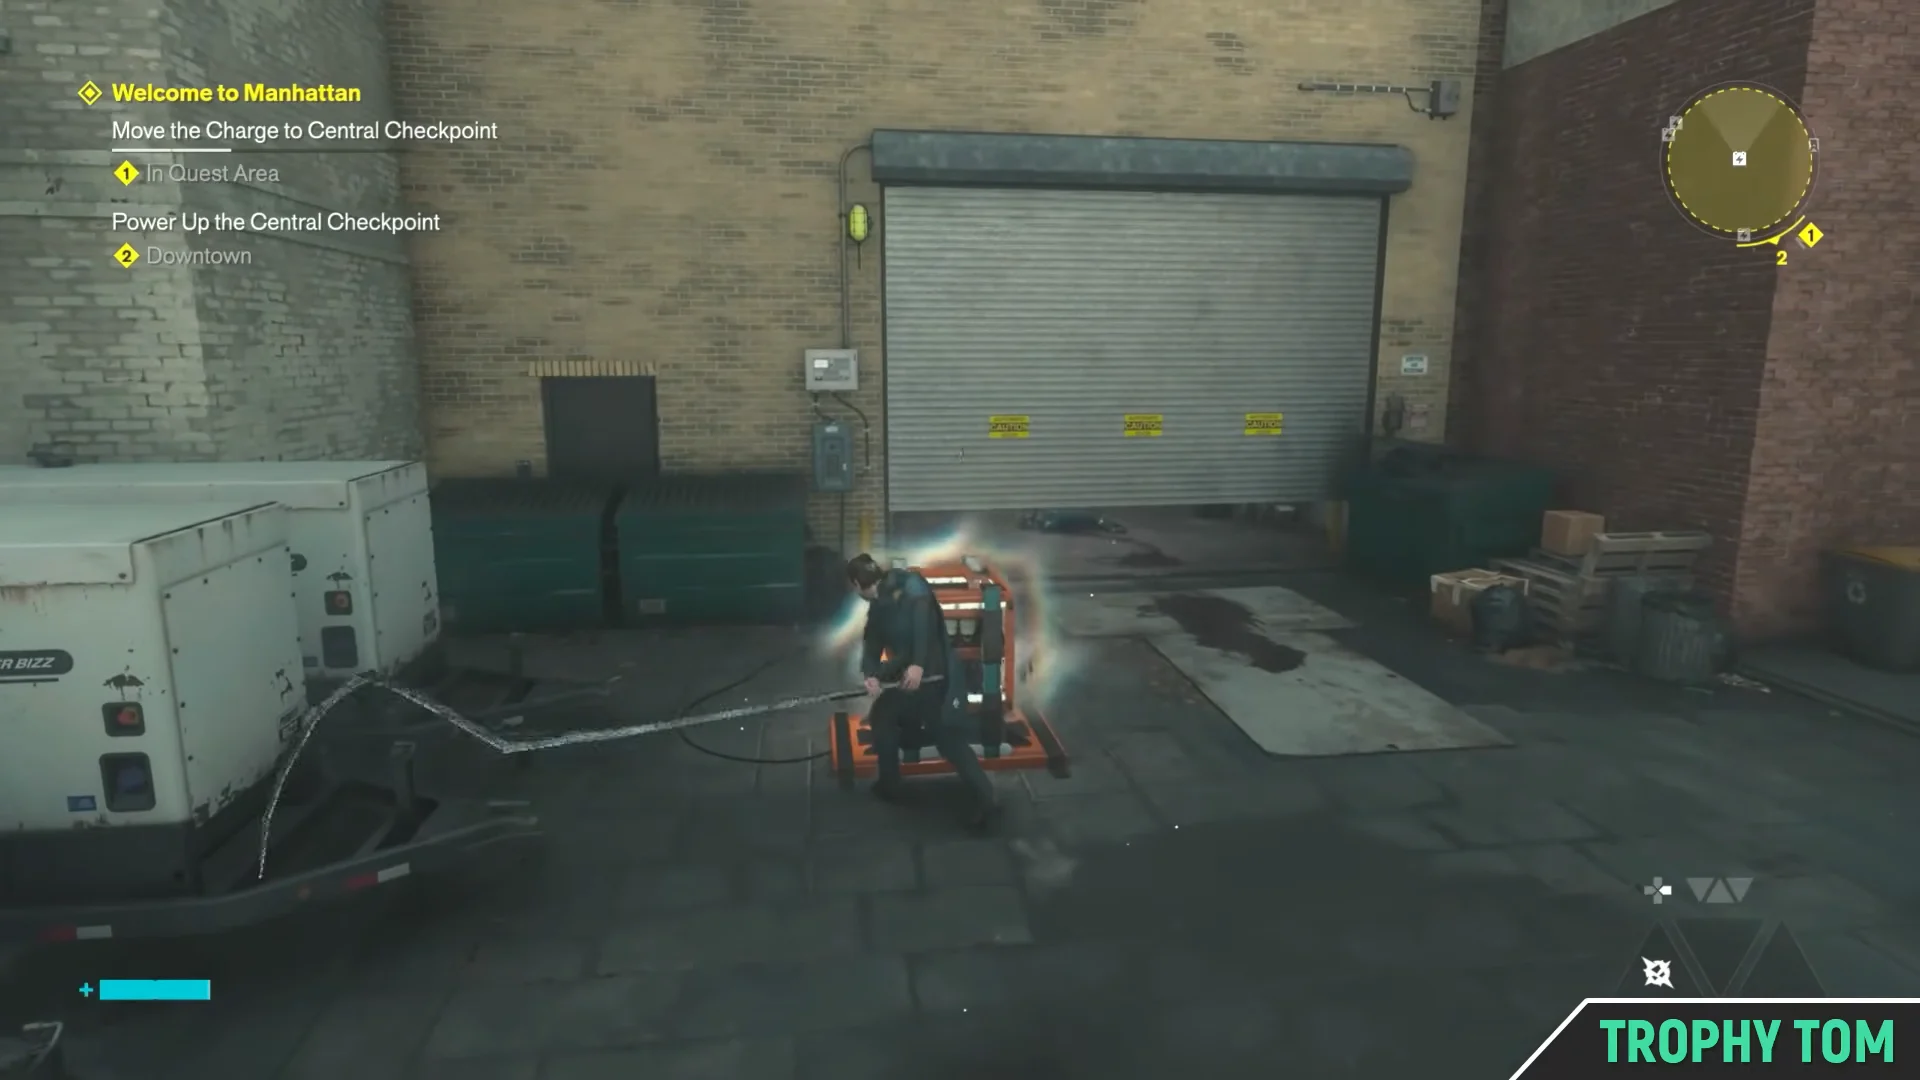
Quick answer: Strike the glowing orange Power Core beside Baker’s workbench with a melee attack, then activate the five Power Core Stations in the diagram’s sequence. You have roughly 20 seconds to carry each charge before reaching the checkpoint gates.
How the charge carry timer works
When you hit an active Power Core, its electricity enters the Aberrant, Dylan’s shapeshifting weapon. The countdown of about 20 seconds begins immediately. Touch the next core in the route to deposit the charge there; doing so pauses the timer, allowing unlimited time until you retrieve the charge again.
When the timer runs out, the charge goes back to the last core you powered, so a failed segment only loses the ground you covered. The longest segments require speed; use evasive movement down the street instead of running straight.
Eliminate the Hiss along each section before transporting the charge through it. Getting forced into combat during a run is the usual reason a section fails.
Find the maintenance worker and read the servicing diagram
The route begins with the “Find the Maintenance Worker” objective in Downtown 2. Leave the rooftops, pass through the alley as Zoe explains things over the radio, and follow the objective marker to the sealed entrance outside the Central Checkpoint. Hiss are gathered in the plaza ahead.
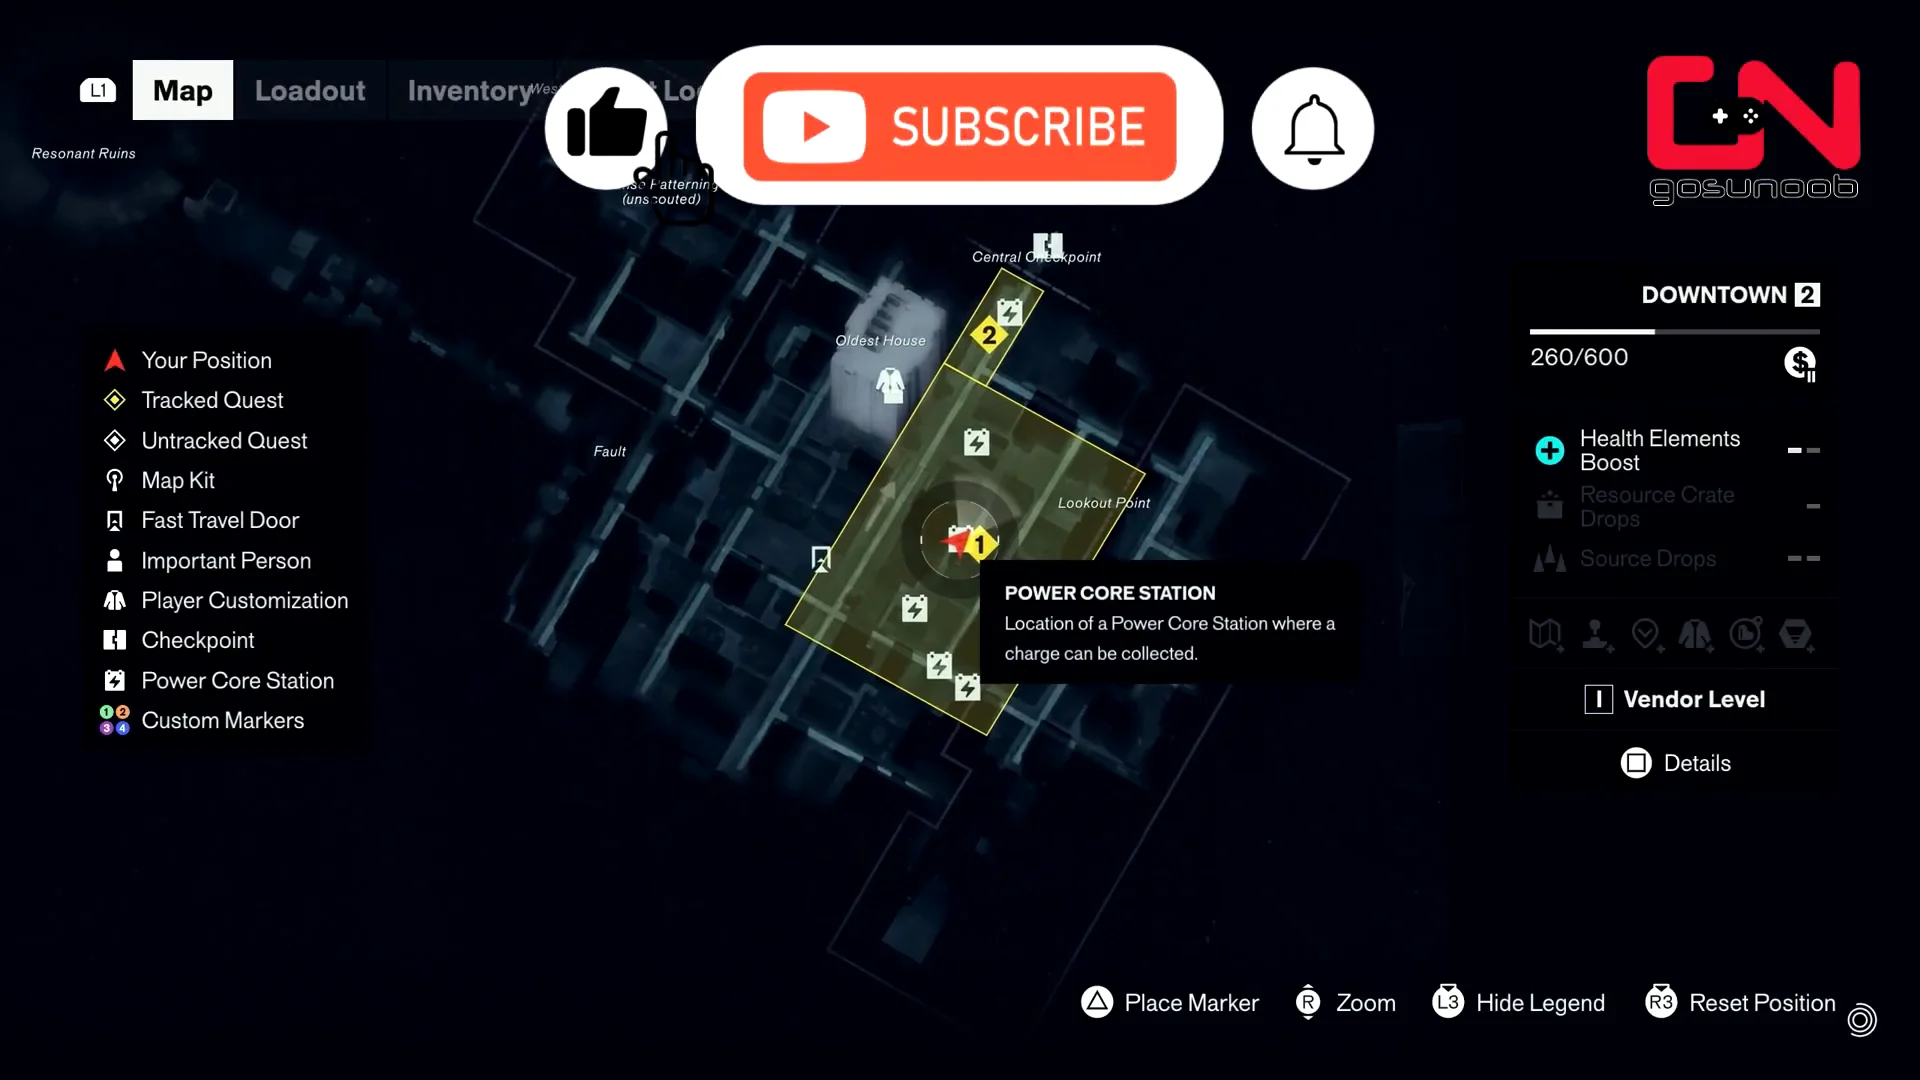
Once the plaza is quiet, check the workbench by the gate. A Note From Baker explains that the worker abandoned his post, and the Power Core Servicing Diagram next to it is a hand-drawn map of the block with the five cores numbered in the order they need power. That diagram is the whole solution, and the route below follows it.
Calibrating the mapping pylon sensors earlier in the mission fills in the Downtown layout, which makes the alleys and rooftops here far easier to read on the fly.
All five Power Core Station locations in order
| Stop | Where the core sits | Getting there |
|---|---|---|
| 1 | Street outside the checkpoint | Against the central pillar |
| 2 | Loading dock courtyard | Down the ramp in the gated alley |
| 3 | Rooftop north of the alley | Up the green awnings |
| 4 | FBC outpost | Yellow-taped platform by the rangers |
| 5 | Central Checkpoint gates | End of the main road |
The route: moving the charge to the Central Checkpoint
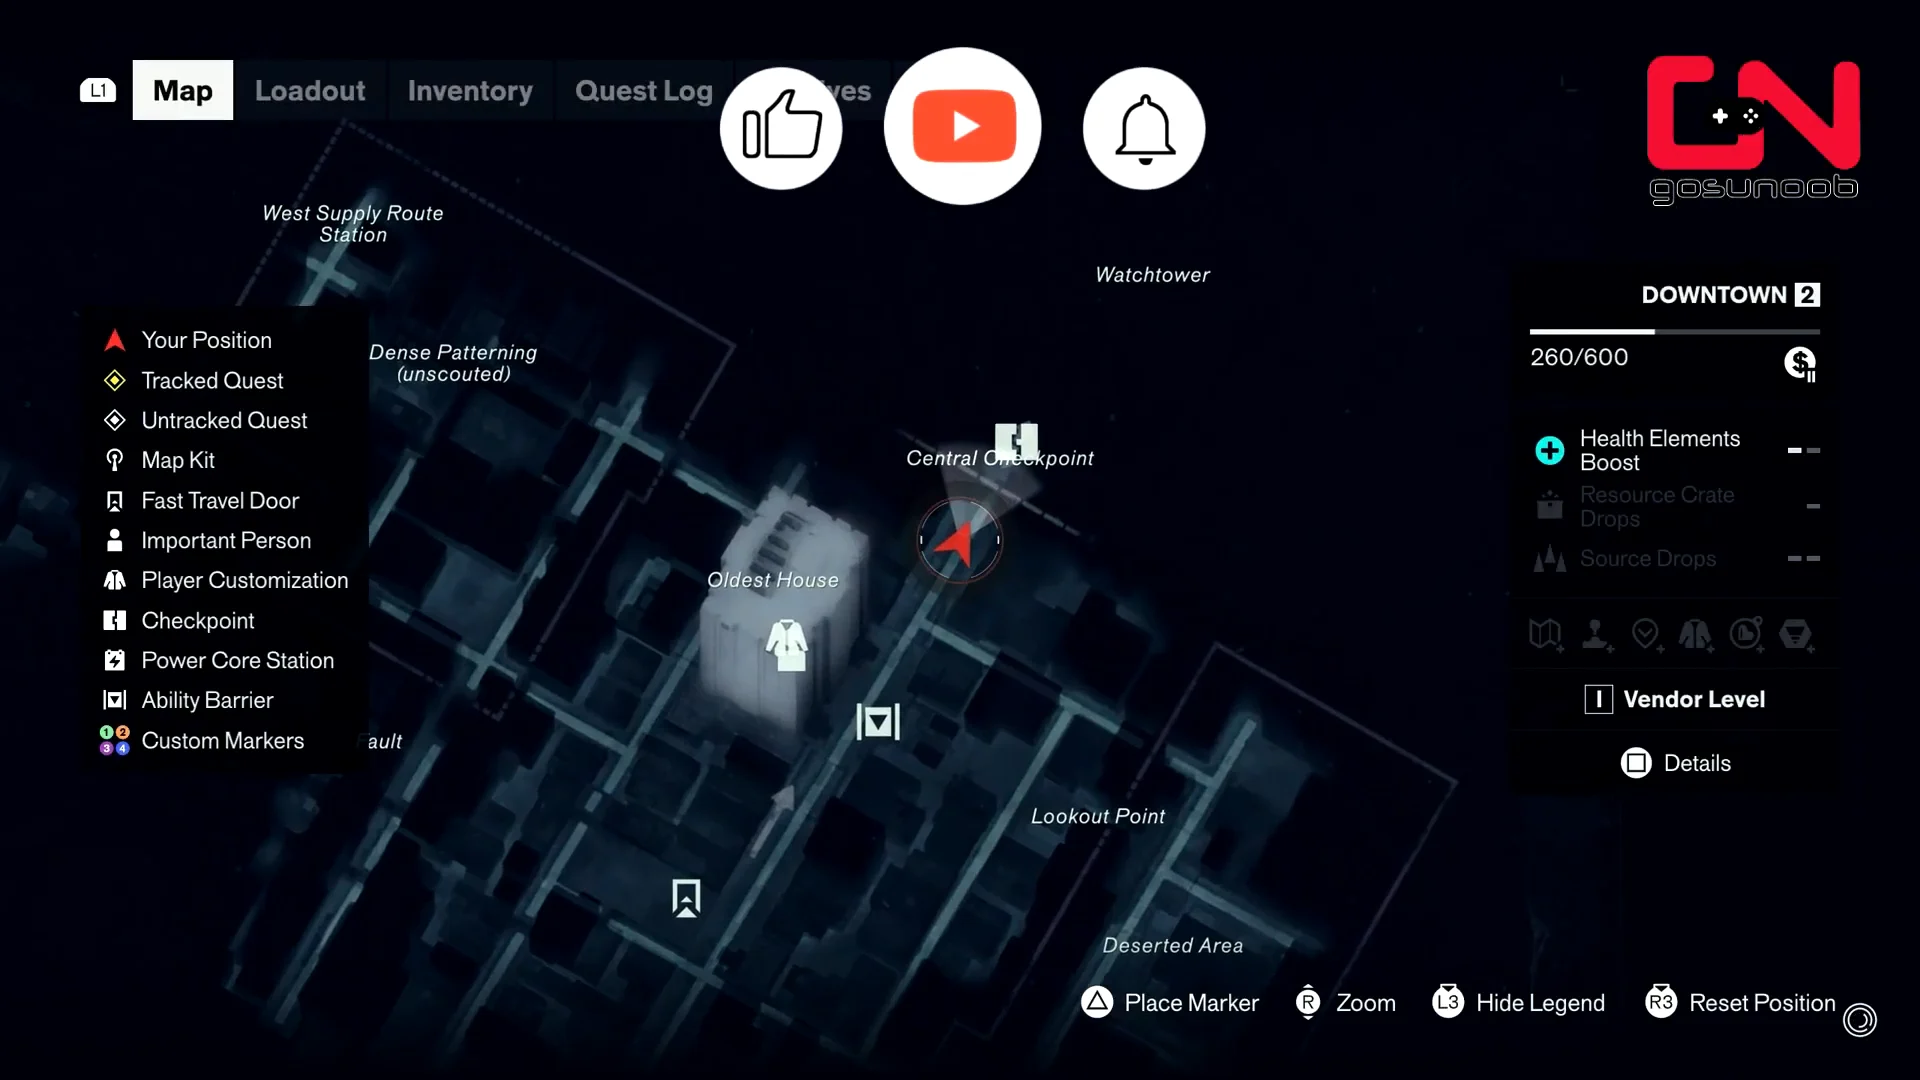
The moment that final core receives power, a lengthy Hiss ambush begins. Restore your health before starting the last trip.
Pickups to grab while the charge is parked
A charge sitting inside a core is safe indefinitely, so use those gaps to sweep the block. Four things are worth the detour along this stretch.
- You will find Baker’s body inside the open garage beside the loading dock core. Approaching it triggers a radio exchange with Zoe about Dylan’s guilt.
- The same garage contains a chest of upgrade materials, and a nearby locker holds an Aberrant item.
- Beside the rooftop core, the air conditioner holds the Power Core Complaint file.
- If you passed the workbench, you can still collect A Note From Baker and the Power Core Servicing Diagram there.
Surviving the three Hiss waves at the gates
Three groups appear outside the gates once they are powered, creating a particularly dangerous fight this early in the game. Prioritize targets carefully; that matters more than maximizing damage.
| Enemy | Threat | Counter |
|---|---|---|
| Hiss Collider | Slow, heavy melee swings | Kill first, dodge through |
| Hiss Focused | Sustained energy beam | Break line of sight on the slabs |
| Hiss Elevated | Ranged attacks from the air | Never stop moving |
Deal with both Hiss Colliders first. The basic grunts return repeatedly while either heavy remains alive. Their attacks are slow to telegraph but deal heavy damage, so roll through the strikes instead of exchanging hits.
The two Hiss Focused come in afterward and target you with an uninterrupted beam. Use the broad concrete slabs along both sides of the road to block their aim, separating the pair so you do not face both beams together.
Use your Secondary Aberrant to fill the Falter meter on the stronger foes as quickly as possible. Once full, it enables an Execution that restores some health and provides a short-lived damage increase. Performing Executions consecutively on different enemies extends that benefit, turning a drawn-out battle into a much faster clear.
Confirming the Central Checkpoint is powered
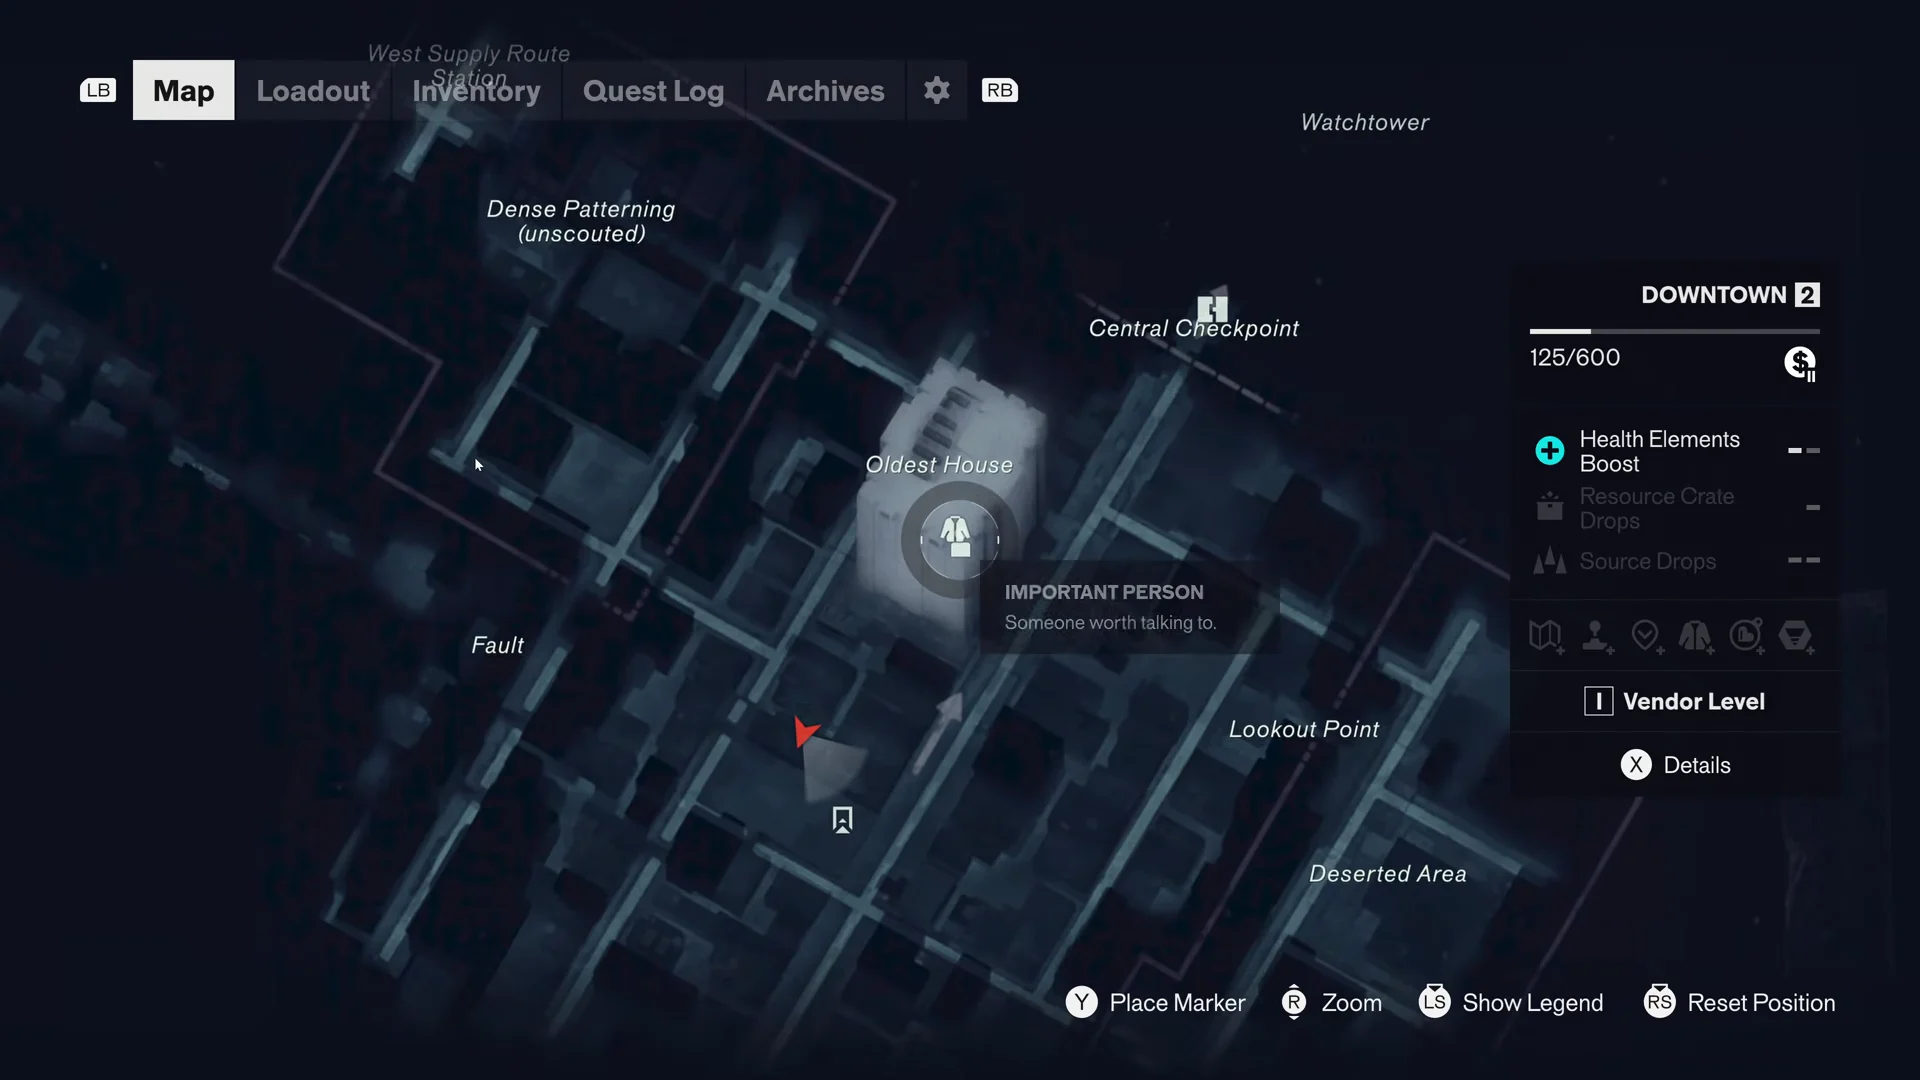
The puzzle is complete once the checkpoint’s two control panels glow green. After eliminating the Hiss, interact with either panel on the left or right to bring down the hydraulic platform, then take it upward into Zone Access. The Downtown map will also show the Central Checkpoint as active again.
Once inside, follow the signs marked Federal Bureau of Control Central Checkpoint Watchtower. Press the elevator call button, wait for the platform to come down, drop through it, and proceed toward the music-filled staging area. This starts the “Meet Zoe at the Watchtower” objective, after which Welcome to Manhattan continues with the supply route and security keycard.