Chapter 8: Many Into One Walkthrough in Silent Hill Townfall (All Collectibles)
Every blood bag, Strange Postcard, master key, and valve in the altered Medical Center, plus both transfusion door solutions.
Every blood bag, Strange Postcard, master key, and valve in the altered Medical Center, plus both transfusion door solutions.
by Ivaan Mehta
Image: Screen Burn
Chapter 8, Many Into One, drops Simon into the version of the Medical Center that exists after surgery, where the wards have been rebuilt into a maze of vents, ladders, and shutters keyed to named blood bags. Nothing here is optional if you want a clean run. There is no chapter select, so every postcard, clue, and signal you walk past is gone for good.
Quick answer: Chapter 8 contains Strange Postcards 7, 8, and 9, CRTV Channel 28, Zoe’s Patient List, the Different floor map, one resource container, the pipe, and six blood bags across two wards.
Chapter 8 collectible checklist
These are the pickups that count toward completion in this chapter, separate from the blood bags you need for progression.
Collectible
Where it is
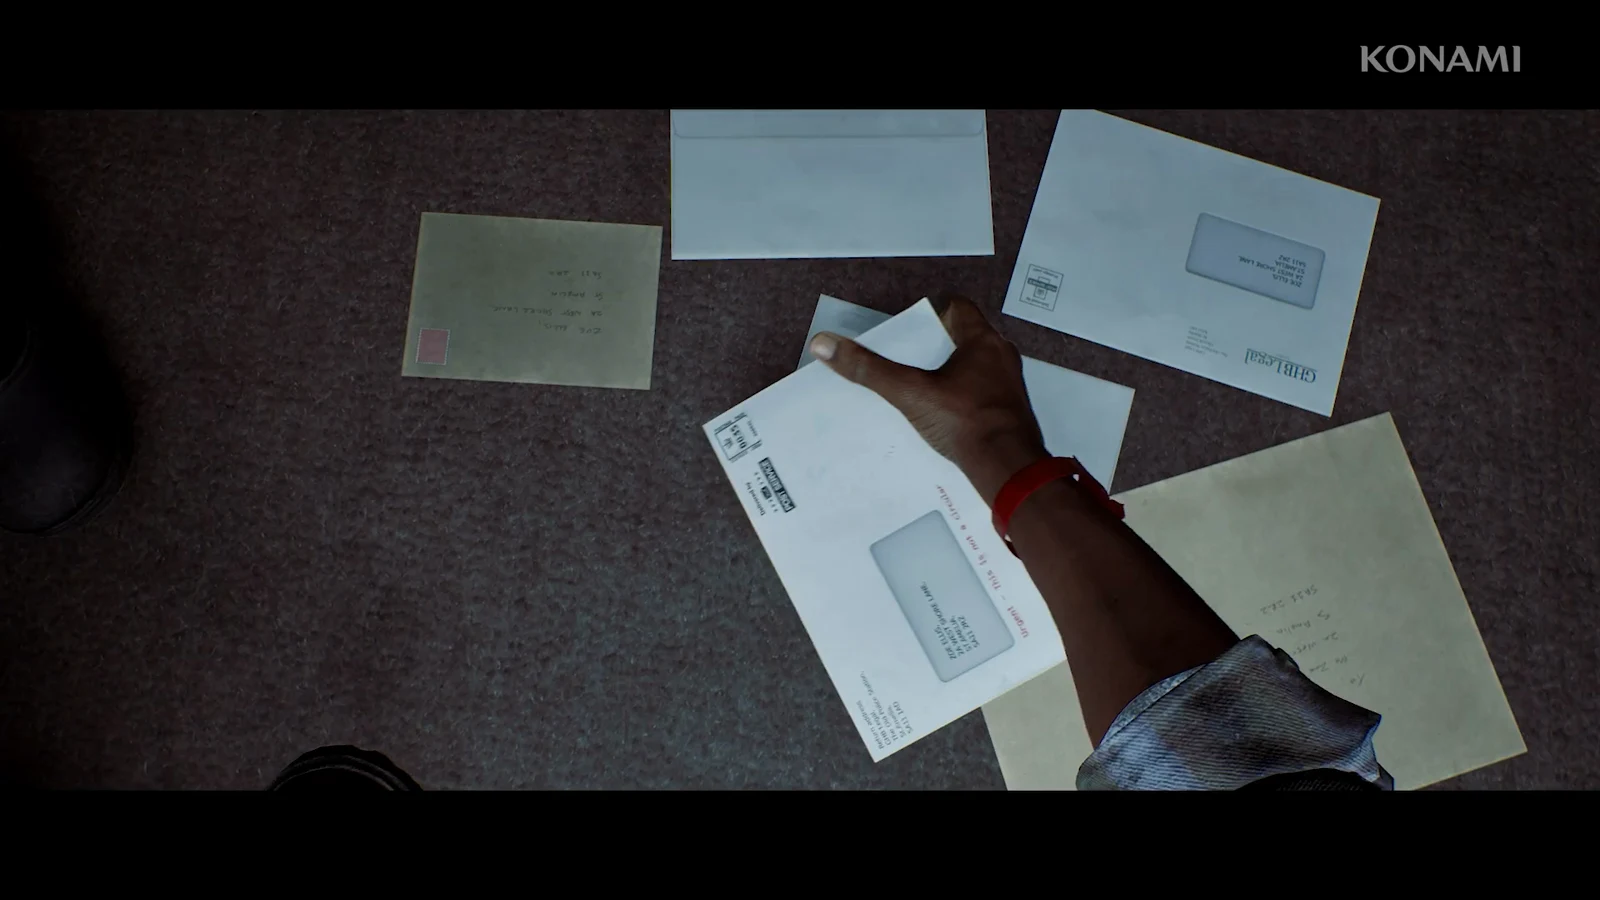
Strange Postcard – 7
Opening stretch, before you climb down the hatch
CRTV Channel – 28
Past the tally-marked door and the concrete crevice
Pipe (weapon)
Barred metal gate in the maintenance room
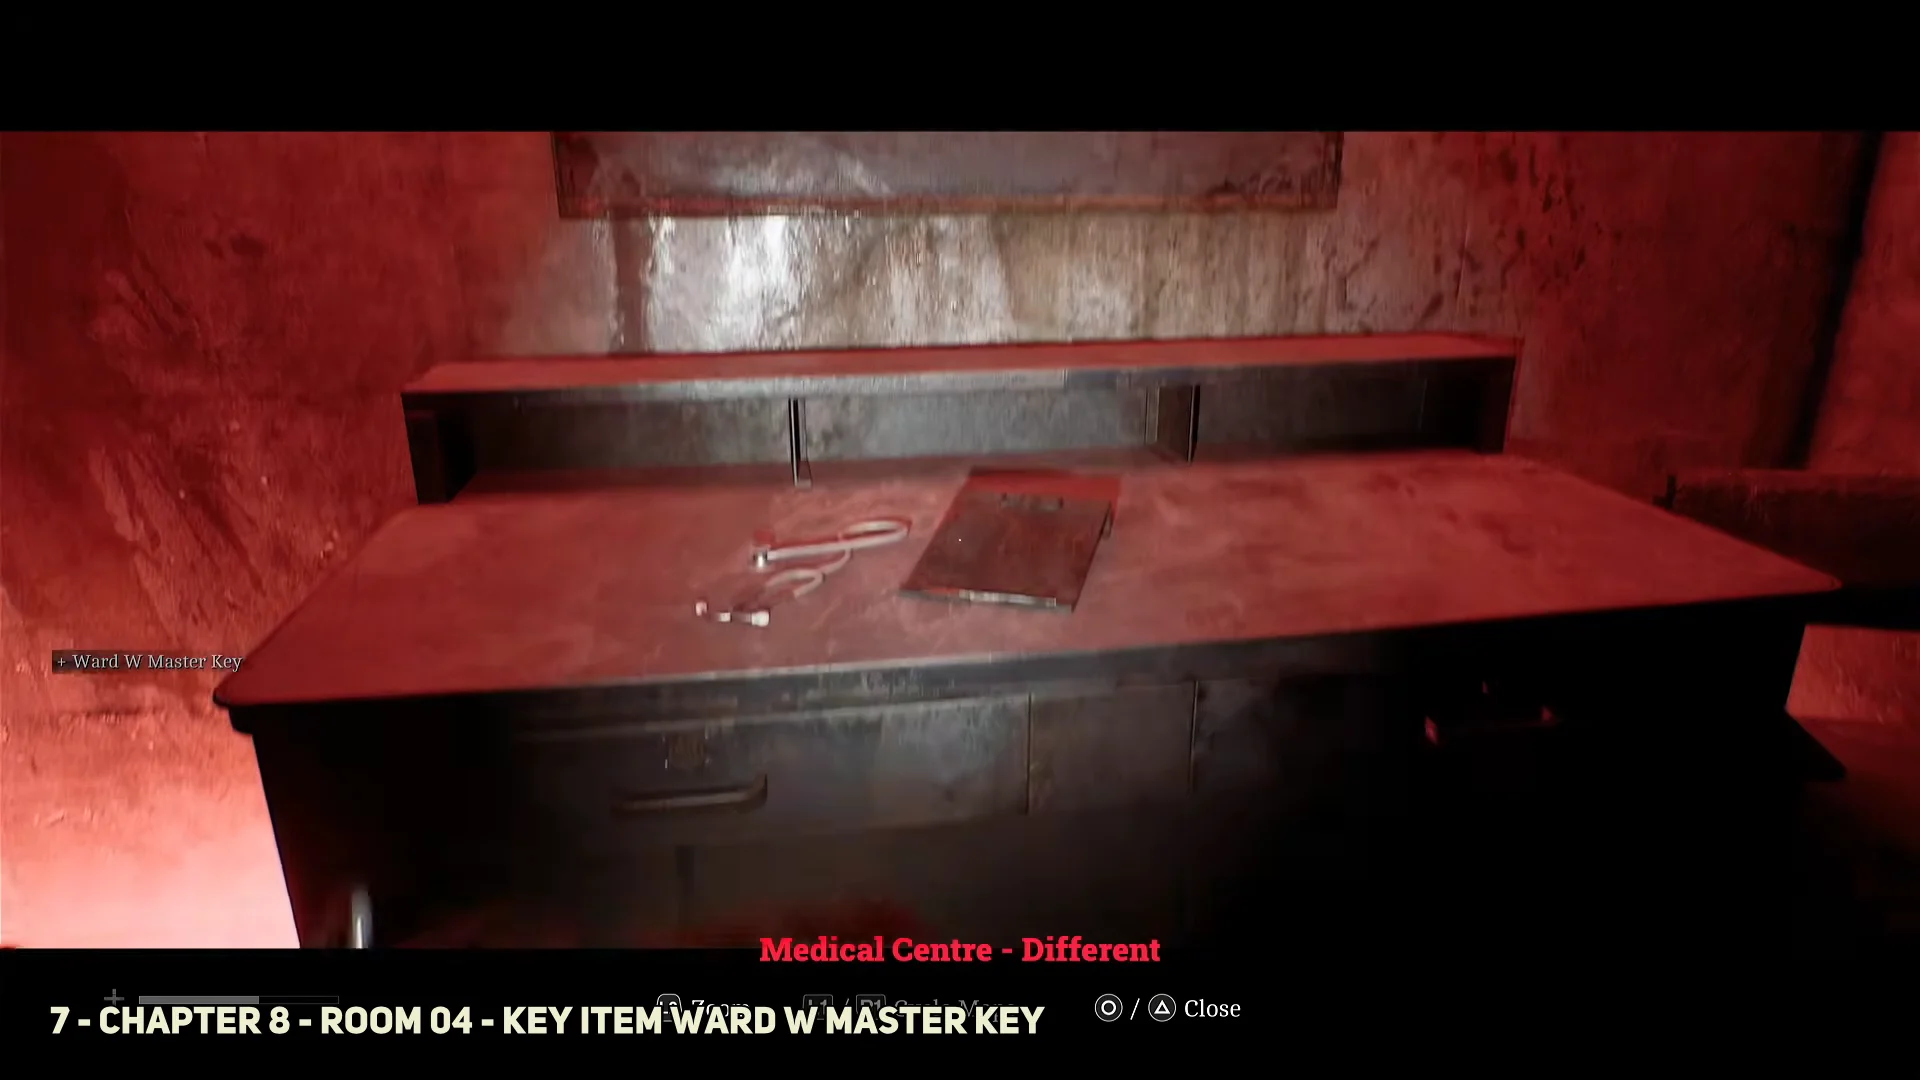
Medical Center – Different (map)
Reception desk in the red-lit corridors
Zoe’s Patient List (clue)
Table in the patient ward
Strange Postcard – 8
Room W06, on the stainless steel counter
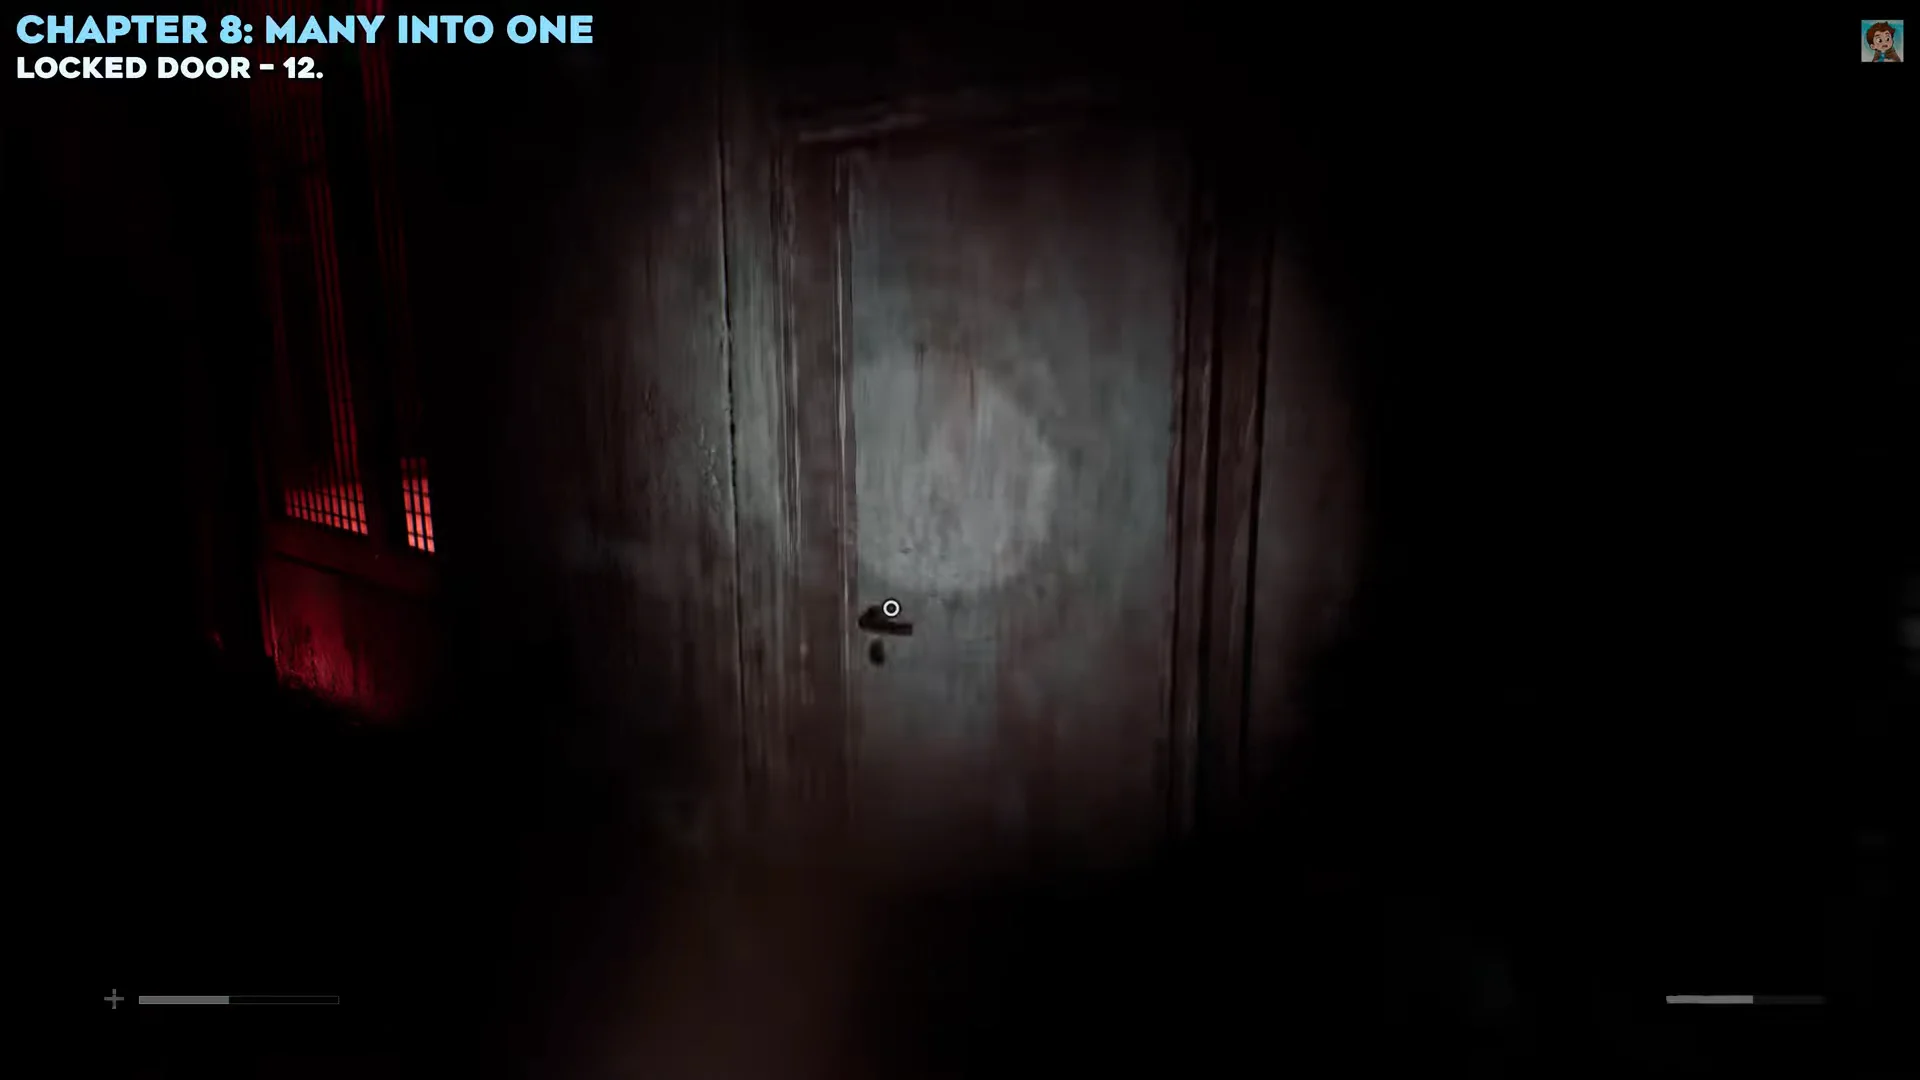
Resource container (blue lock box)
Storage nook near Room 12
Strange Postcard – 9
Wall cabinet in a side room past the D.P. shutter
Strange Postcards do not respawn in New Game Plus, so 7, 8, and 9 have to be grabbed on this run.
Getting into the wards: ladder, CRTV Channel 28, and the pipe
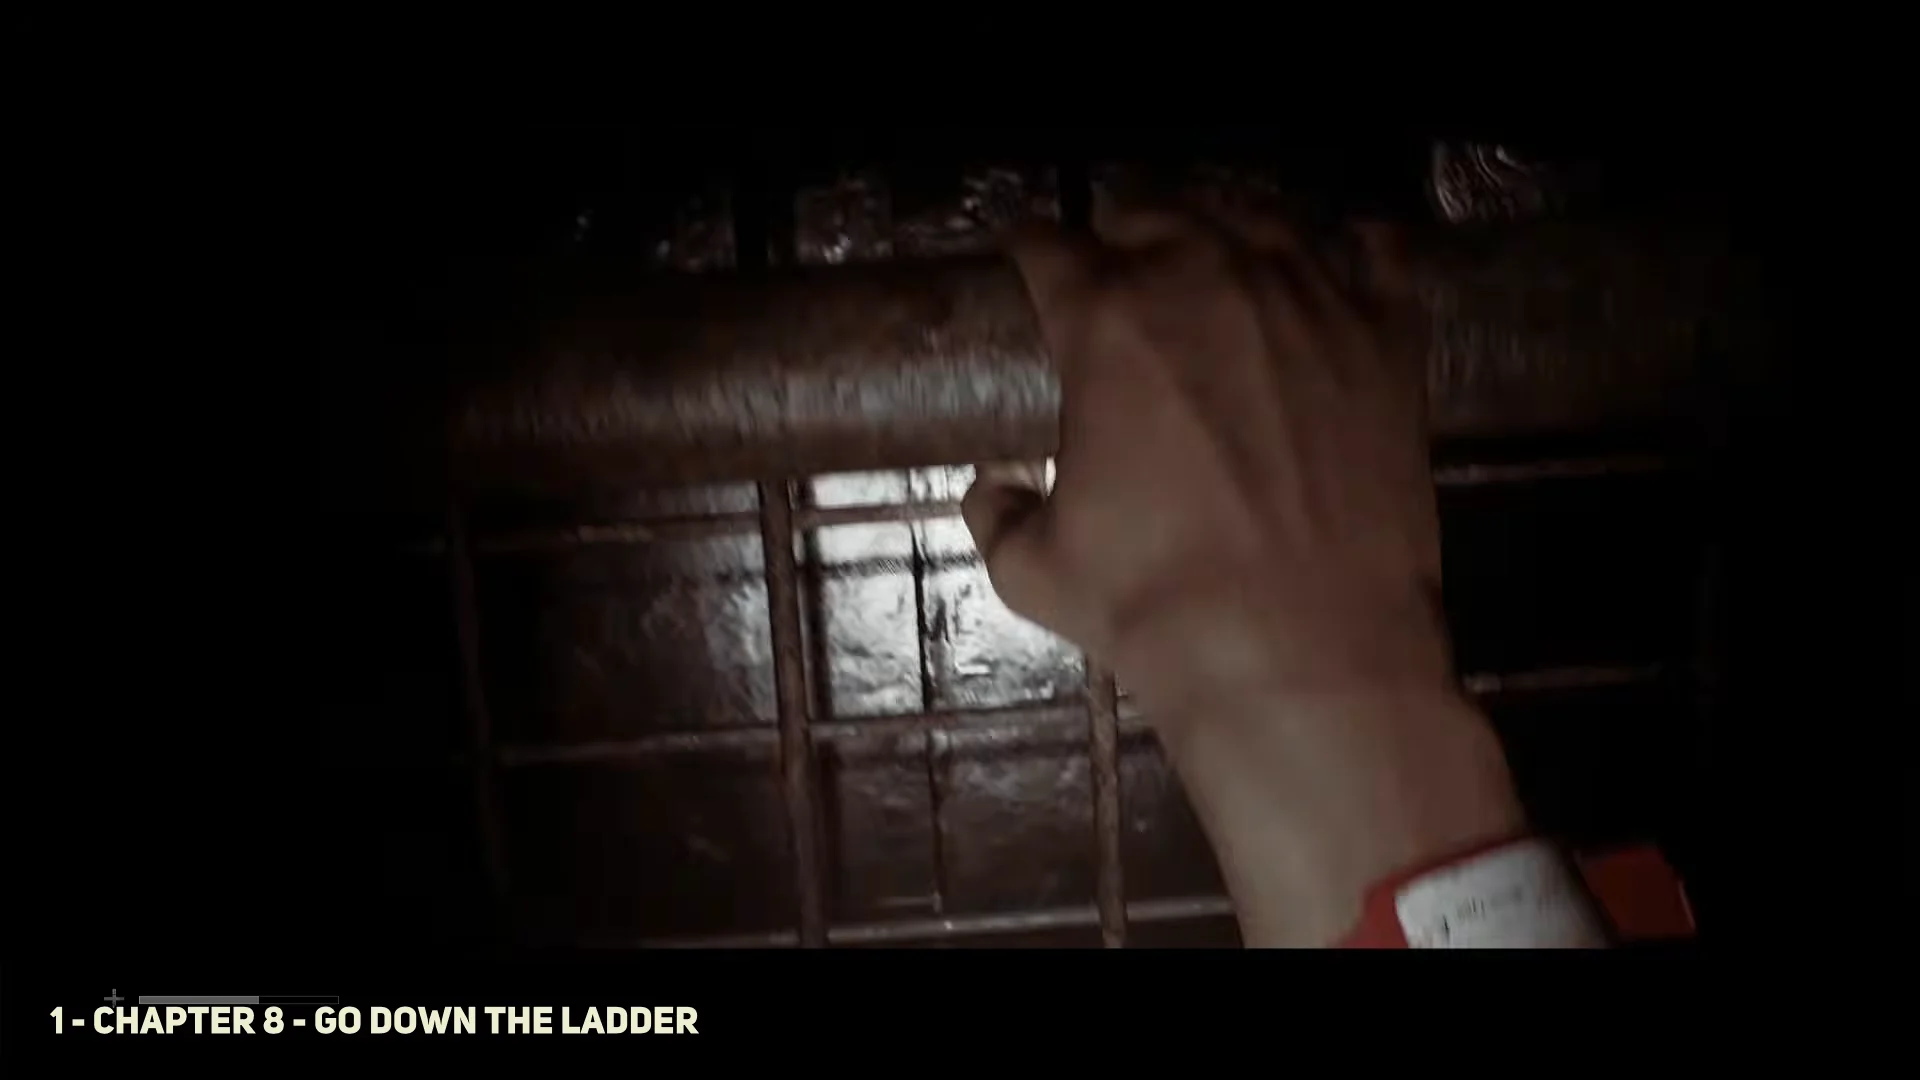
Walk through the office and down the darkened hallway until you reach the open hatch. Answer Yes to the prompt asking if you want to go down the ladder. Sweep the opening rooms for Strange Postcard – 7 before you commit, because the hatch is a one-way trip.
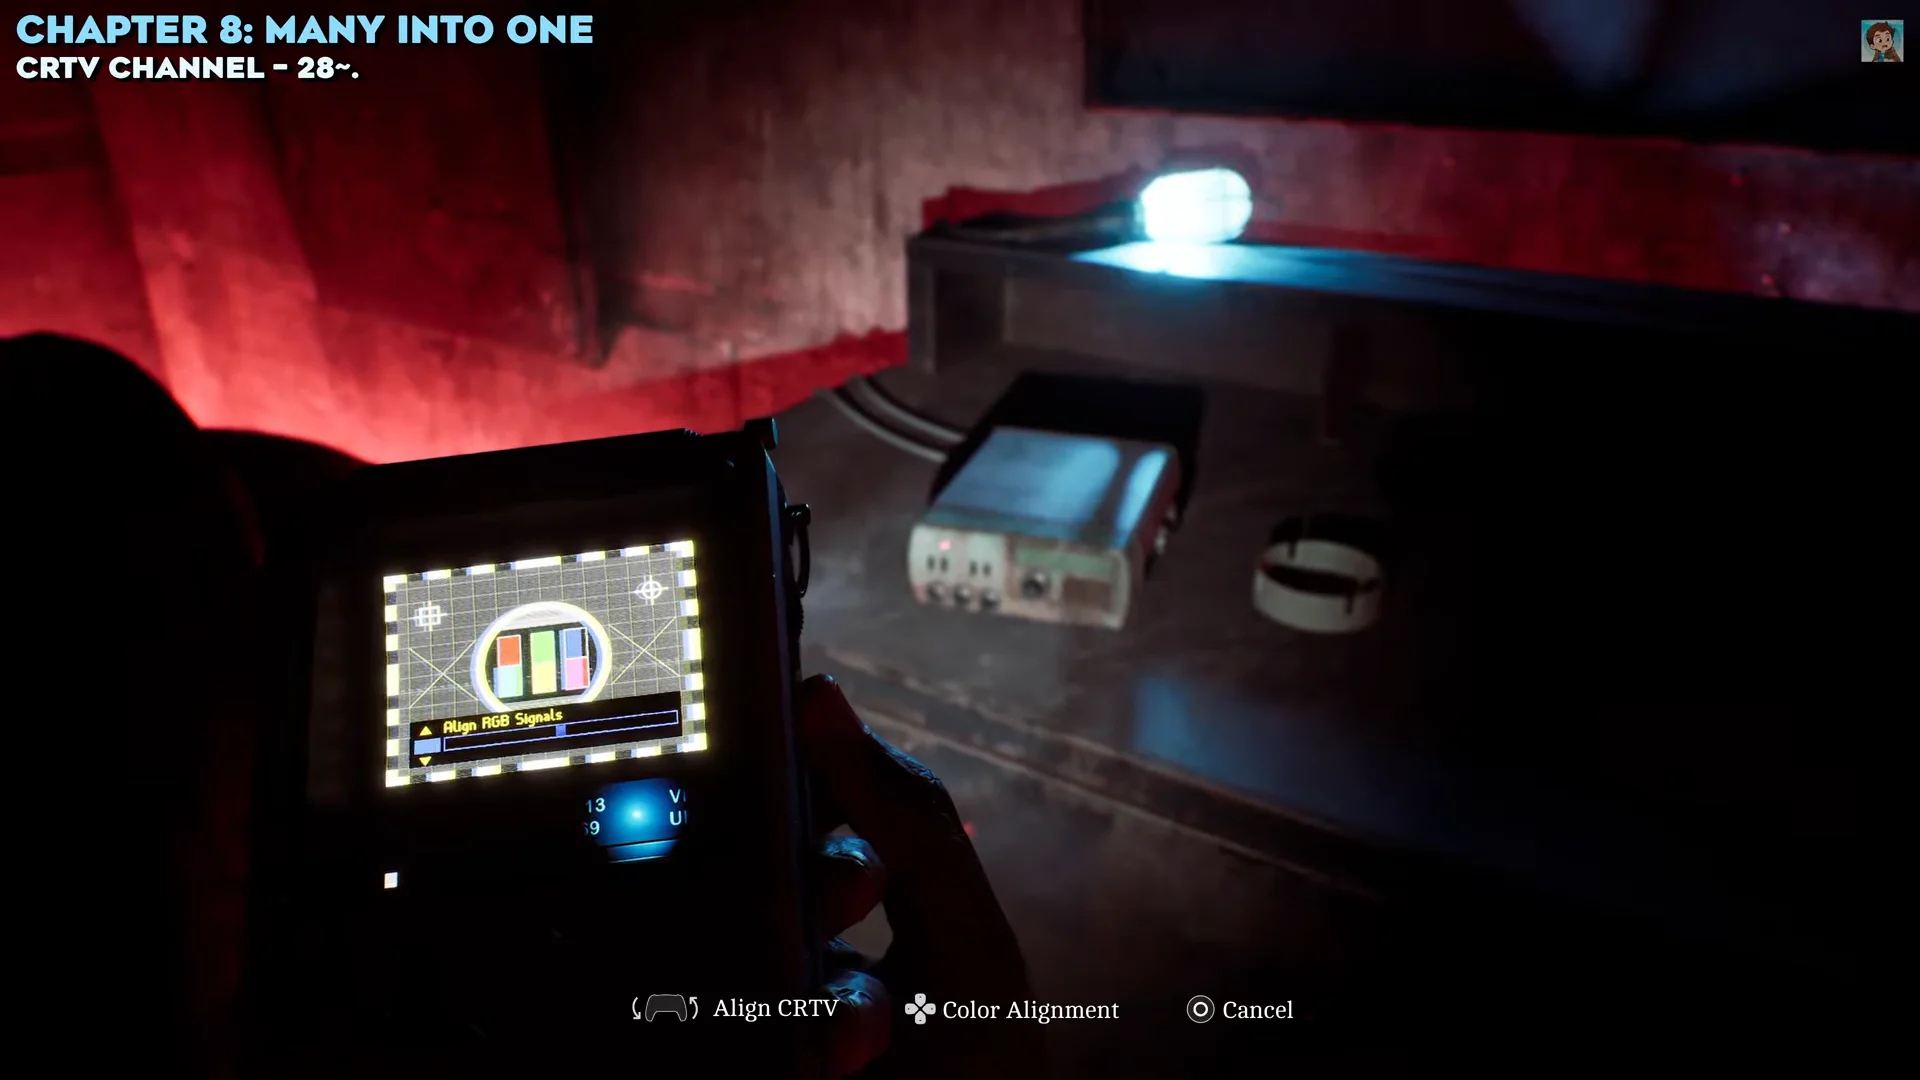
Raise the handheld CRTV and tune it to Channel 28. The signal plays a recorded medical check-in broadcast and registers as one of the game’s 18 CRTV signals.
01:0301:03Tuning the CRTV to lock the Channel 28 signal. Shown at 01:03 in Jun Guides’s video. Image: Screen Burn
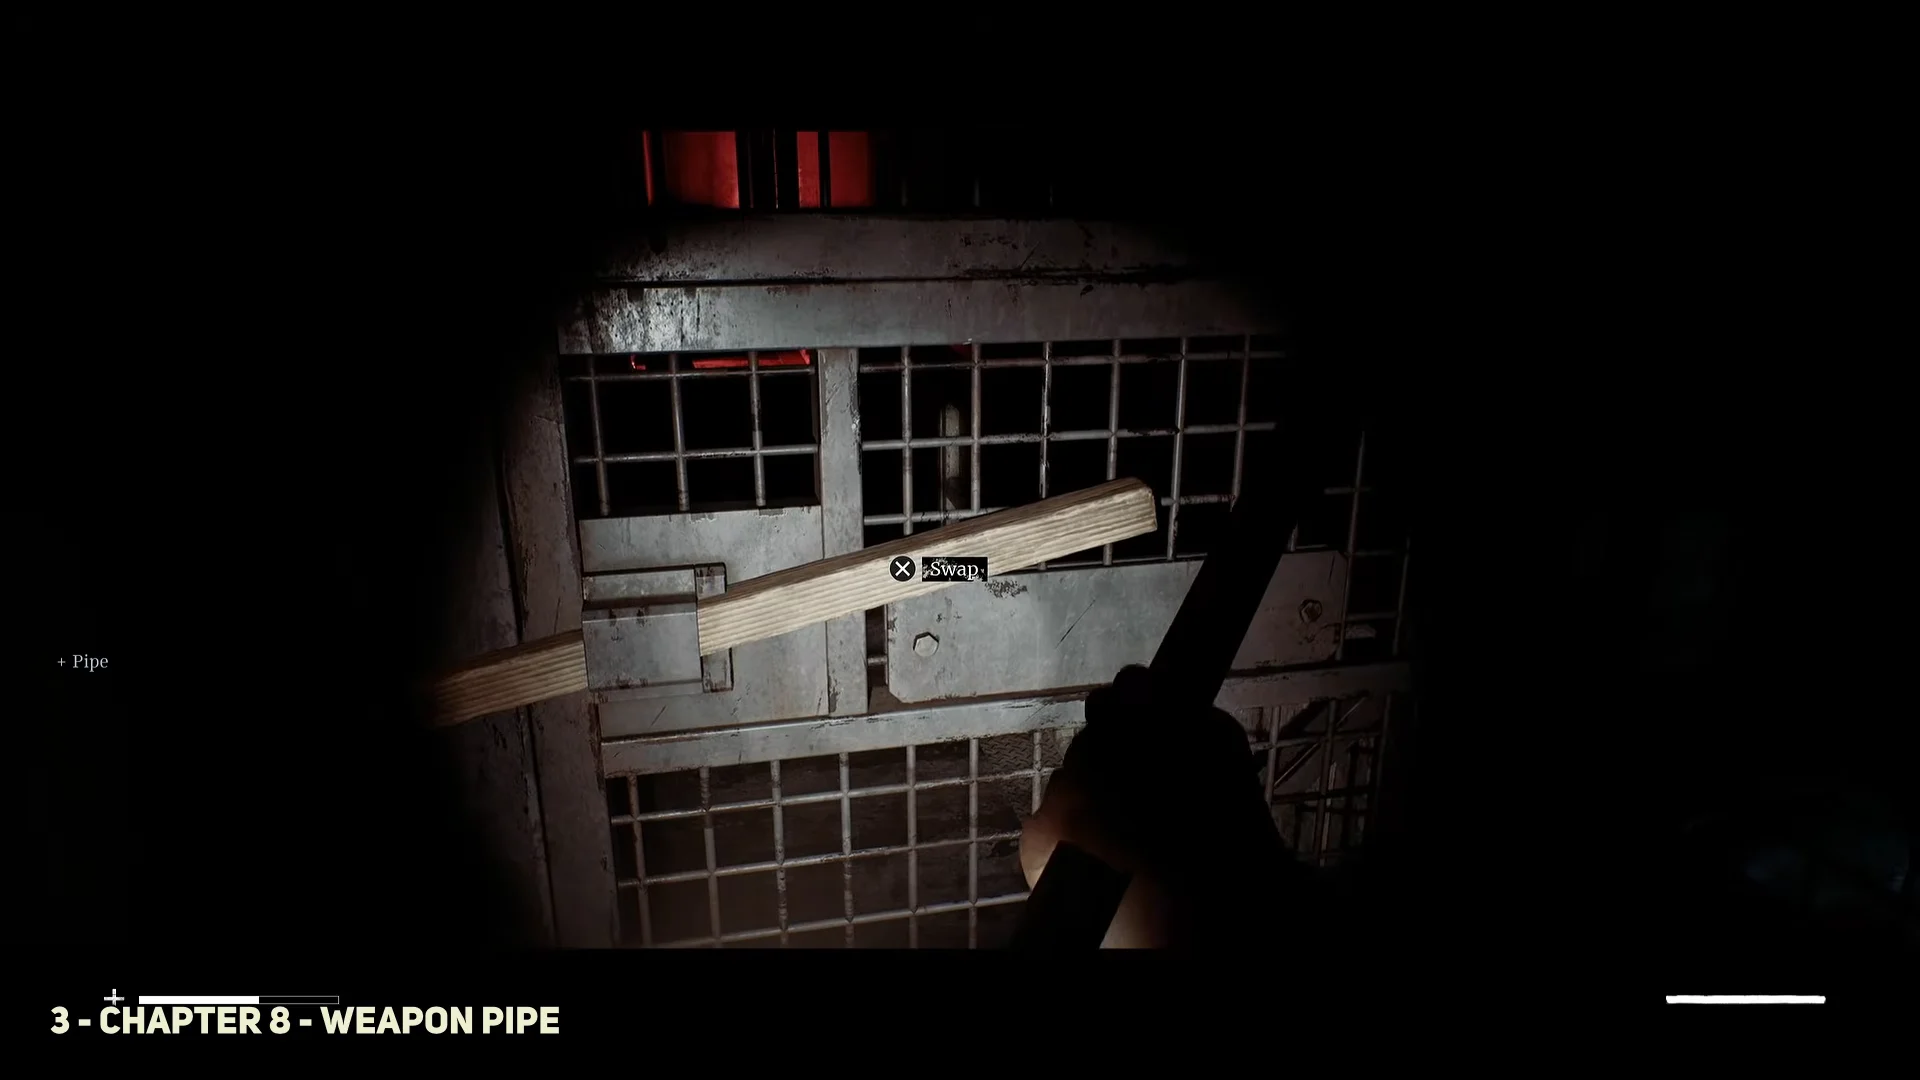
Crawl through the air vent into the maintenance room. A barred metal gate is jammed shut with a length of pipe. Interact with it to pry the pipe loose, and it becomes your melee weapon for the chapter.
Follow the red-lit corridors to the reception desk and take the Medical Center – Different floor map. It is the only layout reference you get for the reworked building.
Crawl through the duct into the patient ward. Pull the Alan Duncan Blood Bag off the IV stand and read Zoe’s Patient List from the table beside it.
Every blood bag and what it actually opens
The bags split into two jobs. Two of them are route keys that slot into shutter consoles and get left behind for a while. Three of them are for the transfusion console at the end. Treating all six as puzzle pieces for the same machine is the fastest way to get stuck.
Blood bag
Where it is
What it does
Alan Duncan
IV stand, patient ward
Opens the S.W. shutter
Sarah Watson
IV pole in a bedroom past S.W.
Left slot, transfusion console
Lesley Greer
IV drip stand, Room 12
Opens the D.P. shutter
Matthew Clark
Under a metal partition, past a cracked door
Middle slot, transfusion console
George McEwan
Dark room up the stairwell
Right slot, transfusion console
Alan Duncan’s and Lesley Greer’s bags stay in their shutter panels while you explore. You collect them again on the way back, so do not panic when your inventory looks short.
Ward W: master key, Strange Postcard 8, and the lock box
Insert the Alan Duncan Blood Bag into the S.W. shutter console. The shutter lifts, and a ladder and duct beyond it lead into a bedroom where the Sarah Watson Blood Bag hangs from an IV pole.
Go back through the duct to the storage nook and use the Lock Box Key on the blue metal lock box on the floor. That is the chapter’s resource container, holding Antibiotics and pistol ammo.
Ward P: the D.P. shutter, Strange Postcard 9, and the last two bags
Feed the Lesley Greer Blood Bag into the D.P. control panel. The security shutter rolls up, and a ladder drops you into a fresh set of corridors.
05:5105:33Several ward doors stay sealed until the matching blood bag or master key is in hand. Shown at 05:51 in Jun Guides’s video. Image: Screen Burn
Take the stairwell up and crawl through the duct into the dark room at the top. The George McEwan Blood Bag and the Ward P Master Key are both in here.
Work along the hallway while avoiding the hostile patrolling it, squeeze through the cracked door, and grab the Matthew Clark Blood Bag from under the metal partition.
Turning the manual release valves in Room 05 and Room 10
Two large valve wheels have to be opened before the route back to the transfusion hub exists. Both work the same way, and both confirm themselves the same way.
Tune the device once more to clear the route, climb the ladder, and pull the Alan Duncan and Lesley Greer bags back out of the S.W. and D.P. panels on your way to the central transfusion hub.
Blood transfusion door puzzle solution
The final door is two mechanisms stacked on top of each other. The console takes three named bags in a fixed order, and the wall ring has to be aligned after that.
Blood bag placement order
Left mount: Sarah Watson
Middle mount: Matthew Clark
Right mount: George McEwan
Hang them in that sequence and the security gate releases its first lock. Alan Duncan’s and Lesley Greer’s bags are not used here.
Aligning the circular wall mechanism
Interact with the round mechanism set into the wall and rotate its rings. The goal is a clear channel from three labelled nodes straight into the center: T.F., H.M., and S.W. When all three feed into the middle without a break in the path, the exit gate unlocks and the chapter moves on.
Before you step through, check your collectible tally against the list above. Chapter 8 should have added three Strange Postcards, one CRTV signal, one clue, one map, and one resource container, and nothing in the altered Medical Center can be revisited once the gate closes behind you.