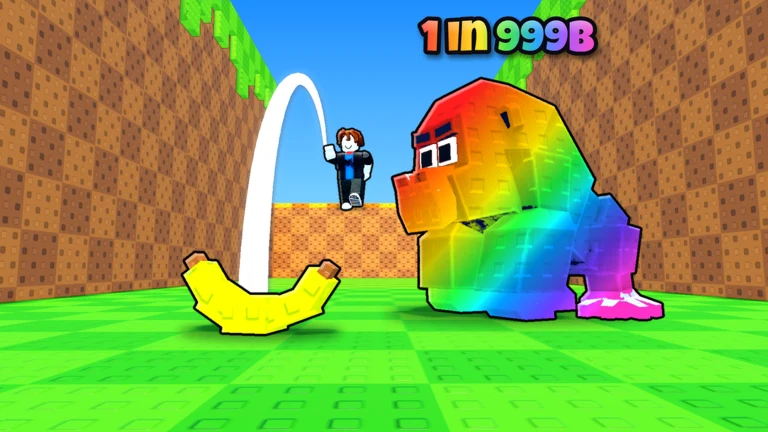
Throw Food for Animals has its next update on the calendar. The game’s Roblox page shows a “NEXT UPDATE!” event for Saturday, November 14, at 2:00 PM, with a Notify Me button so you get an alert when it goes live. The event card doesn’t say what the update adds. Until it does, the most useful prep is to push your Throw Power, bar tier and plot income as high as they will go. Whatever new content arrives will sit on the same throw, catch and train loop.
Quick answer: The next update is set for Saturday, November 14, at 2:00 PM. Click Notify Me on the game’s Roblox event card to get an alert. Train Throw Power, upgrade your bar and equip your best animals before then.
Throw Food for Animals next update date and Notify Me sign-up
Goofy Chupacabra publishes the update as a Roblox event, so the sign-up happens on Roblox. Signing up doesn’t affect your progress. It only makes sure Roblox notifies you when the update starts, which helps if you want to be in a server early.
No patch notes have been posted for the November 14 update yet, and no new foods, areas or animals for it are confirmed. Everything below applies to the game as it is now.
What to have ready before the update
Throw Food for Animals runs on a connected upgrade loop. Your Throw Power sets your food’s range, while the distance it covers determines its biome and the luck bonus for that throw. Selling caught animals funds your next bar and food. Maxing all of these before an update lets you jump into its new content without first grinding upgrades.
- Your highest affordable pull-up bar, bought and trained on.
- Enough Throw Power to land food consistently in your farthest biome.
- Your best food equipped in the Food Shop.
- Every plot slot filled using EQUIP BEST.
- An empty backpack, with duplicates sold for cash.
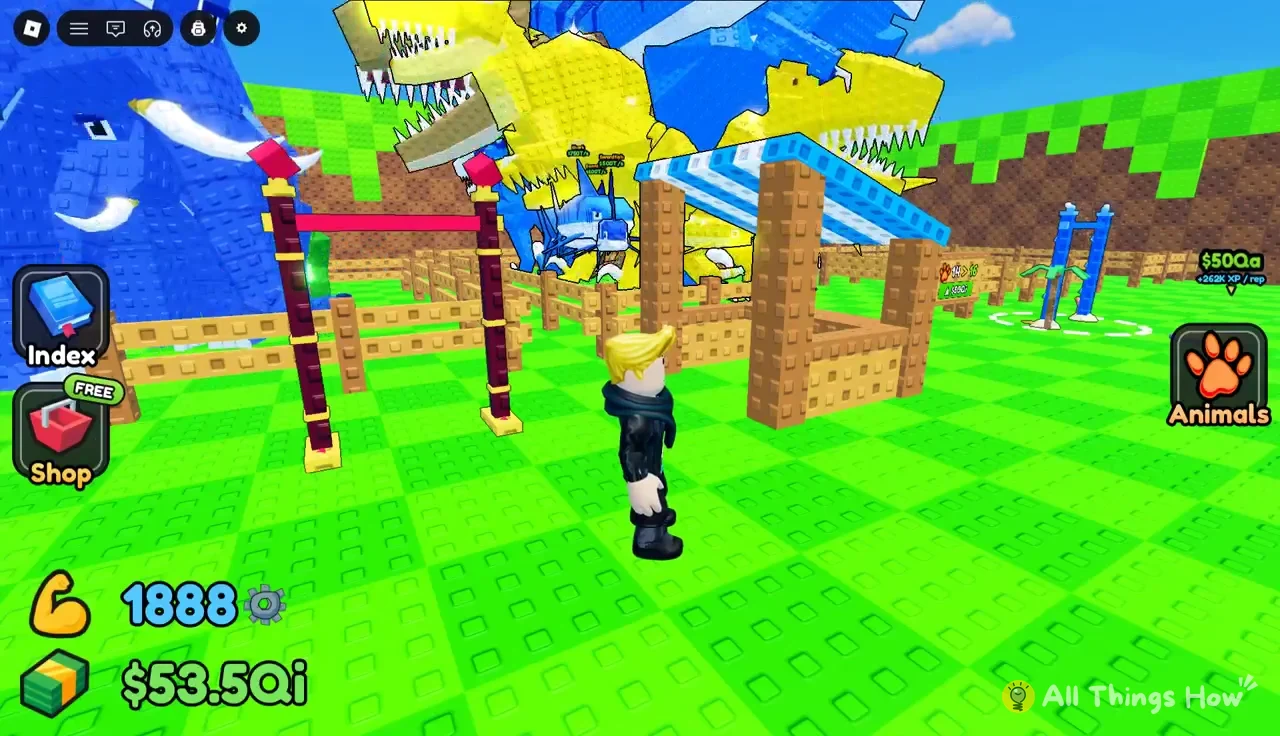
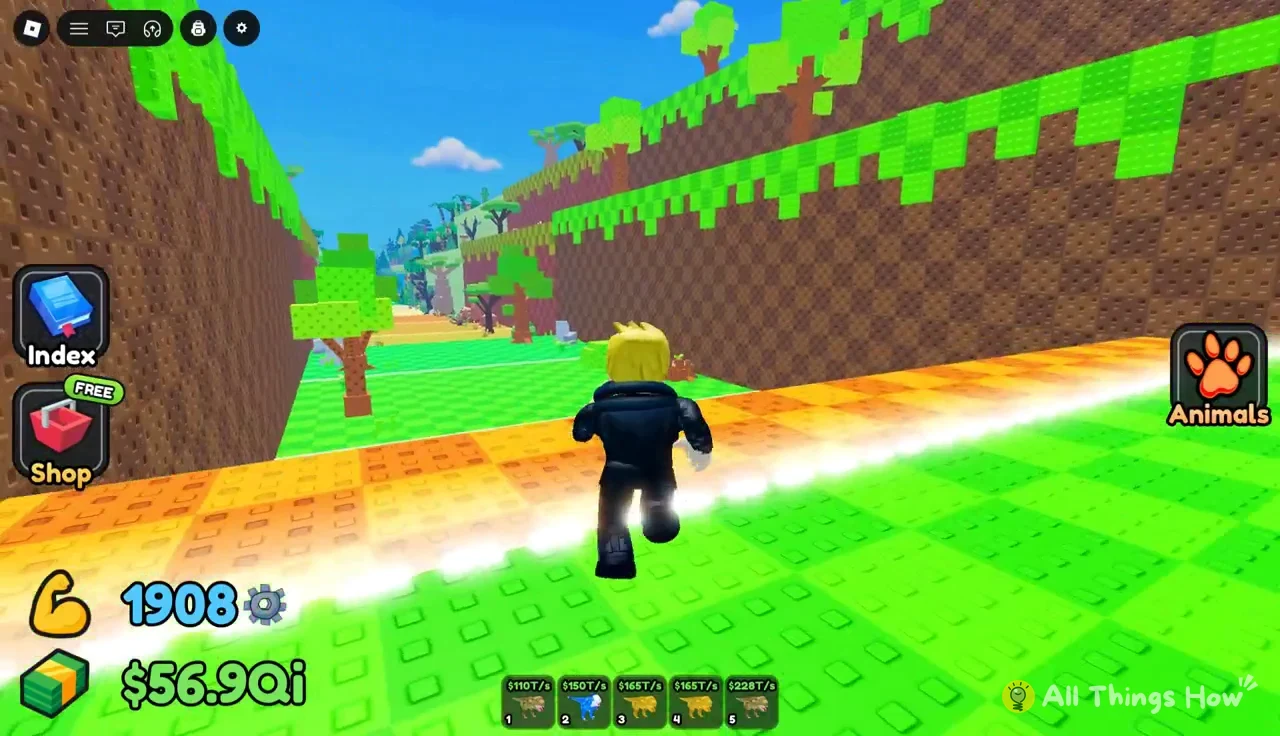
Your plot is home base for all of it. The pull-up bars, the Food Shop stall, the SELL stall and your animal pens sit around it, and the throw runway starts from its edge. The Index, Shop and Animals buttons stay on screen while you move between them.
Pull-up bar upgrades and Throw Power
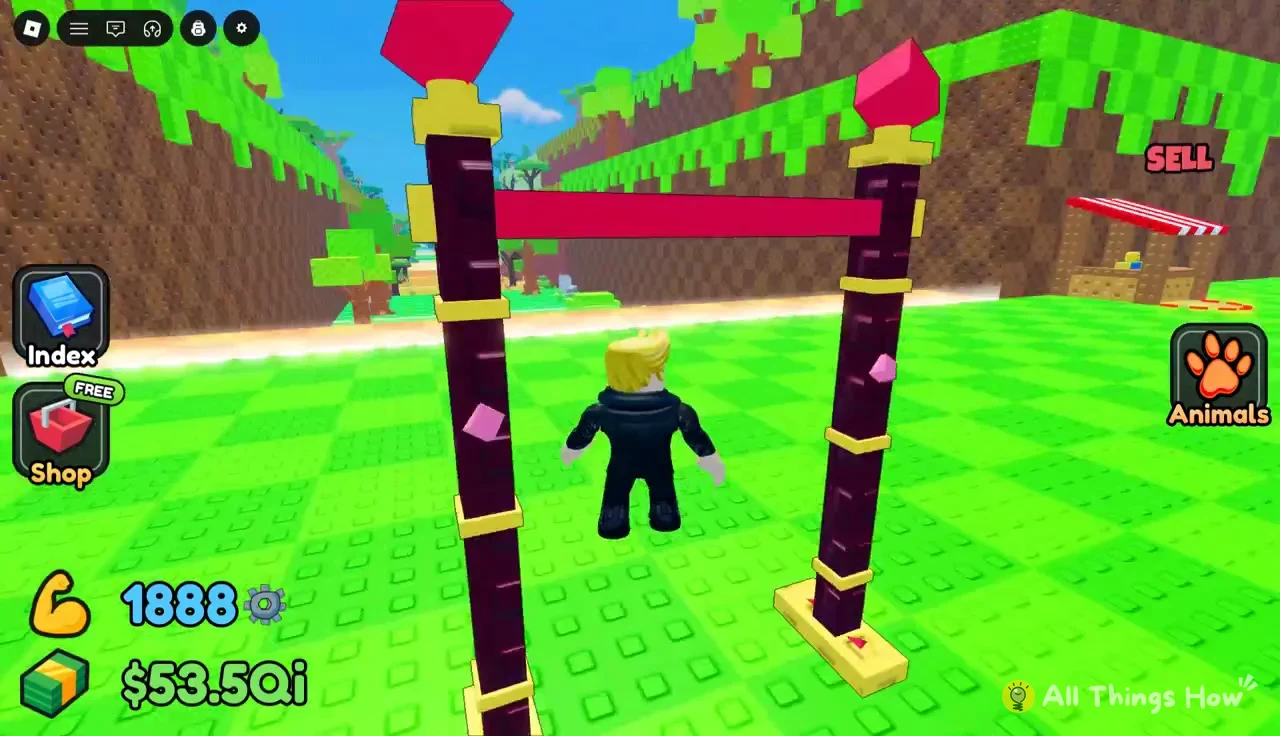
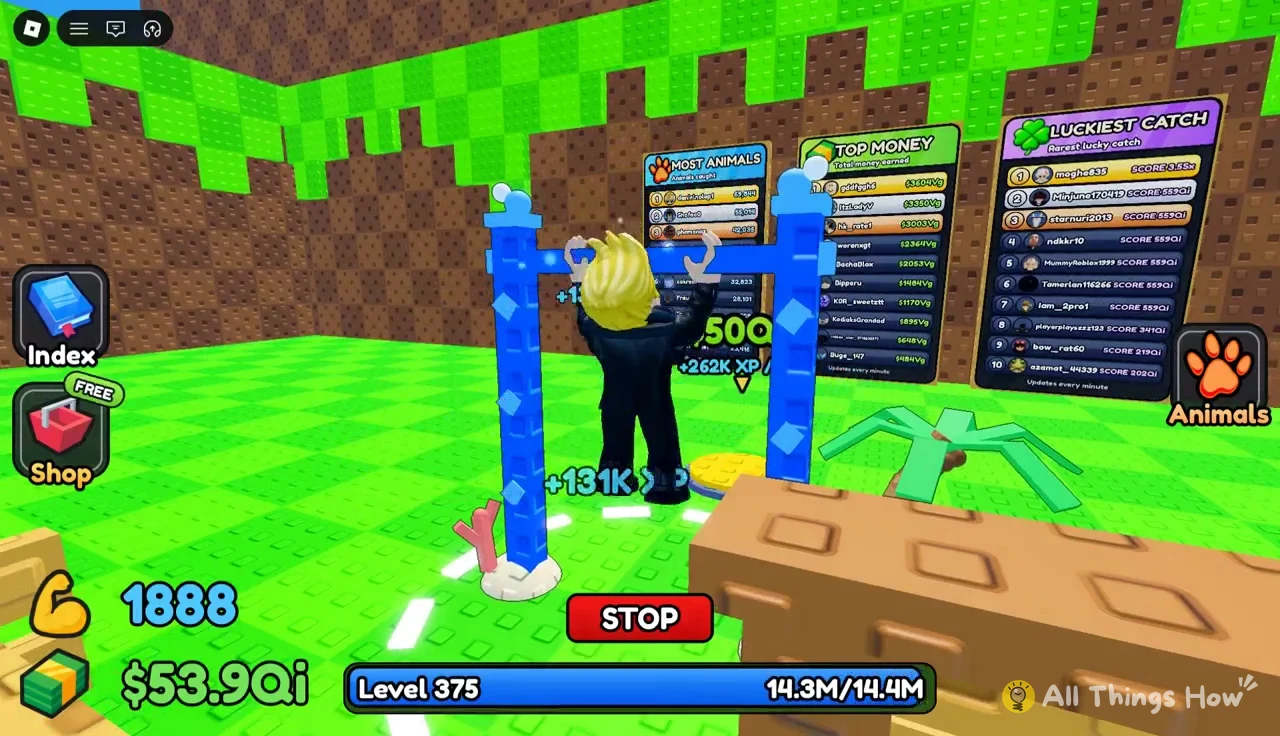
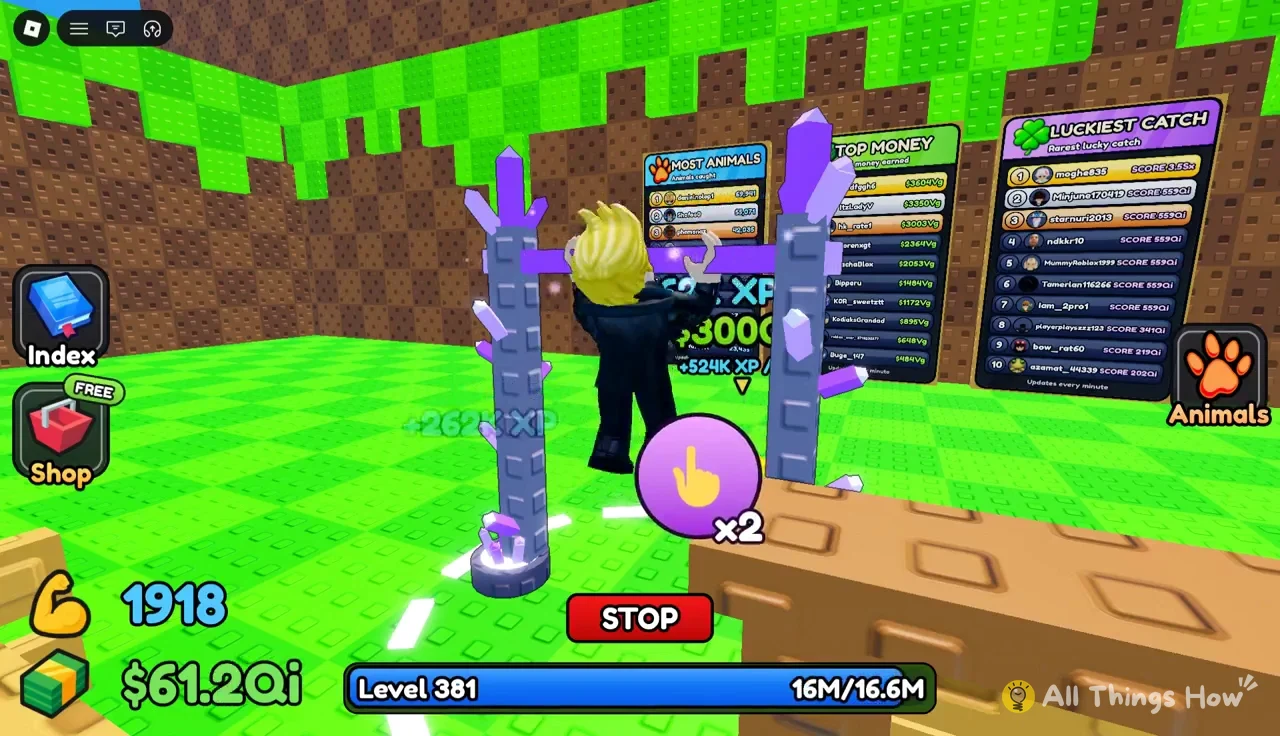
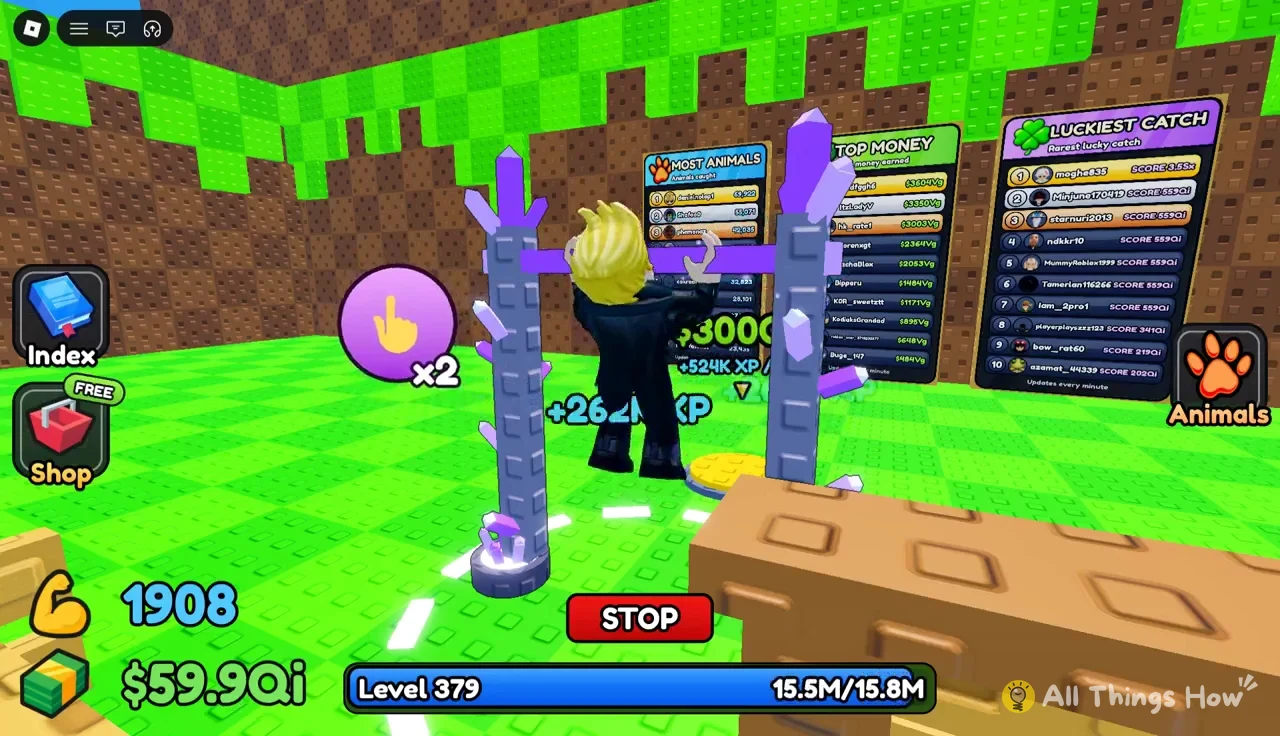
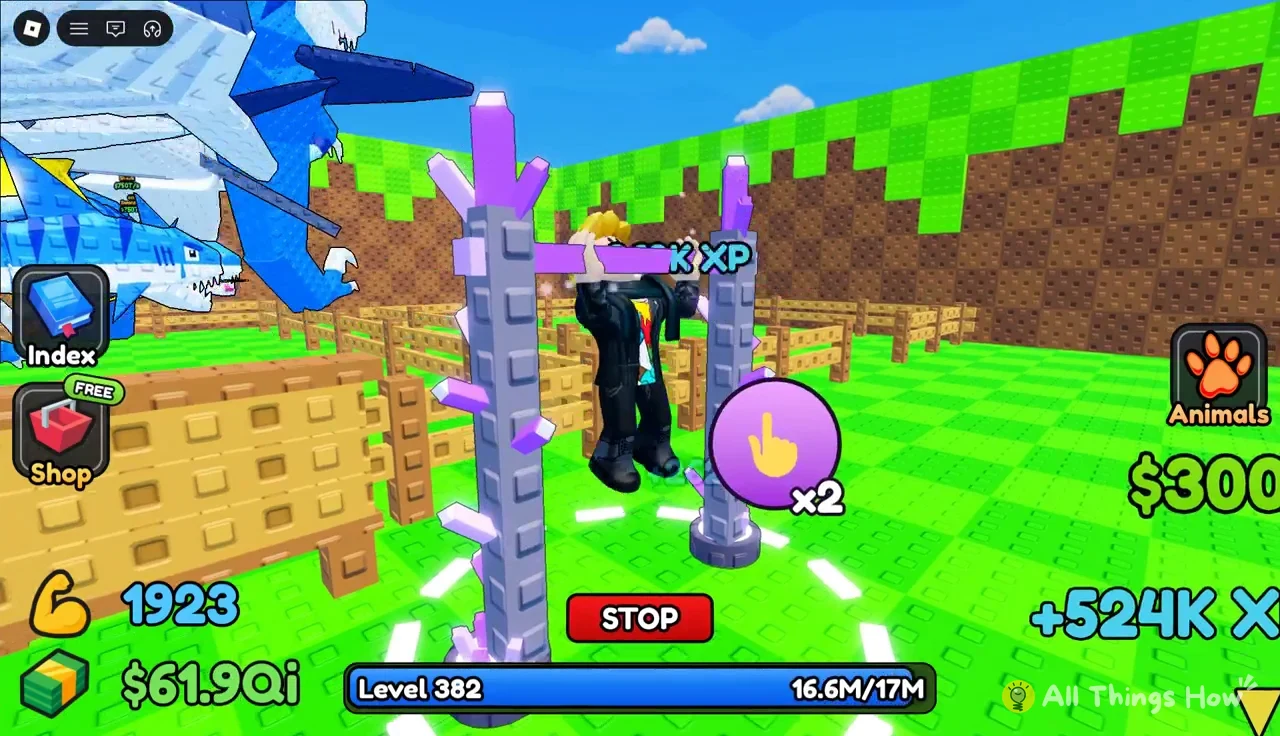
Throw Power comes from your player level, and your level comes from XP earned doing pull-ups. Each level up shows a “LEVEL UP!” banner and adds +5 Throw Power. Bars come in tiers, and each upgrade raises the XP you get per rep, so a better bar means faster levels and longer throws.
| Bar | Upgrade cost | XP per rep |
|---|---|---|
| Coral Bar | Earlier tier | +131K XP |
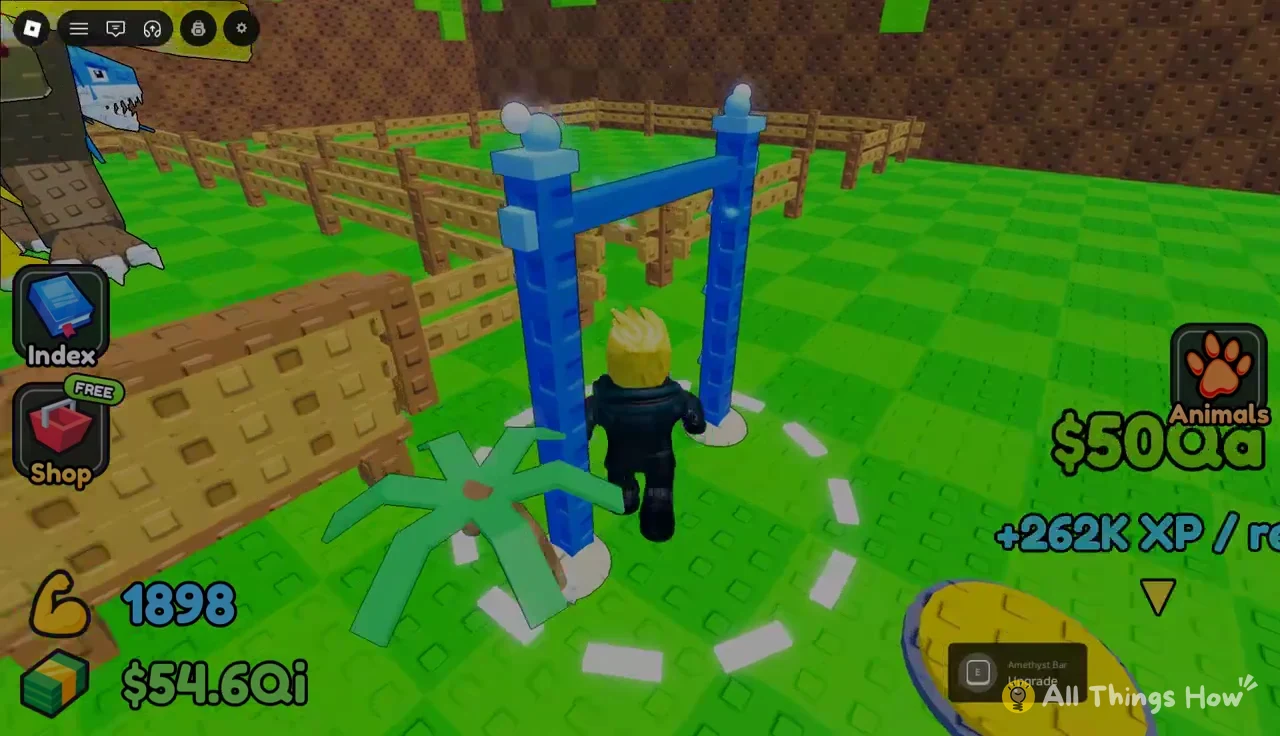
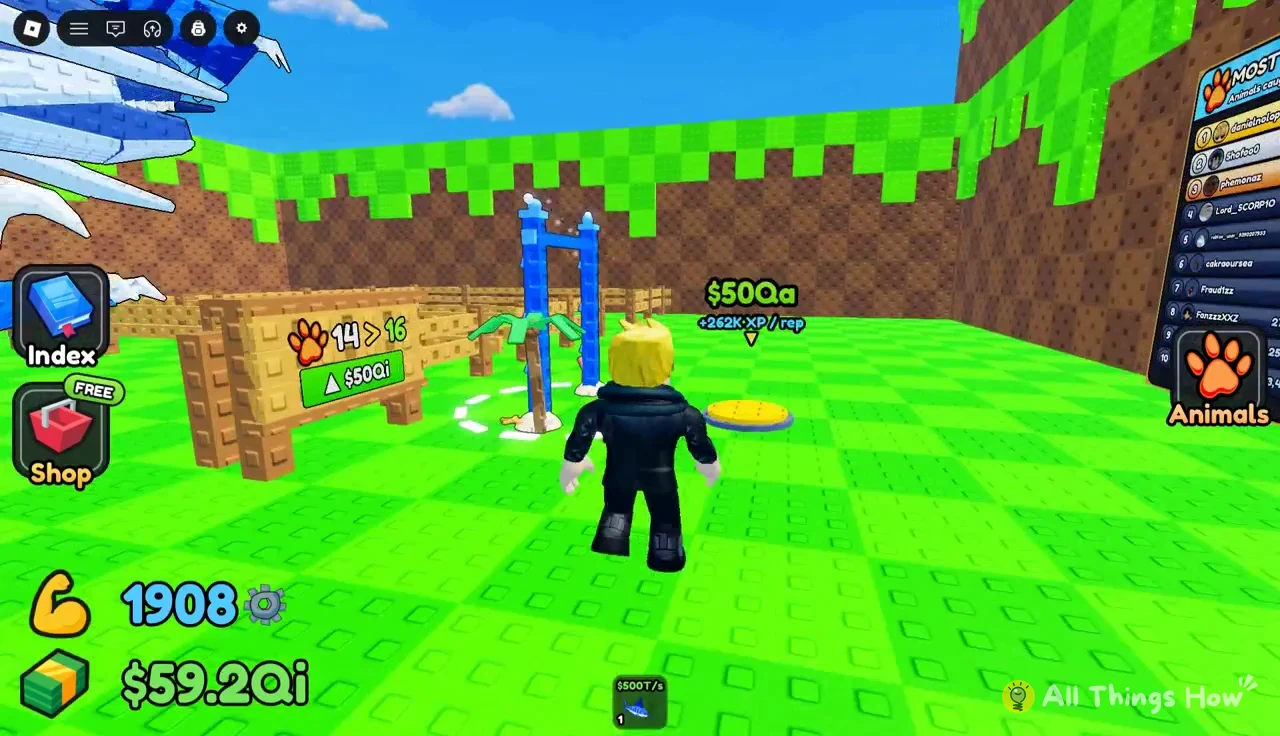
| Amethyst Bar | $50Qa | +262K XP |
| Inferno Bar | $300Qa | +524K XP |
You can’t skip tiers. The game posts a “NEW EQUIPMENT!” notice when the next bar becomes available, reading “YOU CAN NOW BUY AMETHYST BAR.” Buying the Amethyst Bar triggers the same notice for the Inferno Bar. Each step doubles your XP per rep, so the upgrade usually pays for itself quickly in levels.
How to train on a bar
How to buy the next bar
Throwing food through the biomes
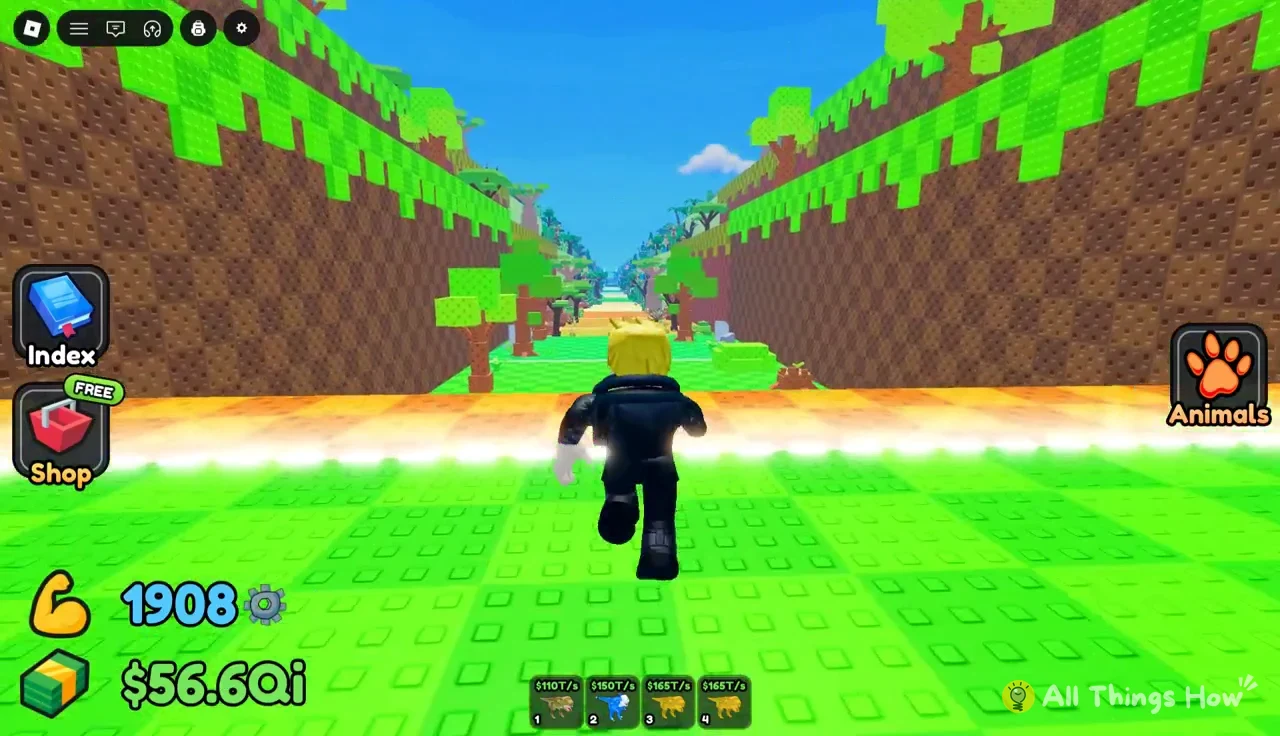
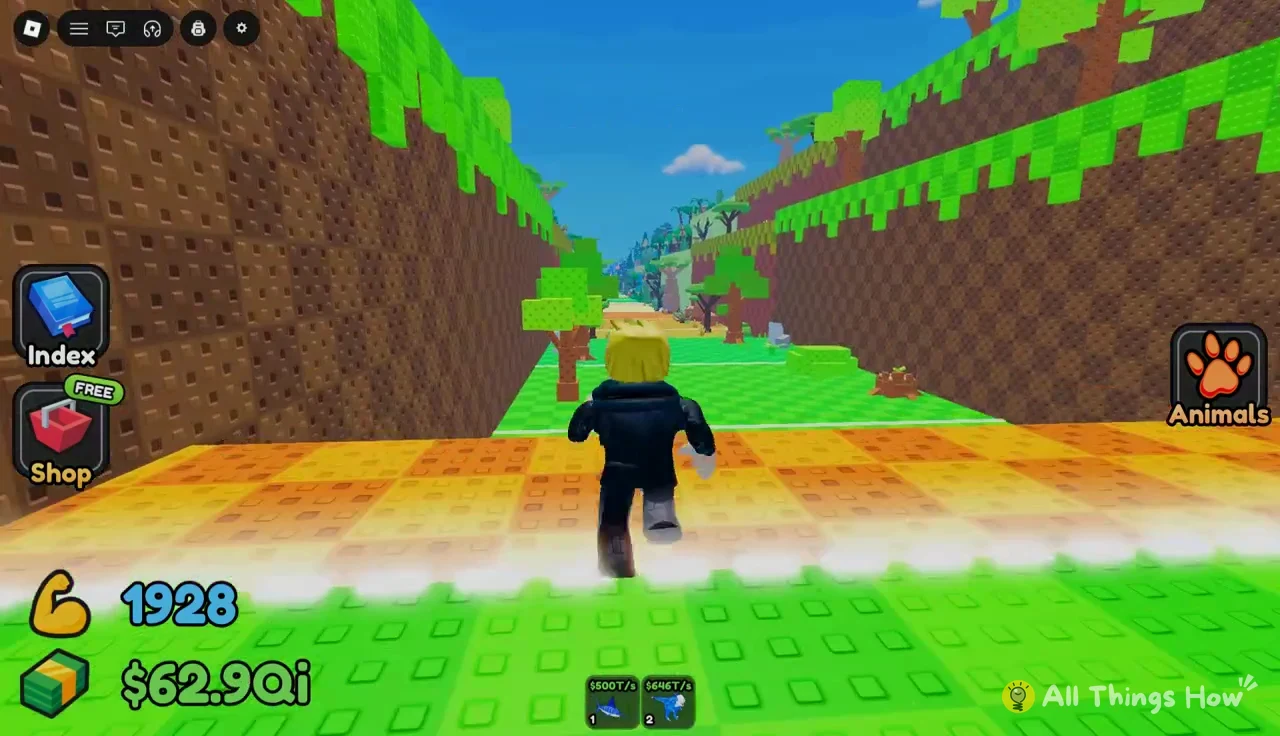
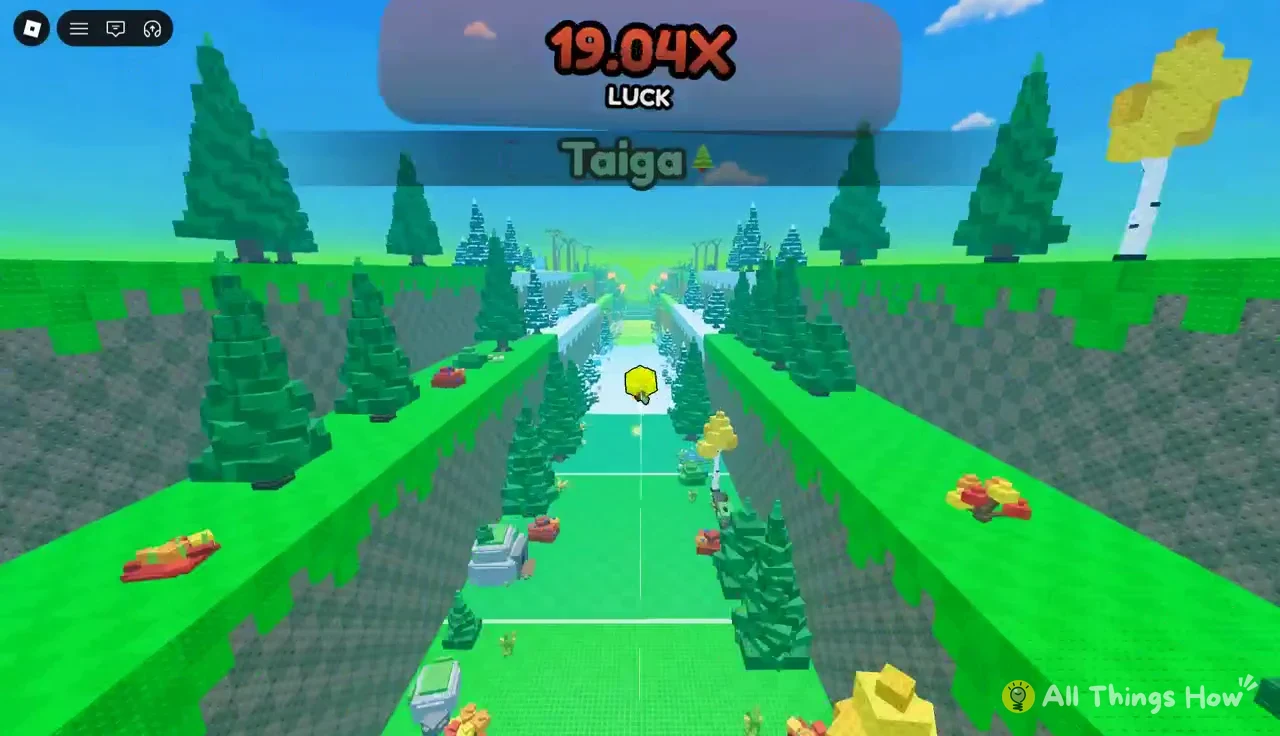
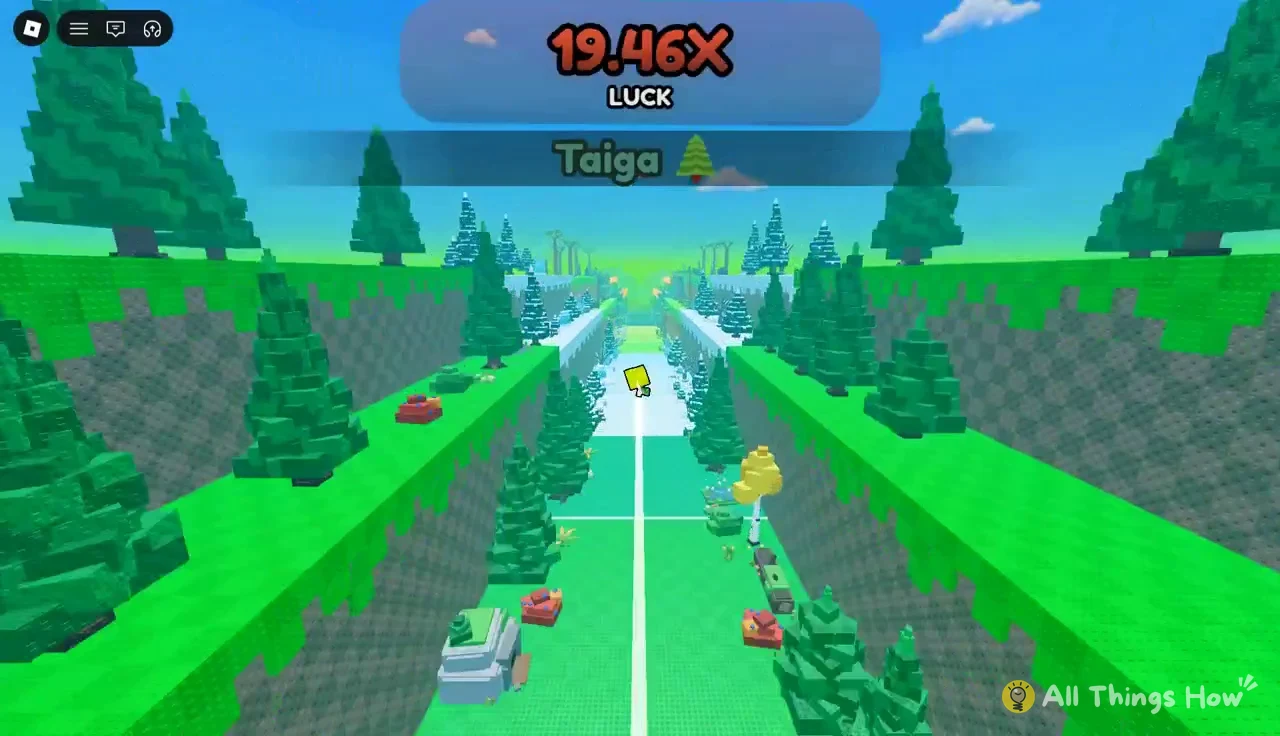
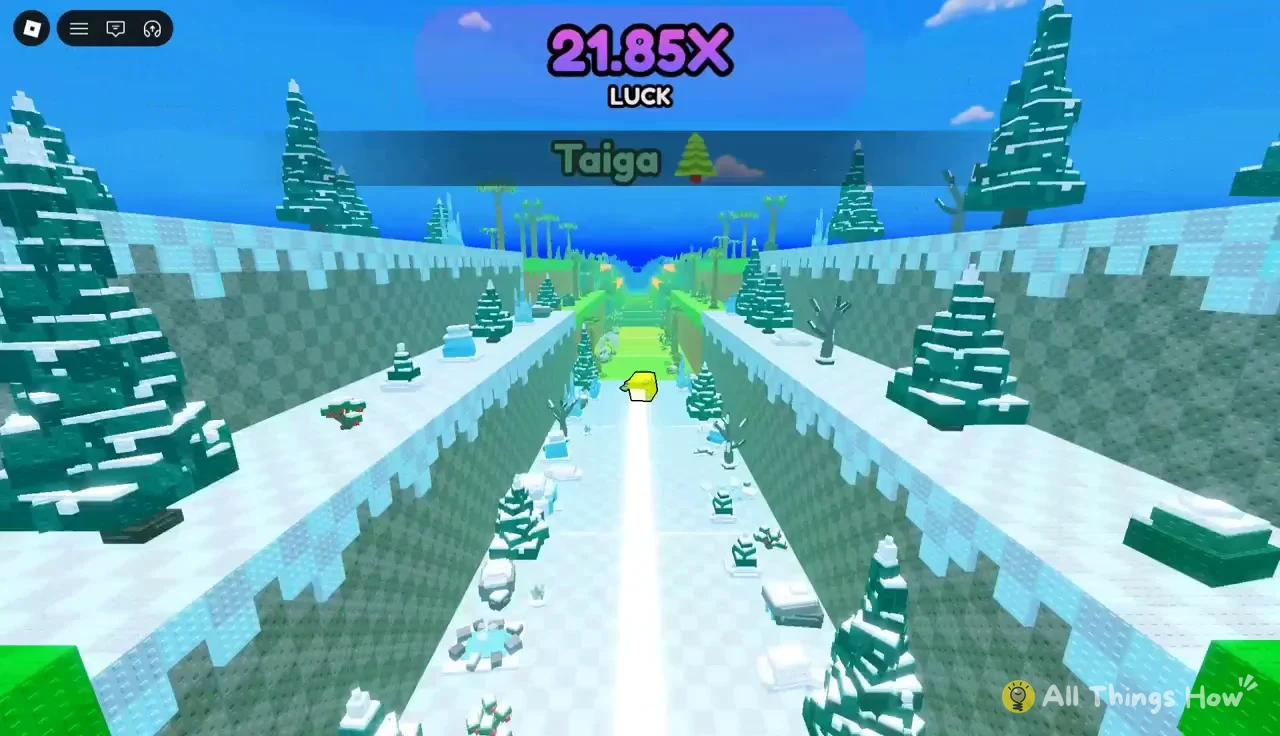
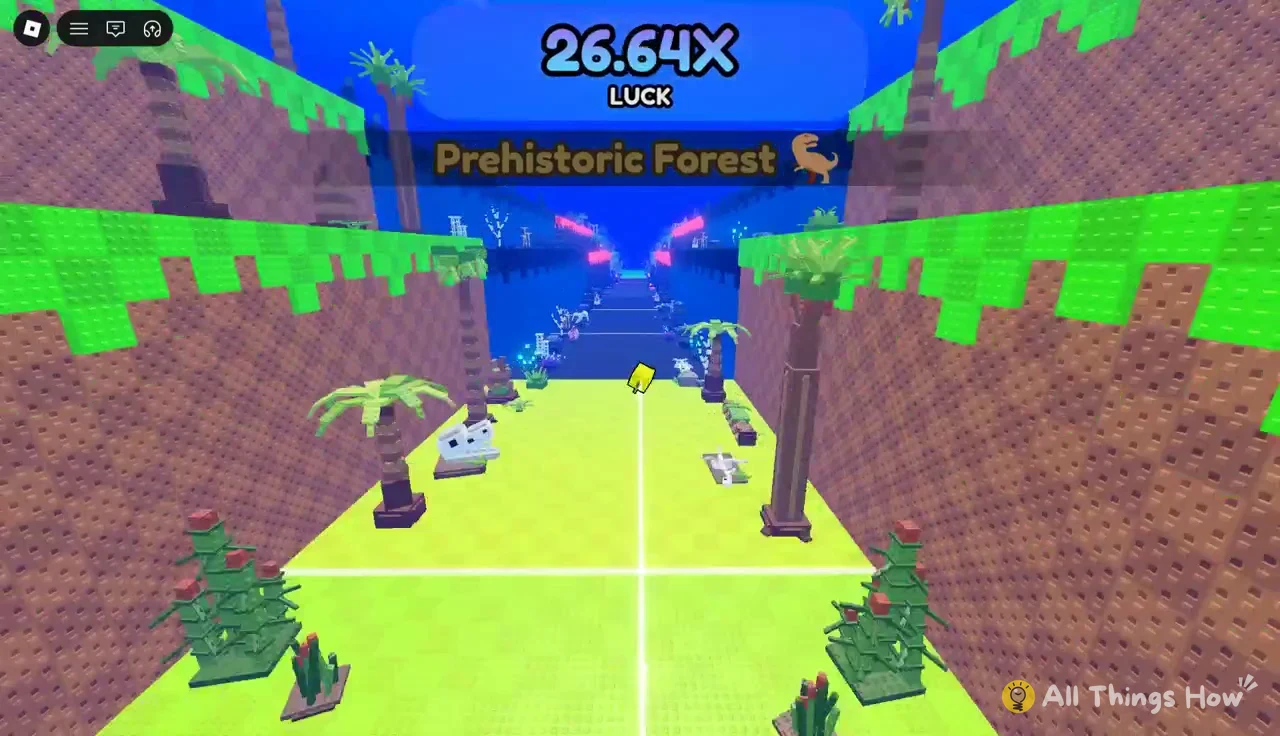
Throws happen on a long runway that runs from your plot through a chain of biomes. The farther your food travels, the deeper into the chain it lands, and the higher the Luck multiplier at the top of the screen climbs. That multiplier affects your odds of rolling rare and boosted versions of an animal, like the “LUCKY!” catches in the table further down.
| Order | Biome |
|---|---|
| 1 | Forest |
| 2 | Savanna |
| 3 | Jungle |
| 4 | Desert |
| 5 | Mountains |
| 6 | Taiga |
| 7 | Ocean |
| 8 | Winter |
| 9 | Prehistoric Forest |
| 10 | Deep Waters |
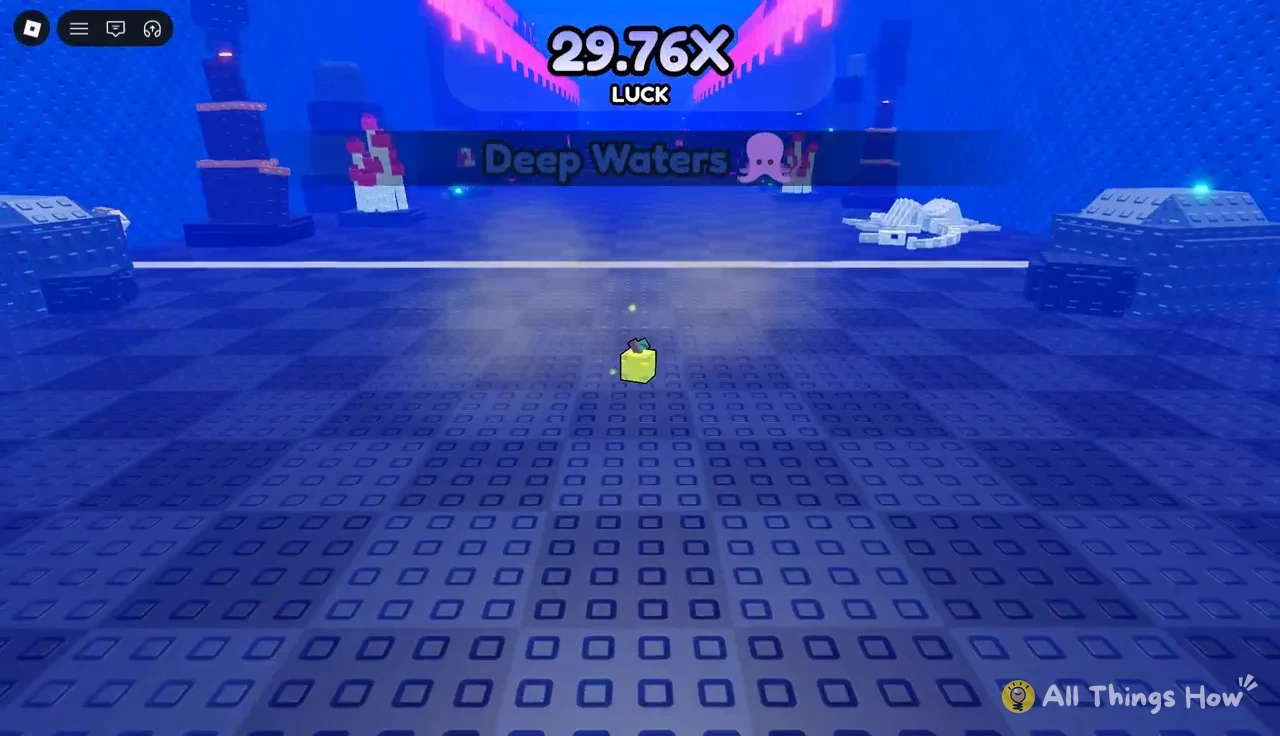
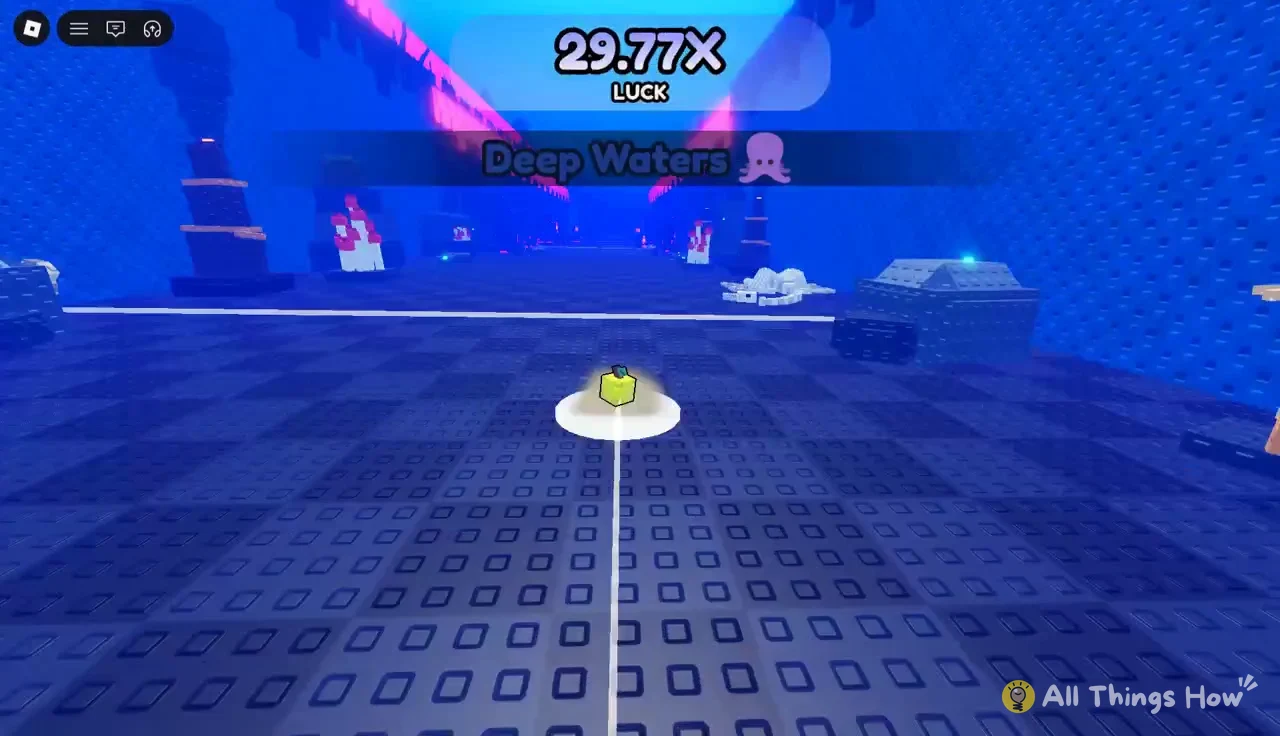
The Luck banner rises steadily as food passes through these zones. It reads around 19x in Taiga, about 22x in Winter, close to 27x in Prehistoric Forest and up to 30.04X in Deep Waters. Reaching the end of the track is a Throw Power problem, not a food problem. If your throws keep landing short, go back to the bar.
How to make a throw

Food Shop and which food to throw
Higher-quality food draws animals with greater rarity. Every food has a rarity and tier, but purchasing one won’t equip it; you must select it from the shop. Enter the glowing blue ring beside the Food Shop stall, then press EQUIP on your chosen food.
| Food | Rarity | Tier | Price |
|---|---|---|---|
| Royal Steak | Mythic | Tier 9 | Owned |
| Golden Apple | Secret | Tier 9 | Owned |
| Crystal Melon | Secret | Tier 10 | $4Qi |
The Golden Apple is the throwing food behind every Deep Waters catch below. The Crystal Melon is the next food after it, and at $4Qi it’s a reasonable savings target before the update lands.
Deep Waters animals and earnings per second
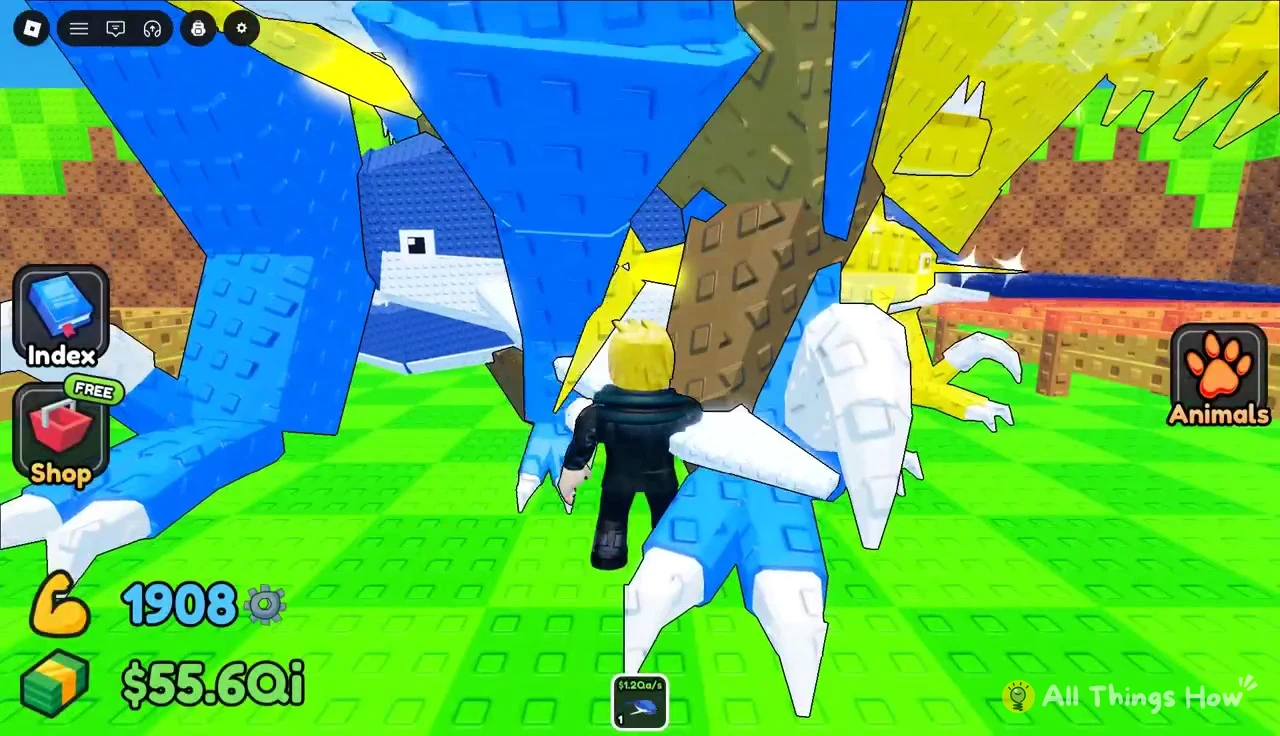
Deep Waters is the last biome on the track, and it’s where Golden Apple throws with enough Throw Power reliably end up. Its catches are giant marine and prehistoric animals that earn in the trillions and quadrillions per second.
| Animal | Tag | Earnings |
|---|---|---|
| Shark | Standard | $750T/s |
| Whale | Standard | $1.2Qa/s |
| Shark | Big | $1.56Qa/s |
| Gold Megalodon | Gold | $3Qa/s |
| Mosasaurus | Standard | $3Qa/s |
| Megalodon | Big | $4.15Qa/s |
| Whale | Large, 1 in 36 | $5.17Qa/s |
| Diamond Megalodon | 1 in 31 | $6Qa/s |
Size tags like Big and Large, along with Gold and Diamond variants, raise an animal’s earnings above its standard version. The “LUCKY!” banner and a “1 in” figure appear when you roll an uncommon result, such as the 1 in 36 Large Whale or the 1 in 31 Diamond Megalodon. A Large Whale earns more than four times what a standard Whale does, so repeat throws into the same biome are worth it even after you’ve collected every species there.
Selling backpack animals at the SELL stall
Your plot only holds a set number of animals. Anything that doesn’t make the cut waits in your backpack, where it earns nothing. Selling those spares is the fastest way to turn a run of duplicate throws into bar and food money.
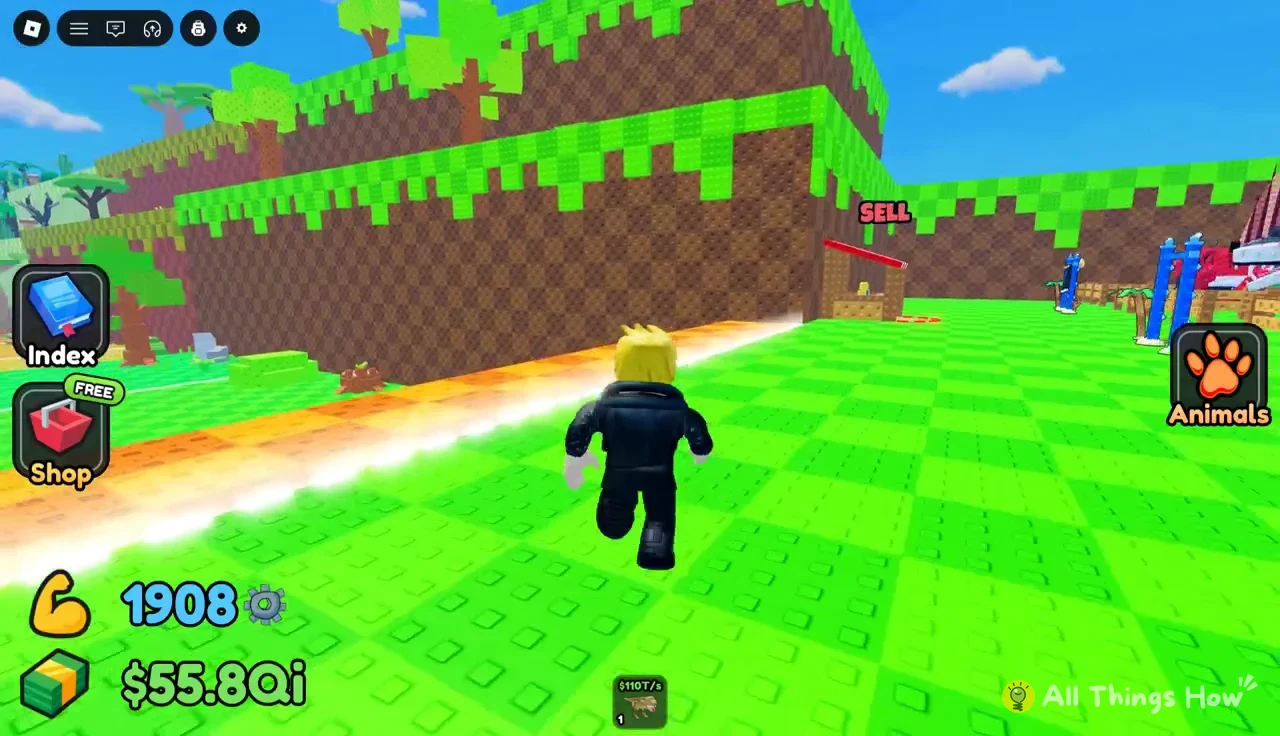
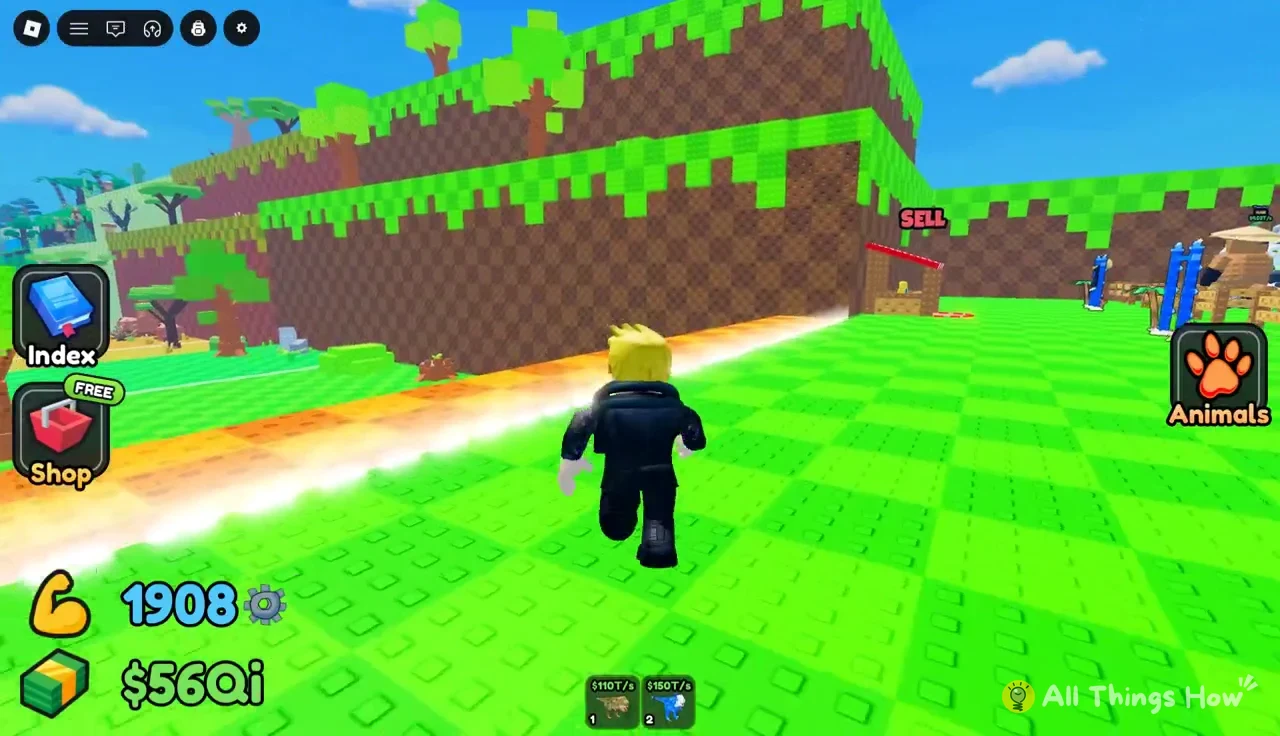
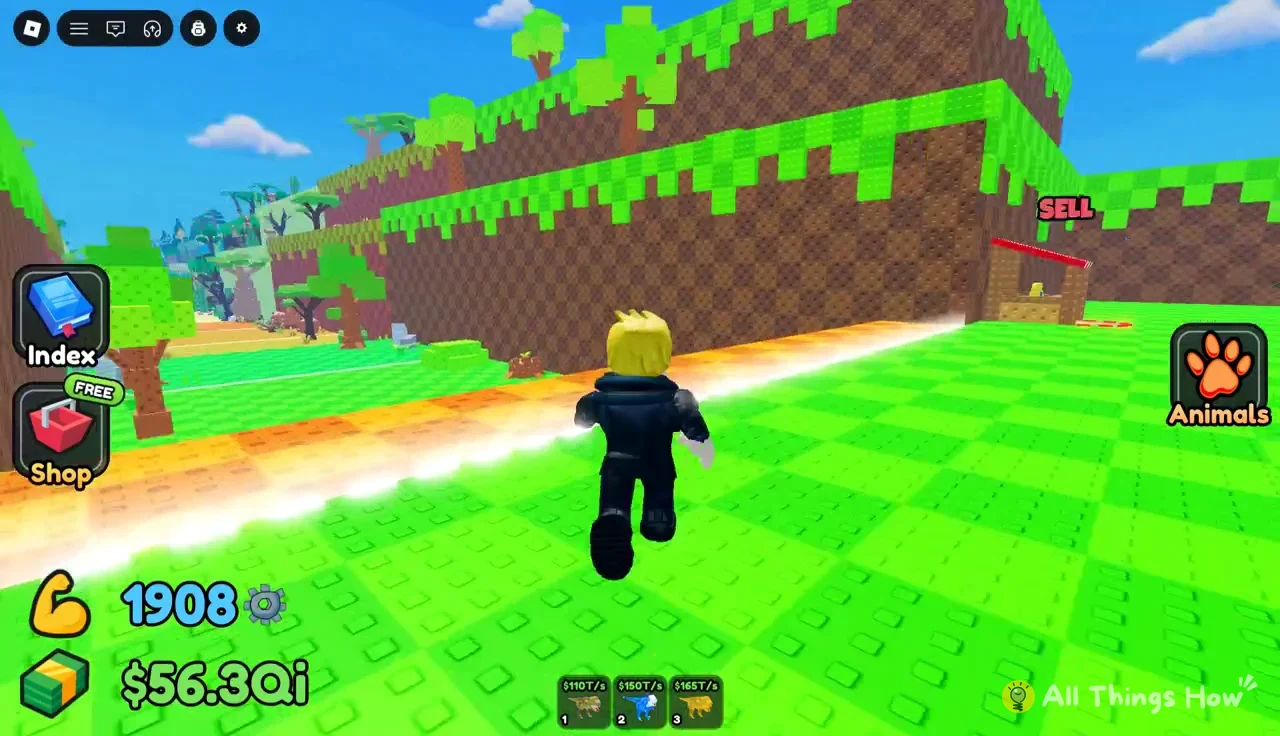
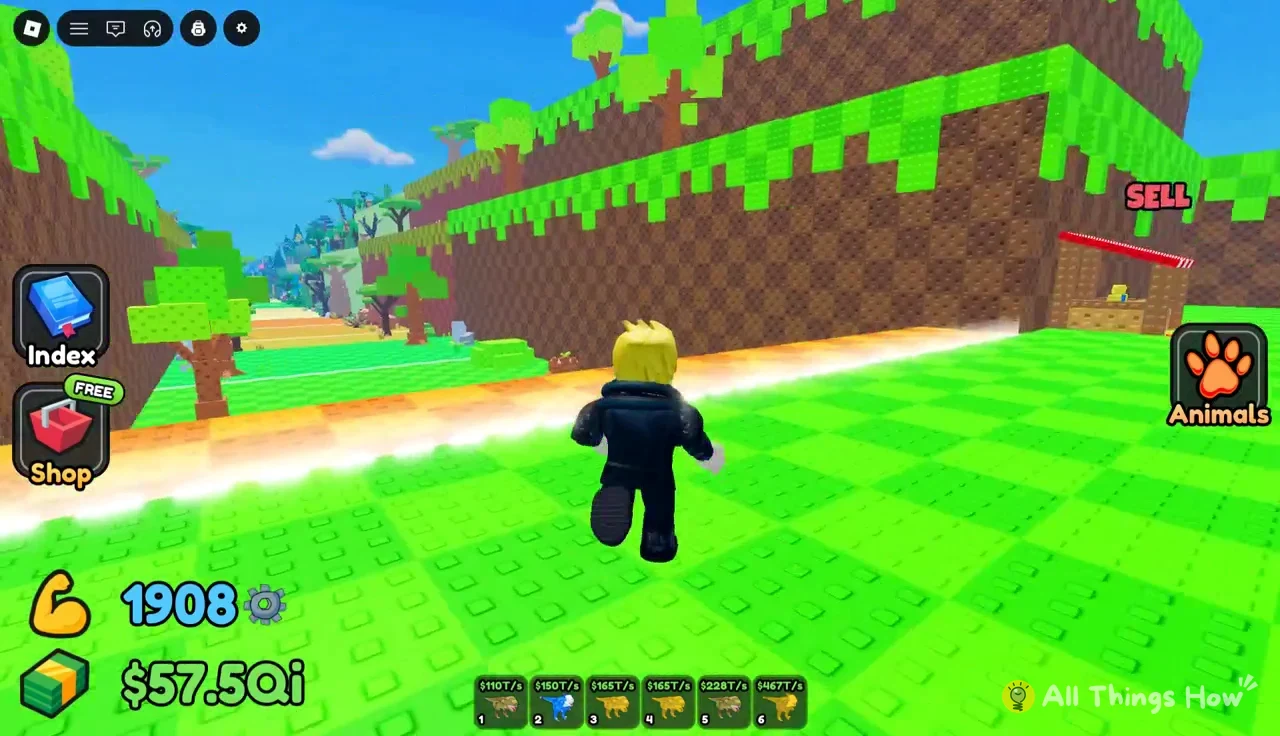
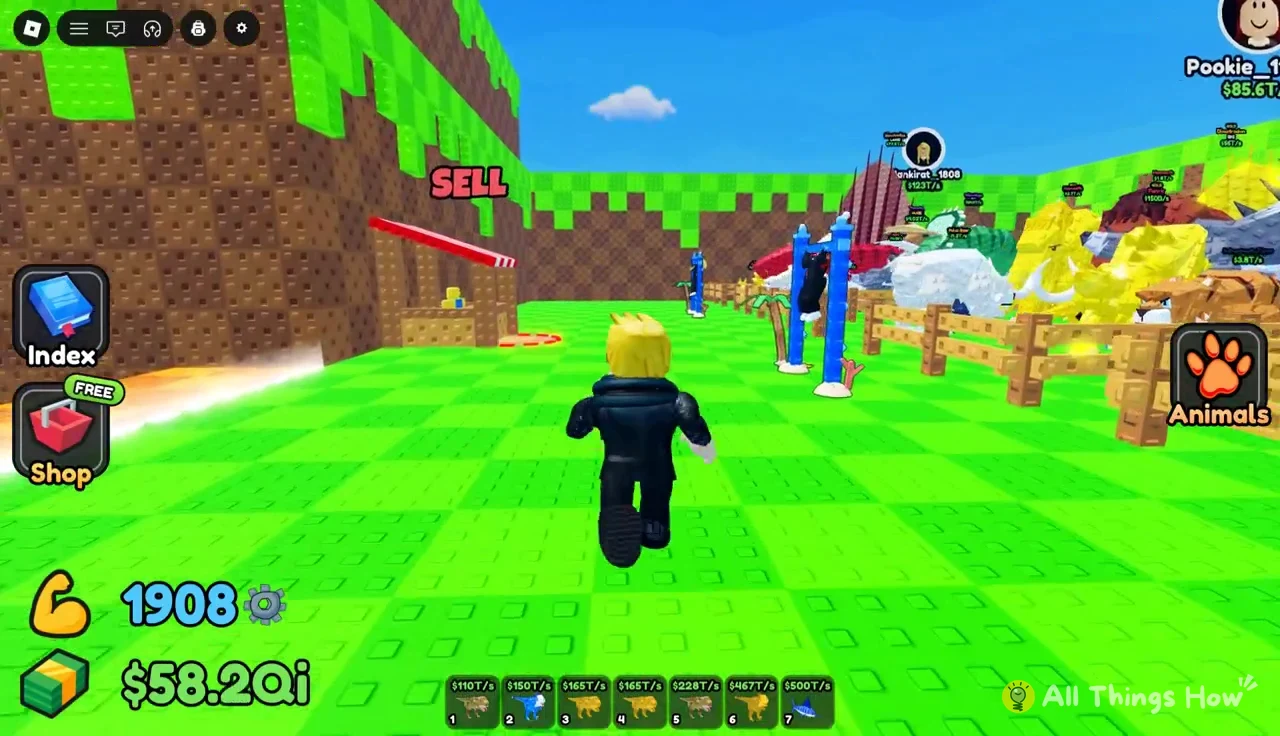
SELL ALL only touches your backpack. Animals placed on your plot are never included, so run EQUIP BEST first to make sure your strongest catches are on the plot and not in the sale.
EQUIP BEST and offline earnings
Only animals on your plot earn money. The game can pick them for you. Click the Animals paw icon on the right side of the HUD to open My Animals, then click the yellow EQUIP BEST button at the bottom of the window. It fills every slot with your highest earners and confirms with “Your best 14 animals are on your plot!” The counter at the top shows how full the plot is, such as ON YOUR PLOT 14/14.
Run EQUIP BEST after every good catch, especially a “NEW BEST!” or a LUCKY roll. A new animal that outearns something on your plot doesn’t swap in by itself, and every minute it sits in the backpack is lost income.
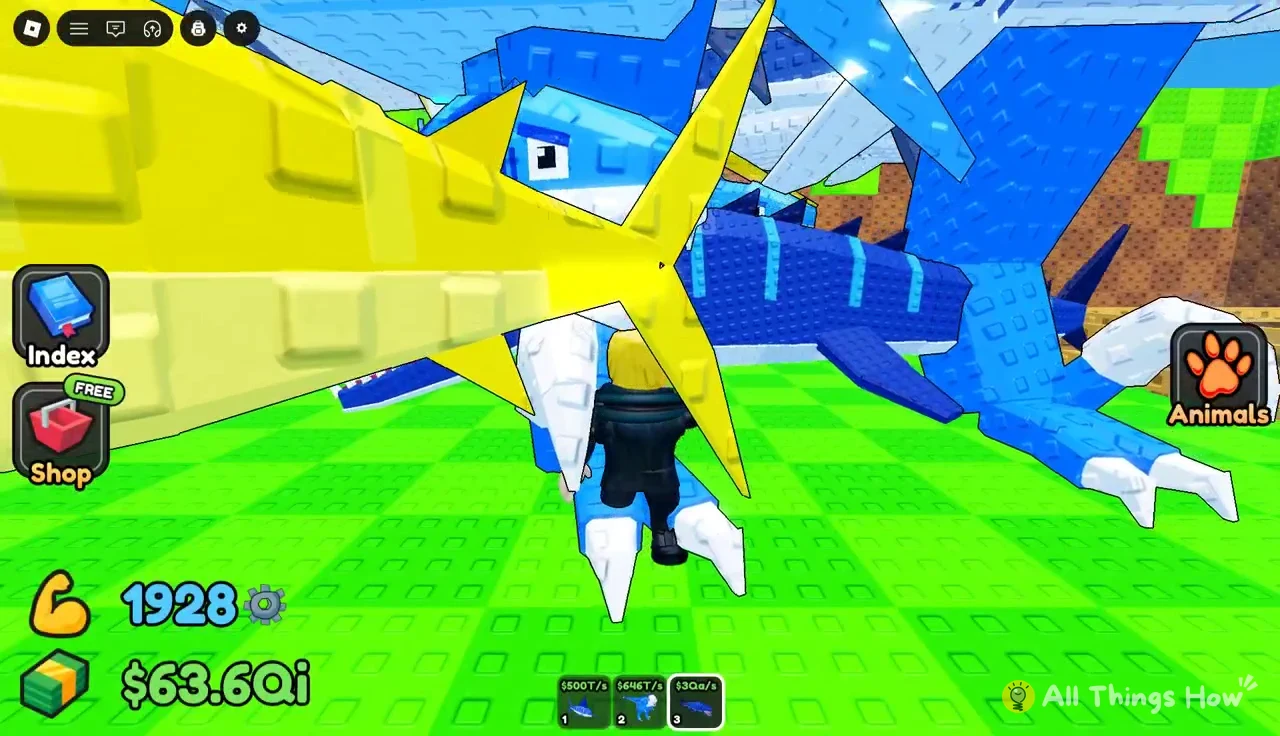
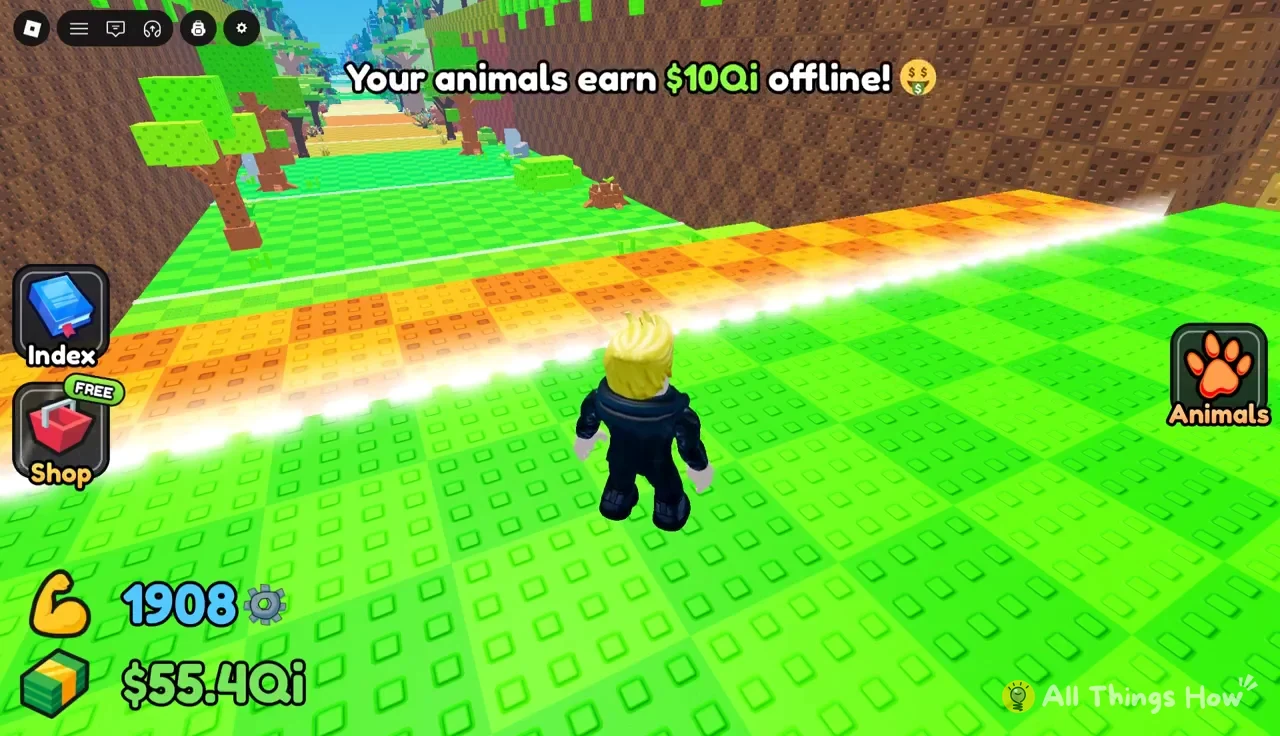
Your plot keeps earning while you’re out of the game. When you come back, a banner reports the total, such as “Your animals earn $32.3Qi offline!” That makes a fully equipped plot the last thing to sort out before logging off ahead of November 14. The stronger your lineup, the bigger the balance waiting for you when the update goes live.
With your bar upgraded, your food equipped, your backpack sold off and your plot full, you’re set up for the update as soon as it goes live. The Notify Me reminder will tell you when it starts.