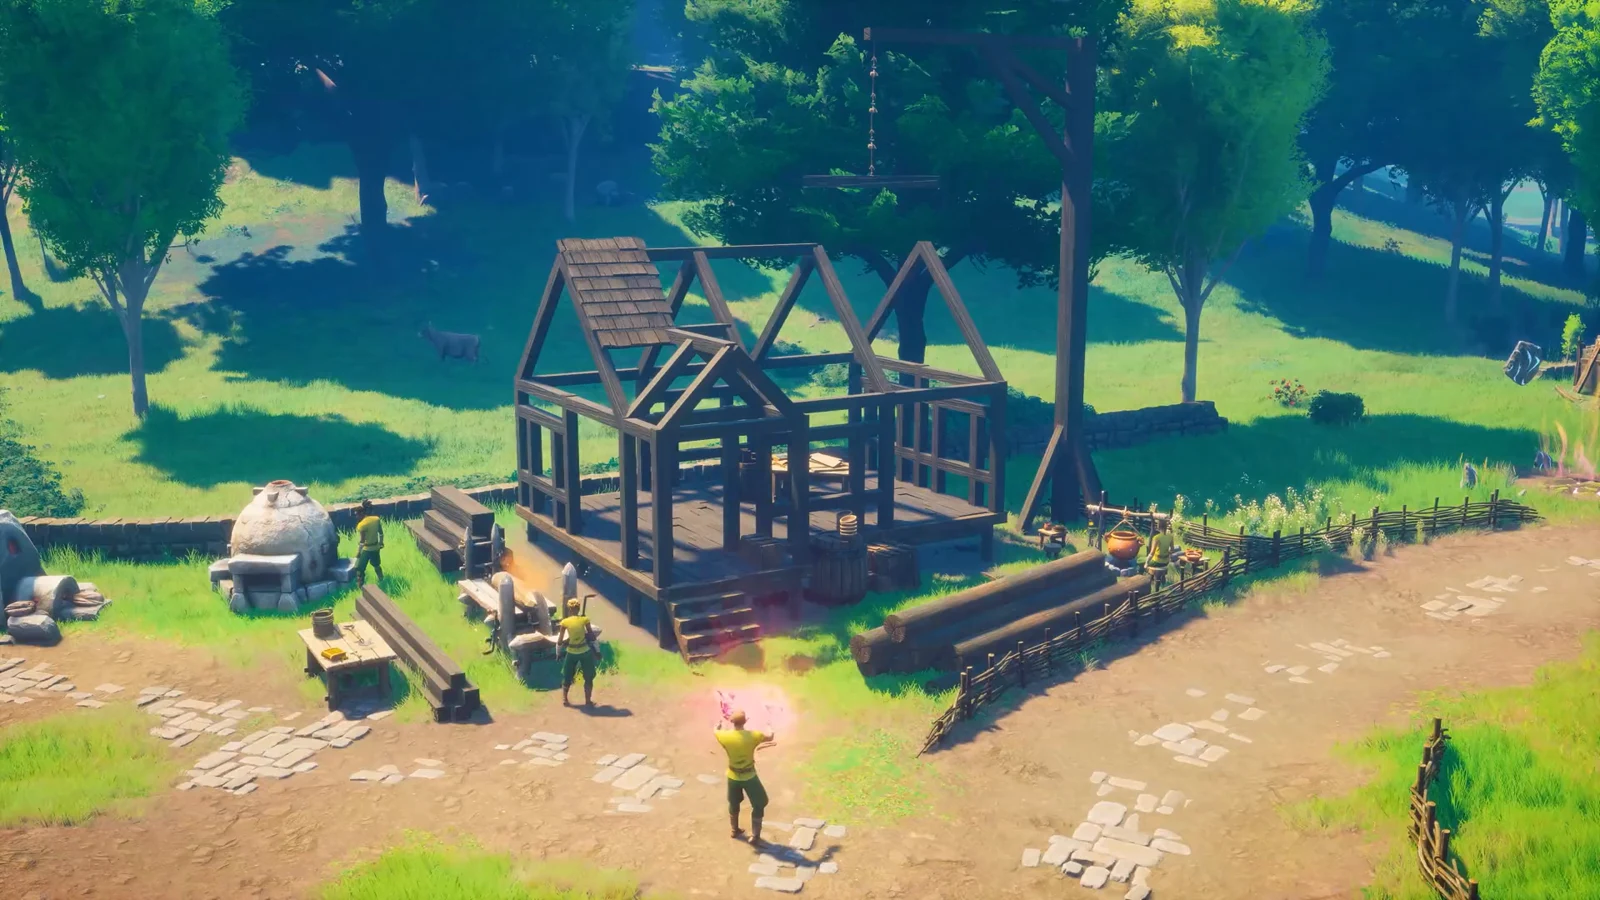
Stability is the rule that decides whether your house in Ashenfall goes up or refuses to exist. Every piece you place is measured against its distance from an anchor, and the moment that budget runs out, the build menu stops cooperating. Tall ceilings, wide halls and open-plan interiors burn through that budget fastest, which is why ambitious builds hit a wall long before the materials run out.
Quick answer: Beams and foundations provide the most dependable support. If the preview is red, the piece is too far from an anchor; extend a beam down into the ground below it, then place the piece again.
Stability colors and what they mean
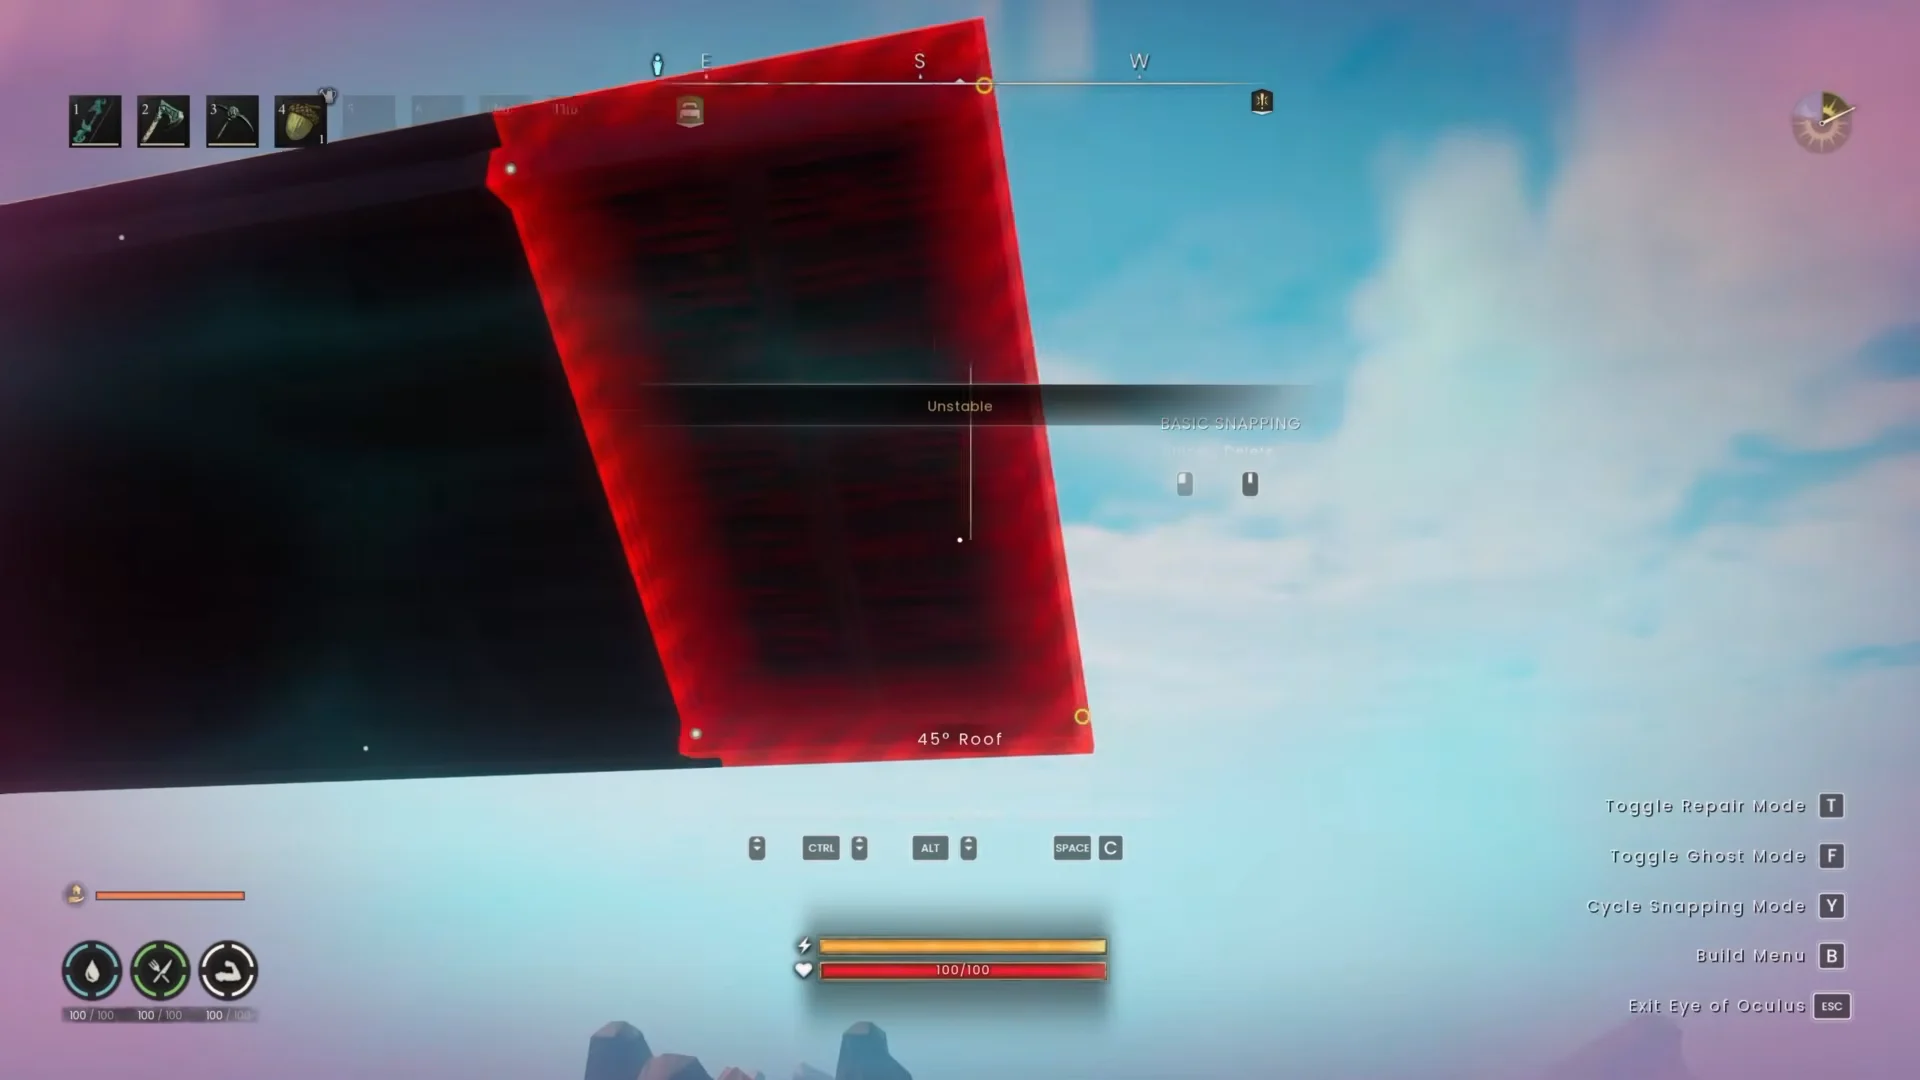
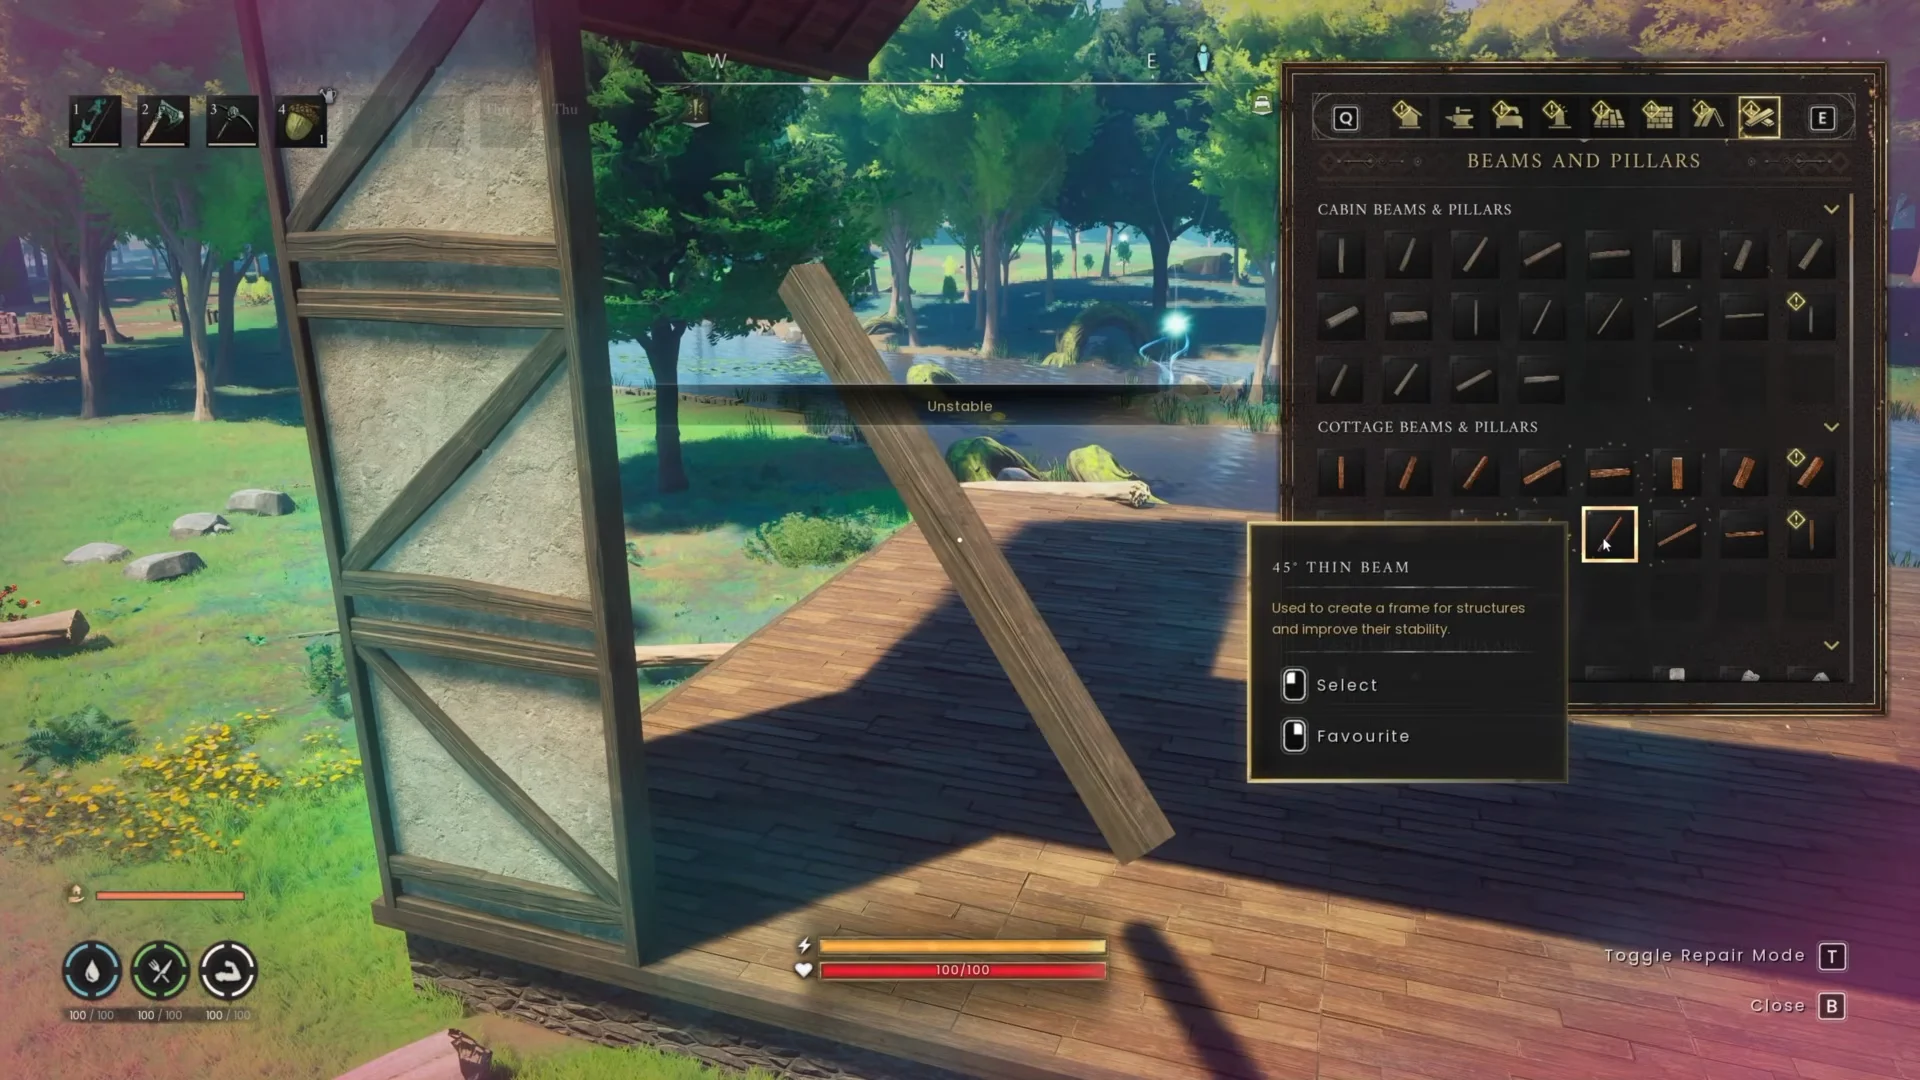
The outline on the preview piece is the only readout you get, and it works as a spectrum rather than a pass/fail light. Green is full stability, yellow and orange mark the edge of what the structure can still carry, and red is a hard block with an Unstable message on screen.
- Green — fully supported, usually anchored to the ground or sitting close to a foundation.
- Yellow and orange — the placement is allowed but near the support limit, so anything stacked on top will fail.
- Red — prohibited. The piece is too far from an anchor, blocked by terrain, or missing a connection.
Treat yellow as a warning rather than a success. A yellow wall will happily stand, but it cannot pass meaningful support upward, so the roof tile you try to snap on next is the piece that turns red.
Anchors and material limits
An anchor is a piece embedded in the terrain that feeds stability into everything connected to it. Beams and foundations are the best anchors by a clear margin, and thick and thin beams provide identical support. Walls and stairs also work, but they carry noticeably less, which is why a stack of walls alone runs out of room quickly.
The material of the anchor sets the limits for everything above it. Ash is the cheap starter option, oak roughly doubles your vertical headroom, and stone widens the footprint further.
| Anchor material | Max height | Max width | Stable travel |
|---|---|---|---|
| Ash | 5 blocks | 3 blocks | ~4–5 blocks |
| Oak | 8 blocks | 5 blocks | 6–8 blocks |
| Stone and above | — | 7 blocks | — |
Distance is cumulative, not straight-line. Every wall sideways and every wall upward adds to the same running total from the anchor, so a piece that sits four blocks across and three blocks up is far further away than it looks on screen.
If oak is scarce, spend it only on anchors and frame it out with ash. The anchor material sets the limits for the whole structure, so the cheaper filler pieces do not reduce them.
A wall or floor can support as many as six structures above ground even without a foundation, making a tiny starter hut possible with barely any substructure. Larger builds require several ground foundations, and every added one serves as backup so removing a single anchor will not trigger a chain collapse.
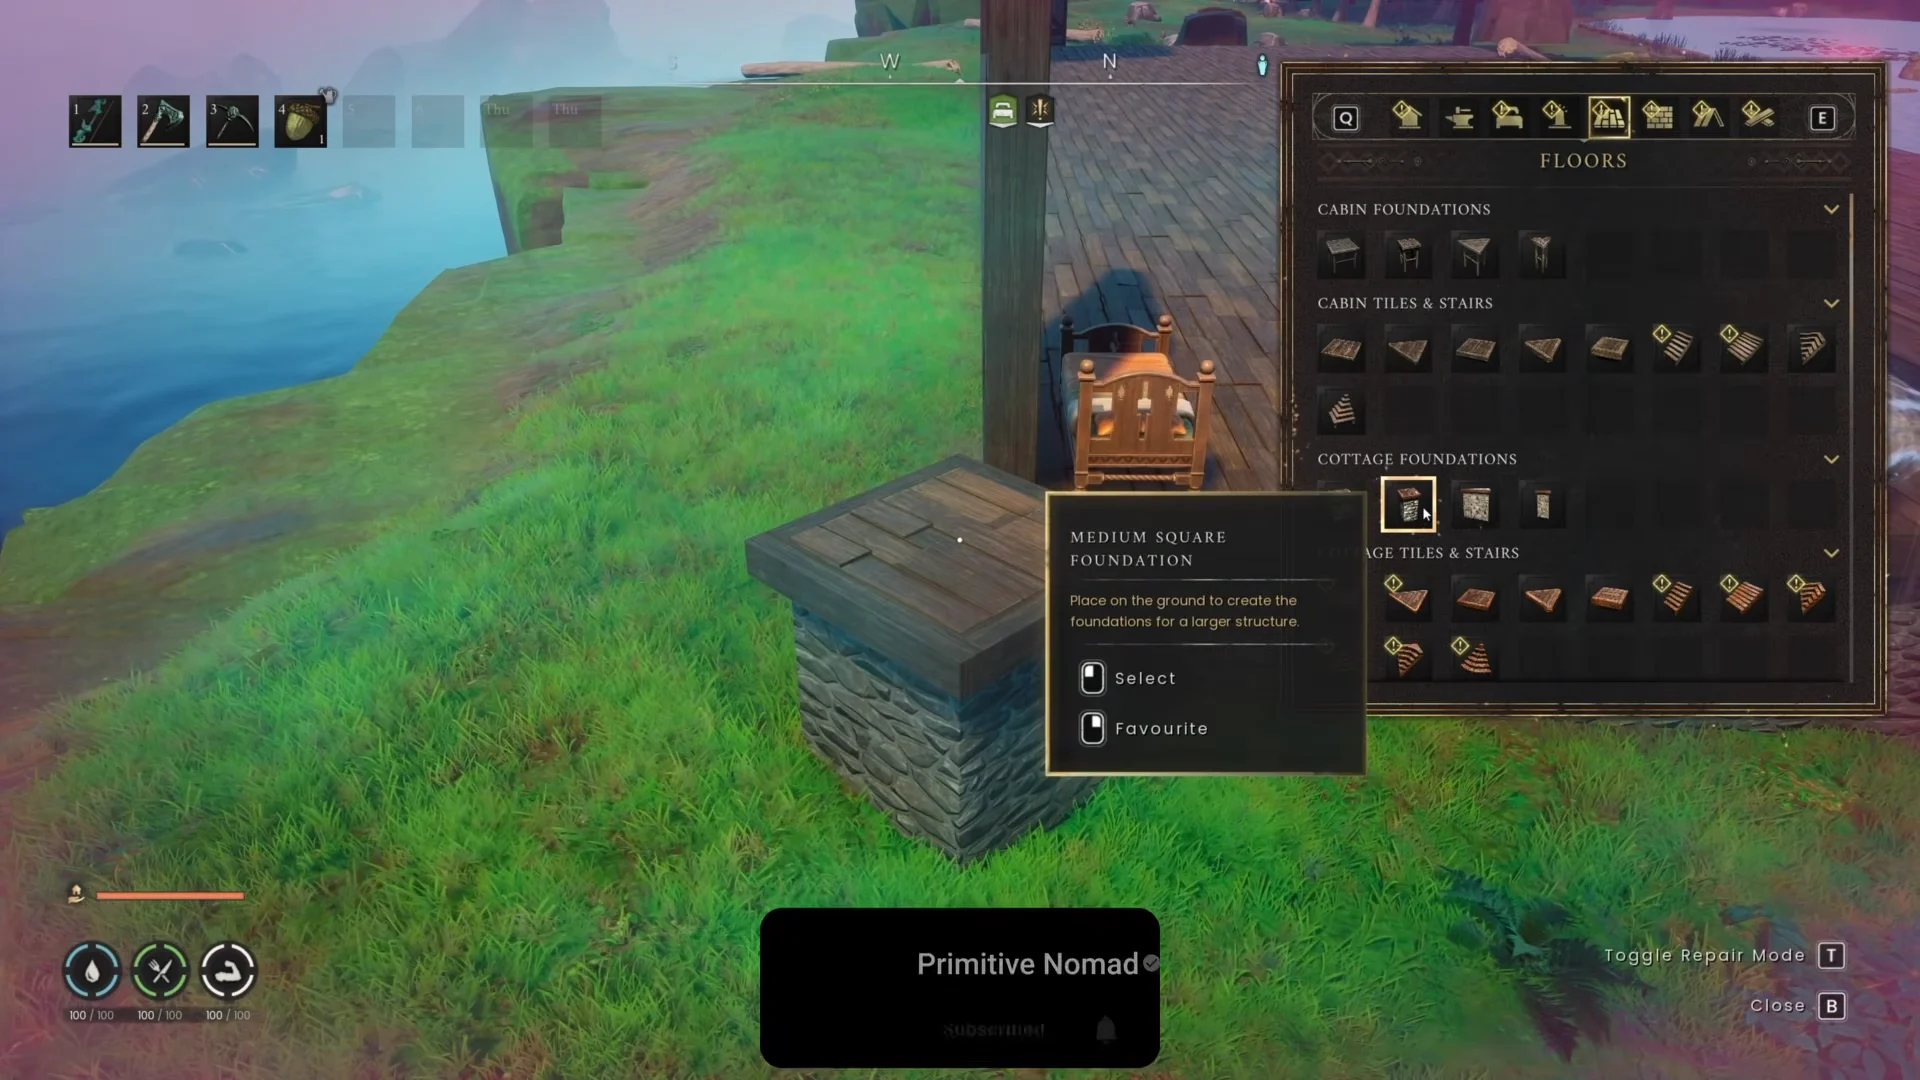
Placement controls, flat ground and snapping
Press B to open the Build Menu, then adjust the preview before you commit.
| Input | Effect |
|---|---|
| Scroll wheel | Rotate around the Z-axis |
| Alt + scroll wheel | Move the preview toward or away from you |
| Shift + scroll wheel | Raise or lower the preview from the surface |
Ground pieces have one extra rule: every basic snapping point has to touch the terrain at the same moment. On a slope, that never happens, and you get the red UNSTABLE warning instead of a placement. Terrace the slope with foundations first and build on the level surface you have created.
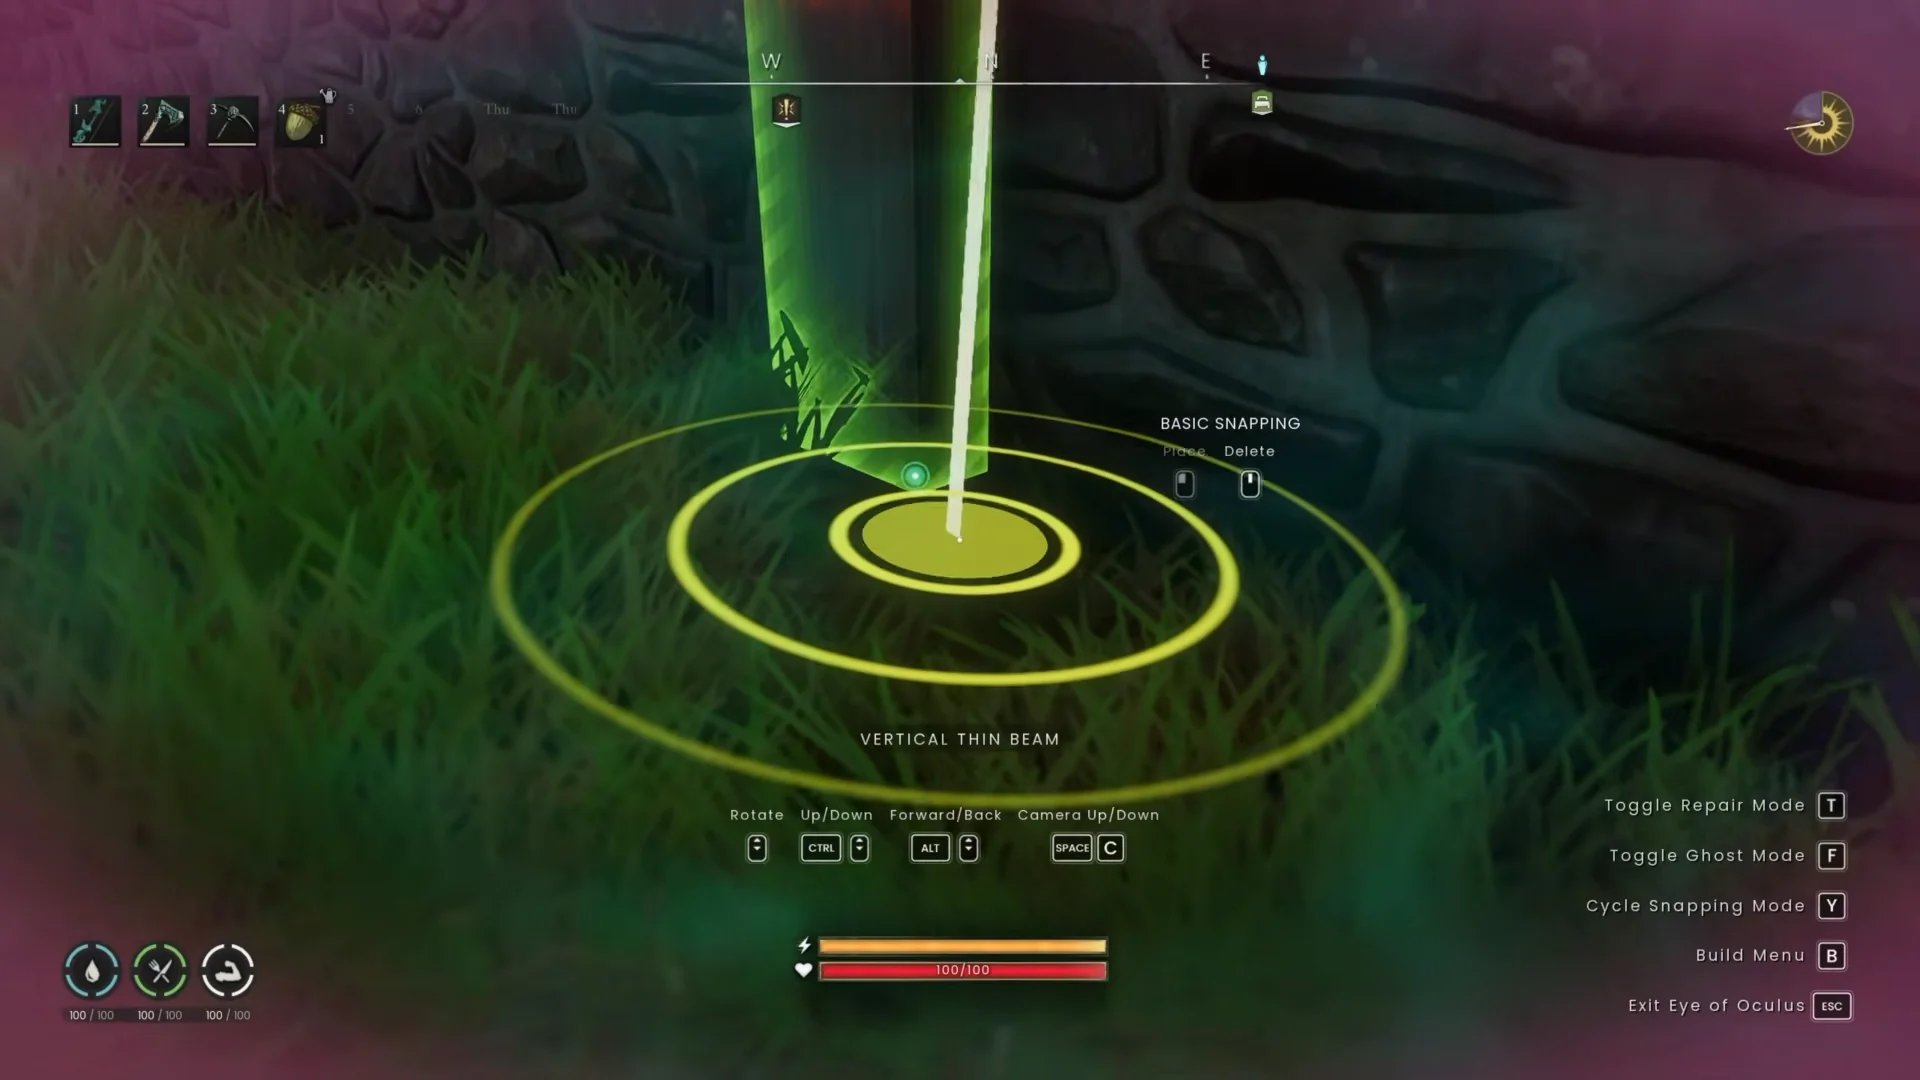
The snapping-mode cycle determines how many connection points appear. Disable snapping and pieces stop aligning automatically. Basic snapping marks only the key contacts—four corners where a wall meets a square tile. Advanced snapping reveals every contact point: 13 for that same pair, including three between each corner. Contact points appear only on house structures; decorations such as barrels never show them.
How to fix a red roof piece
Roofs fail more than anything else, because they sit at the maximum distance from the ground on a structure that is already near its limit. The fix is almost never a different roof tile. It is moving an anchor closer to the roofline.
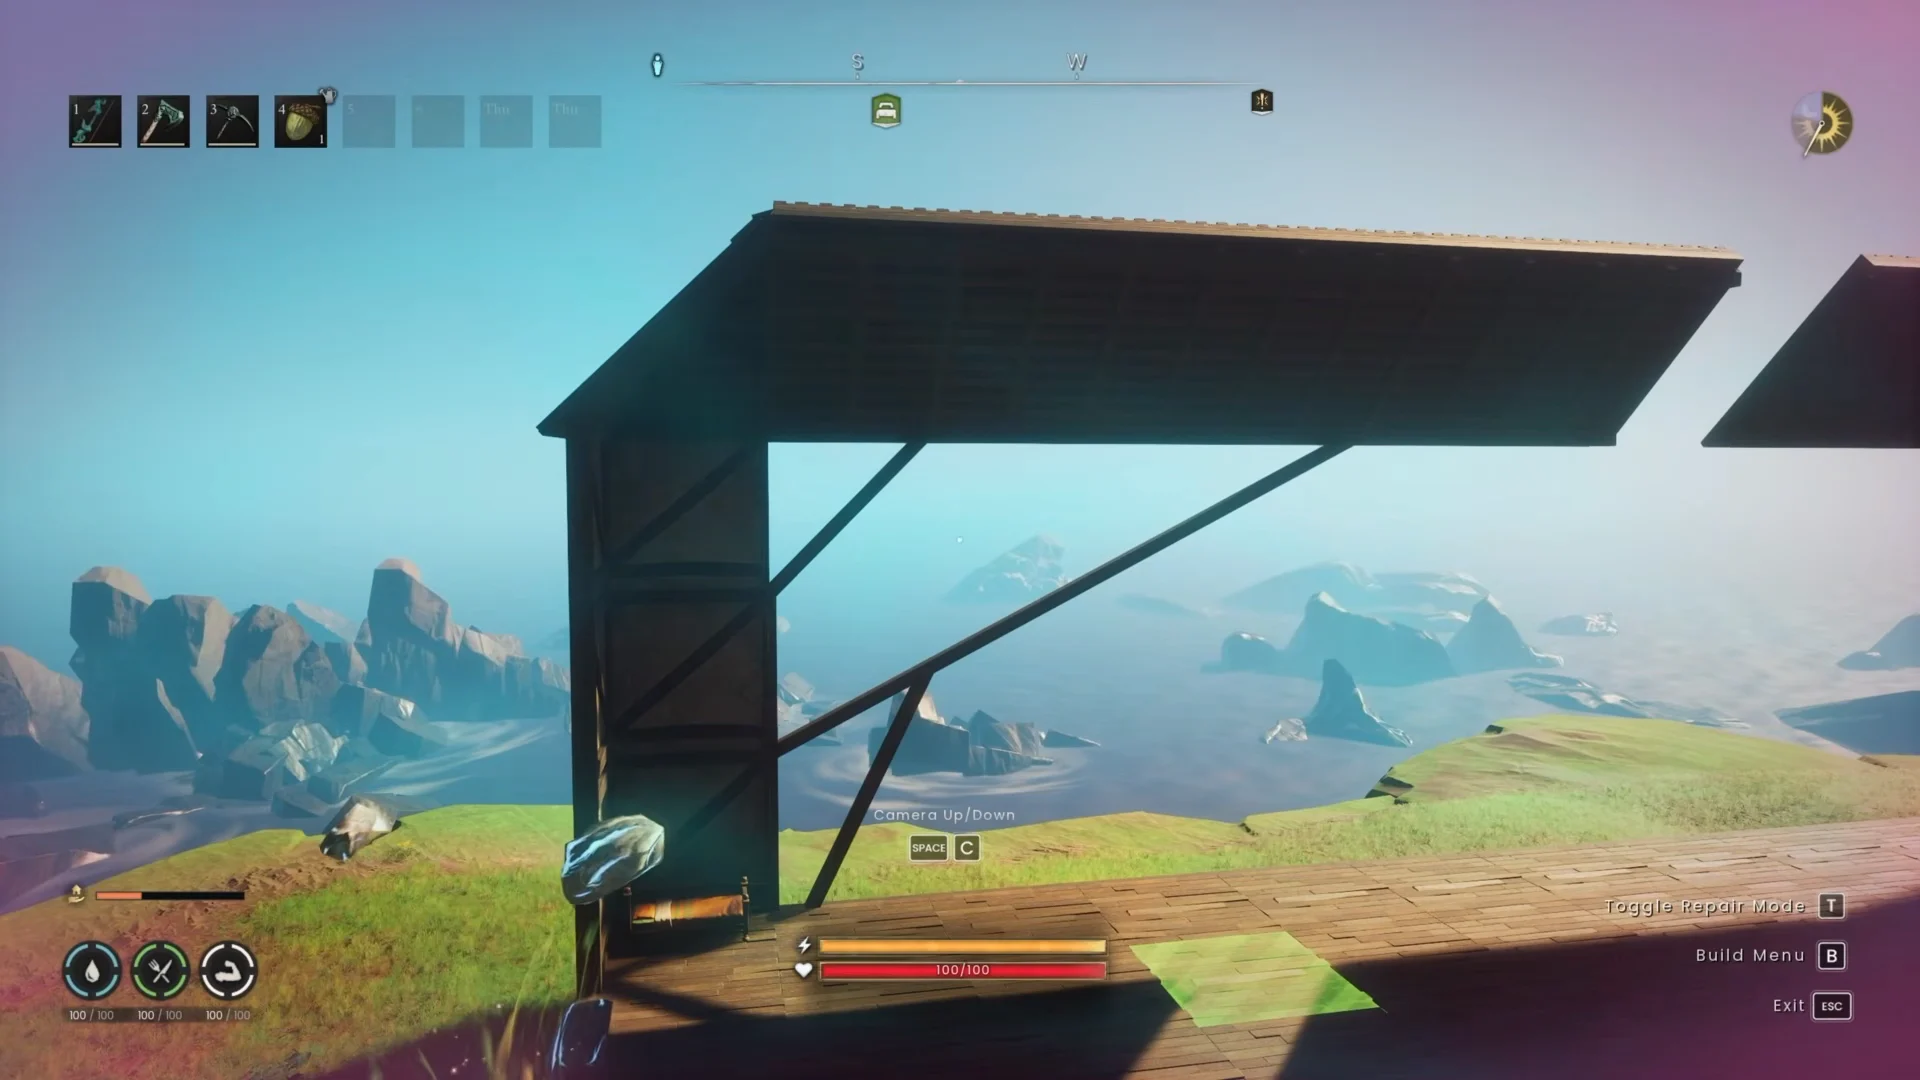
If the roof still refuses after all that, the building is simply too tall for its footprint. Dropping the structure by a floor, or planning a smaller roof area, is often cheaper than framing an entire support lattice.
Reinforcing a base that is already built
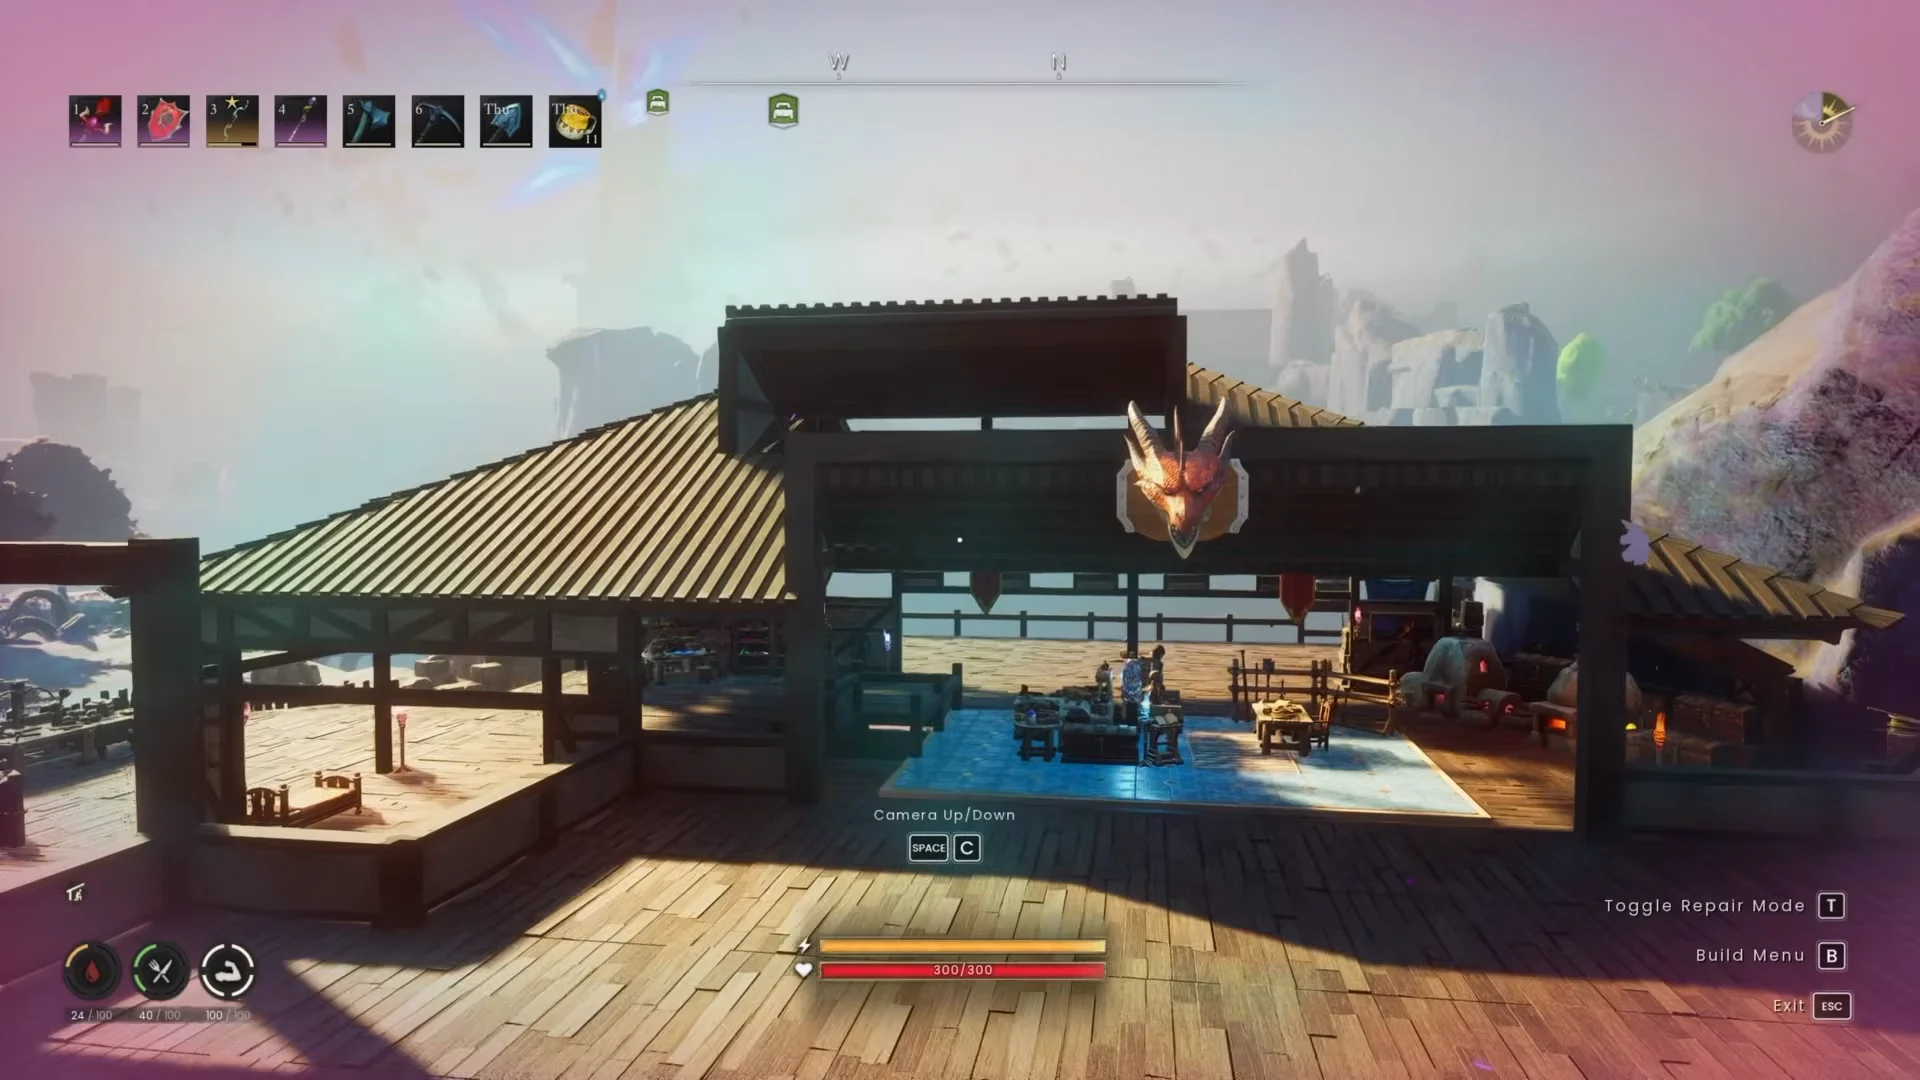
Toggle Repair mode in the build menu and walk your existing base. The colors stay visible on finished pieces, so yellow walls and window frames are easy to spot from inside a room that otherwise looks perfectly solid.
The most effective retrofit is stacking square foundations into the terrain beneath an elevated floor, then running a vertical thick beam from those blocks up to the wall corners above. Yellow walls flip to green as soon as that connection completes, without touching the visible structure at all.
Tall pillars are the usual culprit in open halls. A deck resting on long pillars that never properly meet the ground leaves the roof above it stuck in red, and packing foundation blocks directly against the terrain and the base of those columns fixes the whole section at once.
Watch for false anchors. A piece can appear green and look like it is sitting in the ground while contributing no stability of its own, a behavior tied to a known issue with beams placed on cliffs. Always check what sits above a support before you delete it.
Repair is enough for damaged pieces; rebuilding is unnecessary. Any piece under 100% health can be fixed with its base material, and a square foundation requires one ash log. Visible damage begins at 50% health or below. Once a structure reaches 1%, it collapses and drops its construction materials where it stood.
Ghost mode and Eye of Oculus for planning
Ghost mode places a free, translucent version of any piece on a foundation or wall, costing nothing. It is the cheapest way to test whether a roof valley or a long overhang will hold before you spend oak on it, and it shows contact points exactly like a real piece. Press CTRL to build a ghost once you have the materials, or switch to Repair mode and click the scroll wheel to remove it.
Eye of Oculus unlocks at Construction level 11 and costs 3 astral runes with a 3-second cooldown. It projects a free-flying build camera that travels up to 30 metres from your character, so you can place and remove roof pieces from mid-air instead of stacking temporary stairs. Summon Shelter follows at level 20 for 10 astral and 10 earth runes, raising a tent with a bed on flat ground — though it obeys the same flat-terrain rule as any foundation, and it cannot be cast inside dragonkin vaults.
Where building is disabled
Construction is completely prohibited in three areas, and ghost mode is unavailable there as well, so you cannot even map out a layout inside them.
- The temple at Temple Woods
- All vaults
- Instanced areas
The reliable workflow is to frame the whole build first, then walk it in Repair mode and add beams wherever the colors warn you. Stability numbers have been rebalanced in past updates, so confirm the previews in game before committing a large amount of oak to a design that depends on hitting the limits exactly.