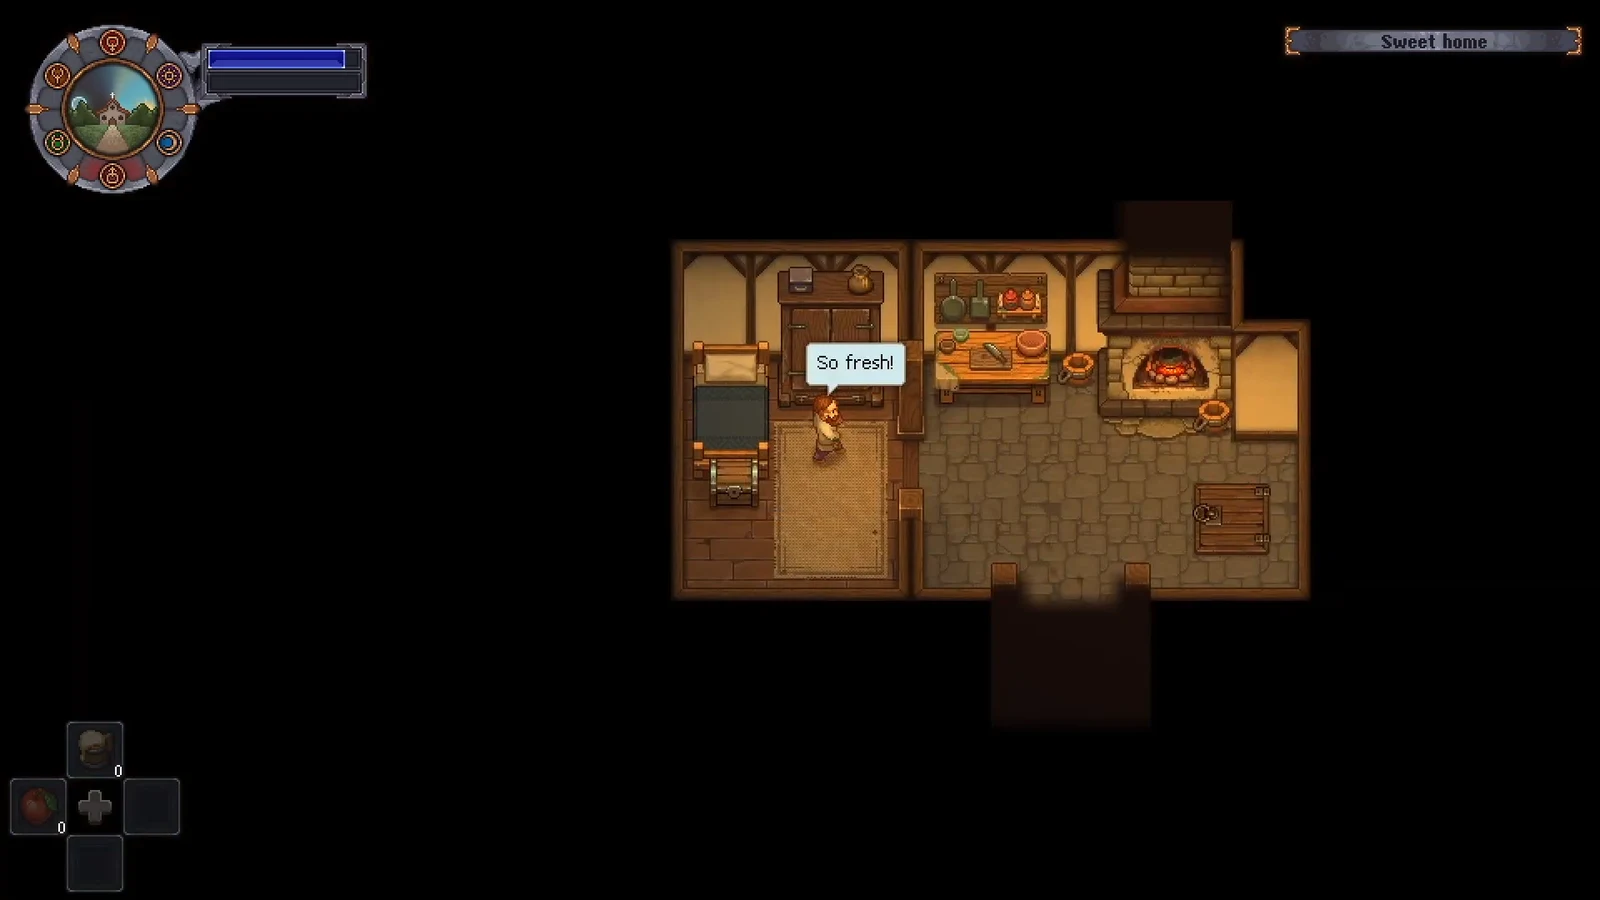
Fishing in Graveyard Keeper 2 is not the idle, zero-effort chore it was in the original. Every cast runs through a tug-of-war minigame where the wrong button press snaps your line, and half the fish in the game will not even look at your hook unless you are holding the exact bait they want. Get the rhythm and the bait chart down, though, and a dock becomes a steady source of food, money, and cooking ingredients.
Quick answer: Get the Basic Rod from the twins, go to a fishing spot, pick your bait, strike when the yellow exclamation mark appears, and only reel while it is showing. Stop the moment the line flashes red.
The reeling minigame: when to pull and when to stop
The whole system comes down to alternating pressure. The fish fights in bursts, and your job is to gain line during the gaps and give it slack during the bursts. Reeling through a burst is what breaks the line.
[E] Start fishing prompt. The interface lists every fish that lives in that water, the mastery level each one needs, and whether you have studied it yet.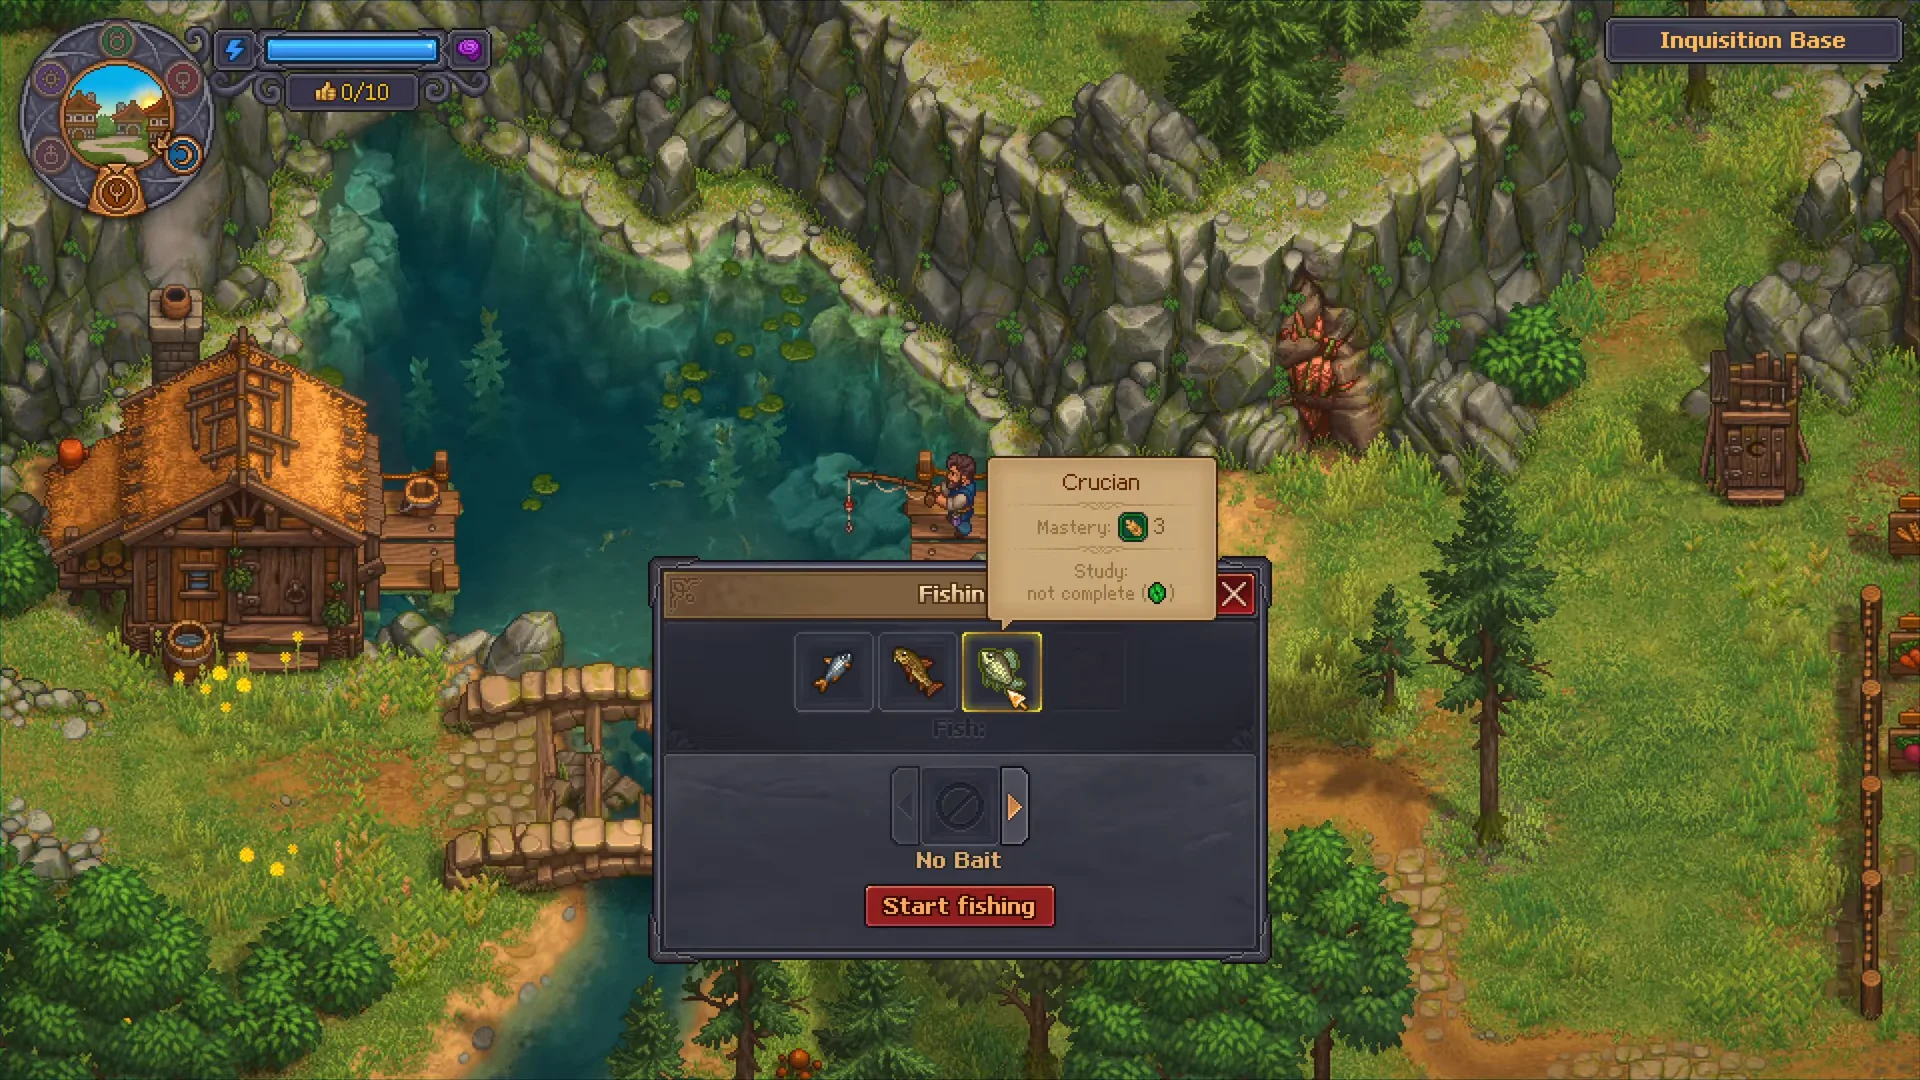
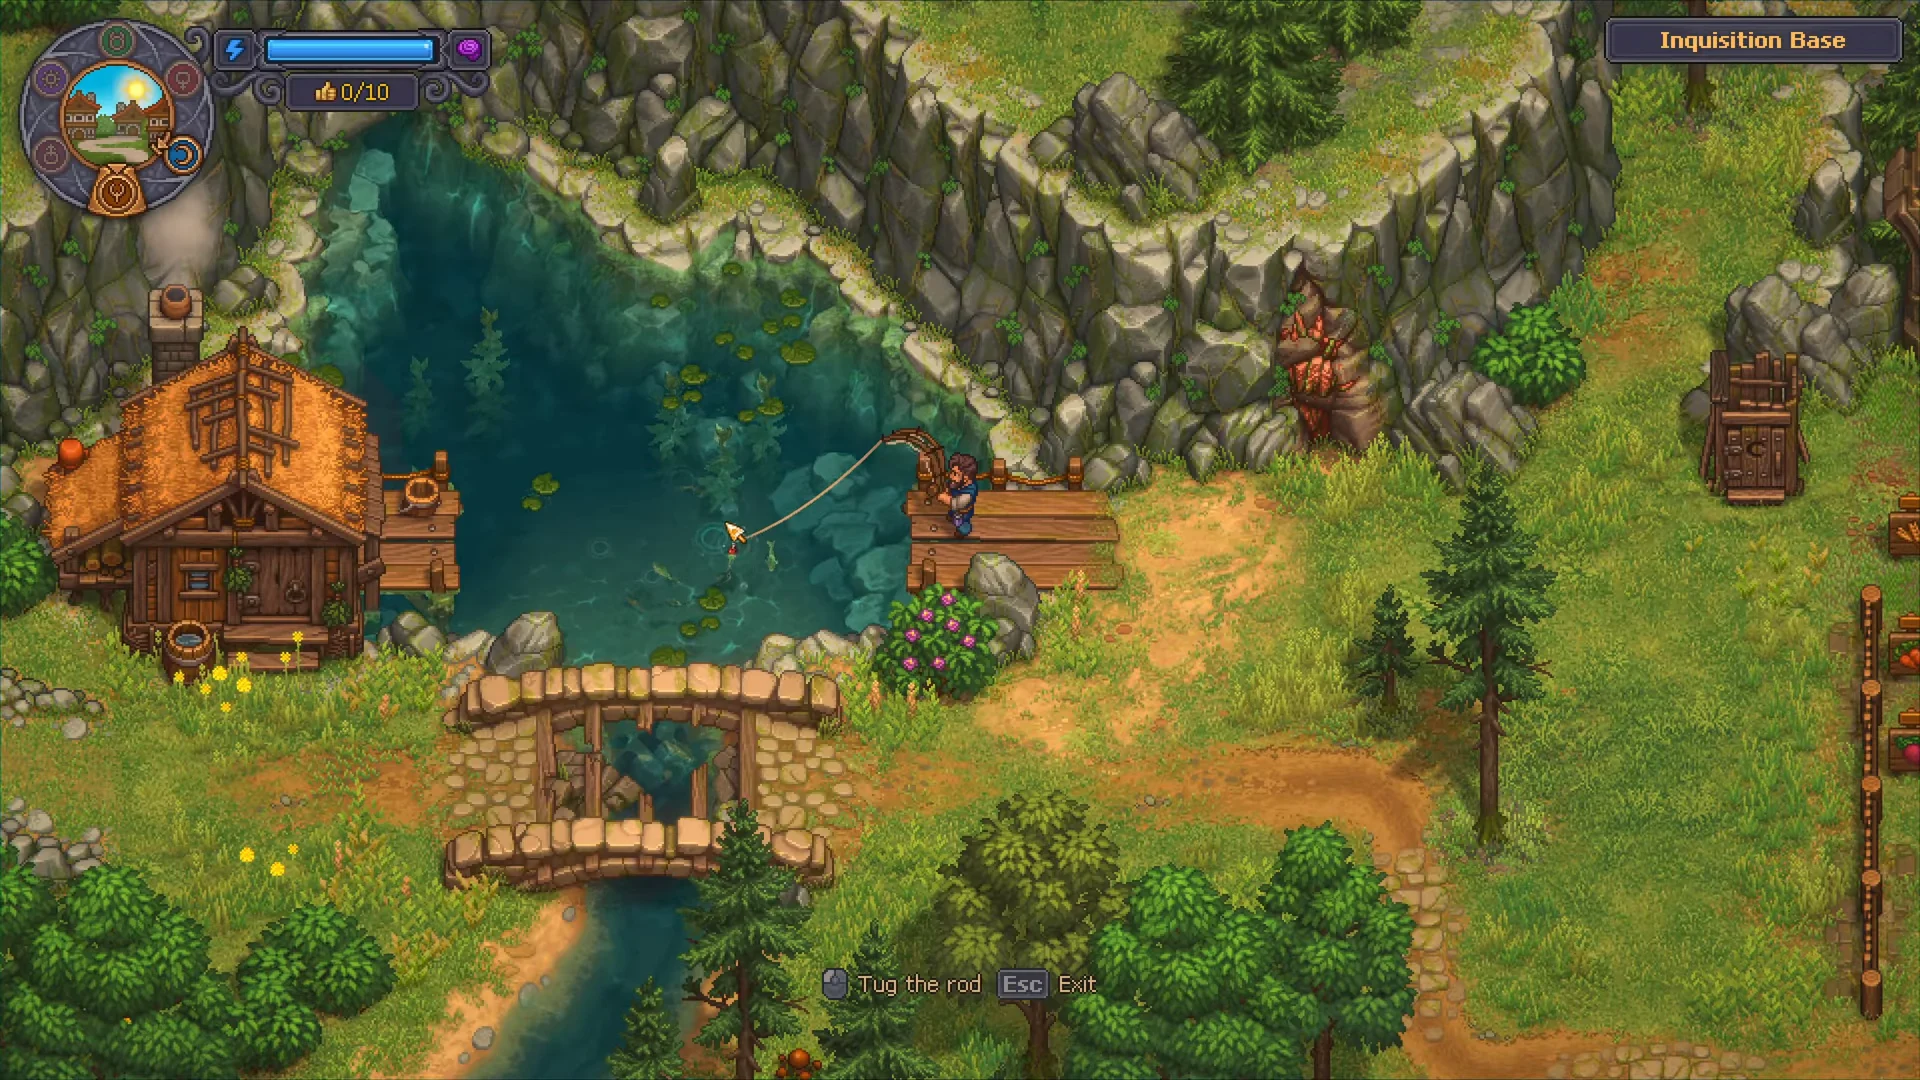
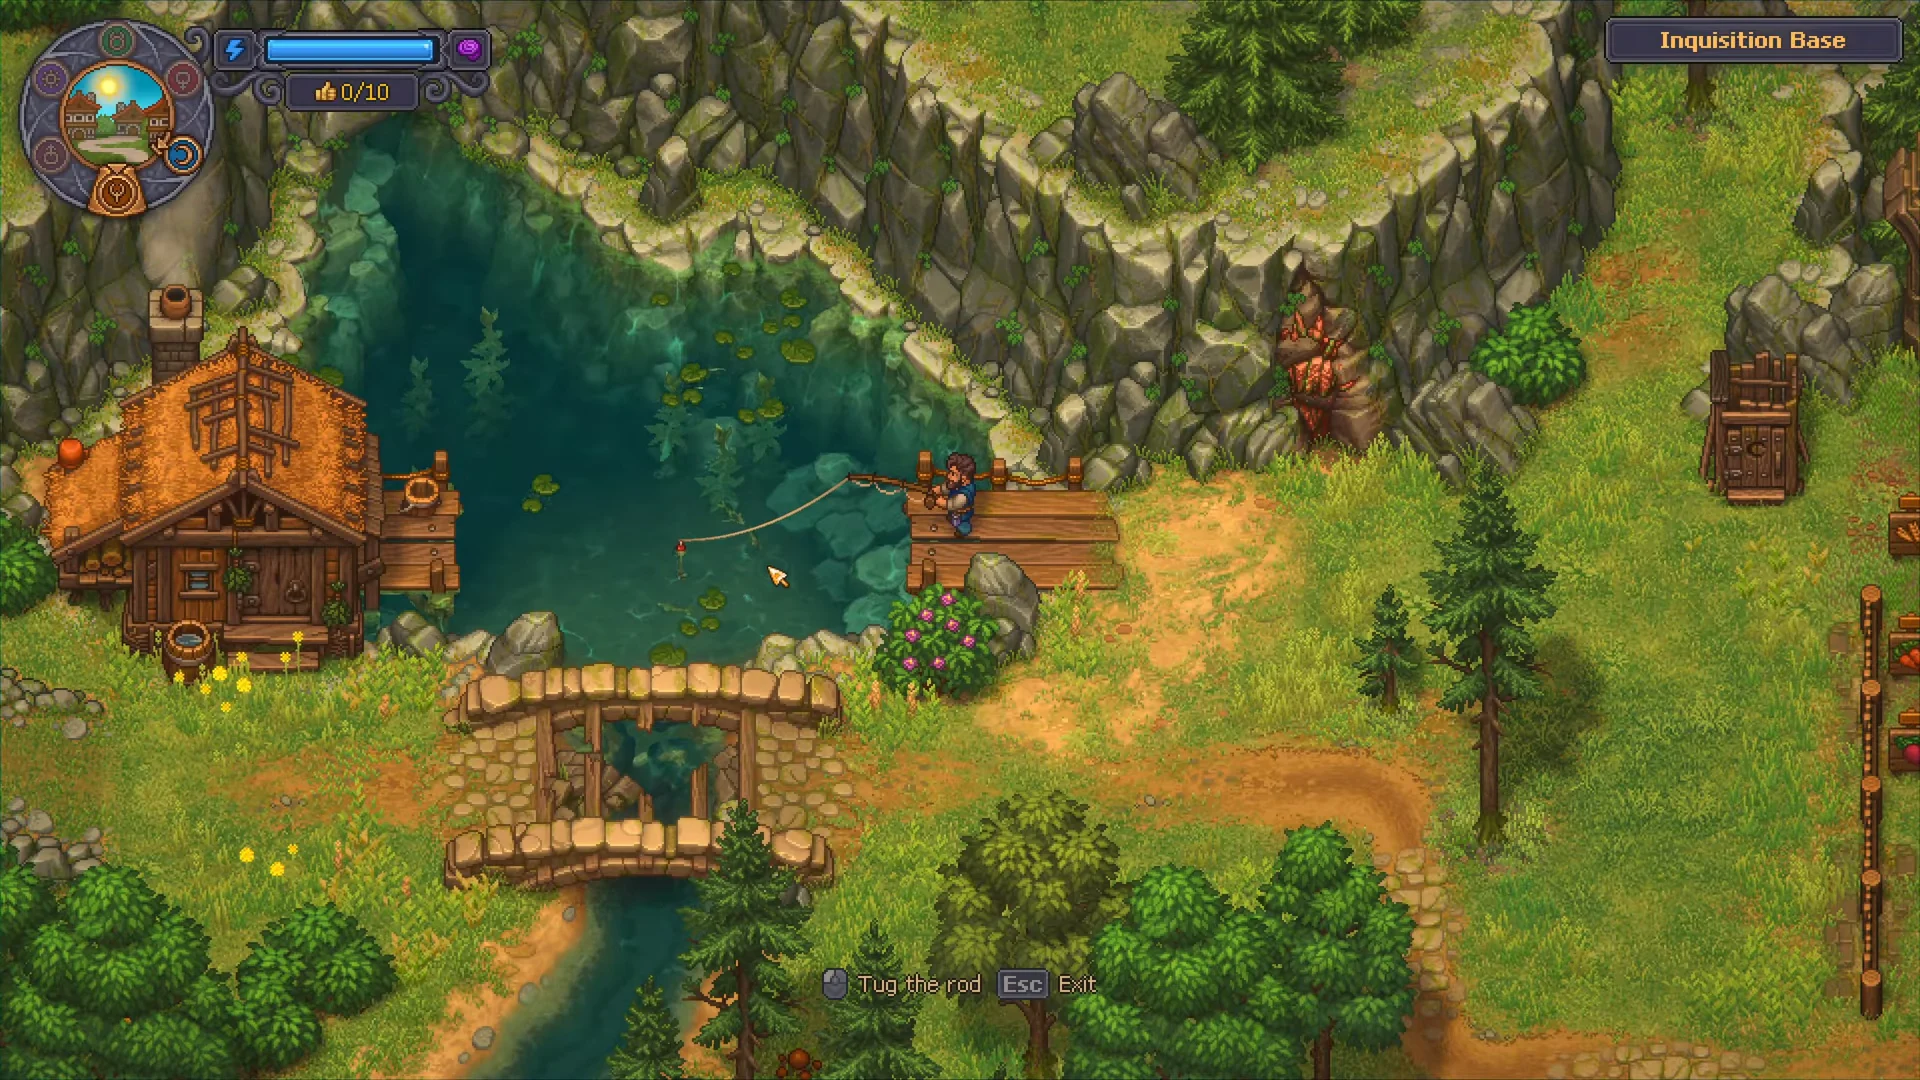
If the fish keeps swimming further away between your taps and you are barely gaining ground, your Farming mastery is too low for that species. You will not win that fight by pulling harder.
Getting the Basic Rod and upgrading to the Amateur Rod
You cannot fish on day one. The rod is held by the twins near the merchant, and they will only hand it over for pottery, which means unlocking Pottery I in the Building tab of the Tech Tree, building a Pottery Wheel out of 2 Wooden Planks and 1 Stone, then turning 2 Clay into a Clay Plate at a time. Deliver 6 Clay Plates to finish Two Peas in a Pod and the Basic Rod is yours, no crafting required.
You can also build rods yourself if you would rather not wait on the quest, or once the Basic Rod stops being good enough.
| Rod | Materials | Crafted at |
|---|---|---|
| Basic Rod | 3 Stick, 2 Bronze Detail, 2 Flax Thread | Woodworking Workbench I or II |
| Amateur Rod | 2 Wooden Plank, 2 Polished Bronze, 4 Flax Thread | Woodworking Workbench with Tool Rank extension |
The rod determines how much strain the line can absorb before it breaks, which is why stronger fish are simply out of reach on starter gear. The Basic Rod is effectively useless at the Port, so treat the Amateur Rod as a prerequisite for saltwater fishing rather than a nice-to-have. The Fisherman perk helps on top of that, lowering the fight strength of every fish in the game.
Fishing tech unlocks and bait recipes
The Farming section of the Tech Tree contains all bait options: Fishing I, Fishing II, and Fishing III. You do not purchase Fishing IV with points; earning Plenty of Fish in the Sea grants it after you give the twins 3 Flax Thread (the objective text calls this fishing line).
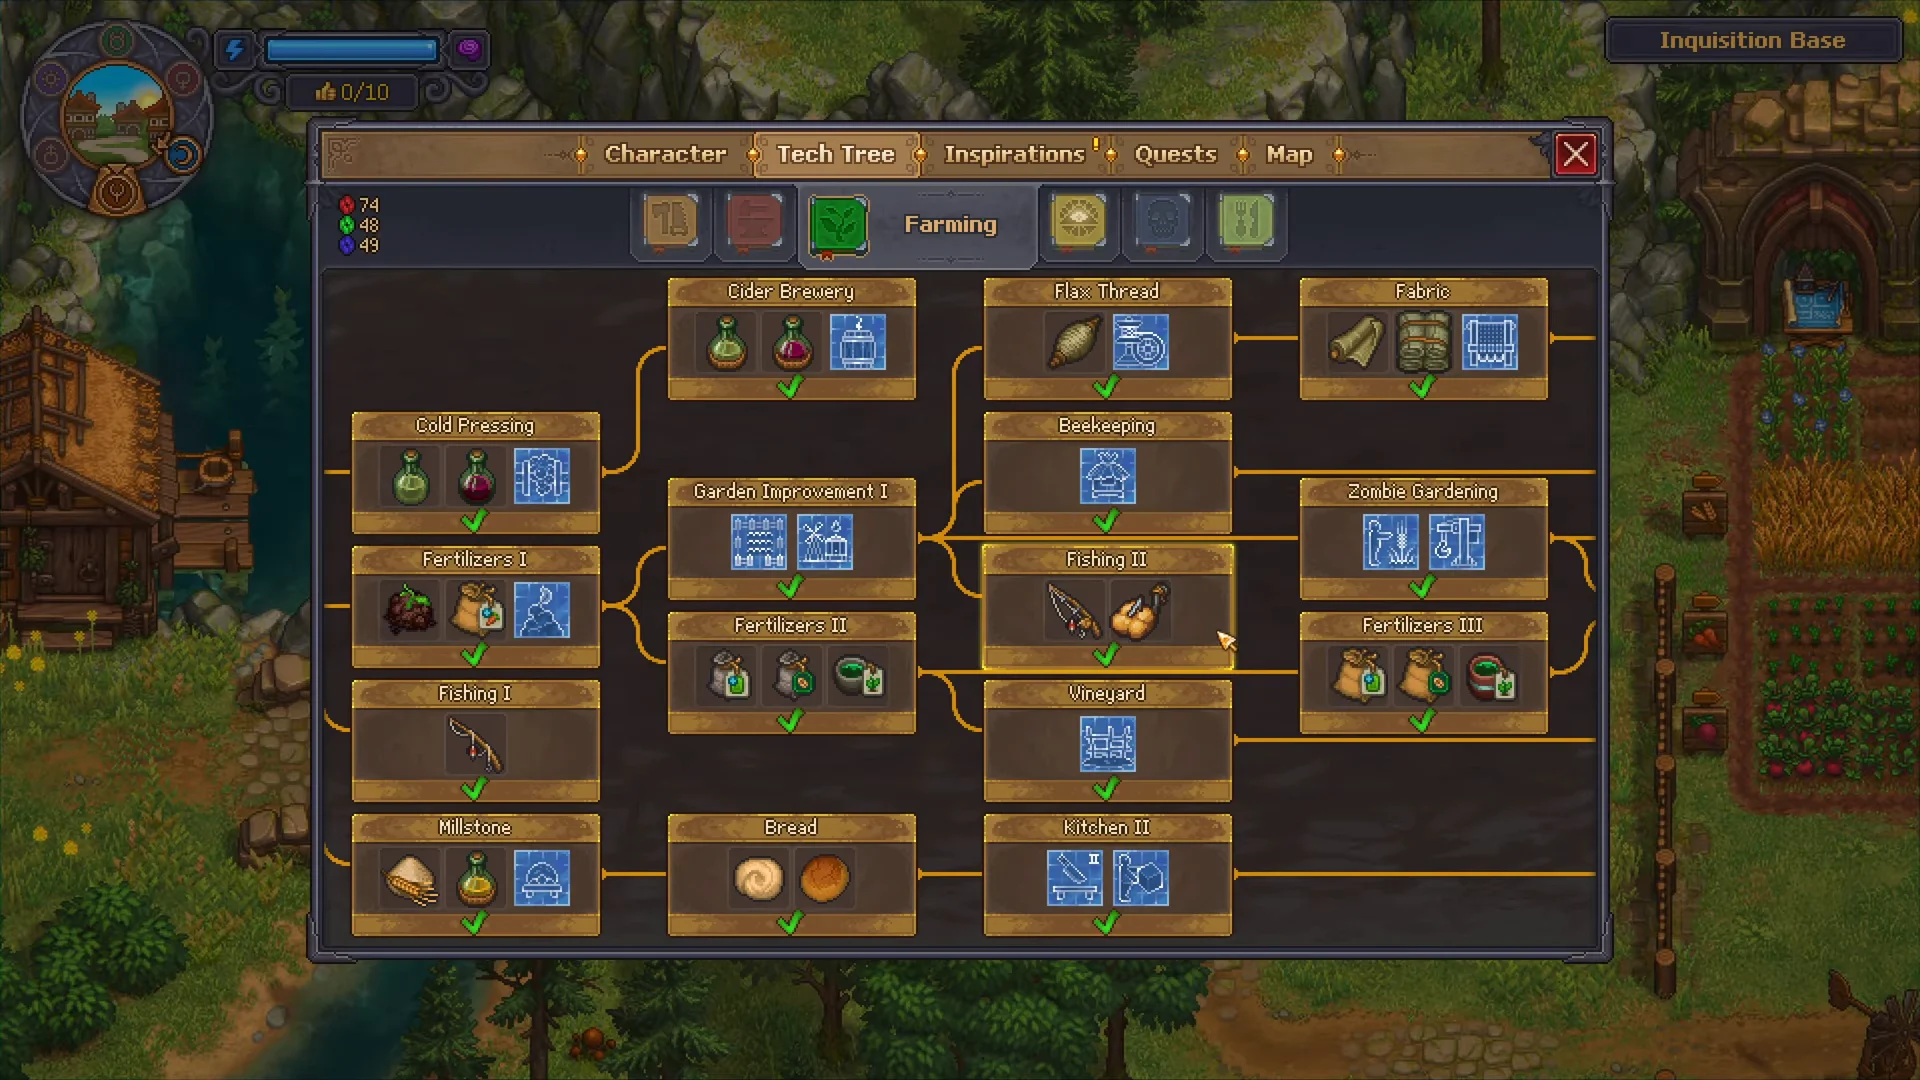
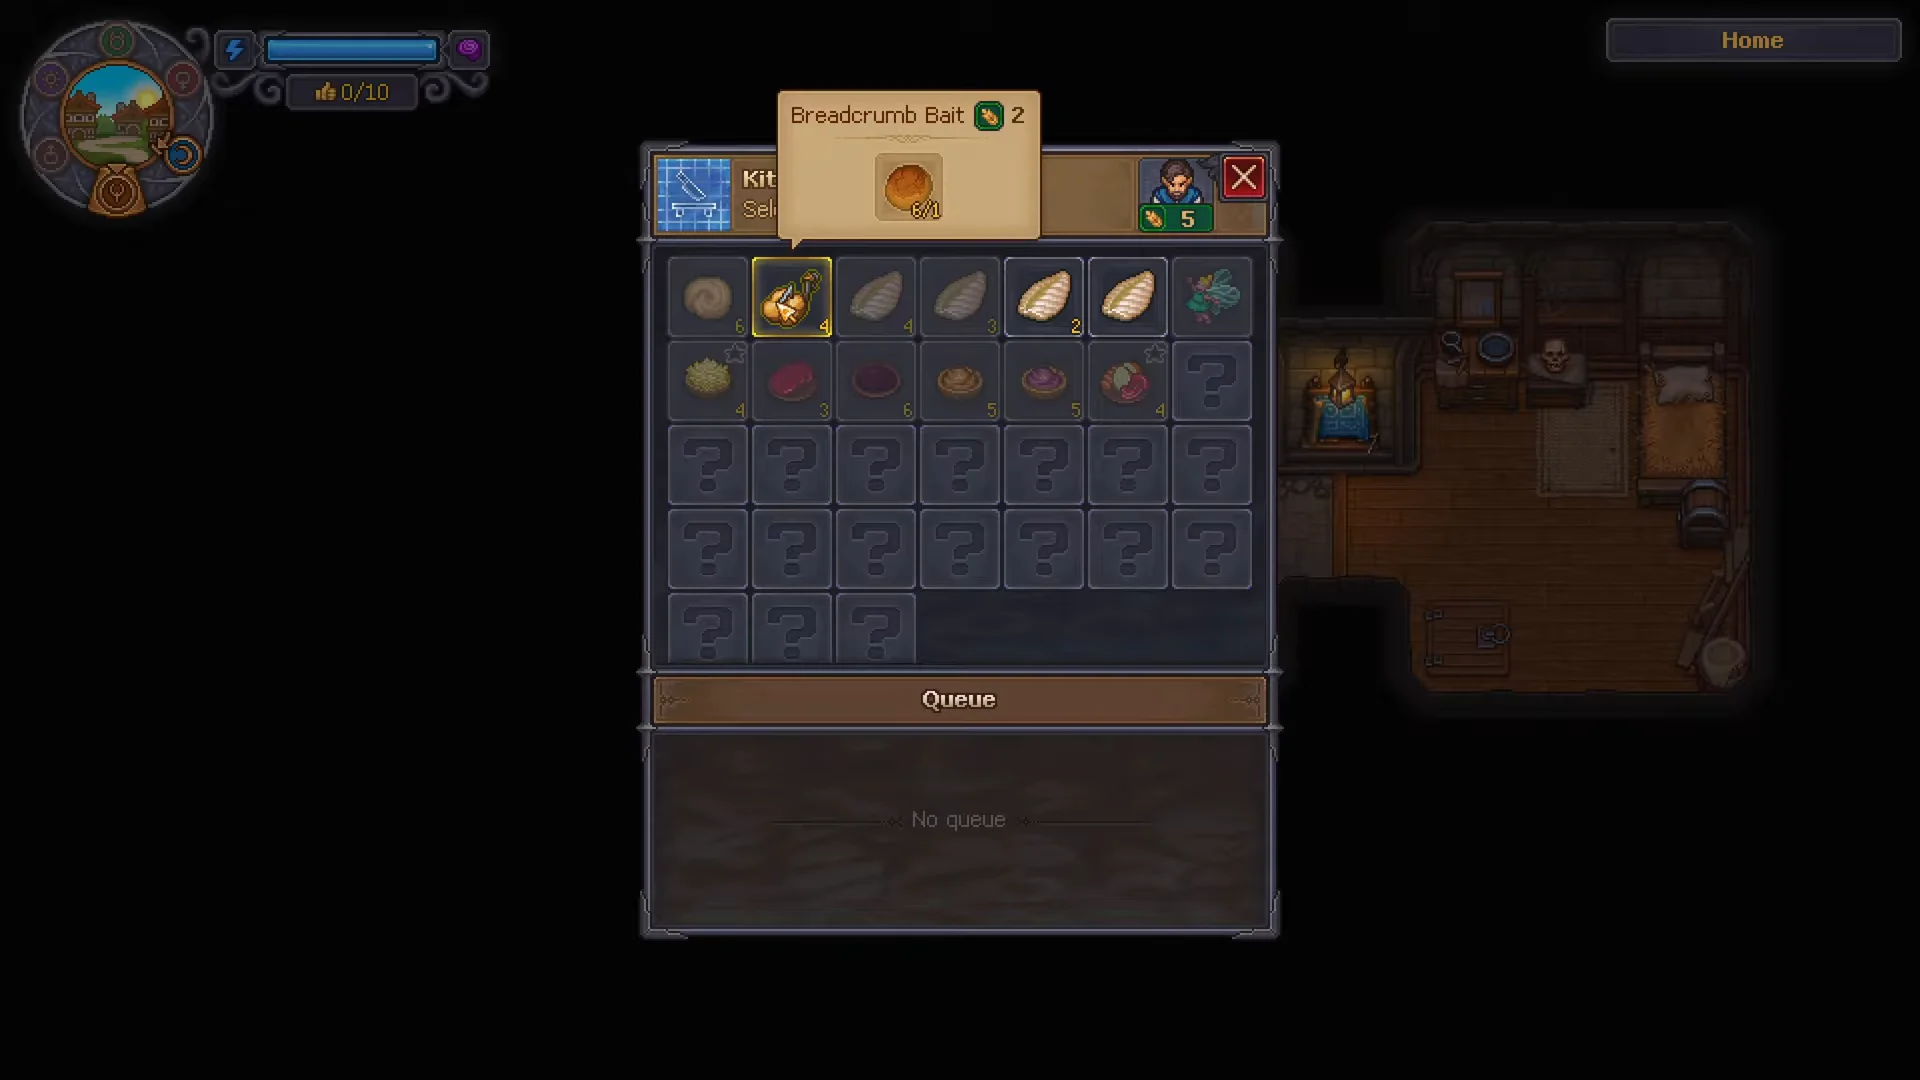
All three baits are made at the Kitchen Table in your home (or Kitchen Table II), and each recipe produces four at a time.
| Bait | Ingredients | Output | Unlock |
|---|---|---|---|
| Breadcrumb Bait | 1 × Bread | 4 | Fishing II |
| Insect Bait | 4 × Firefly | 4 | Fishing III |
| Live Bait | 1 × Lacquer, 1 × Flesh | 4 | Fishing IV |
Breadcrumb Bait is the one you will lean on for most of the game, and it needs Bread, which you bake in the Kitchen Oven from Dough. That makes the Gardening to Millstone to Bread chain worth rushing anyway, since it feeds both your energy bar and your tackle box.
Every fishing spot and what bites there
There are six fishing areas: Home, Village, Port, Forest, Swamp and Sewers. On the map they show up as a wooden dock marked with a small fish icon. Only four fish in the game bite on an empty hook, and they all live in the two earliest spots, so bait is not optional once you move inland or out to sea.
Home
| Fish | Bait | Mastery |
|---|---|---|
| Roach | No Bait | 1 |
| Gudgeon | No Bait | 2 |
| Crucian | No Bait | 3 |
| Pike | Breadcrumb Bait | 8 |
This is the starter water by the Inquisition Base, and it is heavily skewed. Roach carries a weight of 1,000 against single digits for everything else, so an unbaited cast here pulls a Roach roughly 99 percent of the time until the spot runs dry. Roach ignores bait entirely, which is handy: slap on Breadcrumb Bait and it drops out of the roll completely, leaving Pike as a guaranteed catch if your mastery is high enough to land it.
Village
| Fish | Bait | Mastery |
|---|---|---|
| Roach | No Bait | 1 |
| Gudgeon | No Bait | 2 |
| Crucian | No Bait | 3 |
| Herring | Breadcrumb Bait | 4 |
| Bream | Breadcrumb Bait | 5 |
| Mythic Carp | Live Bait | — |
The Village pond is the first place where time of day matters. Breadcrumb Bait splits evenly between Herring and Bream during the day, but at night Herring climbs to roughly two thirds of the roll. Live Bait, meanwhile, is a guaranteed Mythic Carp whenever one is in stock.
Port
| Fish | Bait | Mastery |
|---|---|---|
| Anchovy | Breadcrumb Bait | 4 |
| Mackerel | Breadcrumb Bait | 7 |
| Tuna | Insect Bait | — |
| Salmon | Insect Bait | — |
| Goldfish | Insect Bait | — |
| Kraken Jr | Live Bait | — |
Nothing bites bare hooks at the Port. Anchovy is the daytime breadcrumb catch and Mackerel takes over at night, while Insect Bait favours Tuna in daylight and evens out between Tuna and Salmon after dark.
Forest, Swamp and Sewers
| Spot | Fish | Bait |
|---|---|---|
| Forest | Carp, Pike | Breadcrumb Bait |
| Forest | Goldfish, Salmon, Trout | Insect Bait |
| Forest | Celestial Salmon | Live Bait |
| Swamp | Frog | No Bait, Breadcrumb or Insect |
| Swamp | Catfish, Silverfin | Breadcrumb Bait |
| Swamp | Swamp Ghost, Eel | Insect Bait |
| Swamp | Elder Catfish | Live Bait |
| Sewers | Eel | Insect Bait |
Frog is the odd one out — it is the only catch that shows up on every bait option and on no bait at all. The Sewers are a single-species stop, so there is no reason to go there with anything but Insect Bait.
How the catch is rolled, and why a spot goes quiet
Each cast picks a single fish from whatever is still swimming in that spot. The odds for a given species come from its base weight, multiplied by whatever your chosen bait does for it, multiplied by its day or night modifier, multiplied by how many of it remain — then compared against every other fish in the water. A fish that ignores your bait is removed from the roll entirely.
Stock is the part that catches people out. Every spot holds between one and five of each species, and once you have caught them all, that fish cannot be pulled again until it restocks. Restocking happens one fish at a time, and the four legendary catches — the Live Bait exclusives — take five to ten times longer to come back than the rest.
Mastery and bait are two separate gates. Breadcrumb Bait will happily summon a Pike to a Basic Rod, and you will still lose it. Check the mastery number in the spot’s fish list before you burn bait on something you cannot land.
Confirming a new species has been recorded
Open the fishing interface at any spot and look at the fish slots. A question mark means that species has never been on your hook, and the entry will also read Study: not complete. Land one and the slot fills in with the fish itself, which is your confirmation that the catch registered rather than just passing through your inventory.
Fishing serves two purposes once you get going: sell uncooked fish at the village shop to make money early, or advance through Cooking and turn those catches into meals that restore much more energy than the mushrooms and berries from the start. Leave several inventory spaces open before you begin; if your bag is full, a successful outing is wasted.