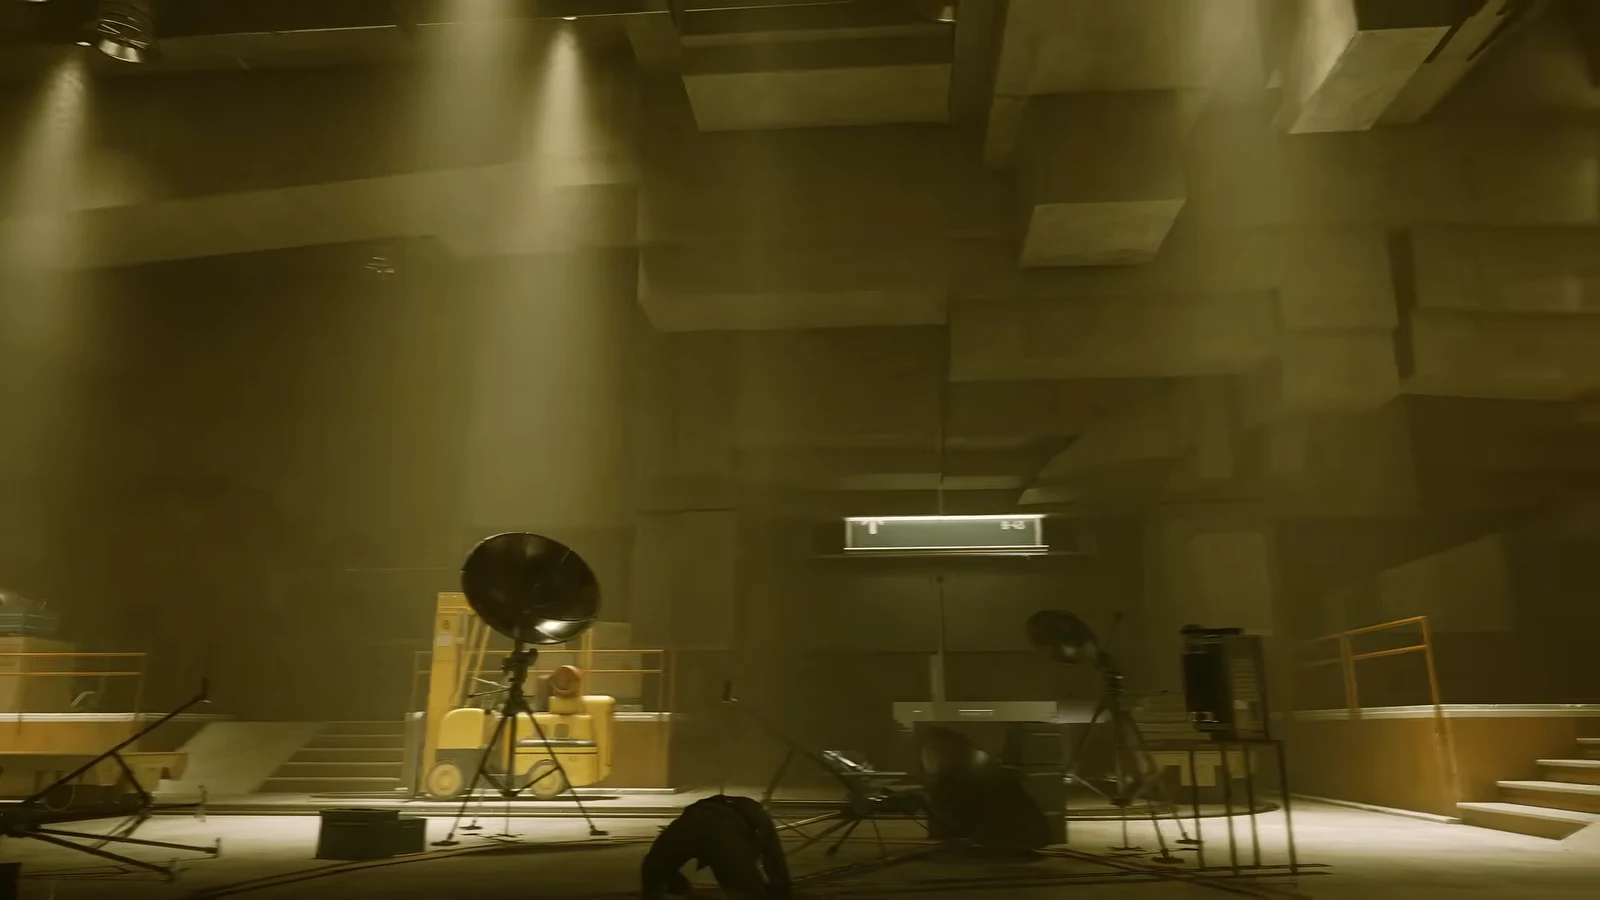
In Control Resonant, the Unsupervised Science side quest requires you to disable six experimental facilities beneath Manhattan. Their map markers appear at street level, yet each laboratory is underground, leaving you on an ordinary street when you reach one. Search around each marker for its concealed entrance, then complete one of two puzzle types that repeat throughout the quest.
Quick answer: There are six testing facilities, one each in Downtown, Central, Evacuation Zone, West Incursion Zone, The Park, and the Unknown. Three use the Soda Dispenser object puzzle, three use the Power Core balancing puzzle, and clearing the Unknown opens the Threshold.
The two puzzle types inside every facility
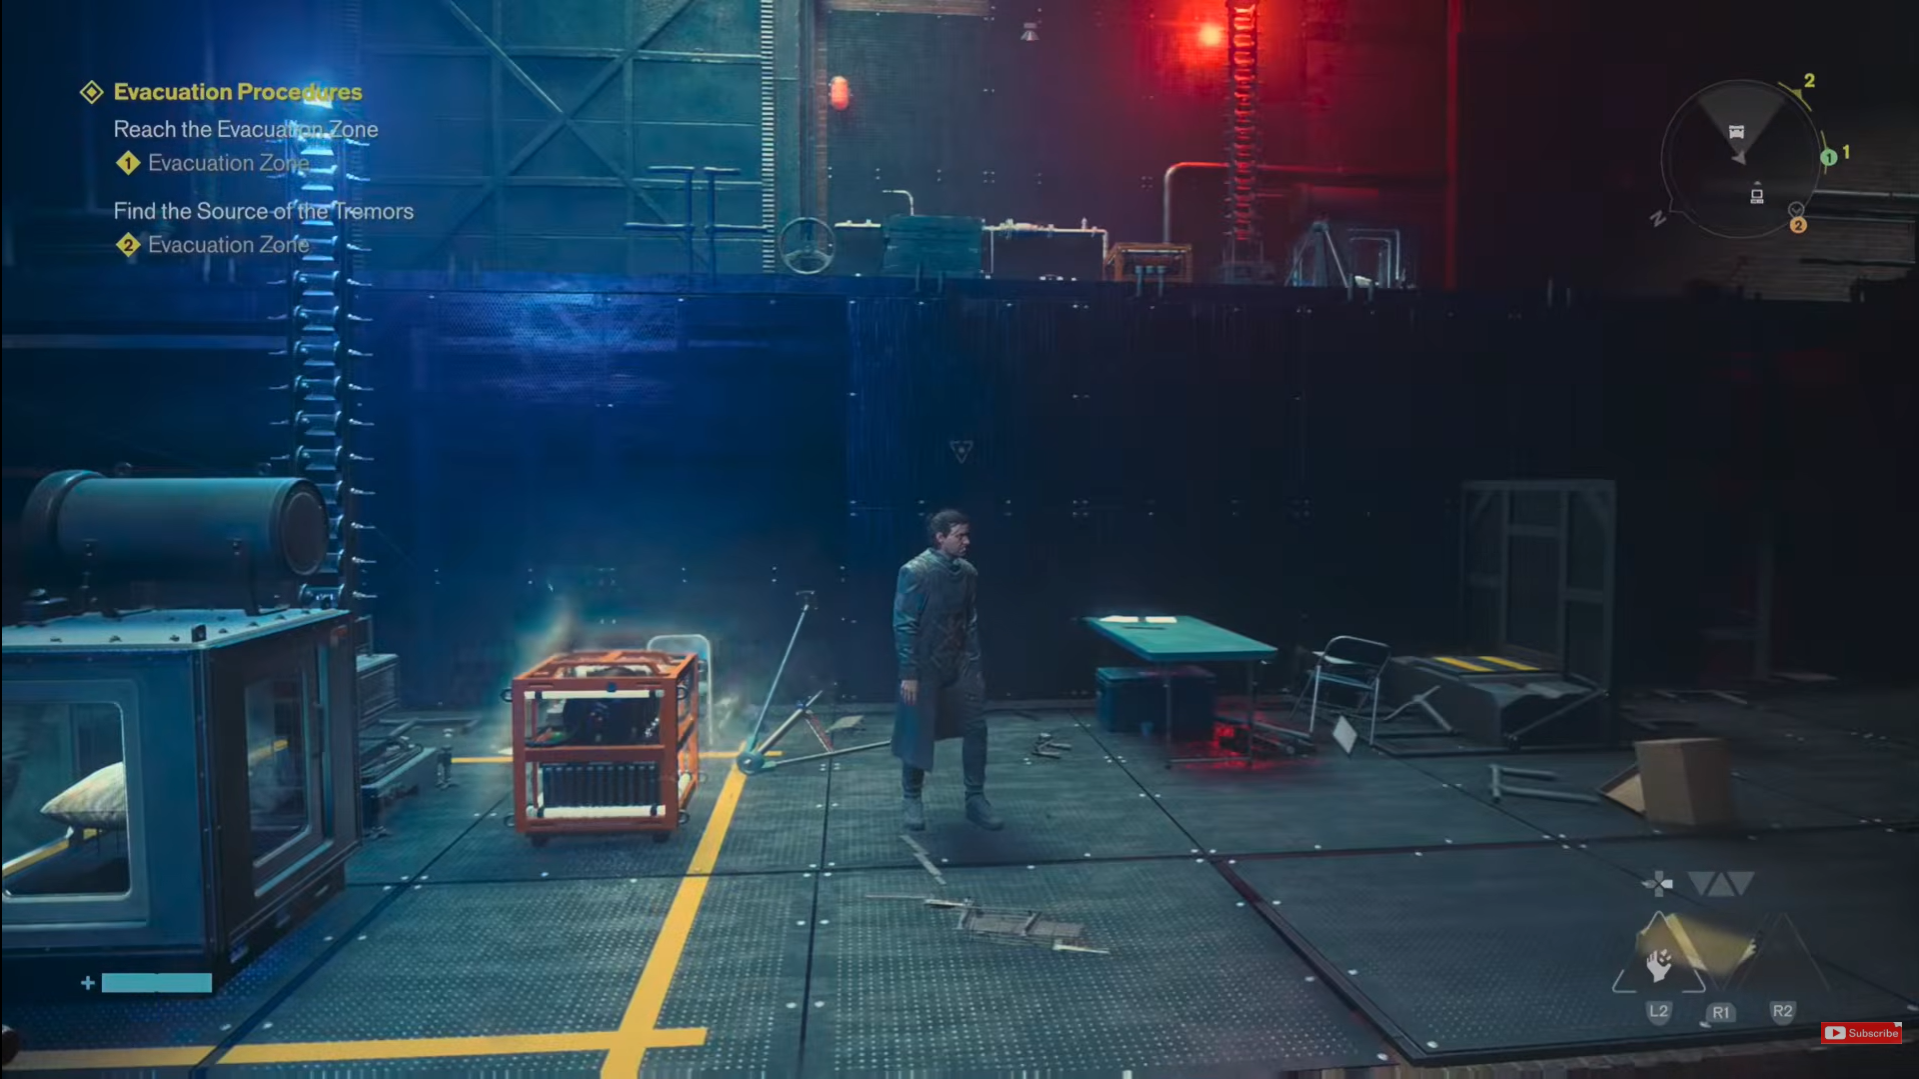
Once you drop into a lab, the shutdown always runs on one of two systems. Learning both makes the whole quest much faster, since each puzzle repeats across three facilities.
Soda Dispenser object puzzle
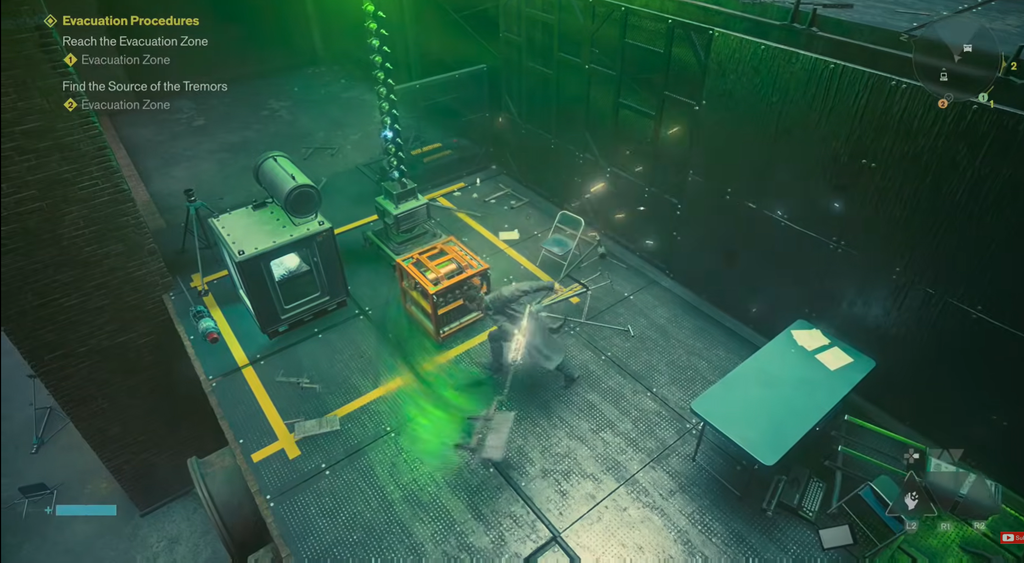
The note at the terminal says that every object must ultimately be a Soda Dispenser. Gather the items lying around the room, bring them to the central box, and place them inside one at a time. Before depositing anything, run it through the room’s yellow lines to alter its form; each trip changes it into another item. The whiteboard next to the terminal shows the sequence of transformations.
Instead of cycling one object through the full sequence, carry it across a line, then jump to the opposite side so it turns into a different item out of order. That often lands on the Soda Dispenser far quicker.
Power Core balancing puzzle
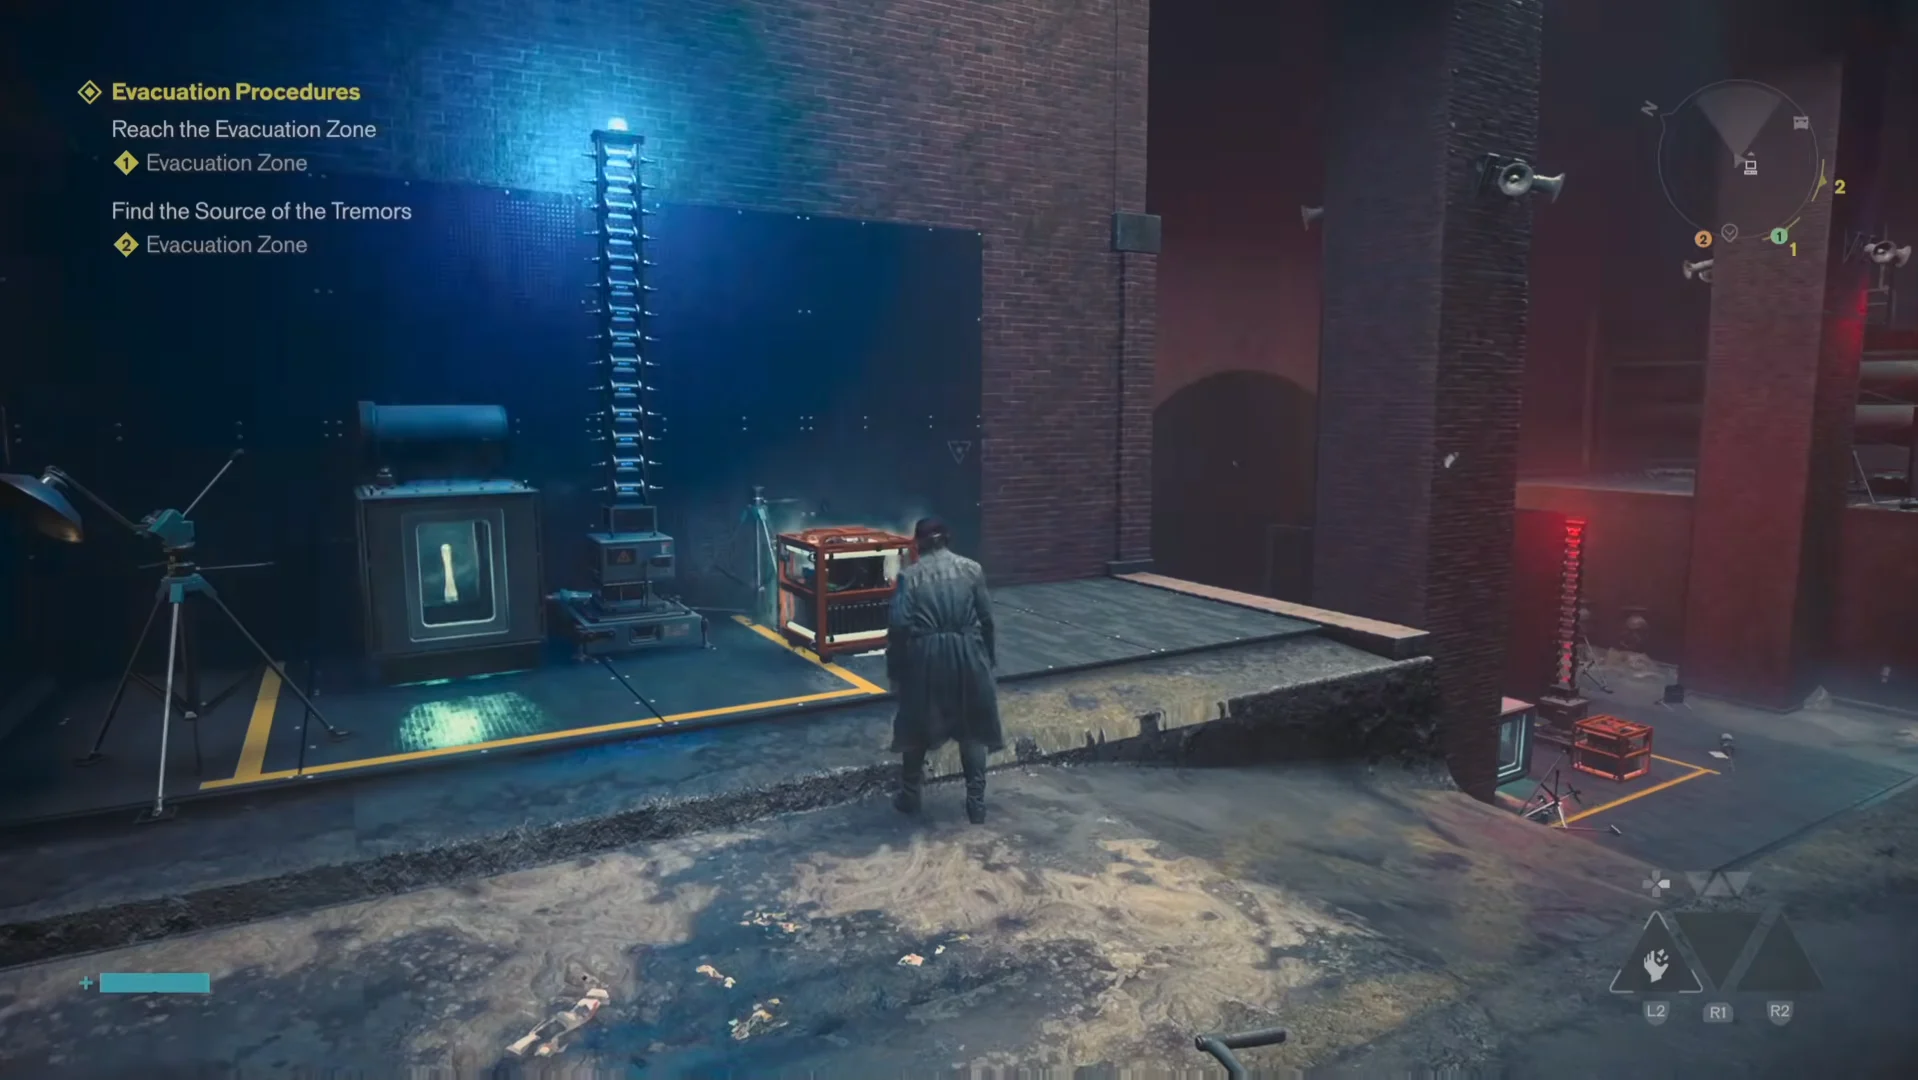
You have 60 seconds to keep the room’s Power Cores balanced during this shutdown. Some begin with power, while the rest are inactive. Monitor the red indicators on the inactive cores; once one flashes, remove energy from a powered core and route it to the one that needs it. Maintain that balance until the timer ends to open the gate. Later laboratories contain more cores, with five active simultaneously in the Unknown facility.
All six facility locations and rewards
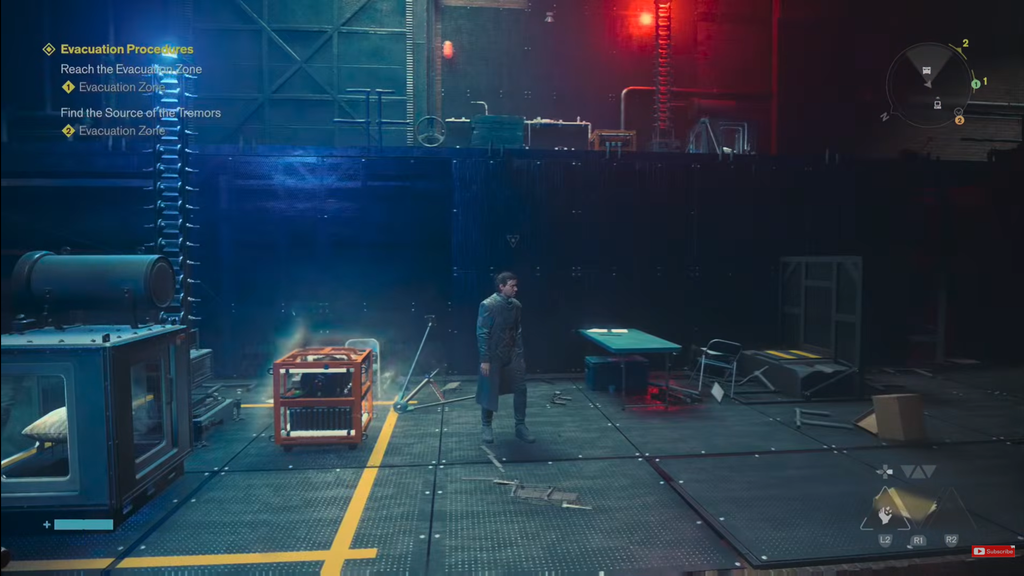
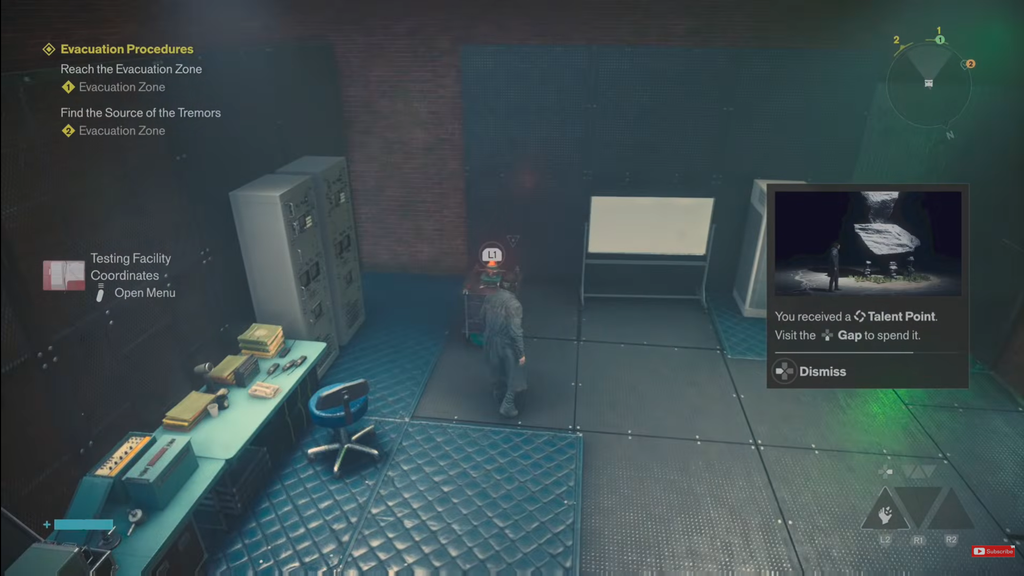
The facilities aren’t all on your map at the start. Clearing the Evacuation Zone lab gives you the Testing Facility Coordinates document, which pins the rest. Here is where each entrance sits and what you get for shutting it down.
| Facility | Entrance | Puzzle | Reward |
|---|---|---|---|
| Downtown | Testing Facility Reade, east of the zone | Soda Dispenser | Power Upgrade, A Note From Dr. Milbeck’s Cardiologist |
| Central | East of the Patterned Factory | Power Core | Power Upgrade, Notes From Dr. Puchalski |
| Evacuation Zone | Next to Survivalist’s Bunker fast travel | Soda Dispenser | Power Upgrade, Testing Facility Coordinates |
| West Incursion Zone | South of the House of Mirrors | Soda Dispenser | Power Upgrade, Notes From Dr. Janson |
| The Park | Northeast, via one of two sewer entrances | Power Core | Emergency Hood, Notes From Dr. Roth |
| Unknown | West-central of the fast travel point | Power Core (five cores) | Firebreaker Goggles, Notes From Dr. Grant |
Soda Dispenser facilities: Downtown, Evacuation Zone, and West Incursion Zone
All three of these labs share the same object transformation puzzle, so the method carries straight over once you understand it in Downtown.
Downtown
Head to the Testing Facility Reade building on the eastern side of the district. It’s under construction, and stepping inside triggers a group of Hiss enemies. Clear them, then look around for the underground entrance leading downstairs. Inside, run the Soda Dispenser puzzle, feeding each object into the central box in dispenser form to start the shutdown.
Evacuation Zone
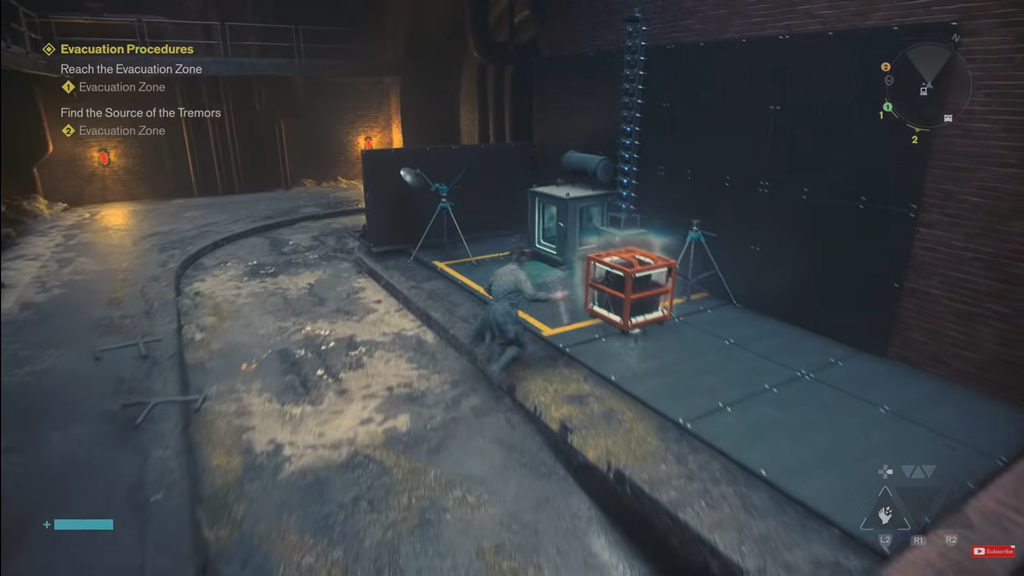
You will find the entrance immediately beside the Survivalist’s Bunker fast travel point in the zone’s southern area. This room repeats Downtown’s object challenge: send items through the yellow lines, then place each converted Soda Dispenser in a box located within those lines so you do not need to carry it back. Completion awards the Testing Facility Coordinates, placing the other laboratories on your map.
West Incursion Zone
From the map’s second lane up from the bottom, travel to the area beneath the House of Mirrors. This lab repeats the Soda Dispenser challenge: turn all objects into Soda Dispensers, finish the shutdown, then take the Power Upgrade and Notes From Dr. Janson before departing.
Power Core facilities: Central, The Park, and the Unknown
These three labs run the 60-second Power Core balancing puzzle. Keep transferring charge to blinking dead cores until the timer ends and the door opens.
Central
At the construction site east of the Patterned Factory, where the Deserter Resonant battle takes place, locate the underground entrance nearby and descend. Four Power Cores are inside, with two already charged. When a dead core’s red light flashes, transfer charge to it; keep the system balanced for 60 seconds, and the gate will open to the Power Upgrade and Notes From Dr. Puchalski.
The Park
This lab is in the northeastern part of the zone, reached through one of two sewer entrances. If you’ve progressed far enough to unlock the New Growth quest, you’ll be routed here anyway. Inside is the same Power Core puzzle as Central. Balance the load for the full 60 seconds, then press the button to shut it down and grab the Emergency Hood accessory and Notes From Dr. Roth.
Unknown
In the Unknown region, the last laboratory is positioned west-central relative to the fast travel point. Here you must manage five Power Cores, watching for the dead ones that begin flashing while you redistribute power. Once the shutdown ends, claim the Firebreaker Goggles accessory and Notes From Dr. Grant. The cleared facility additionally unlocks the Threshold in the room beyond.
Finishing the quest in the Threshold
Once the Unknown facility is offline, a Threshold gateway appears beside the accessory room. Enter it, then follow the corridor straight ahead. The floor labels point left to “Janson” and forward to “Puchalski.” Choose the left route and you become a chair; take the forward route and you become a telephone booth.
Completing this awards Dr. Grant’s Final Report, the Untapped Scrunchie Artifact Recipe, and the Threshold Researcher achievement or trophy, which confirms Unsupervised Science is fully wrapped up.