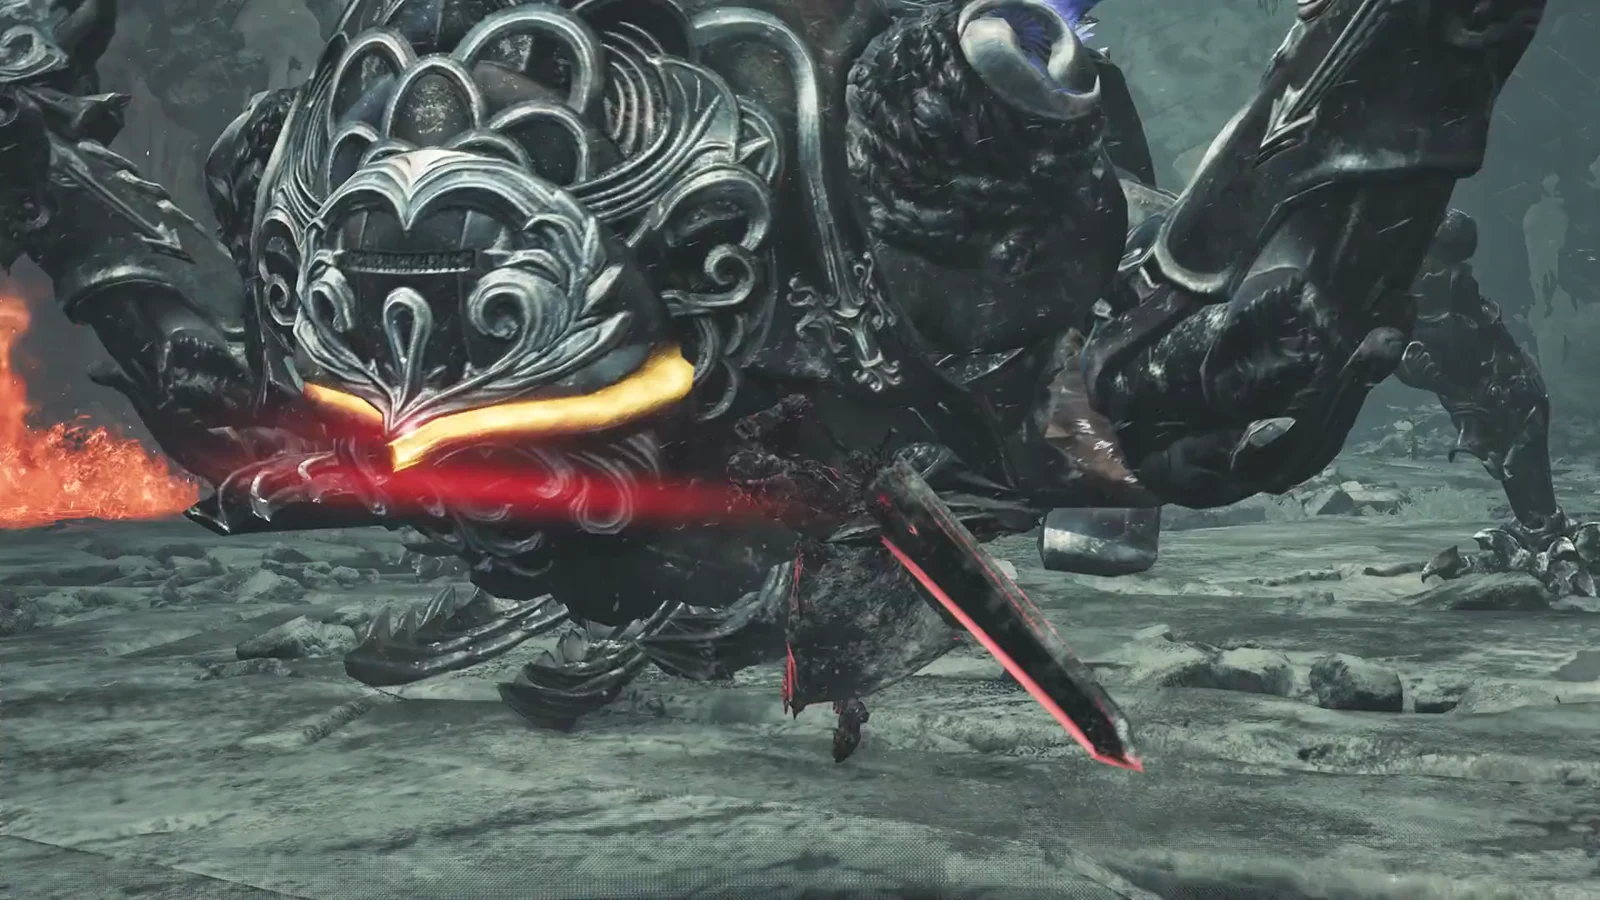
The Switch Axe is two weapons bolted together, and almost every decision you make with it comes down to one thing: whether you are filling the gauge or spending it. Axe Mode gives you reach, movement and gauge. Sword Mode gives you speed, phial explosions and the biggest single hits in the kit. Learning the weapon is learning how to move between those two states without being forced into a reload.
Quick answer: Build Switch Gauge with Axe Mode attacks, morph into Sword Mode to spend it, and cash out a full Amp Gauge with Full Release Slash or Zero Sum Discharge.
Switch Axe gauges: Switch Gauge, Amp Gauge and Power Axe
Three indicators sit together on the HUD, and each one governs a different part of the moveset.
| Gauge | How it fills | What it unlocks |
|---|---|---|
| Switch Gauge | Axe Mode hits, reloading, Seikret riding attacks | Morph to Sword Mode above 30% |
| Amp Gauge | Landing Sword Mode hits | Amped State, phial explosions, Full Release Slash |
| Power Axe | Heavy Slam, Offset Heavy Slam | Stronger Axe hits, faster gauge build |
Sword Mode drains the Switch Gauge with every swing and does not refill on its own unless you sheathe. Drop to empty and you are kicked back to Axe Mode. Try to morph while sitting below the 30% line and you eat a forced reload animation instead, which is the main way Switch Axe players lose damage.
Sword Mode attacks never bounce, regardless of sharpness. That built-in Mind’s Eye is why Sword Mode is safe on armored parts, though it still burns sharpness quickly.
The Zero Sum Discharge combo, step by step
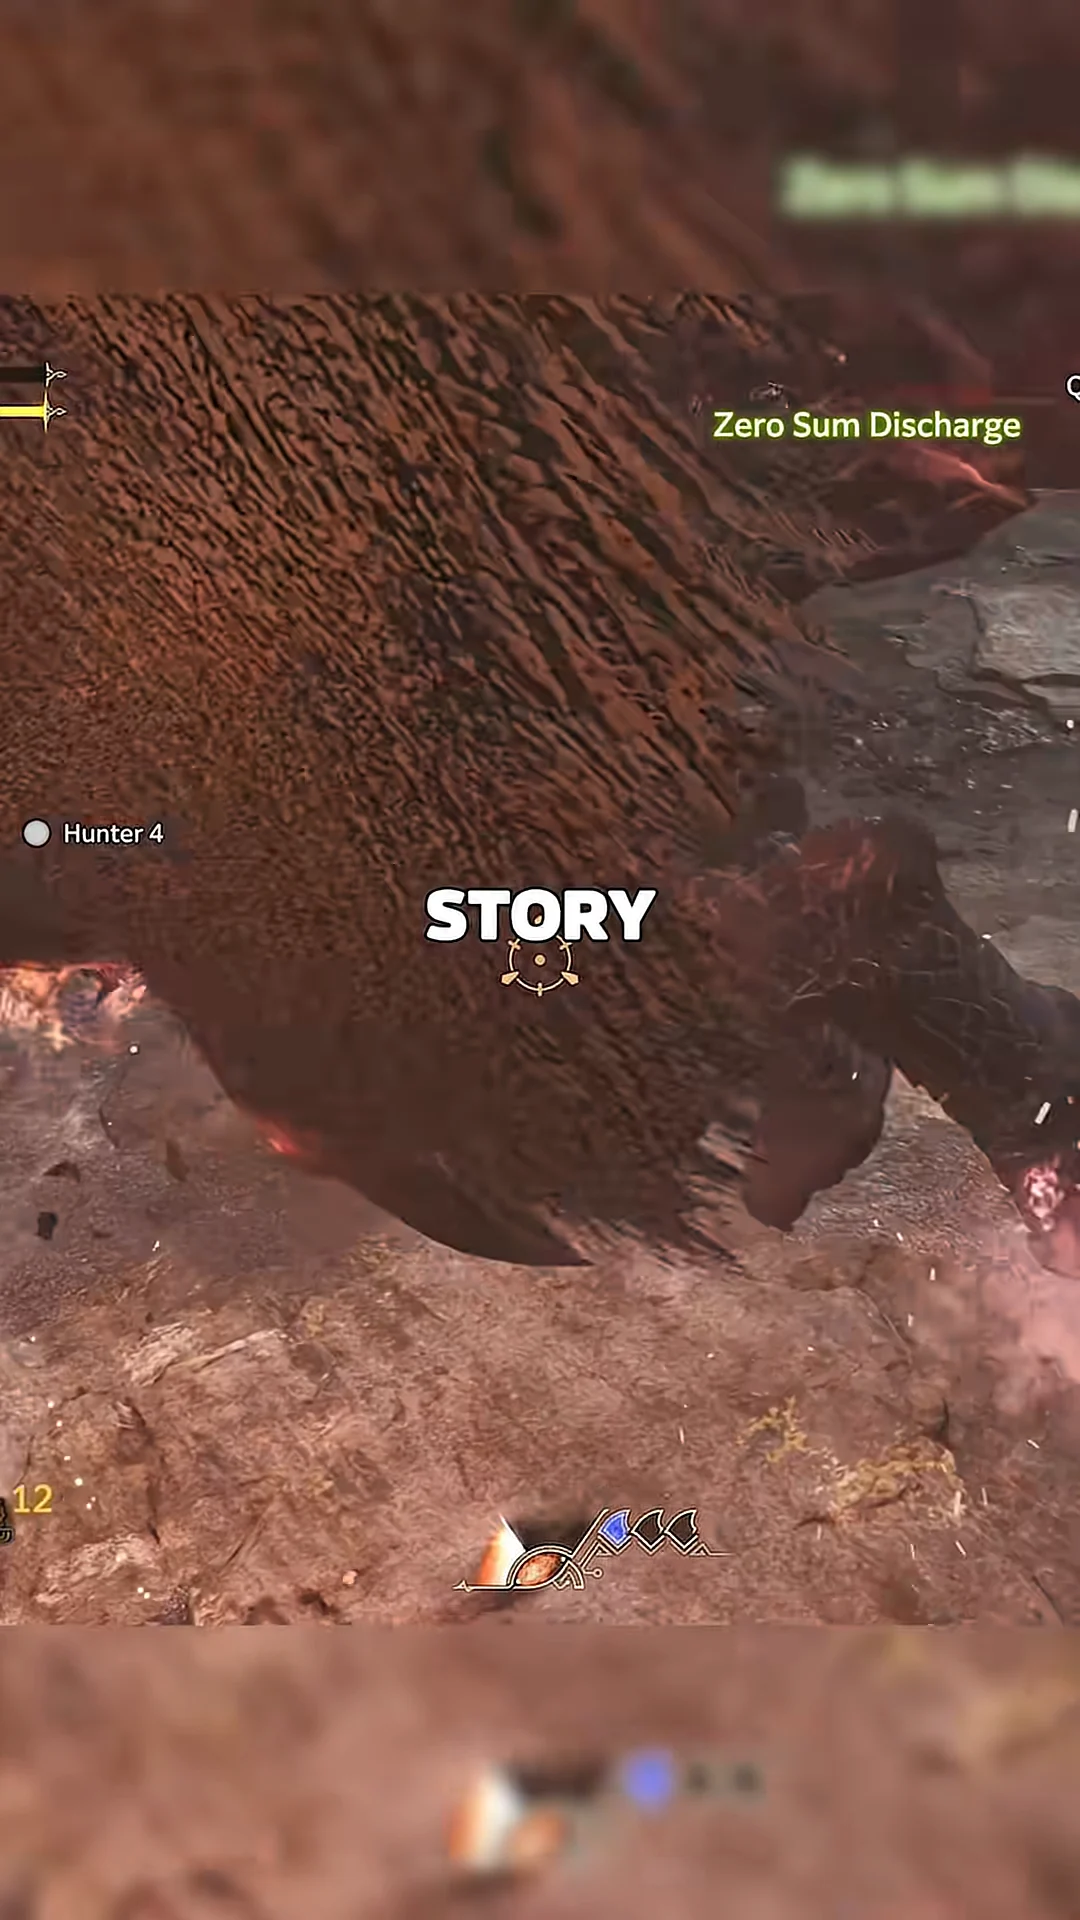
This is the flashiest way to dump a full Amp Gauge, and it works well on a monster that is still moving because you ride out the animation attached to its body.
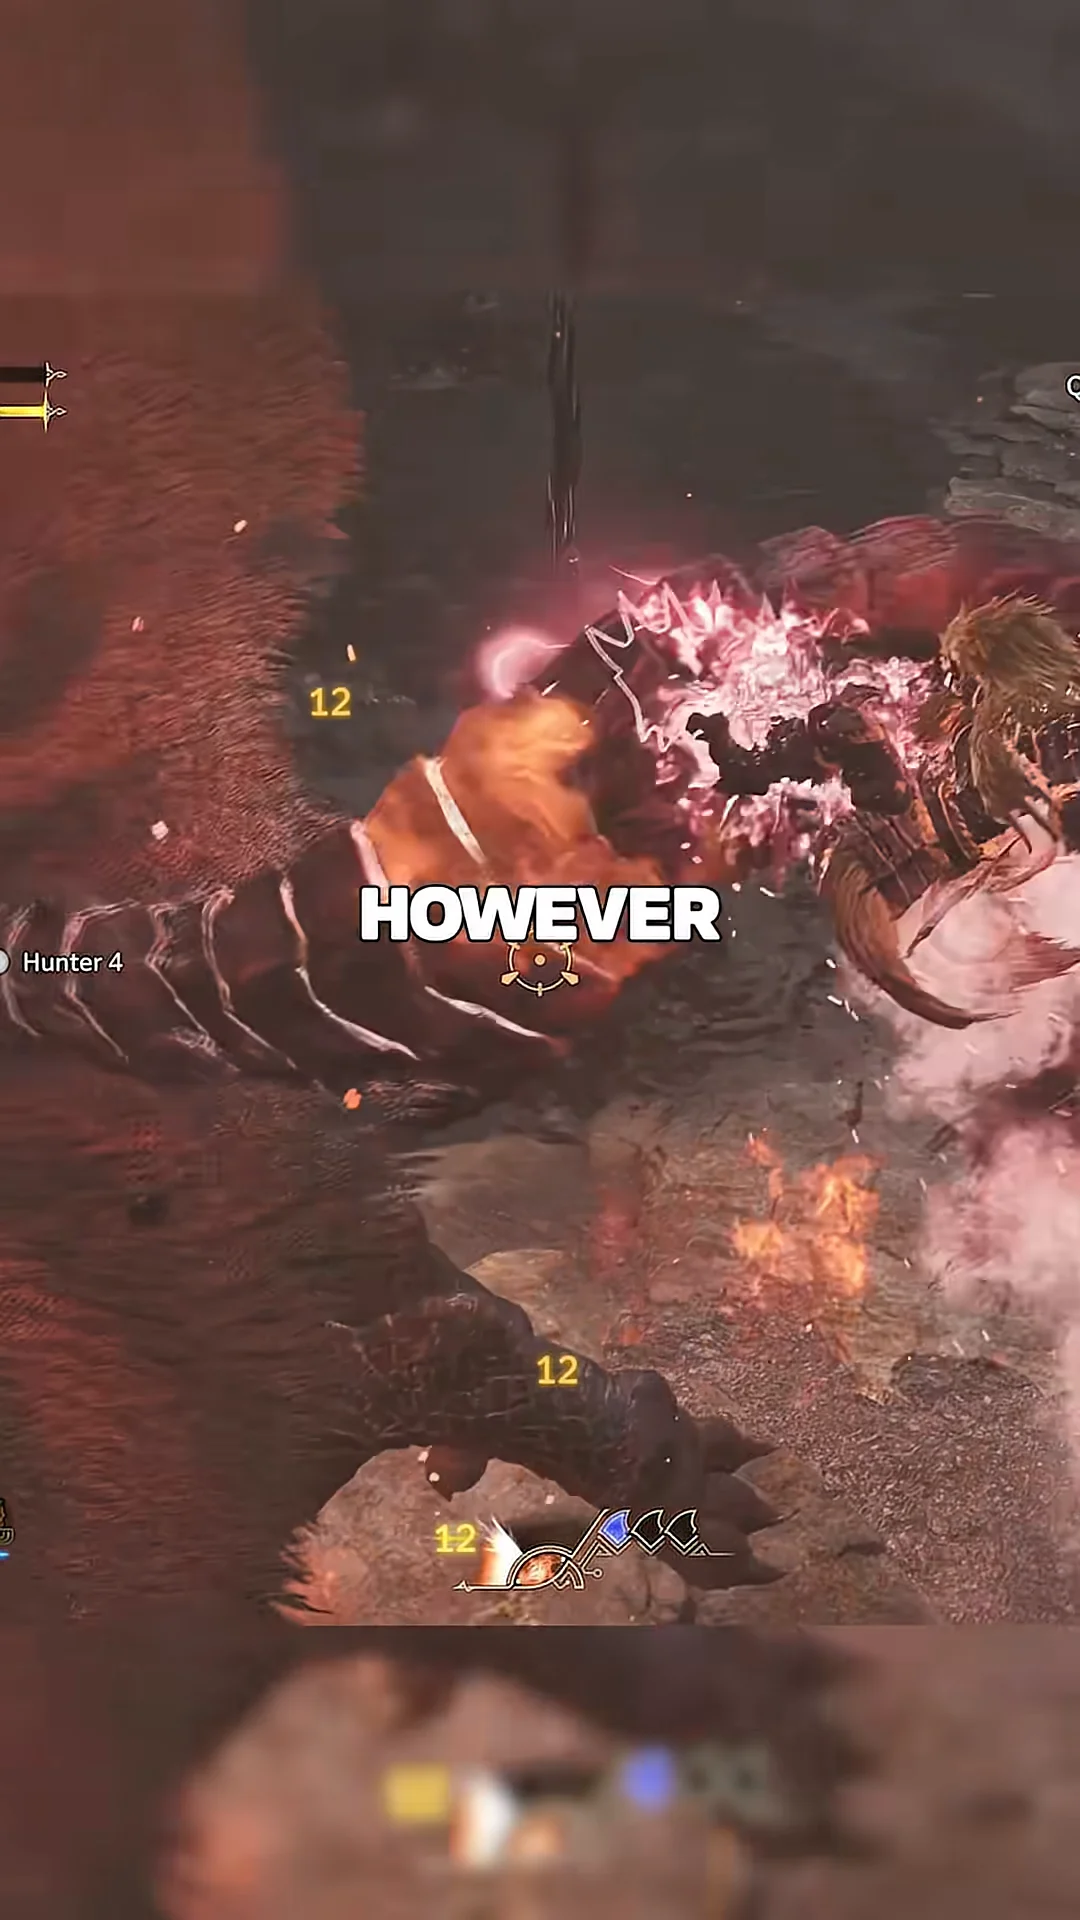
Wild Swing loops for as long as your stamina holds, but it only converts into Power Axe if you cap it with Heavy Slam after at least two swings.
Which finisher to use: Full Release Slash, Unbridled Slash or Zero Sum Discharge
Switch Axe has three big commitment moves, and they are not interchangeable. Picking the wrong one on a mobile monster means whiffing several seconds of animation.
Full Release Slash
The strongest attack in the kit, available once you are fully amped. It has a long wind-up, grants knockback negation through the animation, and consumes up to 40% of the Switch Gauge on completion before dropping you back into Axe Mode. Knockback negation is not immunity, so you still take chip damage if a tail clips you mid-swing. Use Focus Mode to steer it into a wound or a downed monster.
Unbridled Slash
The same input without the hold. It lands faster and chains cleanly out of a Sword Mode explosion, which makes it the safer choice when an opening is short and you cannot afford the full charge.
Zero Sum Discharge
Requires the Amped State and is the pick for a monster that will not sit still, since latching on means it cannot walk out of your damage. The trade is a long recovery once the finisher ends.
Offset Rising Slash and Counter Rising Slash: one counter per mode
Switch Axe cannot guard, so both of its defensive options are timing-based counters, and the input depends on which mode you are in. Offset Rising Slash belongs to Axe Mode. It dashes forward with an upward swing, and a clean hit against a monster attack staggers it and opens a follow-up. An earlier balance pass loosened the detection window and raised its offset buildup, making it easier to land than it was at launch.
From a perfect offset you choose between Offset Heavy Slam, which activates Power Axe, and Offset Morph Slash, which morphs you straight into Sword Mode. The second option is how you convert a defensive read into a Sword Mode damage window without spending time building gauge.
Counter Rising Slash is the Sword Mode version. Your hunter steps back into a feint and answers with a rising slash, absorbing most of the incoming hit while still taking chip damage. It carries hyperarmor, so skills like Counterstrike trigger from it, and a successful counter flows into Heavenward Flurry.
| Move | PlayStation | Xbox | PC |
|---|---|---|---|
| Offset Rising Slash | Triangle + Circle | Y + B | LMB + RMB |
| Counter Rising Slash | R2 + Triangle | RT + Y | R + LMB |
| Unbridled Slash | R2 + Triangle + Circle | RT + Y + B | R + LMB + RMB |
| Full Release Slash | Hold R2 + Triangle + Circle | Hold RT + Y + B | Hold R + LMB + RMB |
| Focus Mode: Morph Combination | L2 + R1 | LT + RB | Mouse 4 + Shift |
| Reload / Morph | R2 | RT | R |
Focus Mode: Morph Combination and wound damage
Focus Mode lets you aim swings toward the camera, which matters more here than on most weapons because Switch Axe’s best attacks are slow and easy to whiff. Morph Combination is the dedicated Focus attack: it morphs mid-string, and you decide whether the chain ends on the Axe or the Sword.
Ending on the Sword is usually better. In the Amped State that final hit produces a phial explosion, and that explosion links directly into Unbridled Slash or Full Release Slash. Aim the whole sequence at an open wound and you get the morph damage, the explosion and the finisher in one window.
Phials change what your Sword Mode explosions do
Every Switch Axe ships with a fixed phial type that you cannot swap. Once the Amp Gauge is full, that phial rides along on your Sword Mode hits as bonus explosions.
- Power Phial — extra raw damage.
- Element Phial — extra elemental damage.
- Poison Phial — poison buildup.
- Paralysis Phial — paralysis buildup.
- Dragon Phial — dragon damage.
- Exhaust Phial — stun and stamina drain, and exhaust on the head counts toward a KO.
New Switch Axe moves in Ascendance
The Boost Bracer mechanic in the Ascendance expansion changes how several of these attacks behave rather than adding a fourth finisher.
| Action | Effect |
|---|---|
| Empowered Full Release Slash | Removes the wind-up, swaps it for an explosive combo |
| Enhanced Zero Sum Discharge | Adds a dash, then allows an aerial follow-up |
| I-Frame Attack | An attack with invincibility frames |
| Boost Driver Gauge Charge | Boost Driver hits instantly fill the Switch or Amp Gauge |
Losing the Full Release Slash wind-up is the biggest shift, since the move’s main cost has always been standing still long enough to get punished for it.
Everything above collapses into a short mental loop once it clicks. Fill the gauge in Axe Mode, ideally with Power Axe active, morph in and swing until the Amp Gauge caps, then spend it on the finisher that fits the opening in front of you. Counter when the monster forces you off that rhythm, and use Focus Mode so the expensive animations actually land where you pointed them.