The Underpass saves its most awkward bit of platforming for last. Once Recursions and Iterations asks you to follow the relays to Grist, the final stretch of the mission hands you a probe relay and strips out most of your traversal kit, leaving a network of rusted pipes strung over dark water as the only way forward in Control Resonant. It is not a puzzle so much as a balance test with a very specific line to follow.
Quick answer: Pick up the probe relay beside Grist, walk onto the rusty pipe along the chamber wall, climb the concrete ledge, jump to the higher pipe, then follow it through the tunnel into the cavern.
Where the pipe crossing starts in the Underpass
The crossing sits at the tail end of the mission, after the chasm section at the cable car. Getting there means dropping through the flooded lower levels of the Underpass, climbing the red-lit concrete ledges, and jumping between pillars and platforms until the relay trail picks up again.
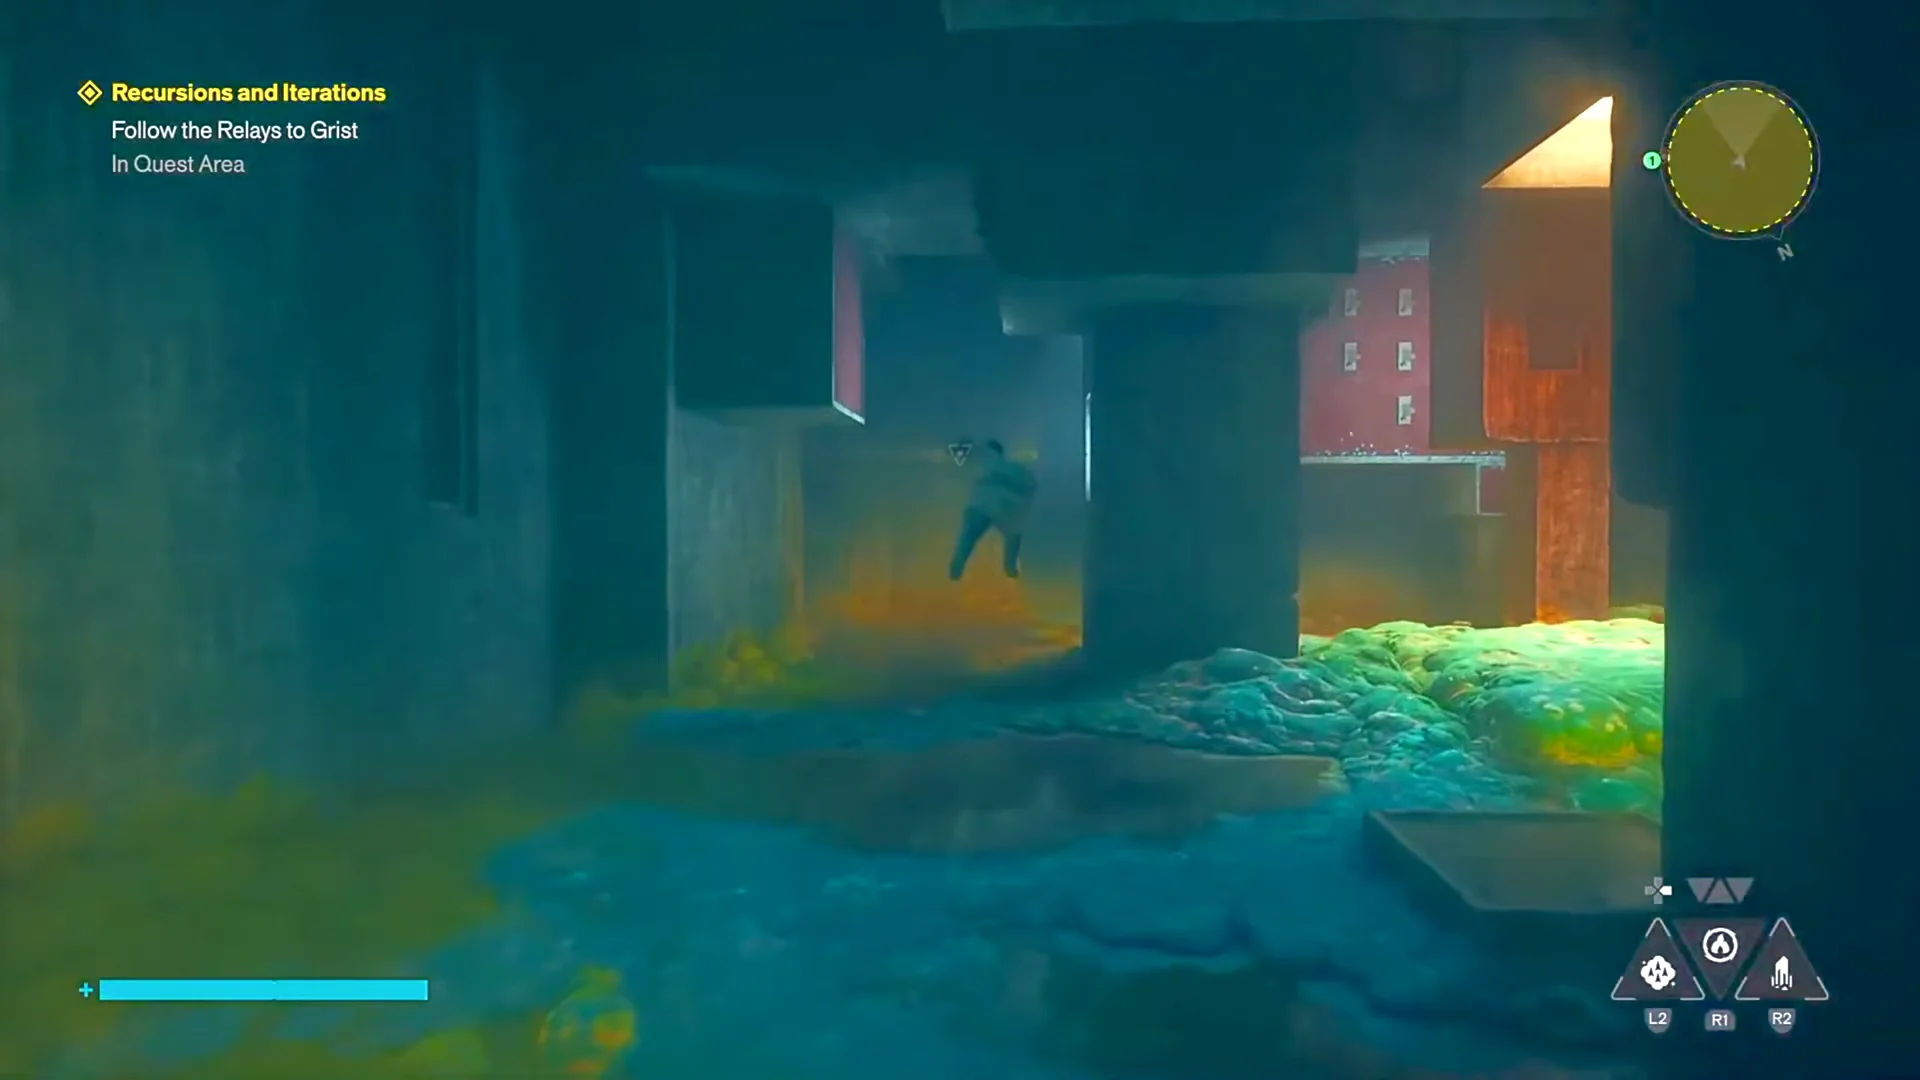
Follow the trail to the end and you reach a dim chamber with Grist lying on the floor. The last probe relay is on the ground right beside him, and the objective updates to Place the Final Probe Relay as soon as you get close.
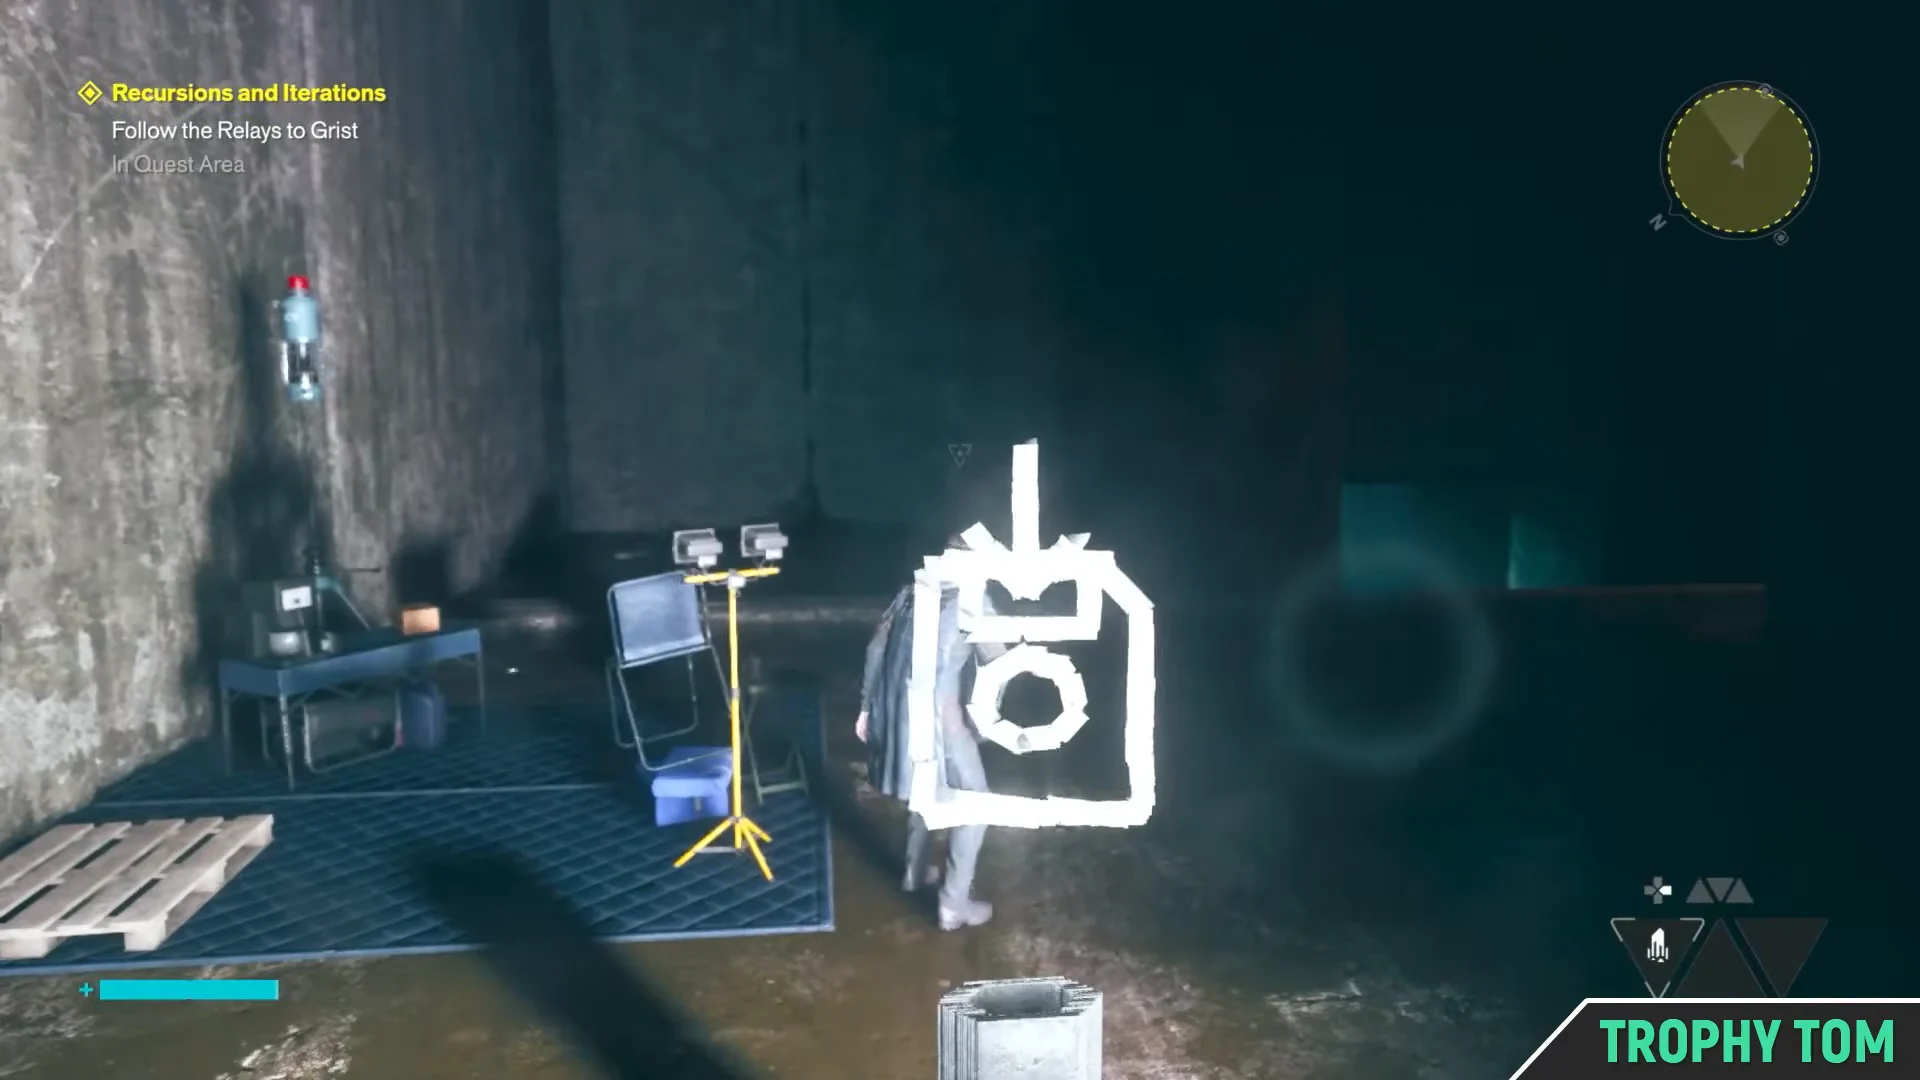
What the relay does to your movement
The relay counts as a carried object, and the game locks out your usual mobility while it is in your hands. That is the whole reason the pipes exist here — you cannot simply shortcut the gap. Walking and jumping still work fine, which is all the route needs.
| On-screen prompt | What it means |
|---|---|
| L1 | Lift the relay with telekinesis |
| ! Not While Carrying | That ability is blocked until you put the relay down |
| Drop Object | Set the relay on the ground at any point |
| Activate | Switch the relay on once it is in the drop spot |
If a jump feels too tight, drop the relay, reposition yourself, then pick it back up. Nothing resets, and the relay stays where you leave it.
How to cross the pipes carrying the relay
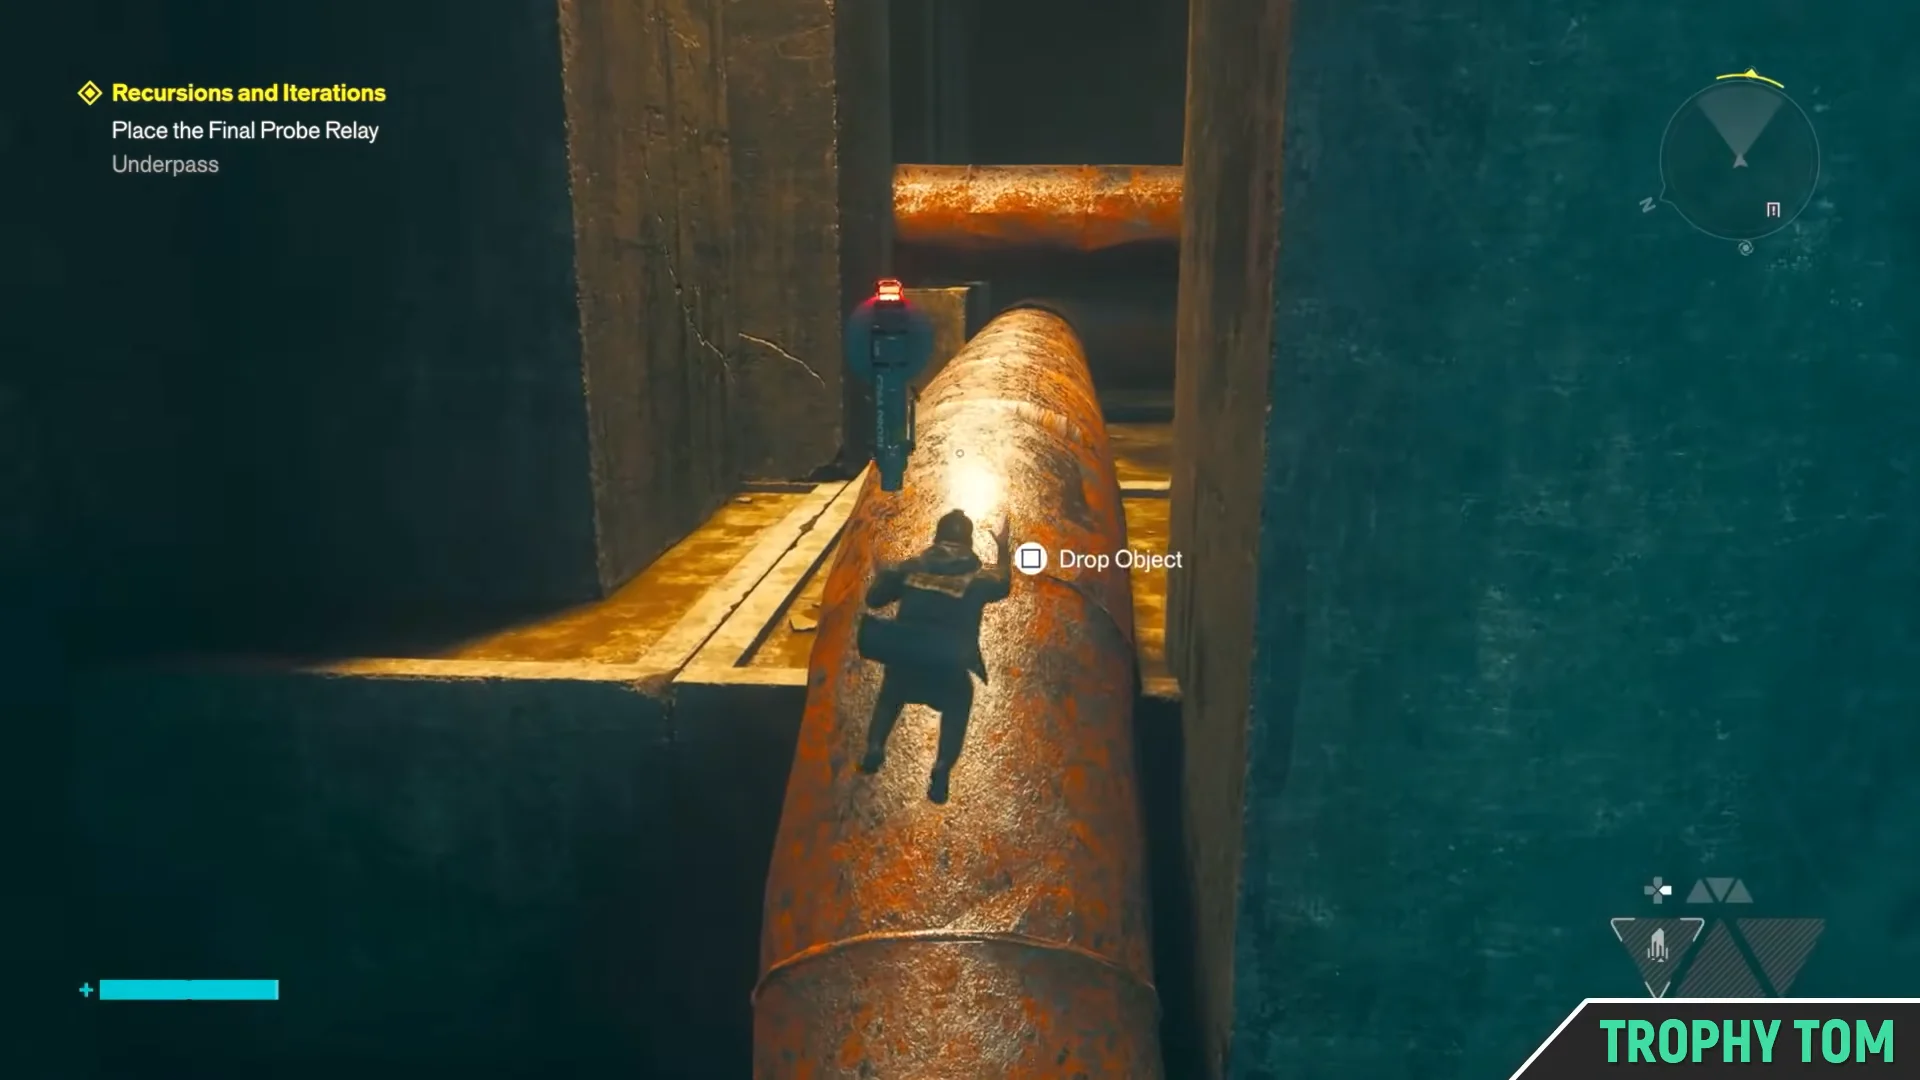
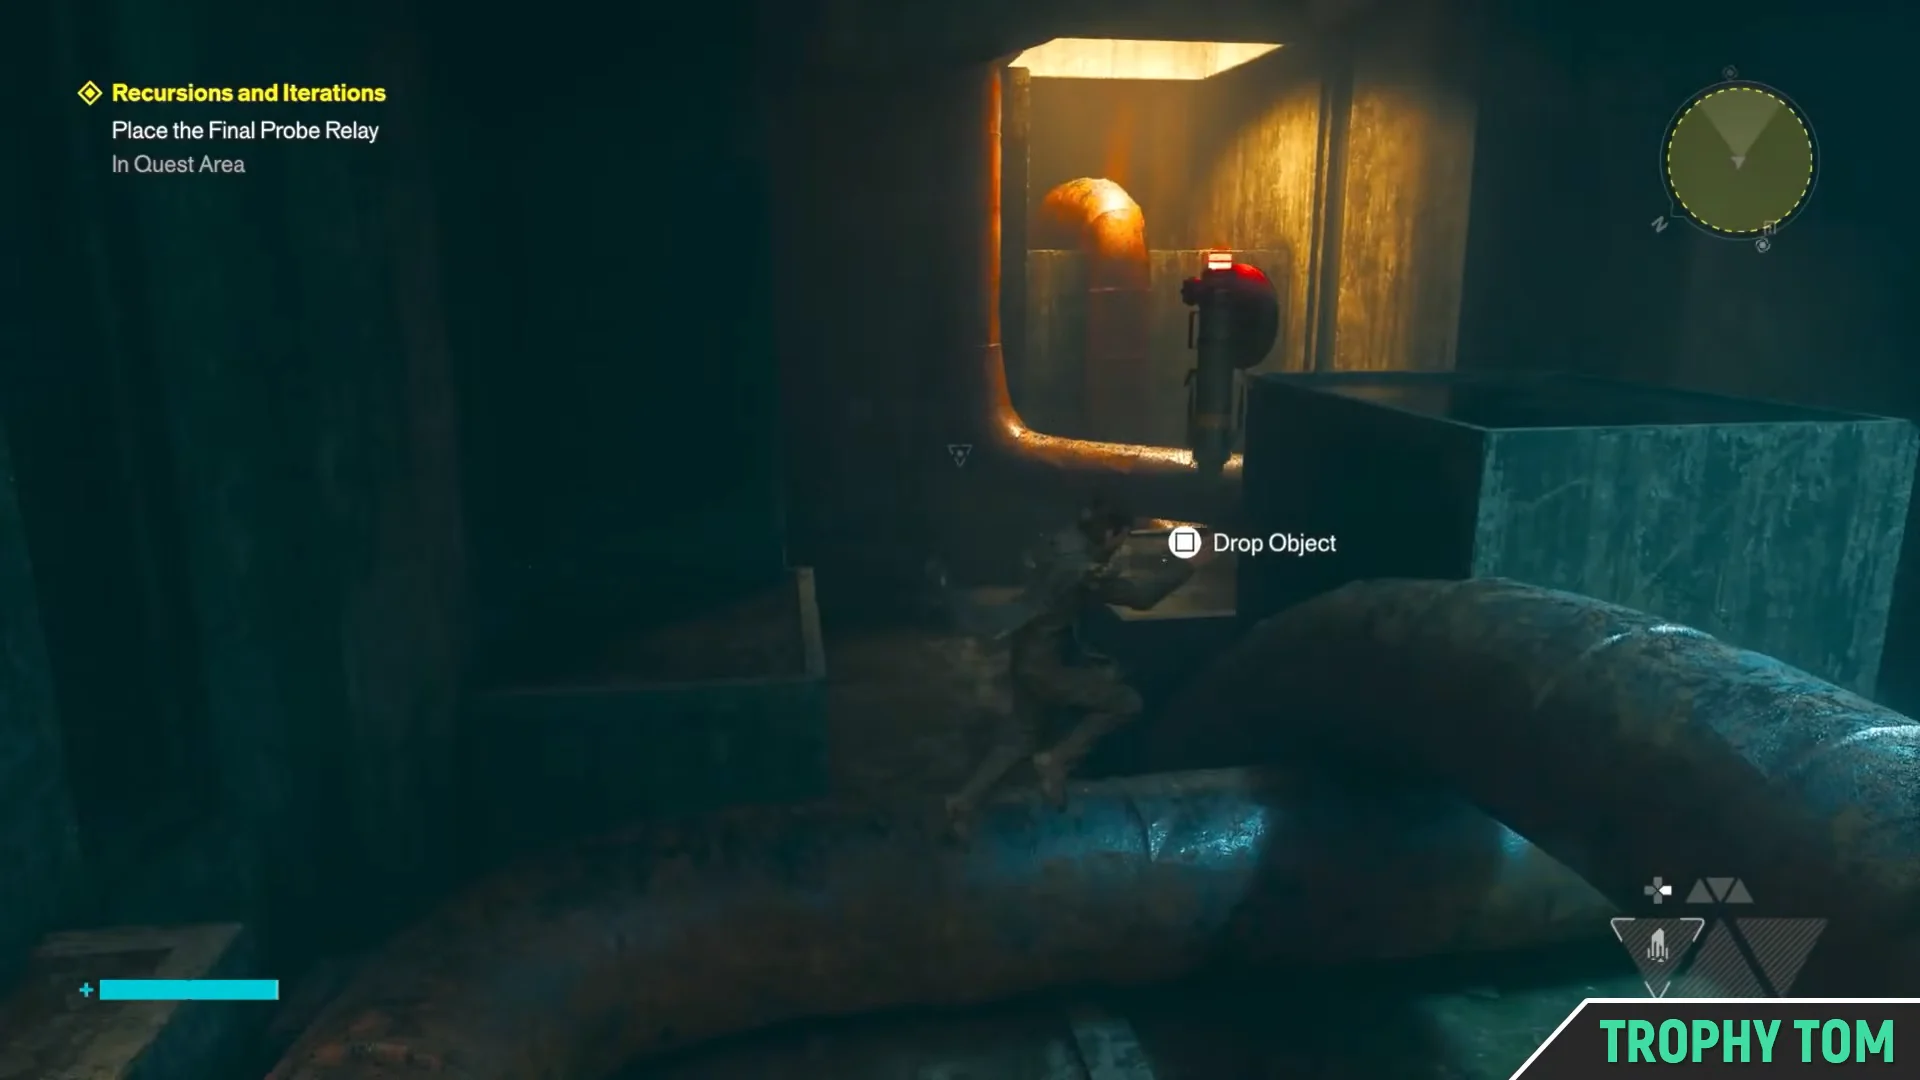
Reaching the cavern on the far side
The cavern is easy to identify. It is open, far brighter than the tunnel you just left, and there is a raised mound in the middle with a single small tree on it. That tree is the destination for the relay, and the yellow quest marker sits directly over it.
Walk the relay over to the mound, drop it into the marked spot near the tree, and activate it. That closes out the final objective of Recursions and Iterations, and the mission pays out the Prime Candidate Restraint outfit along with a Living Shard.