As a 5-star Anemo sword wielder, Vesna serves as a Stellar Swirl carry who stays on the field, while her constellations improve that job in notably uneven increments. Some provide straightforward talent-level increases, whereas others transform her passives into major boosts to her personal damage. Identifying the meaningful upgrades makes it easier to choose when to stop pulling.
Quick answer: Prioritize C6 for the biggest single jump, then C2 as the best budget-friendly stopping point. C1 is strong for low spenders, C4 and C3 are steady mid-tier gains, and C5 is the weakest.
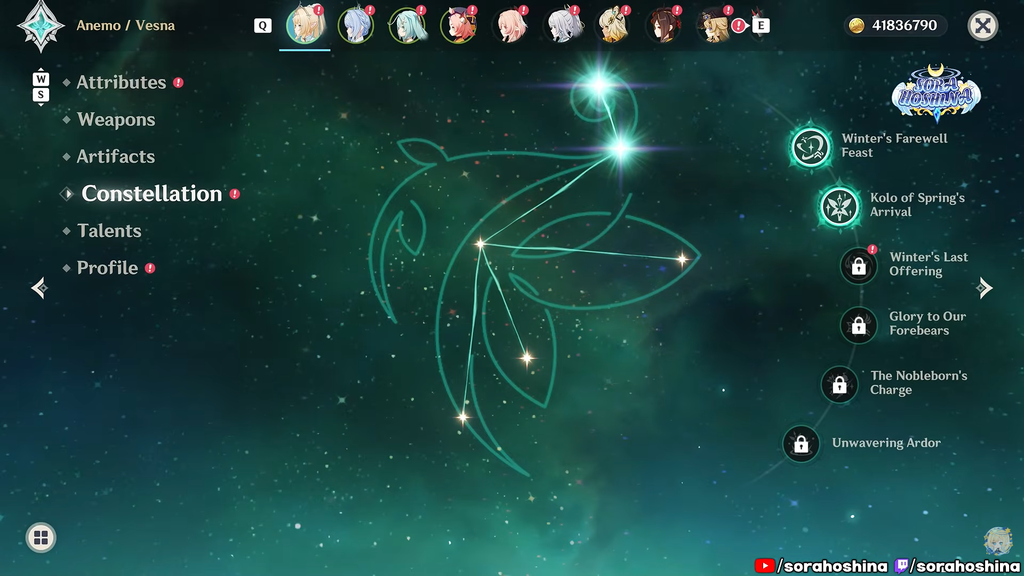
Vesna constellation tier list
| Tier | Constellations |
|---|---|
| S | C6, C2 |
| A | C1 |
| B | C4, C3 |
| C | C5 |
This ranking reflects Vesna as she plays in Genshin Impact 7.1, measured by how much each constellation raises her personal and team rotation damage in a standard Stellar Swirl setup. It weighs frontloaded damage, ATK scaling, and reaction damage multipliers over flat talent levels.
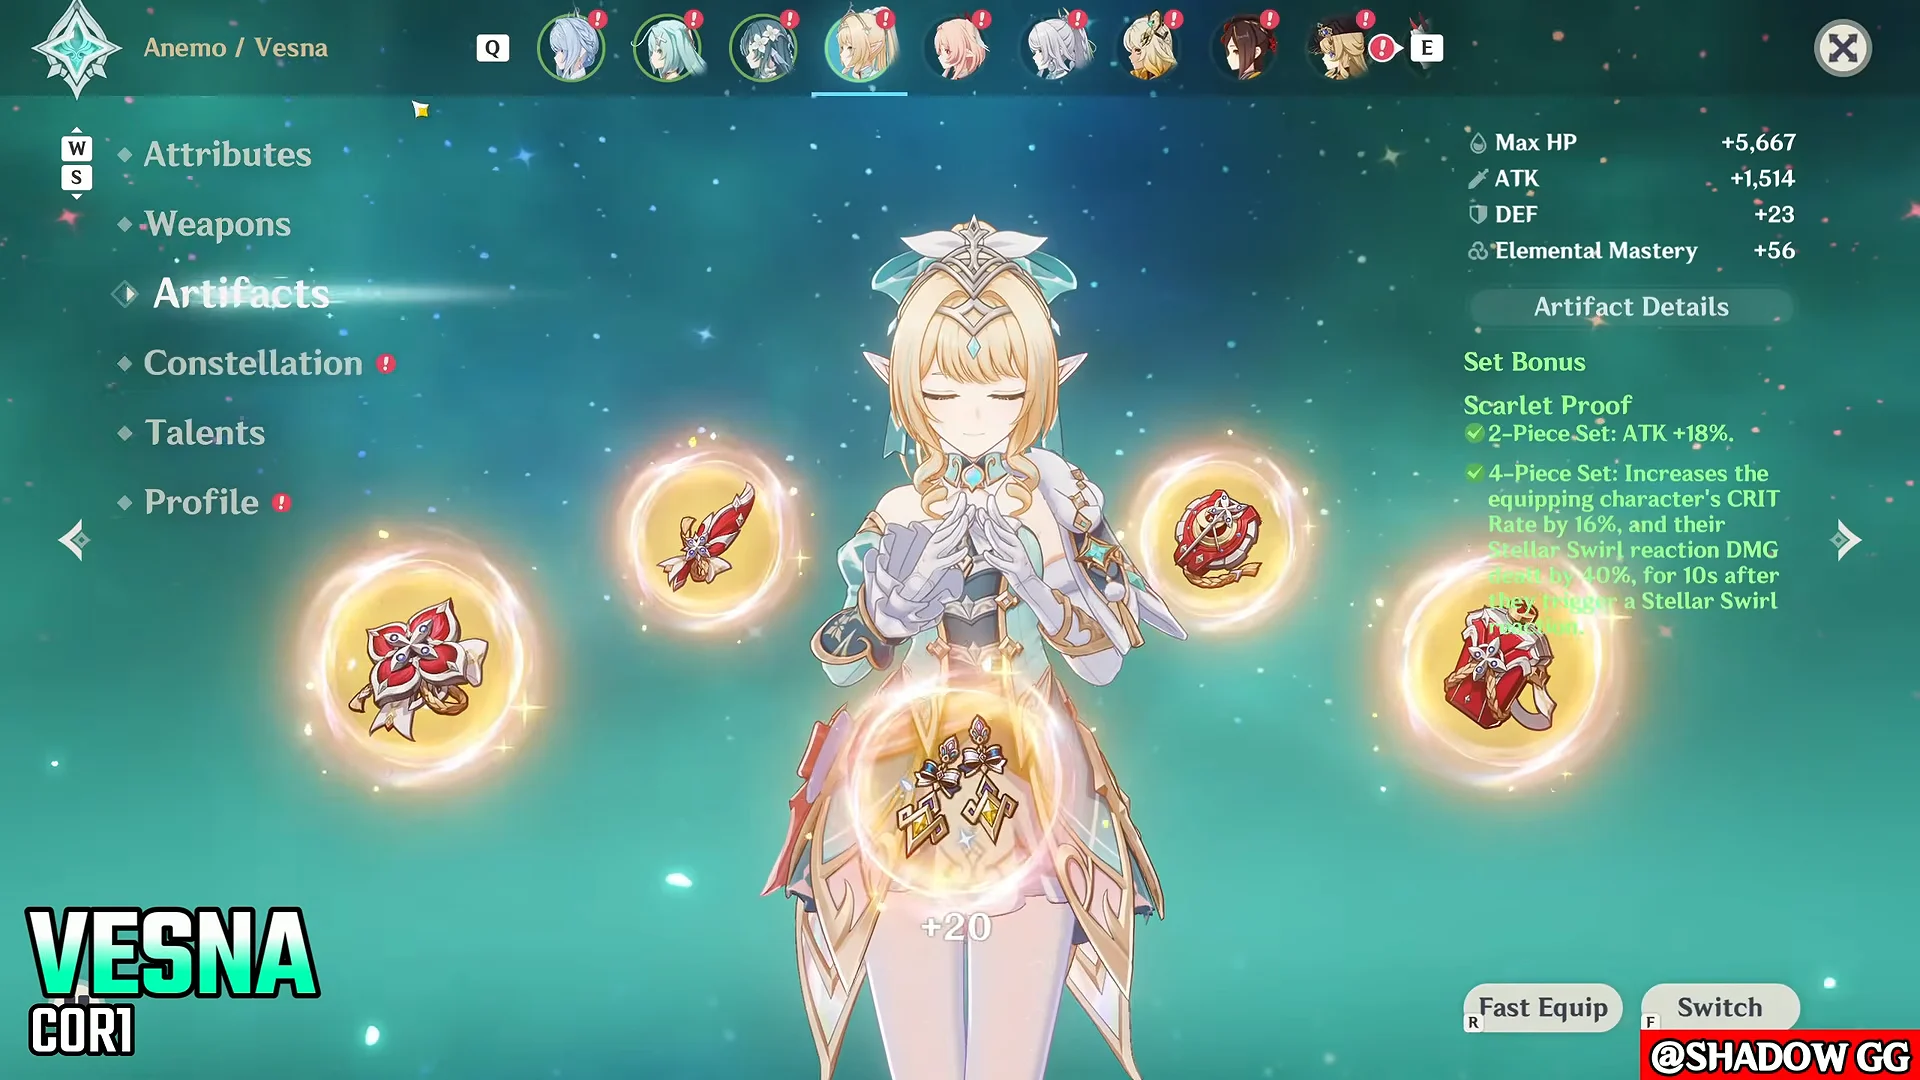
Rotation damage by constellation
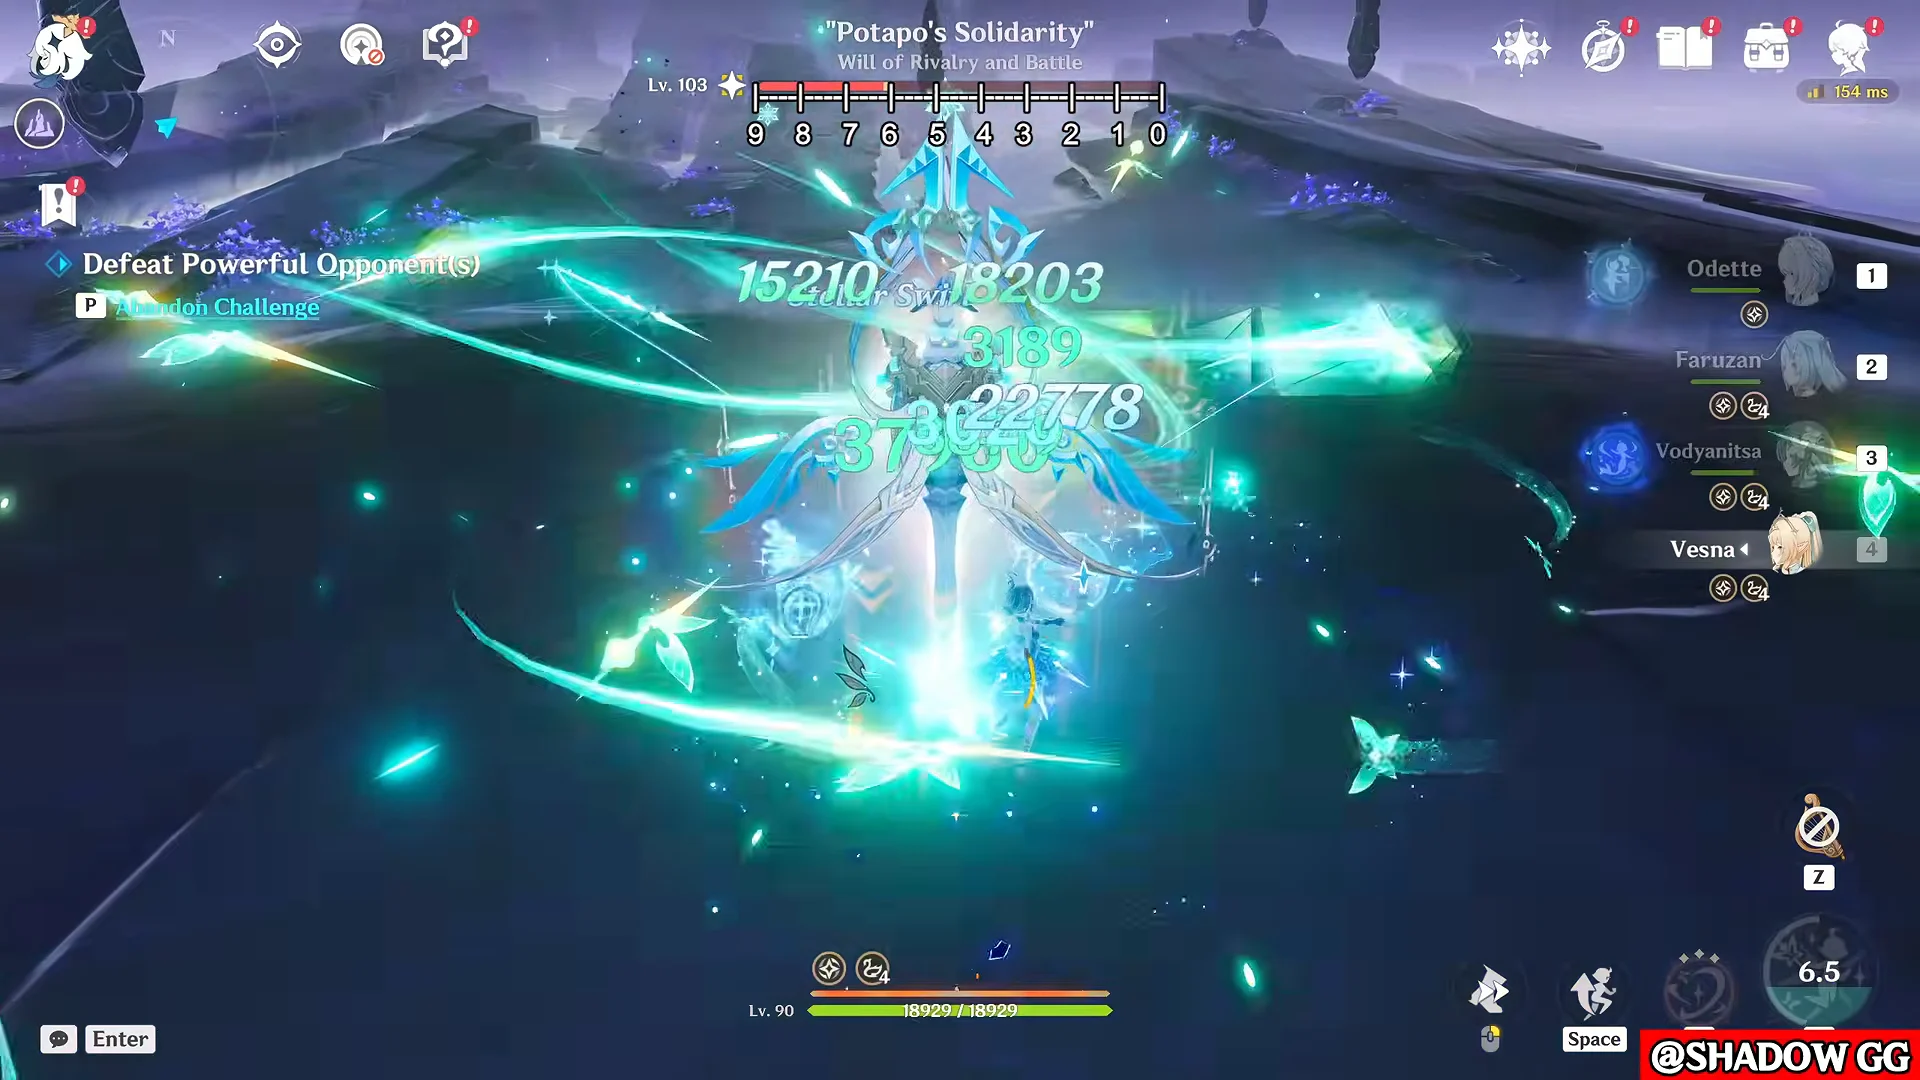
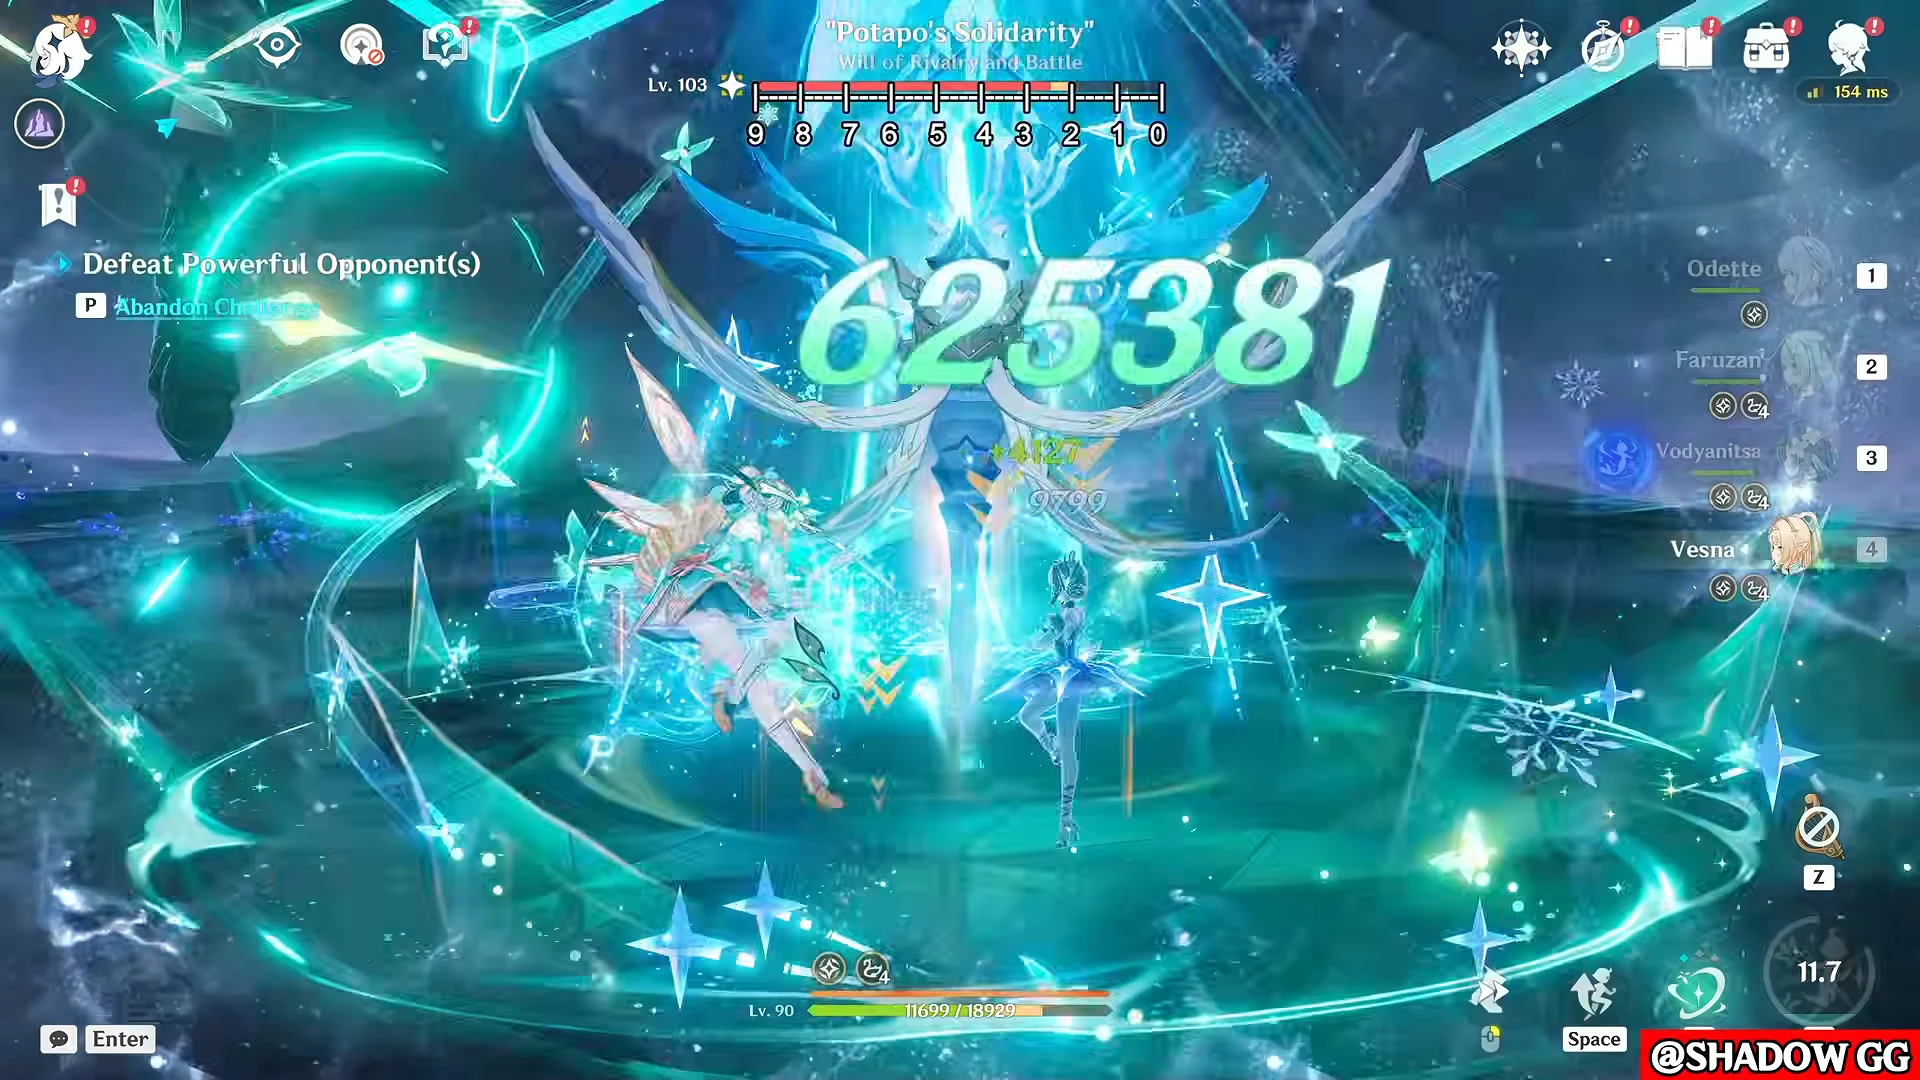
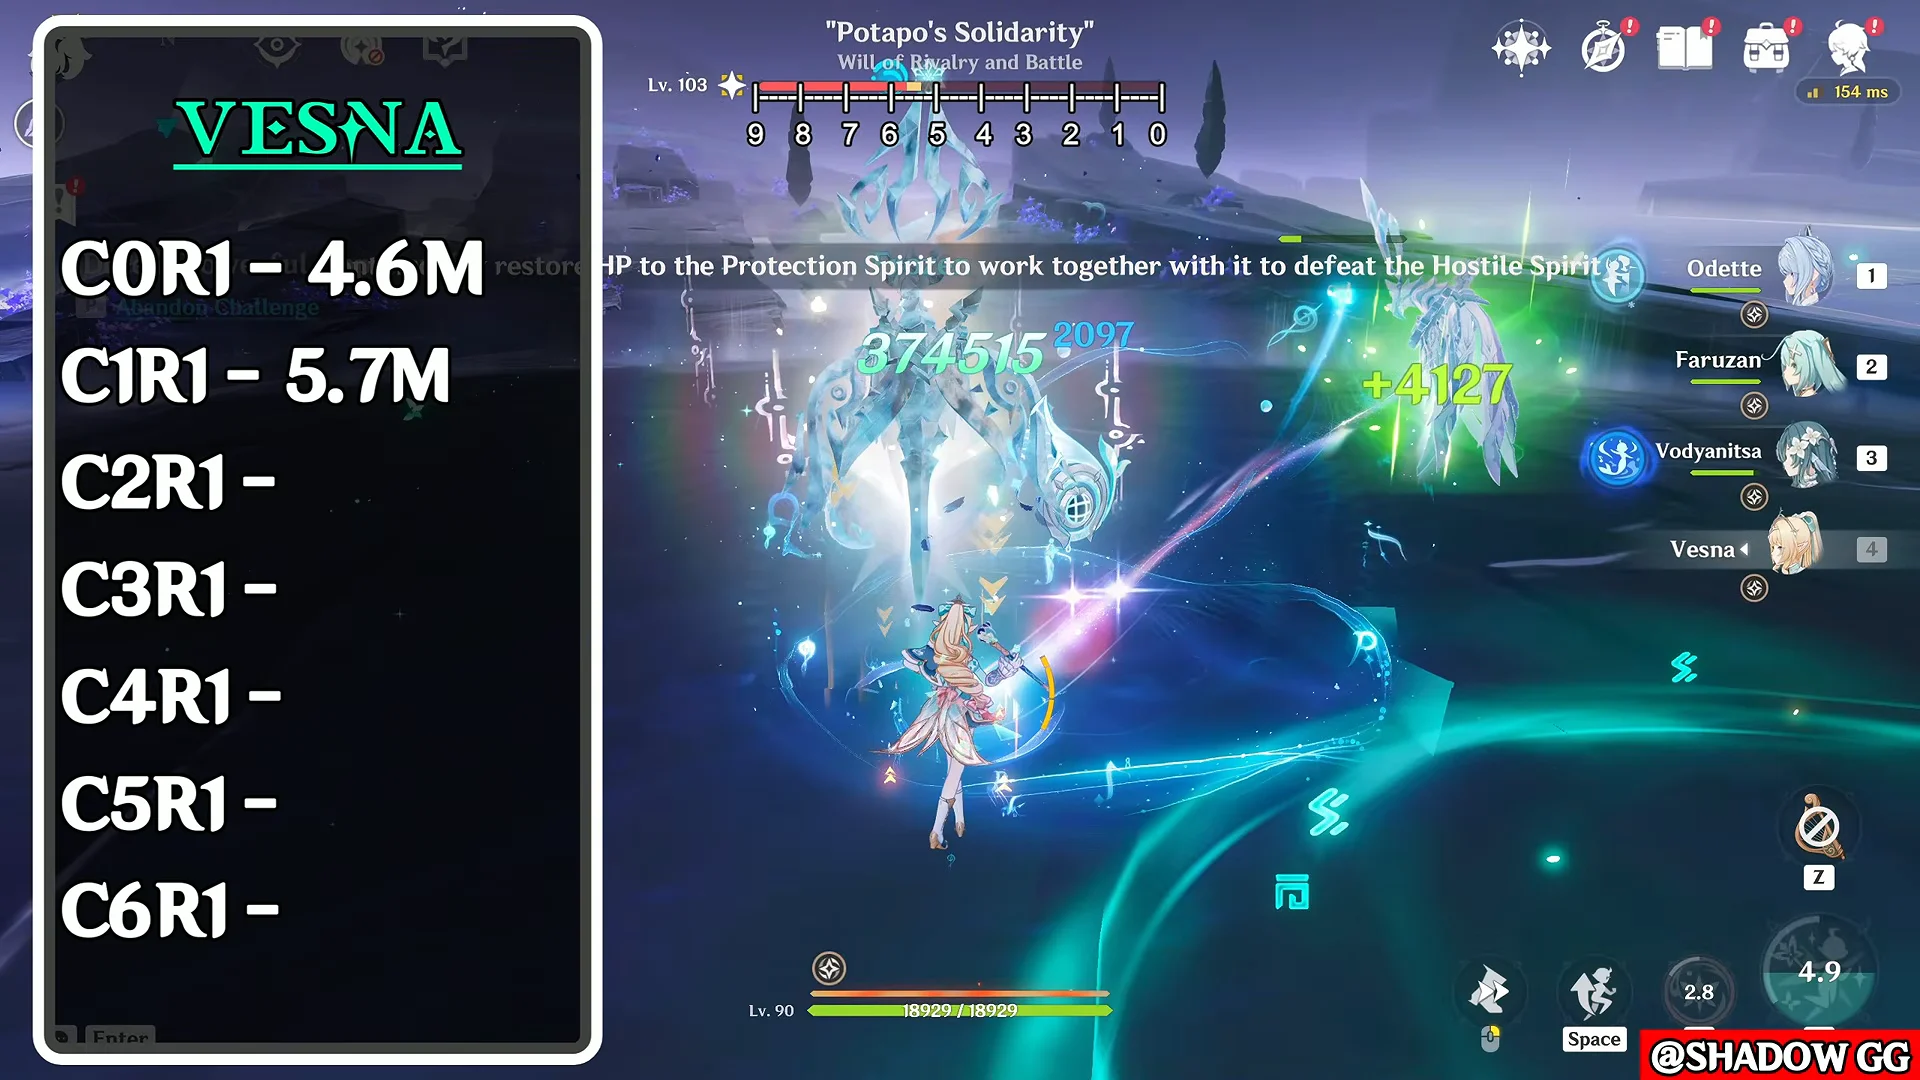
Testing a full team rotation with Odette, Faruzan, and Vodyanitsa alongside Vesna on her signature Beyond the Chrysalis (R1) shows how each level adds to total damage. The gaps between levels tell you where the real value sits.
| Constellation | Total rotation | Jump vs. previous |
|---|---|---|
| C0 | 4.6M | — |
| C1 | 5.7M | ~24% |
| C2 | 6.4M | ~12% |
| C3 | 7.2M | ~12.5% |
| C4 | 7.85M | ~9% |
| C5 | 8M | ~1.9% |
| C6 | 10M+ | >25% |
These figures come from a pre-release test server, so exact numbers can shift, but the relative order between constellations holds.
S-tier: C6 and C2
C6 (Unwavering Ardor) is her strongest constellation by a wide margin. After she casts Windborne Sword at its highest level, tapping Normal Attack or Elemental Skill within five seconds unleashes Windborne Sword: Transpose, dealing Anemo damage at 150% of her ATK and summoning Spirit Blades for an extra 200% of her ATK. It also raises her Stellar Swirl reaction damage by 20% as a special elevation multiplier that is calculated independently of her other damage boosts. That combination pushes her total rotation past the 10M mark.
C2 (Kolo of Spring’s Arrival) is the ideal endpoint for anyone who is not pursuing C6. When Armed for Action mode begins, Vesna immediately receives the full number of Disciplinary Action stacks instead of building them over time, and maximum stacks raise her ATK by 40%. This greatly strengthens her damage at the start of a rotation, a particularly valuable benefit in timed endgame content.
A-tier: C1 for low spenders
C1 (Winter’s Farewell Feast) delivers the single largest jump of any early constellation, roughly a 24% lift over C0. It lets Vesna unleash Windborne Sword at the highest level four times per rotation instead of three, and the first highest-level cast each time she enters Armed for Action no longer consumes Sword Essence. On top of that, she gains a 20% increase to Stellar Swirl reaction damage while in Armed for Action mode. For anyone weighing a small investment, this is the most efficient single stone.
B-tier: C4 and C3
C4 (Glory to Our Forebears) triples the ATK and Elemental Mastery bonuses from her A4 passive, Truth Prevails. Because Vesna almost always runs in Stellar Swirl teams, that scales into a sizeable ATK buff and a clean, reliable damage bump with no extra inputs. It is the more valuable of the two B-tier picks.
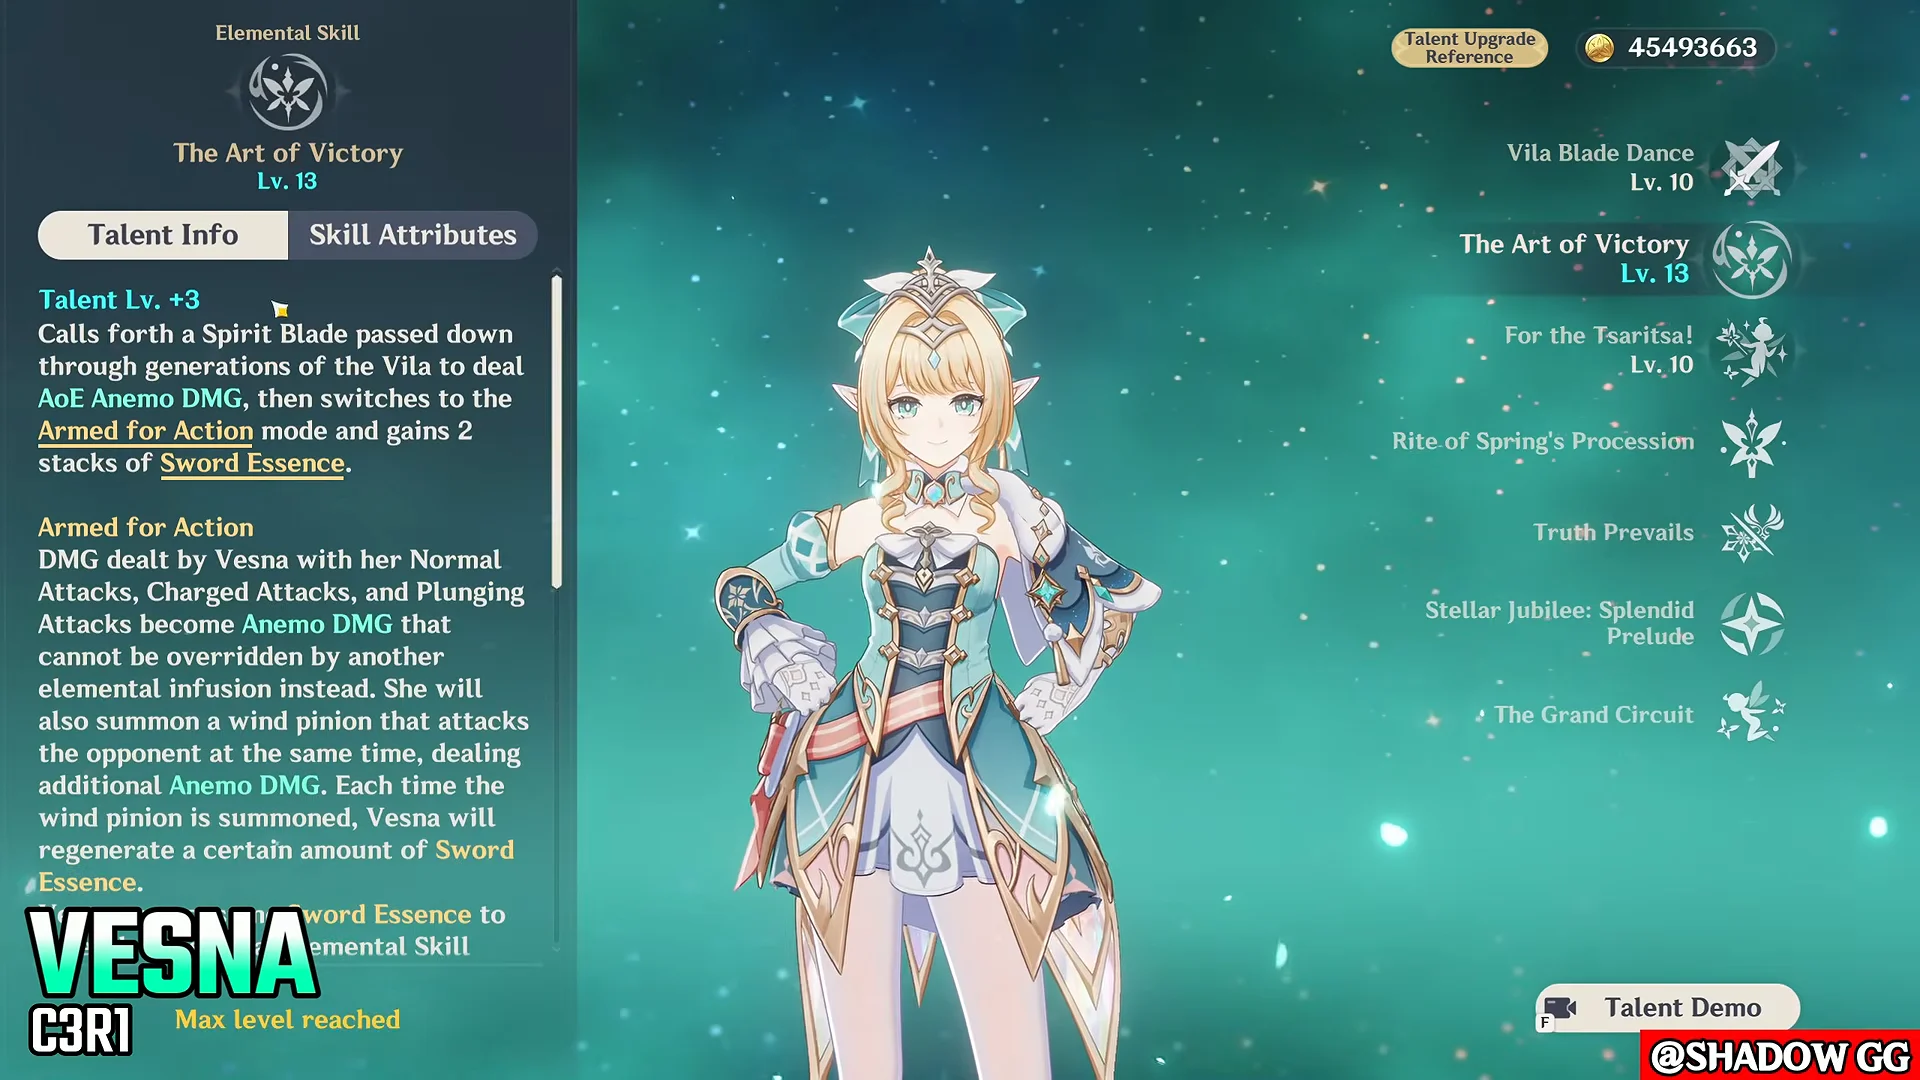
C3 (Winter’s Last Offering) raises the level of her Elemental Skill, The Art of Victory, by three, up to a maximum of Lv. 15. Since her main damage flows through her skill, the extra levels carry real weight, even if a flat talent boost lacks the mechanical upside of her passive-altering constellations.
C-tier: C5 is the weakest
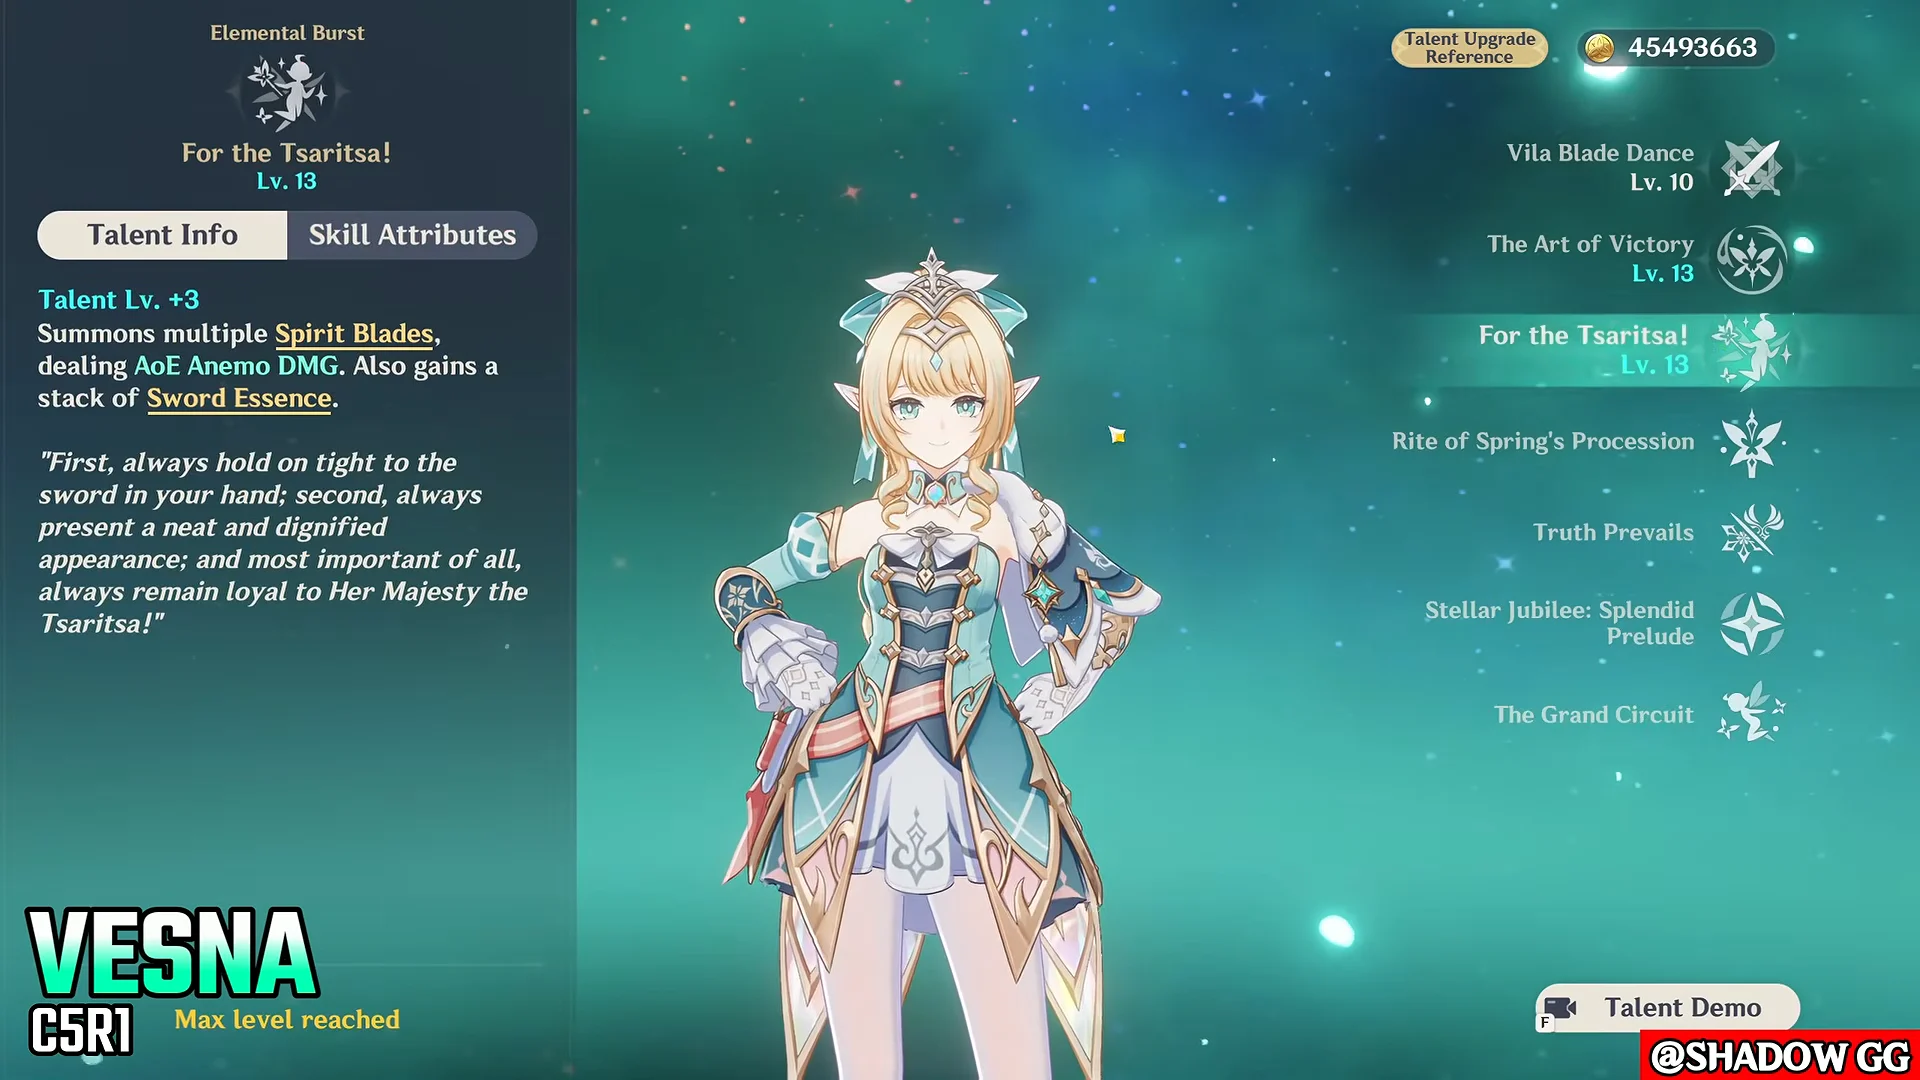
C5 (The Nobleborn’s Charge) increases the level of her Elemental Burst, For the Tsaritsa!, by three, up to Lv. 15. Her burst is not her main damage source, so the payoff is the smallest of the six, adding under 2% to her rotation. Treat it purely as a stepping stone toward C6.
The practical read is simple. If you are spending lightly, stop at C1 for the best value per stone, or push to C2 if you want to erase her ramp-up entirely. If you plan to invest vertically, C6 is where Vesna’s damage ceiling truly opens up, and everything between exists mostly to get you there.