Leveling in Control Resonant does not work the way most action games train you to expect. Killing enemies does not fill a personal experience bar for Dylan. Instead, everything you do inside a region of Manhattan pours experience into that region’s own progression track, called Zone Level, and those zone rewards are what feed Dylan’s strength. Once that clicks, the fastest path becomes obvious.
Quick answer: Pick one zone, clear its World Feats first, then mop up quests, enemy groups, loot, and puzzles in the same area until it levels. Repeat right after every Resonant kill, when World Feats refresh.

How Zone Level progression works
Manhattan contains seven zones, with a separate progression in each that spans Level 1 through Level 15. In order, they are Downtown, Central, Evacuation Zone, West Incursion Zone, The Park, Underpass, and The Unknown. XP applies exclusively to your current zone, meaning work in Central will not advance The Park’s vendor or upgrades.
A zone level advances its upgrade track to the next reward and grants Dylan one Talent Point for use at The Gap. Open the Map to see that zone’s level alongside its XP progress, letting you judge every area’s status from one menu.
Higher levels demand more XP. Central requires 600 Zone XP for Level 2 and 800 for Level 4; The Park requires 1,000 Zone XP to reach Level 5. Do not confuse Zone Level with the Power Level beside enemy health bars. Power Level represents enemy difficulty and rises from ability and Aberrant upgrades at The Gap, not from zone progression.

The fastest Zone XP sources, in order
Since all zone activities contribute, concentrate on one area instead of working across the entire map for the fastest gains. Prioritize tasks by their extra rewards beyond XP and by which sources are limited first.
- World Feats — optional objectives marked with white icons on the Map, such as Apex Hunt, Hiss Hive, Hold the Line, and Suspended Extermination. They pay Zone XP, Source, and upgrade materials, and they refresh every Cycle.
- Quests — Complete main quests or side quests in the zone. Side quests award more than XP, also giving upgrade materials, outfits, and Artifact recipes.
- Enemy groups — clear the groups you pass between objectives; each group stays cleared until the next Cycle.
- Loot — open resource crates and treasure chests along your route. Large crates in Manhattan grant extra Zone XP alongside health and ability upgrades.
- Collectibles and puzzles — These include Secret Hideouts, Dylan’s Drawings, and question-mark locations that reveal themselves when Dylan approaches. Each can reward you only once, making them useful to hold back until you need the final progress for a level.
Unlocking fast travel doors is also worth doing on sight, because discovering each door awards zone points. The question-mark puzzle spots are quick mini-games that usually cost less time than a full mission, which makes them efficient when a zone sits just short of the next level.

Kill heavy enemies first to bank the XP
Combat has one rule that quietly wastes time if you miss it. Drones and other minor enemies keep respawning until the heavy unit in the group is dead, and Zone XP is only awarded once the whole group is wiped out. Picking off the small enemies first just drags the fight on without moving progress.
Focus the heavy or named target, clear the group around it, and the XP lands. Larger enemies also drop the most Source, so prioritizing them pays twice.
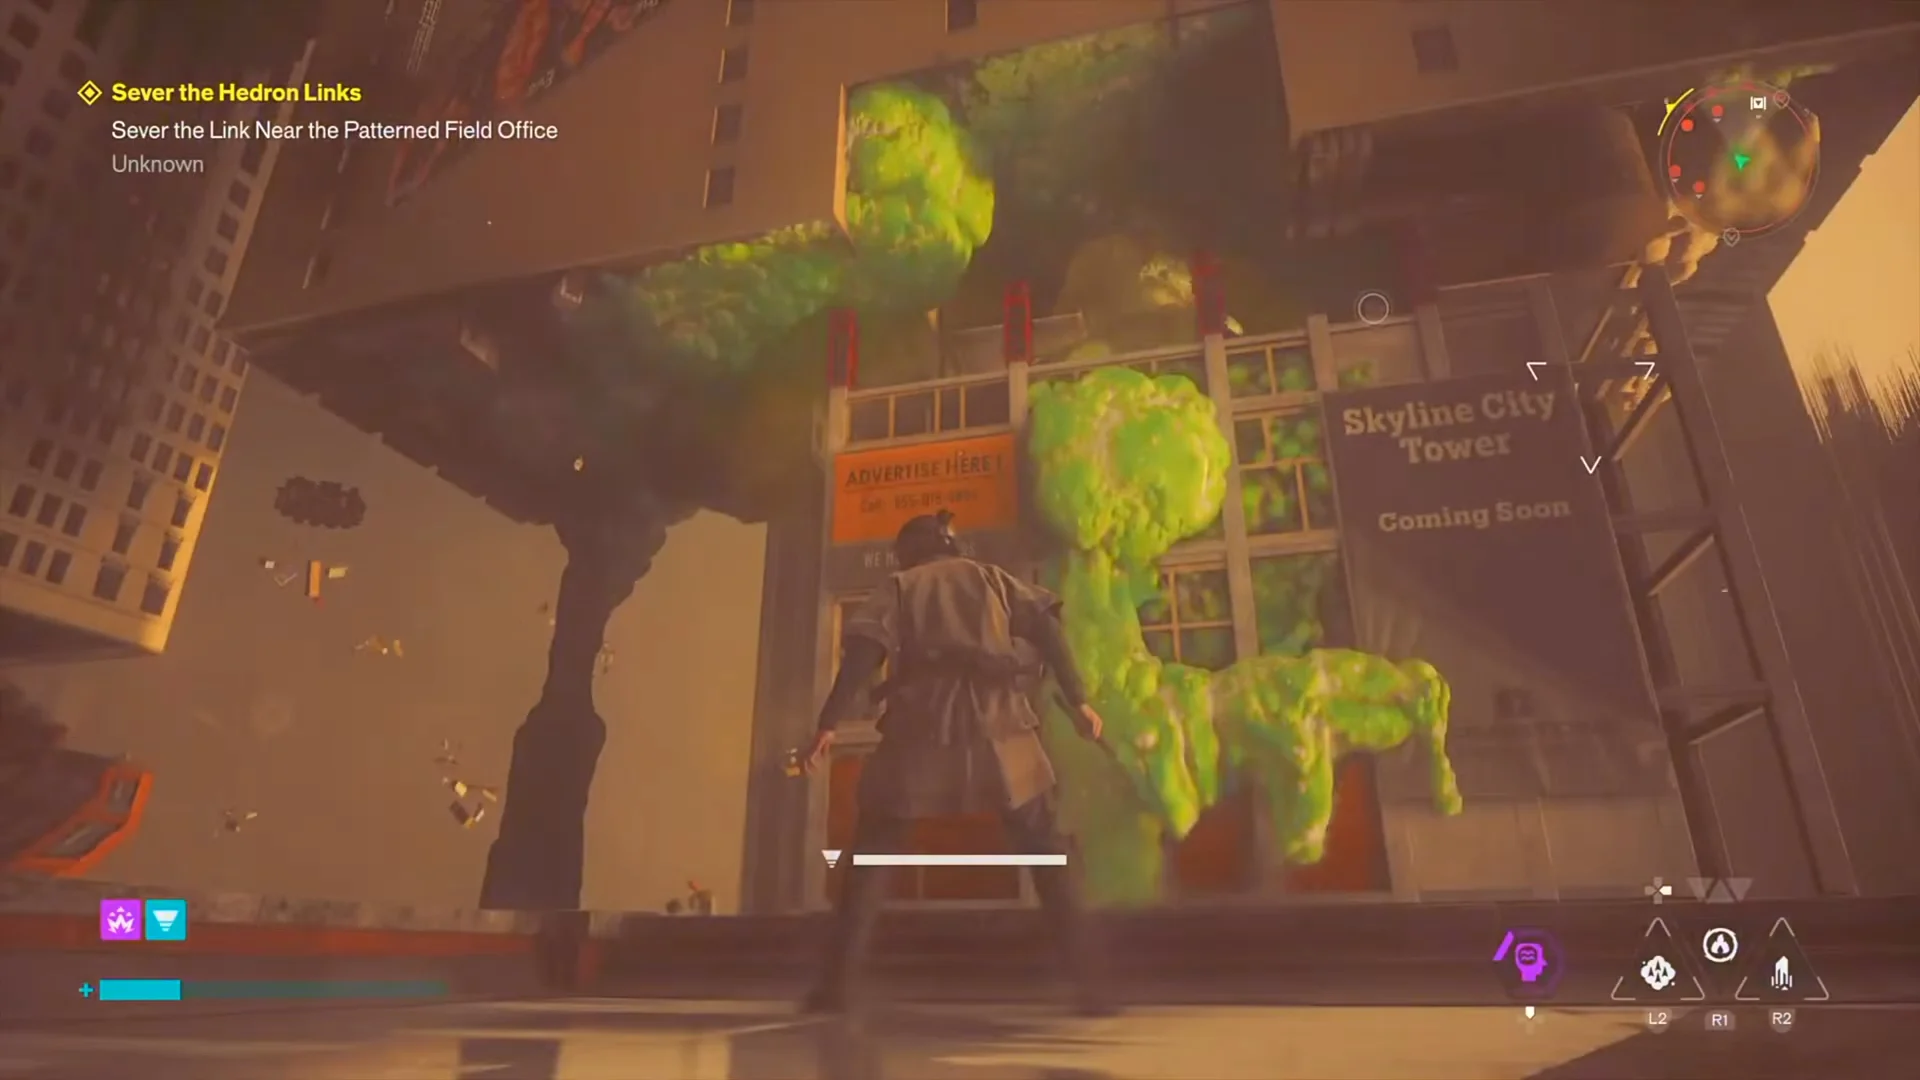
Farm zones fast after a Resonant kill
Enemies stay defeated until a cycle reset. Killing a Resonant triggers a new Resonant Cycle, refreshing World Feats across all zones and bringing cleared enemies back. Use the period immediately following that kill to gain levels: every zone has its full XP supply again. The Cycle also raises encounter difficulty and increases both the quality and quantity of drops.
The Hold the Line and Firebreak World Feats spawn heavy enemies that drop Source and items. If you fail one of these on purpose, it restarts with every enemy restored, which lets you farm without waiting for a new Resonant Cycle.

Zone upgrades worth chasing
Each zone has its own upgrade track to Level 15, and every level unlocks one perk on it. Unlock order varies between zones, so treat Central below as one example and check each area’s own Details panel before committing to a farm.
| Level | Upgrade | Effect |
|---|---|---|
| 2 | Enemy Drop Boost | Extra enemy resource drops |
| 3 | Health Elements Boost | More health pickups |
| 4 | Arcade Machine | Unlocks the SHÜM cabinet |
| 5 | Large Resource Crate Marker | Reveals Large Resource Crates |
| 6 | Vendor Level 2 | Better vendor stock |
| 7 | World Feat Cap Increase | More World Feats in the zone |
| 8 | Source Boost | More Source earned |
| 9 | Health Elements Boost | More health pickups |
Two of these accelerate everything after them. Vendor Level 2 at Level 6 improves the zone’s stock, and the World Feat Cap Increase at Level 7 adds more World Feats to the zone, so each Cycle refresh then hands that area more XP than a zone without the perk. The SHÜM arcade machine, which every zone has, is a worthwhile stop too, since its challenges award outfit items.
Improving vendor stock is valuable because every zone’s vendor is an ice cream truck parked on the street, and it carries items that cannot be farmed. Each Living Shard costs 4,000 Source and unlocks new Aberrant Forms and Combo Finishers at The Gap; Reset Items allow respecs for abilities, forms, and Talents. Their quantities are limited, but a higher Vendor Level increases those supplies. Beside every vendor sits a Health Upgrade container, which you should collect on the first visit.

Turning zone levels into Dylan’s power
Leveling zones supplies Talent Points for unlocking Talents at The Gap. The tree opens sequentially: begin with the bottom nodes, then work upward. A Talent can grant a buff, raise a stat, or introduce a new ability state, making battles noticeably easier.
Upgrades and unlocks in The Gap’s Aberrant menu all contribute to Aberrant Strength, a core component of your overall level. Every point grants a flat 1% global damage multiplier, making consistent investment a tangible combat benefit rather than a cosmetic gain. Prioritize your starting Aberrant Forms early: their upgrades cost less, and you will lack the resources to unlock the others until several zones have been leveled through side content.
How to confirm your progress
You will know a farm is working when the zone’s XP bar advances on the Map and a new upgrade appears on its track, while a fresh Talent Point becomes available at The Gap. Three trophies track this and unlock on their own as you play.
- Field Work — reach Level 3 in any zone.
- Field Control — bring every zone to Level 5.
- Zone Warden — unlock 40 Zone Upgrades.
Field Control is the one to plan around, since it needs Level 5 across all seven zones, and two of them sit off the main path. The Park in particular is a poor first destination, so build up your fire abilities, health, and traversal skills through the main quest before committing to a heavy Zone XP push there.