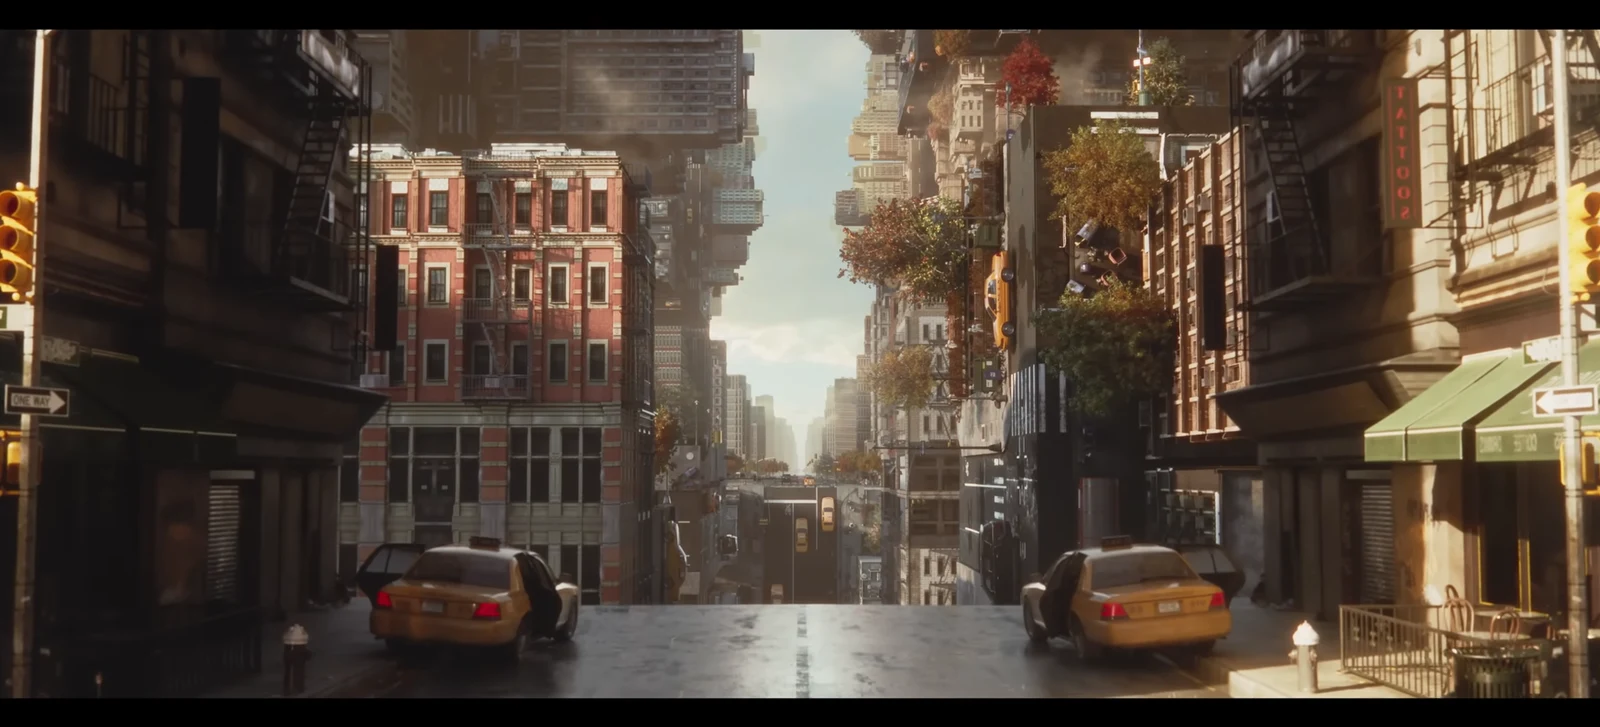
The Last Taxi is a low-key Side Story that crosses Manhattan’s main zones in Control Resonant. Seven unusual yellow cabs are placed around the map. Getting into one takes Dylan to a mist-shrouded pocket realm known as a Threshold, where Mila waits beside a ringing payphone. Her story is complete once you clear all seven Thresholds.
Quick answer: Find all seven cabs, one per zone. Inside each Threshold, answer Mila’s payphone call, then pick the taxi that breaks the pattern across three rounds. A green light confirms a correct pick; a red light sends you back to retry with no penalty.
How every taxi Threshold works
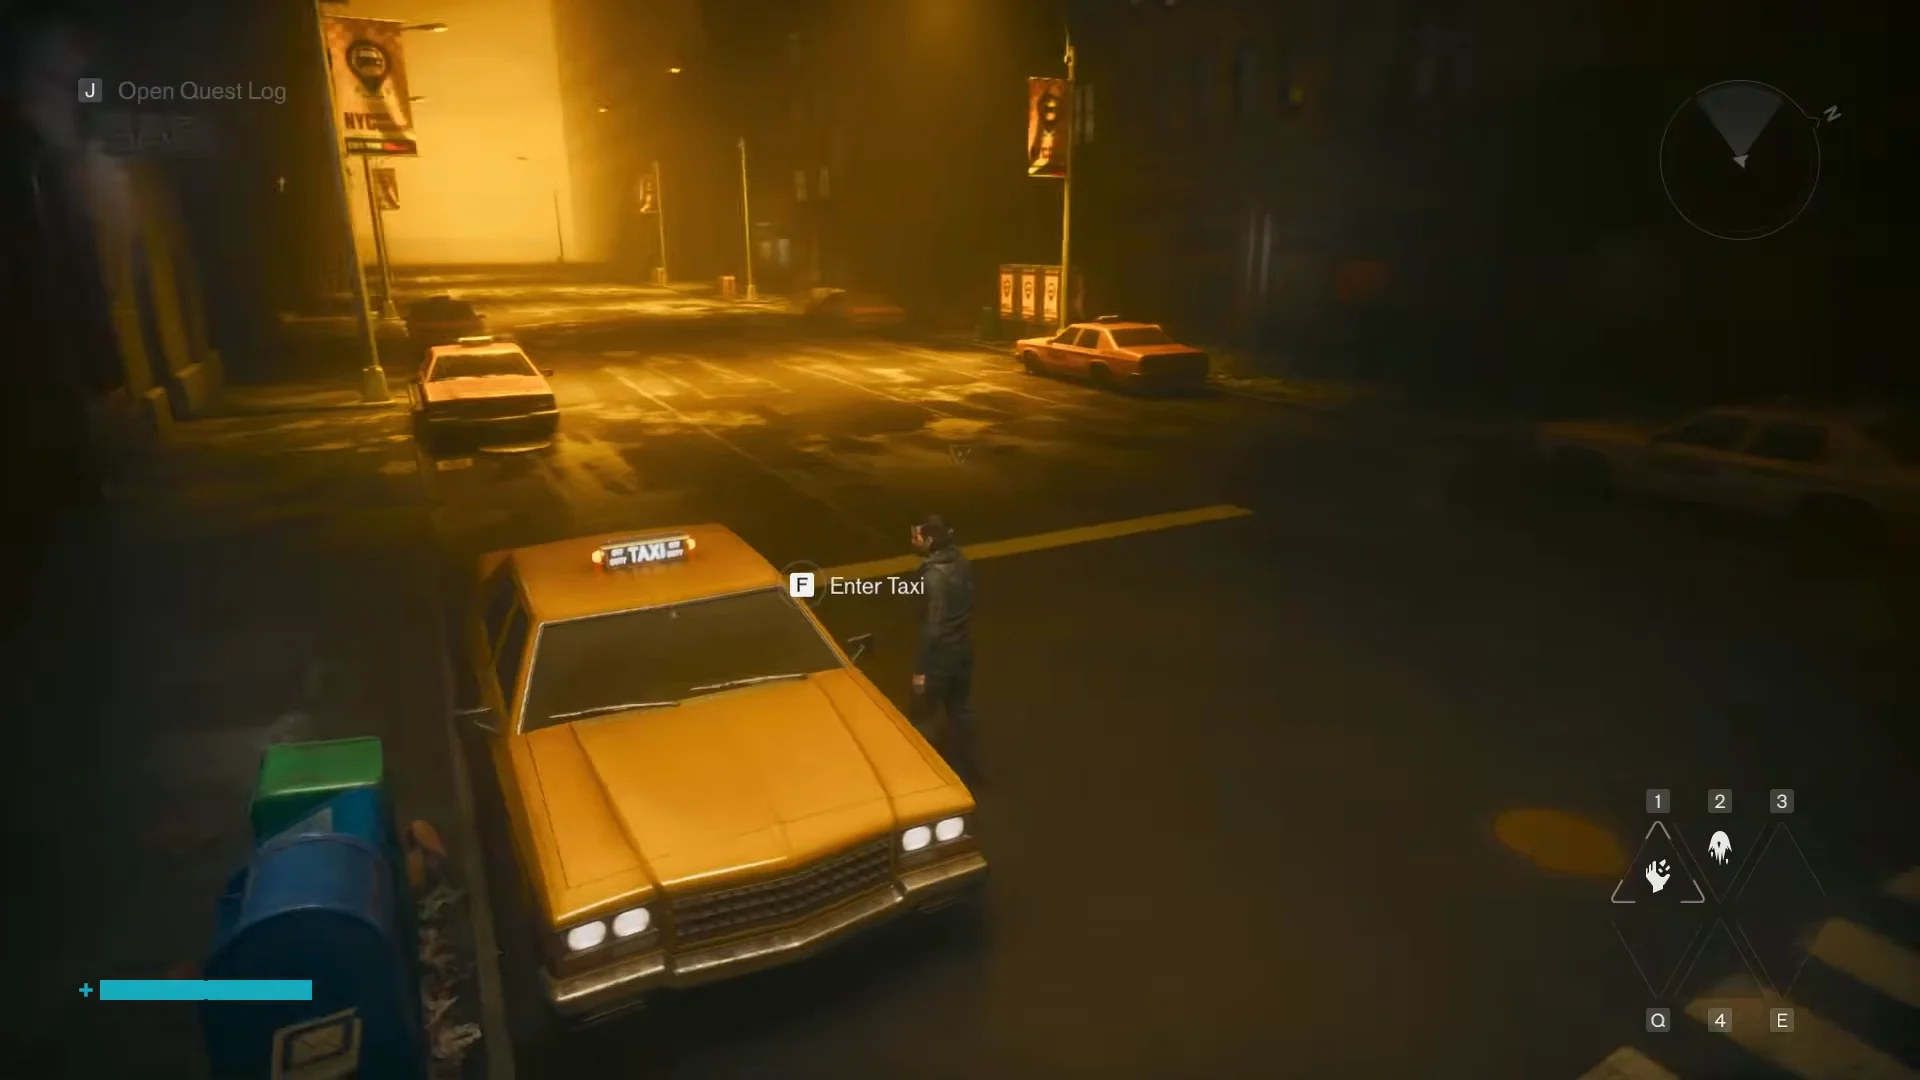
The route into and out of a cab is identical in every zone. The Central taxi requires no traversal ability, so it is the best one to learn the routine on before you tackle the gated locations.
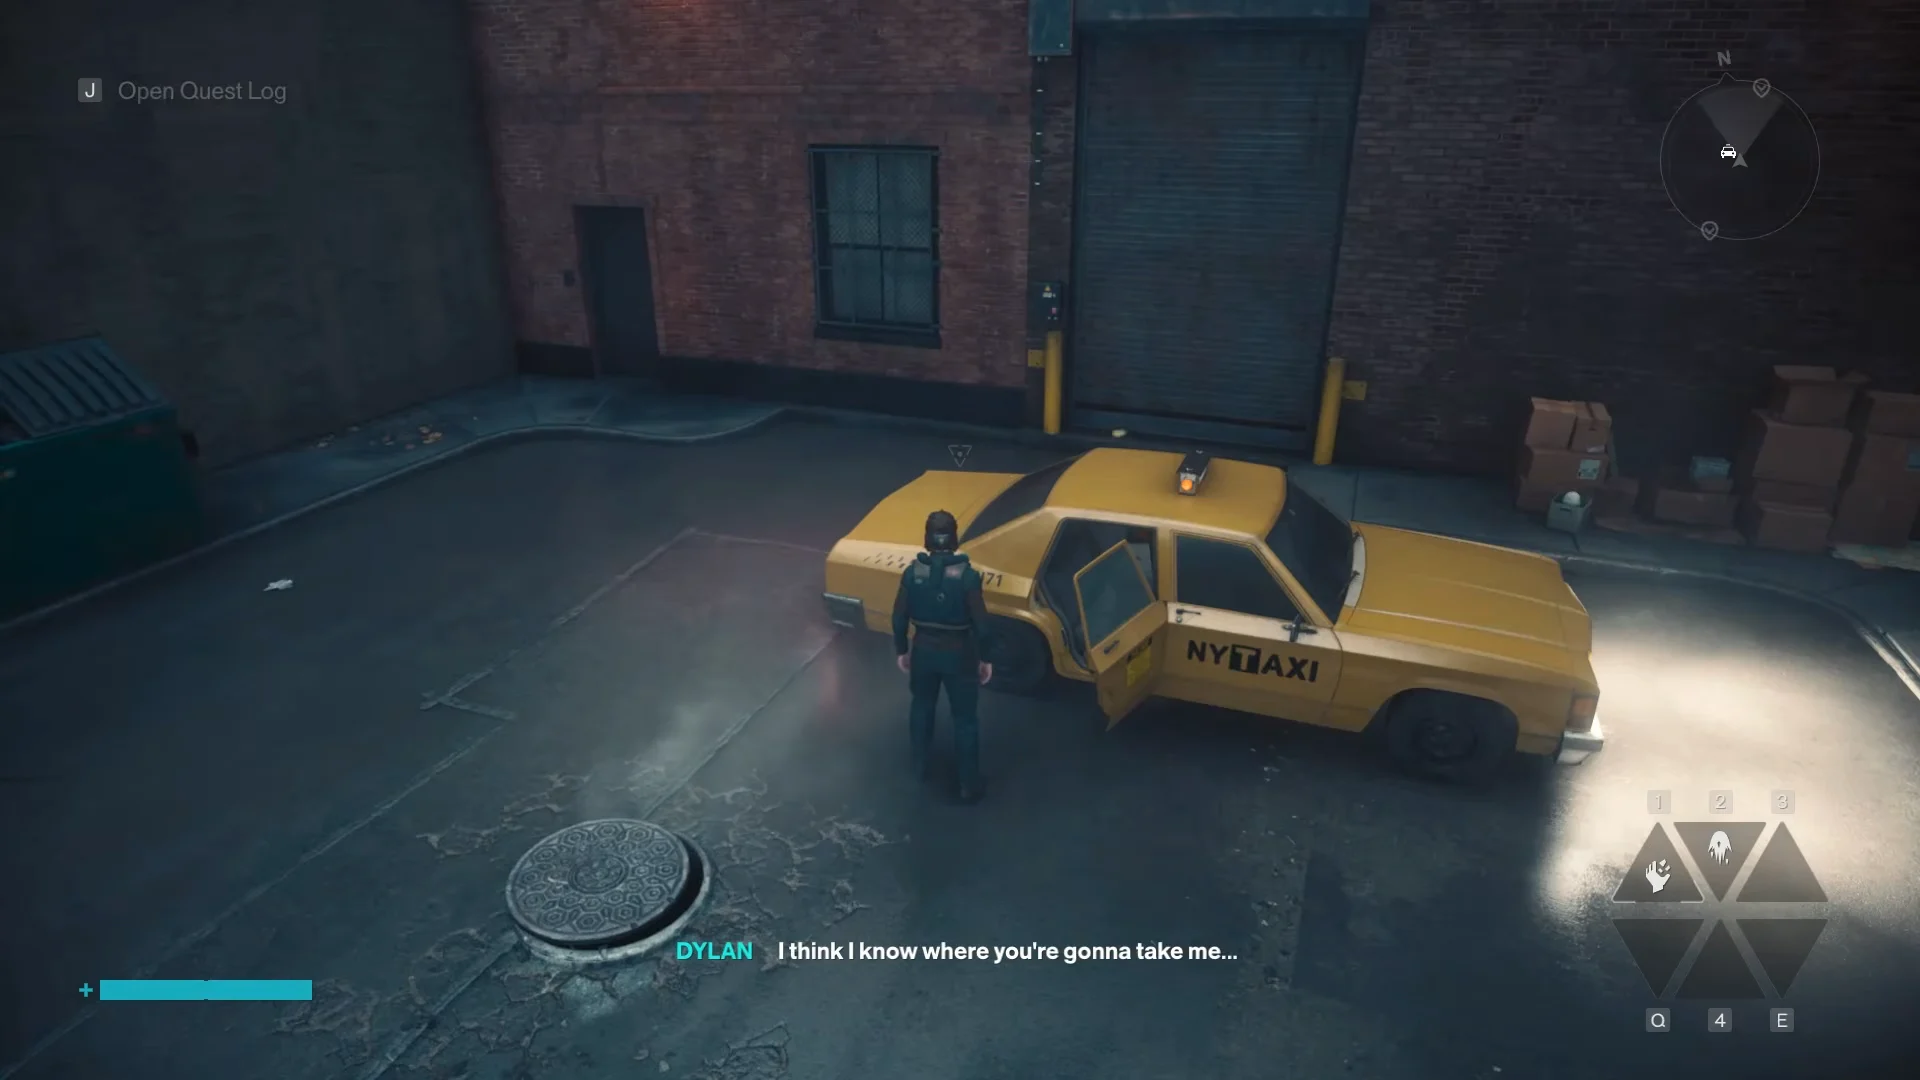
A wrong selection flashes red and restarts that street, but your progress remains intact. Making a quick mistake is faster than pausing to deliberate. Selecting Abandon from the pause or death screen is different: it wipes the whole sequence and returns you to the open world.
All 7 taxi locations and how to reach them
There is one cab in each zone, and you may collect them in whatever order you like. Some are inaccessible until you have a traversal ability or reach a main-mission checkpoint, so setting out for every taxi as soon as you find the first one means extra backtracking.
| Zone | Taxi location | Access needed |
|---|---|---|
| Central | Behind the warehouse blocks, Patterned Factory side | None |
| Downtown | Traffic jam in the Deserted Area’s northern section | Deserted Area access |
| West Incursion Zone | Car park behind the Empire cinema | Shift |
| Evacuation Zone | Hiss Spike alley by the Evac Building | Elevate or rooftop route |
| The Park | Central parking garage, lower level | Mold wall climb |
| Underpass | North side of the research camp | Recursions and Iterations mission |
| Unknown | Evac Building island | Pope’s Research and Sever the Hedron Links |
Central
Go through the building east of the FBC Field Office to reach the Patterned Factory side of Central. Take the first proper road on the left and follow it until you find a parked lorry angled as if it were turning onto a side street. Take that street to the alley at its far end, where the cab waits. It needs no ability, making it the easiest one to grab early. The factory from the Crossing the Threshold Side Story is nearby, so the taxi may already be logged on your map.
Downtown
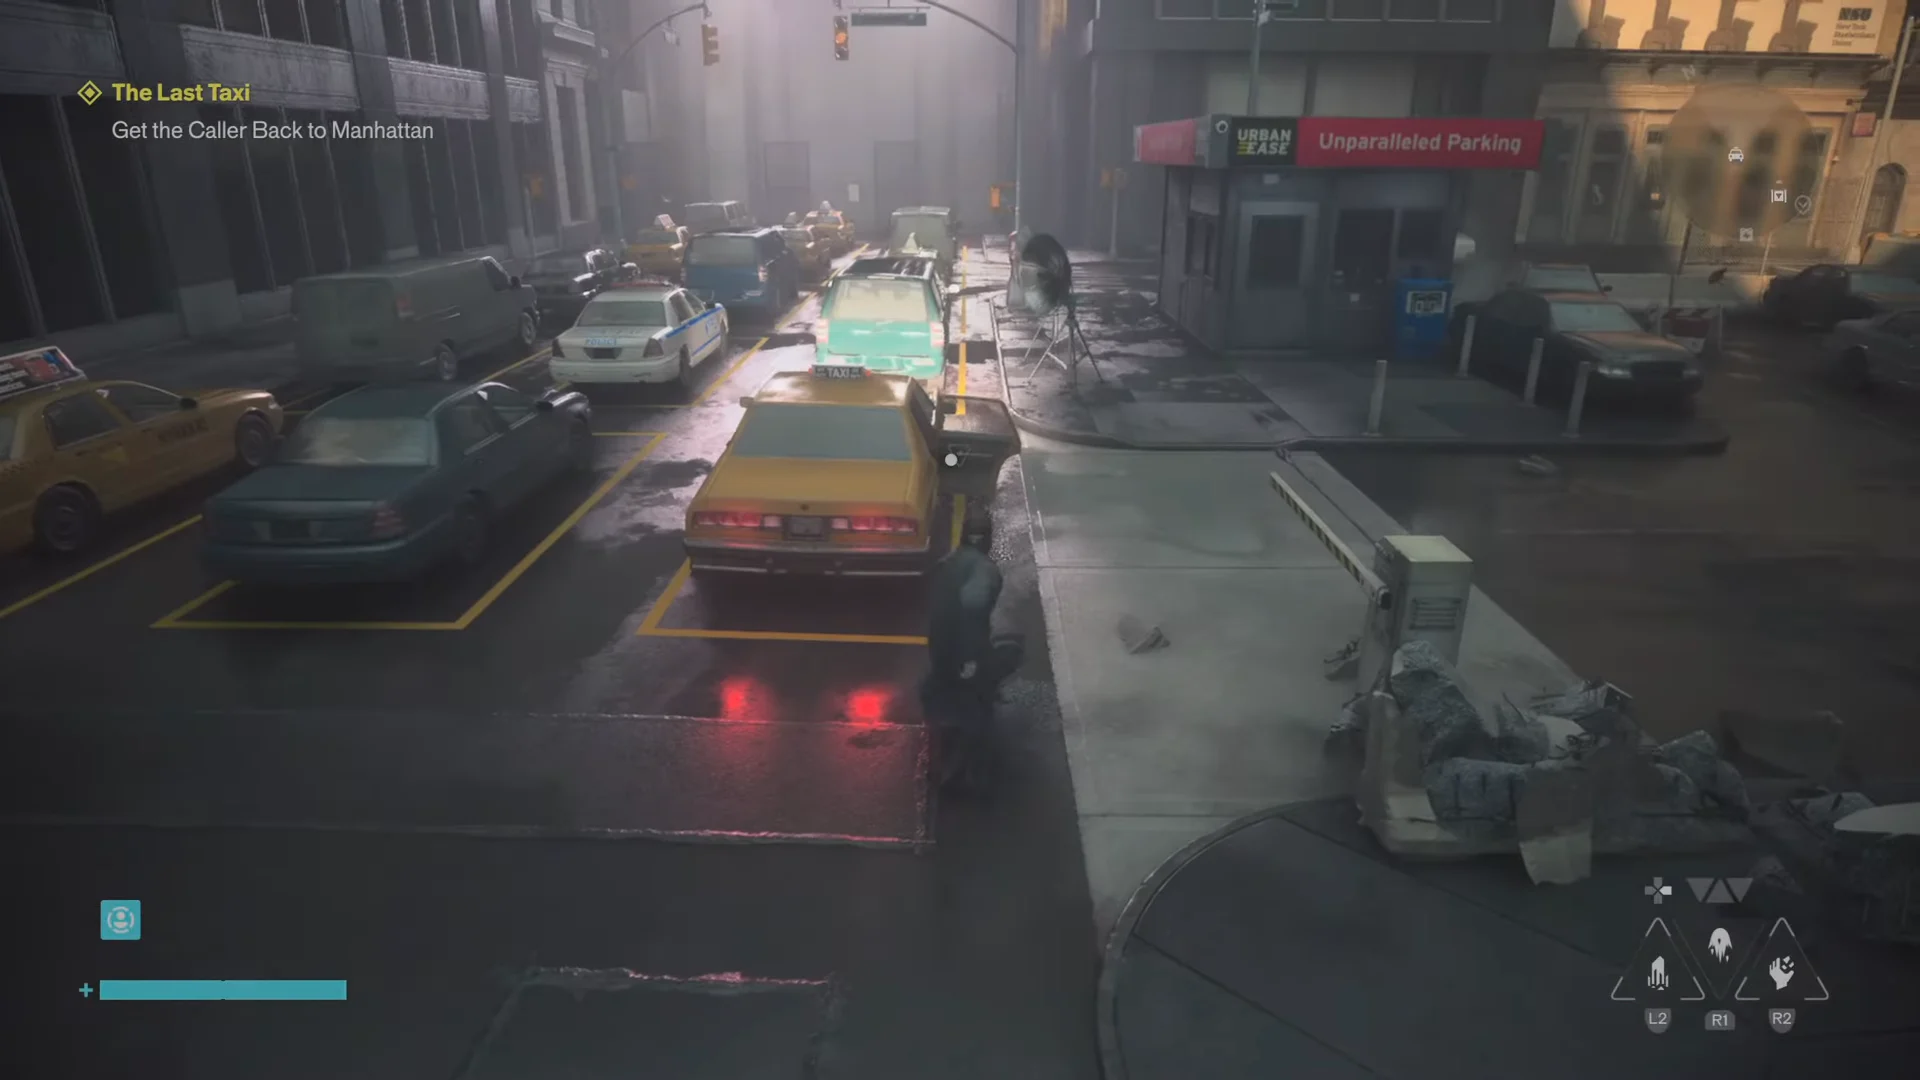
Look for the Downtown cab in the traffic at the northern edge of the walled Deserted Area. Cross the barrier separating this area from the rest of the zone, then head north along the main road. Wrecked cars soon clog the lanes, and the taxi is among them. Weave through the vehicles and listen for its horn to pinpoint it instead of searching from afar.
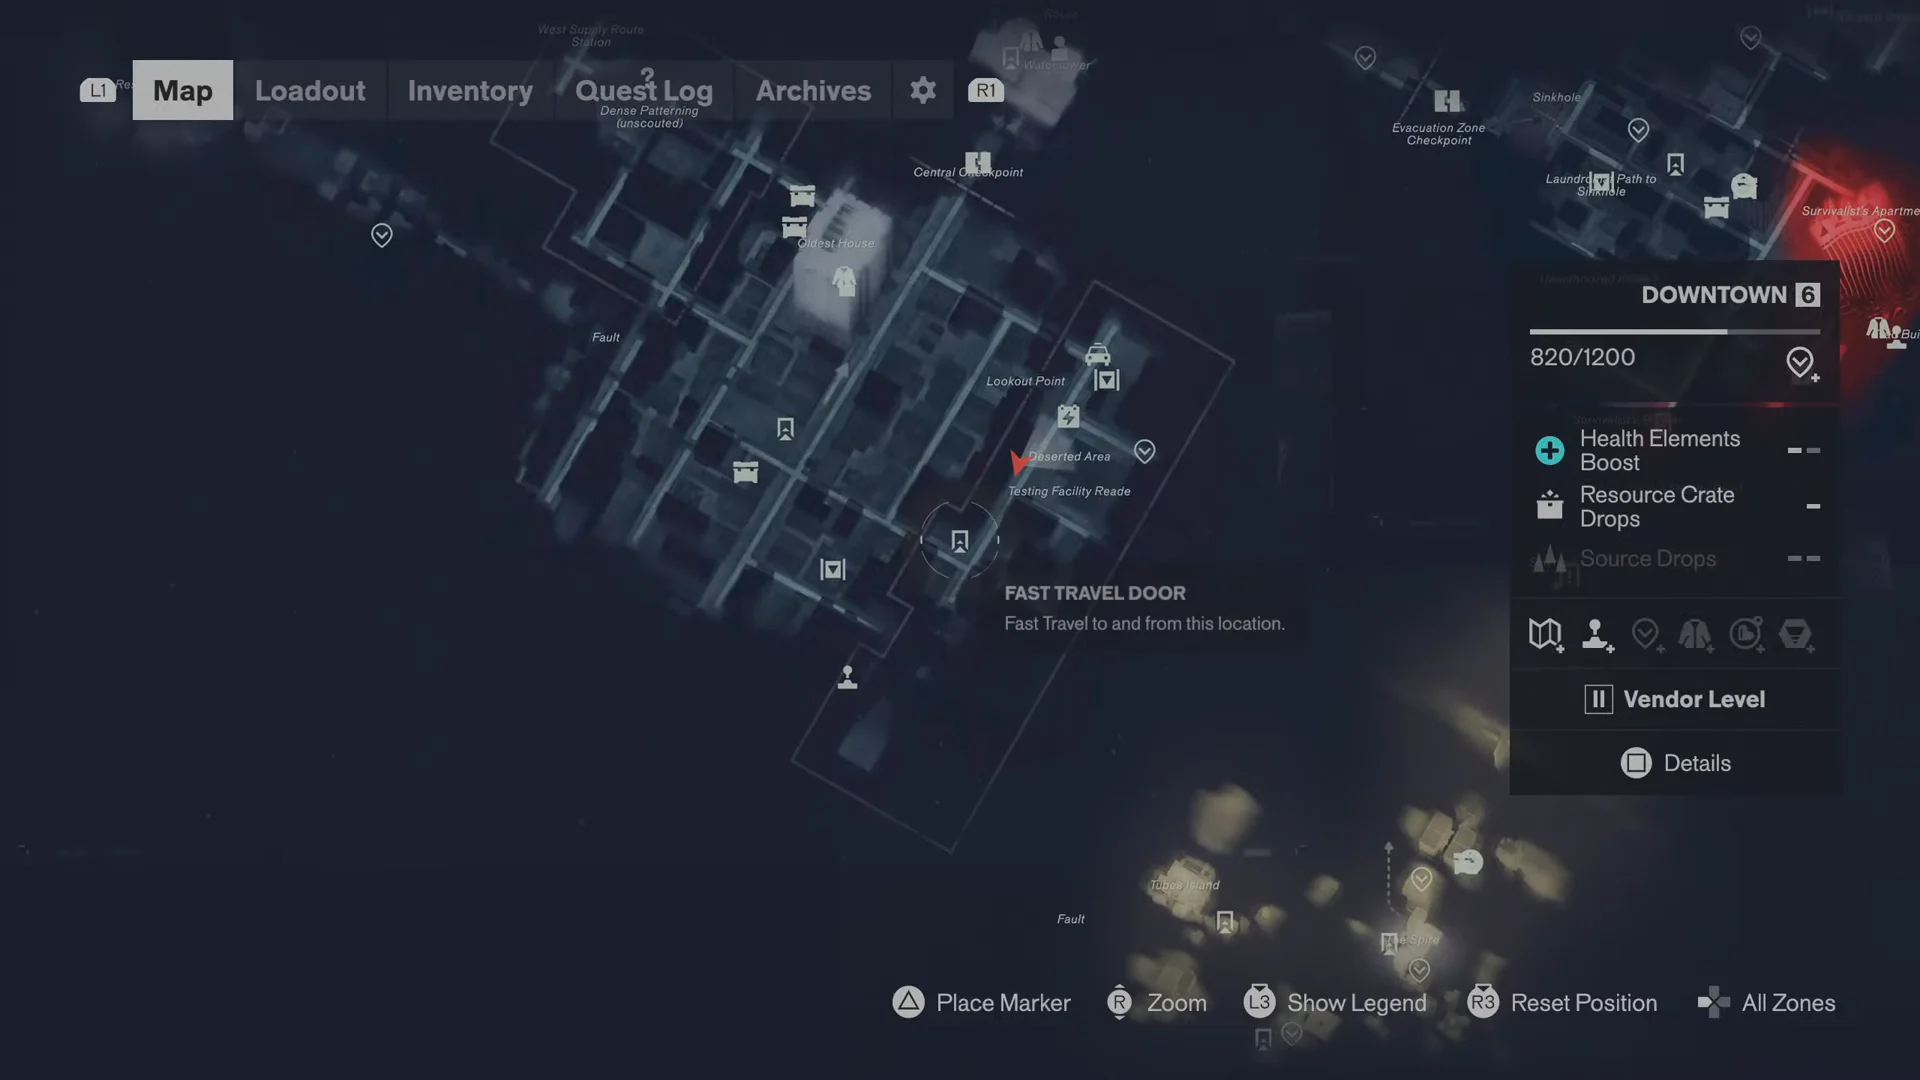
You can reach the marker through the nearby fast-travel door or by wall-running across the rooftops and dropping to street level. Both routes end at the lot full of yellow cabs where the Threshold begins.
West Incursion Zone
While heading toward the Theater, check behind the Empire cinema by Empire Avenue Station for a parking garage with several levels. Patterning has changed the streets’ orientation; use the Shift gravity ability to turn yourself around and reach a parking level. The shifted layout may make the horn seem to come from overhead, which indicates you are near the right place.
Evacuation Zone
Follow the road between the Evac Building and the Sinkhole, staying on the stretch closest to the Evac Building. Look for an alley with Hiss Spikes at its mouth and lasers sweeping above them. Use Elevate to float over the spikes while dodging the beams, or simply climb from rooftop to rooftop and drop down beside the cab at the alley’s dead end.
The Park
The Park cab sits on a lower level of the central parking garage north of the FBC Base, and walking straight in will not reach it. Enter through the main entrance and come out on the road on the far side, then climb the large Mold-covered wall to the roof. The zone vendor parked up there confirms you are directly above the taxi. Drop onto the big Mold growth in the middle to land one level down, then follow the garage road around to the cab.
Underpass
You reach the Underpass cab during the main mission Recursions and Iterations. Take the cable car across the chasm, then push deeper until the research camp comes back into view. Along the north side of the camp, the taxi sits on a ledge, honking and flashing its headlights. Circle the camp’s edge if you cannot spot it. You can board it while still on the mission, and it drops you nearby, so there is no need to return later.
Unknown
The final cab is parked on the floating island that holds the Evac Building in the Unknown. Reaching it requires late-game progress in both the Pope’s Research Side Story and the Sever the Hedron Links main mission, since Pope’s Research activates the gravity wells used to travel between the Unknown’s islands. Once you land, face the Evac Building and follow the road branching to your right; enemies are gathered along the way.
All Last Taxi puzzle solutions by clue type
Each Threshold has three rounds, and every round requires finding one taxi that breaks the pattern. There are seven clue formats, each with the same solution wherever the cab takes you. If a zone’s puzzle doesn’t match its entry, find the corresponding format below.
For puzzles involving lights, observe two or three complete cycles before you choose. The unusual cab becomes easier to spot if you pause, and that brief wait is quicker than making a mistake.
Streetlight puzzle
Watch the street lamps above the taxis, not the cars themselves. Stand back so you can see every fixture at once.
- Round 1: Take the cab beneath the only lamp that is glowing or blinking while the rest stay unlit.
- Round 2: Board the cab beneath the lamp that remains lit steadily as all the others flicker.
- Round 3: Find the lamp whose blinking rhythm is out of sync with the others, then take its taxi. It may be on your right.
Vehicle lights puzzle
Check each cab’s headlights, brake lights, and roof sign together.
- Round 1: Enter the only cab with its headlights, brake lights, and roof sign all lit at once.
- Round 2: Board the cab with just its roof sign illuminated.
- Round 3: Find a different cab with all three groups of lights illuminated at once. Eliminate any cab with even one set unlit.
Roof sign puzzle (Downtown proximity)
This is the puzzle the Downtown cab most often gives. The roof signs react to Dylan’s position, so you have to move in close to read them.
- Round 1: Look for the cab with a glowing roof sign and a turn signal that makes a clear ticking noise.
- Round 2: Walk up to each cab in turn. Every roof sign switches off as you approach except one; board that taxi.
- Round 3: Stand next to the cars, then pan the camera down the row and board the taxi whose roof sign stays lit. It is often toward the back left.
Flashing pattern puzzle
The cabs’ headlights pulse in a repeating sequence. Your target is the one that breaks the rhythm, so watch a few full cycles before deciding.
- Round 1: Board the cab whose flashes do not match the others’ timing.
- Round 2: Board the cab that flashes two times consecutively, while each other cab flashes once.
- Round 3: Board the sole cab that remains entirely unlit while the others flash.
Streetlight blackout puzzle
The taxi lights here are synced to the flickering street lamps, so wait for the lamps to go dark before you choose.
- Round 1: As the lamps shut off, board the only cab that still has every light shining.
- Round 2: When the lamps go dark once more, board the cab with all its lights off.
- Round 3: Board the cab that illuminates during a lamp blackout but goes dark when the lamp is shining. Its lights and the lamp are never on at the same time.
Mold repair puzzle (The Park)
This is the only assembly puzzle. Instead of choosing between cars, you clear Mold and rebuild the cab. Each fitted part clicks when it is secured, and the taxi only accepts the correct yellow pieces. Leave the blue hood and police light bar on the ground.
- Round 1: Smash the gray Mold clumps surrounding the cab, replace its hood and trunk cover, and climb aboard.
- Round 2: Pick up the yellow hood and the two wheels lying in the street, then attach all three. Don’t use the blue hood.
- Round 3: Destroy the smaller connected growths first to stop the main mass regenerating, then clear the Mold on the cab. Install the yellow hood, rooftop taxi light, yellow front-side panel, dark yellow trunk cover, and rear grille; leave the police lights and light-yellow hood as decoys.
Shadow puzzle (Unknown)
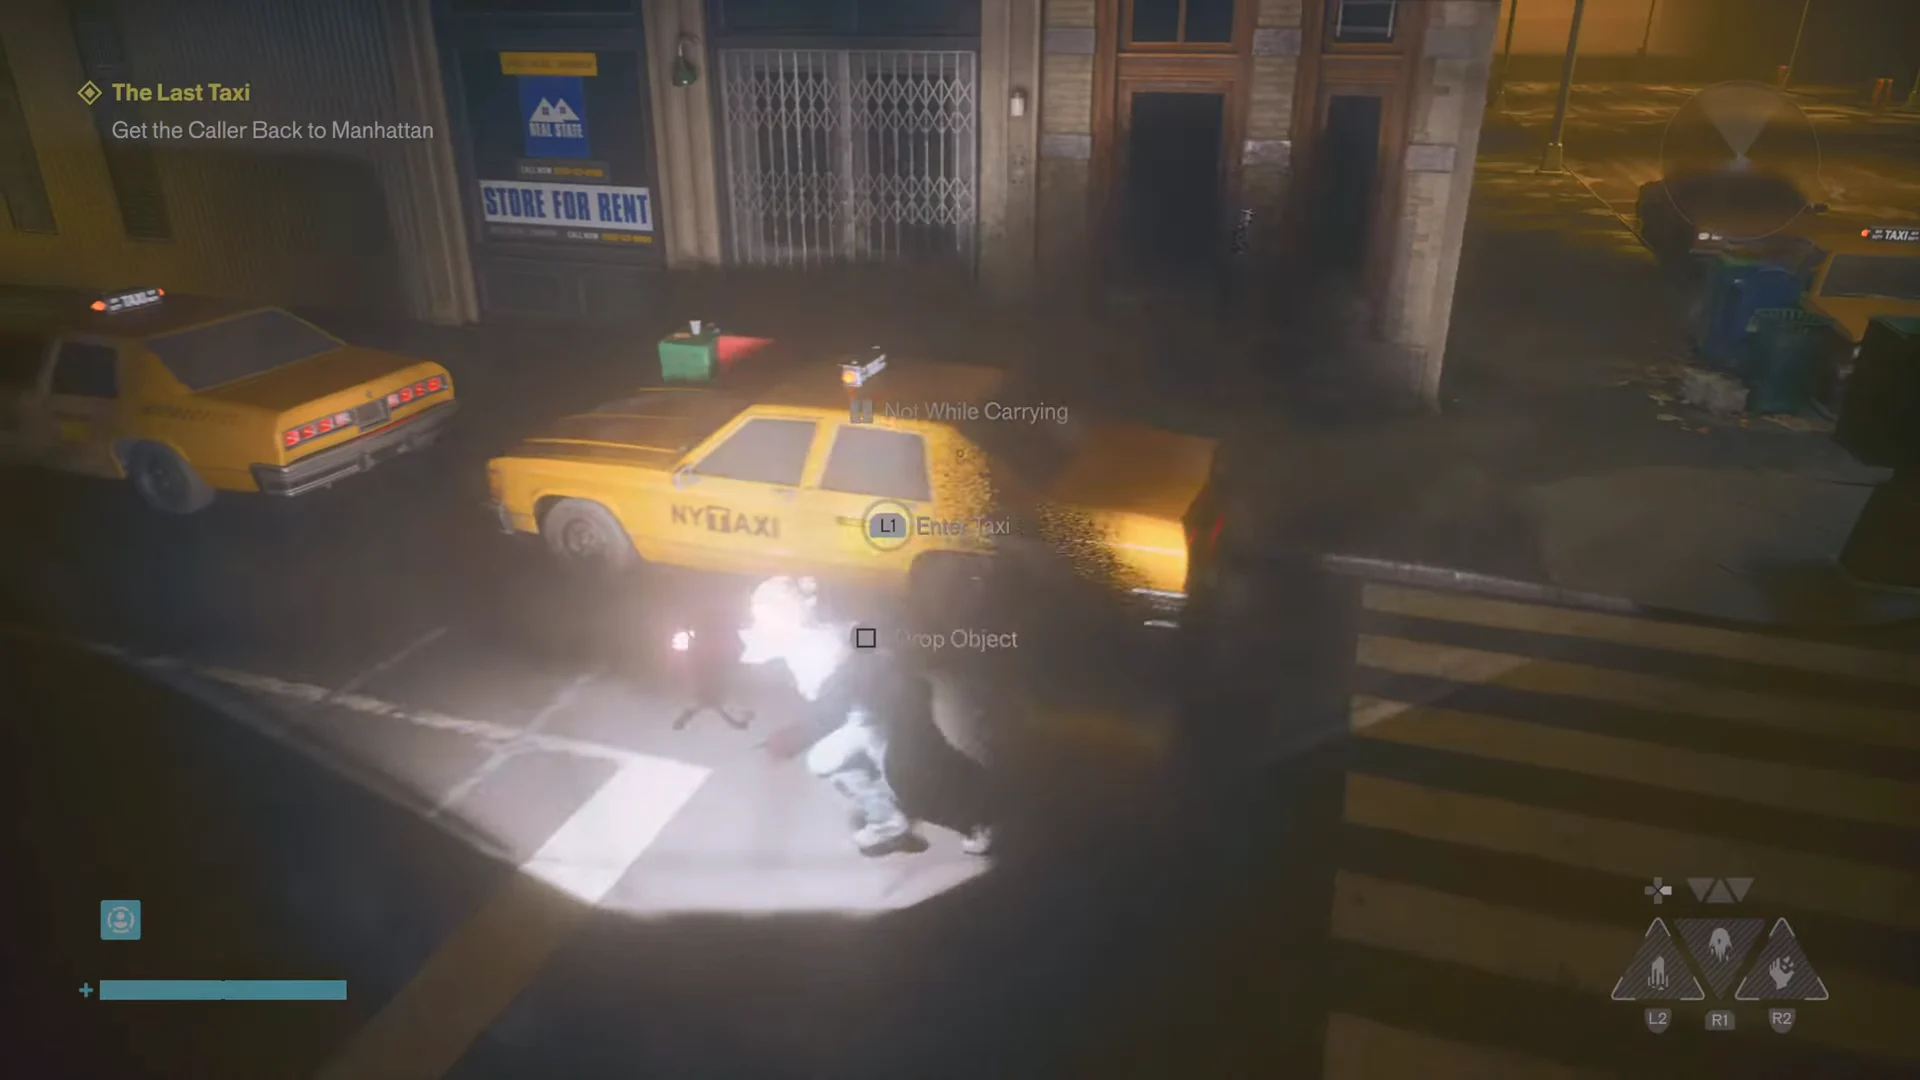
In the Unknown Threshold, this puzzle uses illusions tagged “Not What It Seems”: every parked vehicle appears to be the same yellow cab. Pick up the portable light on the ground and shine it along the row. Judge the shadows, not the cars themselves; just one outline belongs to a real taxi.
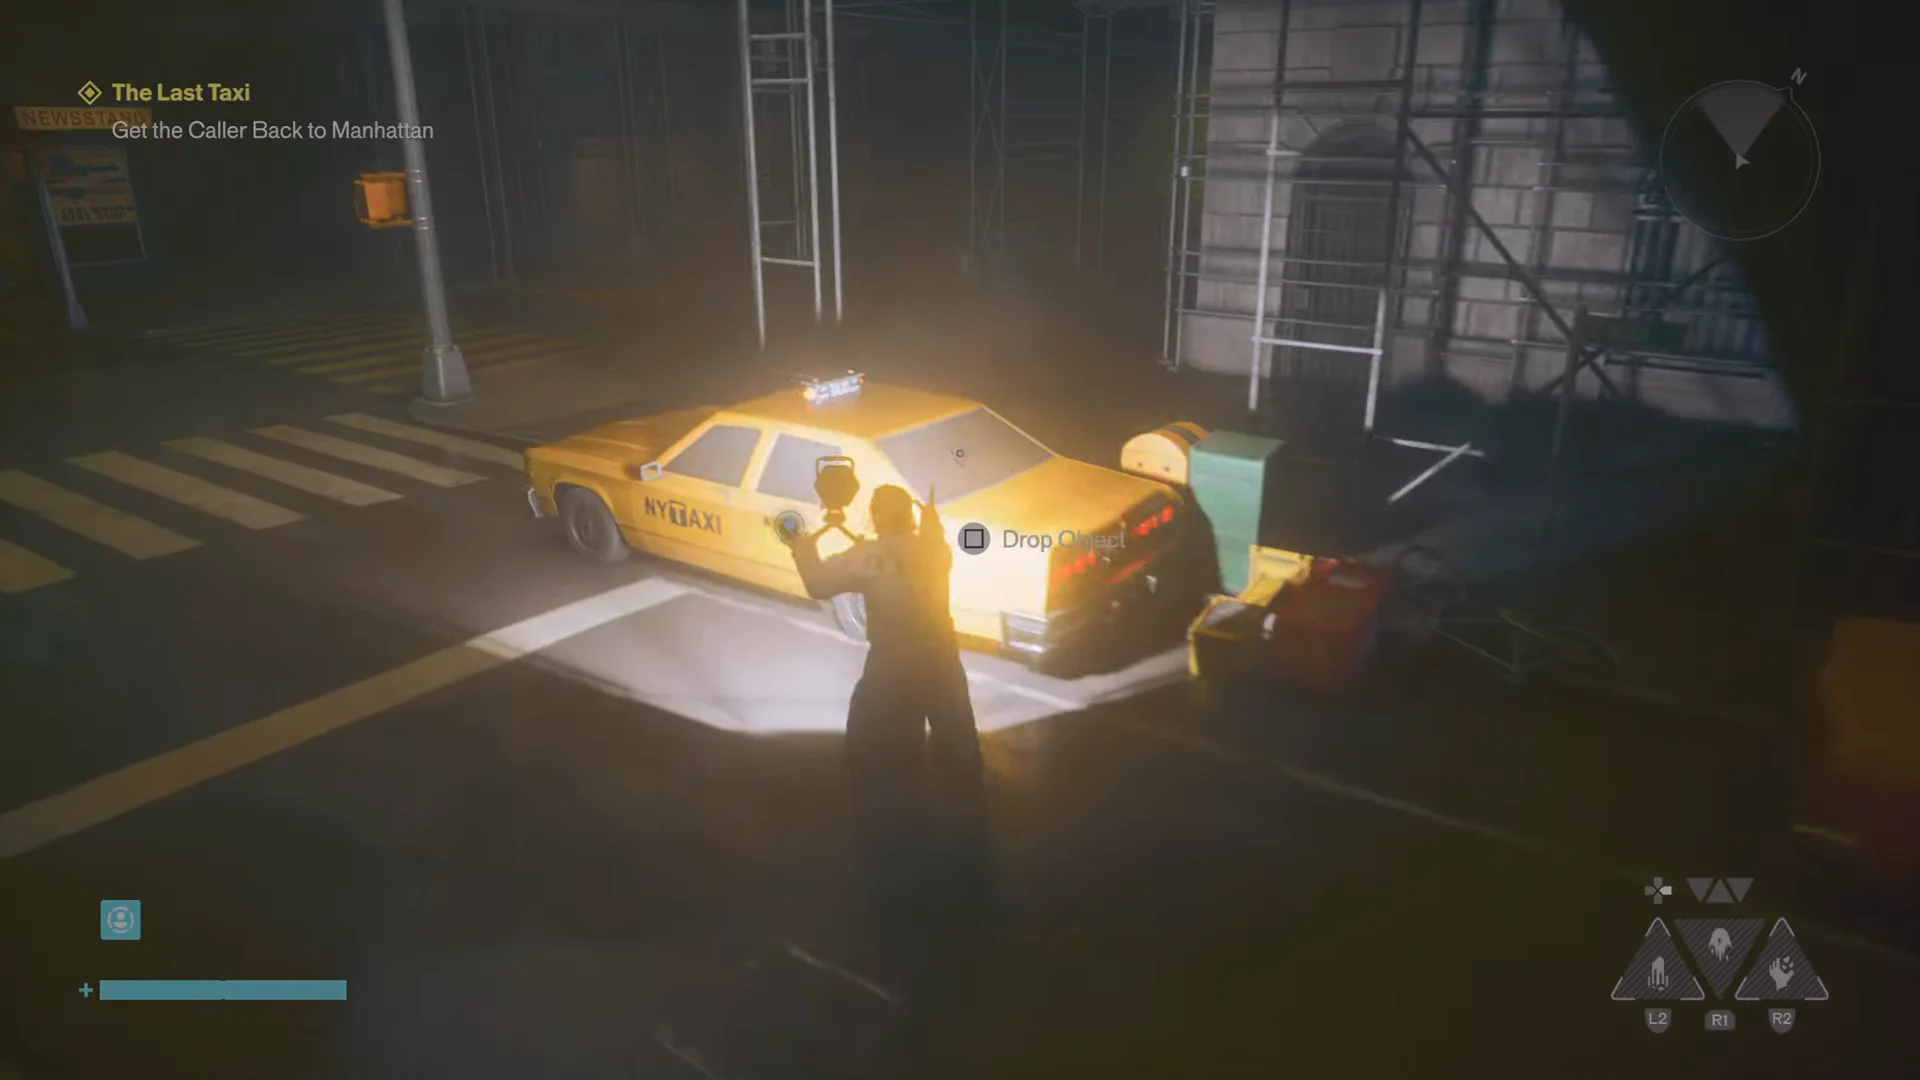
- Round 1: Move the light along the row and eliminate silhouettes resembling a van, a pickup truck, or a construction vehicle. Board the car whose shadow clearly outlines a taxi; it’s on the cross street, to the crosswalk’s right.
- Round 2: A new set of cars appears, with some positioned beneath the scaffolding. Use the light to find the shadow of a taxi with a rooftop sign; ignore silhouettes with a bare roof or a van shape.
- Round 3: By the driver rest stop, look for the cab whose shadow has a sedan shape and a visible rooftop sign. It is parked behind the vehicle whose shadow resembles a pickup truck.
Finishing The Last Taxi and Mila’s fate
The third green light marks the end of a Threshold: the fog clears and Dylan returns to the open world. After completing the seventh cab, go back to the alley and pick up the payphone again. Mila says she plans to take the risk of getting into a taxi herself, but her fate is not shown. That final call removes The Last Taxi from your Quest Log. No item or currency is awarded by the Side Story; the payoff is the final moment of Mila’s story.