Crossing the Threshold is one of the first side quests Control Resonant hands you once Central opens up, and it is also one of the first that quietly gates its rewards behind a conversation. The investigation itself is linear enough — headless bodies, a locked cabinet, some security footage — but the ending splits, and one of the two branches gives you nothing at all.
Quick answer: Tell Wilson you believe him and offer to host AVP-3 yourself, then drop into the glowing Threshold at the Dig Site. Choosing containment, or accusing him, ends the quest with no rewards.
Crossing the Threshold rewards and the choice that decides them
Everything in the quest funnels into a single conversation with Wilson inside the warehouse. The dialogue wheel offers a few lines, but they collapse into two outcomes.
| Your choice | Result | Rewards |
|---|---|---|
| Believe Wilson, take AVP-3 yourself | Dylan hosts the entity and returns it to the Threshold | Sensory Restraint Hood, Untapped Practice Knot |
| Believe Wilson, but contain the entity | AVP-3 jumps to Wilson and leaves for the Dig Site | None |
| Accuse Wilson or demand quarantine | AVP-3 jumps to Wilson and leaves for the Dig Site | None |
The Sensory Restraint Hood counts as an outfit, while the Untapped Practice Knot is an Artifact recipe. Even when AVP-3 takes Wilson, the quest concludes: return to the Dig Site and his body will be in its center, but the reward screen remains blank.
How to start Crossing the Threshold in Central
The quest triggers on discovery rather than from an NPC. You need the Level 1 Keycard that the main story gives you at the FBC Field Office in Central, because it opens several of the buildings inside the base perimeter. Head to the Field Hospital, go up to the quarantine area, and report the headless body to Zoe over the radio. Crossing the Threshold is added to the Quest Log the moment you call it in.
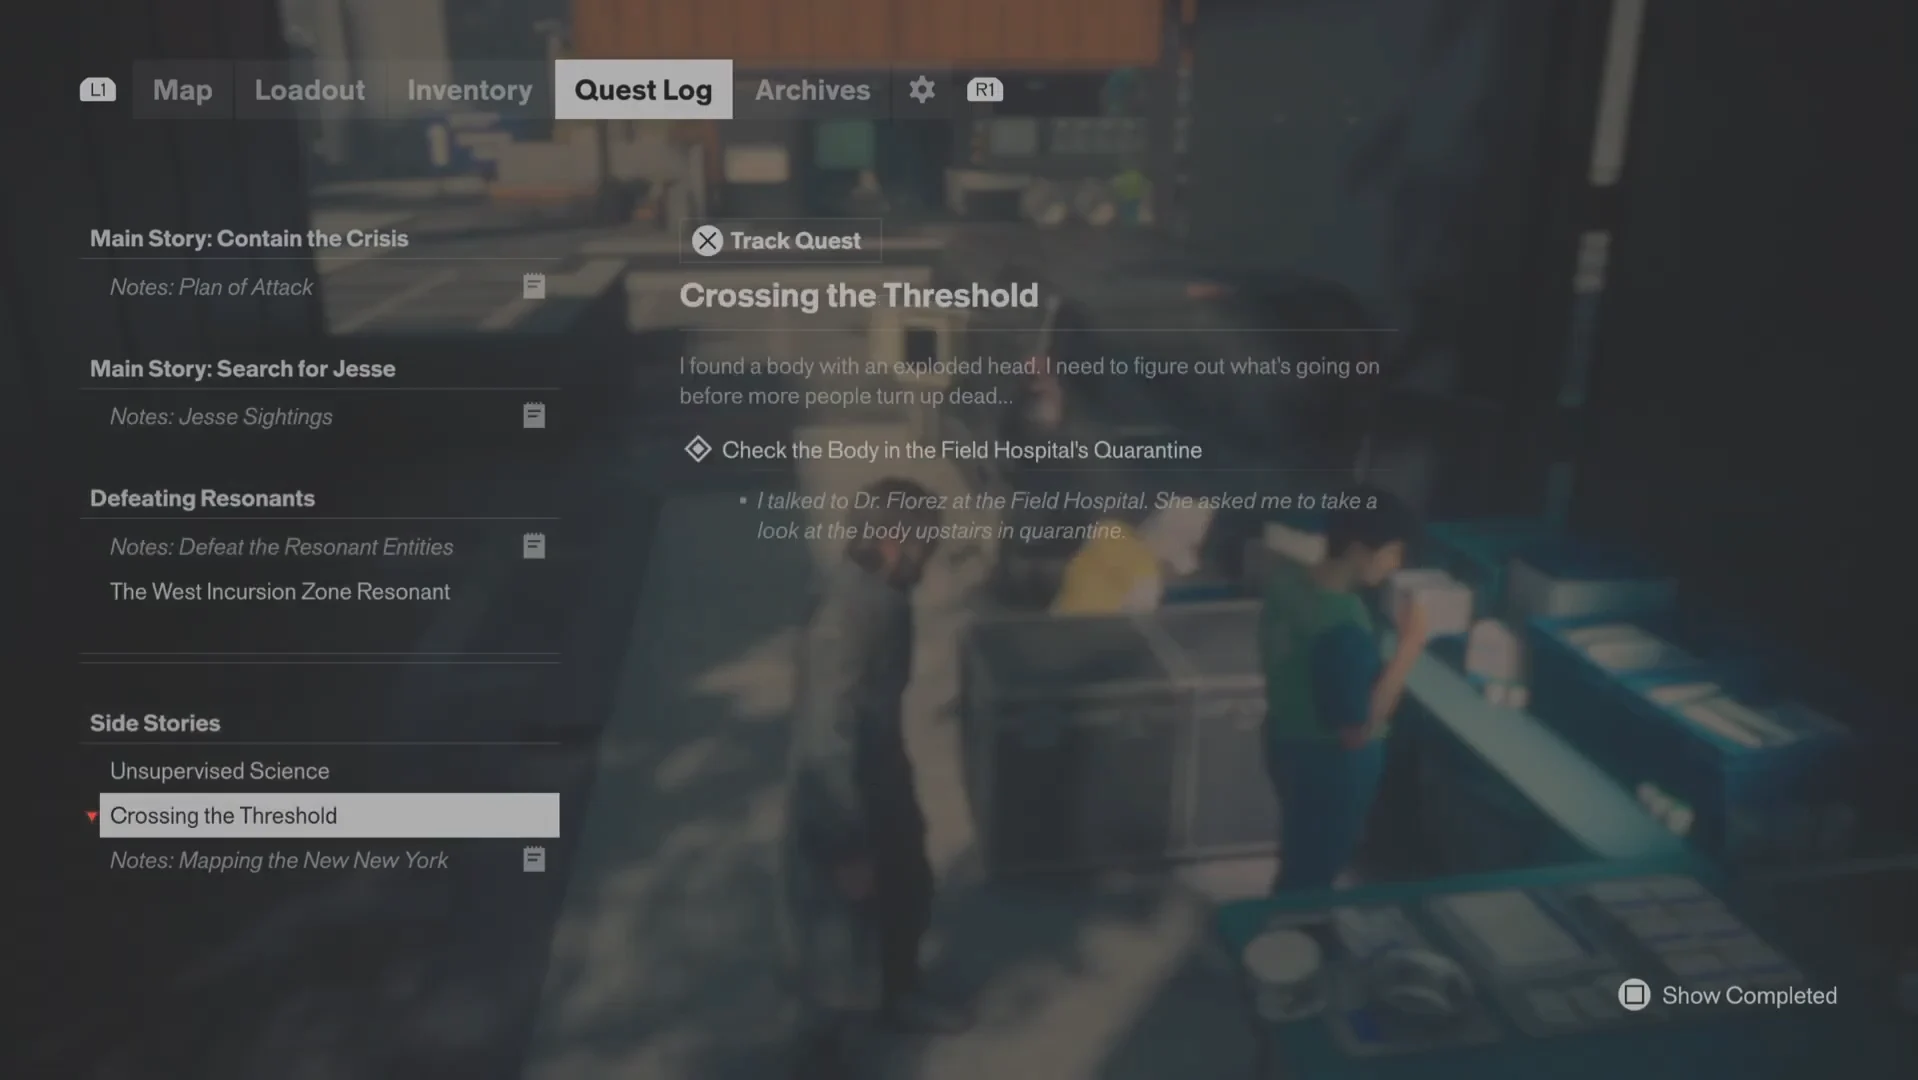
You can pick this up at almost any point after Central unlocks. Doing it early means the enemies guarding the warehouse later on will hit considerably harder than if you come back at a higher level.
Investigation route: Field Hospital, Security Station, Dig Site, loading docks
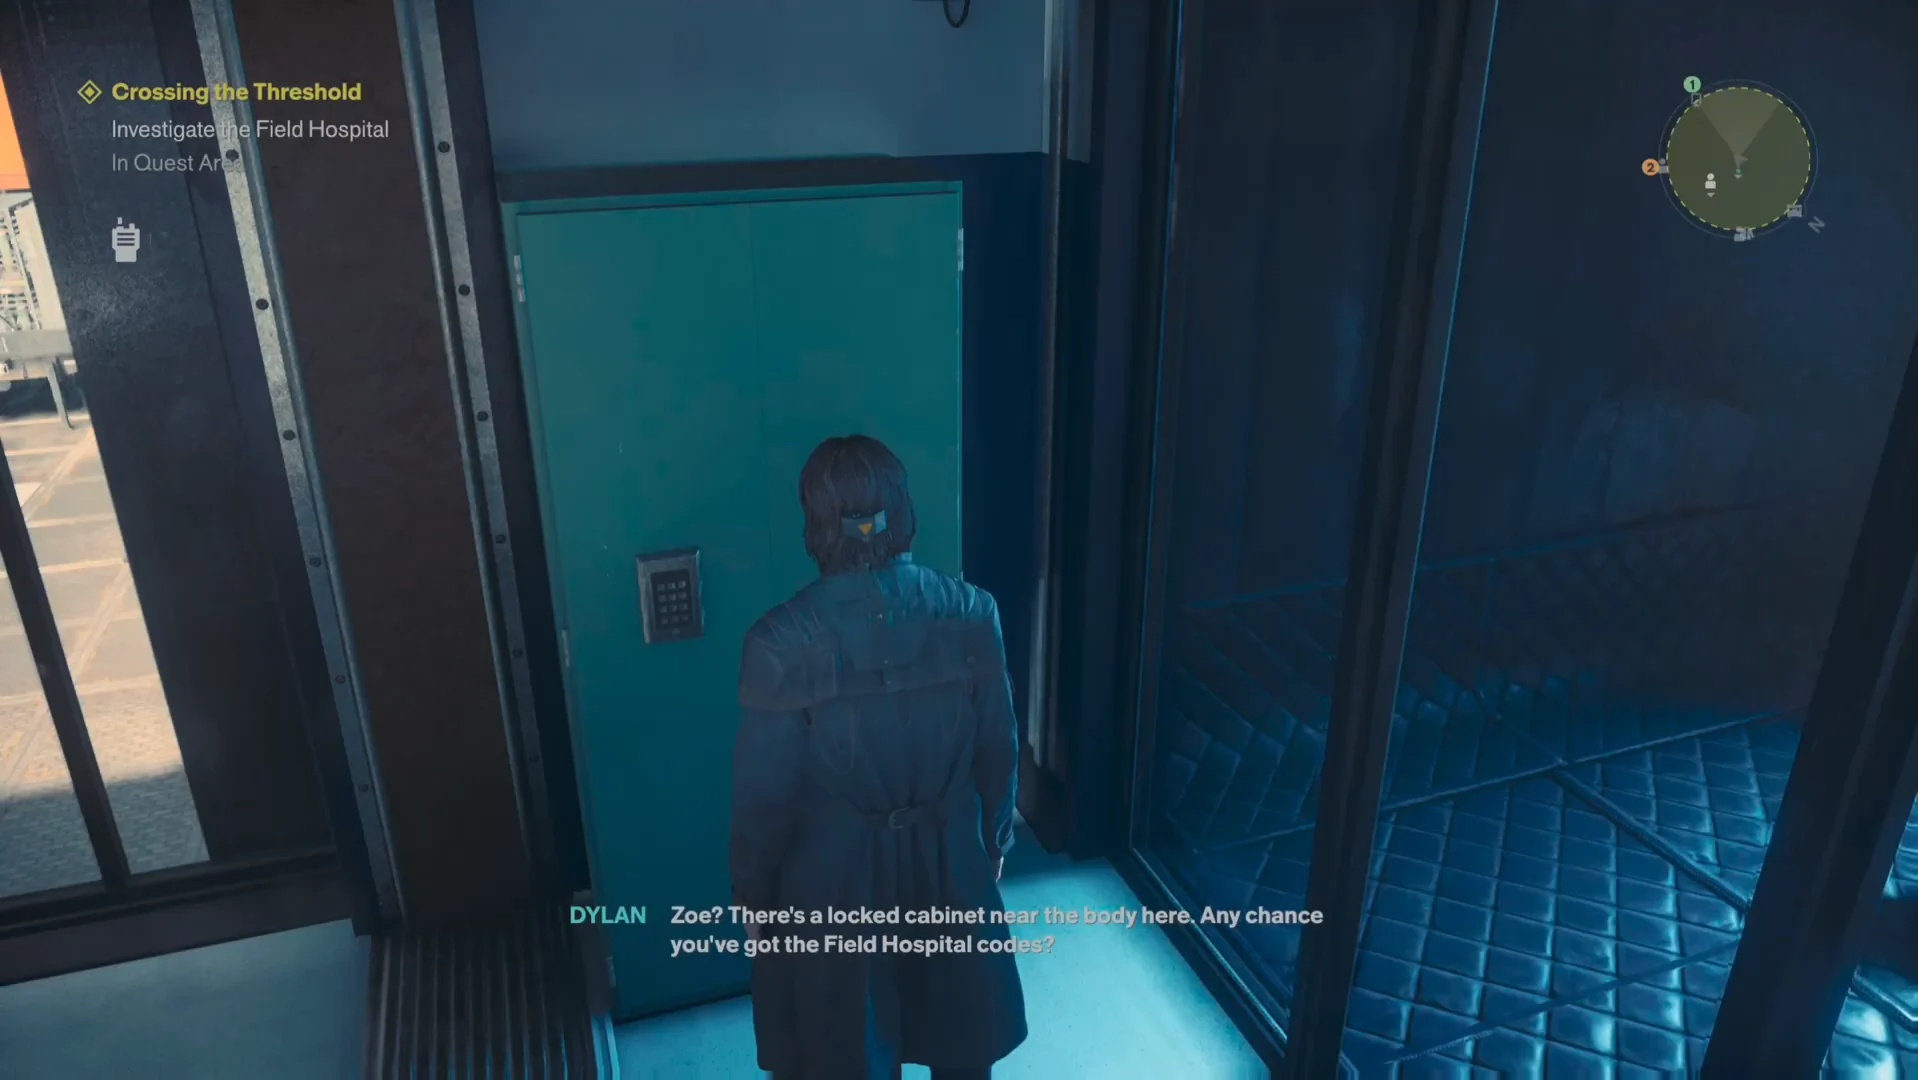
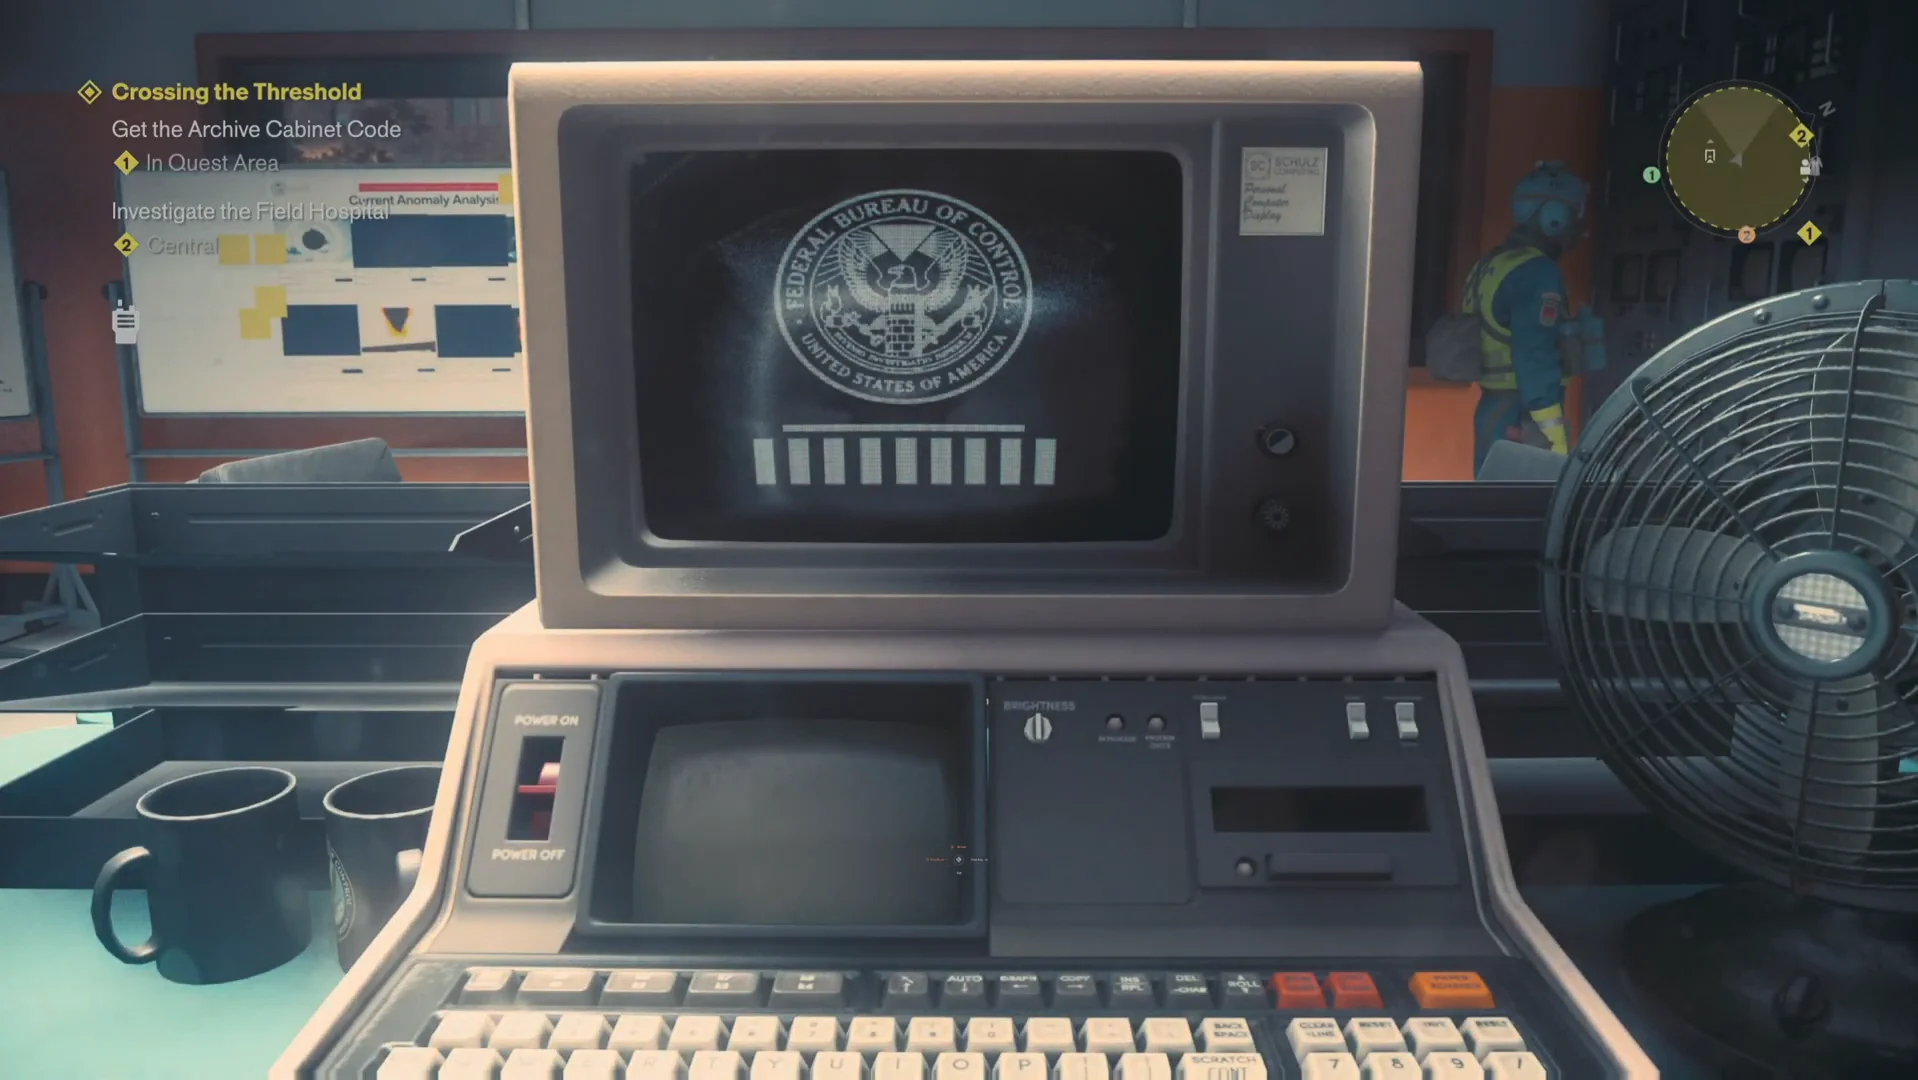
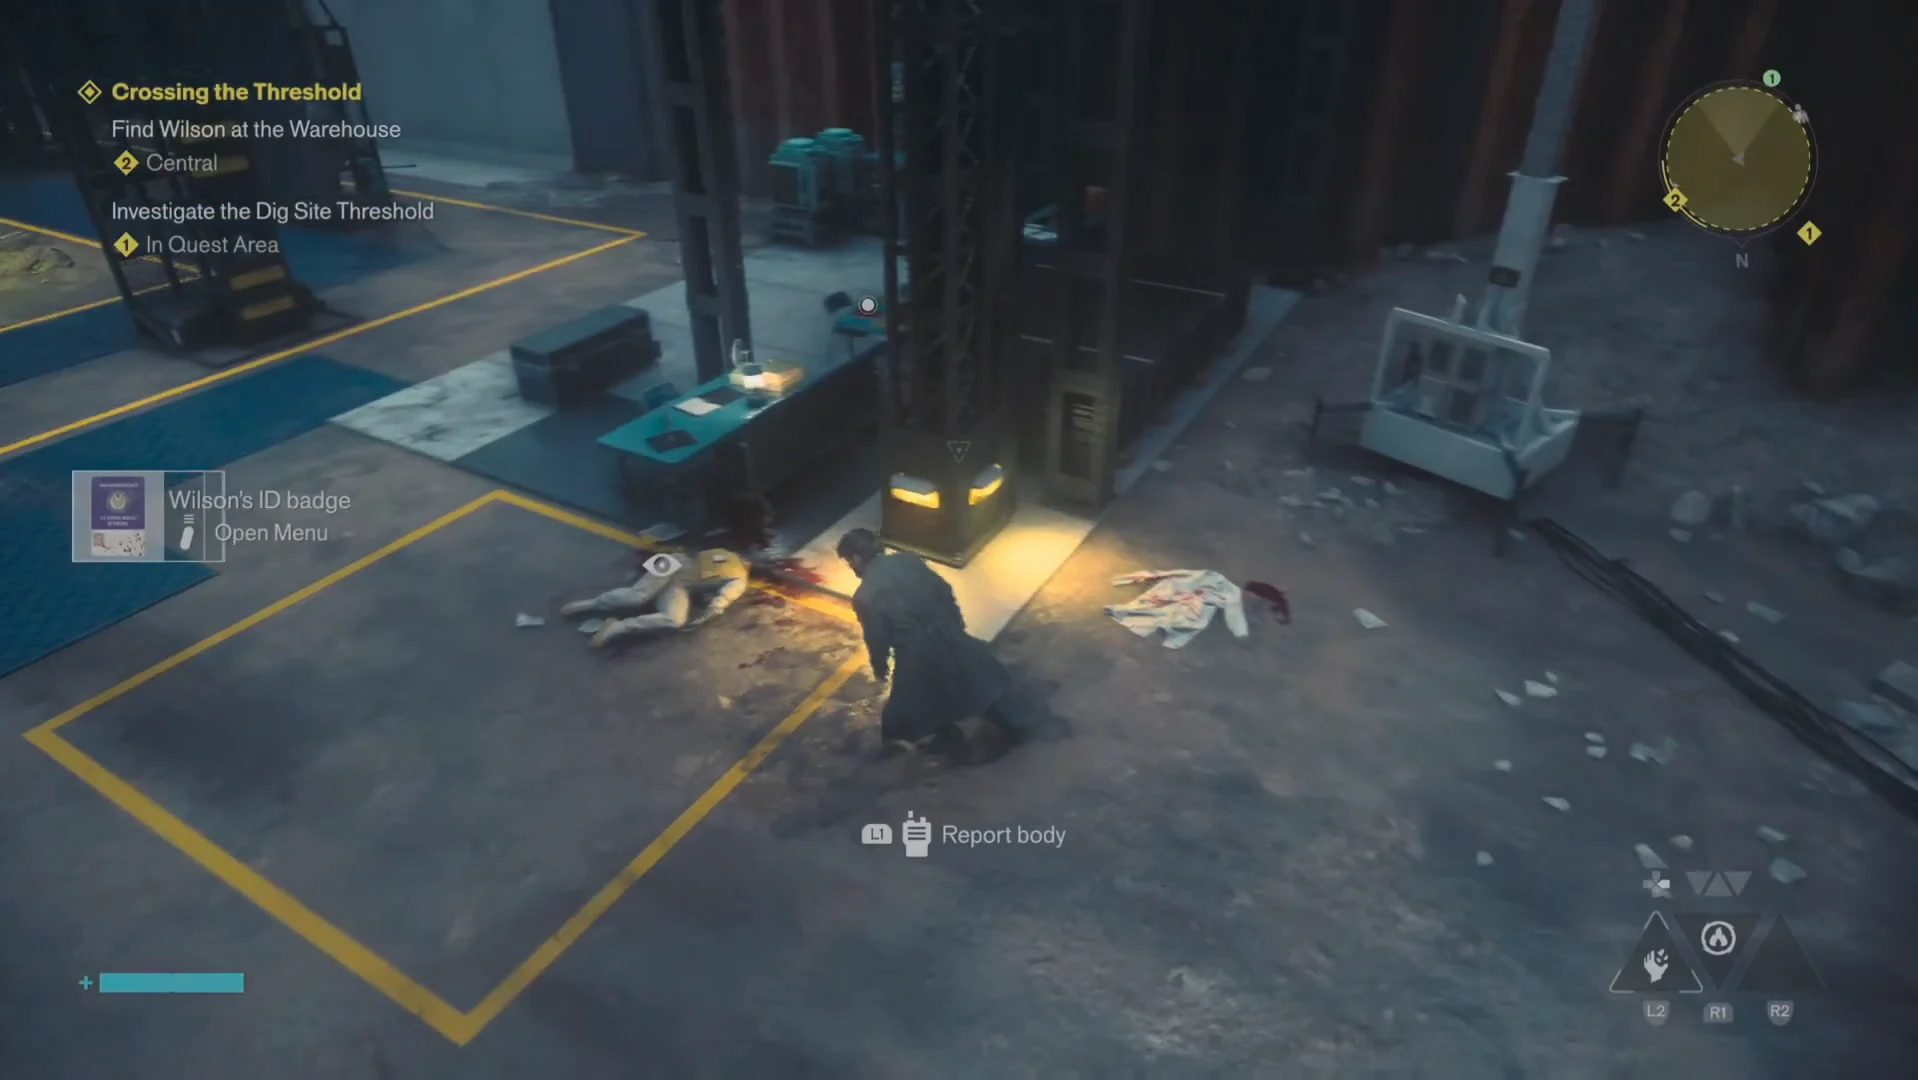
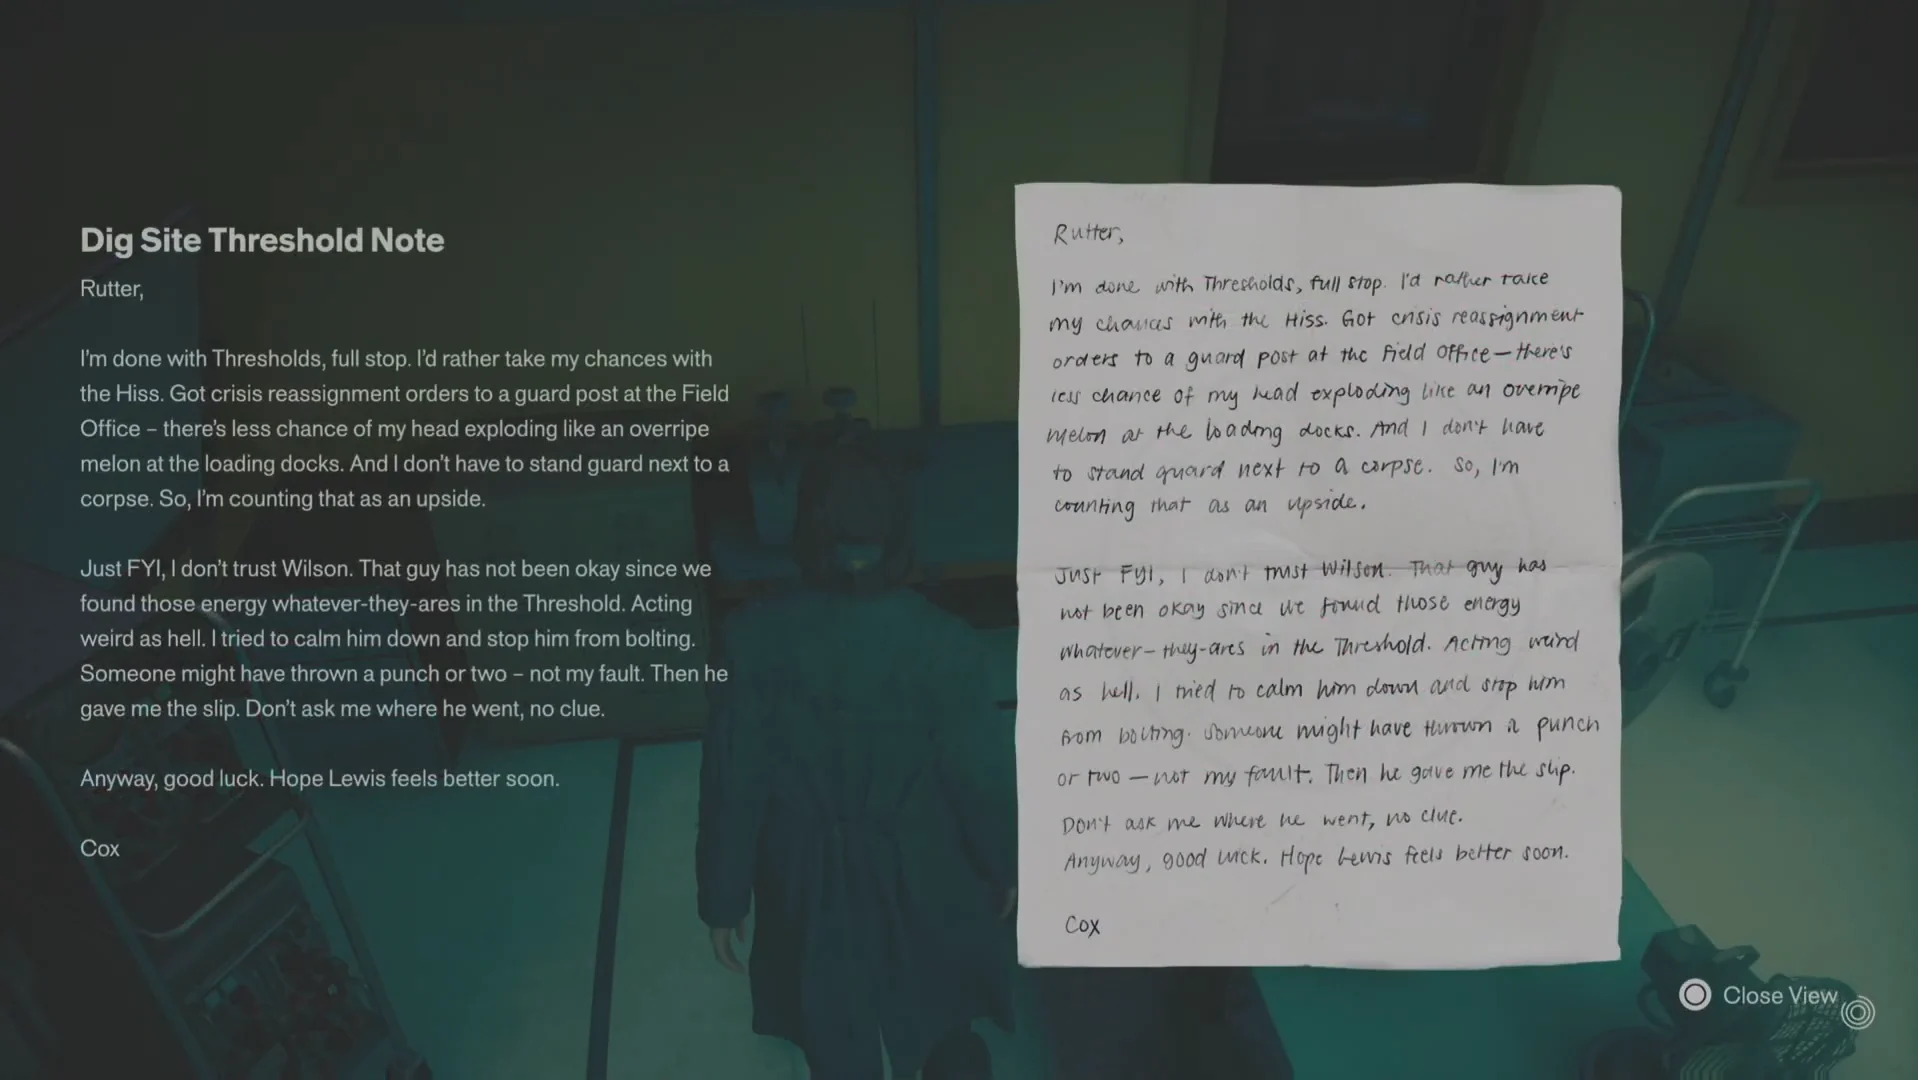
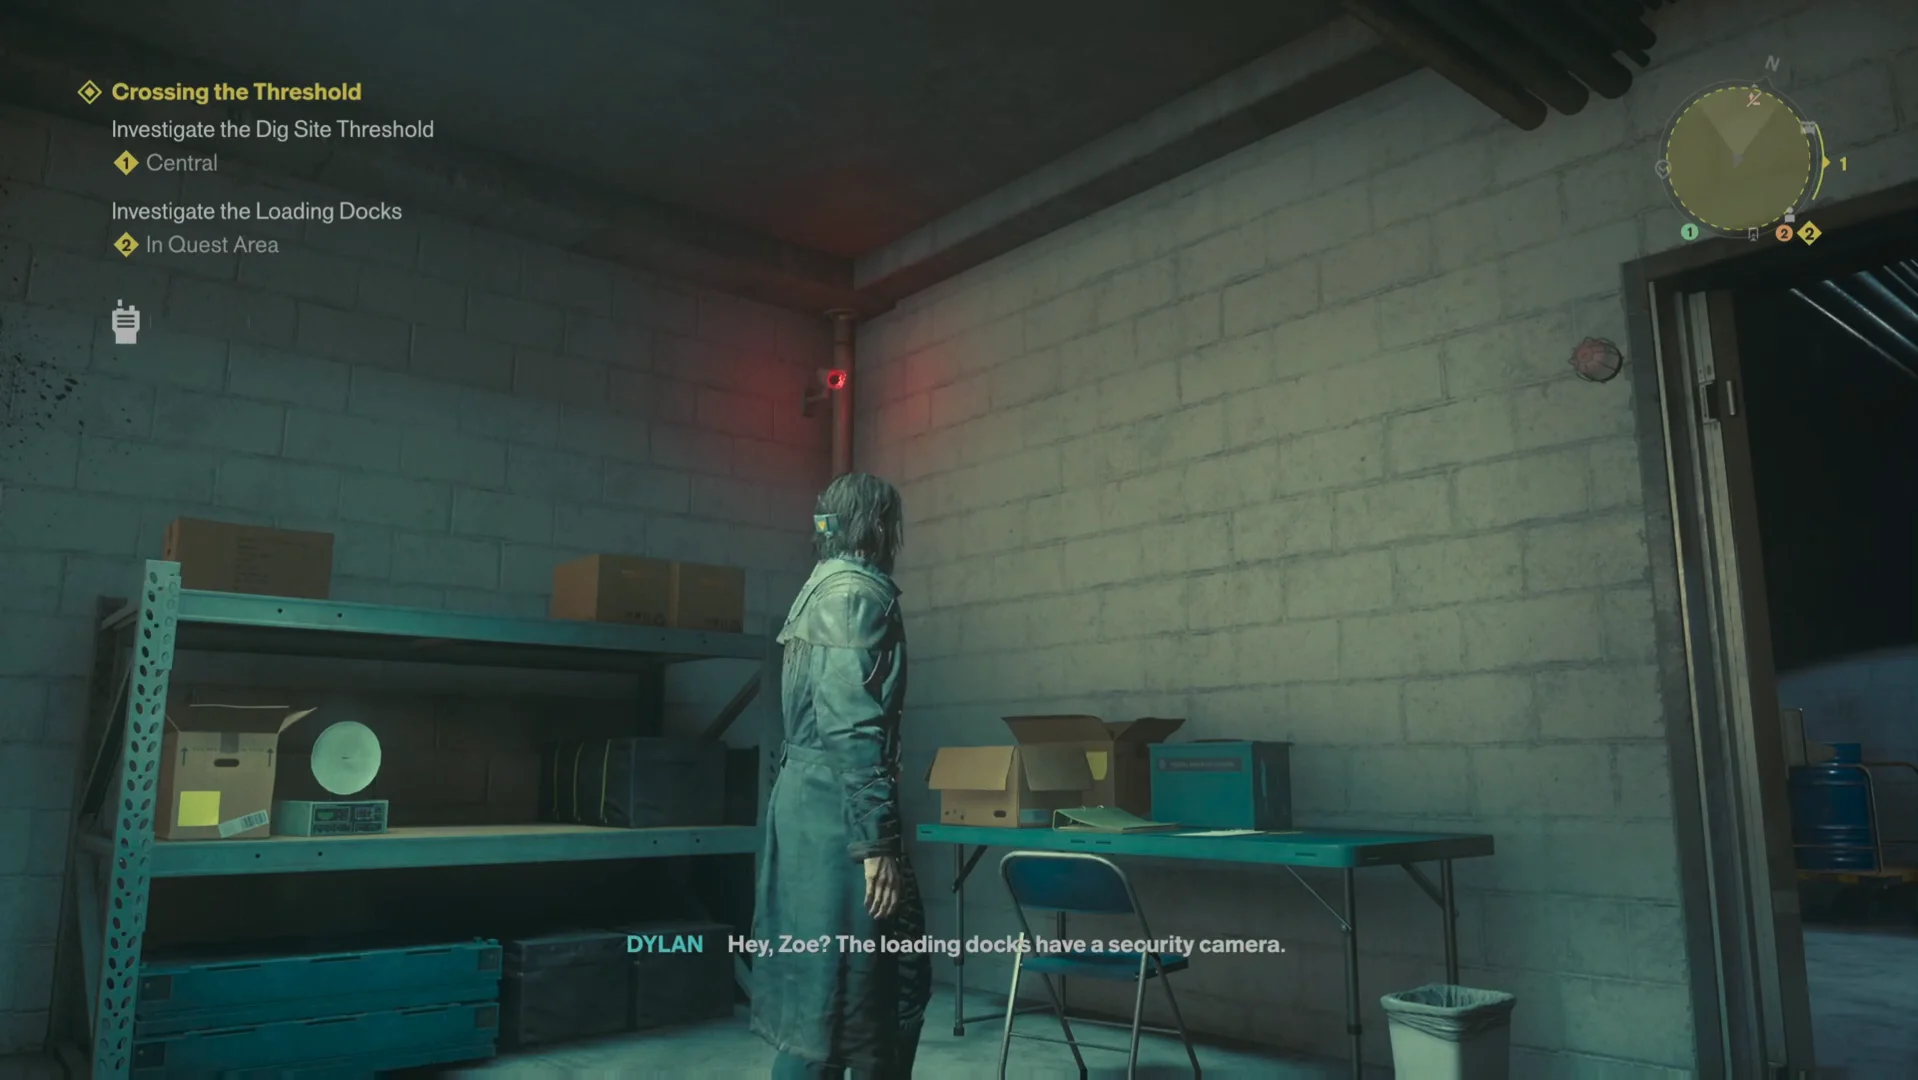
You can complete the Dig Site and loading dock markers in either order. The CCTV objective only appears once you have reported the camera, so do not walk back to the Security Station before that.
Finding Wilson at the warehouse
Do not run straight at the warehouse marker. The walls around the field base block the direct line, so follow the map route to the keycard door and exit the base properly. Expect an ambush the moment you step outside.
At the warehouse, the quest marker aims toward the roof, although the roof has nothing you can use. Enter through the building’s northwest-side door. Defeat the Hiss in the alley and inside; Falter opens them up for finishers faster than anything else. Then take the doorway immediately to the right of your entrance to find Wilson standing over Ranger Cox.
When the conversation starts, bring up the security footage. Wilson explains that entity AVP-3 is the thing killing FBC staff and that it jumps between hosts, which is why the bodies have been turning up decapitated. From there, say you believe him and volunteer to carry the entity yourself. Interact with the collapsed Ranger Cox to absorb AVP-3.
Picking the containment line, even after you have said you believe him, counts as the bad outcome. AVP-3 takes Wilson as its host and walks off to the Dig Site, and no rewards are issued.
Return AVP-3 to the Dig Site Threshold and confirm the quest is done
With AVP-3 inside you, the objective changes to taking it back to the Dig Site Threshold — the glowing amber square you already reported a body in. Another wave of Hiss spawns in the street as you leave the warehouse, and the fastest route back is over the warehouse roof, dashing across the road toward the marker.
Climb the scaffolding platforms overlooking the site and jump straight down into the amber expanse. You do not need to line anything up or interact with a prompt; landing inside the rift hands the entity back and ends the quest.
You will know it worked when the quest completion banner appears with the Sensory Restraint Hood and the Untapped Practice Knot listed, followed by a radio call from Zoe. She confirms Wilson turned himself in over what happened to his team, and a short exchange about how much of his involvement you report closes things out. Check the Quest Log if you want to be certain — Crossing the Threshold should no longer be listed as active in Central.