Your character lands in Ashenfall with a maximum of 100 health, and the only way to permanently raise that ceiling is by tracking down Sanguine Urns. These small blood-filled artifacts are spread across the map, and each one you touch for the first time bumps your health bar up for good.
Quick answer: Interact with each of the 21 Sanguine Urns scattered across Ashenfall. Every first-time pickup adds a permanent +10 to your health, taking your maximum from 100 to 310.
How Sanguine Urns raise your max health
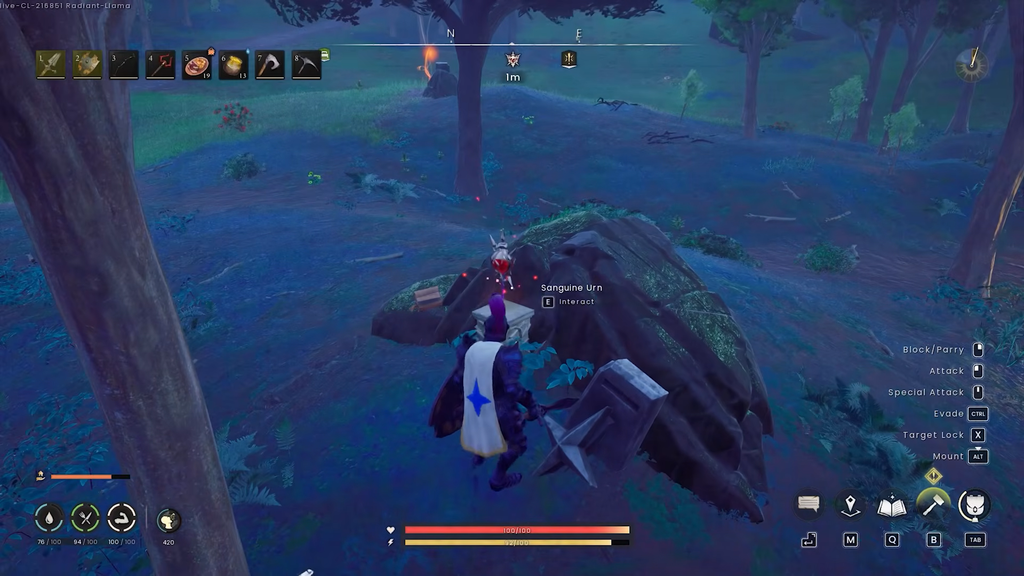
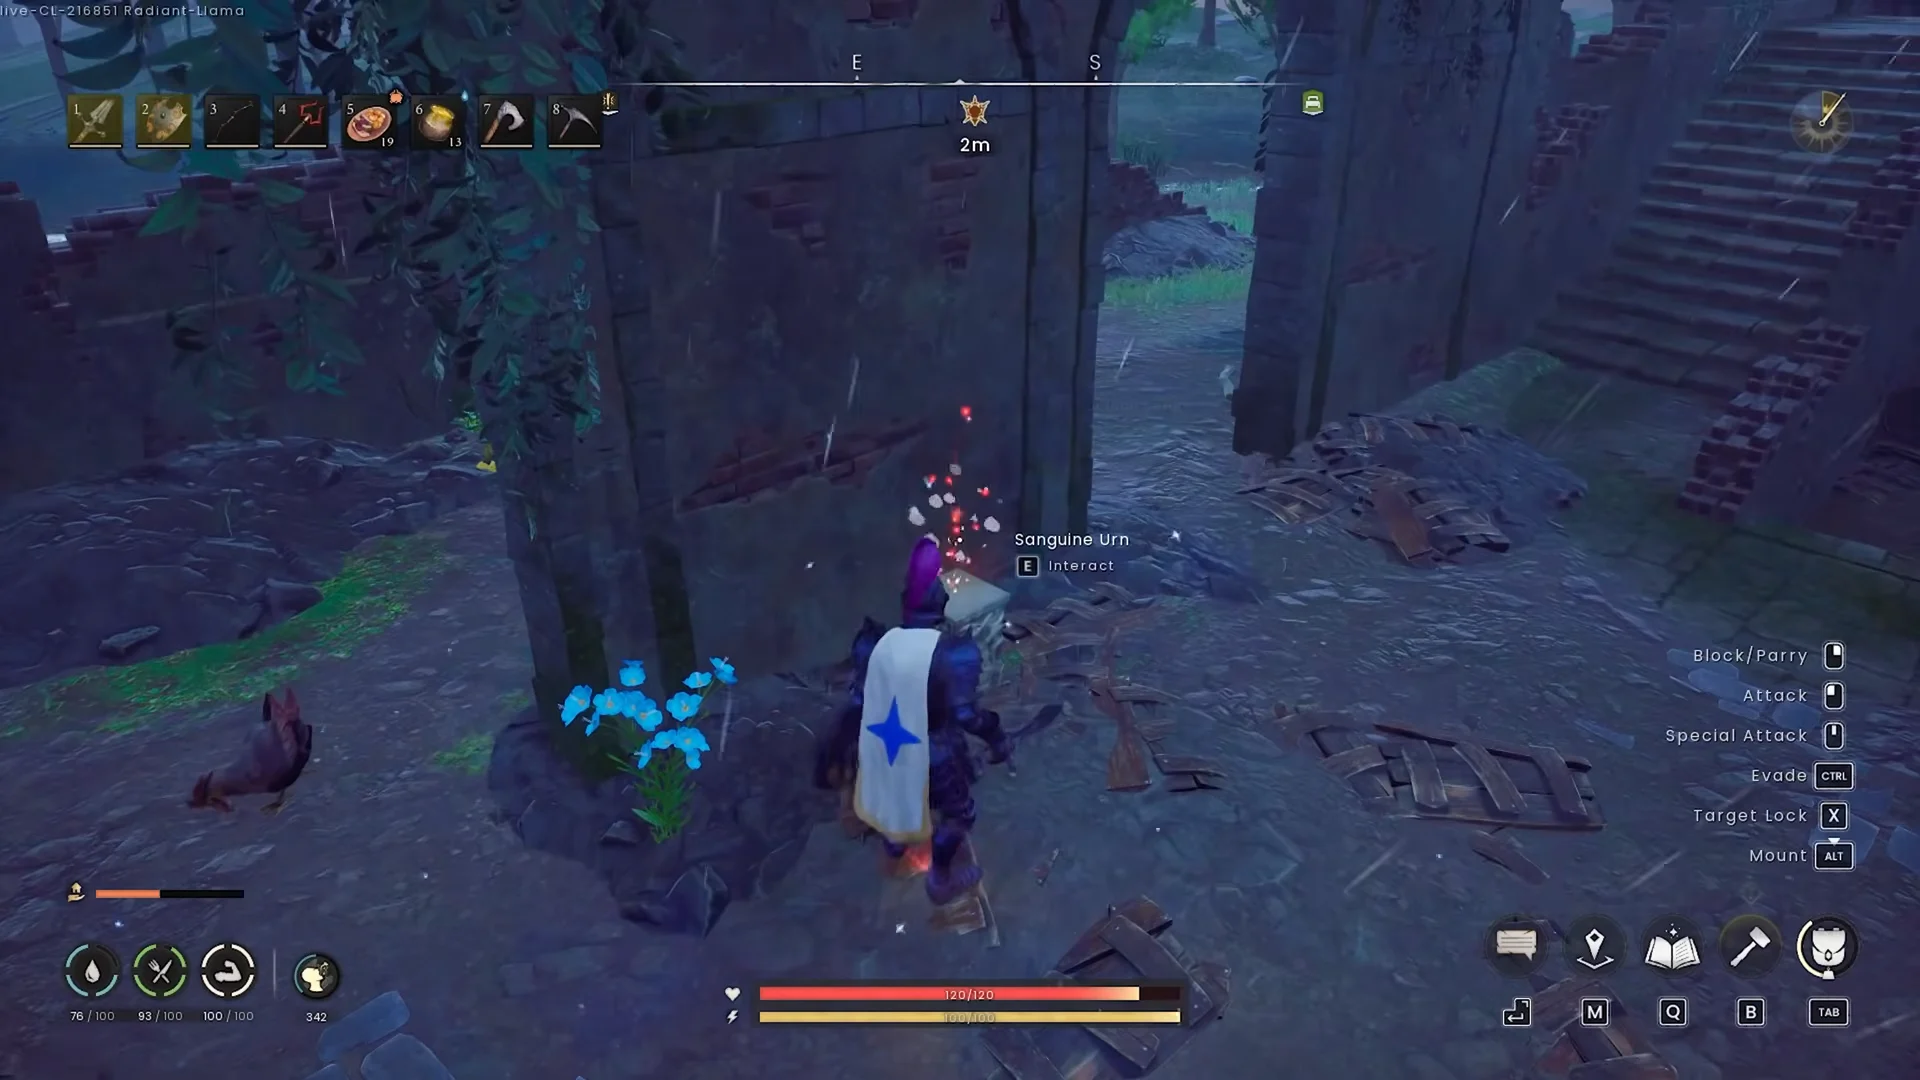
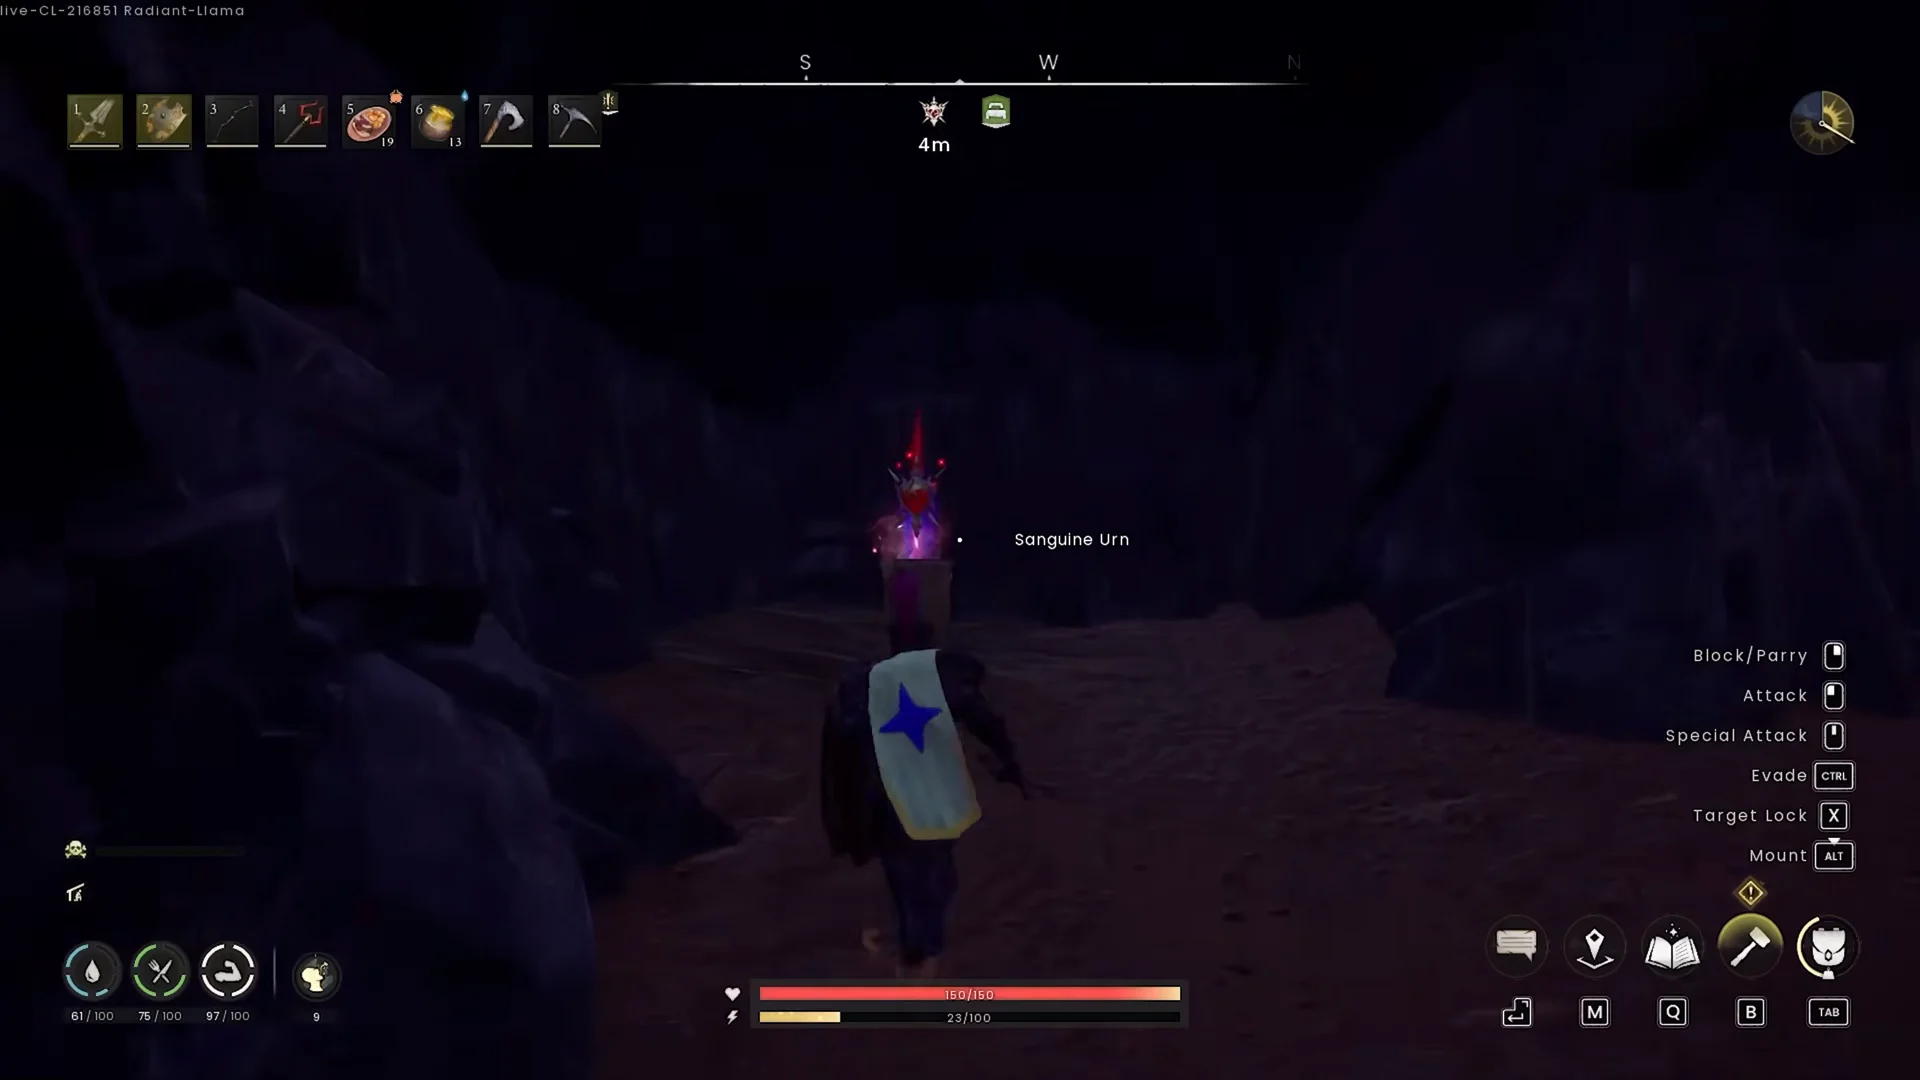
A Sanguine Urn is an interactable object placed in the world, not an inventory item. Touching one for the first time gives you a flat +10 to your total health pool. With all 21 collected, your maximum health reaches 310.
The boost is permanent. Once you absorb an urn, the extra health stays with your character after you die and carries over into other worlds, including dedicated servers. You never need to collect the same urn twice.
This system arrived with the health rework in the Eye on Ashenfall update on 23 June 2026. That change removed the old Lifeward mechanic, so damage now goes straight to your health, and food heals you directly and over time. Health regeneration slows when your sustenance runs low, which is why keeping fed matters alongside a bigger health bar.
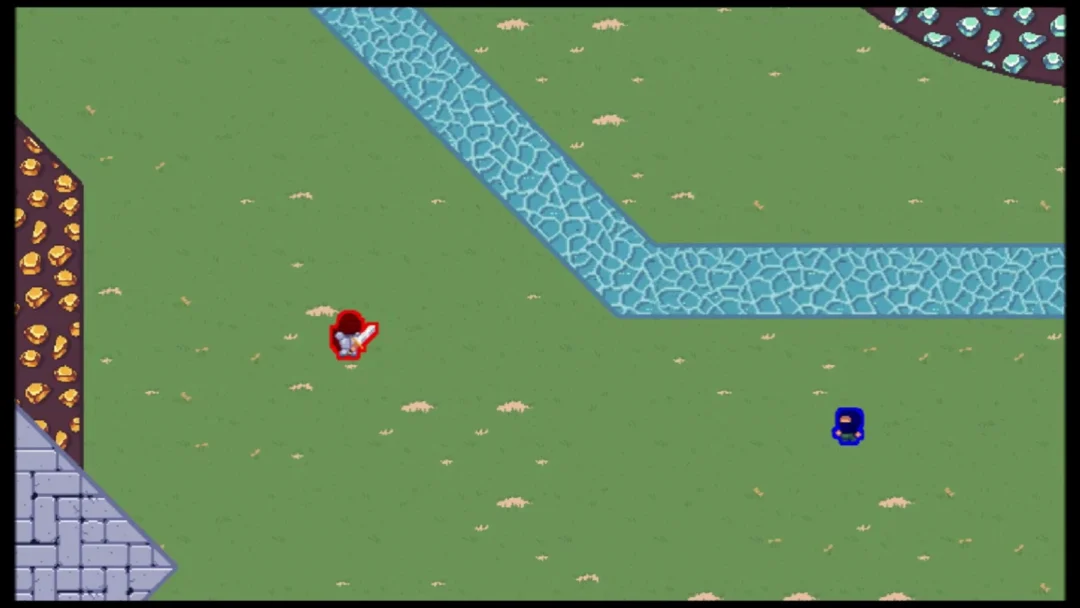
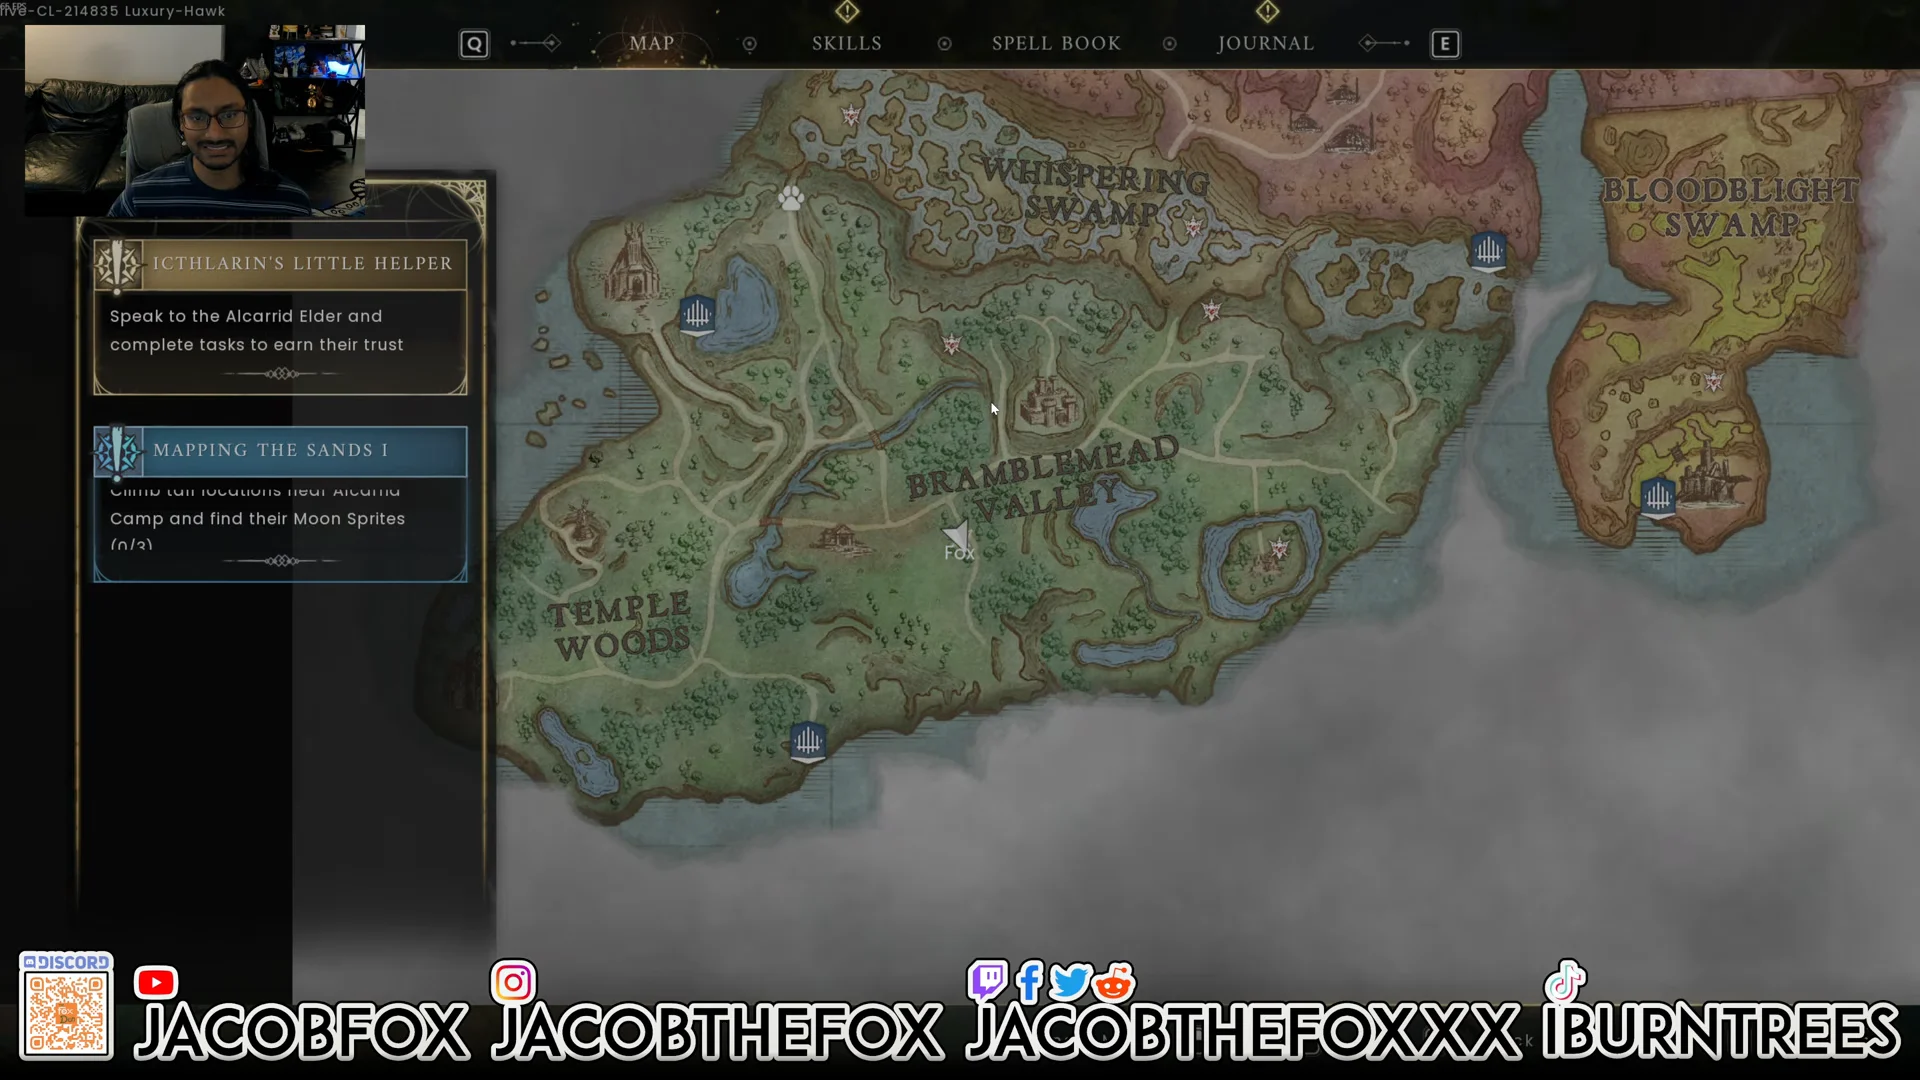
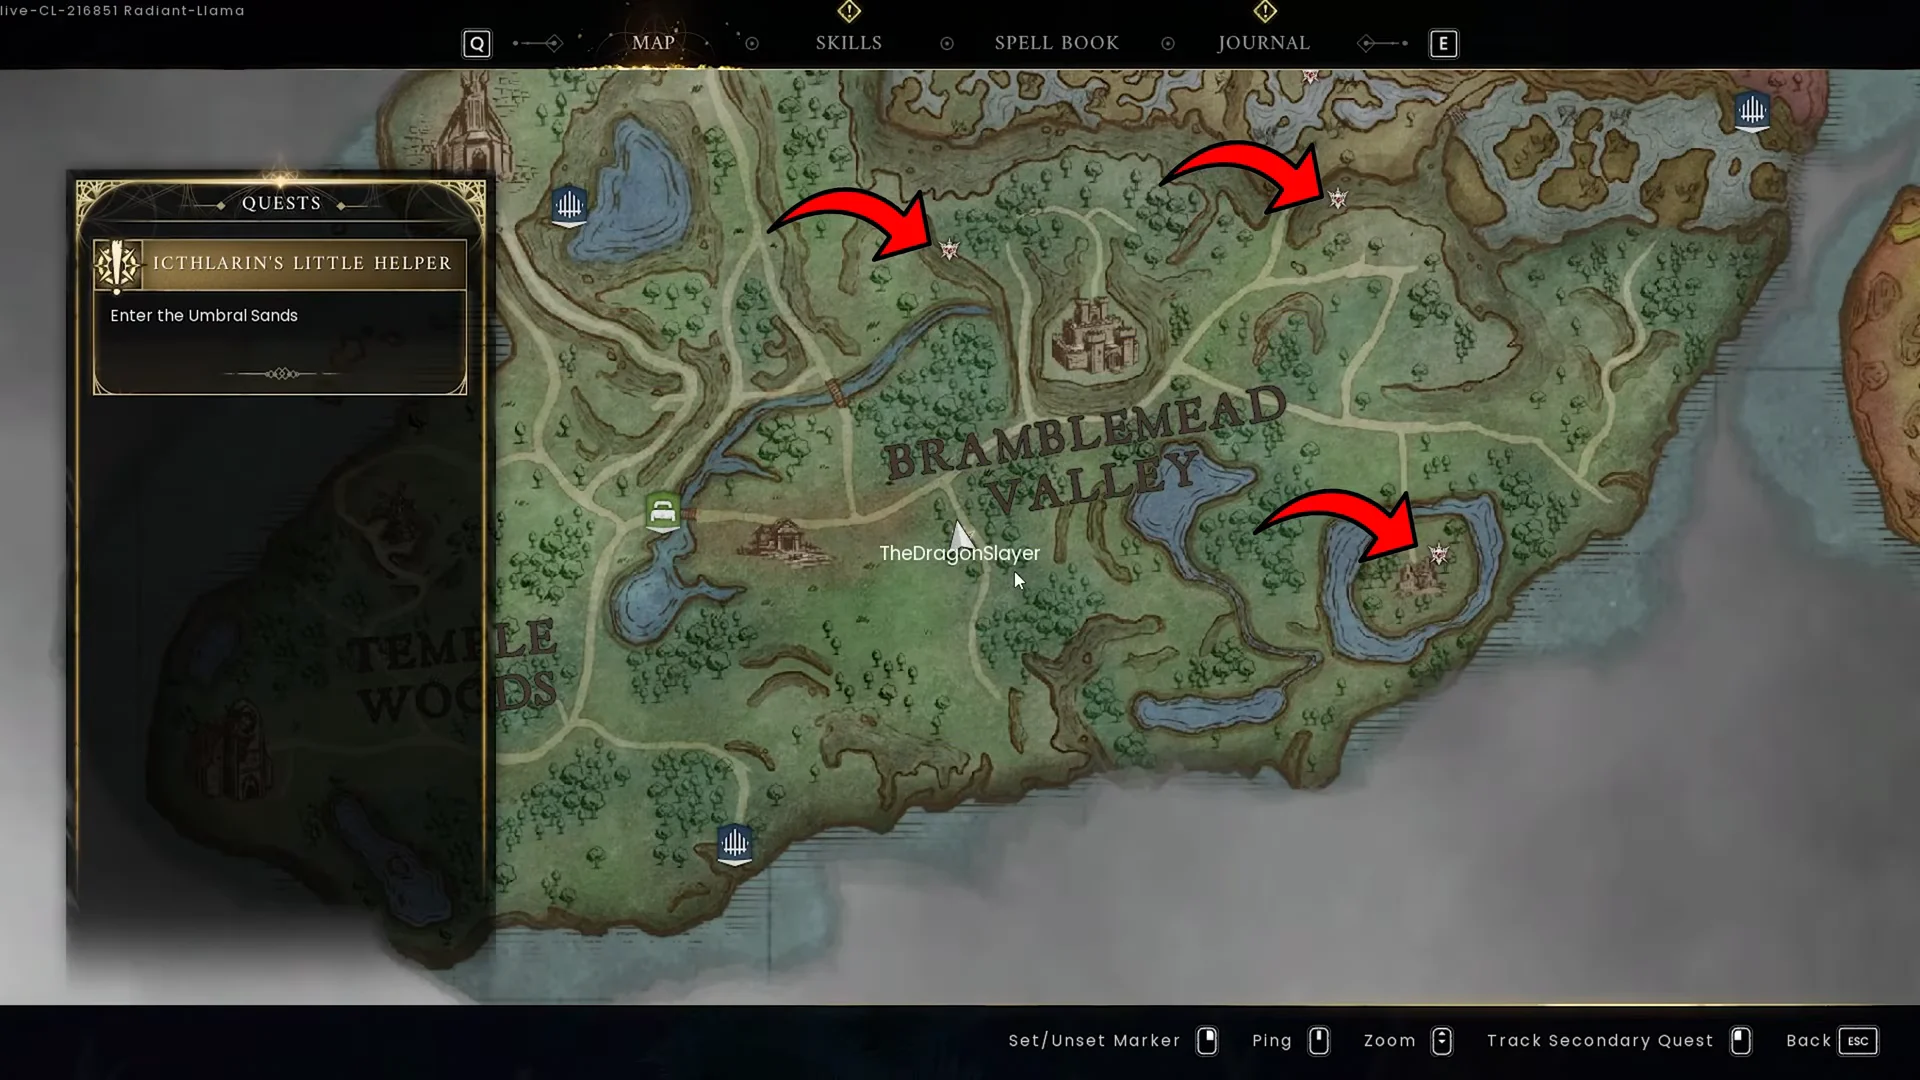
The world map displays each urn as a red-potion symbol set within a jagged metal vessel. Once you come within roughly 50 to 60 meters, that symbol appears on your compass as well, giving you a reliable read on the final approach.
How to collect a Sanguine Urn

If two players have visited the same urns but show different health totals, remove any health-changing armour or jewellery before assuming a pickup failed. Urn progress is tied to each character, so in co-op the lower-health player should interact with the shrines they still need.
All Sanguine Urn locations by region
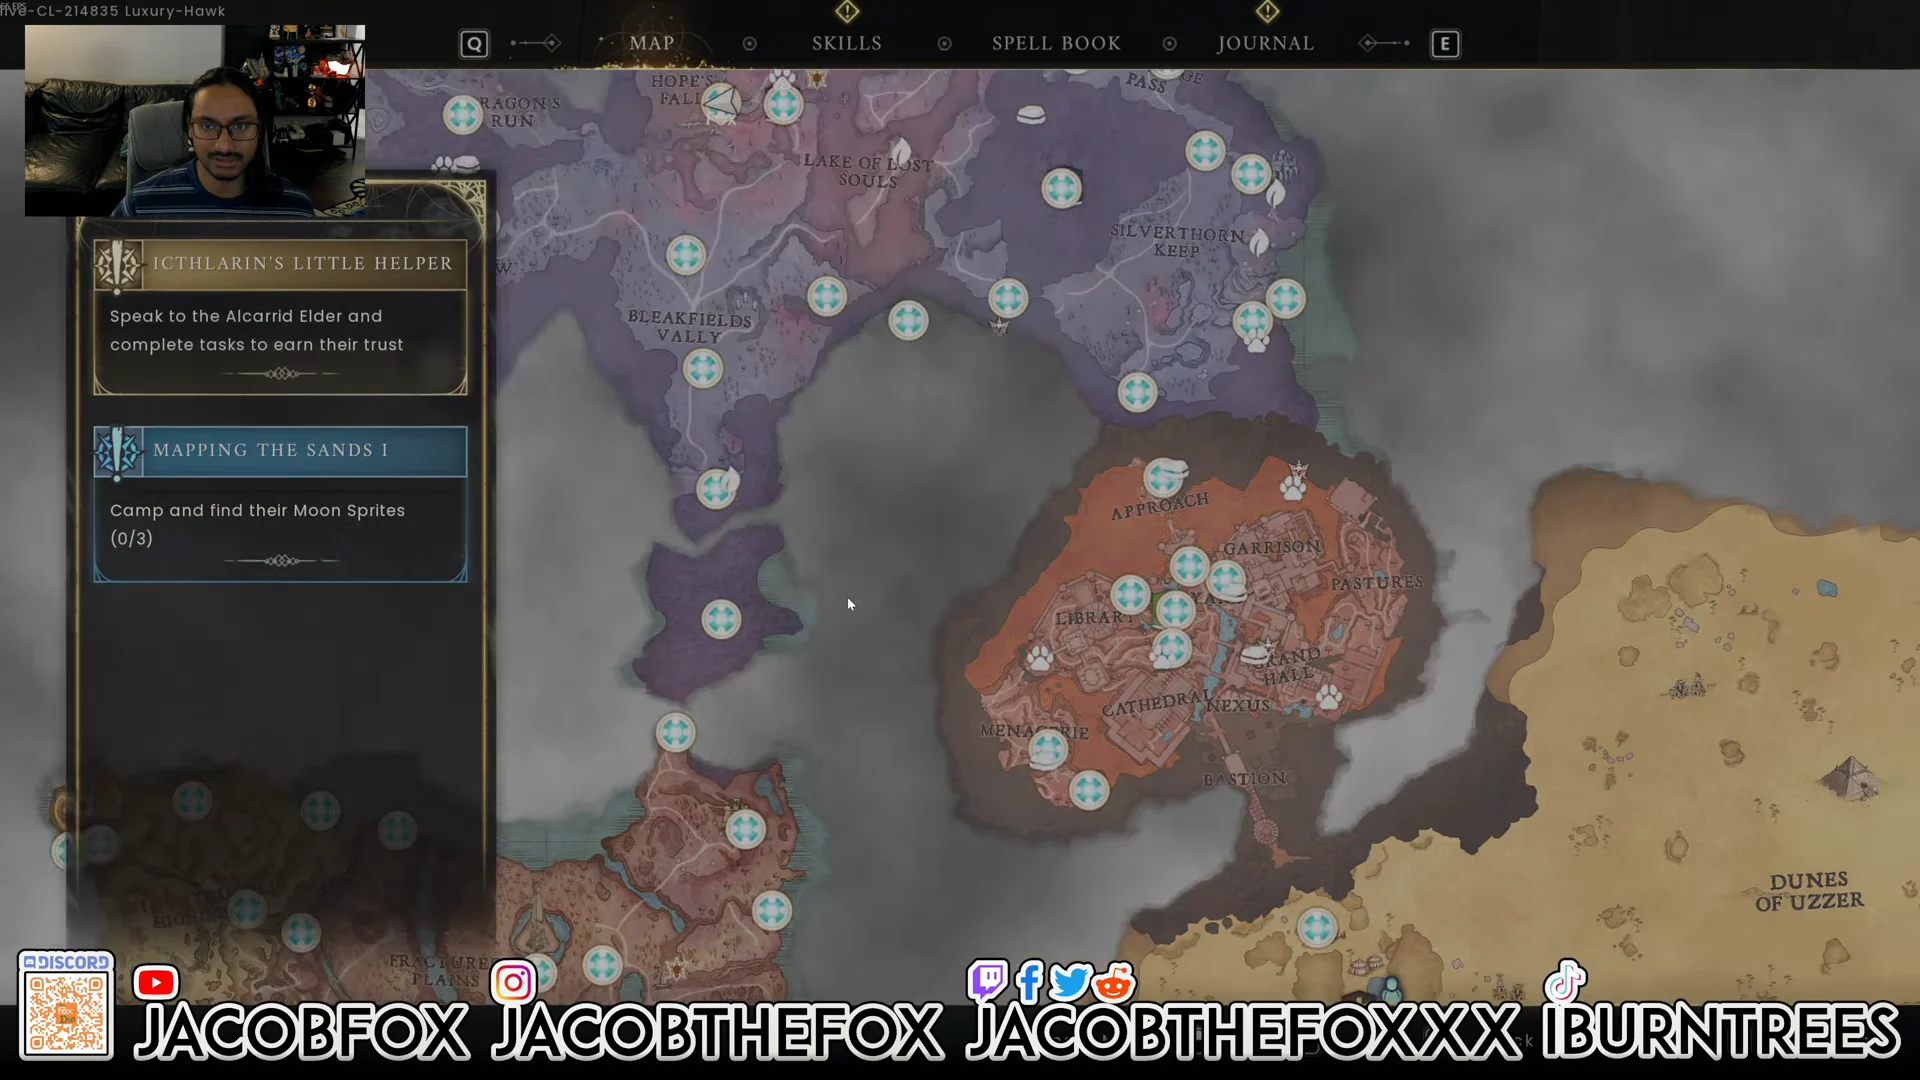
The 21 urns are spread across six regions and their sub-areas. Some sit out in the open near ruins and quest landmarks, others are hidden inside caves or enemy strongholds, and a few require you to unlock the surrounding biome before the marker appears.
| Region | Sub-region | Urns |
|---|---|---|
| Brynmoor | Bramblemead Valley | 3 |
| Brynmoor | Whispering Swamp | 3 |
| Ghornfell | Fractured Plains | 1 |
| Ghornfell | Stormtouched Highlands | 1 |
| Ghornfell | Bloodblight Swamp | 1 |
| Fellhollow | Emberwood | 1 |
| Fellhollow | Hope’s Fall | 1 |
| Fellhollow | Silverthorn Keep | 1 |
| Dowdun Reach | The Grand Hall | 1 |
| Dowdun Reach | The Garrison | 1 |
| Dowdun Reach | The Menagerie | 1 |
| Umbral Sands | Alcarrid Oasis | 1 |
| Umbral Sands | The Burning Spire | 1 |
| Umbral Sands | Manafem Plains | 1 |
| Scorned Wilderness | Fragments of Ghornfell | 2 |
| Scorned Wilderness | Cataclysm Keep | 1 |
Finding urns in caves and on higher terrain
Not every urn sits where the flat map suggests. Some are underground or on a different level of a fortress, so a marker can look close horizontally while actually being above or below you. Keep these points in mind when a shrine seems out of reach.
- When the compass reading drops but you are at the wrong height, quit gaining altitude and inspect the ground below for a cave opening.
- The urn near Whispering Swamp is inside the cave tied to the Goblin Diplomacy area, not on the cliff above it.
- Follow constructed paths, stairs, and tunnels before trying to climb a wall directly, and check the opposite side of a ridge.
- Urns can be hidden in caves and underground rooms, but never inside dragonkin vaults.
Without a plan, no area is more punishing to cross than the desert around Umbral Sands. Bring water, travel through shade, and complete your routine urn runs before entering a boss arena, because spending a whole supply-filled inventory to reach one shrine takes longer than returning later with a repaired loadout.
Collecting urns as you progress through each region is more practical than saving them all for the end. A few extra points of health often matter more than a small armour upgrade when you are learning a new boss or crossing hazardous terrain, and the character sheet is your final proof that a pickup worked. Once you have cleared a region’s shrines, check your total against the 310 cap to see how many are still waiting.