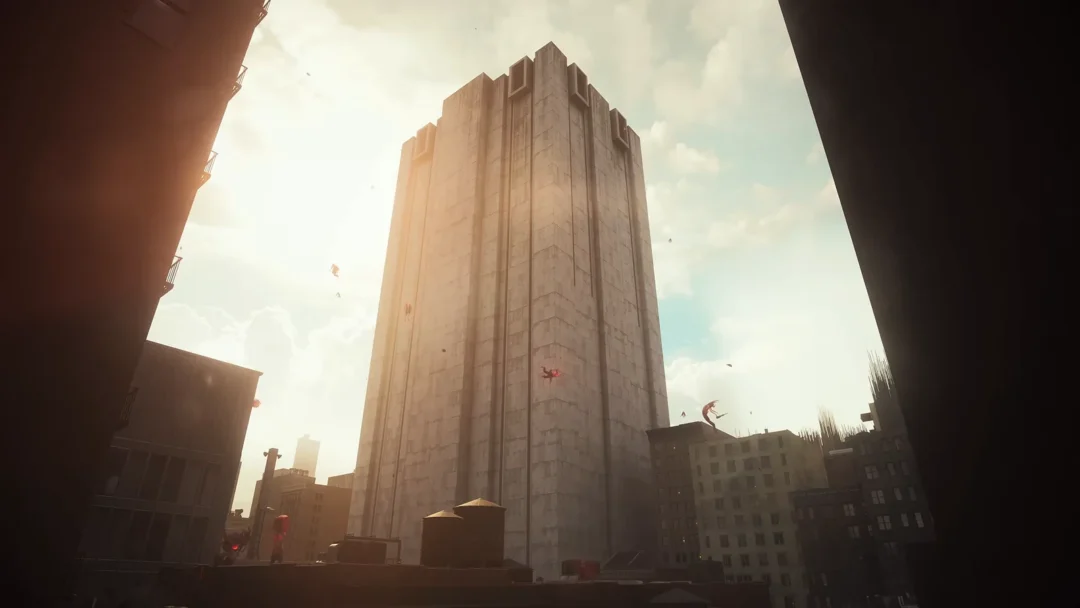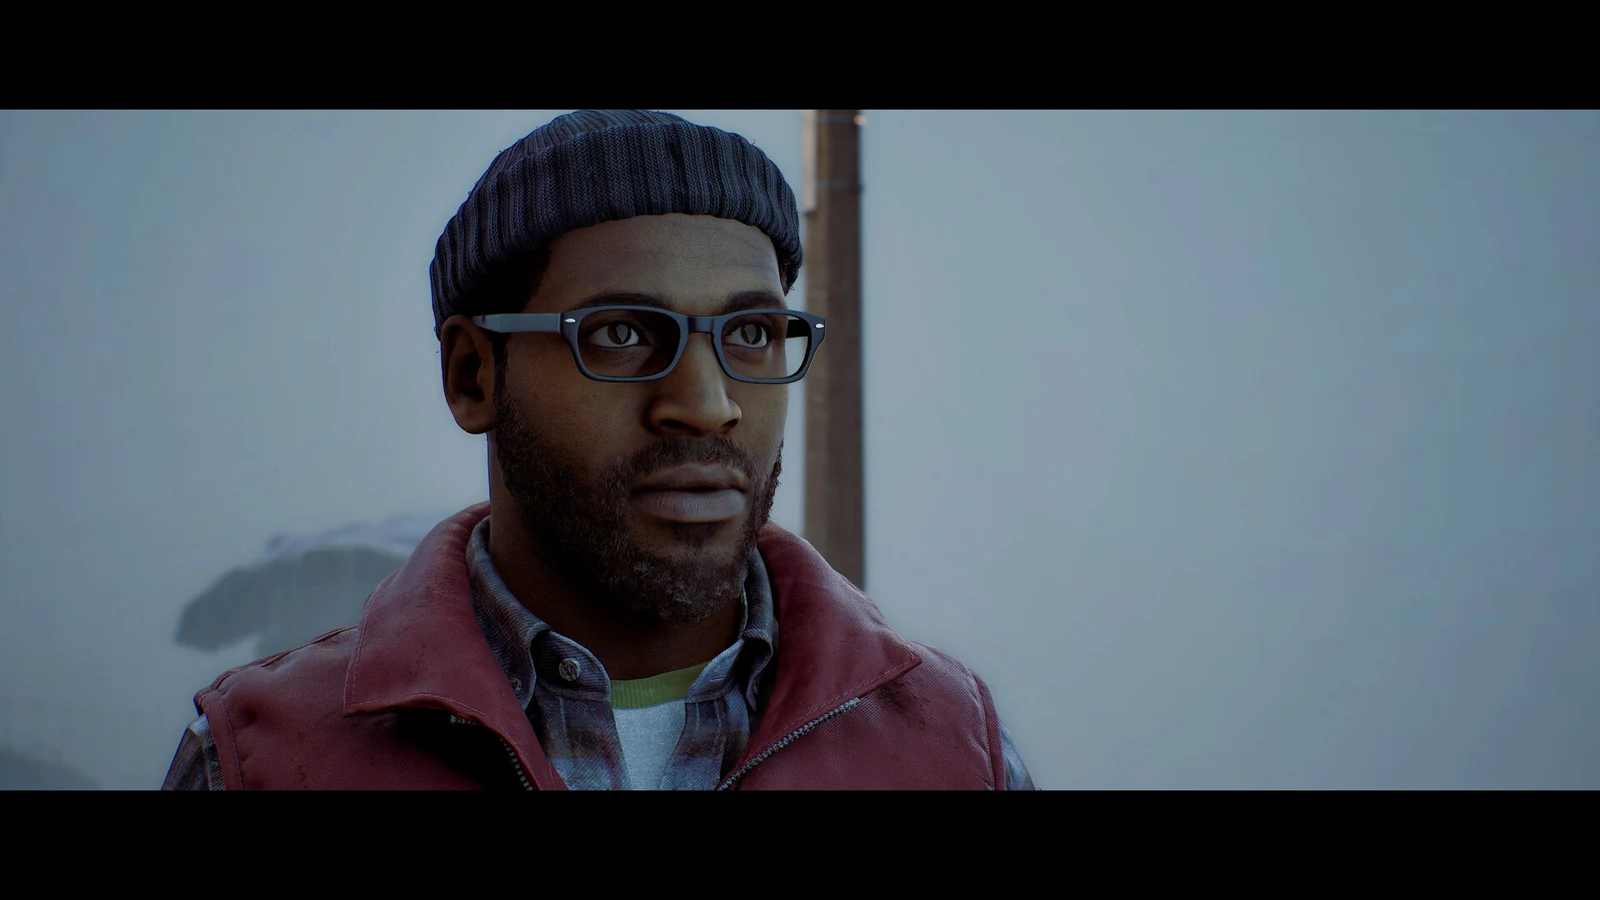
Part 1 – Arrival drops Simon into the foggy Shorefront District with no waypoints and a string of locks, keypads, and item puzzles standing between you and the next chapter. The solutions are fixed, so once you have the right clue in your inventory you can enter each answer directly and move on.
Quick answer: Part 1 has five coded puzzles plus a flashlight assembly, a power meter, and a scales balance. The core codes are call 100, set the door to 18 / January / 1996, the organ box to 956 / 133, the clinic reception to 2896, and the pharmacy locker to 6539.
Part 1 puzzle codes reference
Every combination for Arrival is listed below in play order. Each lock only accepts input once you have picked up its matching clue or key item, so grab the note or card first if a correct code is rejected.
| Puzzle | Location | Solution |
|---|---|---|
| Phone booth | Shorefront – South | Call 100 |
| Room 204 date wheel | Escape | 18 / January / 1996 |
| Organ transport box | Zoe’s House | 956 left / 133 right |
| Clinic reception door | Shorefront Family Clinic | 2896 |
| Pharmacy rusty locker | Shorefront Pharmacy | 6539 |
Chapter 1: Cold Open — the phone booth call
After passing the St. Amelia board, walk into the red mist ahead to reach the next area. Continue forward and Simon automatically picks up the Shorefront Map, which reveals the town layout.
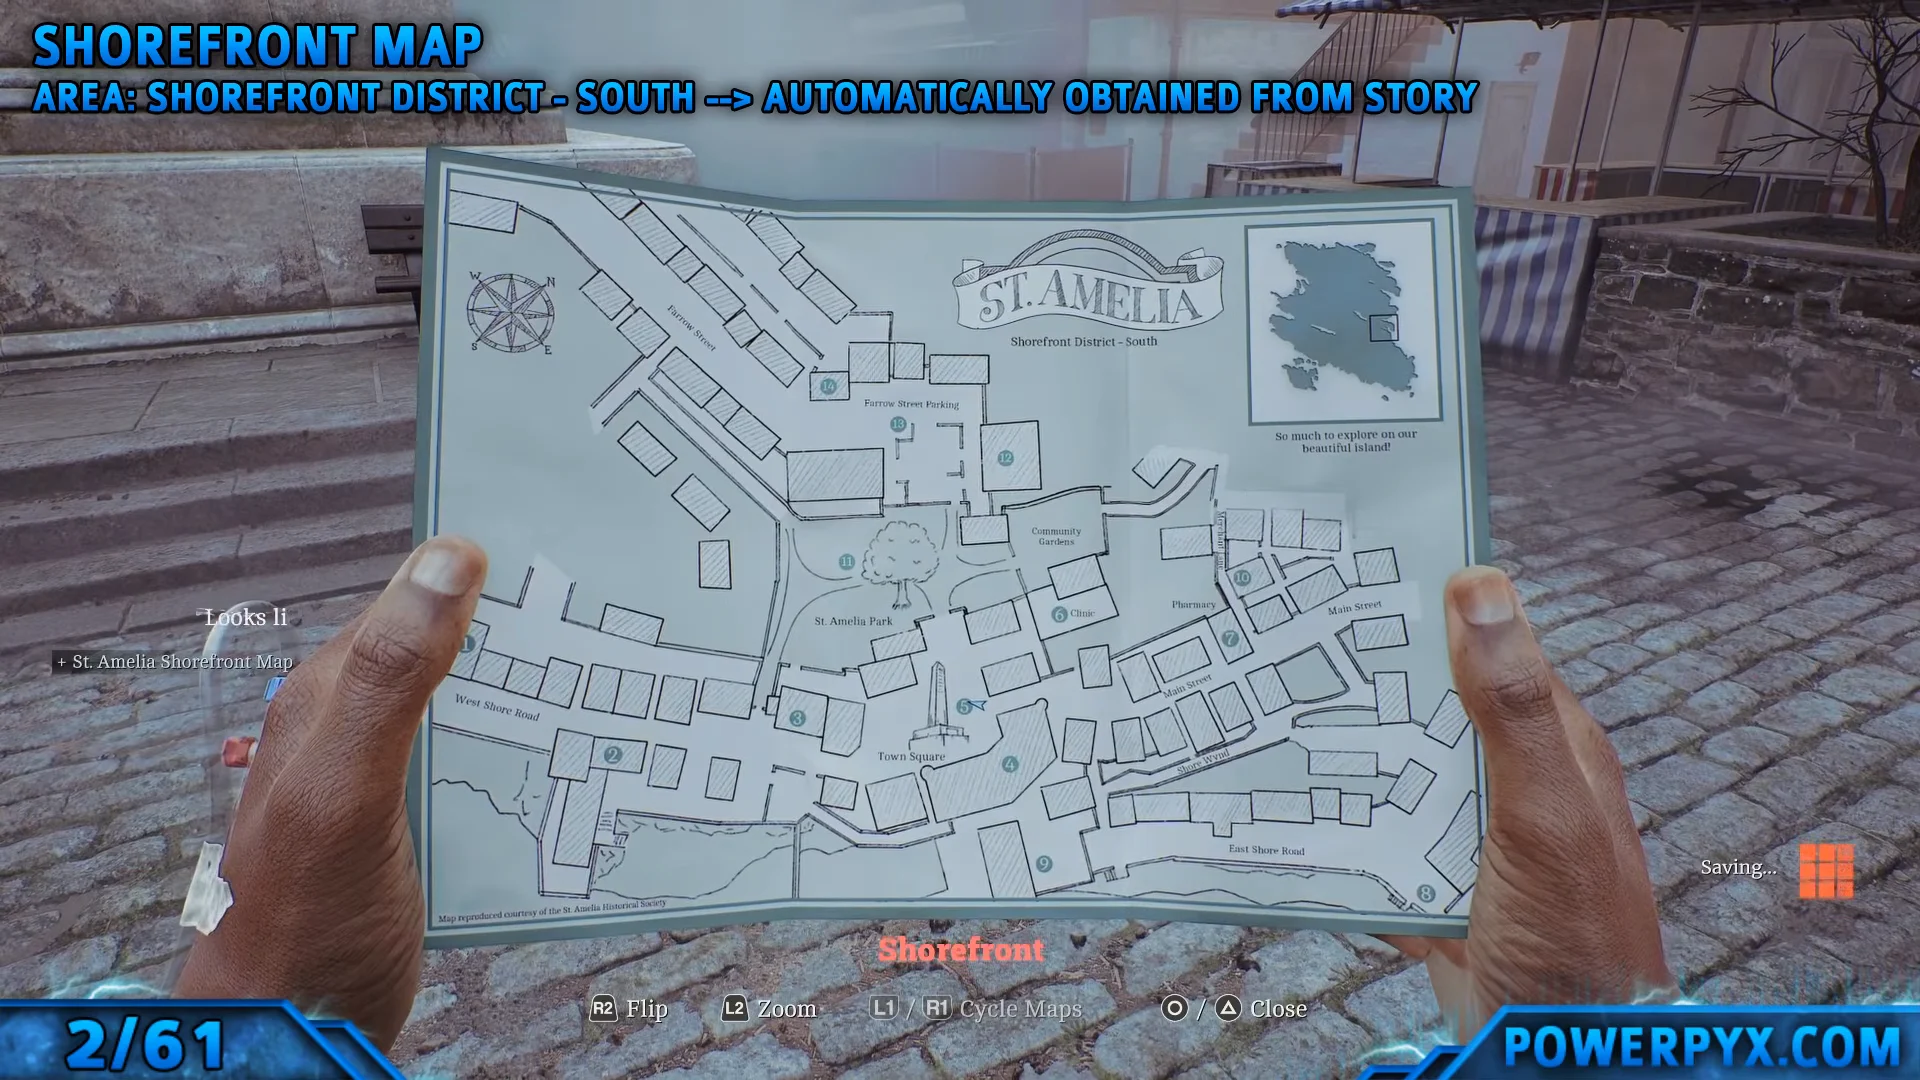
Walk beyond the Town Square monument until you reach the phone booth, then examine the Your Local Services flyer next to it. The flyer gives three dialing options: 900 for Emergency Services, 010 for the Operator, and 100 for Save Yourself. All three numbers work, but only 100 starts the story-progressing cutscene. Afterward, take the route into the next chapter.
Chapter 2: Escape — Room 204 date wheel
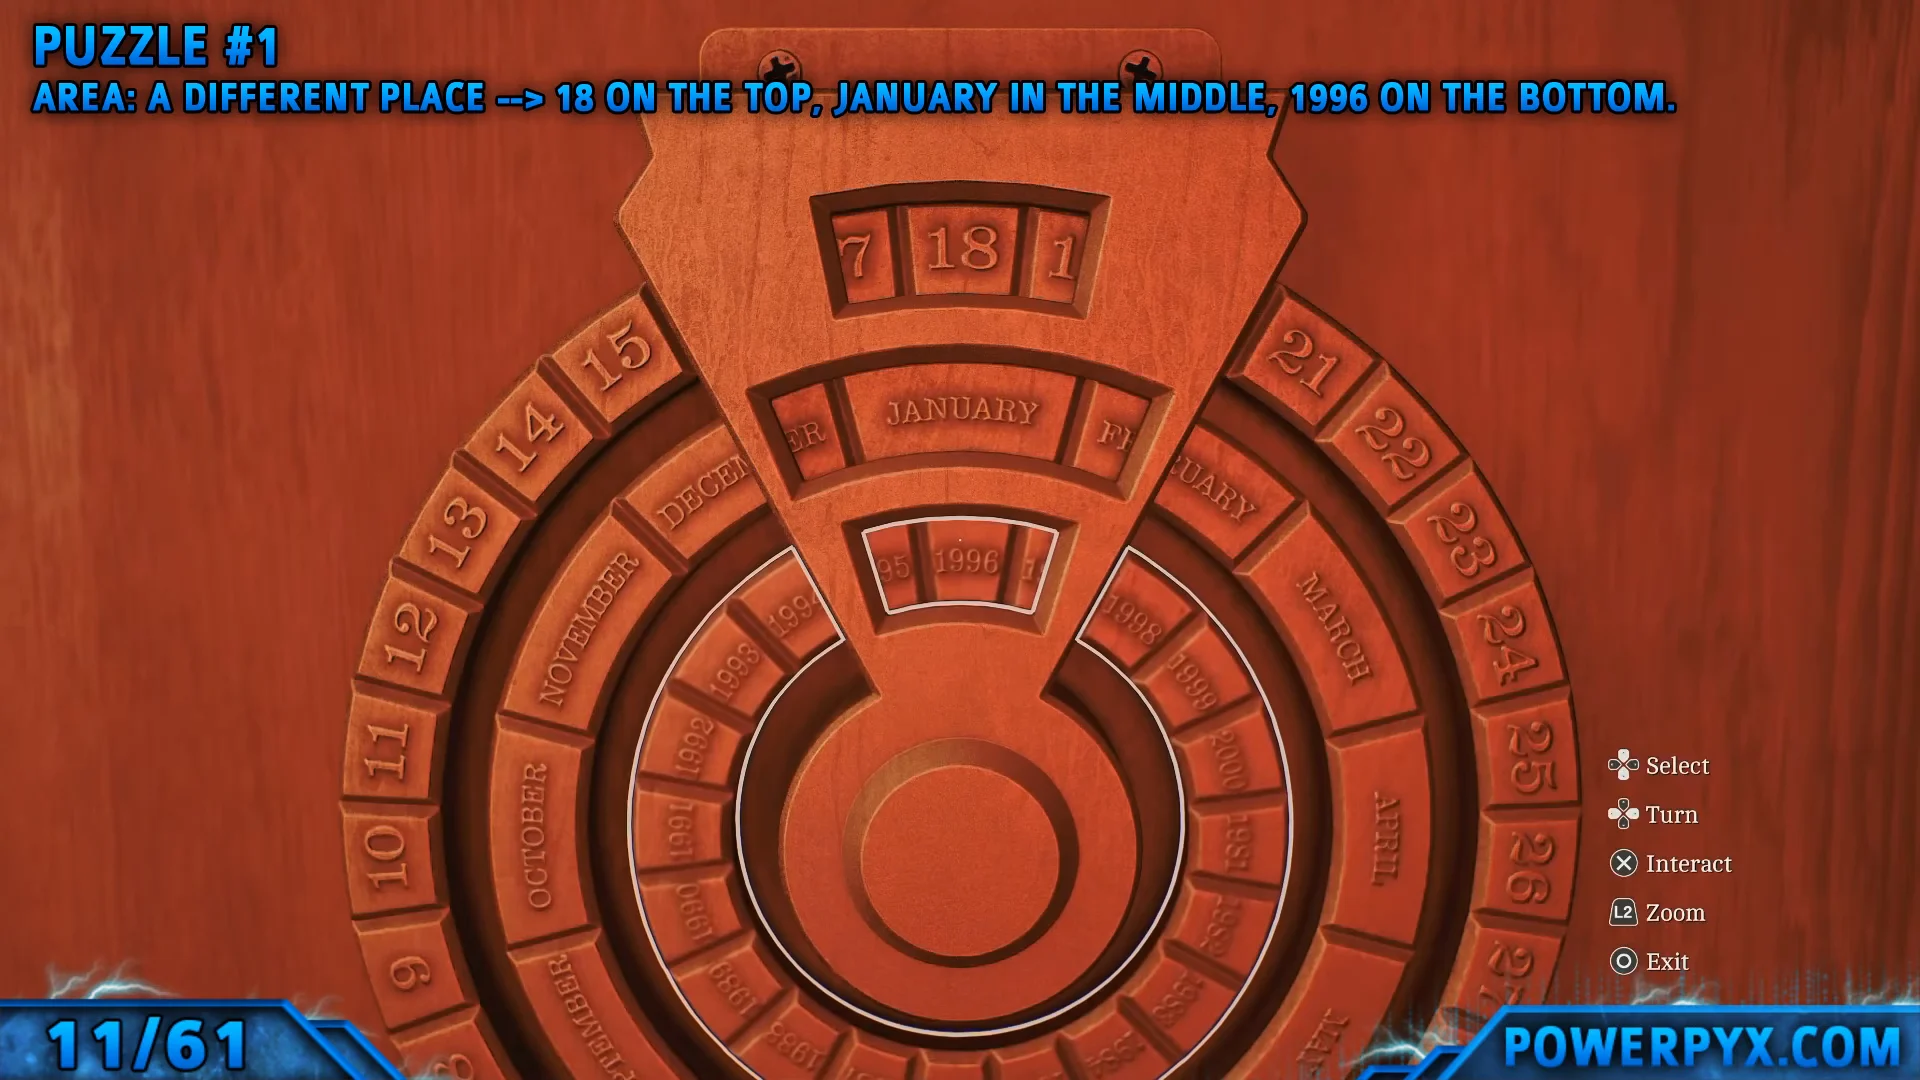
You regain consciousness in a dim room behind a locked door. Navigate the corridors and ducts until you arrive at Room 204, then collect the CRTV, the portable clue-reading device used throughout the game. Next to the bed is a door secured by a three-wheel lock that requires a date, month, and year.
Turn the upper wheel to 18, the center wheel to January, and the lowest wheel to 1996. The Room Service Card on the table and a CRTV transmission in the room provide the date. Once every wheel lines up, the lock releases.
Enter the bathroom and take the Room 204 Key from the counter beside the sink, then unlock the room door to continue.
Chapter 3: Zoe’s House — flashlight, power, and the organ box
Use the CRTV’s locked signal or the town map to reach Zoe’s House, west of the Town Square. Three things need collecting here before you can open the kitchen organ transport box.
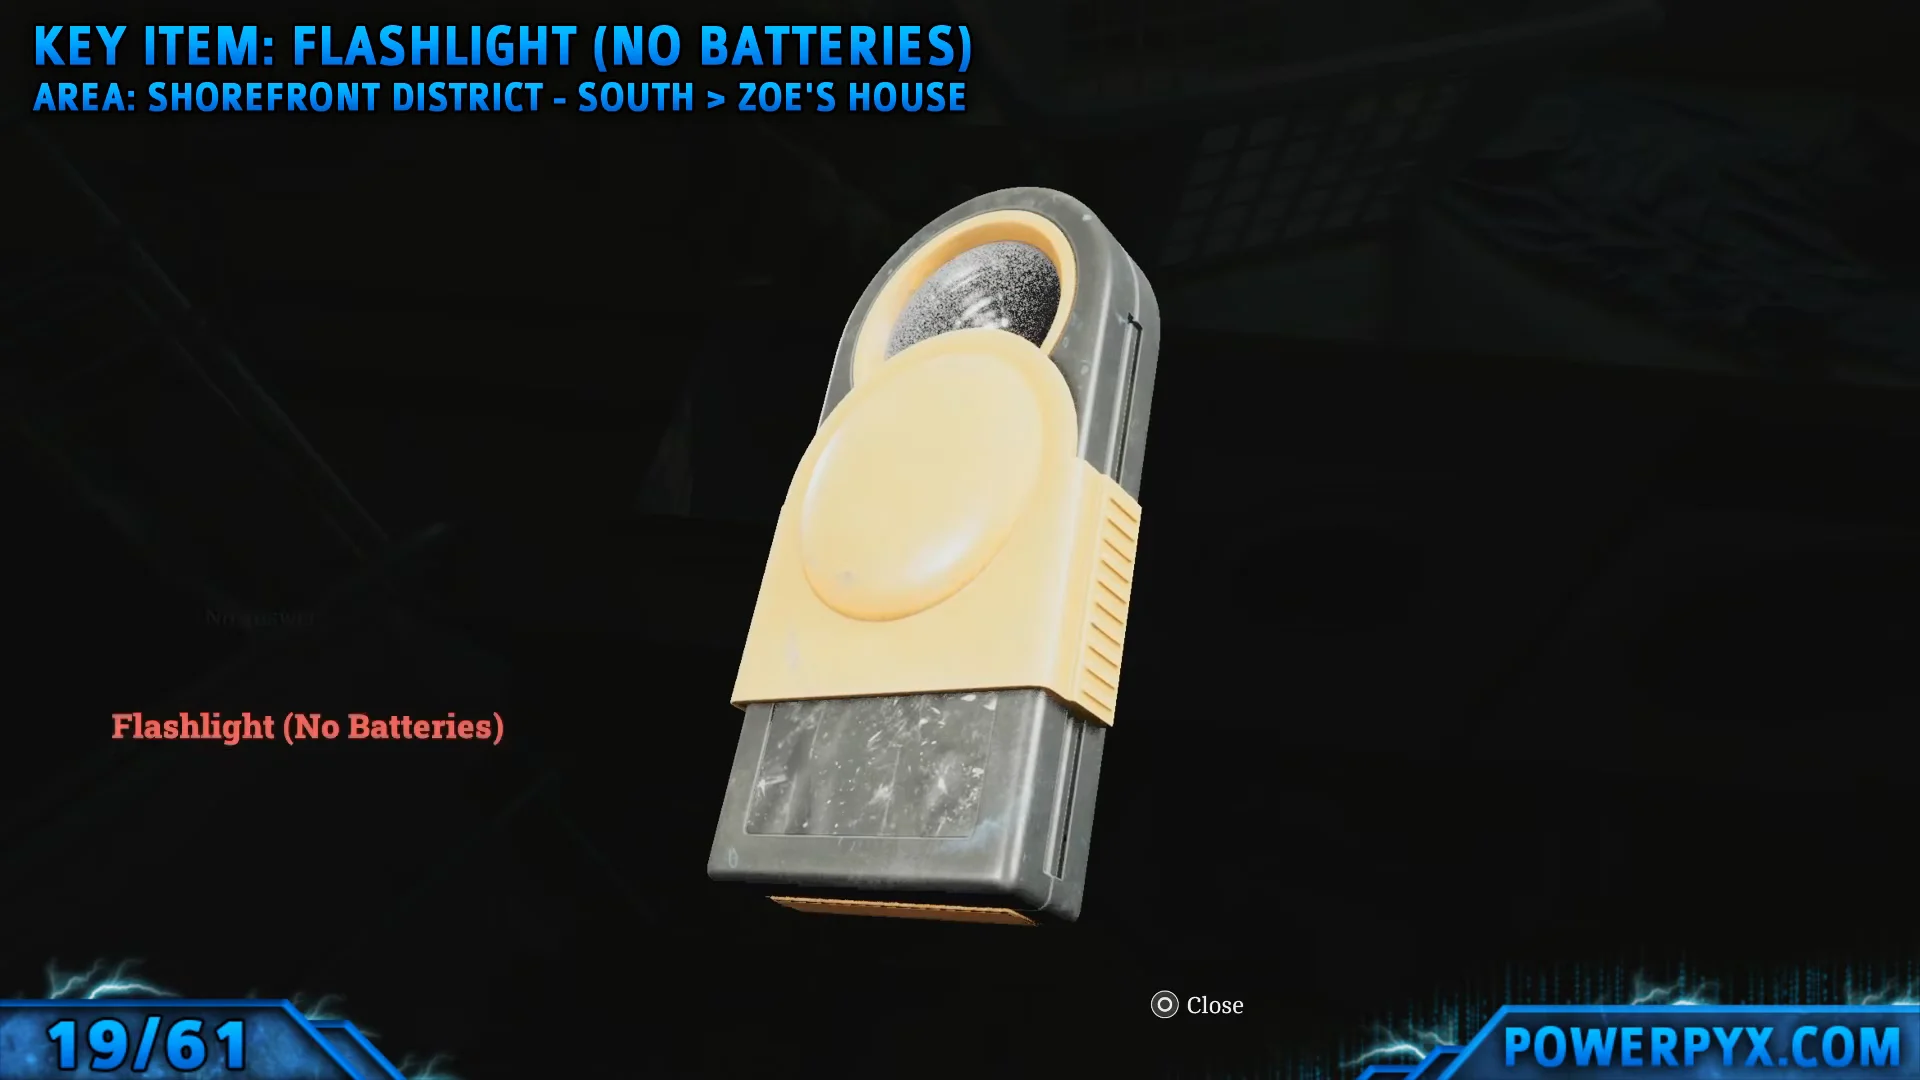
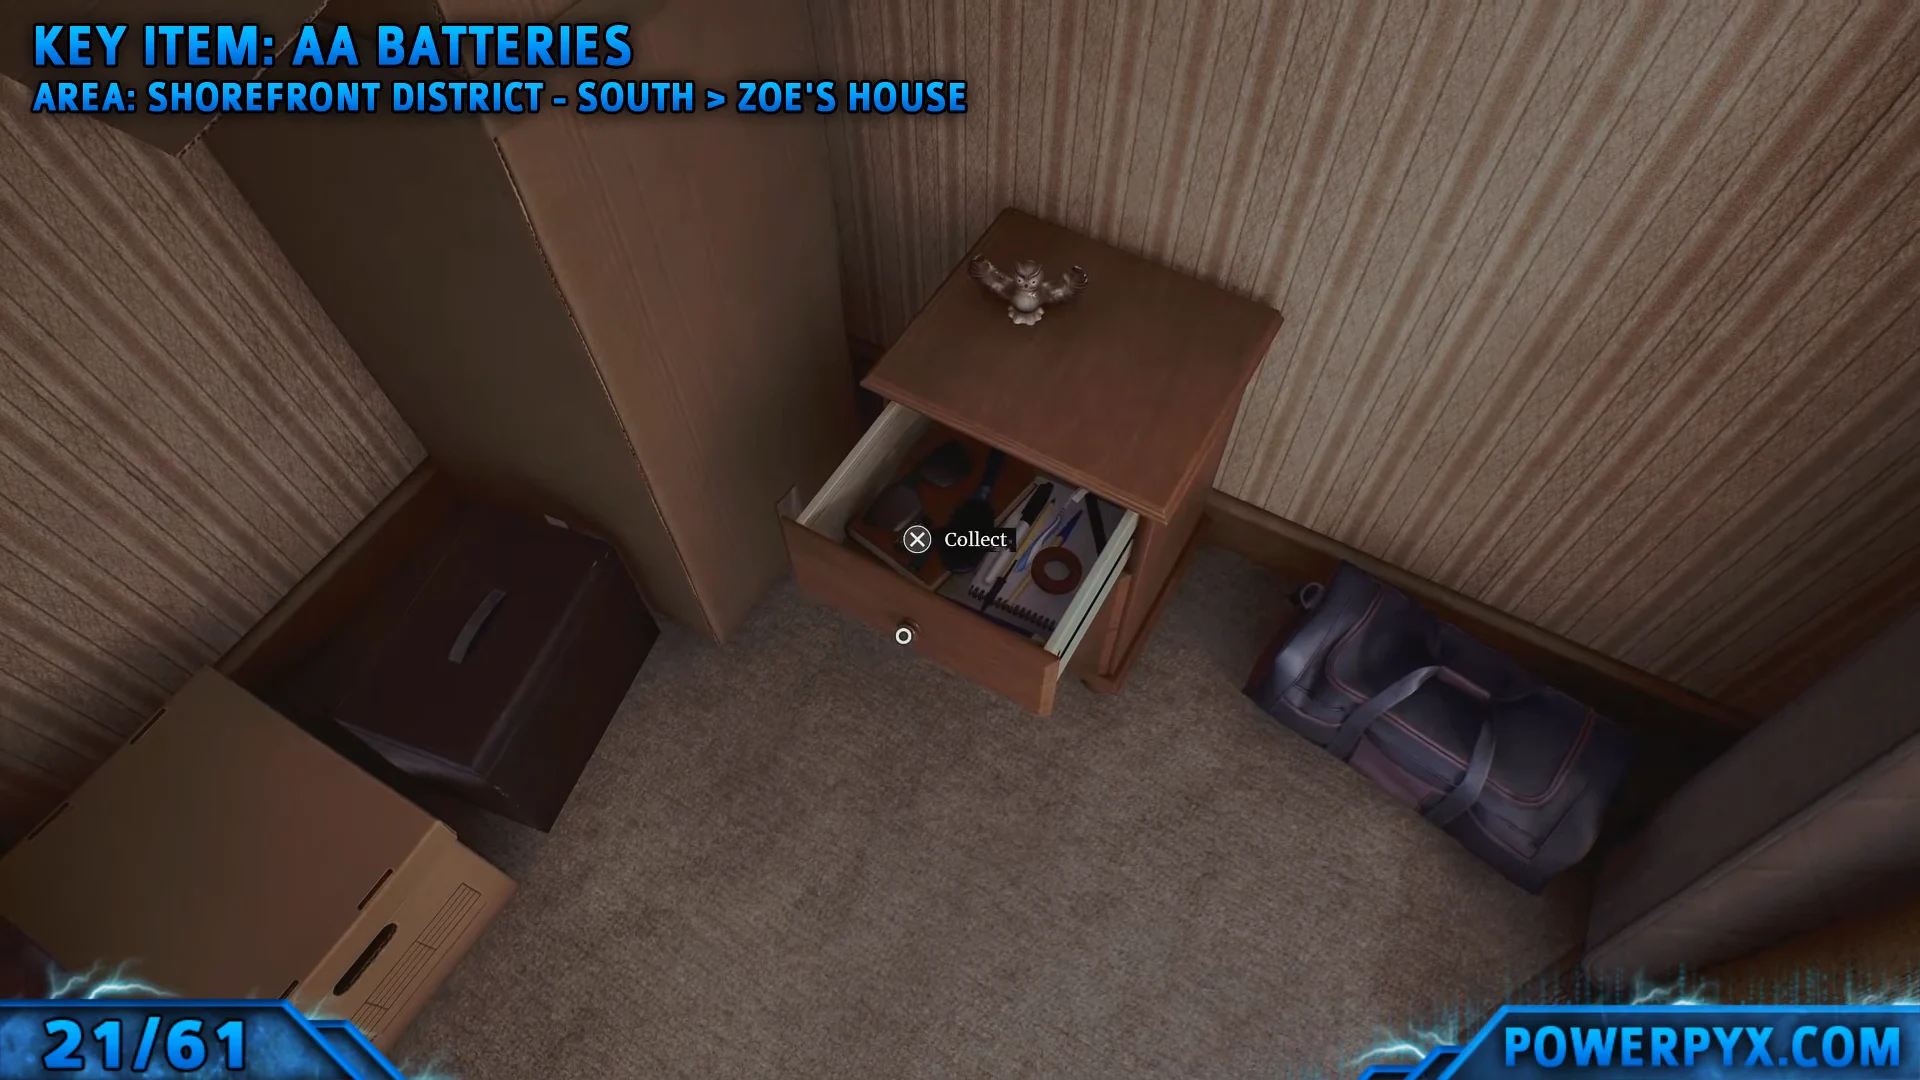
Assemble the flashlight
Restore the power
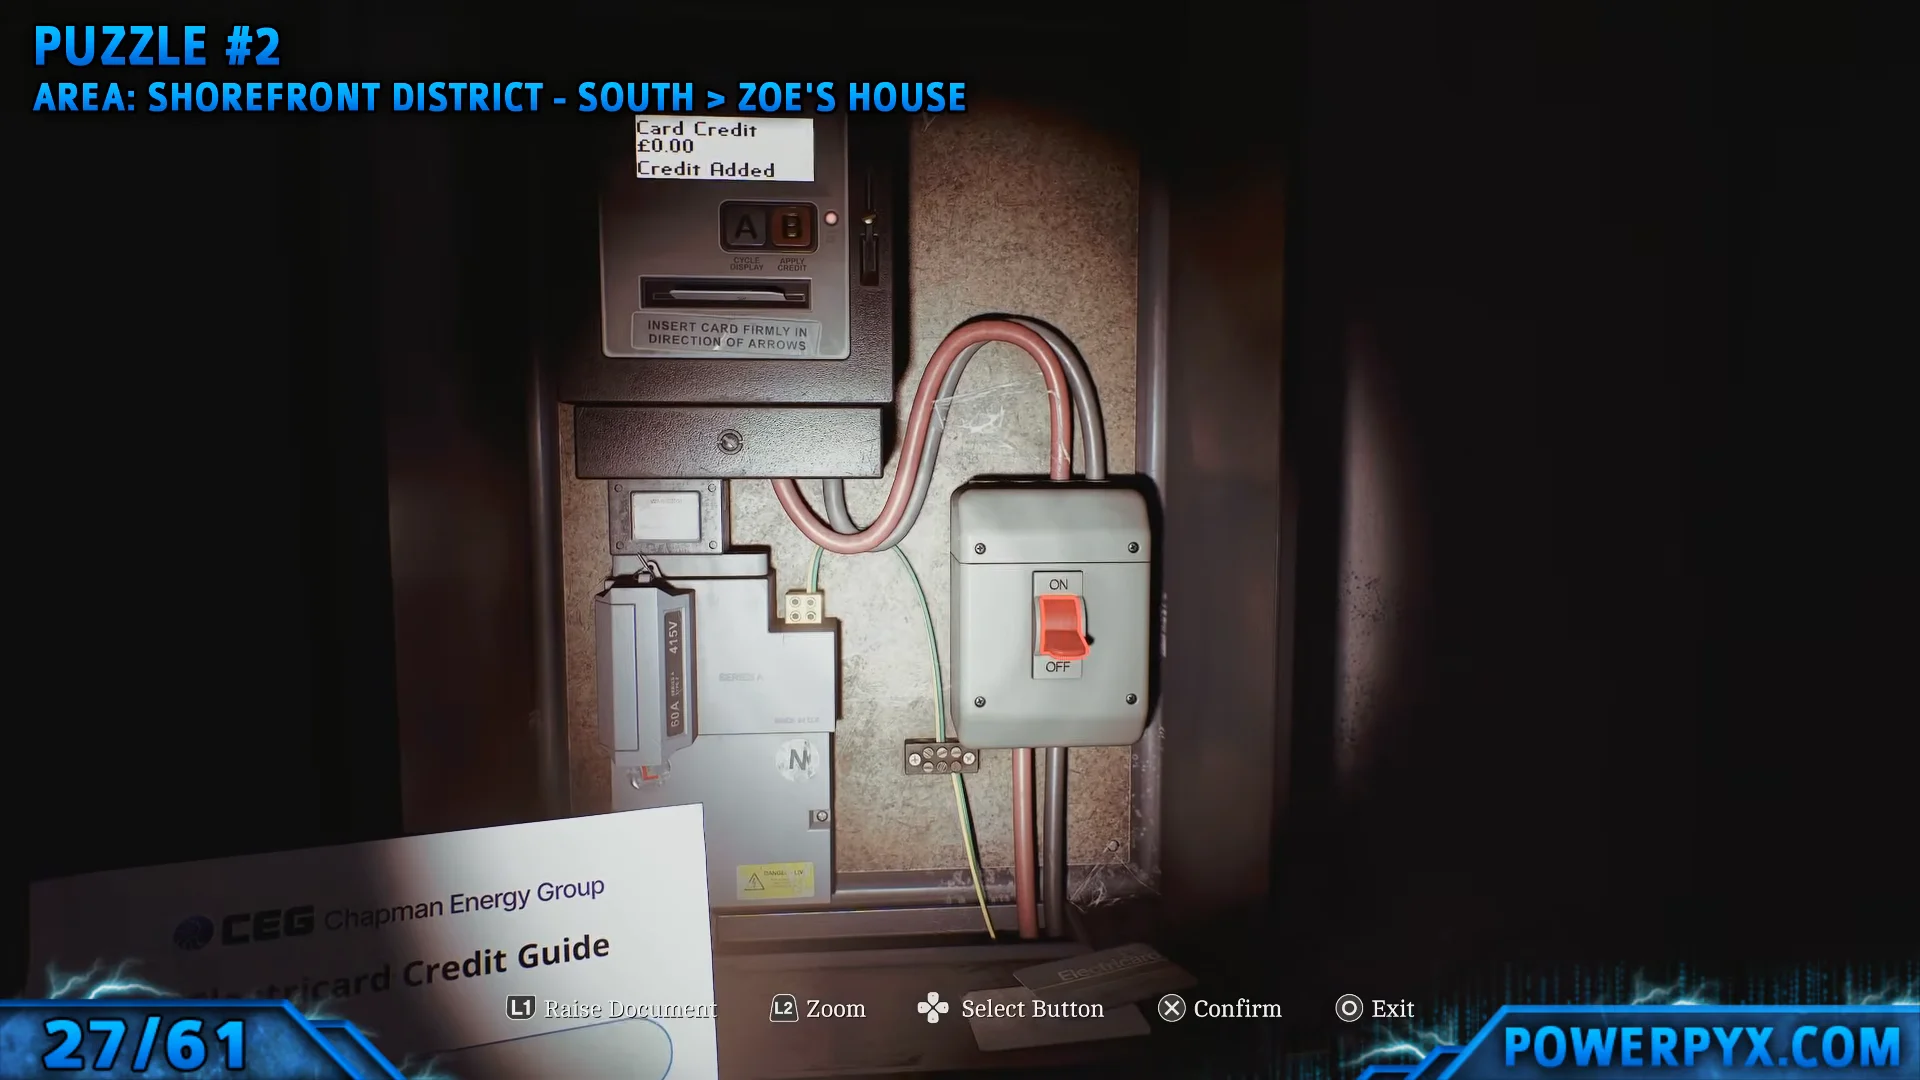
The house has no power, so the computer is unusable until you recharge the meter. Head into the basement, crouch through the small opening beside the stairs, and use the flashlight to find the electricity meter and the Power Card Credit Guide nearby. The guide tells you the recharge card comes from Peters Newsagent.
Use the map to locate Peters Newsagent, shown as 2. Since its entrance is locked, slip by the Tentacle Creature and go in through the rear door. You will find the Prepaid Power Card in the cash register. Return with it to the meter, then complete the following steps.
- Place the Prepaid Power Card into the slot underneath the display.
- Press Button A until the screen reads “Card Credit.”
- Press Button B to load the credit.
- At the lower-right corner, switch the main power control to ON.
Once the electricity is restored, access the computer in the ground-floor room on the left. Refresh the inbox and open the email in the middle; it says the box combination comes from the first three and final three digits of the ET number listed on the Organ Transplant Card.
Open the organ transport box
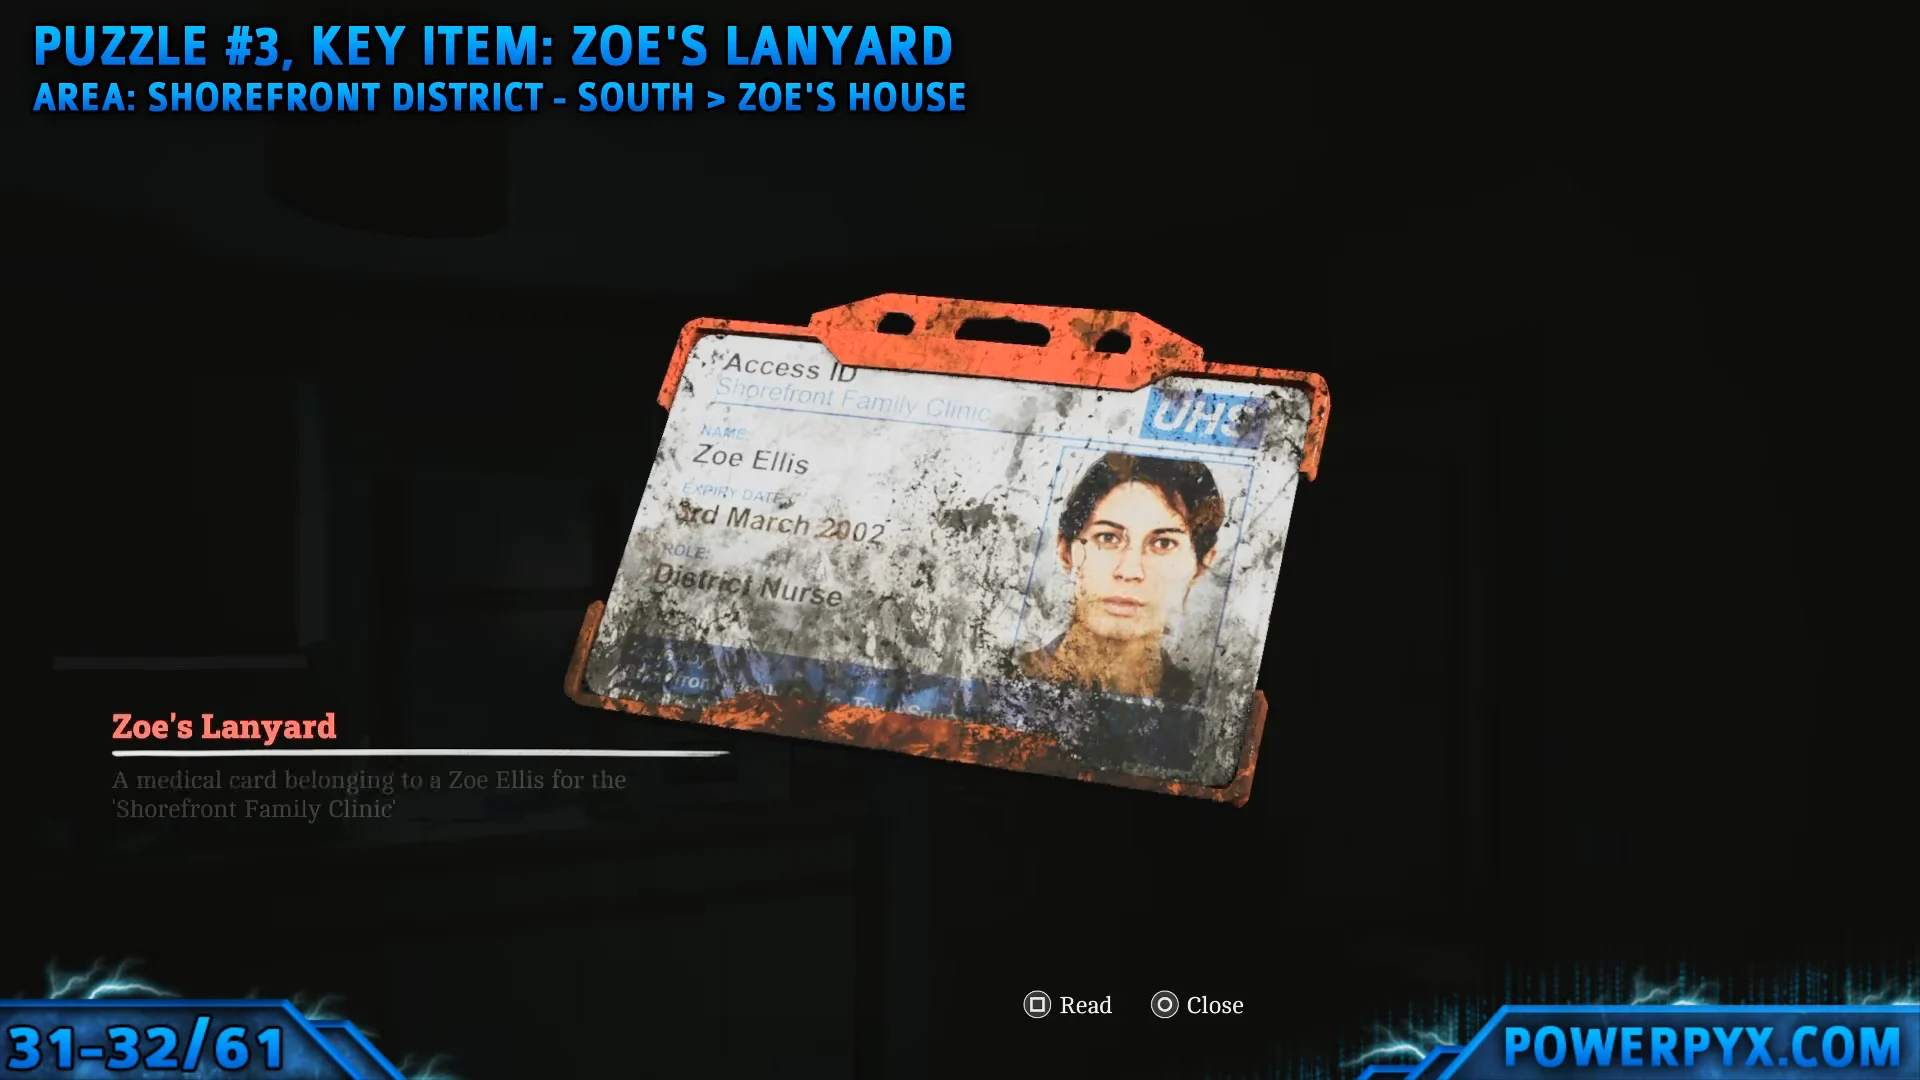
At the kitchen, examine the organ transport box. Use 956 for the left dial and 133 for the right dial, based on ET number 956234692133. Opening the container automatically gives you Zoe’s Lanyard, allowing entry to the clinic.
On some tumbler setups the dials read in reverse, so if 956 / 133 will not seat, try entering the same digits as 067 on the left and 243 on the right — the underlying ET number is identical.
Clinic, pharmacy, and the final scales puzzle
Use Zoe’s Lanyard on the reader at Shorefront Family Clinic to lift the shutter. Once inside, enter the Z Ellis room and remove the Scalpel from the desk case. This tool opens rusty doors fitted with a central hatch, and you will use it multiple times.
Clinic reception door — 2896
The reception room is locked with a keypad. The code is written on a yellow sticky note stuck to Zoe’s computer monitor. Enter 2896 to open it, then use the telephone inside and listen to the voice note, which points you to the Pharmacy.
Pharmacy rusty locker — 6539
The Pharmacy front door is locked, so interact with it and use the Scalpel to cut inside. In the back room, the rusty locker takes a four-digit code. The digits come from the numbered posters around the Pharmacy, and the CRTV broadcast shows the order to enter them. Input 6539 to open it and take the Prescription Dosage Error Note.
Collect the stethoscope
Use the Scalpel on the locked door at the south side of St. Amelia Park. Enter the apartment building opposite building 14, go to the second floor, and take the 21 Farrow St. – Back Door Key from the living room table in apartment 1/2. Carry it to Jess’s House beside building 14, open the back door, and grab the Broken Stethoscope from the bedroom bed.
Clinic scales — item placement
Return to the Z Ellis room in the clinic and interact with the scales. Place the three items in these exact positions to solve the final puzzle of Part 1.
| Position | Item |
|---|---|
| Left | Broken Stethoscope |
| Middle | Prescription Dosage Error Note |
| Right | Zoe’s Lanyard |
When all three weights balance, the puzzle completes and the Resignation trophy unlocks, confirming you have cleared Part 1 – Arrival. From here Simon moves on to the next part of St. Amelia’s story with the CRTV, flashlight, and Scalpel already in hand for the puzzles ahead.