Part 2 Zoe in Silent Hill: Townfall — All Zoe’s House Puzzles
Every code, key item, phone sequence and collectible across Chapters 5 and 6, in the order you reach them.
Every code, key item, phone sequence and collectible across Chapters 5 and 6, in the order you reach them.
by AllThingsHow Staff
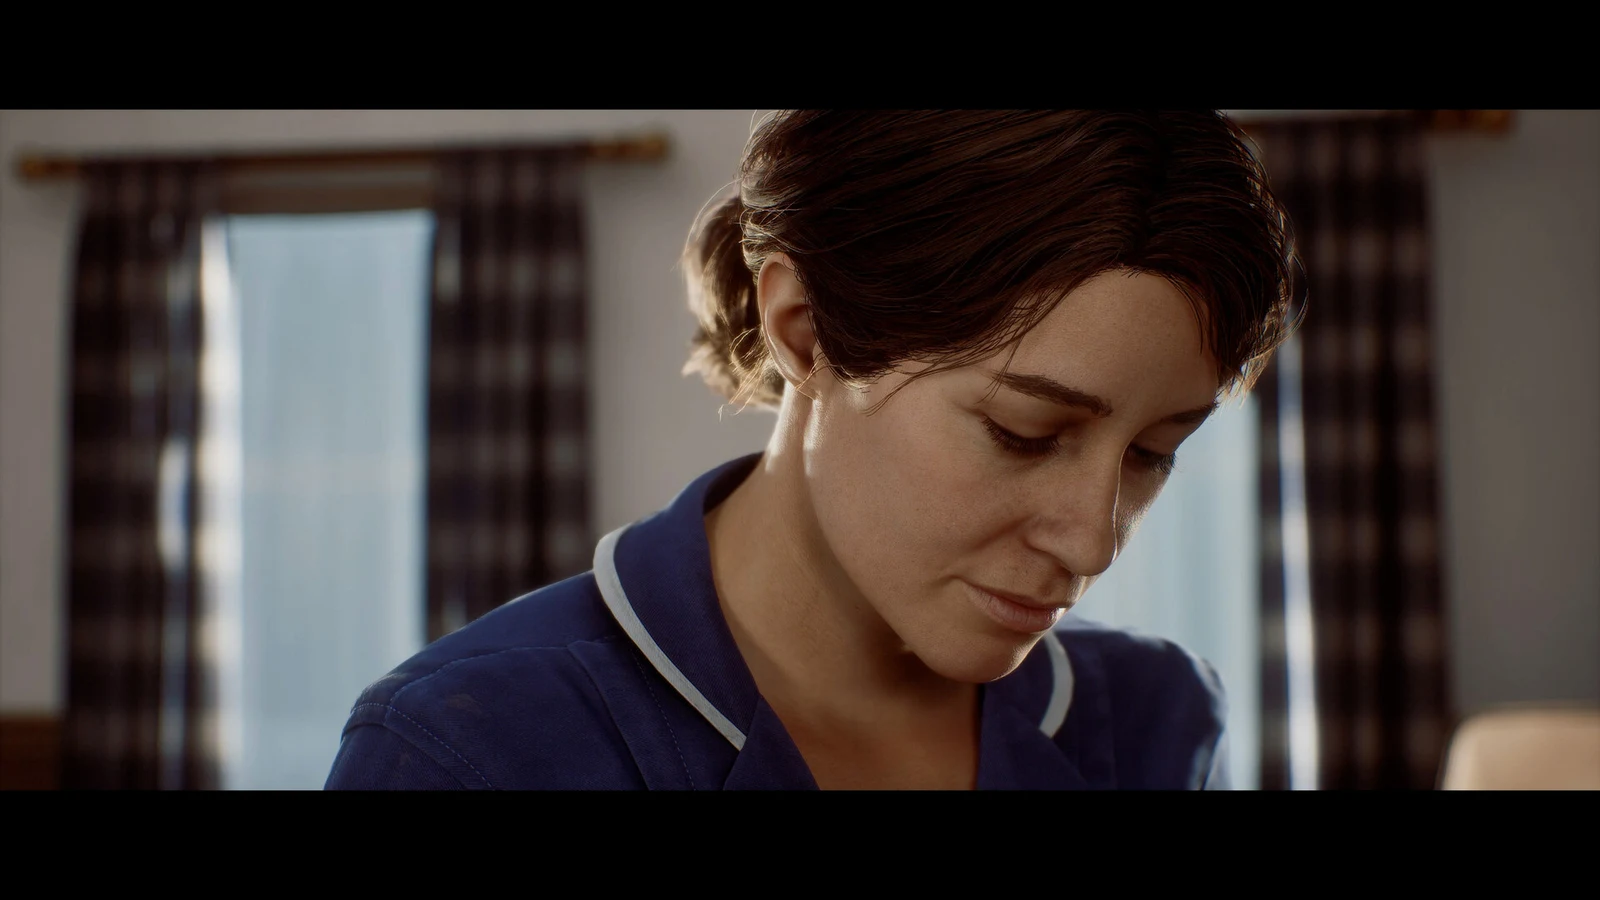
Part 2 of Silent Hill: Townfall hands you Zoe Ellis, a St. Amelia nurse who carries a Pager instead of Simon’s CRTV. Her rounds run through her own house, the Community Gardens, Mr. Stewart’s home and the Medical Centre before control shifts back to Simon for the trek north. None of the locks respond to brute force. Every number sits on a document, a flower bed, or an email in the same room as the lock it opens.
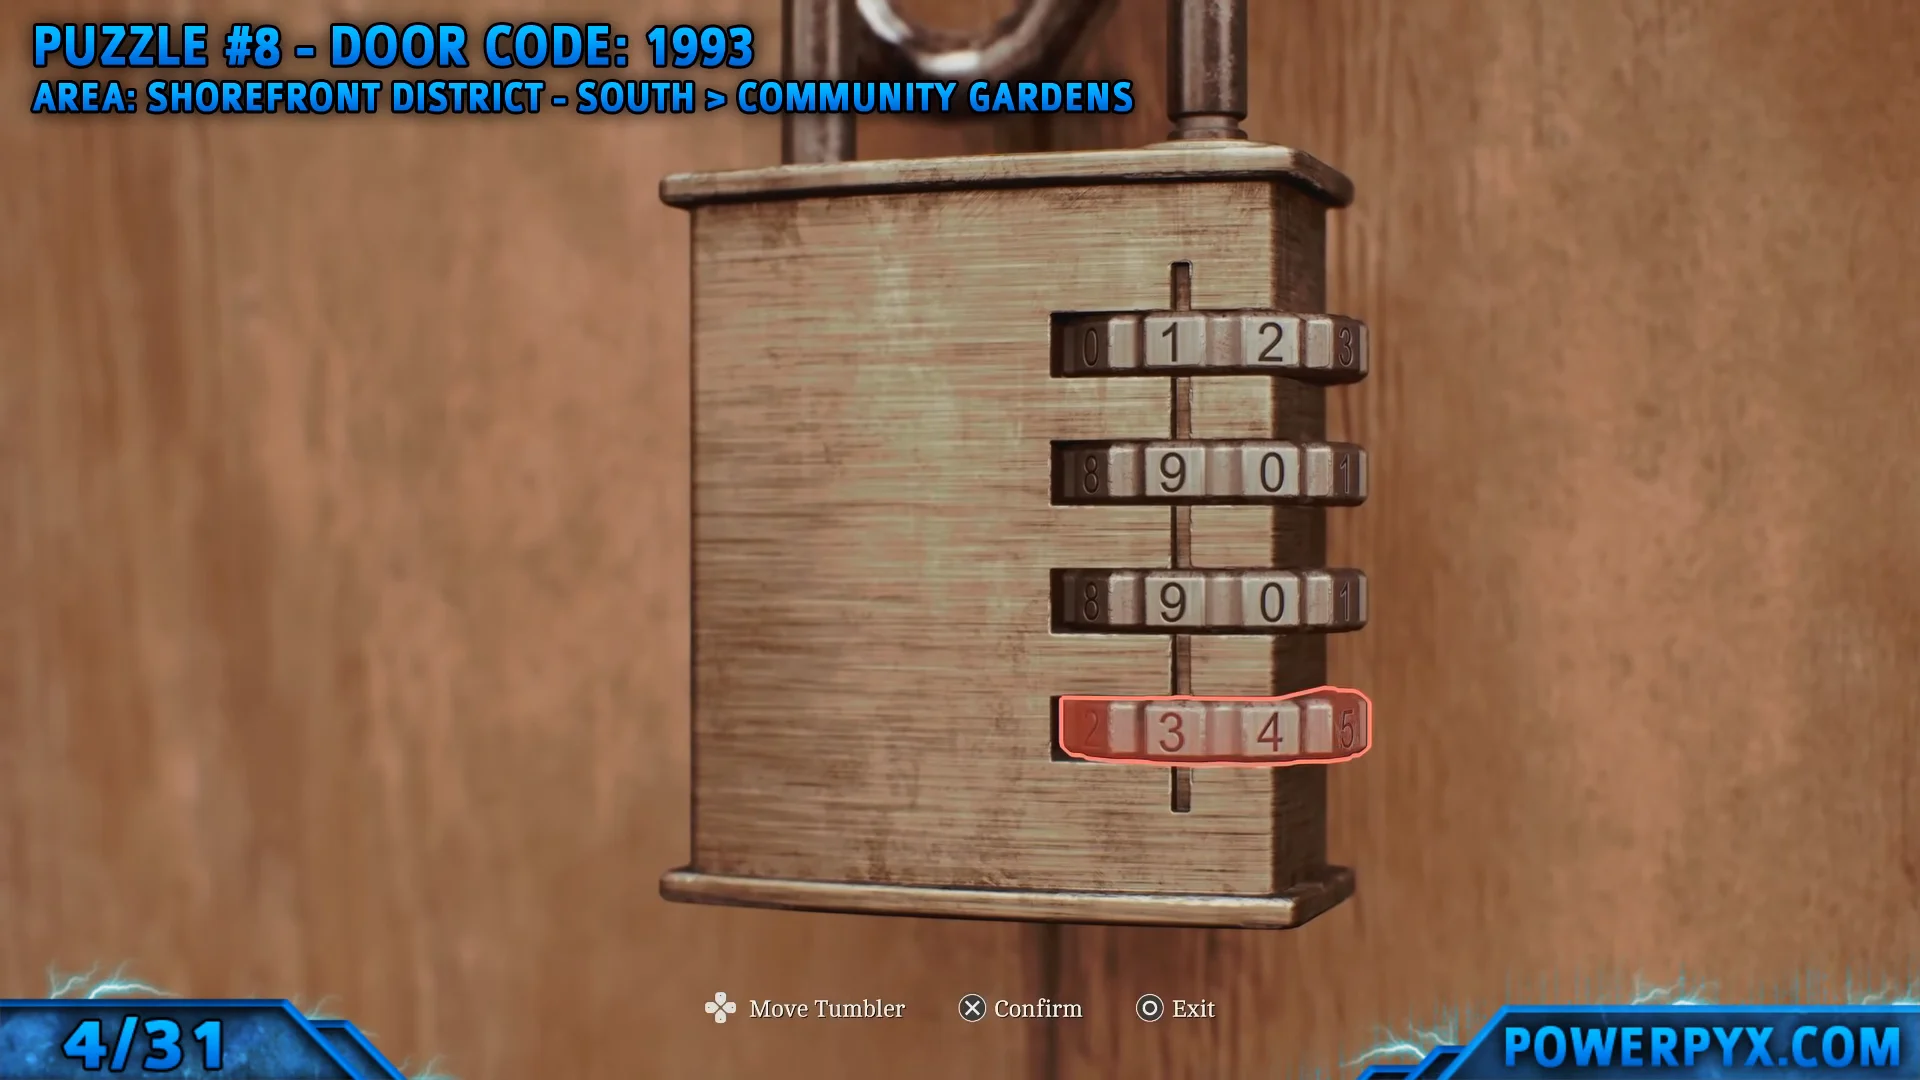
Quick answer: Open the organ transplant box with 956 (left) and 133 (right), unlock the Community Gardens shed with 1993, and dial 496 0556 then press 3 → 2 → 2 → 1 at the phone booth.
All Part 2 codes and phone numbers
For solutions alone, start here; the detailed walkthrough and item requirements are laid out below in encounter order.
Puzzle
Location
Solution
Organ transplant box
Zoe’s house, kitchen table
956 left, 133 right
Community Gardens shed
Community Gardens
1993
Medical security phone
Phone booth near Medical Centre
496 0556, then 3 → 2 → 2 → 1
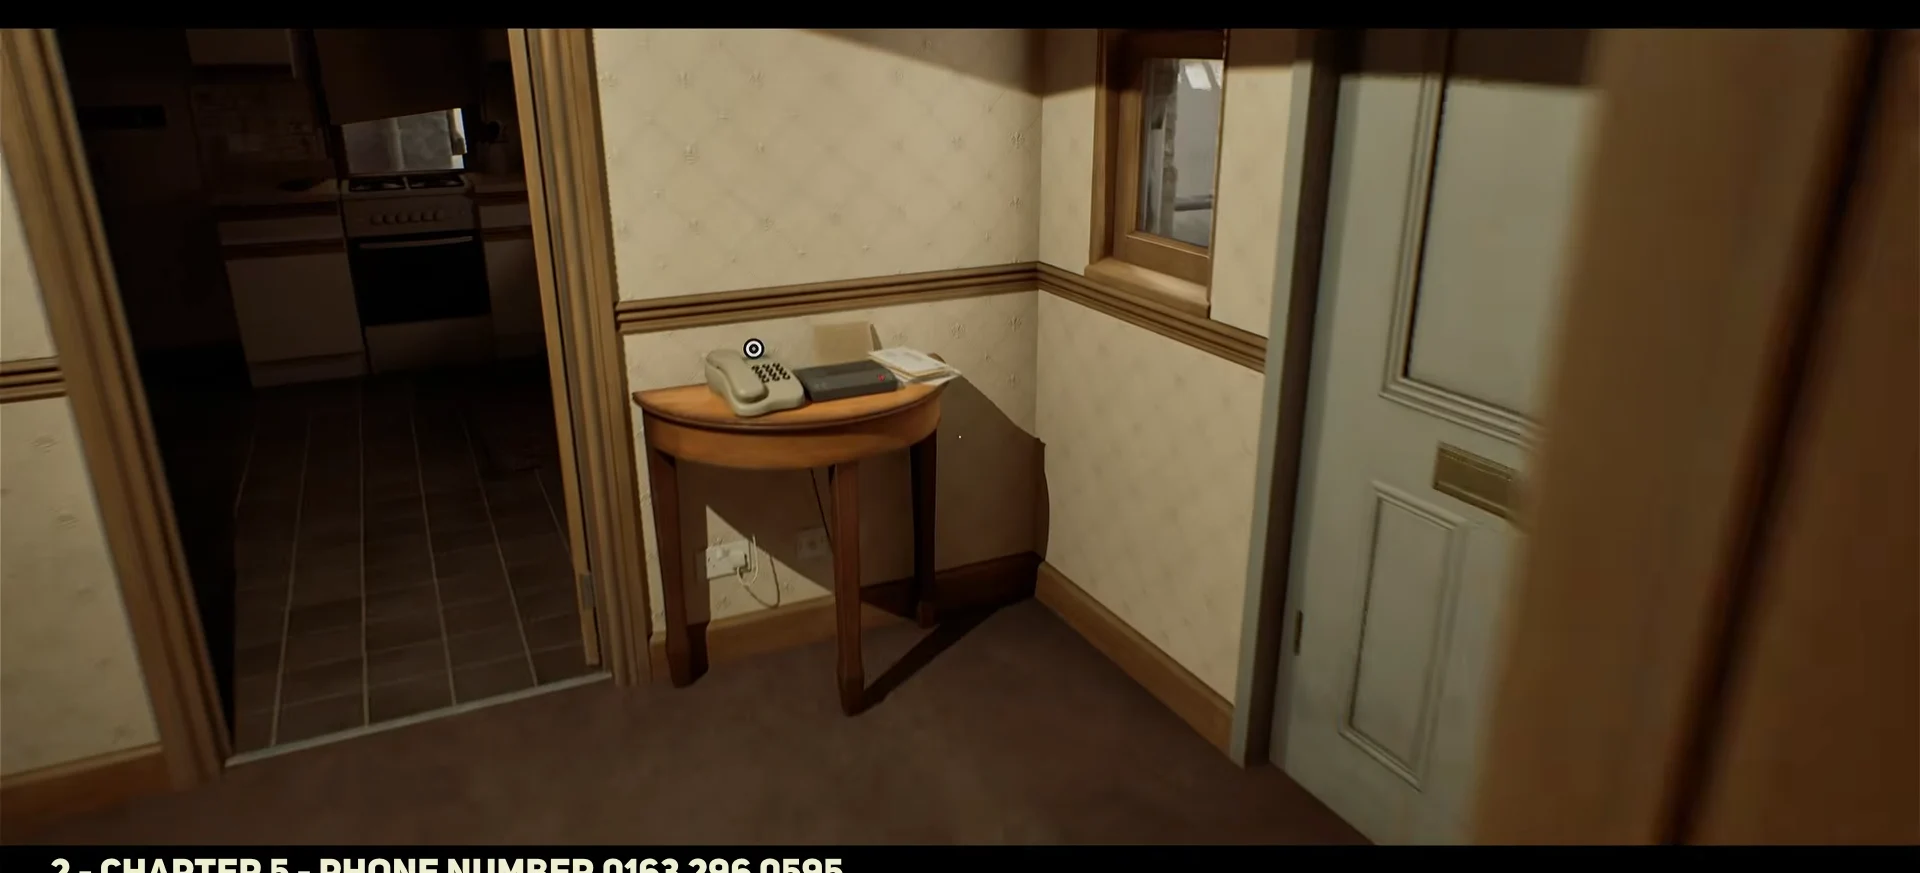
Three phone numbers count toward the collectible totals: 0163 296 0595 reaches the St. Amelia District Council, 496 0103 is Zoe Ellis’s own line (there is nothing to hear if you dial it), and 496 0556 reaches Dr. Glenn’s automated triage system at the Medical Centre.
While controlling Zoe, avoid Gauze, First Aid Kits, and every other healing item. Complete her entire section without healing to earn Save It For The Patients.
Chapter 5: Zoe’s house, power and the organ transplant box
Zoe lives in apartment 2A, west of the town square; reach it using the outside stairs from the alleyway. Zoe’s Pager is added automatically when the chapter begins. With the power cut and no batteries in the flashlight, progress through the building depends on a sequence: get light, restore electricity, find a document, then learn the code.
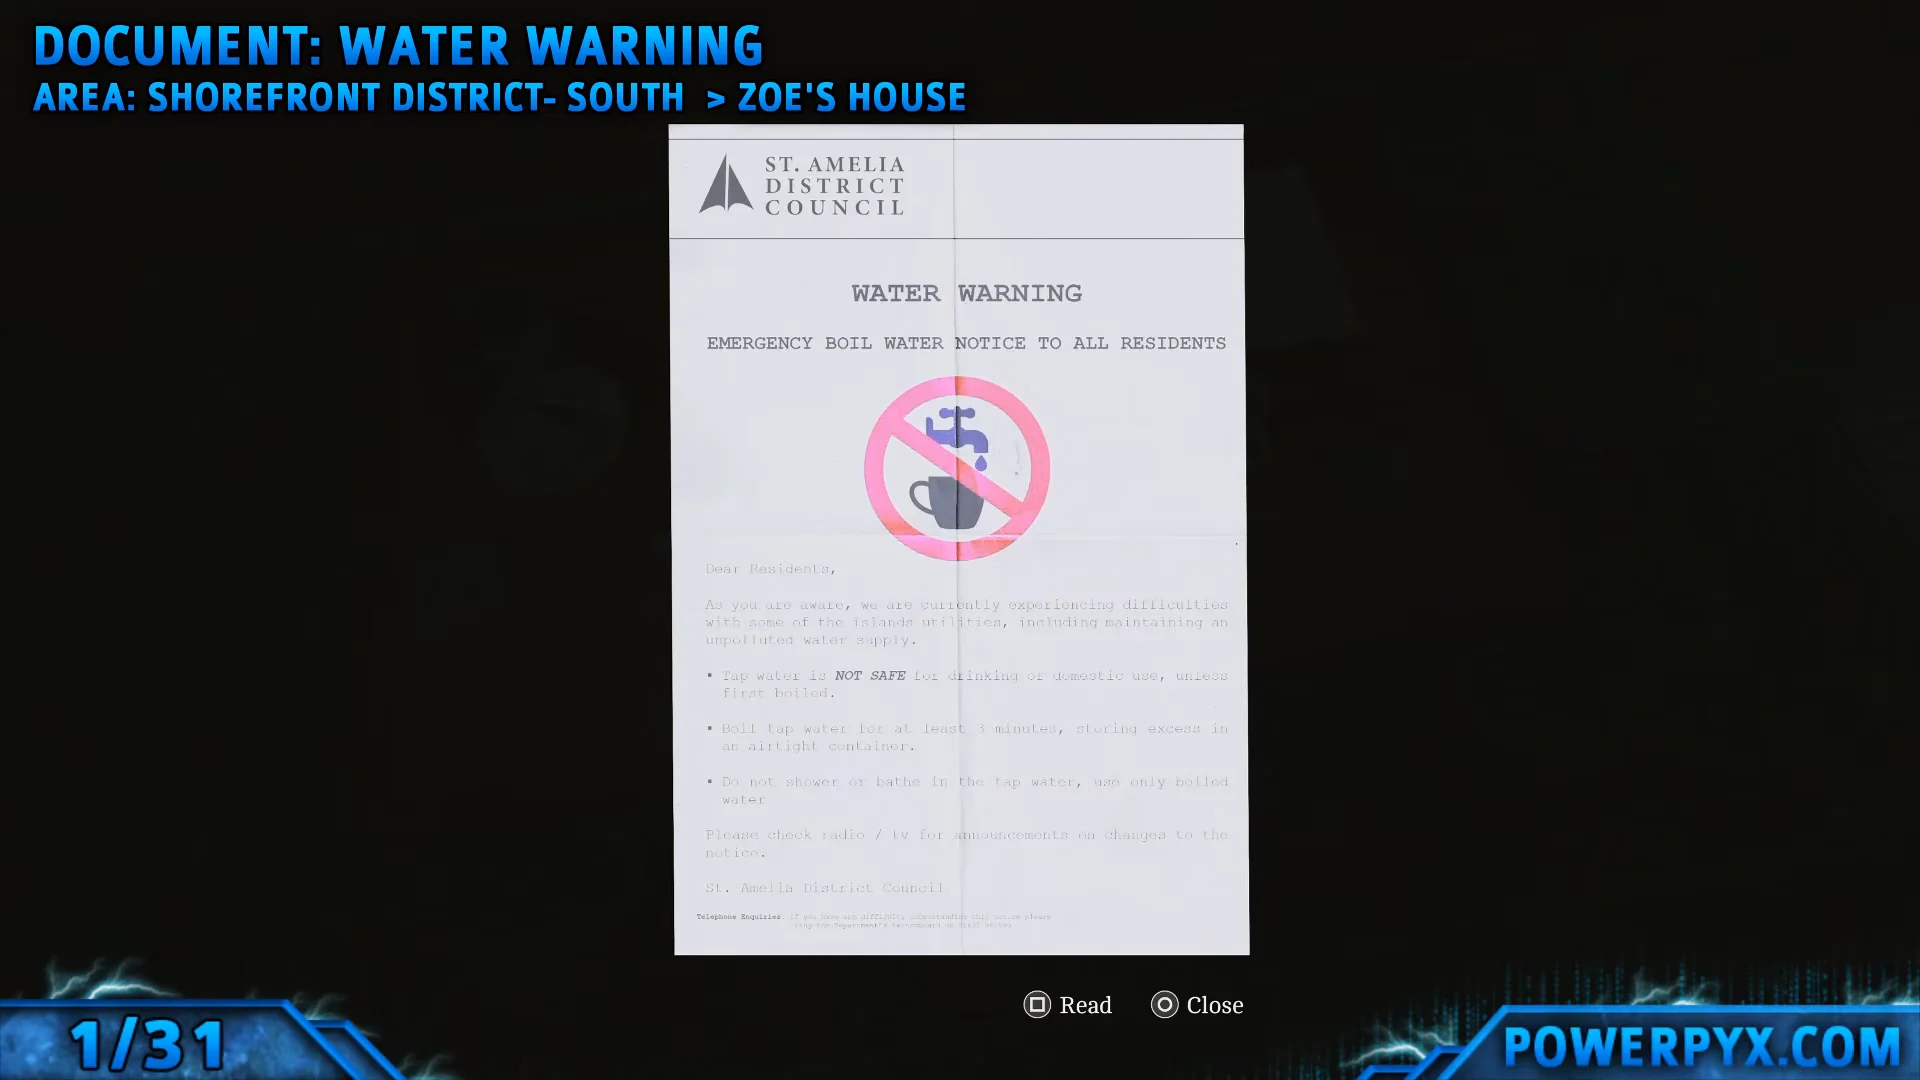
Find the Water Warning notice on the living-room coffee table and read it. Its phone number appears at the bottom; since the interface does not save it, write it down.
Pick up the hallway landline and call 0163 296 0595 to hear the automated message from St. Amelia District Council. The call is also recorded as a collectible.
Take the Flashlight (No Batteries) from the kitchen counter drawer next to the washing machine. Go upstairs and retrieve the AA Batteries from the bedside table drawer; while on the second floor, pick up the Organ Transplant Card from the bathroom floor.
In your inventory, combine the flashlight and AA Batteries. Once assembled, the light attaches to your vest, keeping both hands available in the dark rooms downstairs.
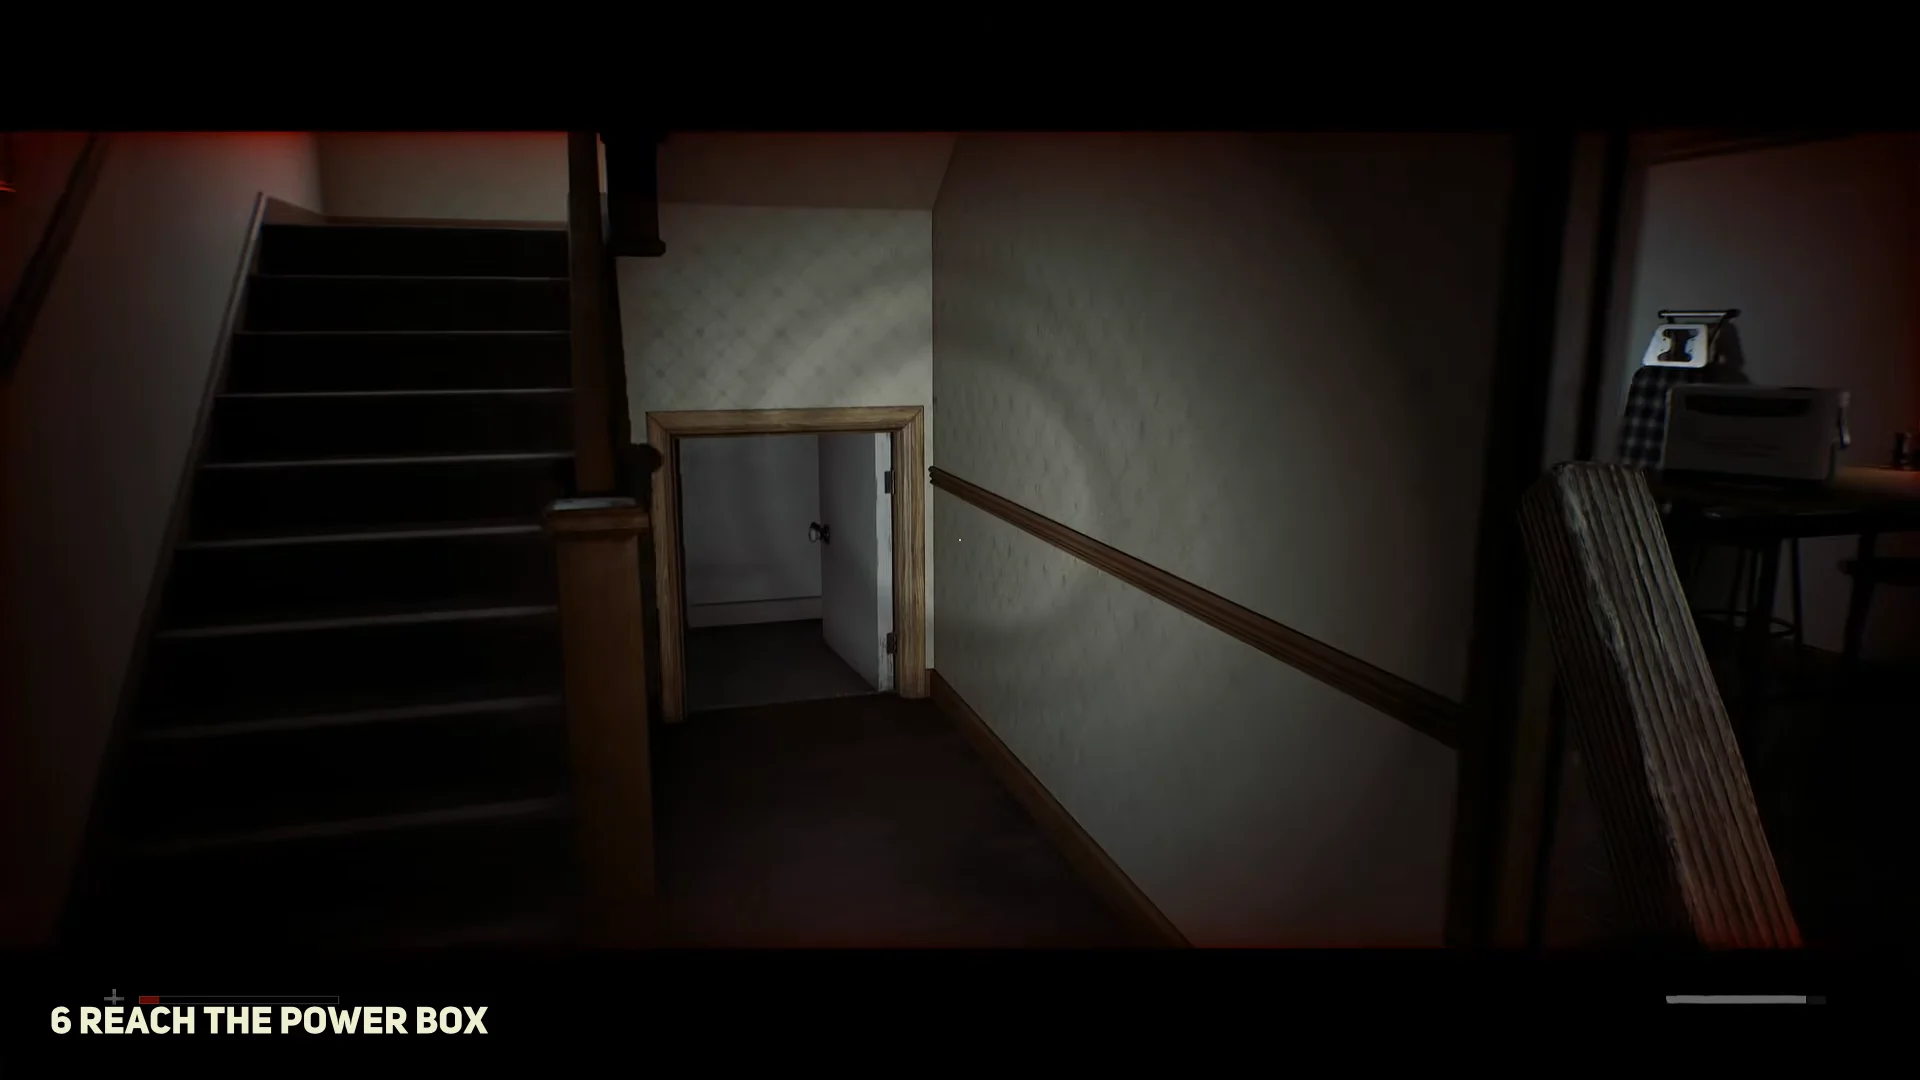
Crouch into the space beside the staircase and enter the cupboard below it. You will find a dead electricity meter there, along with the Electricard Credit Guide, which describes recharging the meter with a pre-paid card.
Use the map to locate Peters Newsagents after leaving the house. Since the front entrance is closed, reach the rear fire exit, get over the counter barricade, then open the register and collect the Prepaid Power Card. An infected enemy patrols the cobbled street on your return; move on foot instead of sprinting, as running noise attracts enemies.
Go back to 2A and crawl into the cupboard again, then use the wall panel. Press A until Card Credit appears on the display; insert the Prepaid Power Card and press B to apply the credit. Finish by turning the red master switch to On. The ground-floor lights will come on, confirming restored power, and the computer can now accept power.
Turn on the PC’s monitor and terminal, then select Refresh inbox. You will see three emails. Although the middle message is corrupted, its readable line directs you to use the ET code’s first and last three digits for the locks. The top email, “Coming Back” from Jessica White, and the bottom one, “Please report in” from Dr. Stevenson, both count toward the document totals.
Use the ET number on the Organ Transplant Card, 956234692133, to solve the two-dial box on the kitchen table. Set the left dial to 956 and the right dial to 133, then confirm. A brief cutscene automatically grants Zoe’s Lanyard Badge and access card.
Choose Hinted for Puzzle Difficulty to have the game highlight documents and items relevant to your current puzzle. This is useful because numbers are never saved in the interface.
Once you have the badge, make your way across the town square to the Shorefront Family Clinic. Swipe the lanyard at the scanner next to the shutter door. At the far end, search the Z Ellis room for a green container holding a Scalpel; you can use it later to open rusty doors with a centre hatch.
Community Gardens shed (1993) and the garden key
Simon used routes that are now blocked by locked gates. Go through Main Square and back into the Park, then take the path to the right into the Community Gardens. Memorial placards surround the locked shed bearing the name Jane’s Garden.
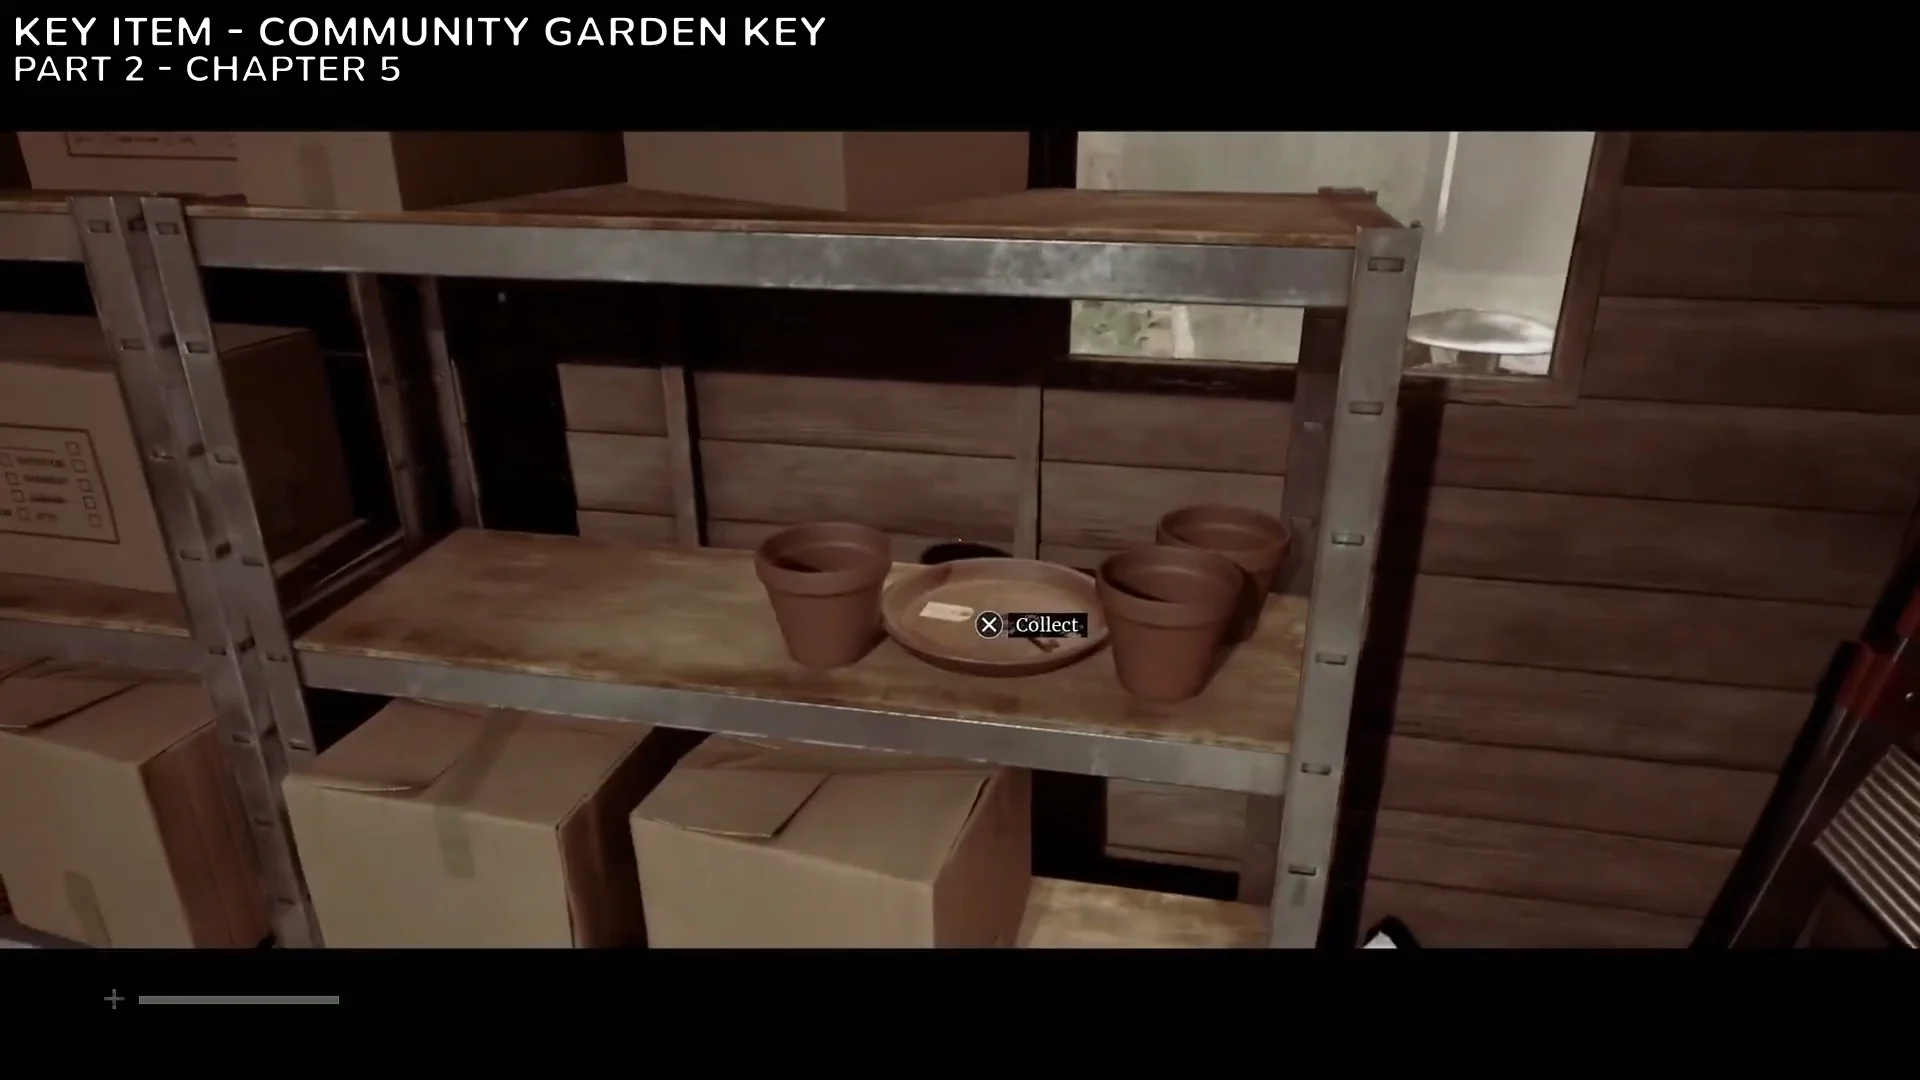
Inside, take Jane Chalmer’s Obituary from the middle shelf and the Community Garden Key from the shelf on the right, along with some Alcohol you can combine with Gauze.
01:34Key ItemThe Community Garden Key sits on the right-hand shelf inside the shed. Shown at 01:34 in Skryux’s video. Image: Screen Burn
Unlock the gate within the gardens with the Community Garden Key, then travel north through Shorefront toward Mr. Stewart’s house.
Mr. Stewart’s house key and phone number
Find 10 Church Avenue on your map; that is Mr. Stewart’s house. Use the front door to start a short cutscene, go around the block, and enter by the rear sliding door.
Pick up the St. Amelia Standard newspaper on the living room table. Next, check the telephone and open the folder next to the answering machine. The folder lists 496 0103 – Zoe Ellis, Zoe’s personal number.
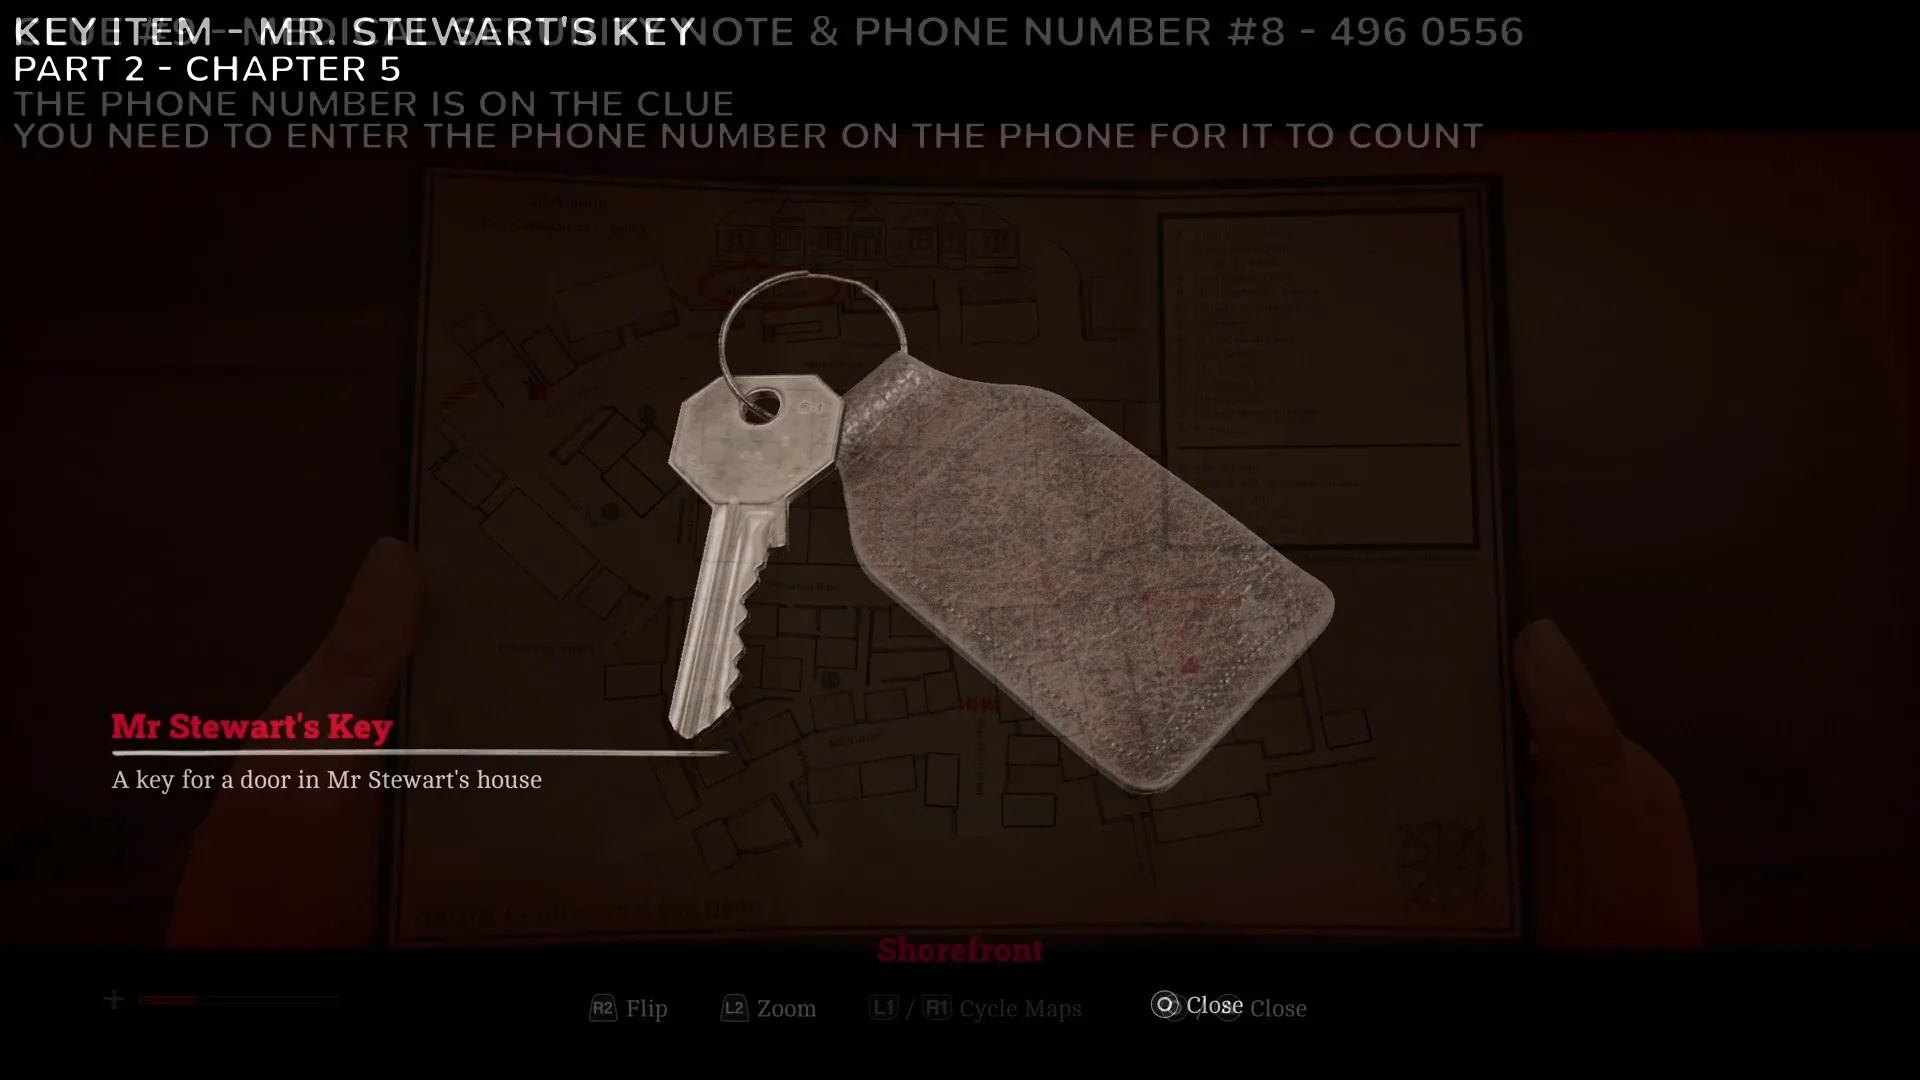
Red fog brings enemies into the house. Once you have faced your first monster there, go back to the bathroom and take Mr. Stewart’s Key from beside the bathtub. Leave the First Aid Kit opposite it untouched; picking it up jeopardizes the no-healing achievement.
03:00Key ItemMr. Stewart's Key opens the back door you entered through. Shown at 03:00 in Skryux’s video. Image: Screen Burn
Use Mr. Stewart’s Key on the back door to escape. Outside, you can start working toward the bottle and car-alarm distraction achievements, including Lured Off Track for luring 20 enemies with bottles and Alarmingly Effective for triggering a car alarm to distract an enemy.
Medical Centre security phone (496 0556, then 3-2-2-1)
Make your way toward the Medical Centre, distracting or evading enemies as needed. At the main gates, check the security booth on the right.
Take the route around the enemies attacking the ambulance to reach the back parking lot. The first table on your right has Community Help Needed; then pick up Exhausted Supplies from the blue tent at the rear.
Open the shutters into the garage, then enter the office and press the button beside the telephone to open the exterior gates. Passing through and entering the Medical Centre ends Chapter 5 and unlocks the achievement A Long Night Ahead. If you healed nothing as Zoe, Save It For The Patients unlocks here too.
Chapter 6: Journey to Medical (Simon, pistol and remaining collectibles)
Control switches back to Simon. Hear the answering machine message, exit the Clinic, and follow the prompt to tune your CRTV before returning to Town Square.
Beside the central pedestal, near the white sign reading “A Crime on Our Community”, open the wooden box and answer “Yes” to take the Pistol. This triggers the Otherworld shift.
There is a bottle just past the Pharmacy. Toss it vertically, then shoot it with the Pistol while it is still airborne to earn Pull! For a safety net, save at a telephone beforehand.
Make your way toward the North District and The Wynds. Find the telephone booth, then take the stairwell down in the alley to its west to collect Strange Postcard 5.
At Flemington Street, use the Scalpel on the locked door to progress. Enter the apartment building south of the Medical Centre, and on the first floor past the telephone, inspect the black door for the Scaffold Notice.
Continue to the second floor and enter Apartment 1/1. The Handwritten Note sits on the living room table. Interact with the radio and use the CRTV, aligning the colours inside the boxes until they stop moving to store the channel.
On the third floor, use the Scalpel to open Apartment 2/2. Read the emails on the computer to get Note.txt, then switch on the kitchen printer (the green light confirms it is active). Print both photos and collect Photo1.jpg and Photo2.jpg from the tray.
Head out onto the scaffolding, climb down, and enter the first window into Apartment 1/1. Deal with the enemy inside, then grab the Lockbox Key from the bed. Take it to the container on the fourth-floor landing to open a Resource Container holding Alcohol and 2x Pistol Round.
Head back, unlock the front door, and cross the street to the Medical Centre. Interacting with the front entrance starts a cutscene that closes out Part 2. Keep a notepad handy for the rest of the game, because Townfall has no quest log and clues almost always sit in the same room as the lock they open.