
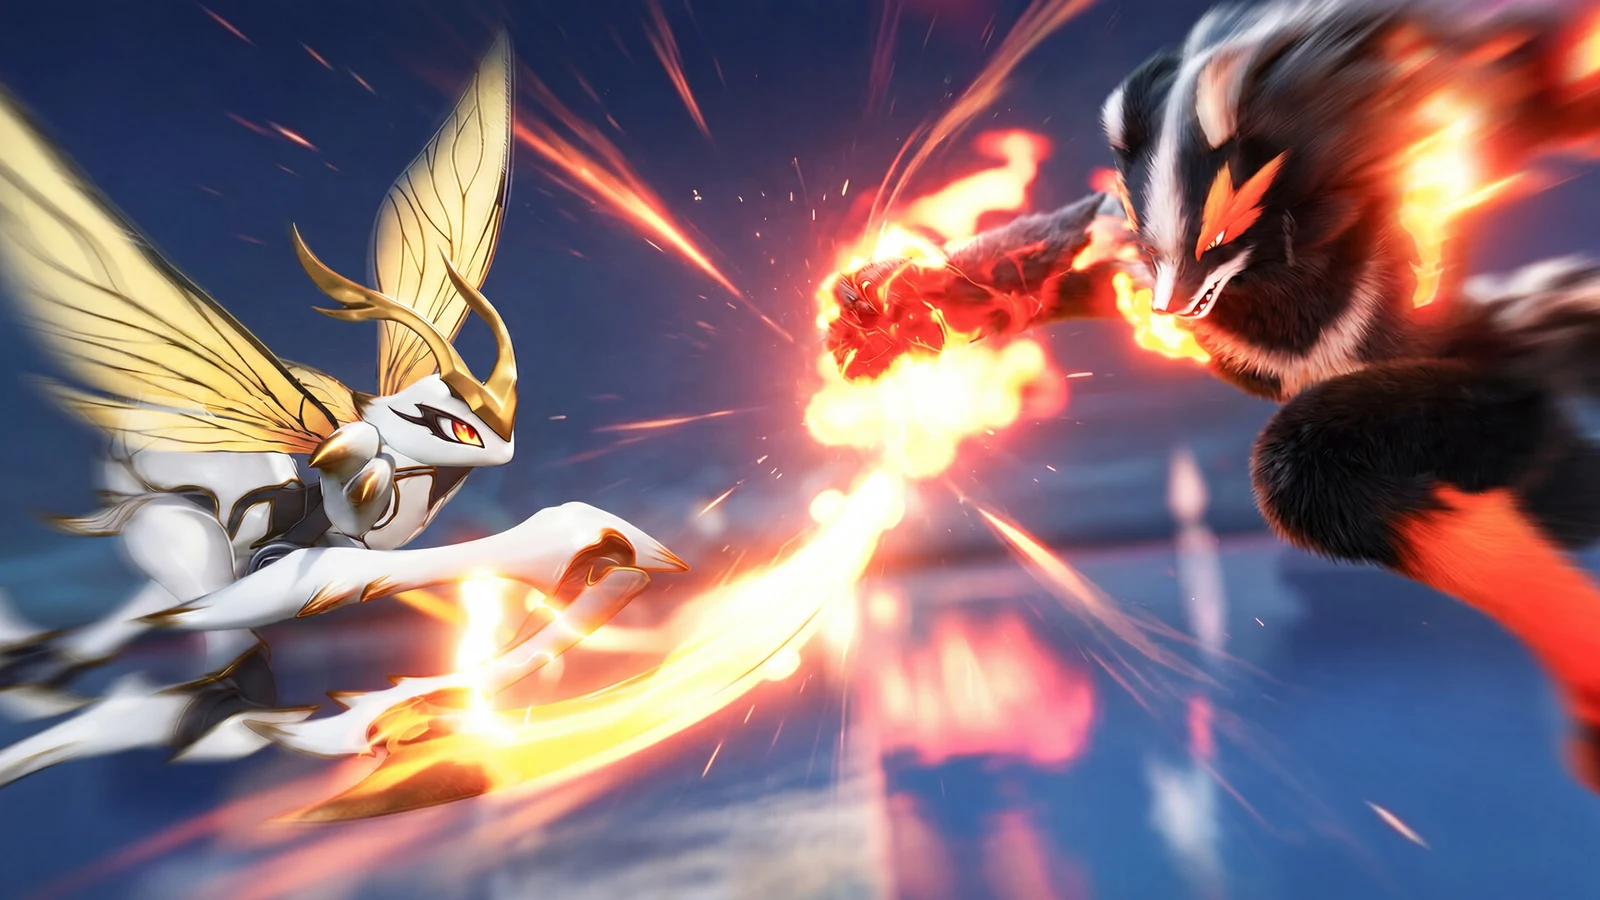
Locking on in Aniimo pins your camera and attacks to a single enemy, so your Pathfinder keeps facing the target instead of drifting off when several creatures crowd the same spot. It works the same way in every fight, and it takes one input to switch on.
Quick answer: On a controller, press in the right analog stick (R3). On keyboard and mouse, press the Tab key. Your camera and attacks then focus on the chosen enemy.
Lock-on controls for PS, Xbox and PC
The lock-on input is a single press, not a hold. Do it while you are attacking or facing an enemy, and the game snaps its focus onto that target.
| Platform | Lock-on input |
|---|---|
| PlayStation | Right stick press (R3)  |
| Xbox | Right stick press  |
| PC | Tab key  |
If a controller is connected but the inputs do not respond, open the Controls tab and switch the active input from keyboard to gamepad. Aniimo starts with keyboard and mouse active even when a controller is plugged in.
What lock-on does in a fight
With lock-on enabled, one enemy controls both your view and your attacks. Your strikes follow the selected target rather than your current movement direction, while the camera keeps that enemy visible. This is particularly useful when multiple Aniimo from the same species crowd an area, making it difficult to know which one your attacks are reaching.
Because it is a single press, you can lock on the moment a fight starts and release the focus just as quickly if you want to pick a different enemy.
Lock-on and camera settings to change first
Several helpers that keep the lock stable are off by default. You will find them under Settings > Game in the Gameplay options. Turning these on makes both combat and catching noticeably easier, and each one can be toggled on its own.
| Setting | Value | Effect |
|---|---|---|
| Auto Lock-On After Attack | On | Keeps a target locked after you land a hit. |
| Always Follow the Locked-on Target | Chase Camera | Keeps the camera involved while locked on. |
| Auto-Adjust Camera When Not Locked On | On | Camera tracks the target while unlocked. |
| Auto-Approach Target When Using Skills | On | Moves you into range when using a skill. |
| Target Lock-On Indicator Line | On | Draws a line to the locked target. |
Mouse players who dislike the camera snapping to enemies can leave Auto Lock-On After Attack off and still use the manual Tab press whenever they want to focus on one target. Controller players who lose enemies mid-attack should turn it on for stronger camera help.
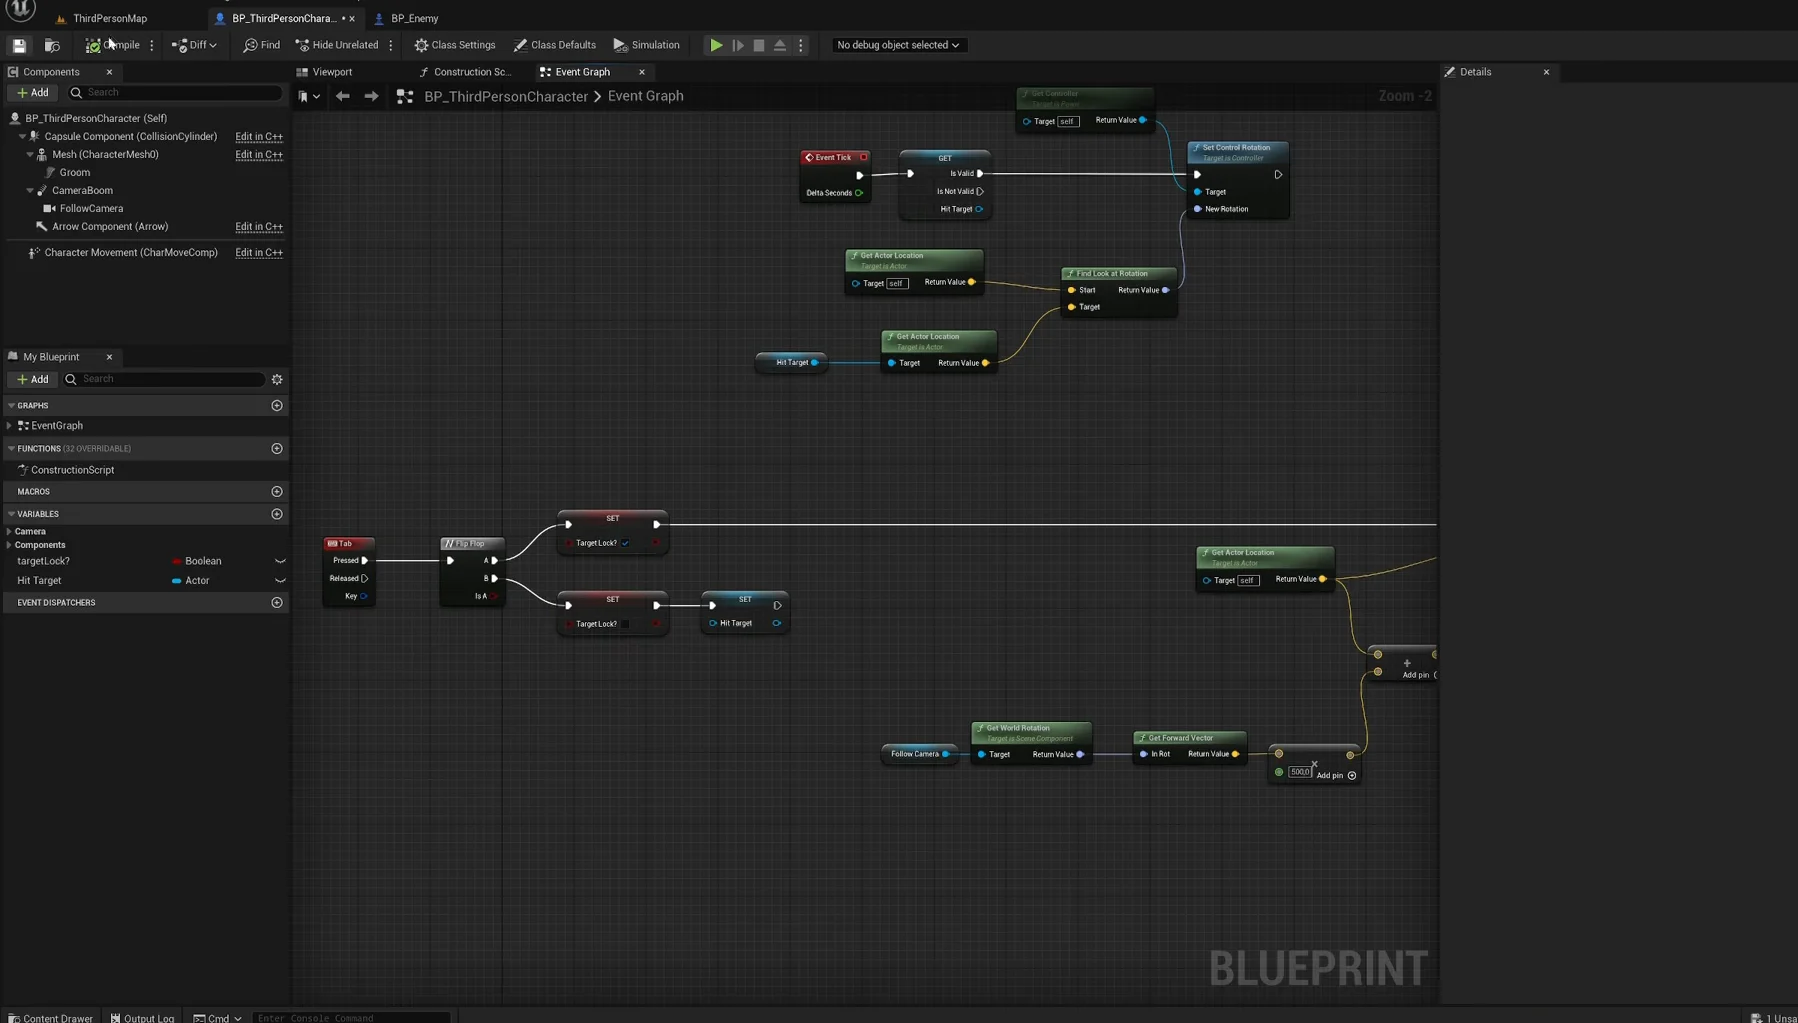
Test each option separately during a regular battle with multiple enemies nearby. Fighting only one target cannot confirm that the camera tracks the enemy you intended to attack.
How to confirm the lock worked
You know the lock is active when the camera settles on one enemy, and your attacks keep facing it as you move. With the Target Lock-On Indicator Line turned on, a line points to the creature the game currently considers locked, which is the clearest way to check which target your next hit will land on during a crowded fight.
If the view keeps pulling toward an enemy you did not choose, the cause is the automatic camera behaviour rather than sensitivity. Adjust the lock-on options above before touching camera sensitivity, since lowering sensitivity will not stop the camera from snapping on its own.





