Gaming Guide

Aniimo Rising Flame Sanctum Walkthrough: Both Premium Chests

Clear the solo Fire dungeon in Beast Fang Ridge with trial Flameruff, light every obelisk and bonfire, and grab both chests before restoring the Vein.

Clear the solo Fire dungeon in Beast Fang Ridge with trial Flameruff, light every obelisk and bonfire, and grab both chests before restoring the Vein.

Image: Pawprint Studio

Rising Flame is a solo Sanctum on a plateau in the northeast of Beast Fang Ridge. The whole run turns on two tools: the Gravity Pull player skill for carrying stone cubes, and trial Flameruff’s Fire Bolt for burning wooden objects and lighting fire obelisks. Reach the heart of the Sanctum to restore the Vein, and collect the two optional chests along the way.

Quick answer: Travel to -1069, 1481 in Beast Fang Ridge, twine with Flameruff, burn wooden barriers and light both obelisks at each gate, cross the dark room’s floating platform, grab both chests, then touch the cube to repair the Vein.
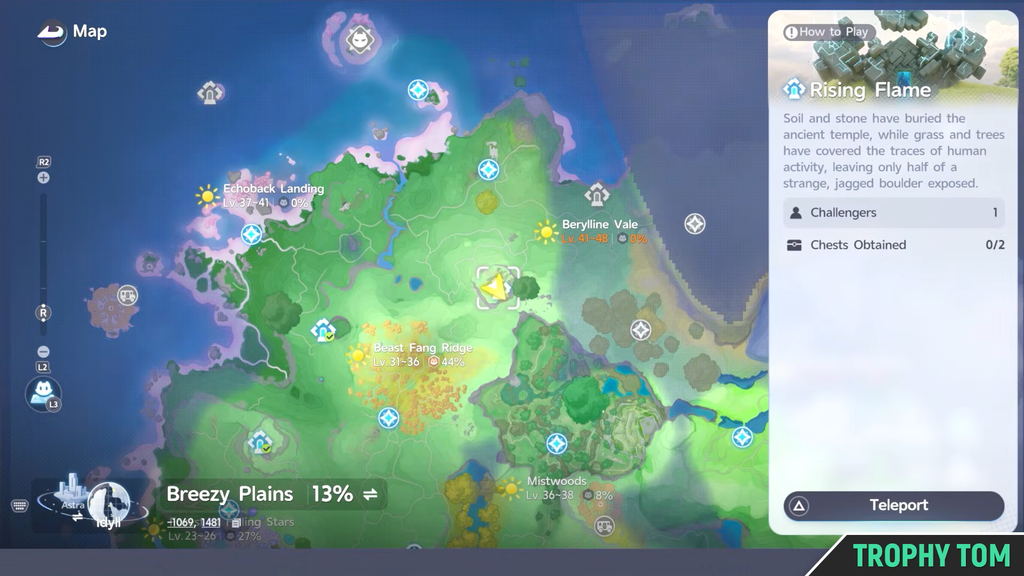
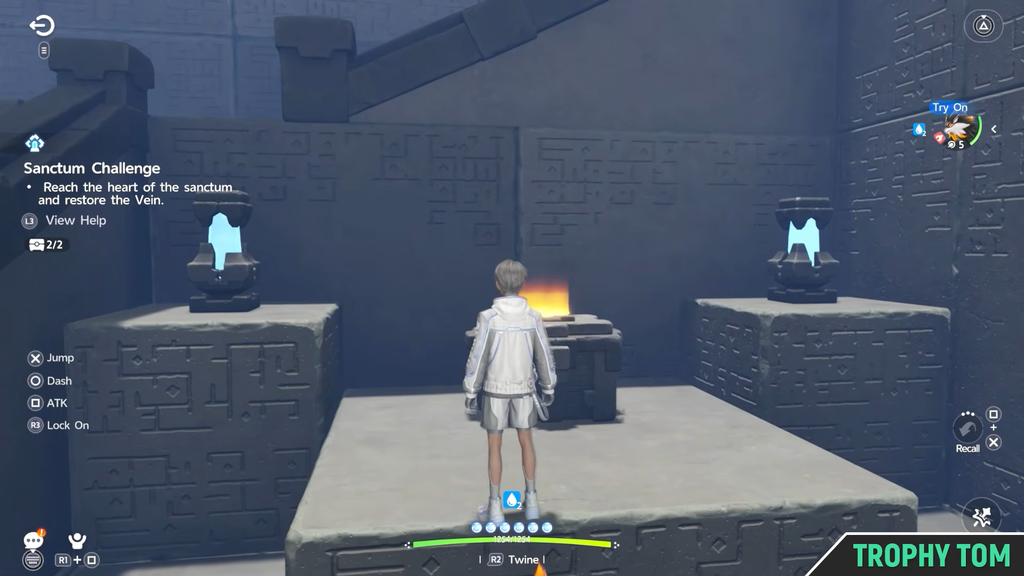
Image credit: Pawprint Studio via YouTube/@Trophy Tom

Rising Flame location and requirements

The entrance sits on top of a plateau to the northeast of Beast Fang Ridge. Open the world map, select the Rising Flame marker and teleport in. It is a single-player challenge, so you do not need a second player or a Fire Aniimo of your own.
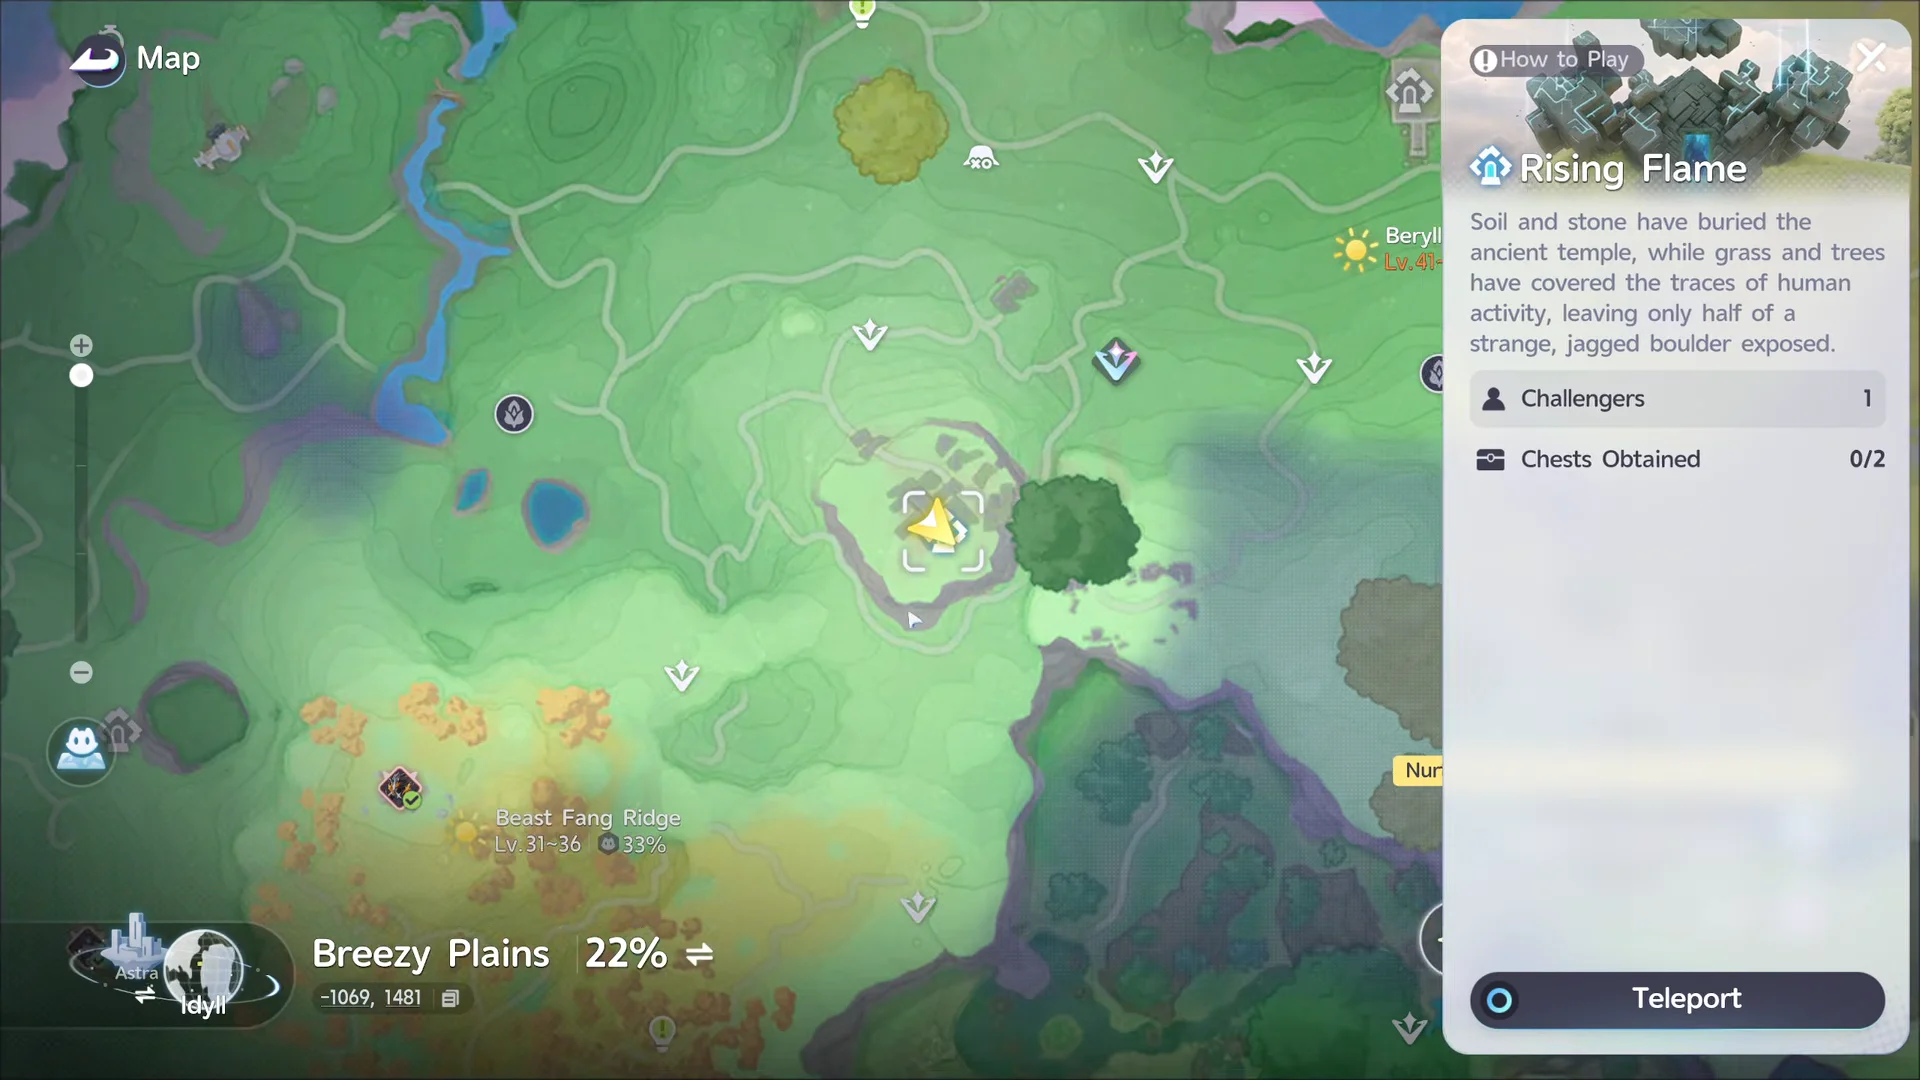
Location on Map00:03Location on Map
The Rising Flame marker on the Beast Fang Ridge map with the Teleport prompt. Shown at 00:03 in 100% Guides’s video. Image: Pawprint Studio
DetailValue
RegionBeast Fang Ridge
Coordinates-1069, 1481
Players1, solo
Optional chests2
Trial AniimoFlameruff
Player skill neededGravity Pull

Gravity Pull unlocks at the II Student rank. Unlock it before you enter, because both chests depend on moving stone cubes onto buttons and platforms.


The two skills that solve every puzzle

Rising Flame reuses one simple rule the whole way through. Wooden crates, boxes and thorny vines burn, while stone cubes do not. That is why stone survives the flame jets and holds down buttons, and why fire clears barriers and ignites obelisks.

  • Gravity Pull lets you grab and carry stone cubes to block flames or press buttons.
  • Fire Bolt is Flameruff’s aimed attack. Hold the skill button to aim and release to launch a fireball.

Fire Bolt deals 30 power, costs 10 EP, and has a 1 second cooldown. Each hit applies 2 stacks of Fire Debuff for 5 seconds. Let anything you set alight finish burning away before you walk through, since nothing you destroy comes back.


Rising Flame walkthrough
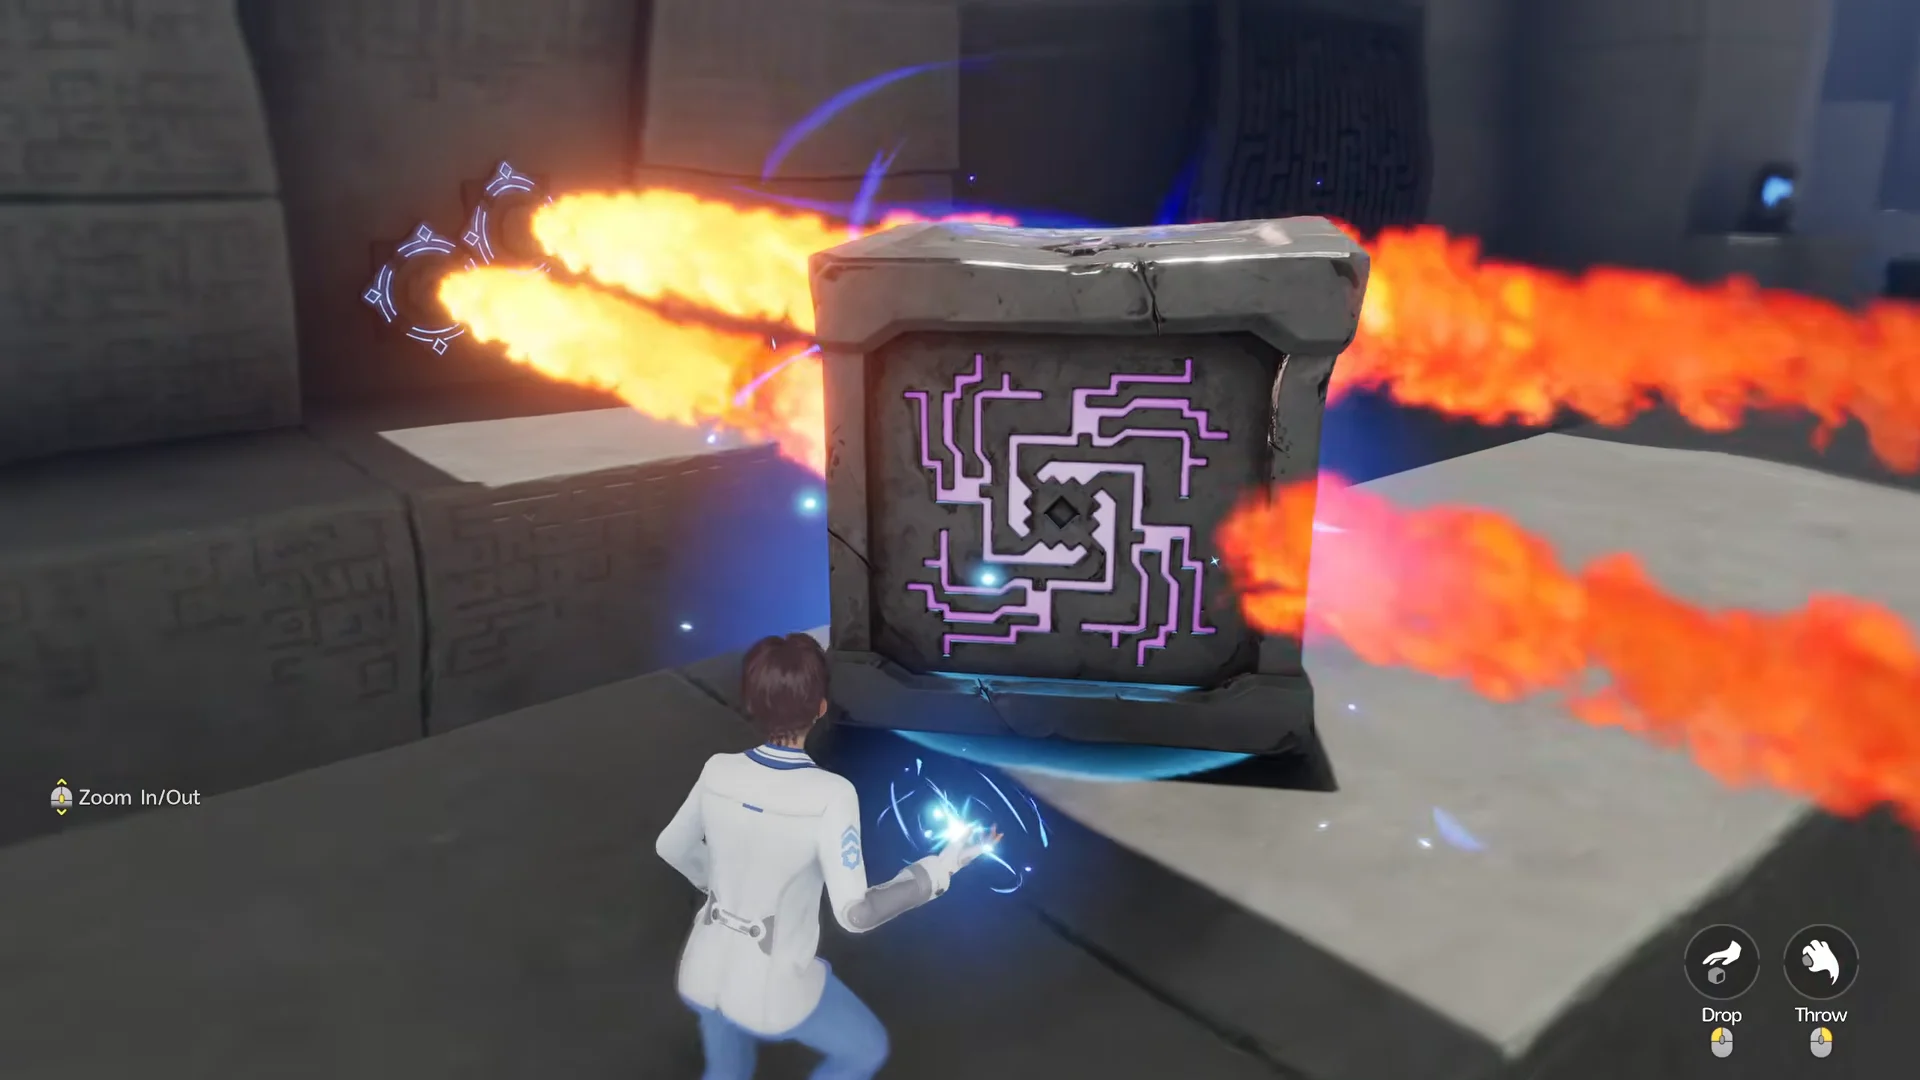
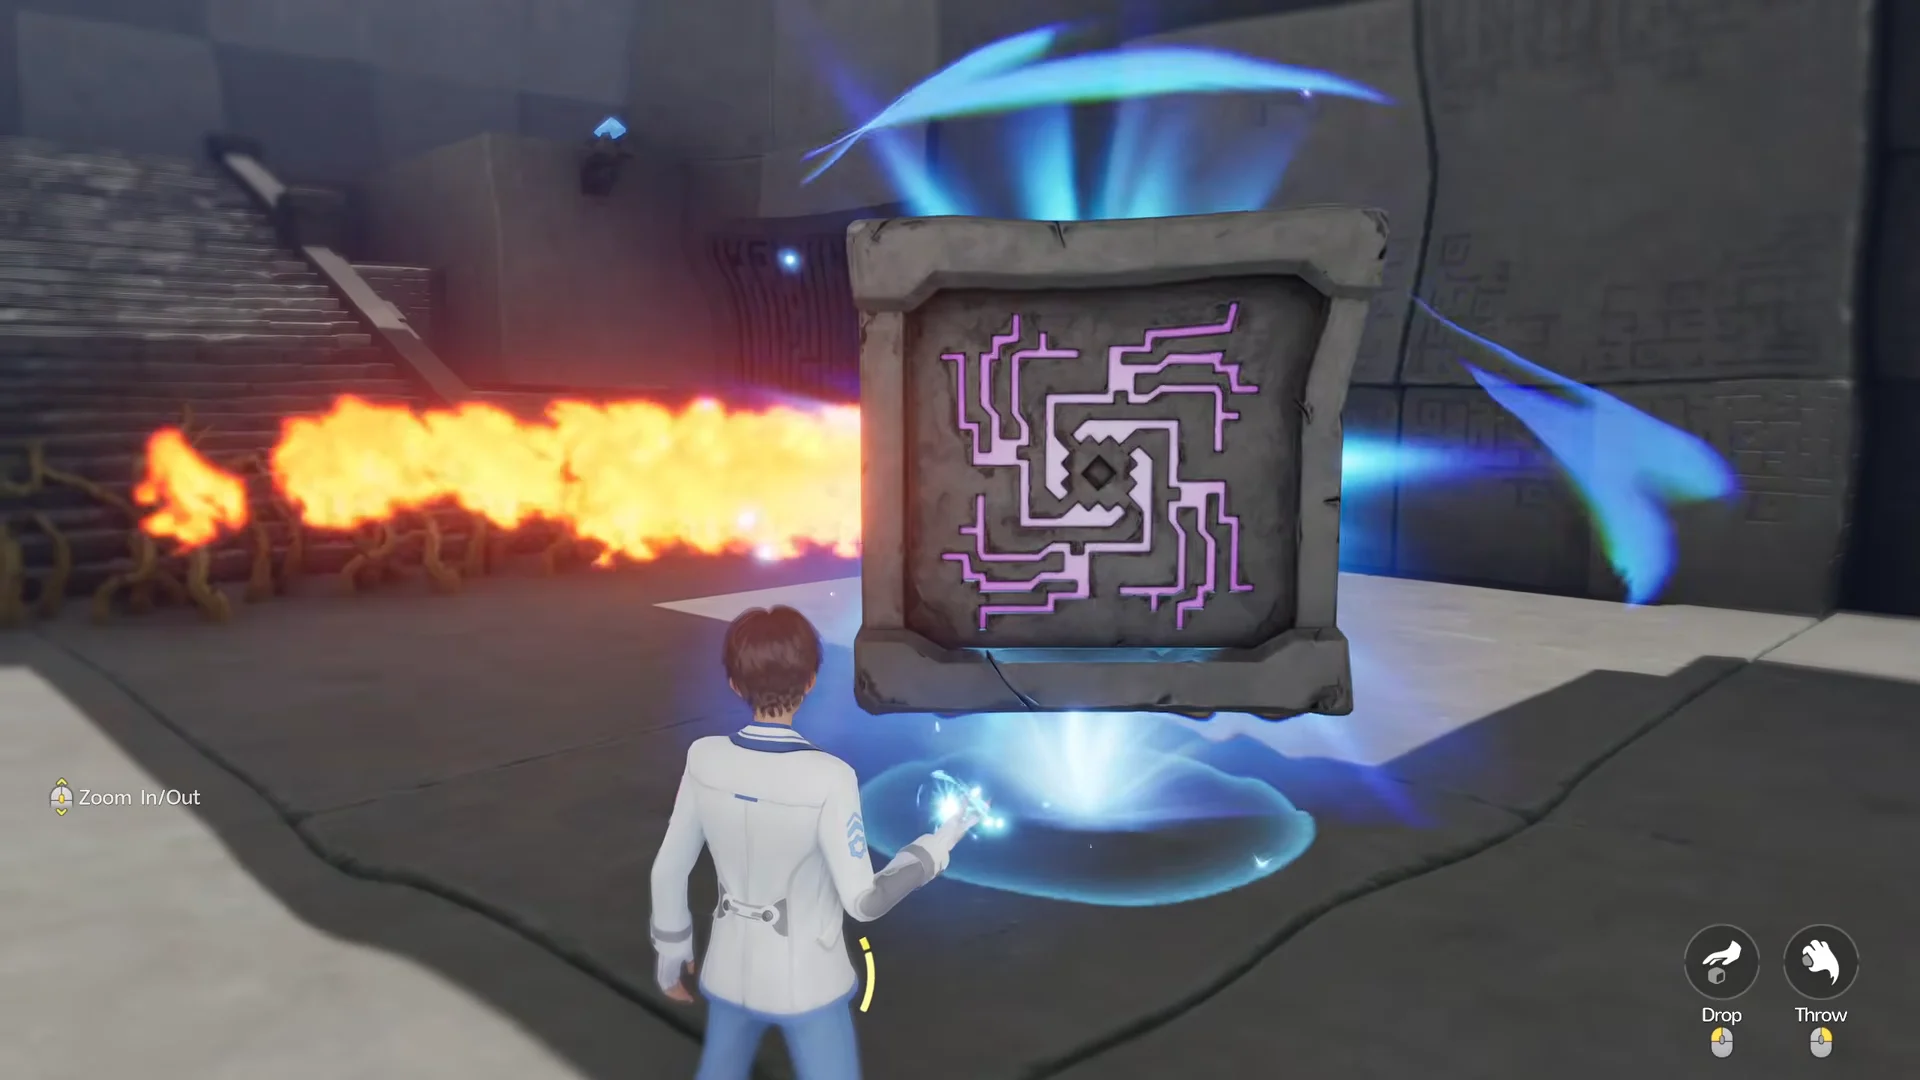
After entering, grab the stone cube to the left of the room. Use it to block the flame jet crossing the bridge, then climb on top of the cube to move past.
Blocking Fire Trap00:26Blocking Fire Trap
Holding a stone cube in front of the fire jet on the opening bridge. Shown at 00:26 in 100% Guides’s video. Image: Pawprint Studio
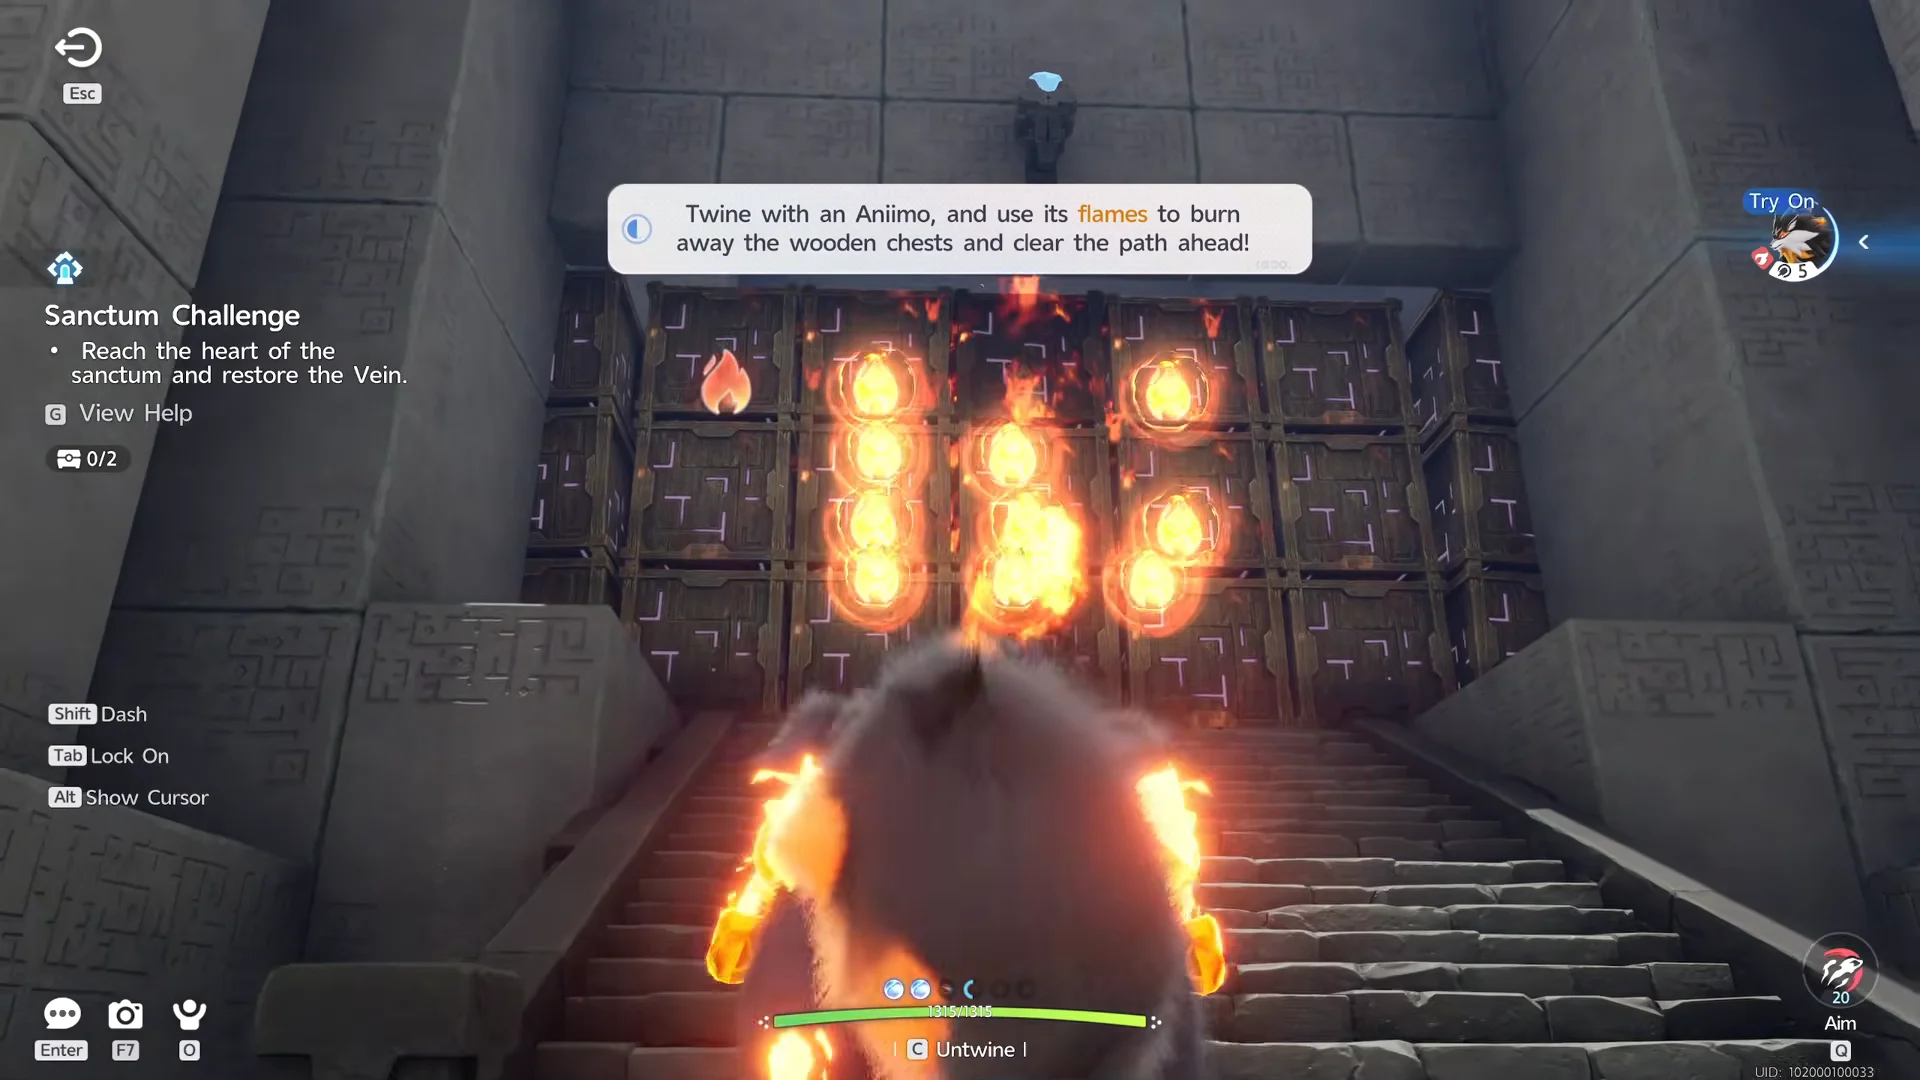
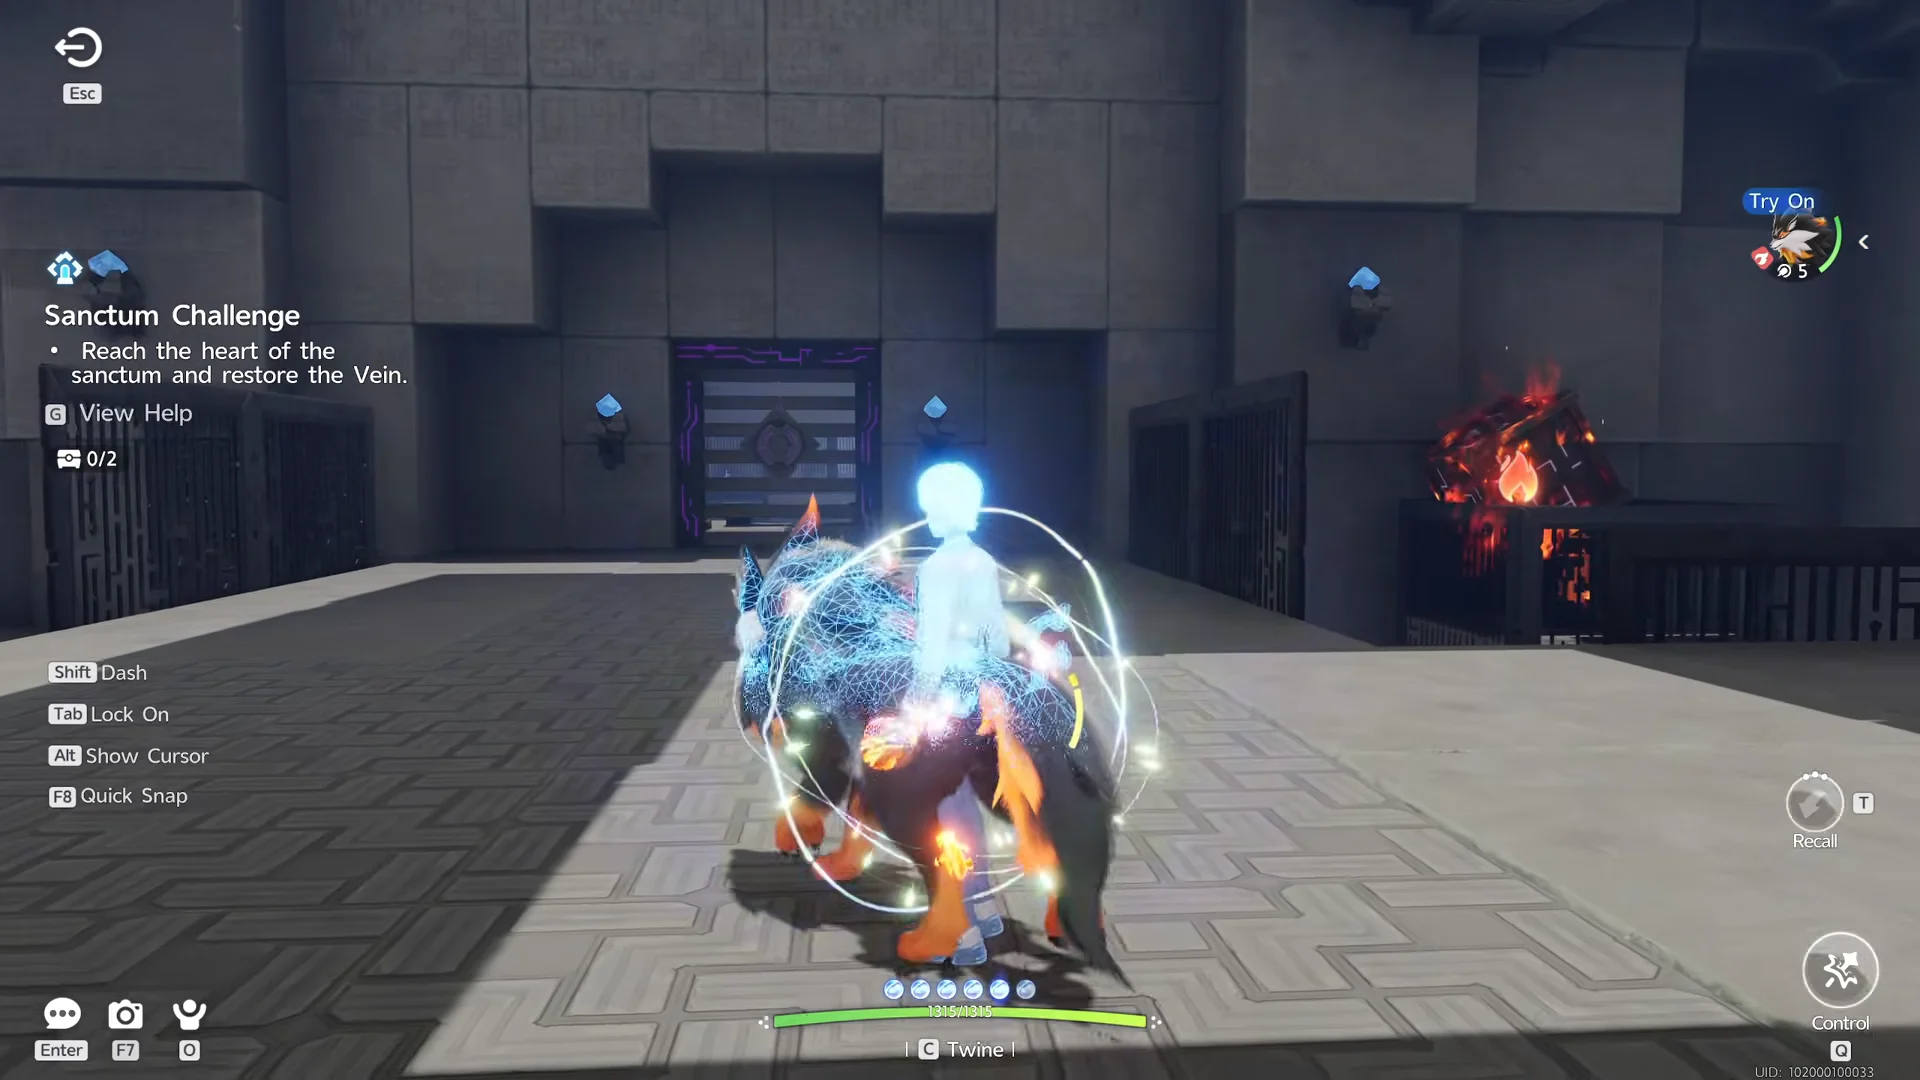
Move ahead and use the aniimo statue to call Flameruff, then twine with it. Fire Fire Bolt at the wooden crates in front of you and burn them away to open the route.
Burning Wooden Wall00:44Burning Wooden Wall
Burning the wooden crate wall that seals the staircase. Shown at 00:44 in 100% Guides’s video. Image: Pawprint Studio
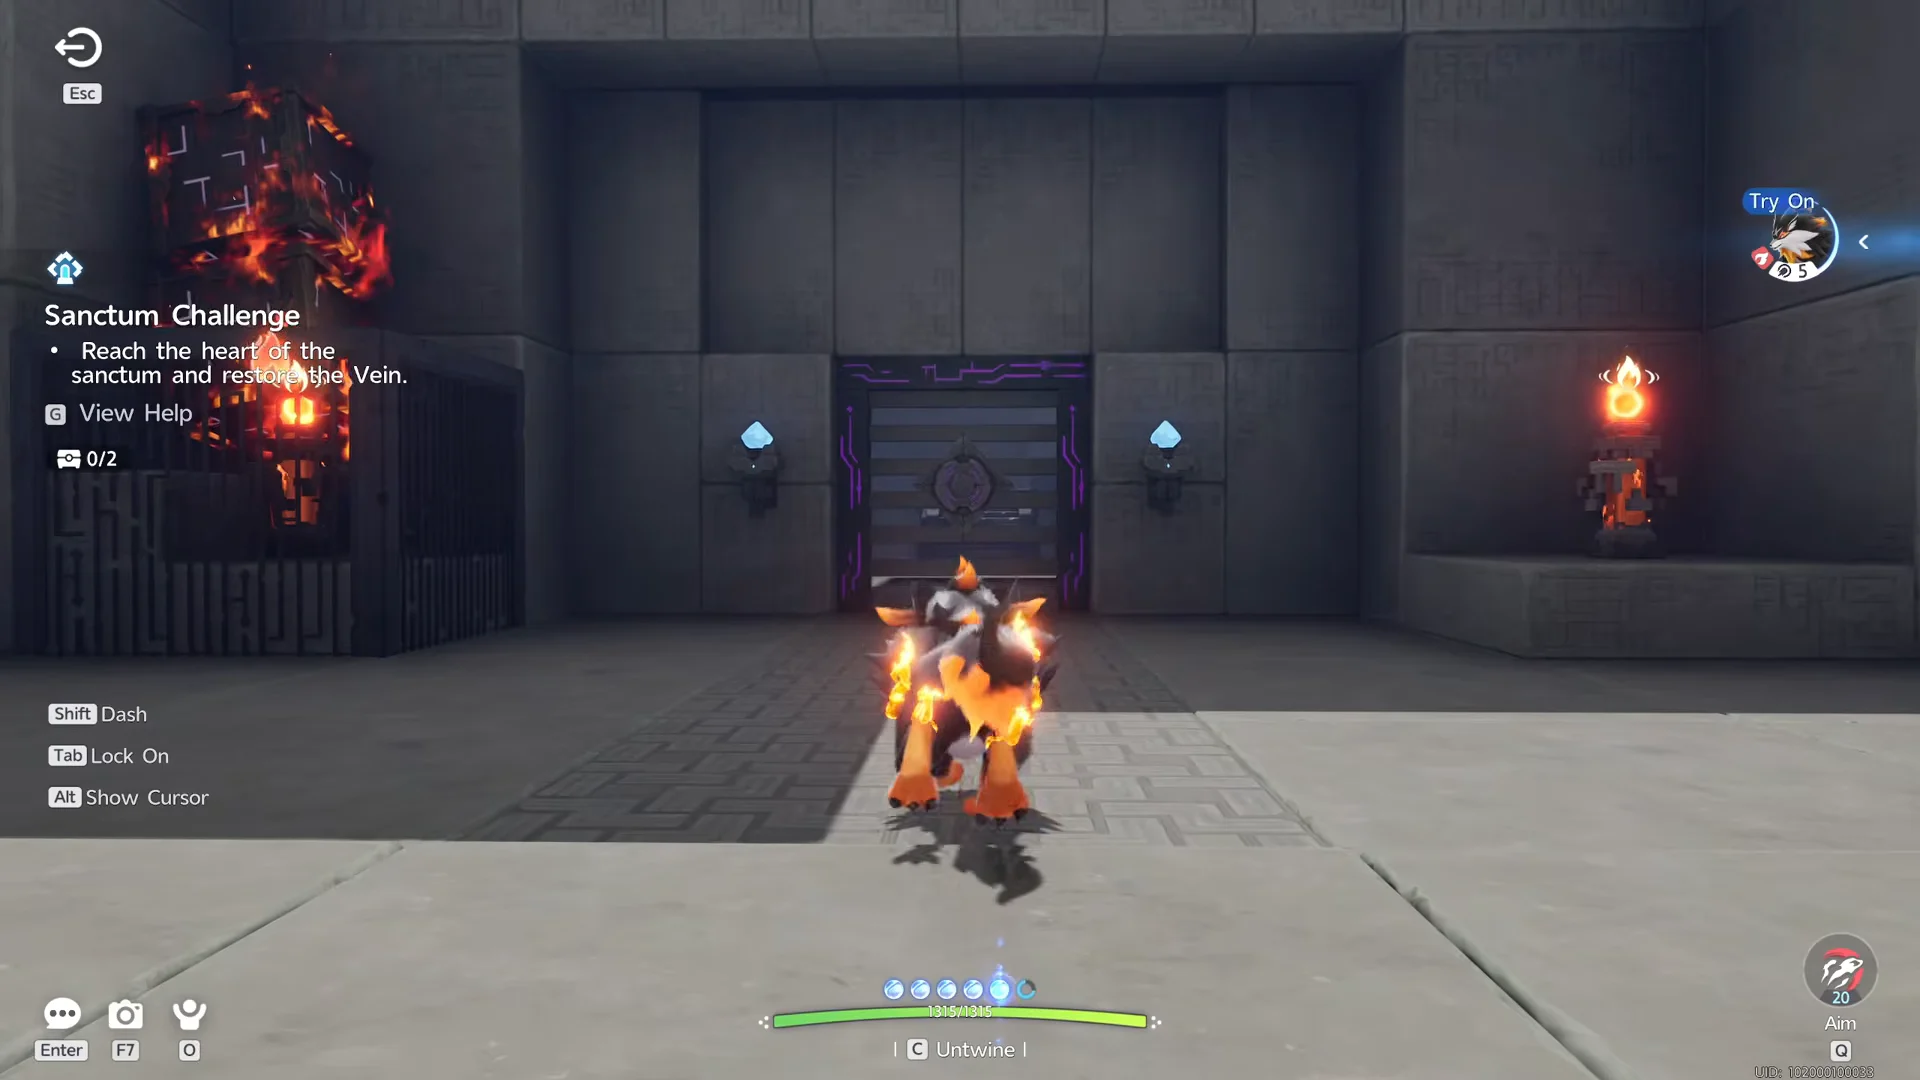
At the gated doorway you will see two pillars you can set alight. Fire Bolt the pillar on the right, then hit the crates stacked above the left pillar so the flames reach it. Lighting both opens the gate.
Opening First Gate00:57Opening First Gate
The first gate opens once both fire obelisks are burning. Shown at 00:57 in 100% Guides’s video. Image: Pawprint Studio
Proceed to a wooden box on the left that is holding down a button, with a caged stone box on the right. Ignite the wooden box to free the stone one, then pull the stone box down the hall and into the flames to stop them. Burn through the thorns to continue.
Blocking Staircase Fire01:31Blocking Staircase Fire
Positioning the freed stone block to block the horizontal flame jet on the stairs. Shown at 01:31 in 100% Guides’s video. Image: Pawprint Studio
The next closed gate has more pillars. Lift a box from the bottom right of the room and drop it on top of the right pillar. Set both the left pillar and the box you placed on fire to open the gate.
Opening Second Gate02:05Opening Second Gate
Igniting the left pillar and the box placed on the right pillar to open the second gate. Shown at 02:05 in 100% Guides’s video. Image: Pawprint Studio
Keep moving until you reach a room with a large canal. Turn left to find a passage blocked by thorns and burn them to enter the dark hall.
Once you enter the unlit hallway, move the box on the left onto the nearby button. The floating platform at the room’s center will activate; ride it onward.
Work through the dark hall, lighting the bonfires as you go so each new flame reveals the next safe stretch of floor, and reach the first chest, which has a golden glow. Collect it, then head out of the dark hall.
Return to the canal gate, pick up the nearby stone box, and set it on the button at the center. The gate will open and the water level will fall. Drop down and make your way across, then destroy the box with Fire Bolt; the water will rise and carry you back to the surface.
Once the water carries you up, turn right to reach the second chest. From there, head to the Vein and interact with it to complete the Sanctum.
Image credit: Pawprint Studio via YouTube/@Trophy Tom

Both chest locations

ChestLocationHow to reach it
Chest 1Dark hall, before the water puzzleRide the floating platform and light the bonfires to the golden-glow chest
Chest 2Right side, after the water puzzleLet the rising water lift you up, then turn right

Both are Premium chests, so it is worth confirming your counter reads 2/2 before you touch the Vein. The completion interaction ends the run, and you should not rely on returning for a chest you skipped.
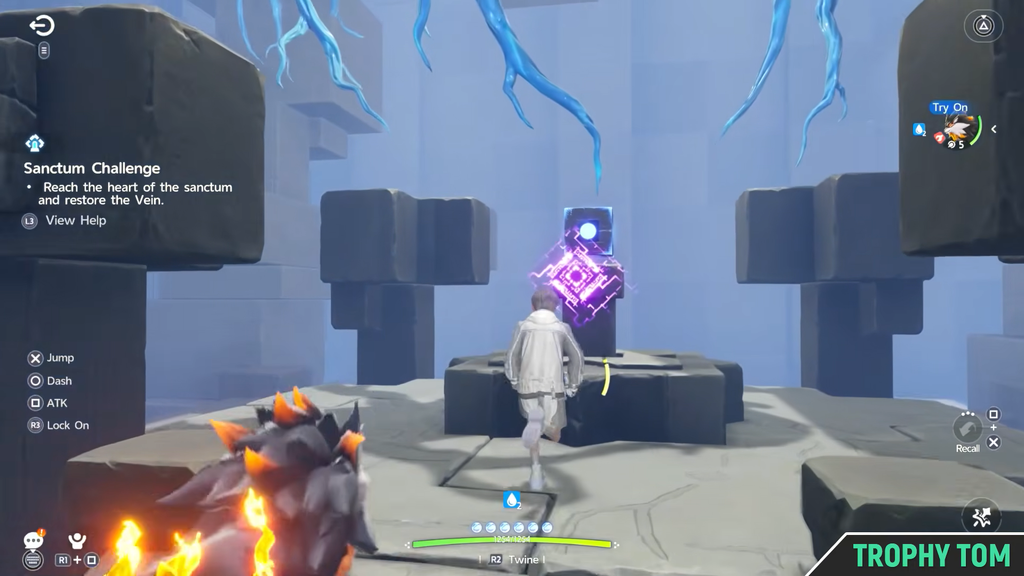
Image credit: Pawprint Studio via YouTube/@Trophy Tom

Completion rewards

Restoring the Vein awards Lumin Amber x1, and clearing the Sanctum for the first time grants EXP +500. Each of the two chests holds the same set of loot.

SourceRewards
Sanctum clearLumin Amber x1, EXP +500
Chest 1Glimmers x20, Sparkling Crystal x15, Credits x20000, Giant Tortoise Shell x1
Chest 2Glimmers x20, Sparkling Crystal x15, Credits x20000, Giant Tortoise Shell x1

You know the run is finished when the results screen shows the first-clear reward of Lumin Amber and 500 EXP after you interact with the cube at the heart of the Sanctum. If the platform in the dark room will not move, return to the button and make sure the stone box is fully seated on it, since only a stone object holds it down.