Act 6 of Silent Hill Townfall moves from the SWDP facility to a fog-covered beach, delivering the final Discoveries and a connected run of machine puzzles. With neither chapter select nor backtracking available, every pickup and code is missable; follow the sequence below in one pass.
Quick answer: Act 6 holds ten Discoveries (Documents and Clues 76–85), two CRTV signals (Channels 42 and 55), the final Strange Postcard (15/15), and two Resource Containers (6/7 and 7/7), gated behind the Pipe Tower, AUX, and Clamp Release puzzles.
Act 6 collectible checklist
Documents and Clues share one 85-item Discovery counter that feeds into which ending Simon and Zoe reach, so collect both types on every run. Below is every tracked pickup in Act 6, with the short version of where each one sits.
| Collectible | Type | Where to find |
|---|---|---|
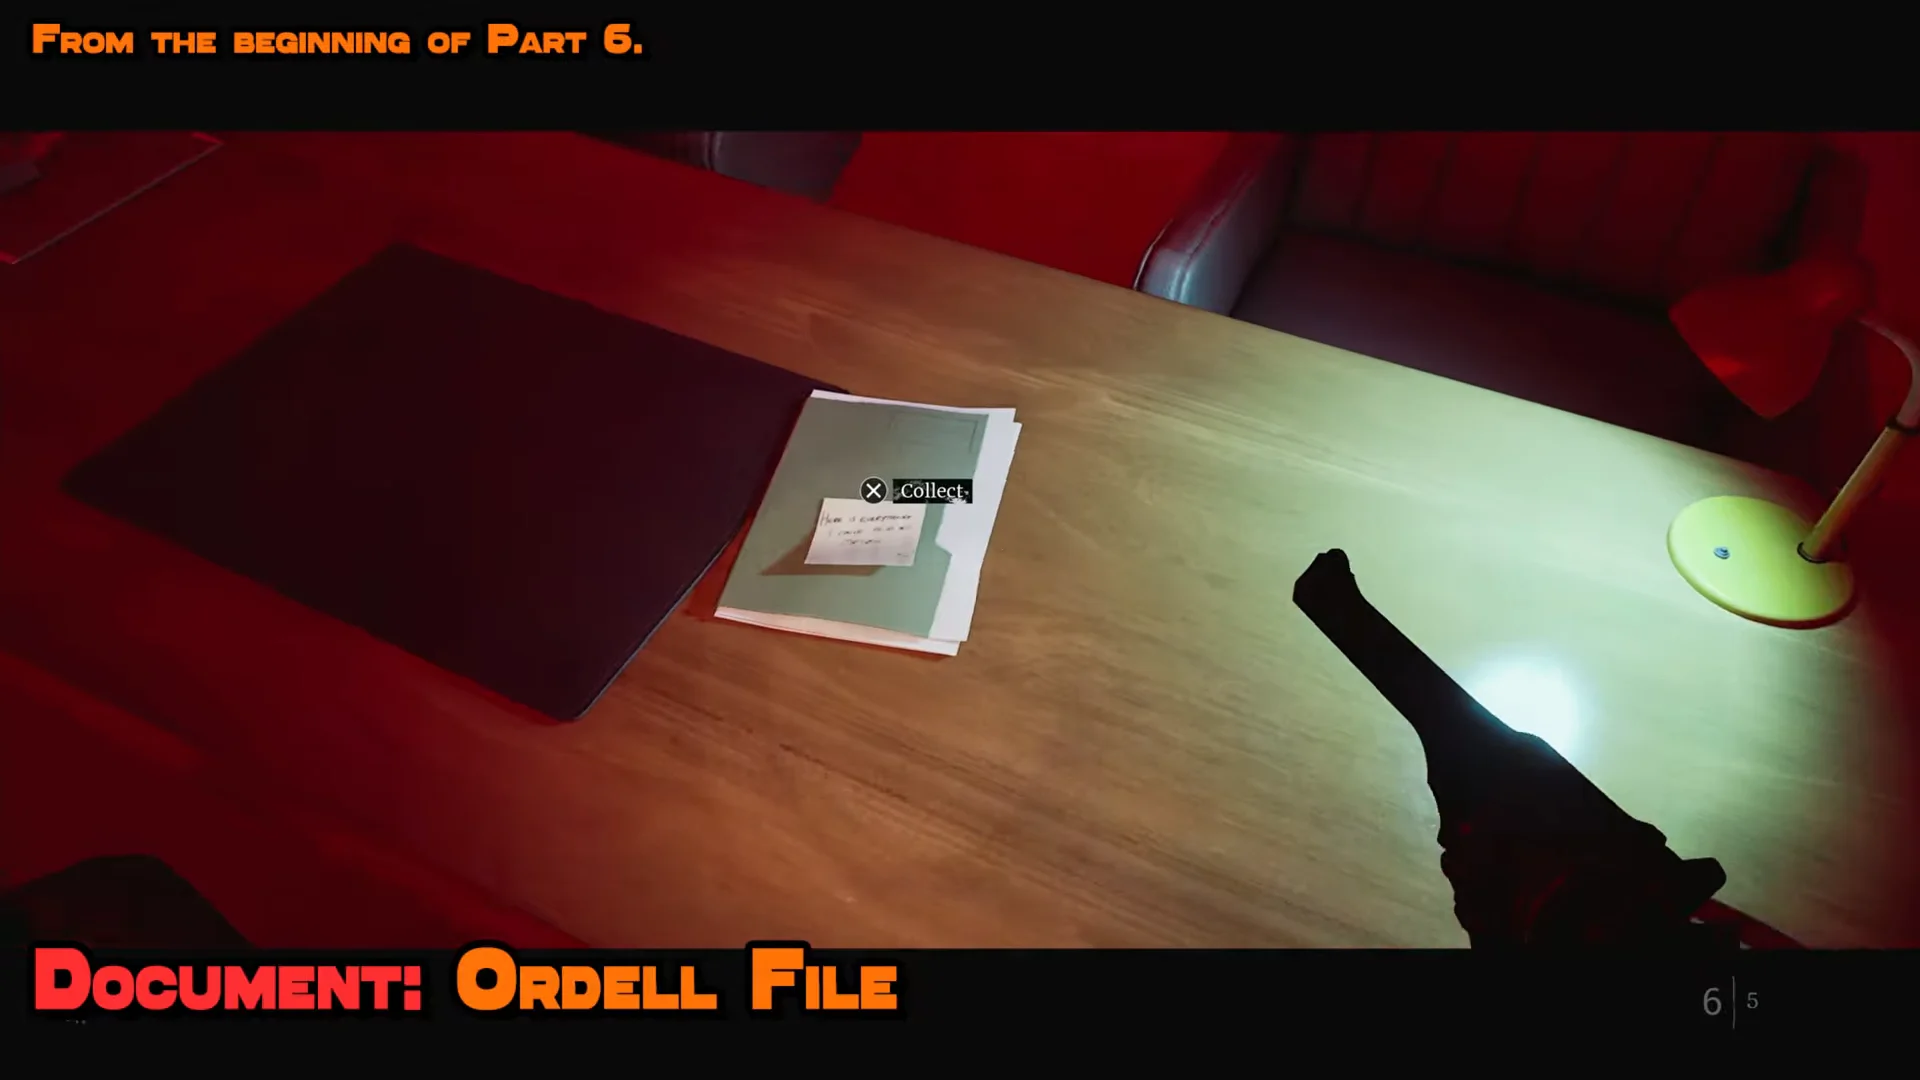
| Ordell File | Document 76/85 | Red-lit office desk |
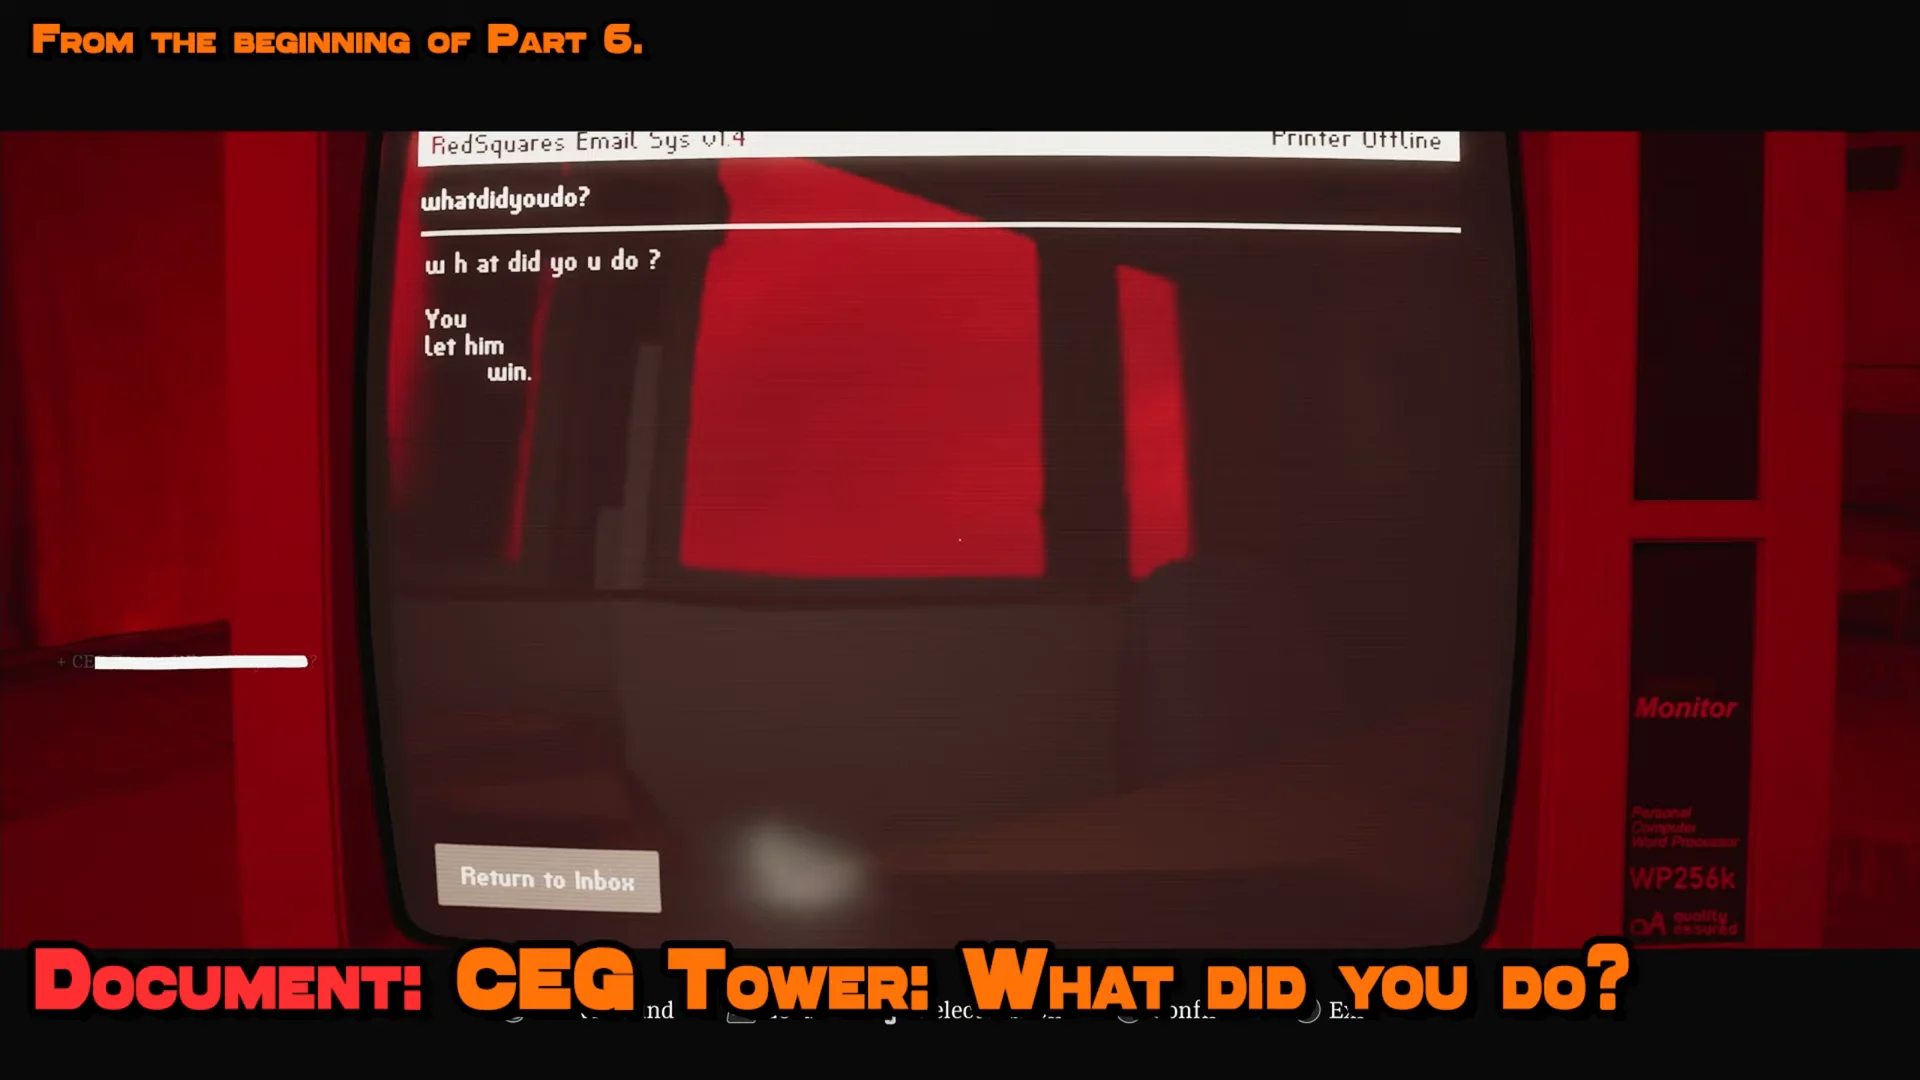
| CEG Tower: What Did You Do? | Document 77/85 | Office computer (RedSquares Email) |
| Reference Sheet | Clue 78/85 | Workbench in the industrial chamber |
| Channel 42 | CRTV Signal 17/18 | Counter beside the Pipe Tower |
| SWDP: Ordell Site Visit | Document 79/85 | CRT monitor in the facility office |
| RCU Refit Note | Document 80/85 | Bunk bed in the JOE room |
| Channel 55 | CRTV Signal 18/18 | Receiver under the bunks |
| Photo of Joe McKenzie | Clue 81/85 | Taped to a locked doorway |
| Remote Systems Control | Clue 82/85 | Main control desk |
| Auxiliary Lines | Clue 83/85 | AUX terminal (after inserting the AUX Disk) |
| Clamp Release Procedure | Clue 84/85 | Control room printer tray |
| Crew Patch | Document 85/85 | Overalls on the beach |
| Strange Postcard | 15/15 | End of the drainage pipe |
| Resource Container | 6/7 | Blue lockbox behind the card-reader shutter |
| Resource Container | 7/7 | Blue lockbox in room 621 |
Documents 76 and 77 and the Reference Sheet
The act opens in a pair of offices before you reach any machinery. Clear both rooms first, since the Reference Sheet you grab here is required for the Pipe Tower puzzle later.
Channel 42, the Controller Key, and the Pipe Tower puzzle
Before touching the tower, tune the CRTV receiver on the counter next to it to Channel 42. That logs CRTV Signal 17/18. The Pipe Tower itself needs the Controller Key plus two codes drawn from the Reference Sheet.
Alarm Code: 77289. On the Reference Sheet, the entry 772-89 maps to A5-D7. Insert the Controller Key and type A5D7 to silence the alarm.E3E3, and confirm with OK. The screen reports the rotation clamps have been released.Strange Postcard 15/15 and the drainage tunnels
Past the tower there is a second tuning point for Channel 42 inside a circular industrial duct. This is the same Signal 17/18, so it will not add to your count if you already tuned it at the counter.
Keep going and crawl all the way through the winding concrete drainage pipe to reach the 15th Strange Postcard. This is the final postcard in the game, and picking it up unlocks the Blur Your Eyes trophy. Strange Postcards do not reappear in New Game Plus, so do not skip it.
SWDP facility: keys, the JOE room, and Channel 55
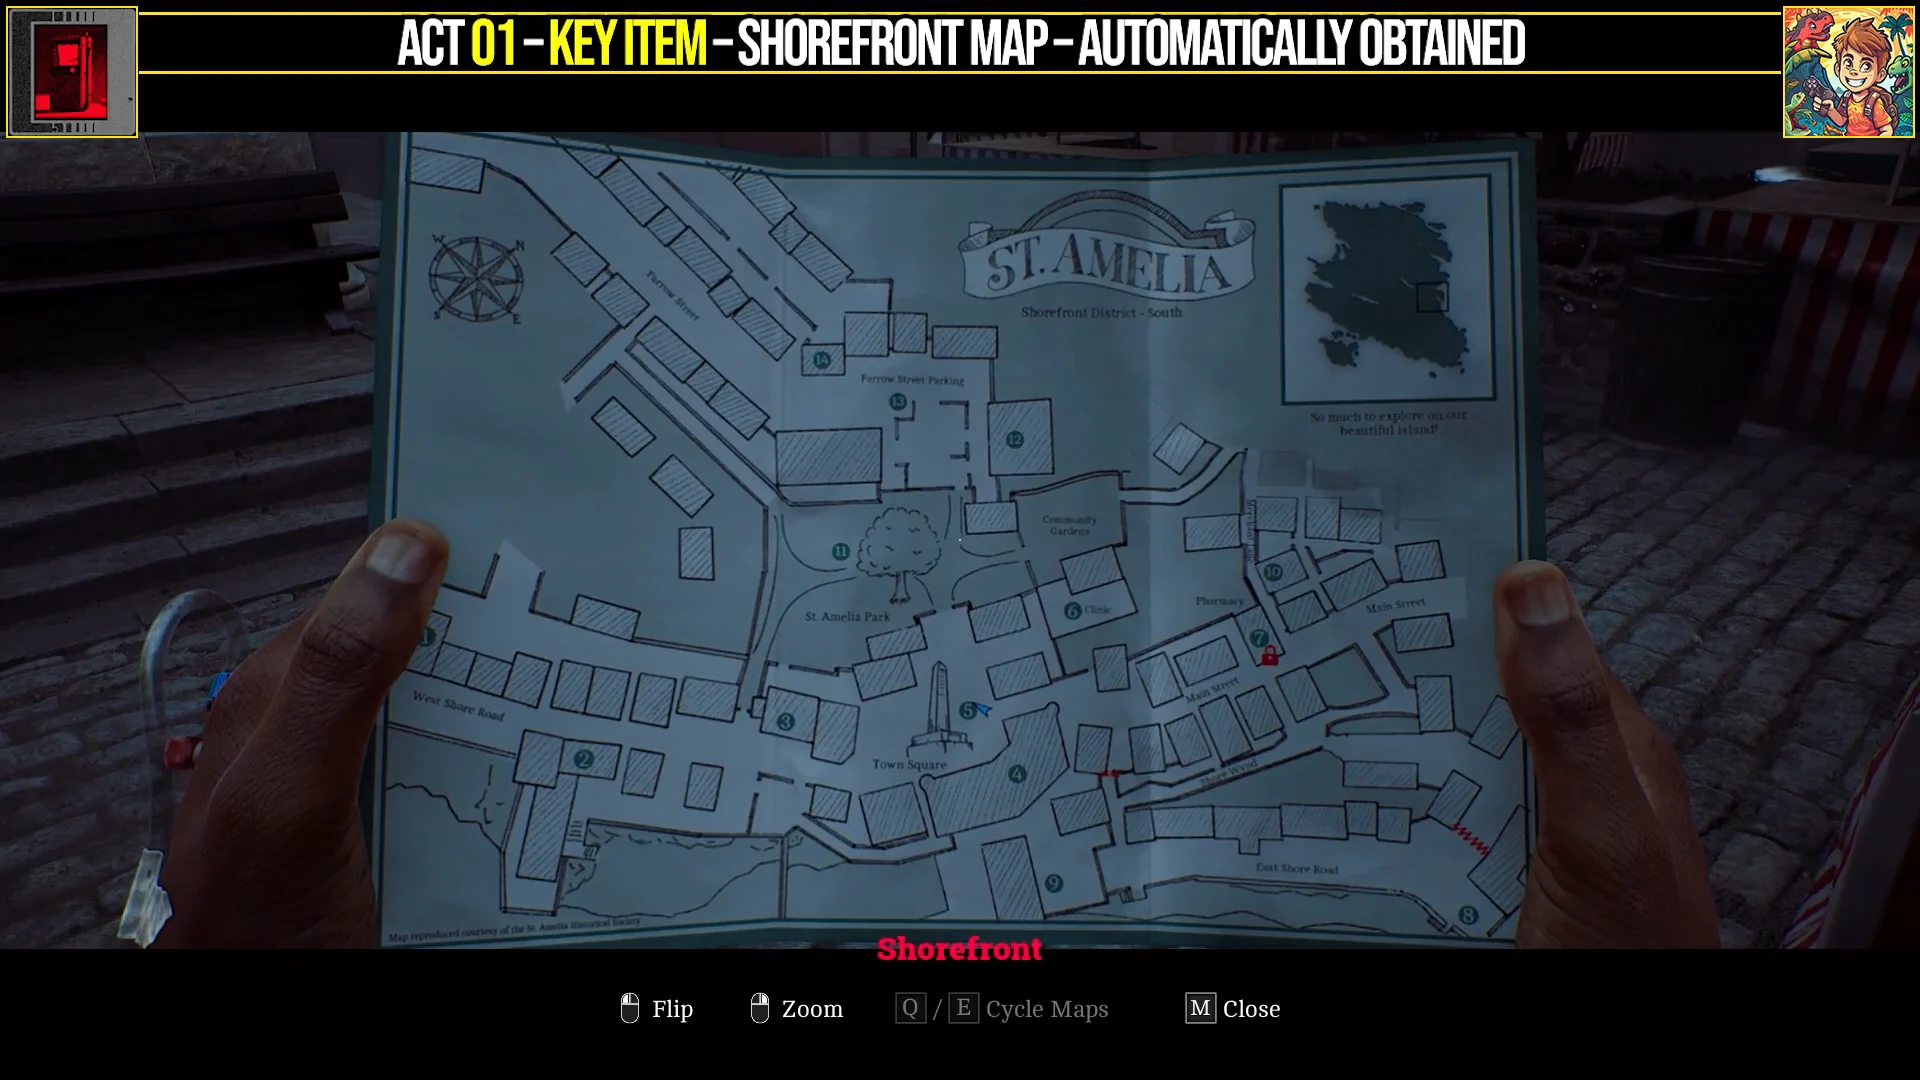
The SWDP map is added automatically as you enter the facility corridor, so there is nothing to pick up for it. From here you collect a run of Documents, Clues, and key items that open the control rooms.
SWDP Control Panel #1 and the AUX room
Inspect the main control desk and collect the Remote Systems Control diagram, which registers Clue 82/85. That note lists the Auxiliary Line IDs you will need at the terminal later.
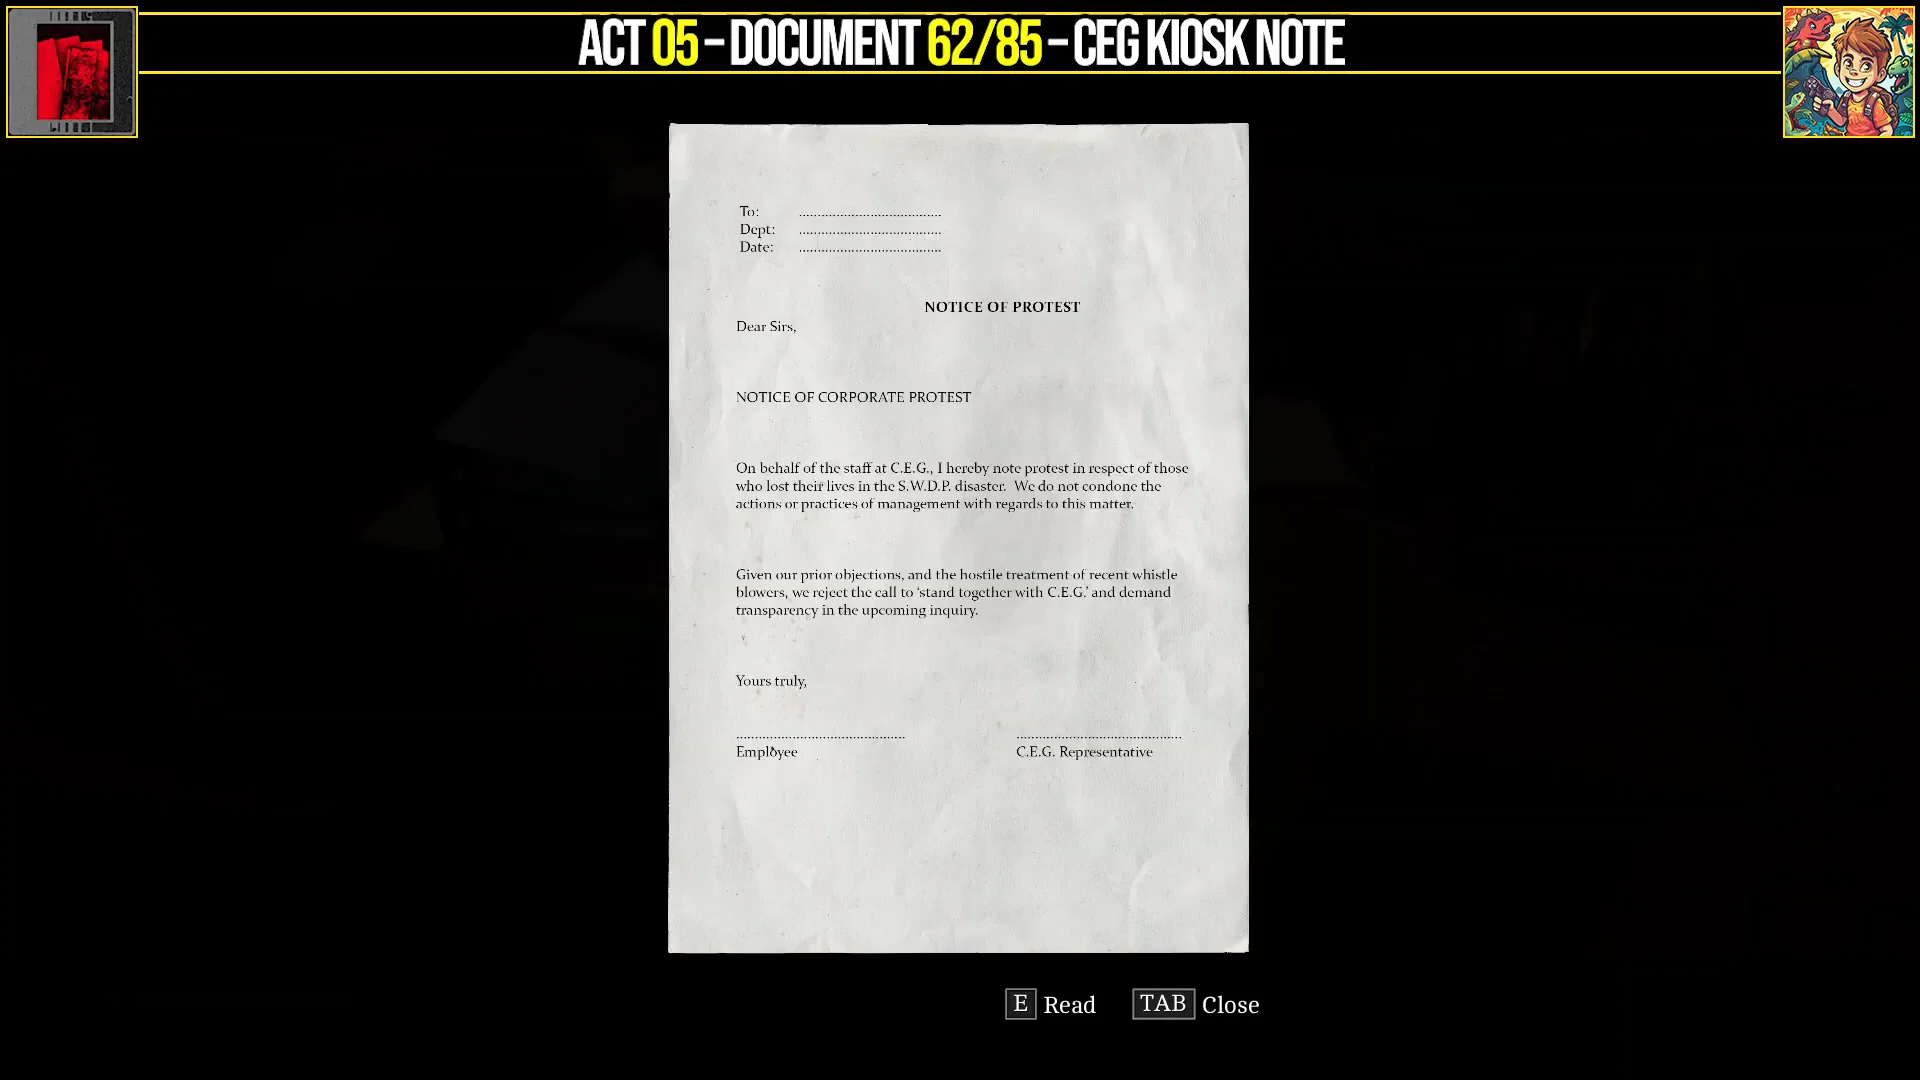
Power on the console and enter the two button-and-code combinations below to flush the auxiliary lines. Press enter after each numeric code.
| Buttons | Code |
|---|---|
| 1-1 + 3-2 | 245 |
| 1-2 + 4-3 | 130 |
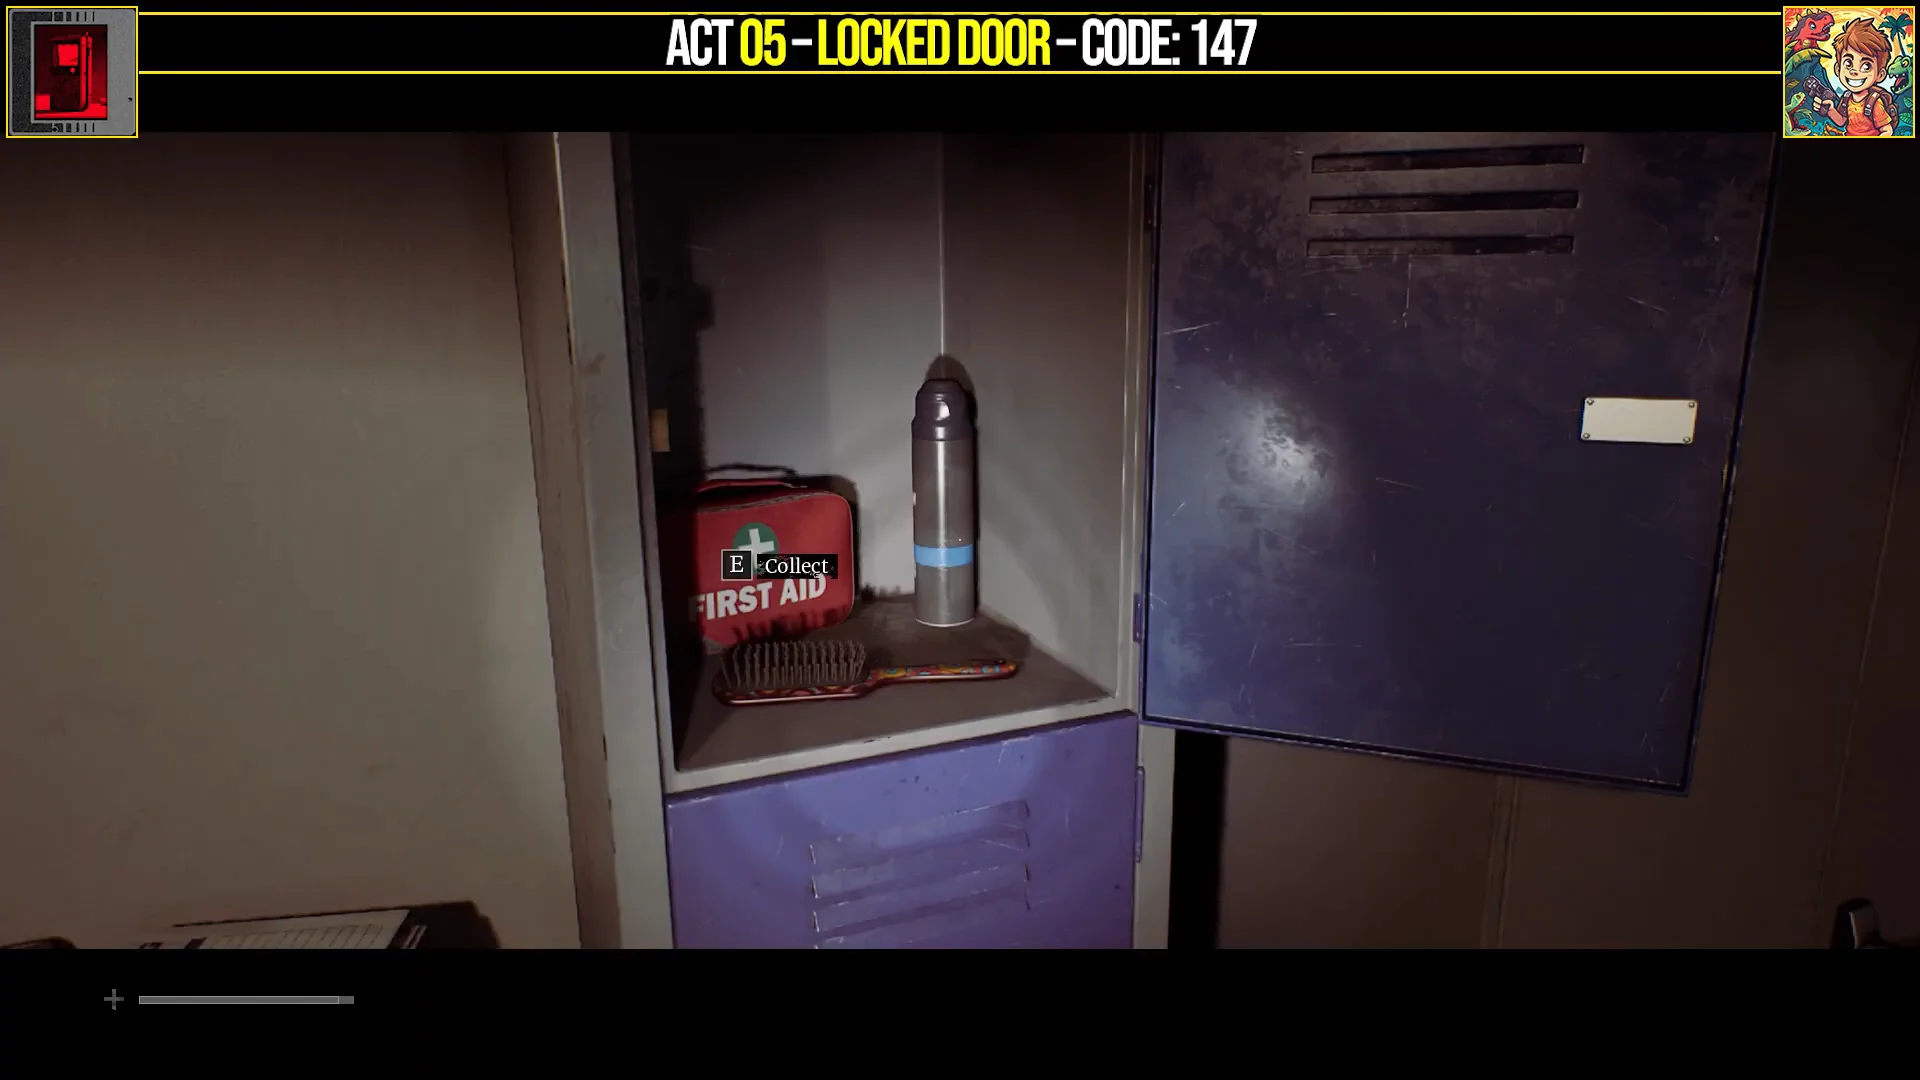
Next, open the rusty locker with combination 0825 to grab the AUX Key and shotgun ammo. Enter the AUX room, open the wall cabinet, and take the pink AUX Disk floppy.
Insert the AUX Disk into the external floppy drive on the green-screen LetterPlus+ terminal. Reading it logs Clue 83/85, Auxiliary Lines, and displays the valve diagram for the pipe room.
In the adjacent pipe room, rotate the valve handles along the walls to match the terminal diagram until every indicator light turns green. The Auxiliary Line IDs from the Remote Systems Control note are your reference.
| Aux Line | ID |
|---|---|
| A | 135 |
| B | 246 |
| C | 357 |
| D | 468 |
| E | 579 |
| F | 680 |
SWDP Control Panel #2 and the door codes
Return to the main control terminal and run the three combinations below to bring the rest of the system online.
| Buttons | Code |
|---|---|
| 2-2 + 4-4 | 246 |
| 1-4 + 3-4 | 781 |
| 2-4 + 3-1 | 592 |
Using the button combination 2-4 + 3-1, enter the override codes 621, 047, and 793 to unlock the surrounding facility doors. Inside room 047, take the Lockbox Key from the counter beside the stool. Inside room 621, open the blue lockbox with that key to claim Resource Container 7/7.
Check the printer tray in the control room and collect the printed Clamp Release Procedure flowchart. This is Clue 84/85, and it maps out the final panel.
Clamp Release puzzle and the Crew Patch
The Clamp Release panel is the last obstacle before the beach. Follow the printed flowchart in order rather than pressing controls at random.
Once the Crew Patch is in your inventory, the act’s Discovery count reads 85/85 and both CRTV signals show 18/18, which confirms Act 6 is fully cleared. With no backtracking available, verify those totals before the story moves you on.