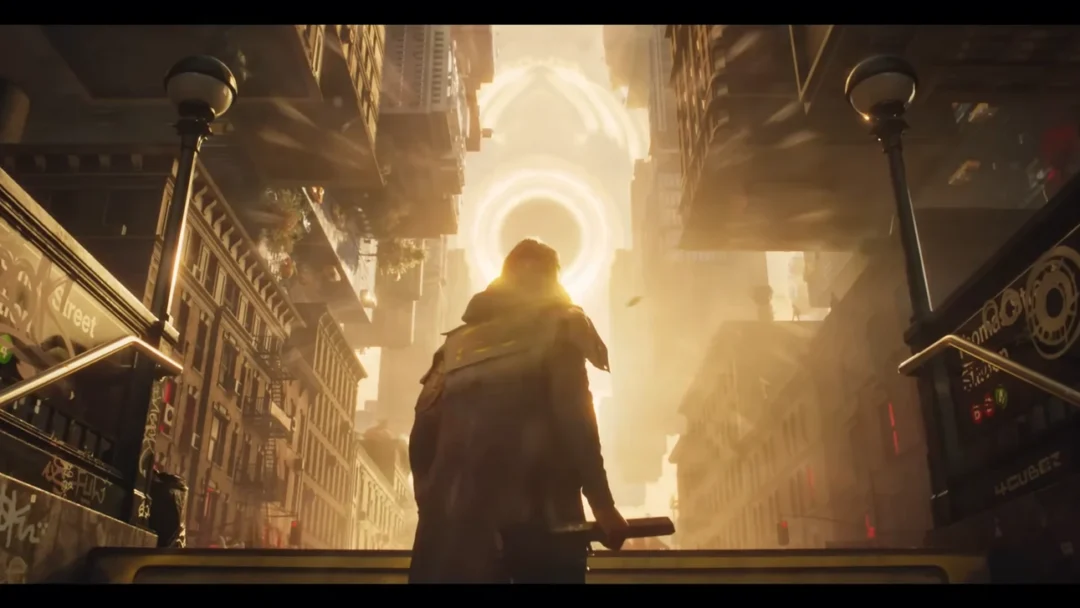
Power Lines is a main story quest in Control Resonant that sends Dylan Faden underground to restore the Manhattan subway grid. Arsh tasks you with rerouting three stations in Central, but activating the third one throws the whole line off-grid and traps you in the infested tunnels. The quest ends only after you calibrate a hidden Vanished Station and free the survivors sheltering there.
Quick answer: Reroute Perimeter, East Park, and Factory Stations by placing power cores and pulling each console lever, survive the tunnels to reach the Vanished Station, calibrate Platform A before Platform B, then talk to Dr. Florez.
Before you start Power Lines
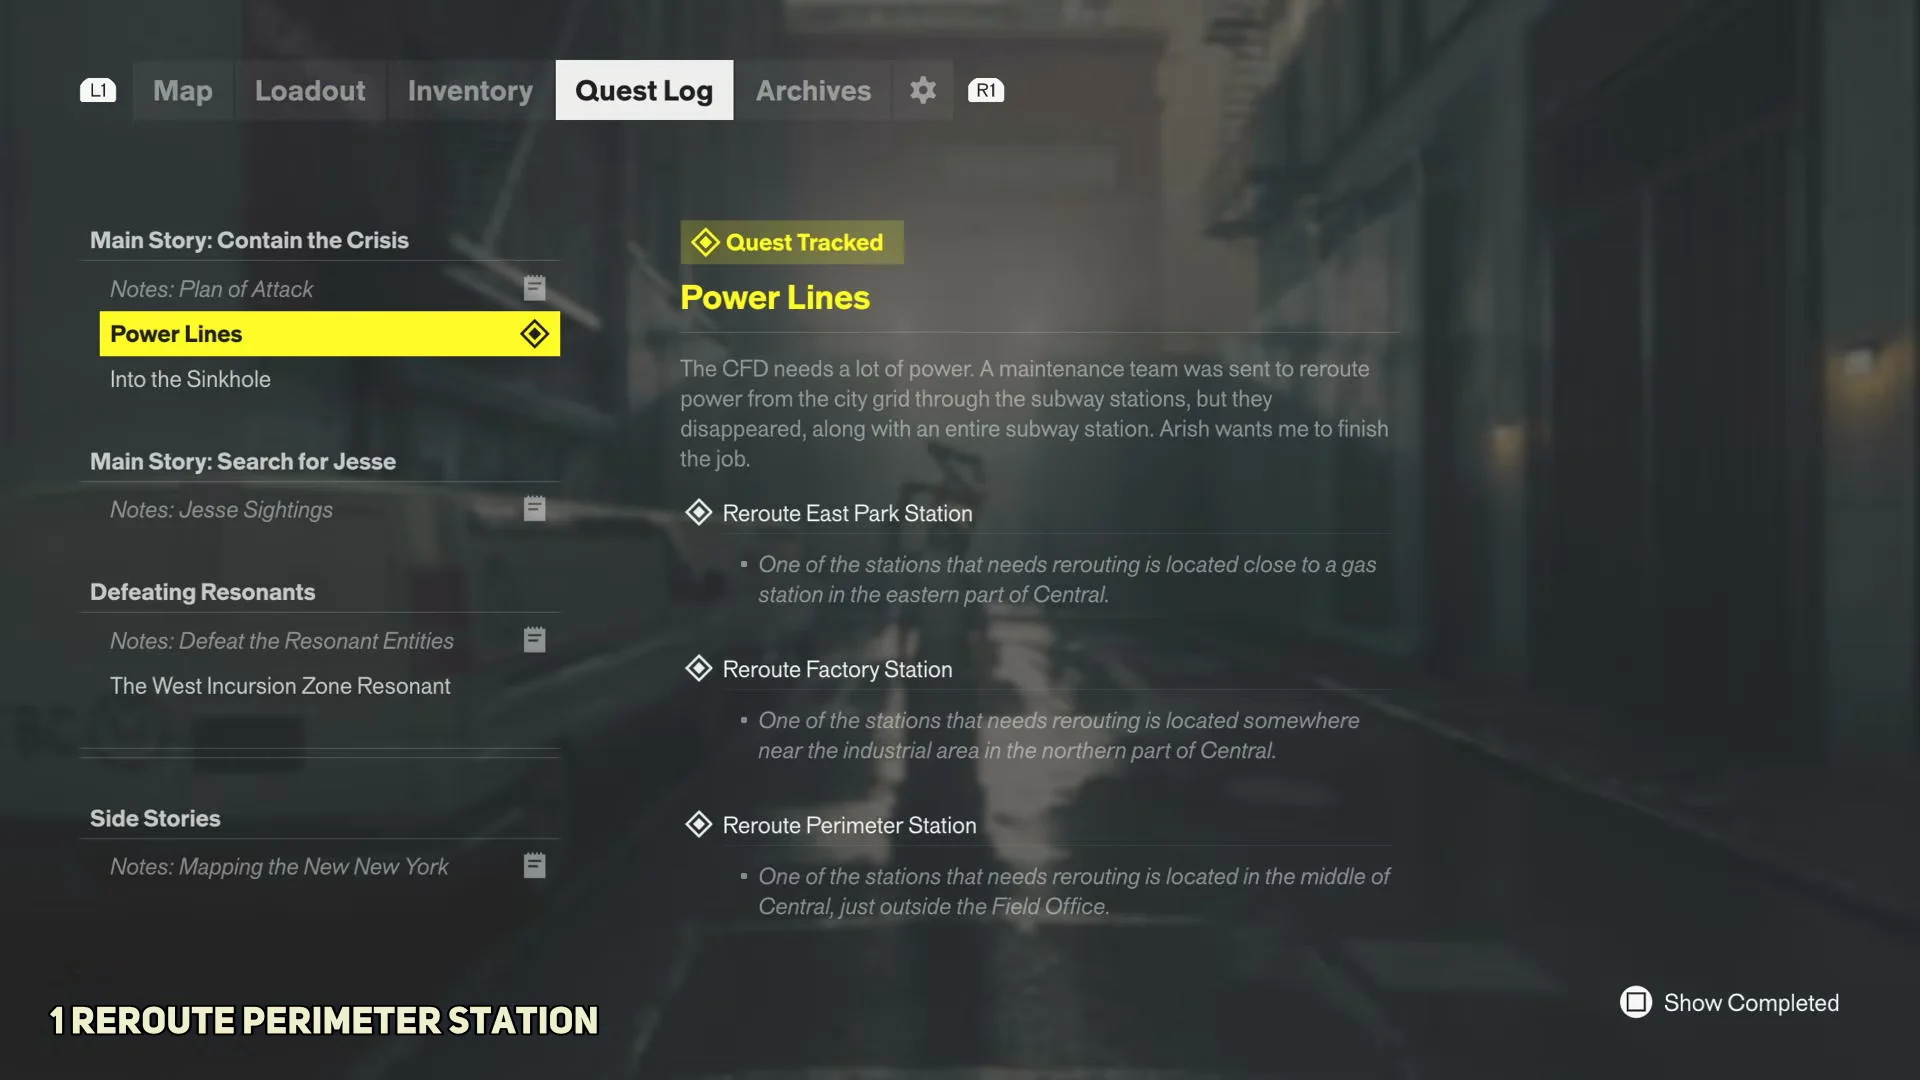
Track Power Lines from the Quest Log and open the Central 3 district map to see the objective markers. You are working out of the Field Office, and the quest expects you to carry a Level 1 Keycard borrowed from Arsh’s desk there, which opens all FBC clearance level 1 doors along the route.
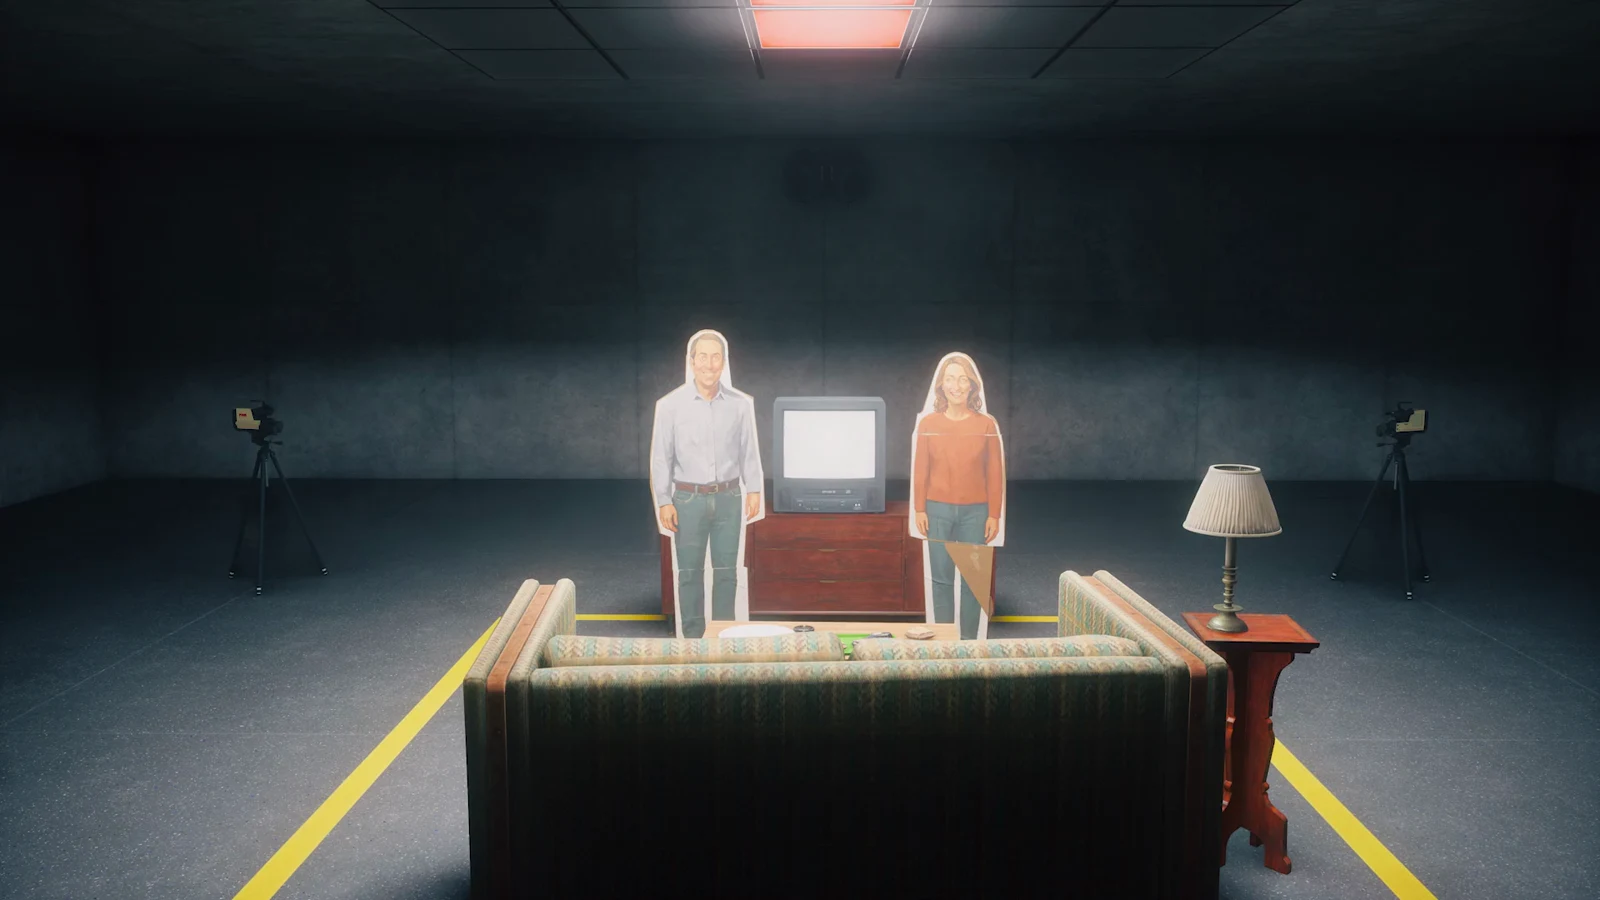
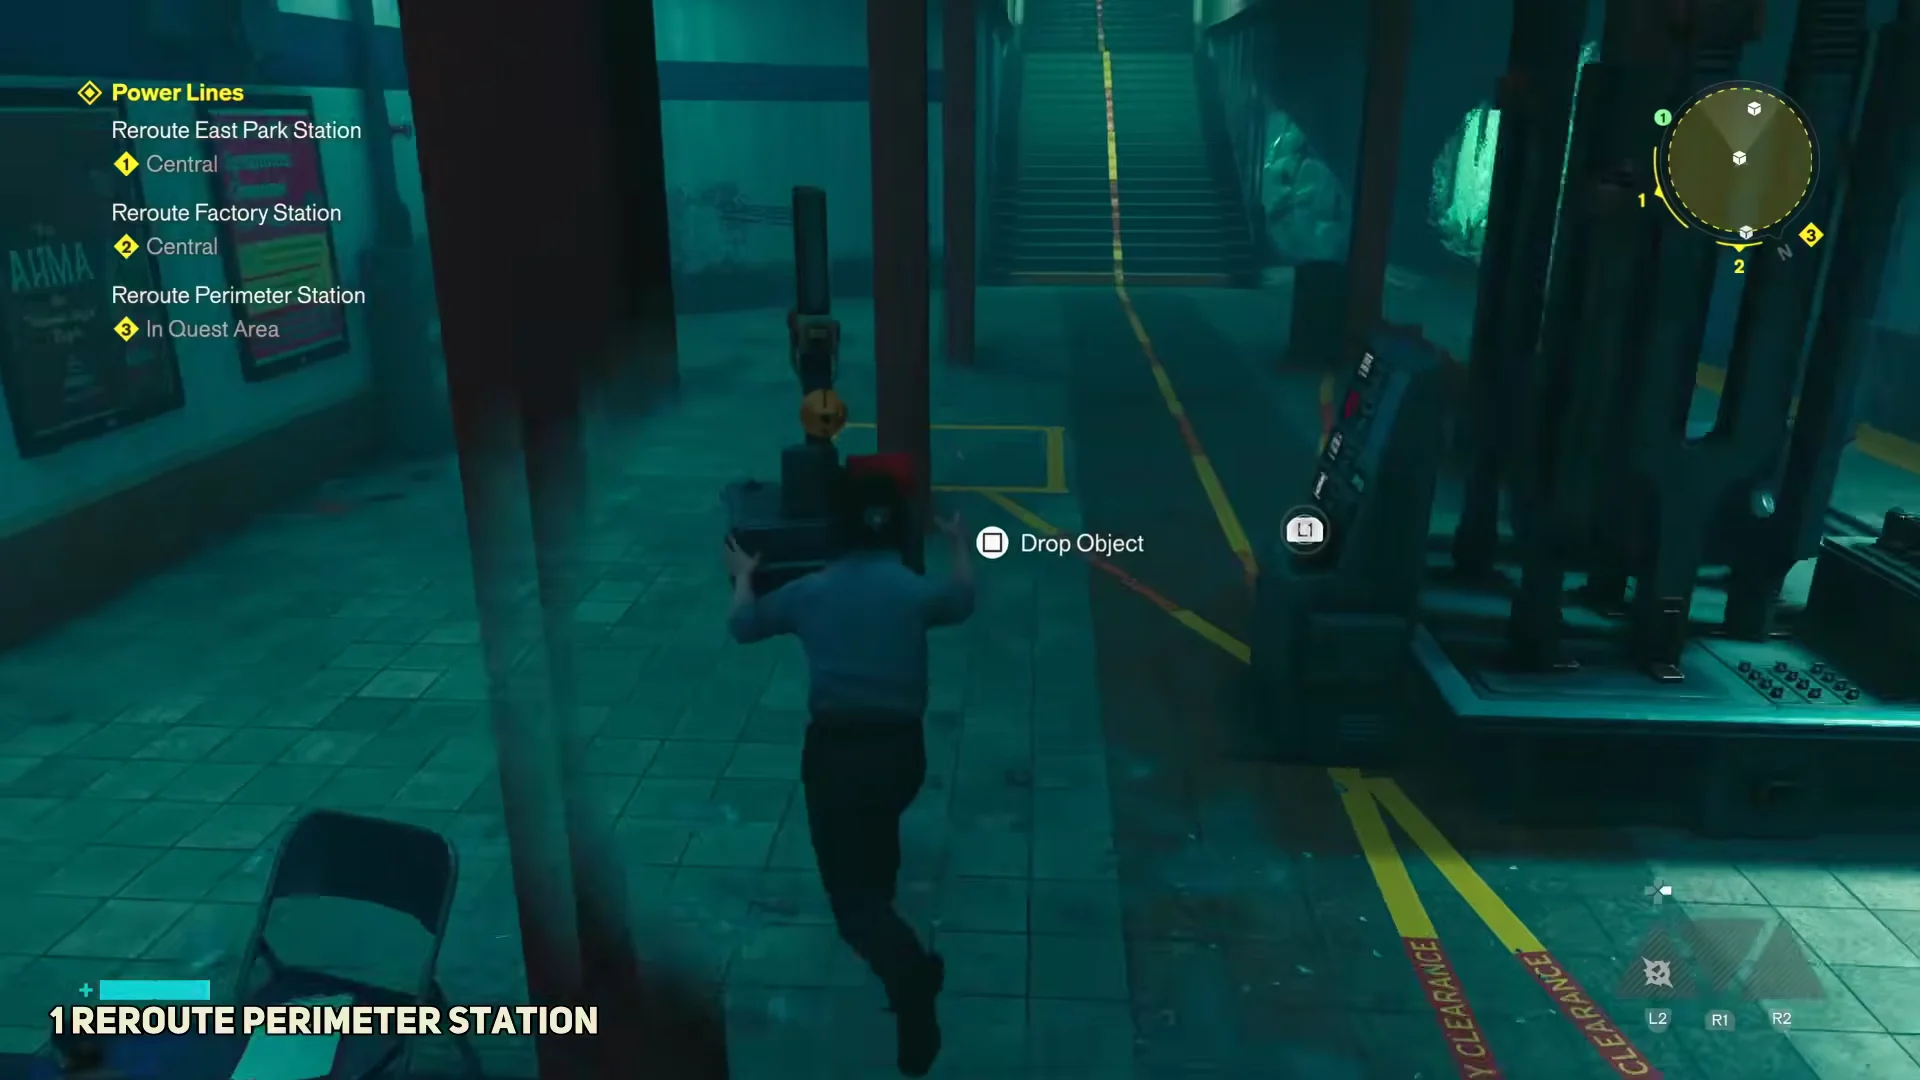
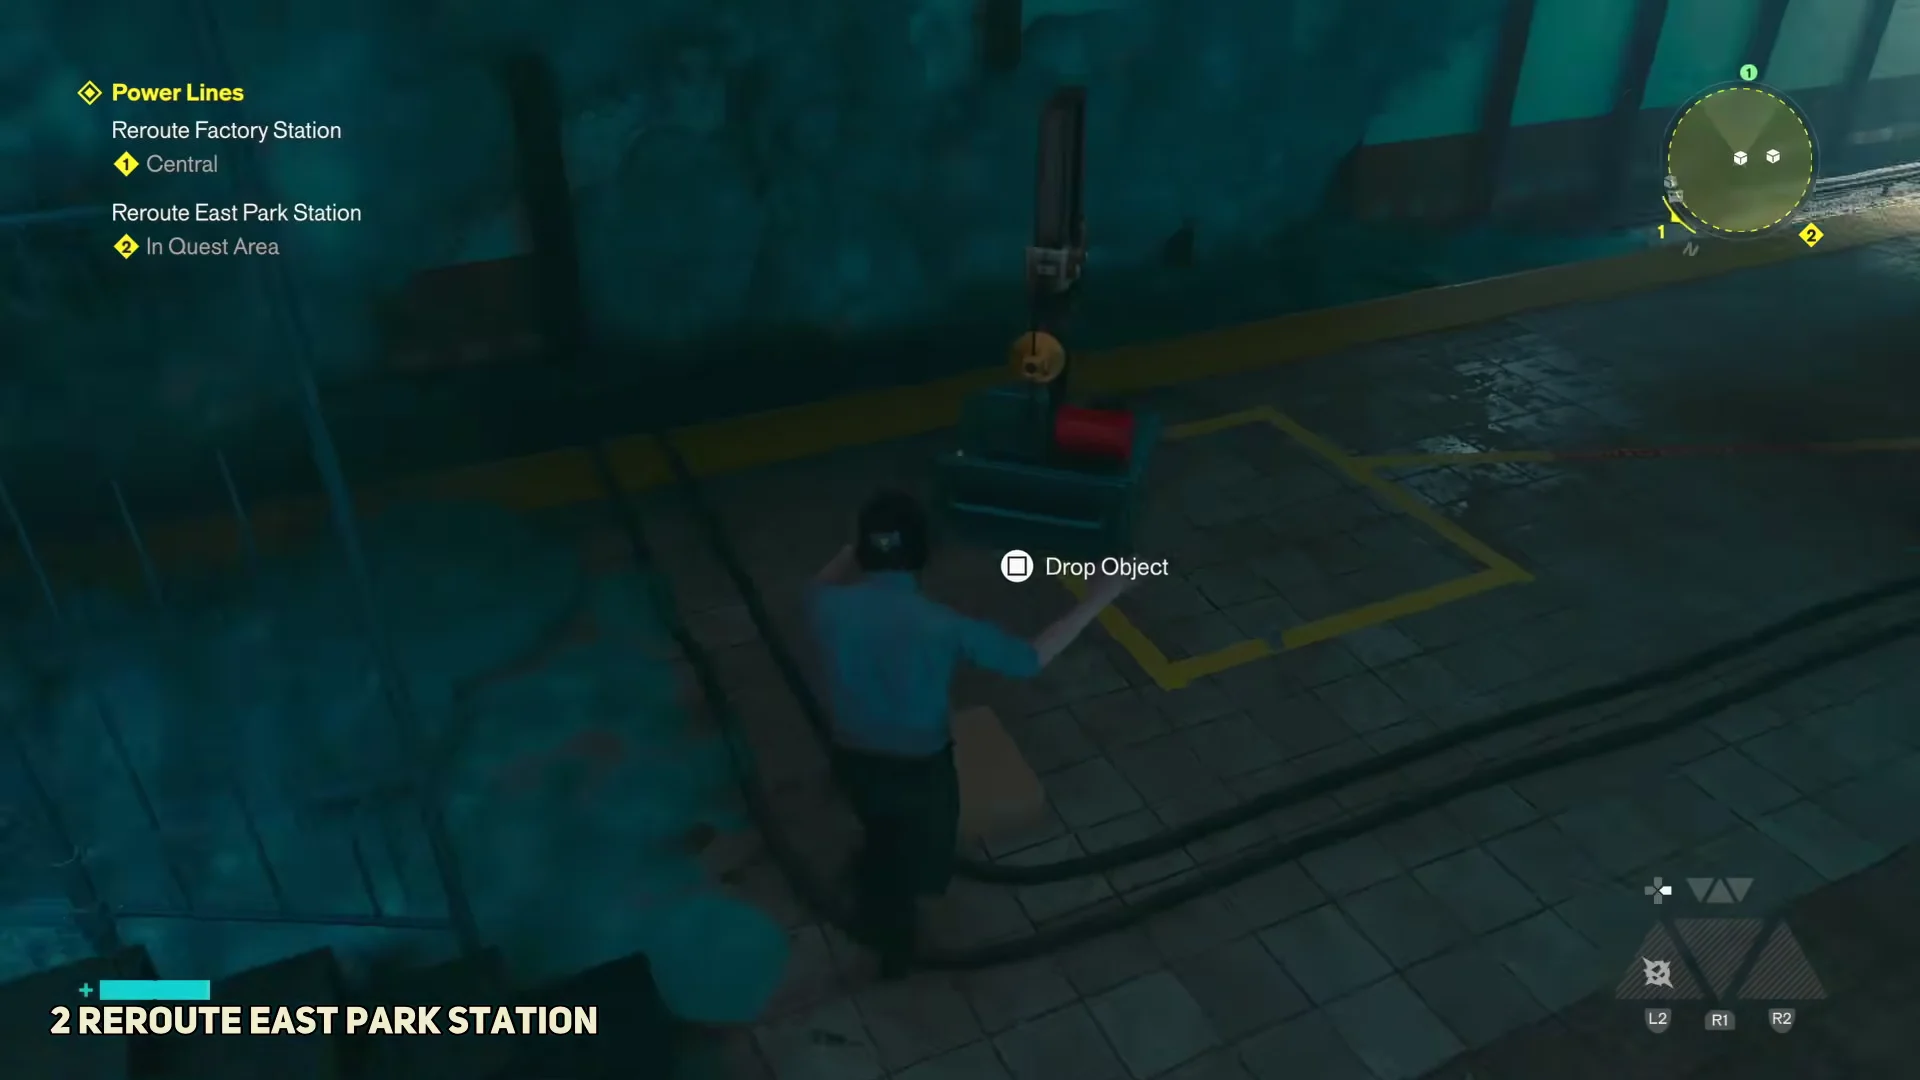
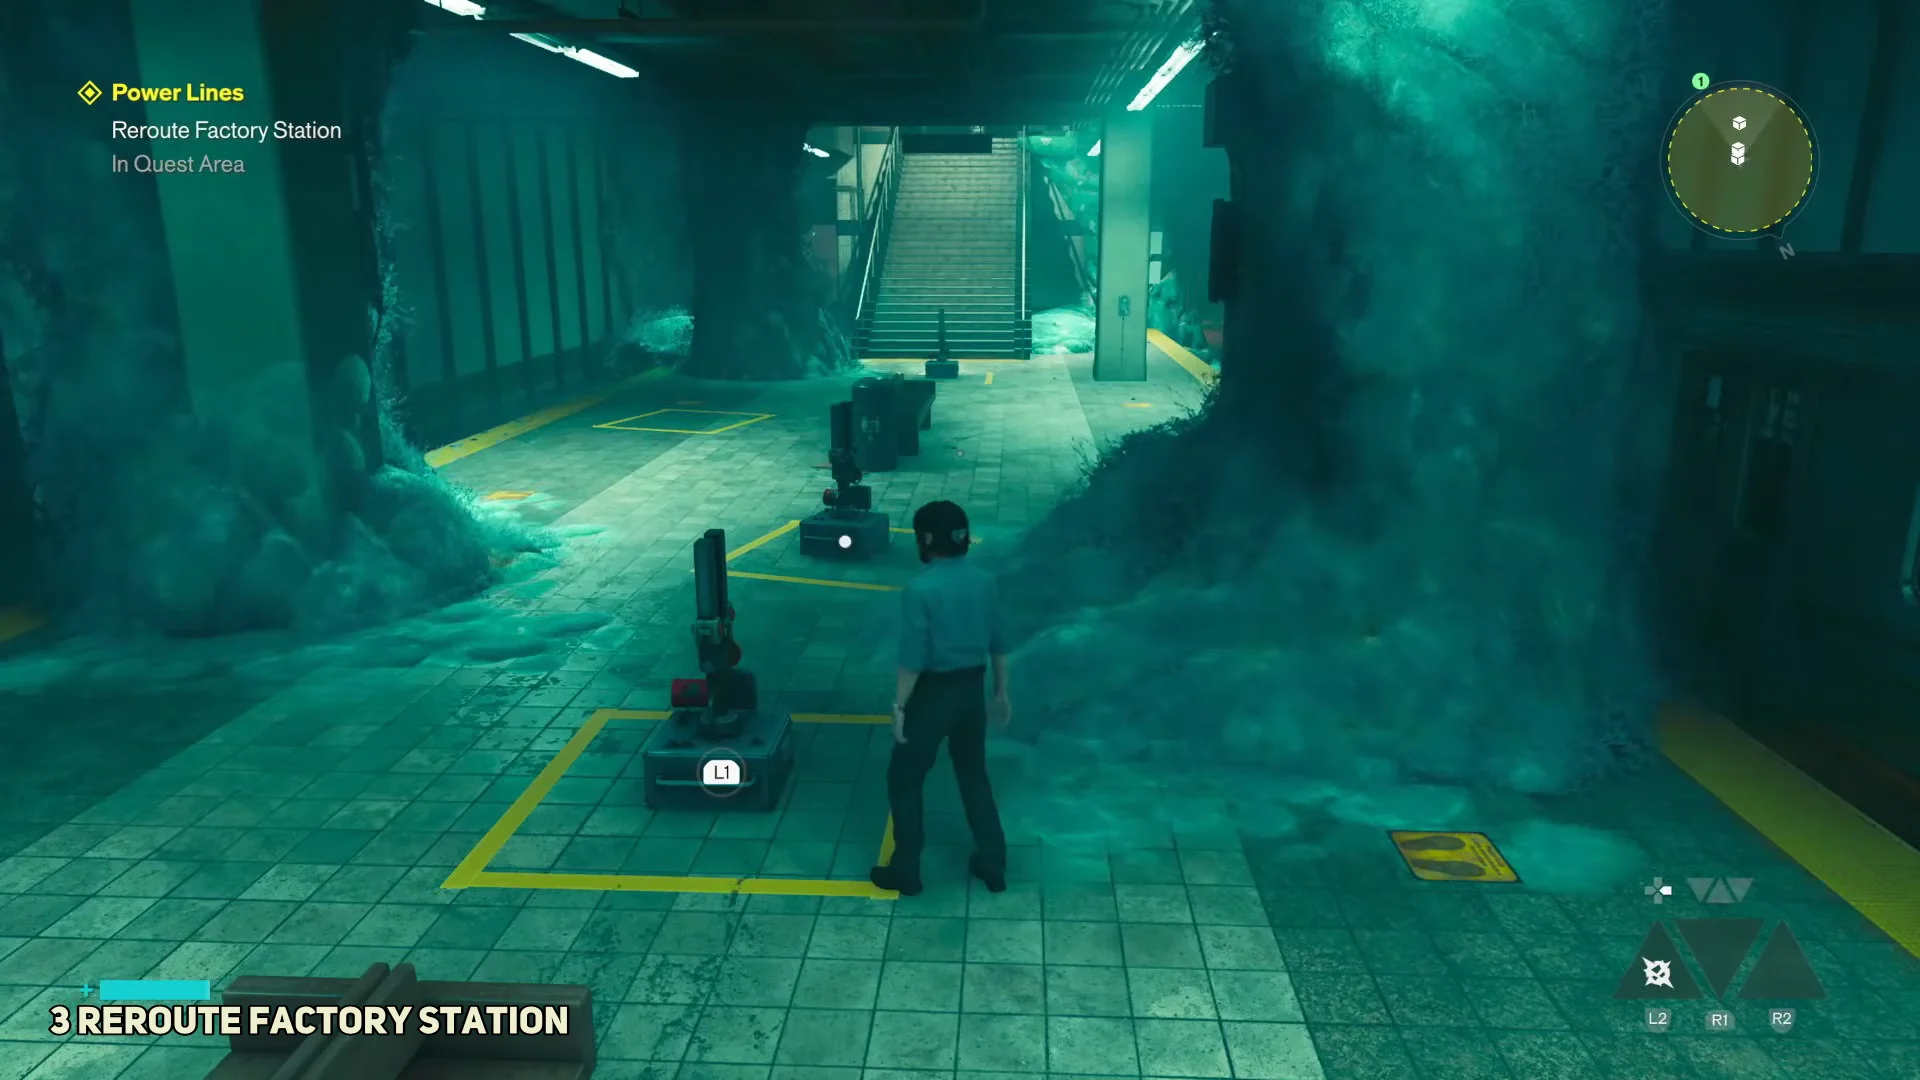
Each of the three surface stations works the same way. Yellow boundary boxes painted on the ground mark where portable power cores must sit, and yellow circuit lines show the wiring they connect. Every required line has to light up green before the main console lever will pull.
Reroute the three Central stations
You visit Perimeter Station, East Park Station, and Factory Station in that order. Note that you cannot pull cores or interact with consoles while carrying an object, so drop or place each core in its socket before moving on.
Perimeter Station
East Park Station
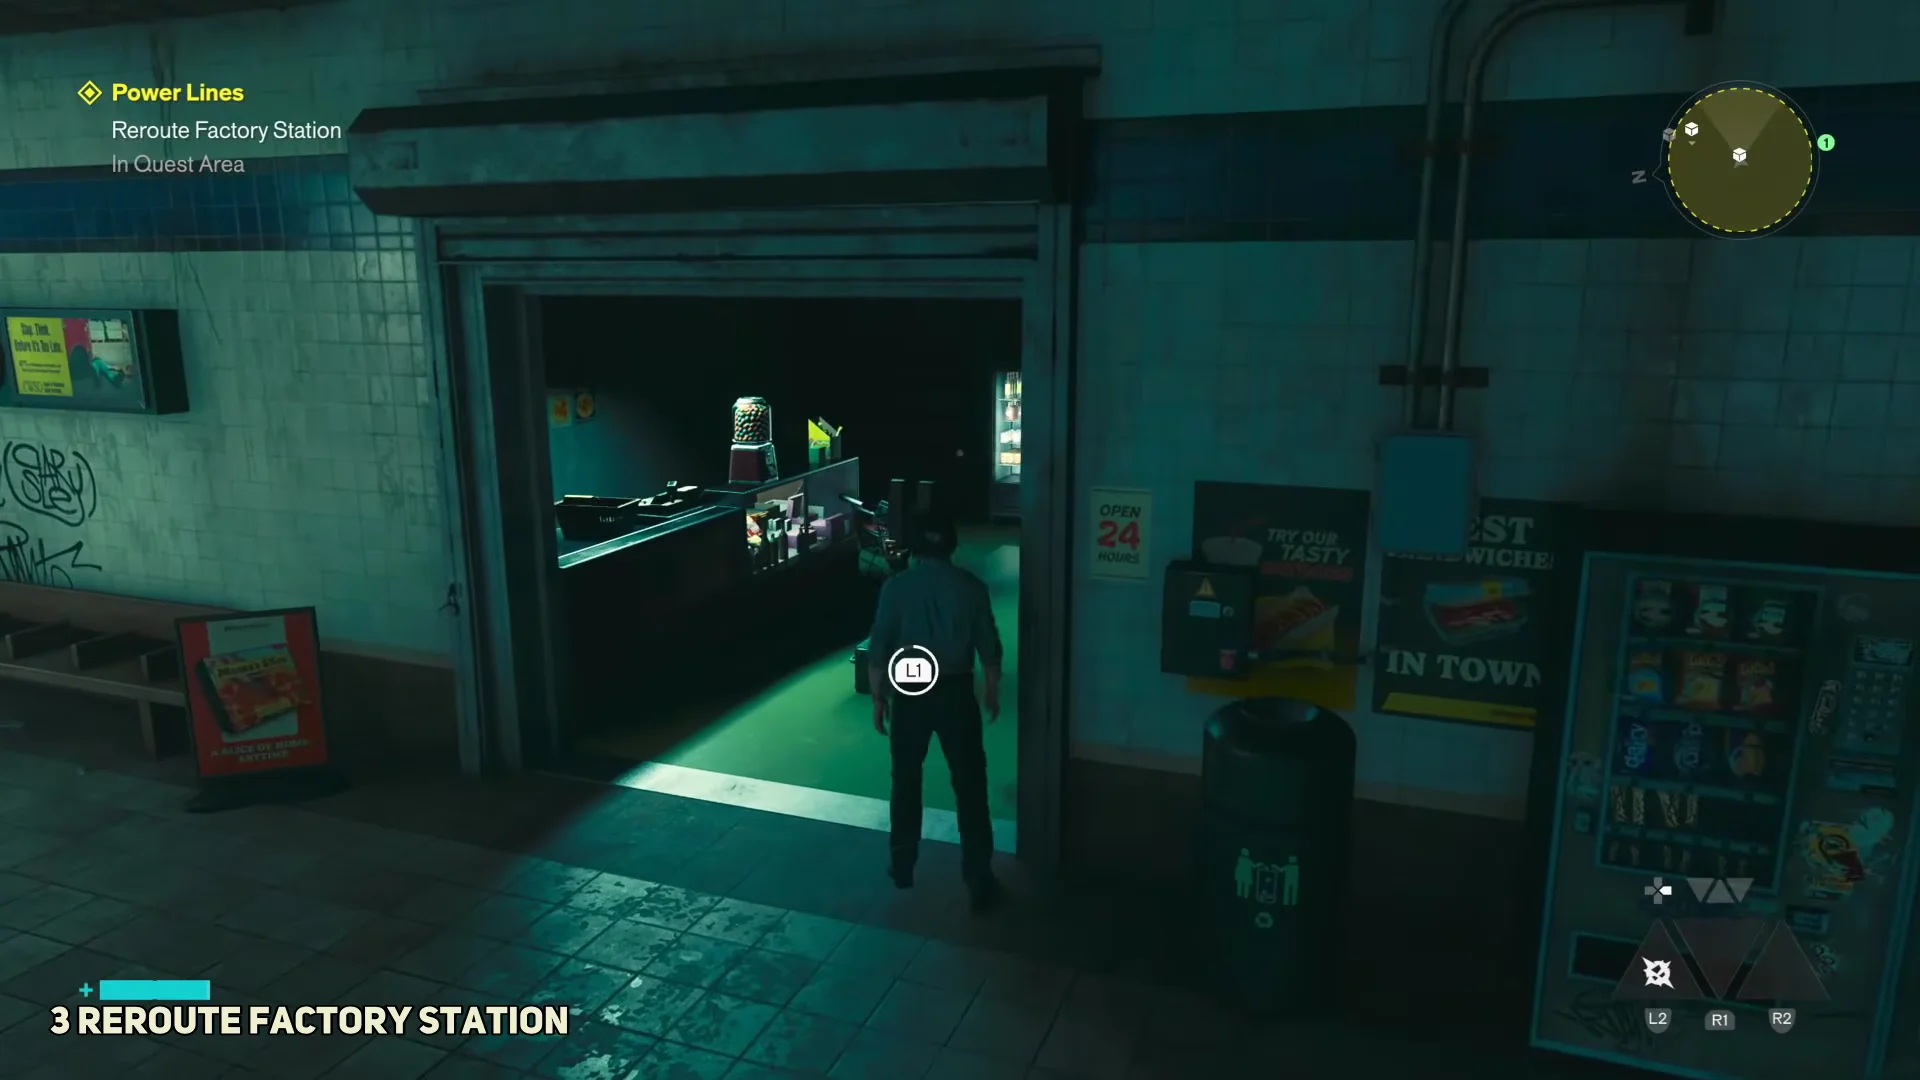
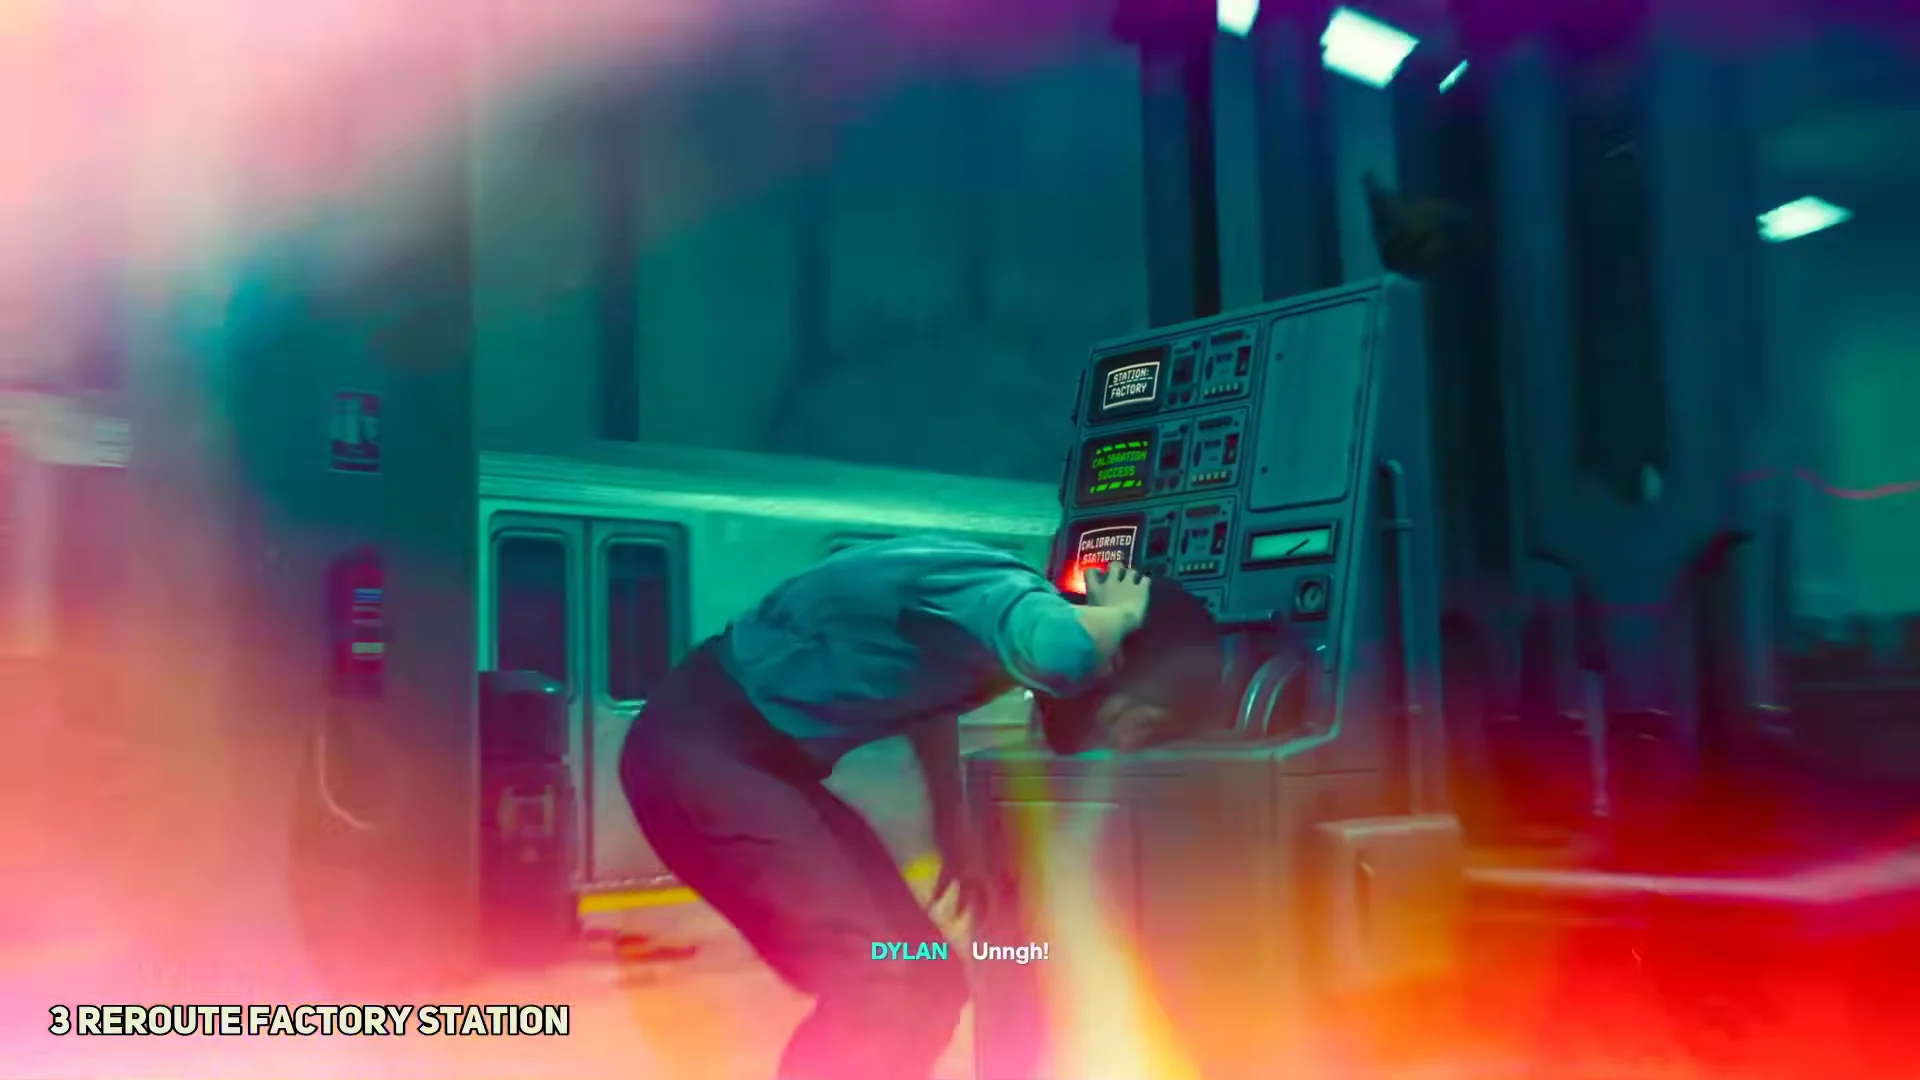
Factory Station
Escape the off-grid tunnels
The objective tells you to head to the surface, but the stairway exit has turned into a solid tiled wall. That dead end is intentional, so turn around and follow the rail tunnel instead.
Move through the darkened tunnel and fight off the Mold hostiles as Dr. Florez breaks in over an emergency radio broadcast. Along the tracks you pass a deceased worker who drops Clarke’s ID Badge, and a platform bench holds a “Notes on Calibration” document worth reading before the puzzle ahead. Keep going until you enter the hidden platform where the maintenance team vanished.
Follow Dr. Florez’s voice to a shutter blocked by Mold growth. Melee the Mold clump to clear the roller door and meet the doctor and the stranded civilians.
Calibrate the Vanished Station
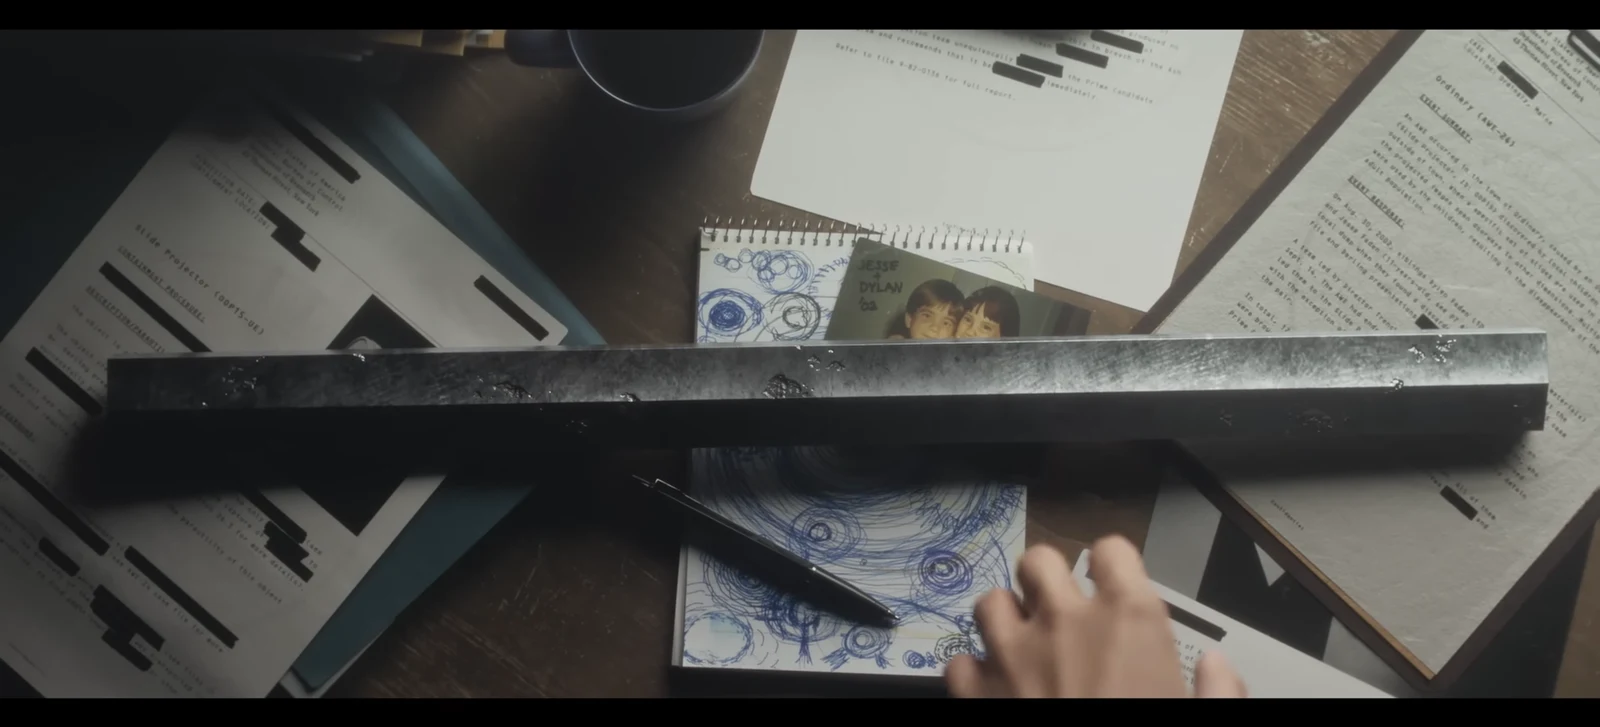
The Vanished Station has two platforms, each with its own calibration unit, instead of a single console. The maintenance crew’s notes spell out the rule that matters here.
- There are two tuning devices, marked A and B, and A must be calibrated first.
- Using a tuning device in the wrong order causes physical transposition to the other platform.
- Mold masses conduct electricity, bridging broken cable ends to carry current to distant terminals.
Finish the quest and confirm your rewards
Return to Dr. Florez and speak with her to confirm the rescue. The quest log flips to Quest Completed, the district map updates with the restored station, and finishing the dialogue grants +1 Living Shard.
| Reward | When you get it |
|---|---|
| Talent Point +1 | Clearing the station ambush |
| +1 Living Shard | Talking to Dr. Florez at completion |
Once the map shows the reconnected line and the log reads Quest Completed, Power Lines is done and you can move on to the next tracked objective in Central.