Control Resonant: Contain the Crisis Walkthrough (Full Quest Arc)
Every objective in the six-quest main story arc, from leaving the Oldest House to destroying the Cancellation Field Device.
Every objective in the six-quest main story arc, from leaving the Oldest House to destroying the Cancellation Field Device.
by AllThingsHow Staff
Image: Remedy Entertainment
Contain the Crisis is the main story arc that carries Dylan Faden out of the Oldest House and across a quarantined Manhattan overrun by the Hiss. It runs as six connected quests, each feeding directly into the next, and ends atop the Cancellation Field Device platform overlooking the city. Dylan works throughout under his FBC handler, Zoe de Vera, while wearing a monitored tracking collar marked with the containment designation P6.
Quick answer: Complete the six quests in order — Welcome to Manhattan, Evacuation Procedures, Arish’s Briefing, Power Lines, Into the Sinkhole, and Enemy of My Enemy — finishing by striking the CFD core with the Aberrant.
Welcome to Manhattan: pylon, power core, and the supply route
The arc opens with the objective Leave the Oldest House. Step out of the FBC facility into the rain-soaked Downtown streets, where Zoe establishes radio contact and the first waypoint appears on the map.
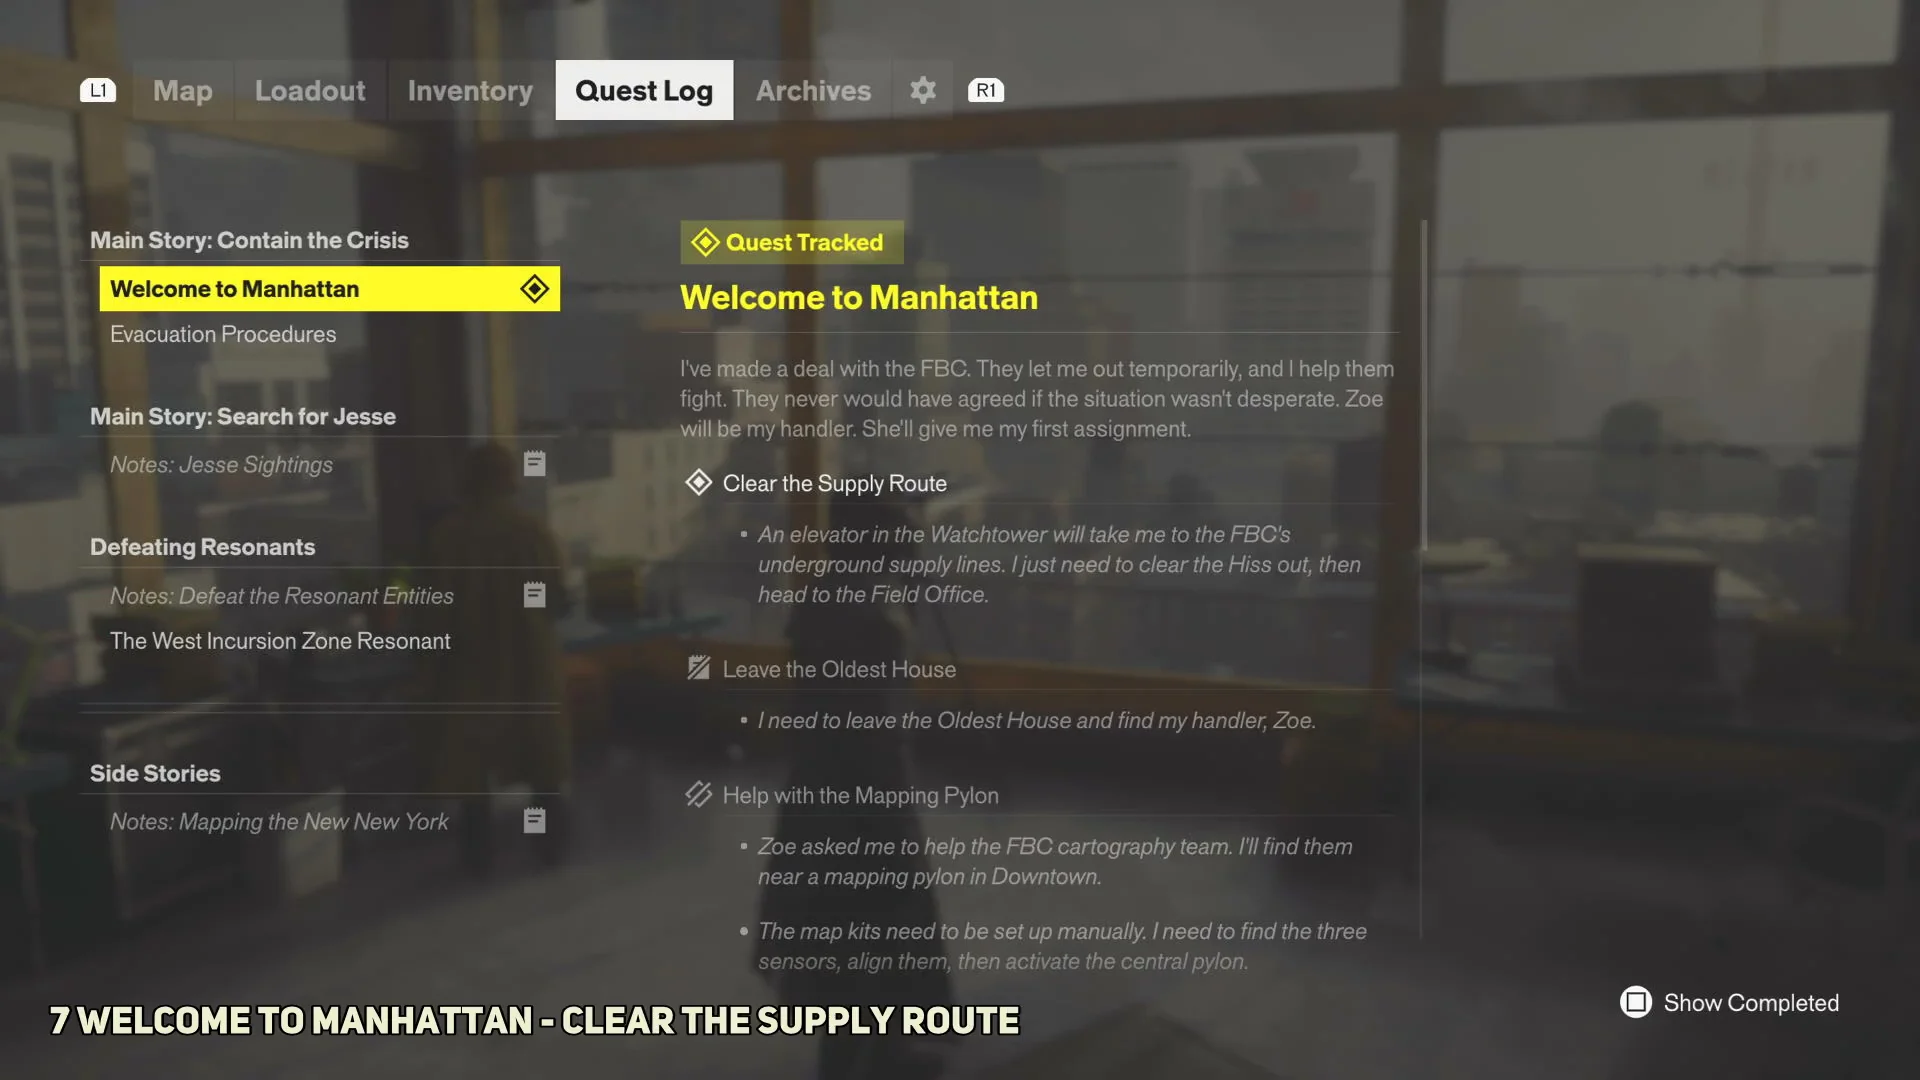
Follow the objective Help with the Mapping Pylon. Head toward the green flare smoke, parkour onto the rooftops, and calibrate the first satellite sensor dish you find. Each zone map is revealed by aligning three of these dishes on the roofs around a central pylon.
Meet Maintenance Worker Thorne near the central pylon to learn about the airdropped map kits and sensor alignment. Calibrate the remaining two sensors on nearby roofs, then return to the central pylon and pull the activation switch. This unlocks the Downtown map and awards a Talent Point.
Complete Find the Maintenance Worker by tracking the marker to Baker’s position. Baker has abandoned his post, leaving behind a servicing diagram and a note, so the power core job falls to Dylan.
For Move the Charge to Central Checkpoint, pick up the portable power cores and carry them one at a time across the street stations and barricades to the Central Checkpoint terminal. Placing the final core restores power and immediately triggers a Hiss ambush.
Fight beside FBC Rangers against successive Hiss Pursuers and Hiss Elevated to complete Defeat the Hiss. Use melee attacks and Aberrant weapon abilities. Then enter the security airlocks, cross the decontamination chambers, and reach the Central sector.
Meet Zoe at the Watchtower in her upper office overlooking Manhattan. The briefing covers the city’s zones, the Evacuation Zone, and Arish’s missing security team, then hands you Clear the Supply Route.
Take the Watchtower elevator down into the Underground Supply Route. Solve the power block routing puzzles to open the locked blast gates, fight through Hiss Thugs and corrupted entities in the dark railway tunnels, and loot the Health Upgrade station inside the commercial shop at the Central Subway Station.
Emerge into Central Manhattan and take on Get a Security Keycard. Gate Ranger Larsen and Gate Guard Jackson block you at the Field Office gate until Zoe clears you over the intercom. Enter the Verconn Tower lobby and take the Level 1 Keycard from Arish’s desk.
Evacuation Procedures: reach the zone and rescue Arish
This quest sends Dylan into the heavily corrupted Evacuation Zone to investigate tremors and locate the FBC Head of Security.
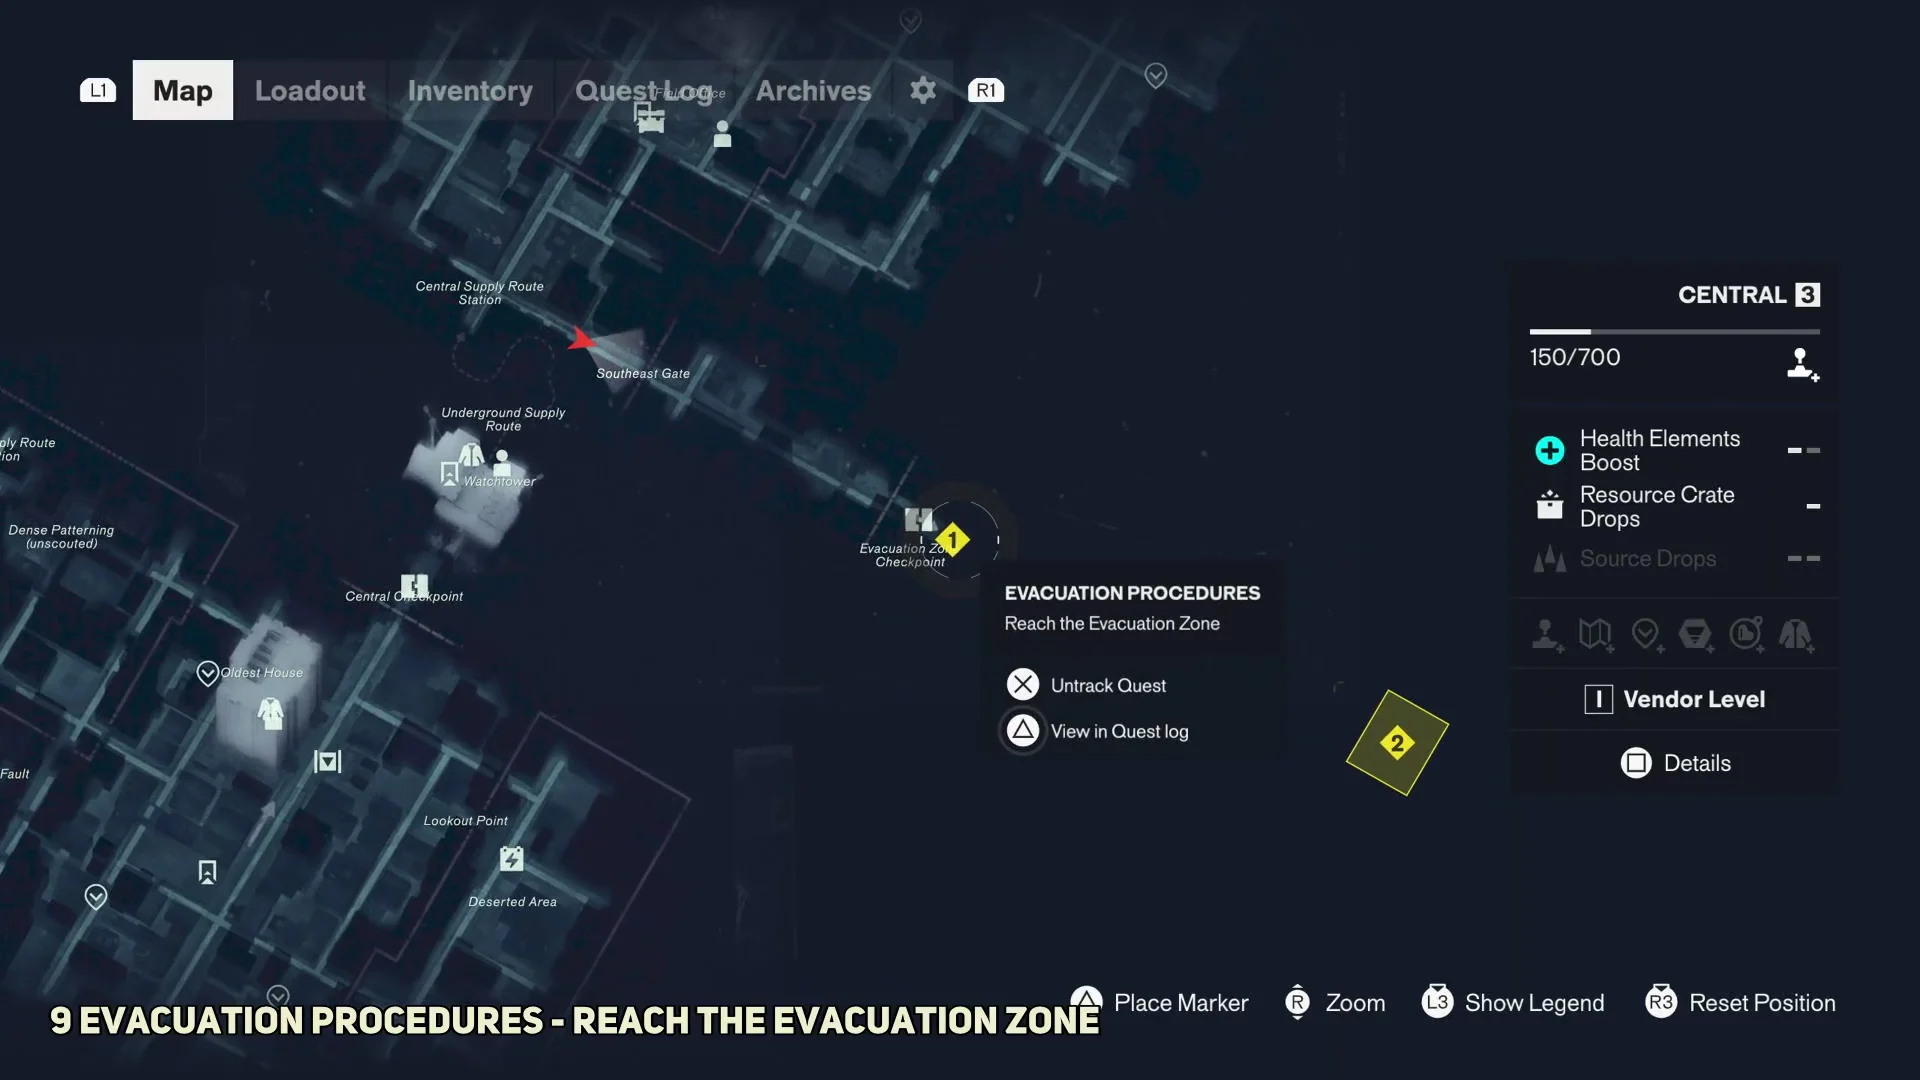
Head southeast for the Evacuation Checkpoint. Eliminate the Hiss groups and armored enemies beyond the gate before going through the airlock. Once inside, climb the scaffolding on the crimson-lit high-rise to find an entrance to the Evac Building. On its exterior terraces, solve the vertical power socket puzzle to turn on the interior elevator.
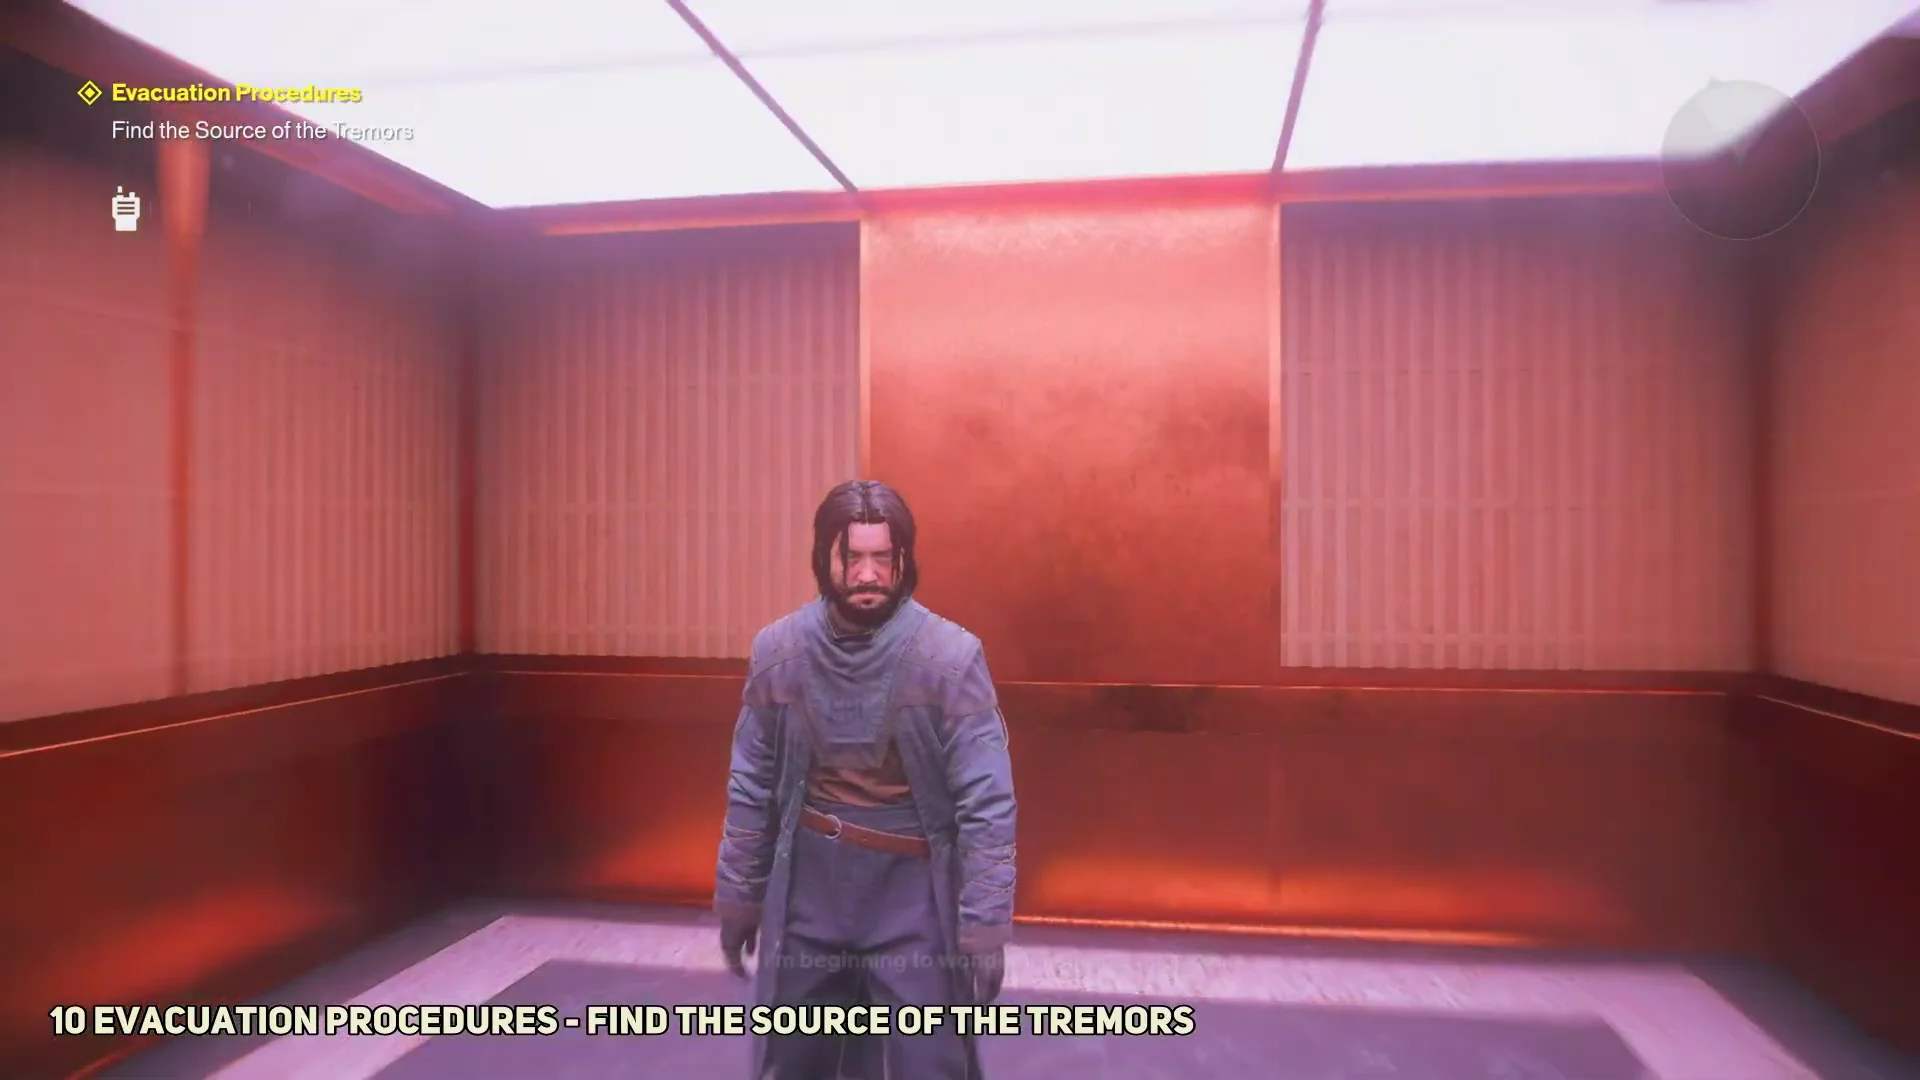
Ride the elevator toward the 12th floor. The cabin distorts into swirling crimson as Dylan relives memories of his Oldest House containment and conversations with Darling and Arish.
Follow the distress calls through the corridors on the 12th floor, then ride the elevator up to floor 15. Force your way through the blocked security doors and enter the spatial void, where hundreds of bodies hang suspended. This completes Locate the Survivor.
Find Arish alive in the void, low on Black Rock injector fluid. Escort him back toward the service elevator for Get Arish Out Alive. When the doors jam, pry them open. Arish hands over a Level 2 Keycard and stays behind to hold the line.
Complete Escape the Building by battling Hiss Elevated in great numbers and heavy combatants as you descend through the collapsing multi-story atrium to the ground-floor exit. Emerging onto the Evacuation Zone streets earns the Rescue Mission trophy and takes you back to Field Command. There, recovered Arish explains the Cancellation Field Device plan.
Power Lines: reroute the three subway stations
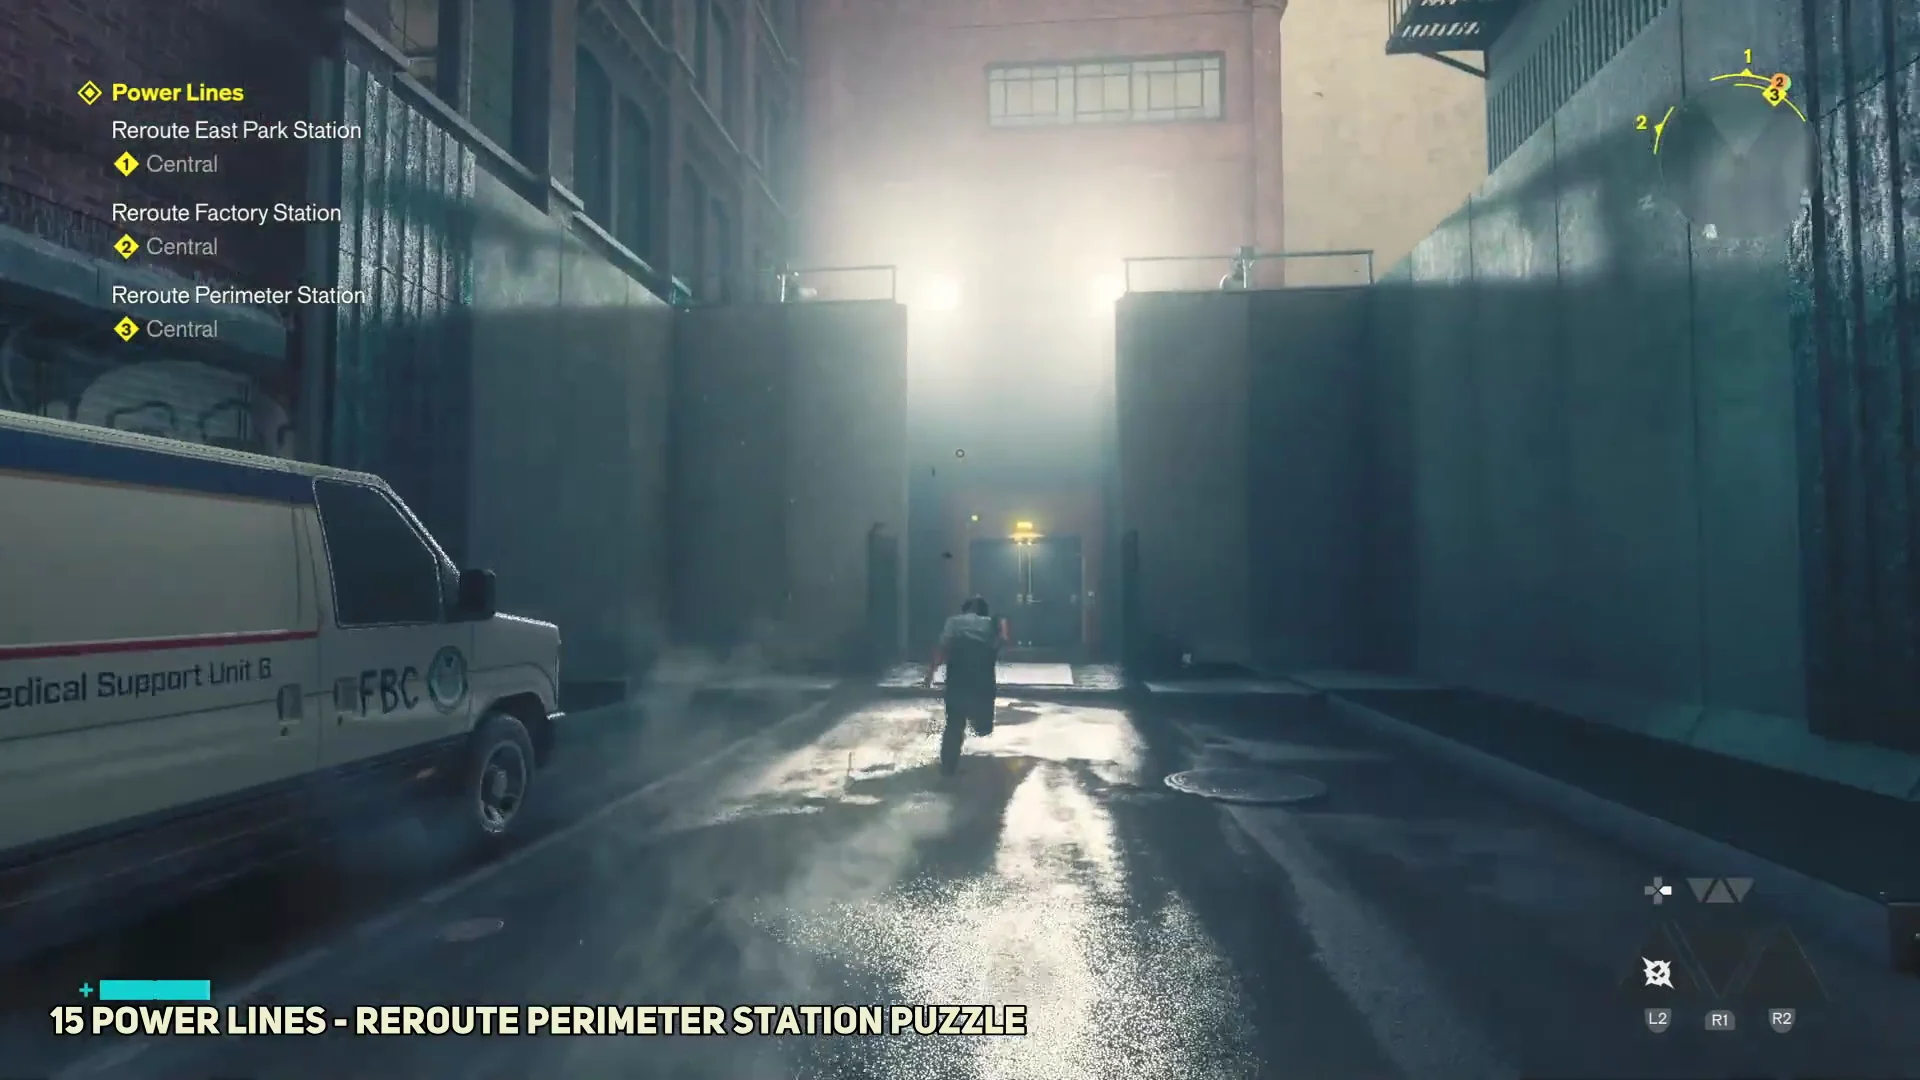
The CFD needs power, so Dylan has to restore three underground stations. Each uses a cable-and-core socket puzzle, and the Mold reacts to light and interferes with the power cables, so keep that in mind as you route each circuit.
Clear the Mold-infested platforms at Factory Station and complete the multi-stage relay alignment. Activating the terminal hits Dylan with psychic feedback as the whole station phase-shifts into an extradimensional pocket.
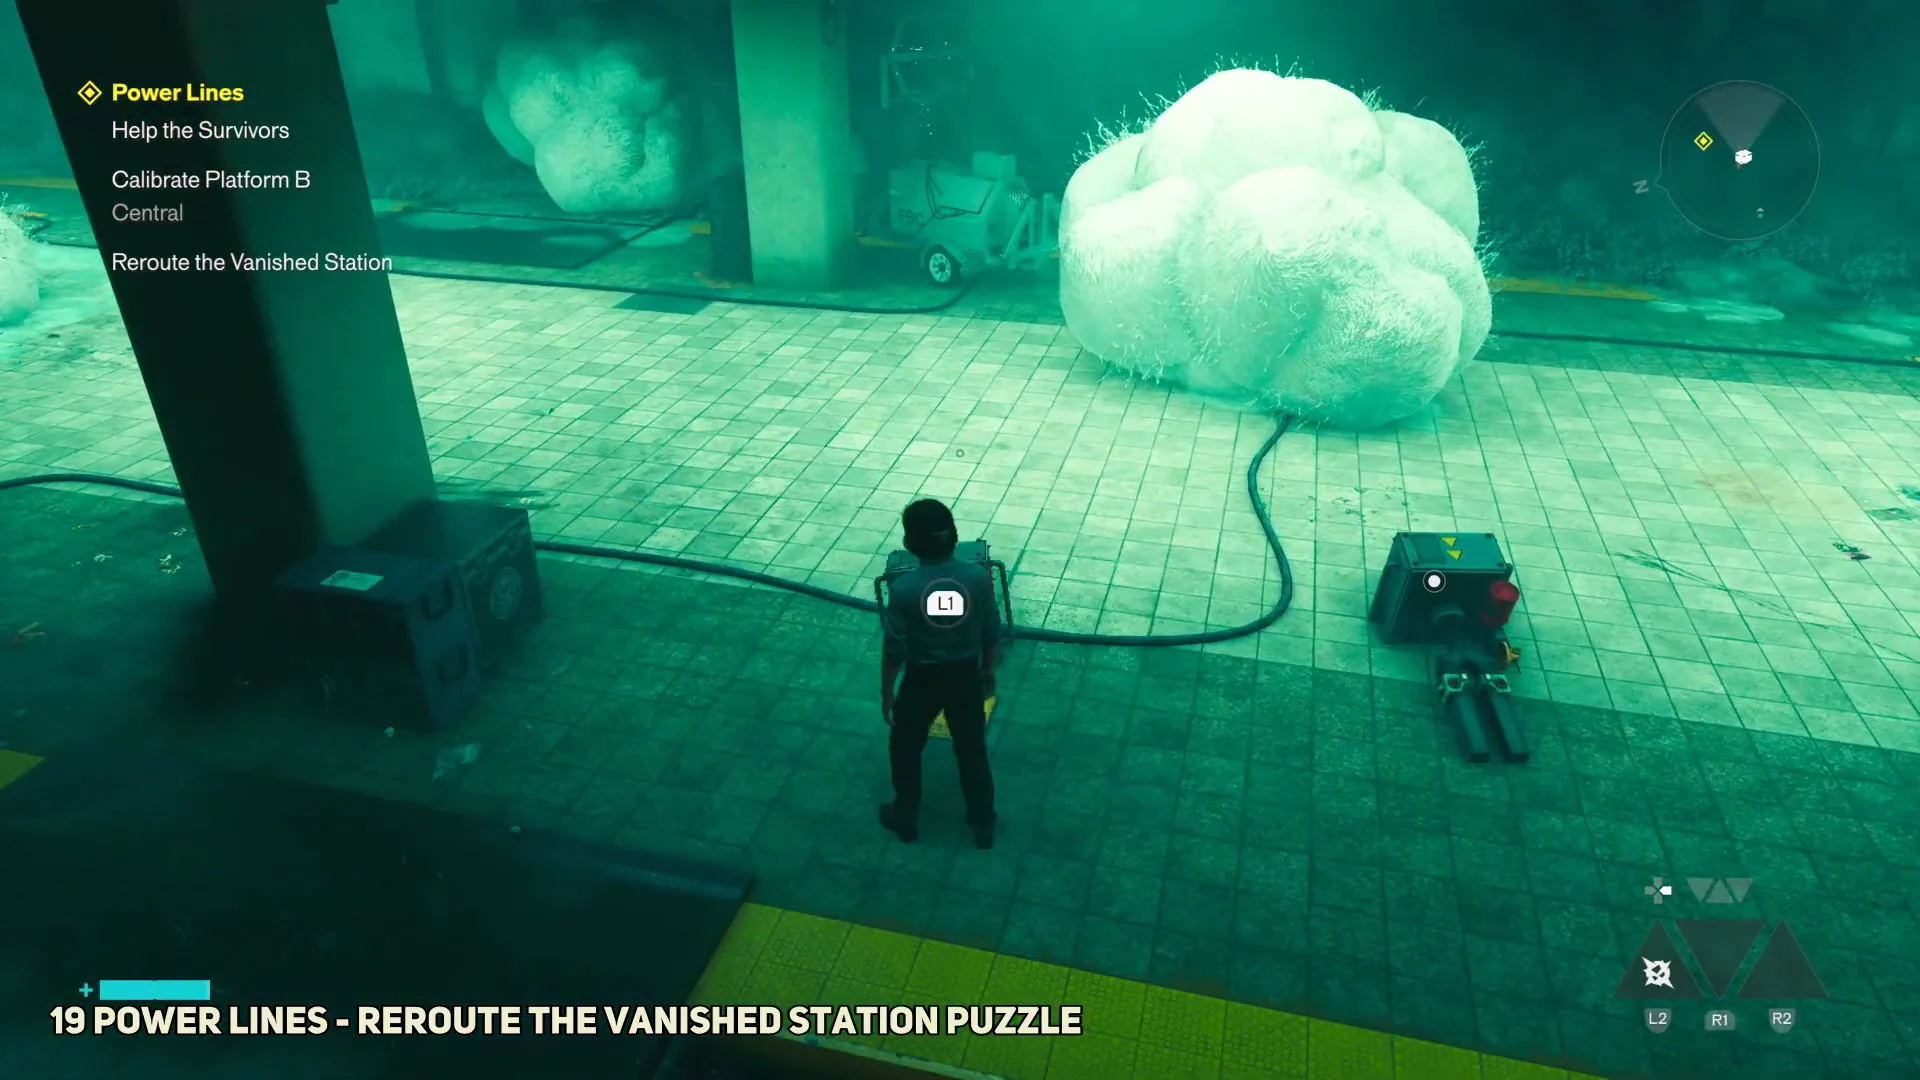
In the Vanished Station, follow Dr. Florez’s instructions over the intercom and defeat the Mold Spreaders blocking the tunnel. Check the calibration notes for the tuning devices, A and B; calibrate A before B.
Move the battery cells between Platform A and Platform B to restore the synchronicity relays. Finishing the puzzle returns the station to Manhattan space. Speak with Dr. Florez before heading out to close Power Lines.
Into the Sinkhole: escort and install the probe relays
Head back through the Evacuation Checkpoint to the central crater and board the FBC diving bell platform on the excavation rig.
Descend in the diving bell while Zoe works the winches. Halfway down, Hiss resonance throws the rig off balance, and Dylan must repel flying Hiss entities on nearby scaffolding. Once they are defeated, the descent continues into the impossible subterranean sphere.
Once you reach bedrock, retrieve the probe relays at the central dispenser and deliver them to the chamber’s three lit rooftop platforms. After all three are installed, activate the final beacon to unleash energy surges that tear the environment apart.
Escape the collapsing Sinkhole by parkouring upward through floating apartment rooms and gravity-defying office ruins. Follow the nursery-rhyme melody up the shifting vertical corridors and inverted apartment tower, then drop through a basement chute into a laundromat to reach the street surface.
Enemy of My Enemy: defend and destroy the CFD
The arc’s final quest puts the assembled Cancellation Field Device through a live test during an all-out Hiss assault. Emily Pope builds the device around a Resonant entity’s corpse, suspended within a massive gimbal rig, to project a resonant frequency that counters the Hiss.
Report to Pope at the Field Office to learn the CFD is nearly assembled but needs live testing, then travel through the Evacuation Checkpoint to Arish at the rooftop CFD platform. Arish orders Dylan taken back to his cell until Hiss tremors strike the installation and he is forced to release him.
Drop down to the street barricades and defend them from waves of Hiss Ruiners, Elevated, and troopers targeting the power cables. When the ground forces can no longer hold, follow the order to withdraw to the primary CFD crane platform above.
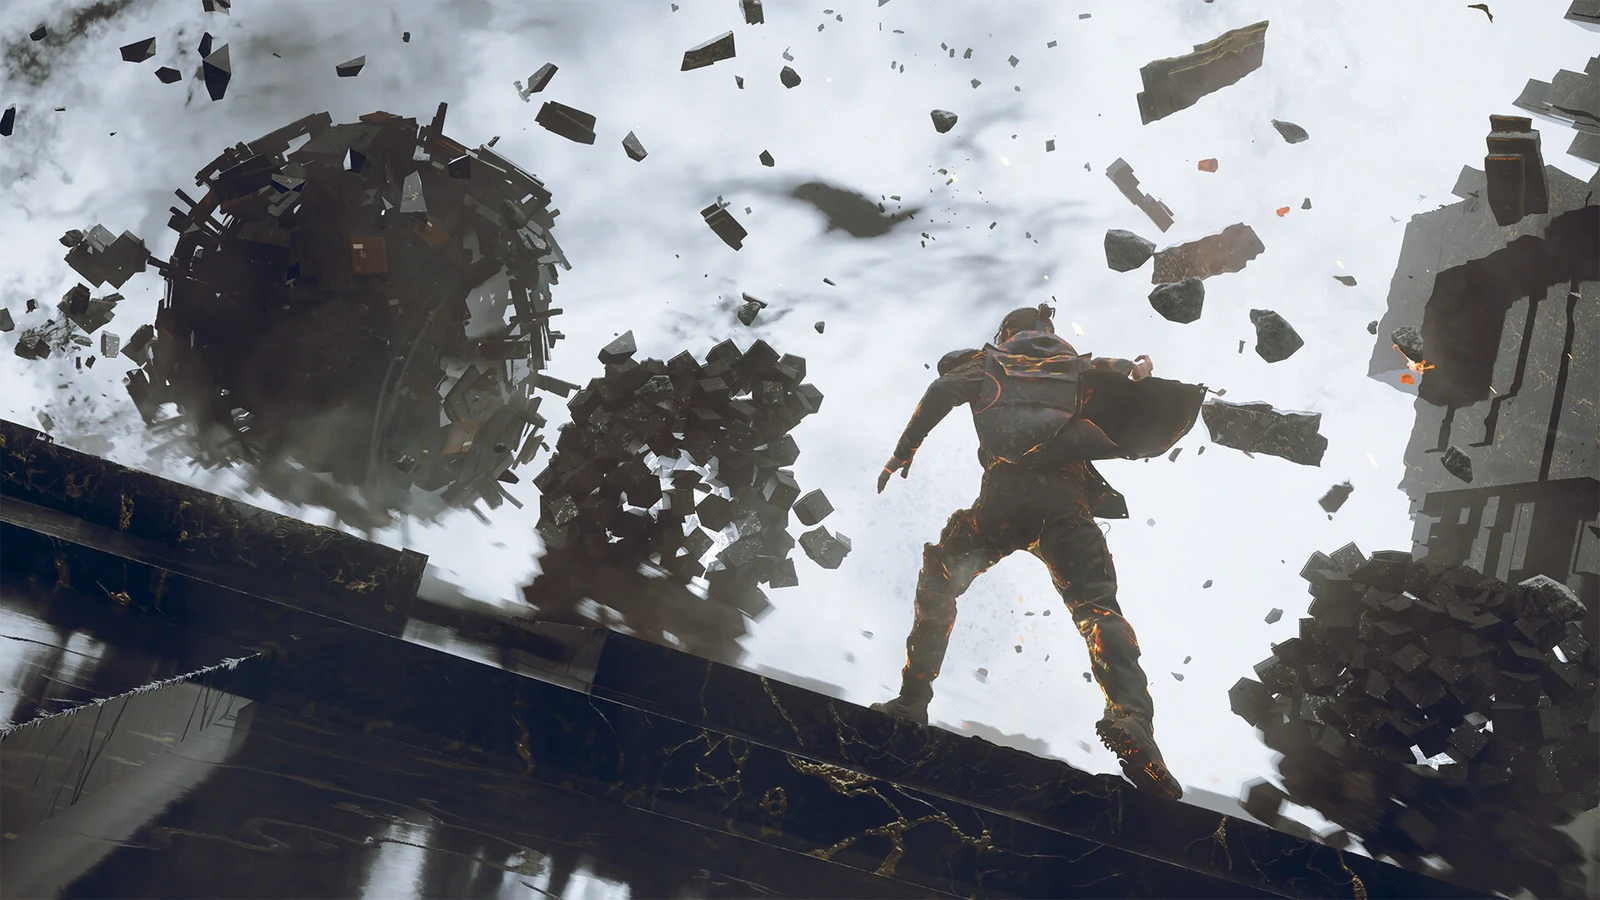
Reach the platform control console and pull the master lever to activate the CFD. The construct ignites with polychromatic beams and projects an ethereal face across the skyline before overloading, breaking containment, and spawning a debris vortex.
Dylan awakens inside a white dimensional tunnel. Run into the core of the beam, jump across the floating platforms and walkways of the helical rift, and climb to the central platform beneath the pulsing core.
Raise the Aberrant and hit the CFD core head-on, destroying the mechanism in a blinding explosion. As the tracking collar beeps and breaks apart, Dylan loses consciousness and falls through open sky.
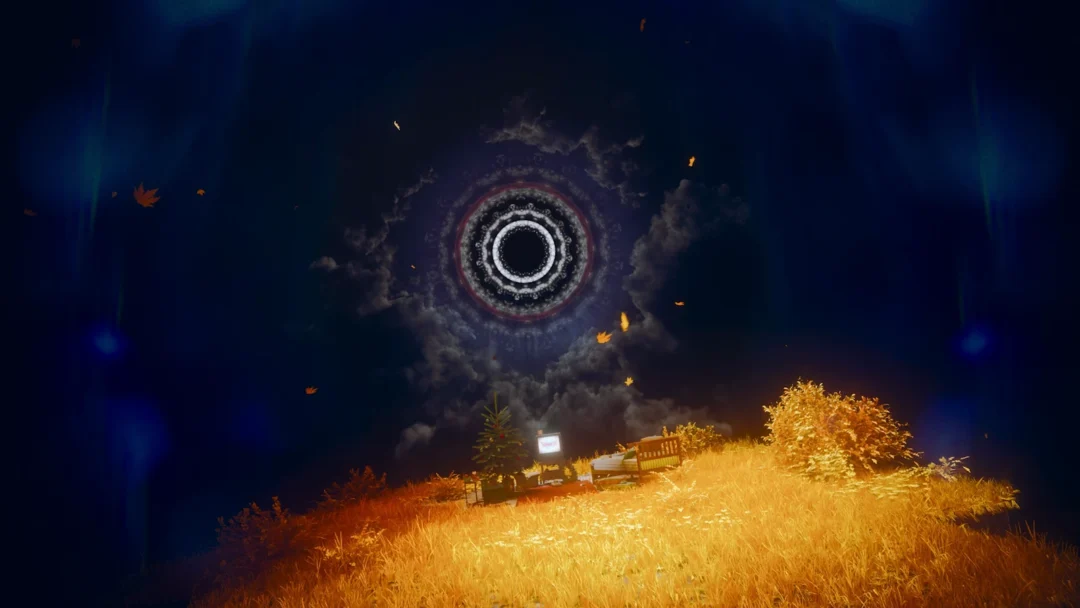
The arc closes with a reel-to-reel recording of Dr. Darling discussing Dylan’s potential, after which Dylan wakes inside a glass containment cube in Evacuation Zone 4 and Zoe greets him over the radio. That radio contact, along with the Enemy of My Enemy trophy, confirms Contain the Crisis is complete.