Tucked inside one of the enterable stores in the Evacuation Zone, the art gallery hides a secret room behind its walls. Opening it takes no combat and no key. You only need to read one note and light up the right paintings in the right order.
Quick answer: Read the “Paintings Sold This Month” note, then shine your flashlight on the four paintings that match Journey, Windows, Thunder, and Tides. Working left to right, the correct picks are the second, first, first, and second painting.
Where to find the art gallery in Evacuation Zone 1
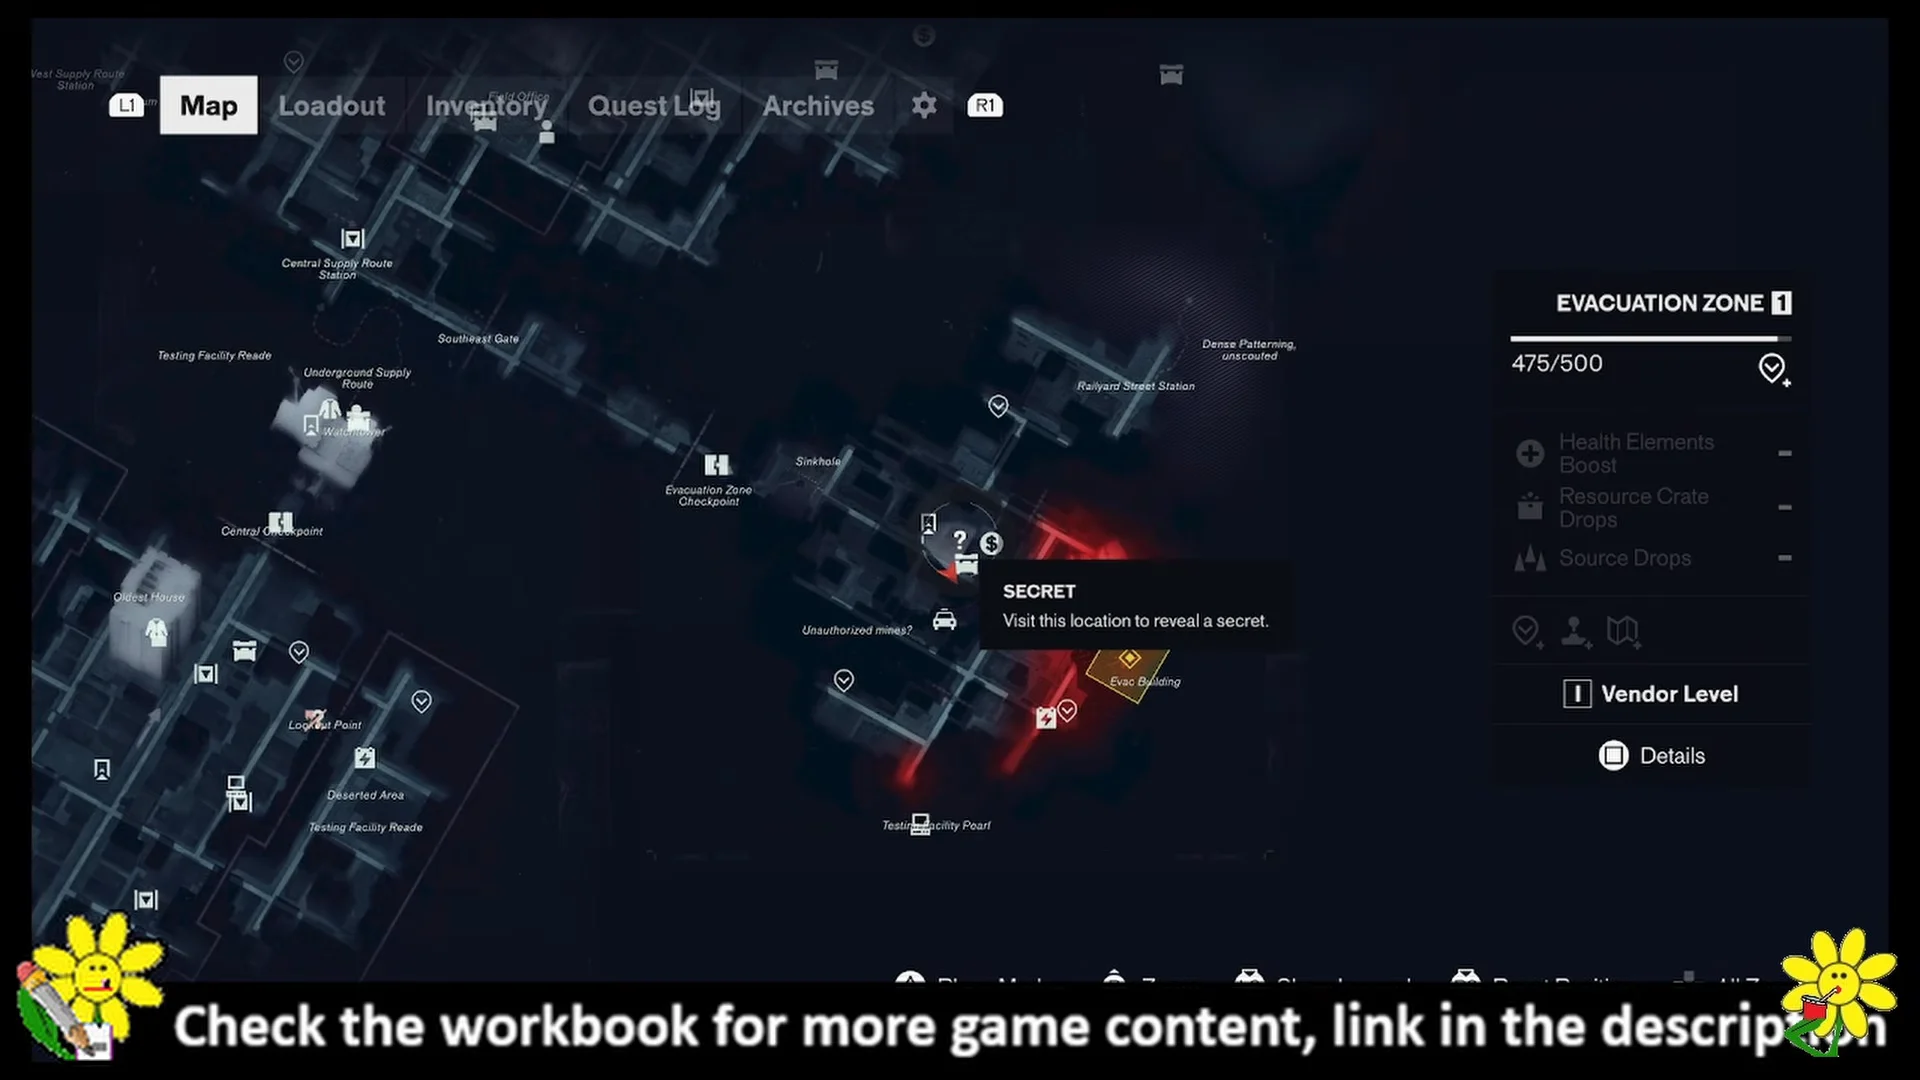
The gallery sits on Main Street inside Evacuation Zone 1, near the Main Building. On the zone map it is flagged with a Secret marker, so you can line up the location before you head over. Manhattan is full of enterable shops like galleries, coffee spots, and gyms, and most only hold a small resource crate. This one holds a full hidden facility.
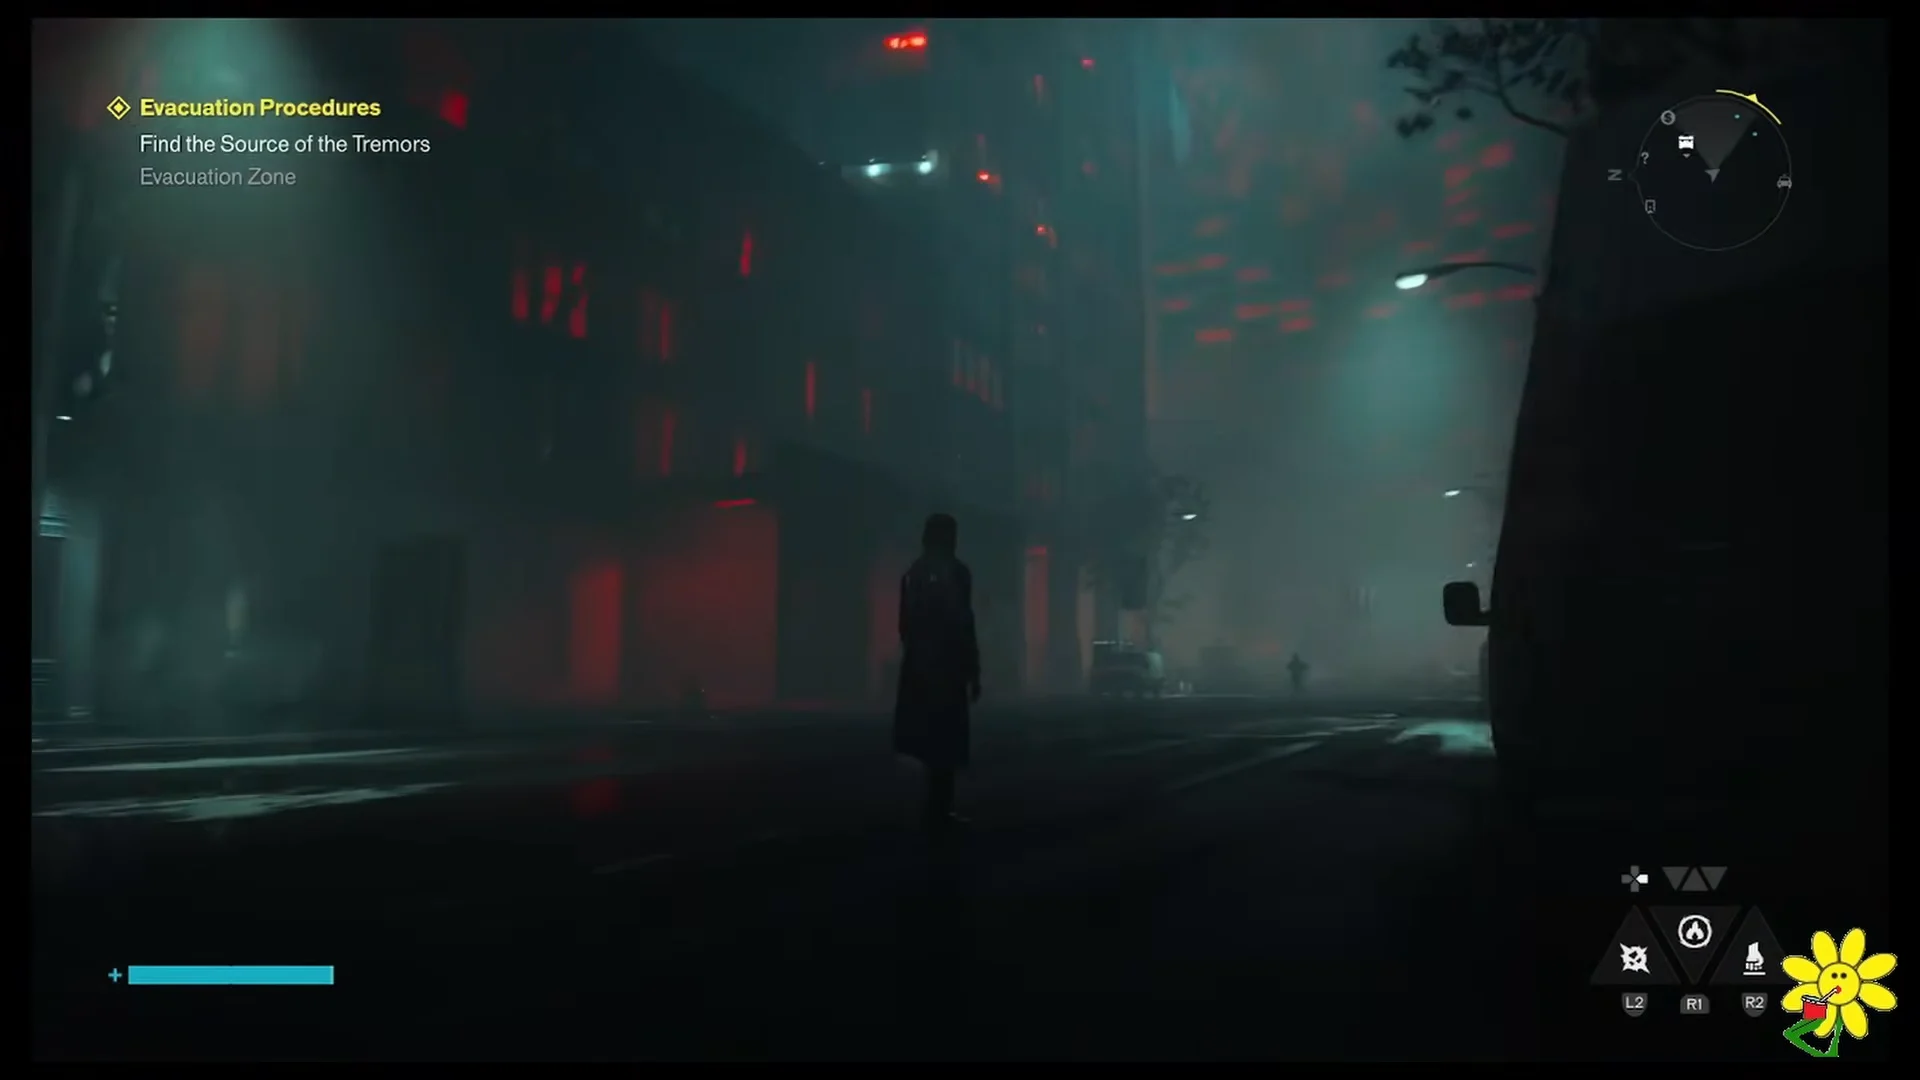
Approach the gallery from the foggy street and step through the front entrance. The reception counter is right inside.
Read the “Paintings Sold This Month” note
Inspect the document on the reception counter titled “Paintings Sold This Month.” It lists four words that are the whole solution:
- Journey
- Windows
- Thunder
- Tides
The gallery has four walls. Each wall shows three paintings and a button. Pressing a button changes the lighting so it highlights a different painting on that wall. Your job is to match each word from the note to the painting that best represents it, then leave that painting lit.
The correct painting for each word
Work through the walls from left to right. Each word points to a specific image, and the position of that image within its set of three is what matters.
| Word | Painting to light | What it shows |
|---|---|---|
| Journey | Second painting | A path between green trees |
| Windows | First painting | Vertical greenery |
| Thunder | First painting | An isolated tree in a field |
| Tides | Second painting | Fallen wood in water |
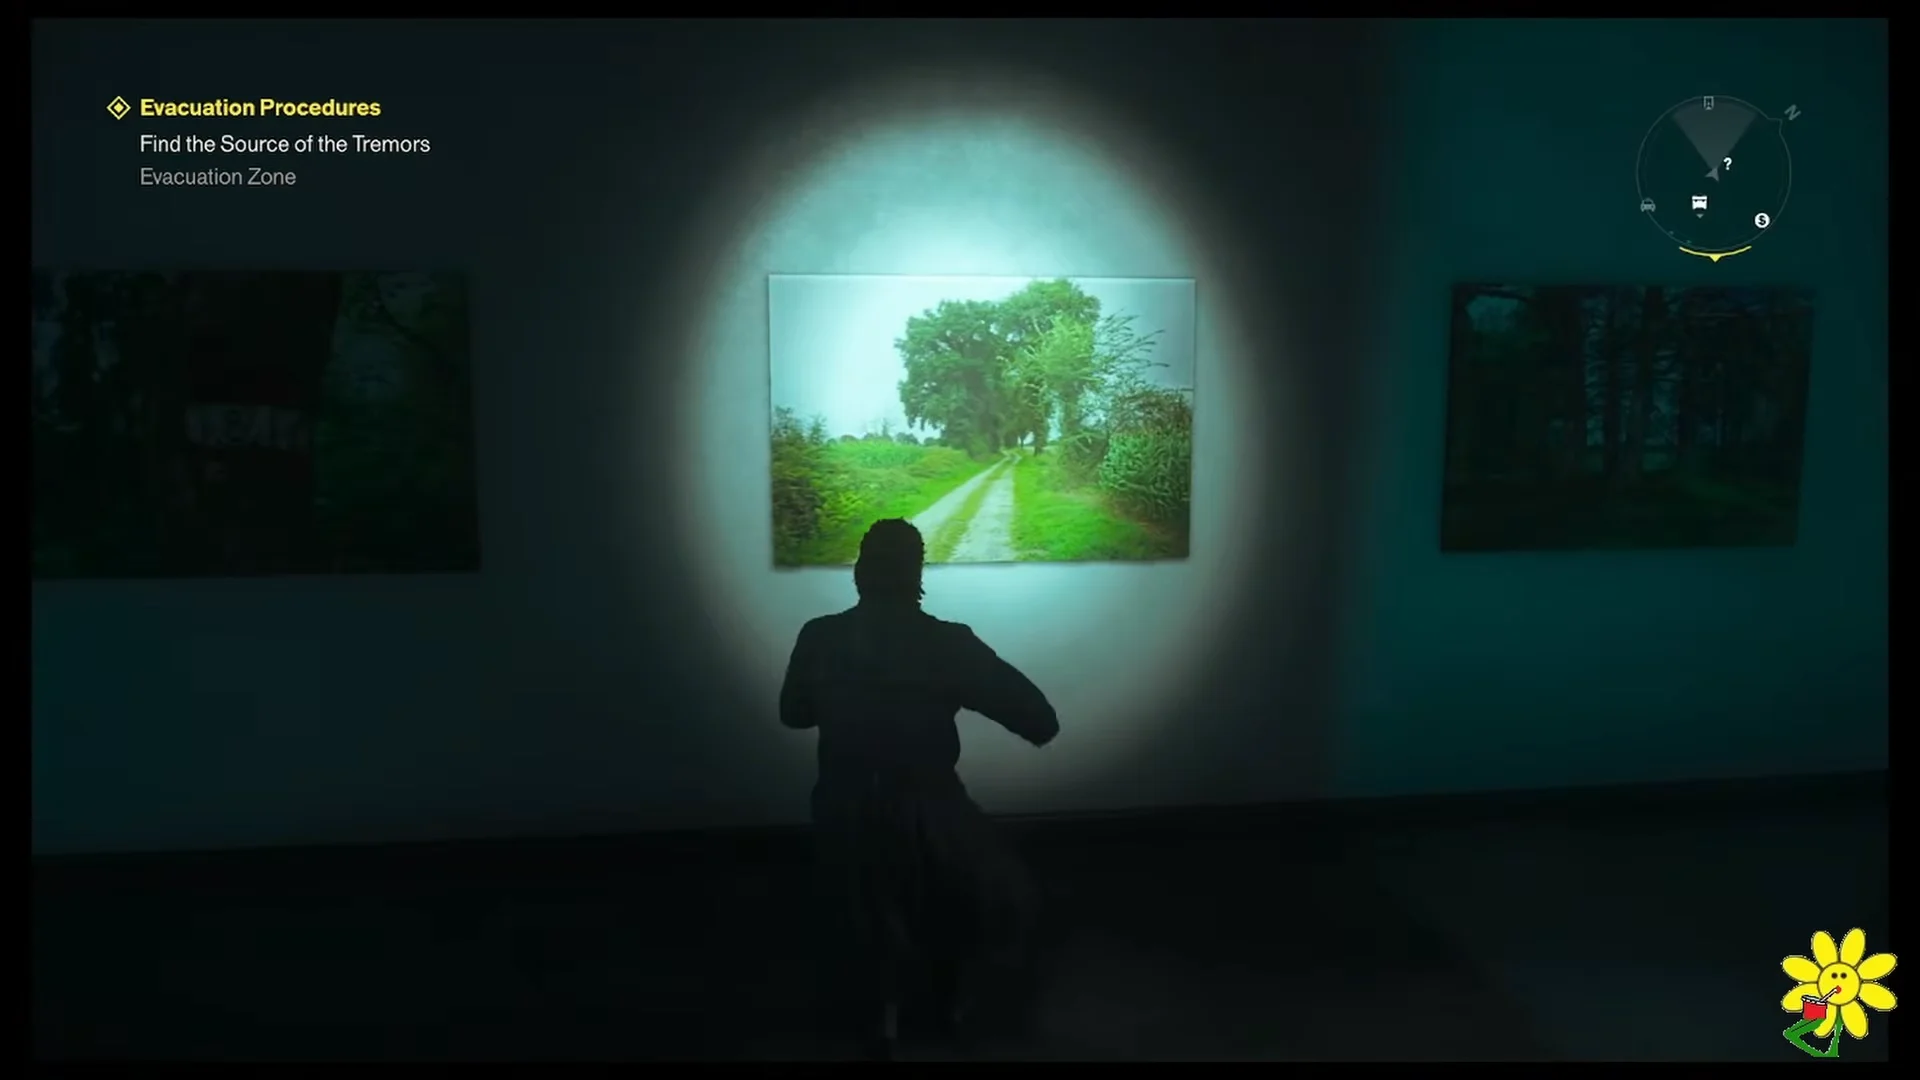
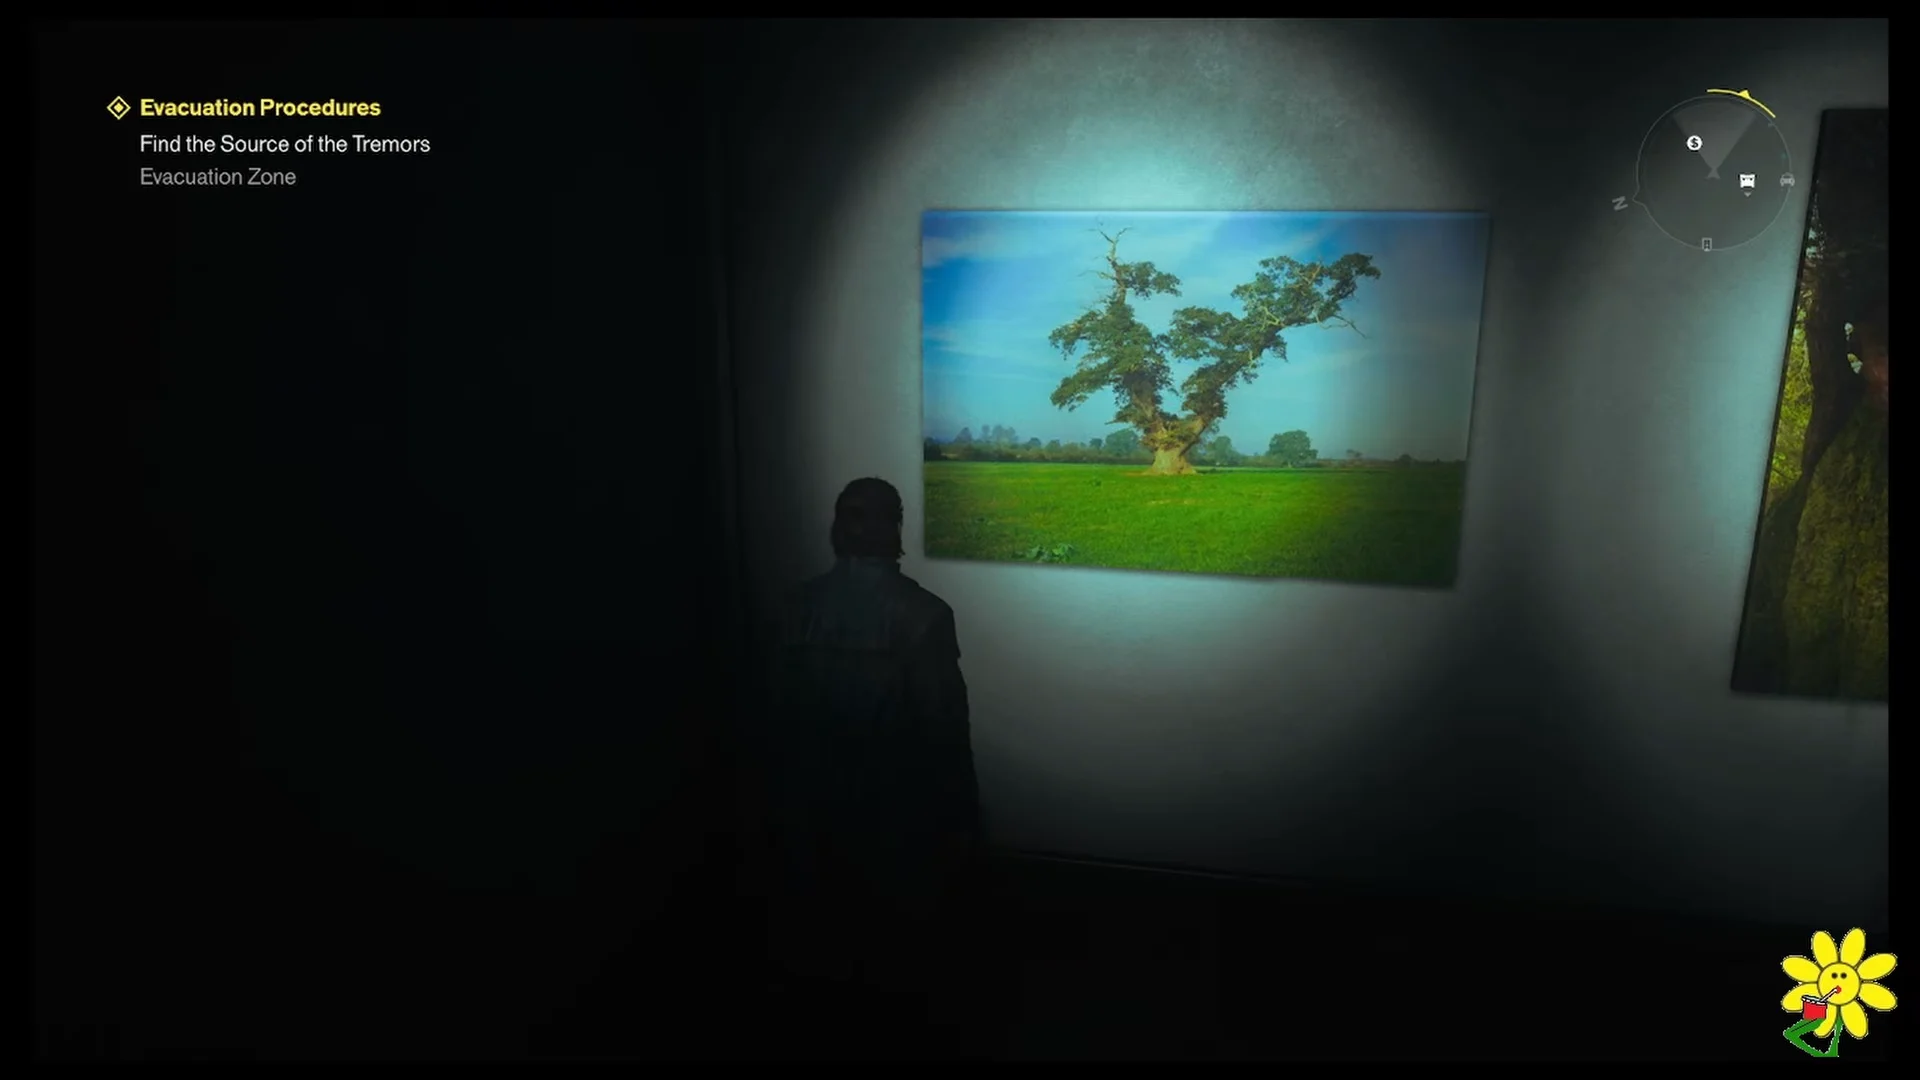
If nothing happens, one wall is still highlighting the wrong painting. Press that wall’s button again until the correct image is the one lit.
What the secret room contains
The opened wall reveals a corridor that leads down into a green-lit underground facility. Everything worth grabbing is inside.
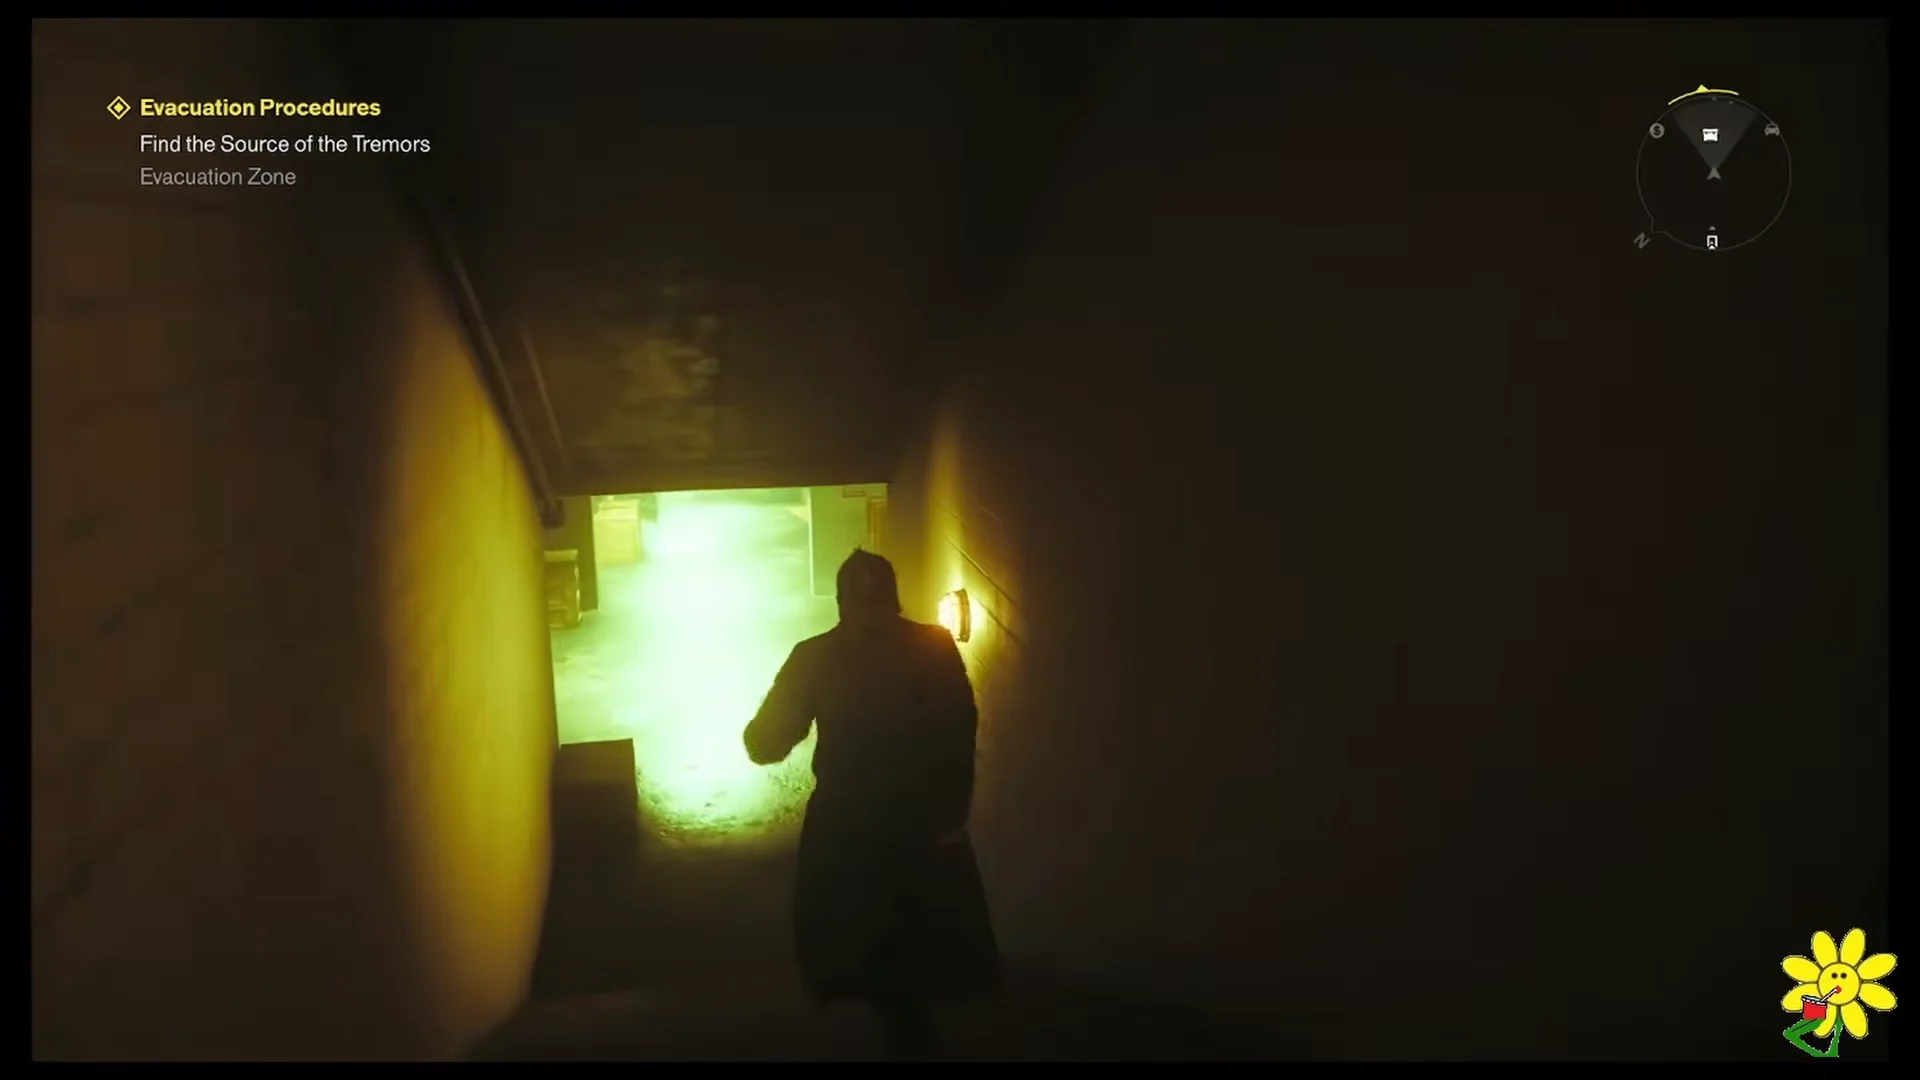
In the first chamber, take the Workshop Journal Entries collectible off the metal shelf. It files under the Secret Organization archive category and reads like a maintenance worker venting about absurd gadget requests, including repeated demands for a “laser watch” and a “laser pen.”
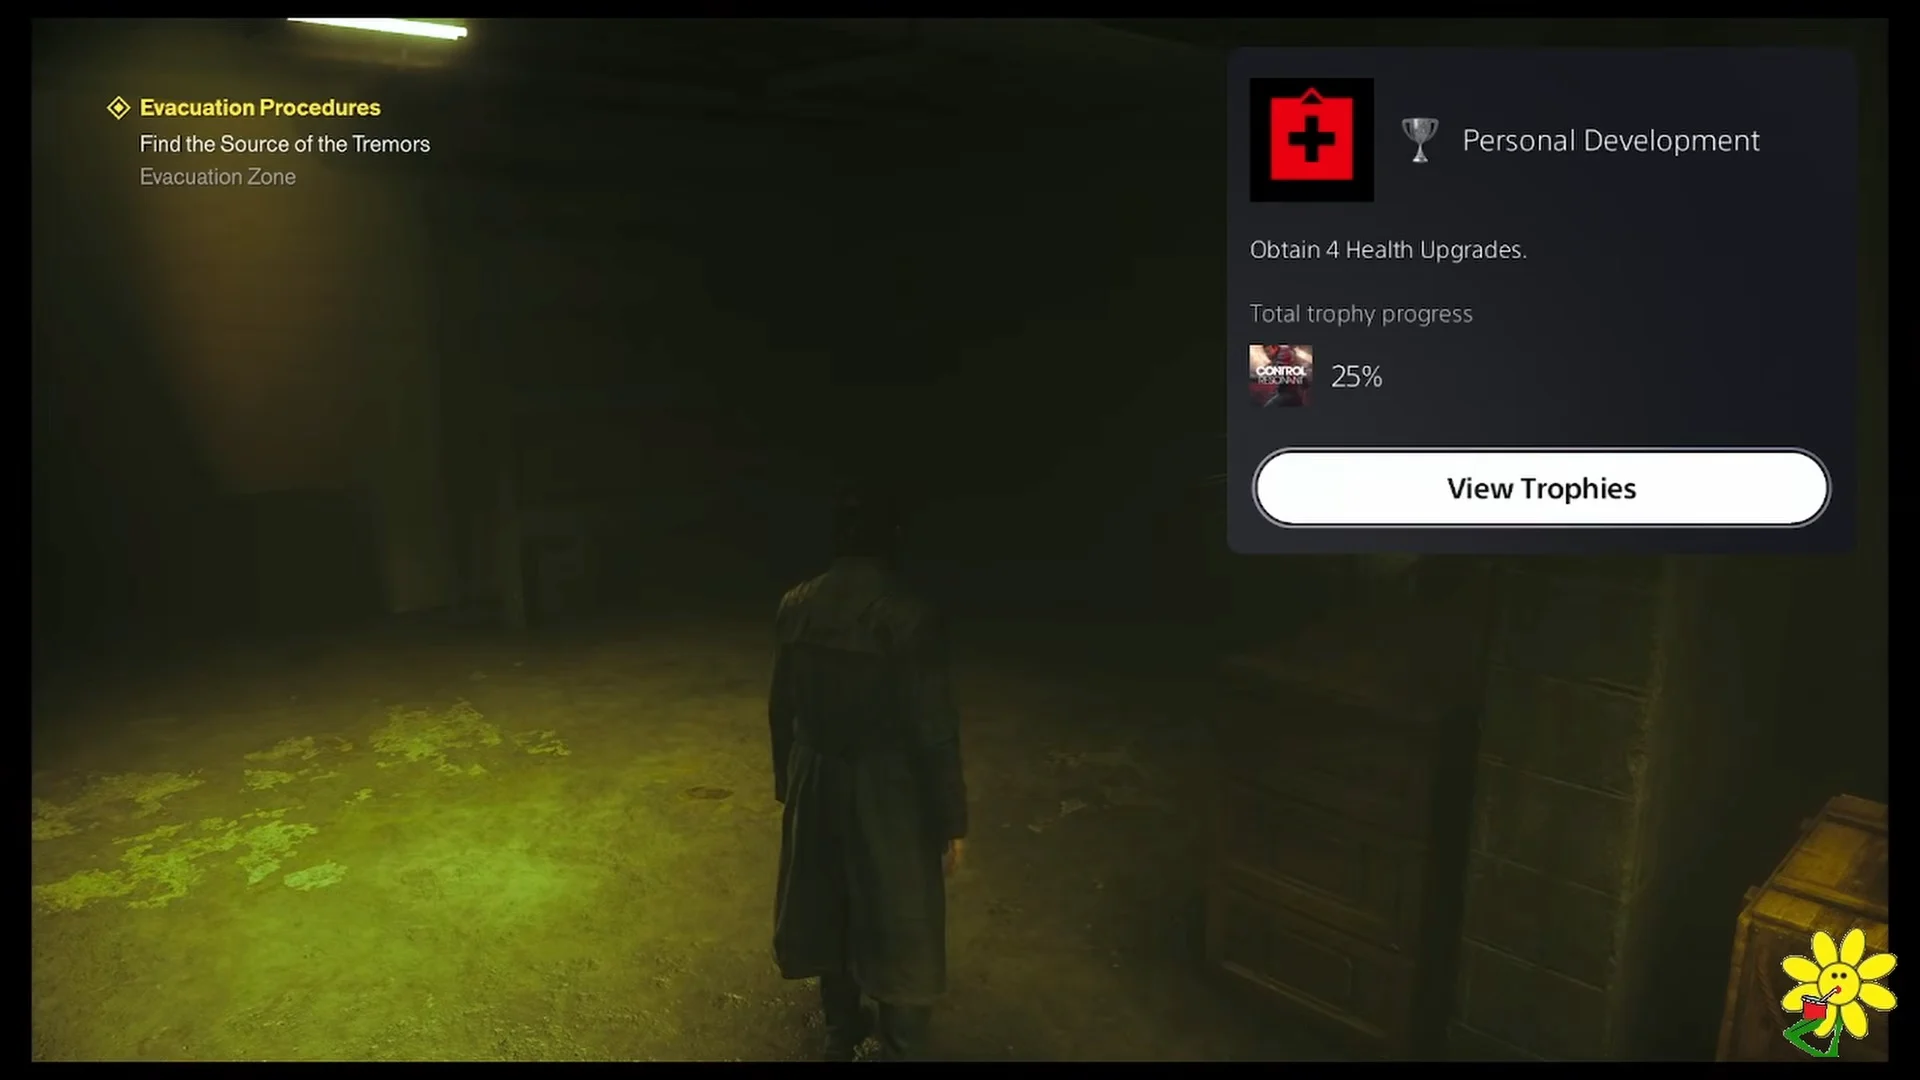
Next, use the glowing yellow novelty machine to obtain Health Upgrade Point 3/3. Gathering three points increases your maximum health; this final one completes the set needed to unlock the Personal Development trophy, awarded for obtaining four Health Upgrades.
Continue into the adjacent back room, which borders the Evacuation Zone 2 area. Here you pick up the Proposed Enforcement document, receive a Talent Point +1, and grab the After-Action Summary collectible. All three documents belong to the Secret Organization archive set.
When you are done, backtrack up the stairs and exit through the gallery onto Main Street.
How to confirm the puzzle is solved
You know it worked when the wall toward the back left of the room opens and the corridor becomes walkable. Inside, the health station triggers the “Personal Development / Obtain 4 Health Upgrades” trophy notification, and the “Talent Point +1 Received” prompt confirms the reward in the back room. If the wall stays shut, the four paintings are not all lit correctly at the same time, so return to the walls and re-check each against the note.