Part 6 hands control back to Simon for the final stretch of Silent Hill: Townfall, dropping him into an Otherworld version of the CEG HQ. This chapter trades open exploration for a long chain of connected industrial systems, a run of tense stealth crossings, and the only real boss fight in the game. Keep any Shotgun Rounds and Flare Gun rounds you find, because you will need them at the very end.
Quick answer: Work through the flare stack ignition, the CCTV command console, the auxiliary line valves, Valve F and the clamp panel, then defeat The Weight to finish the game.
Ordell file and the flare stack ignition
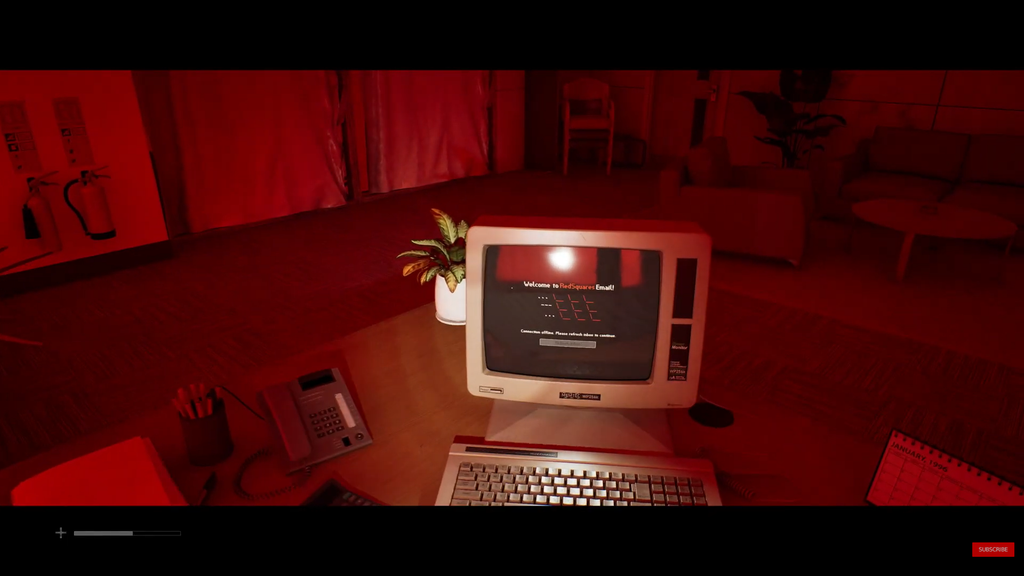
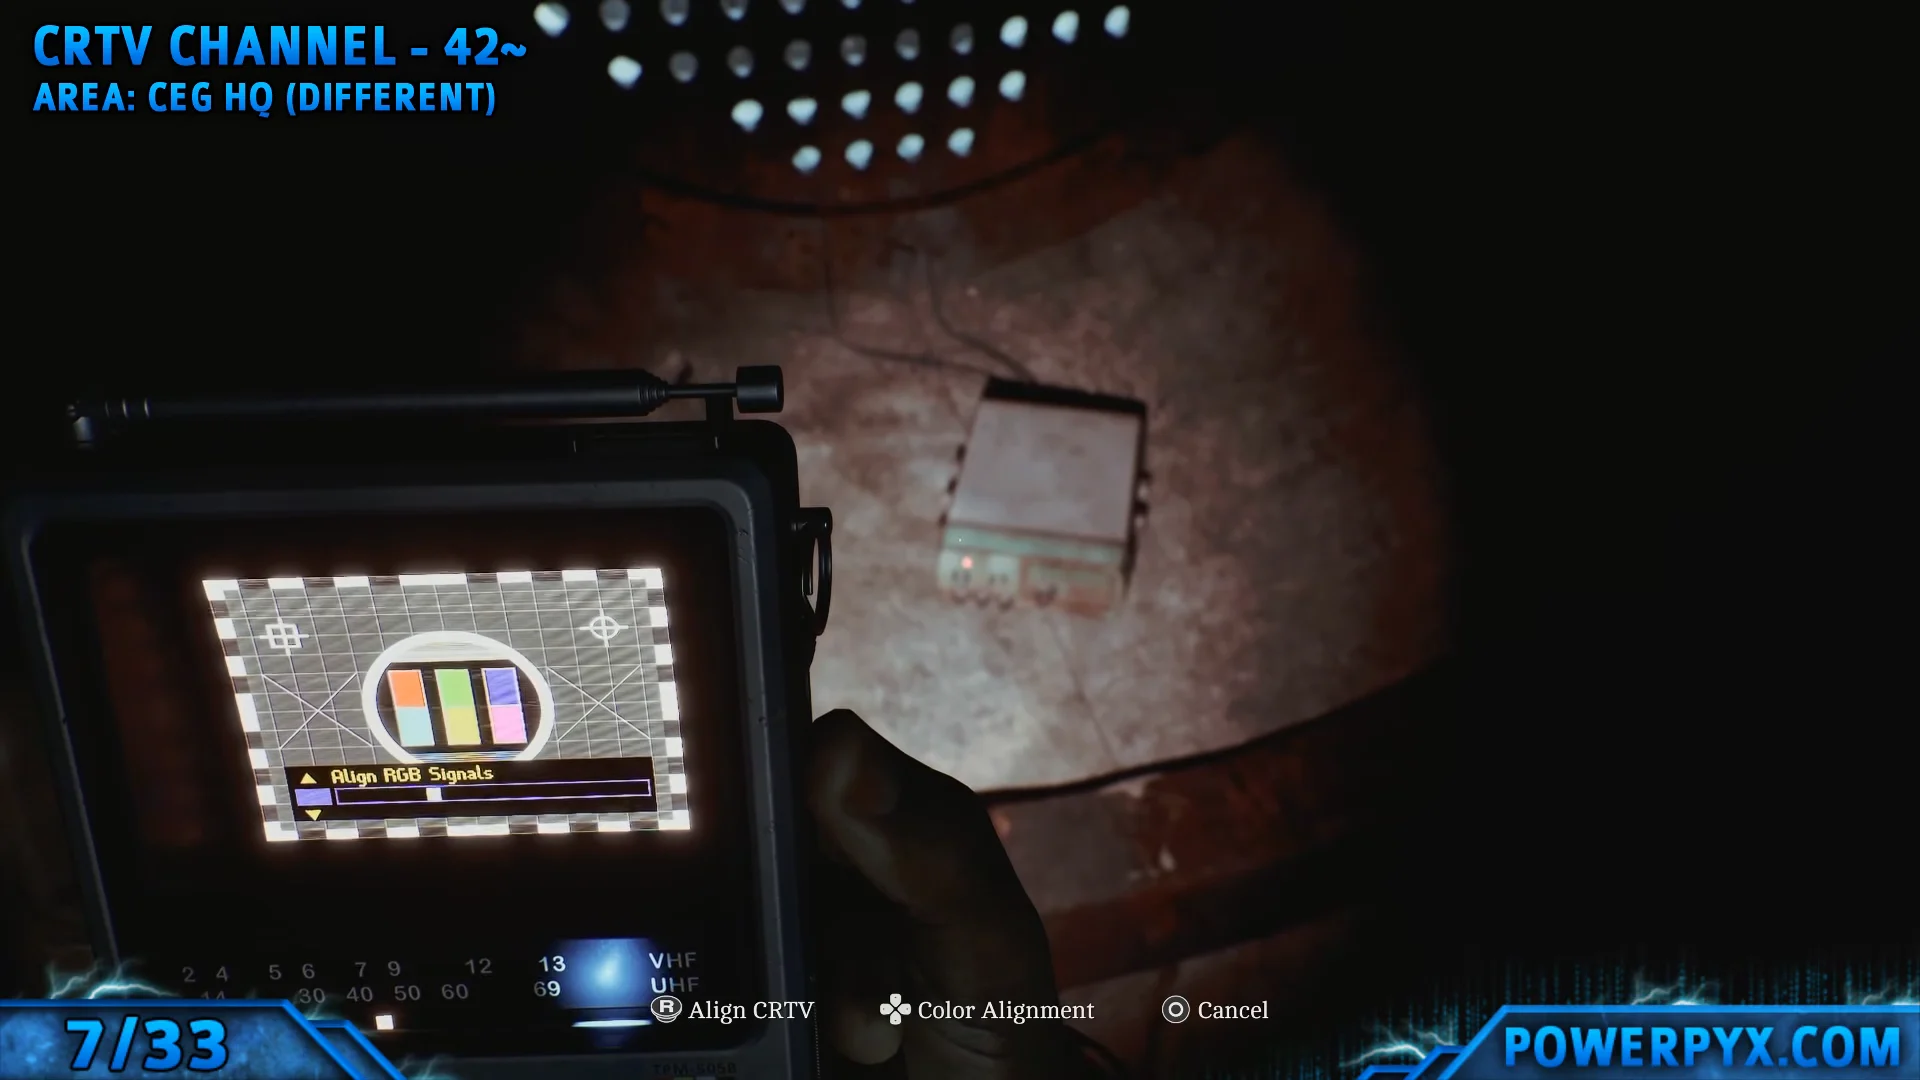
When the opening cutscene ends, retrieve the green Ordell file from the starting room’s desk. It reveals that Simon was a whistleblower sent from the USA. Exit the room, check the PC emails if you want, and ride the elevator to the facility’s lowest level. Tune the CRTV to the signal at the bottom, then follow the hall into a large room.
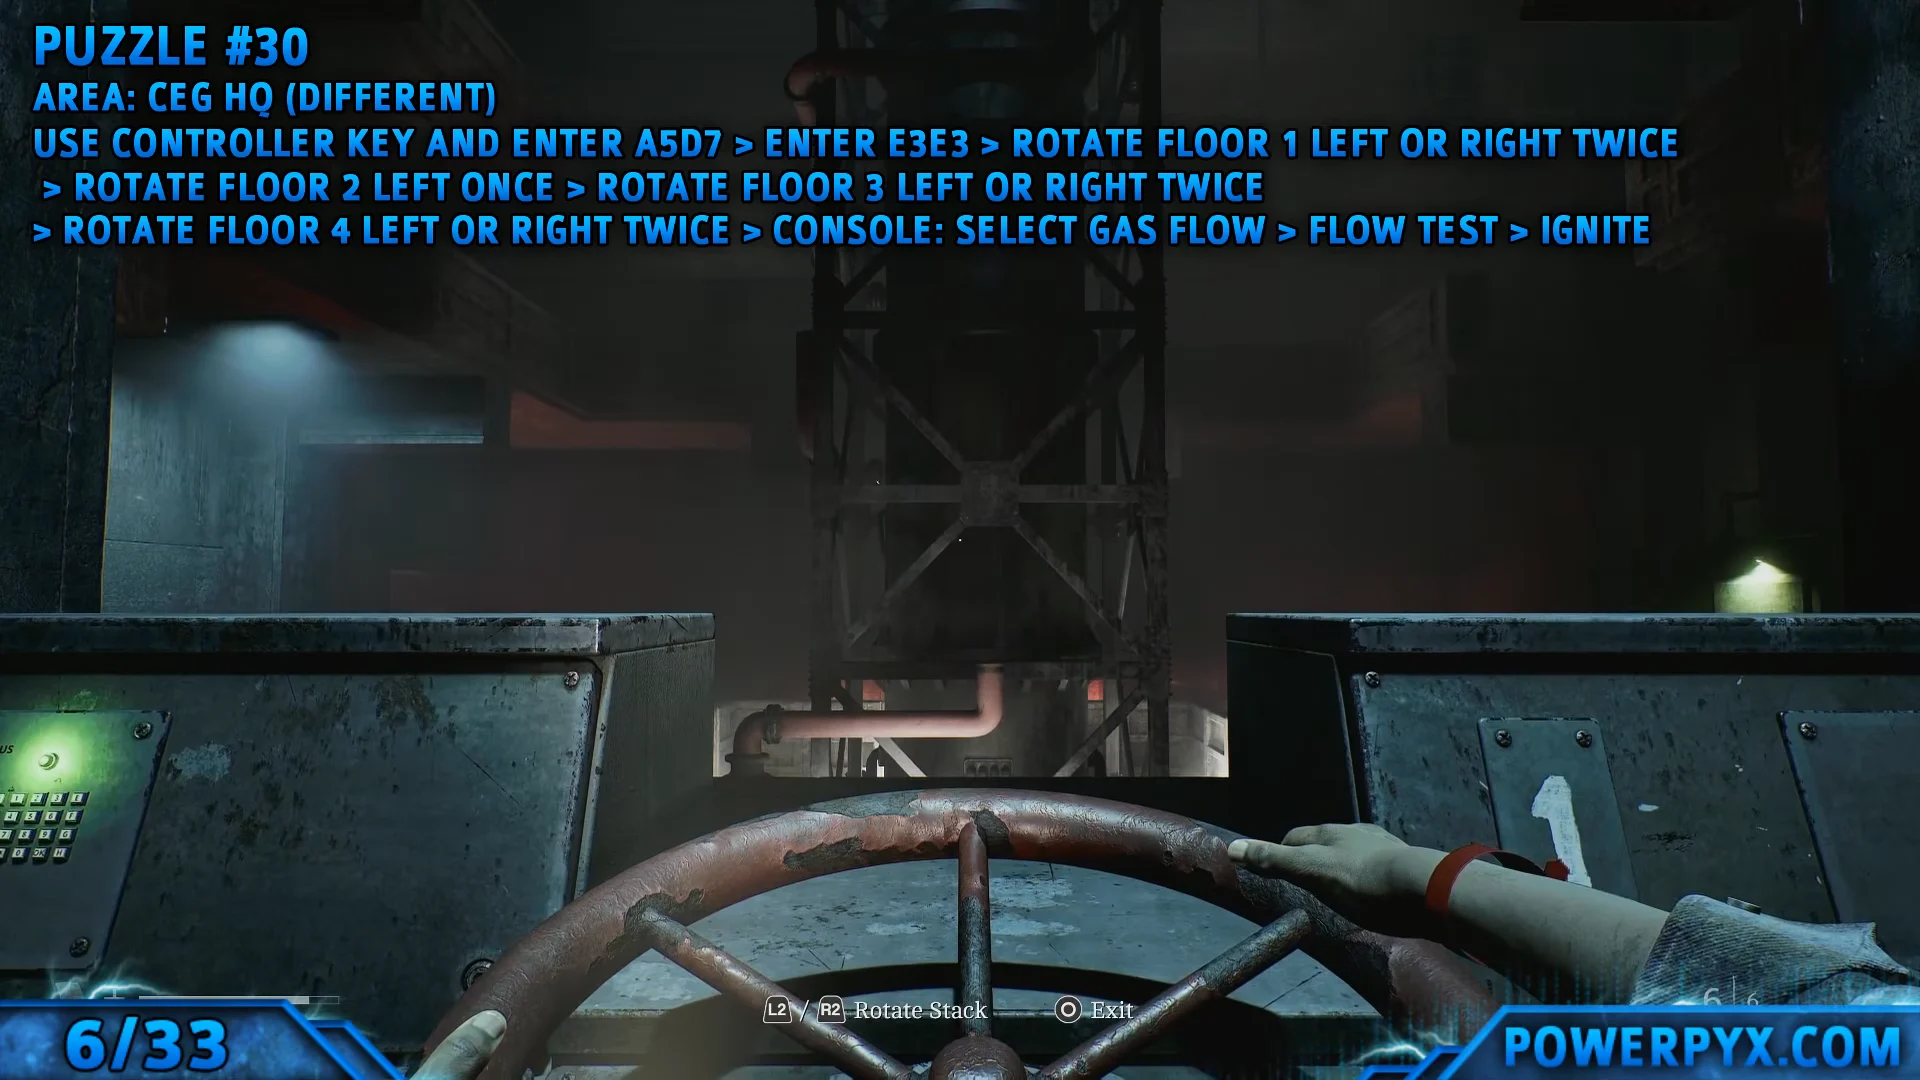
This room holds a save phone, Alcohol and Gauze in the back-right cabinet, and on the right-hand table an Empty IV Bag, IV Fluid, the Reference Sheet Note, and a Radio signal. The Reference Sheet lists clamp release and alarm codes. The two you need are the clamp release code E3E3 and the alarm code 772-89, which maps to A5D7.
Take the small elevator next to the phone up one level. Open the box beside the next valve and pick up the Controller Key, then ride back to the ground floor. Climb the stairs to Valve 1 and use the Alarm Status panel.
Escape the tunnel maze and unlock the SWDP map
In the next area, grab the loose Pipe and crouch into the large tunnel. Keep straight to a ladder, but go left first for a Radio Signal before climbing down. Follow the long hallway to another ladder, then enter the vent beside the door to reach the maze.
The maze has dead ends and enemies waiting at corners. This route takes you straight out and grabs a collectible on the way:
- First crossroads: go right.
- Second crossroads (enemy ambush): go straight. Head left toward where the enemy came from for Strange Postcard 15.
- Third crossroads: go right.
- Fourth crossroads (enemy ambush): go straight.
- Fifth crossroads: go left.
Exit into another long hallway and climb the ladder at the end. At the top you unlock the SWDP Different Map, which shows the area spans two floors.
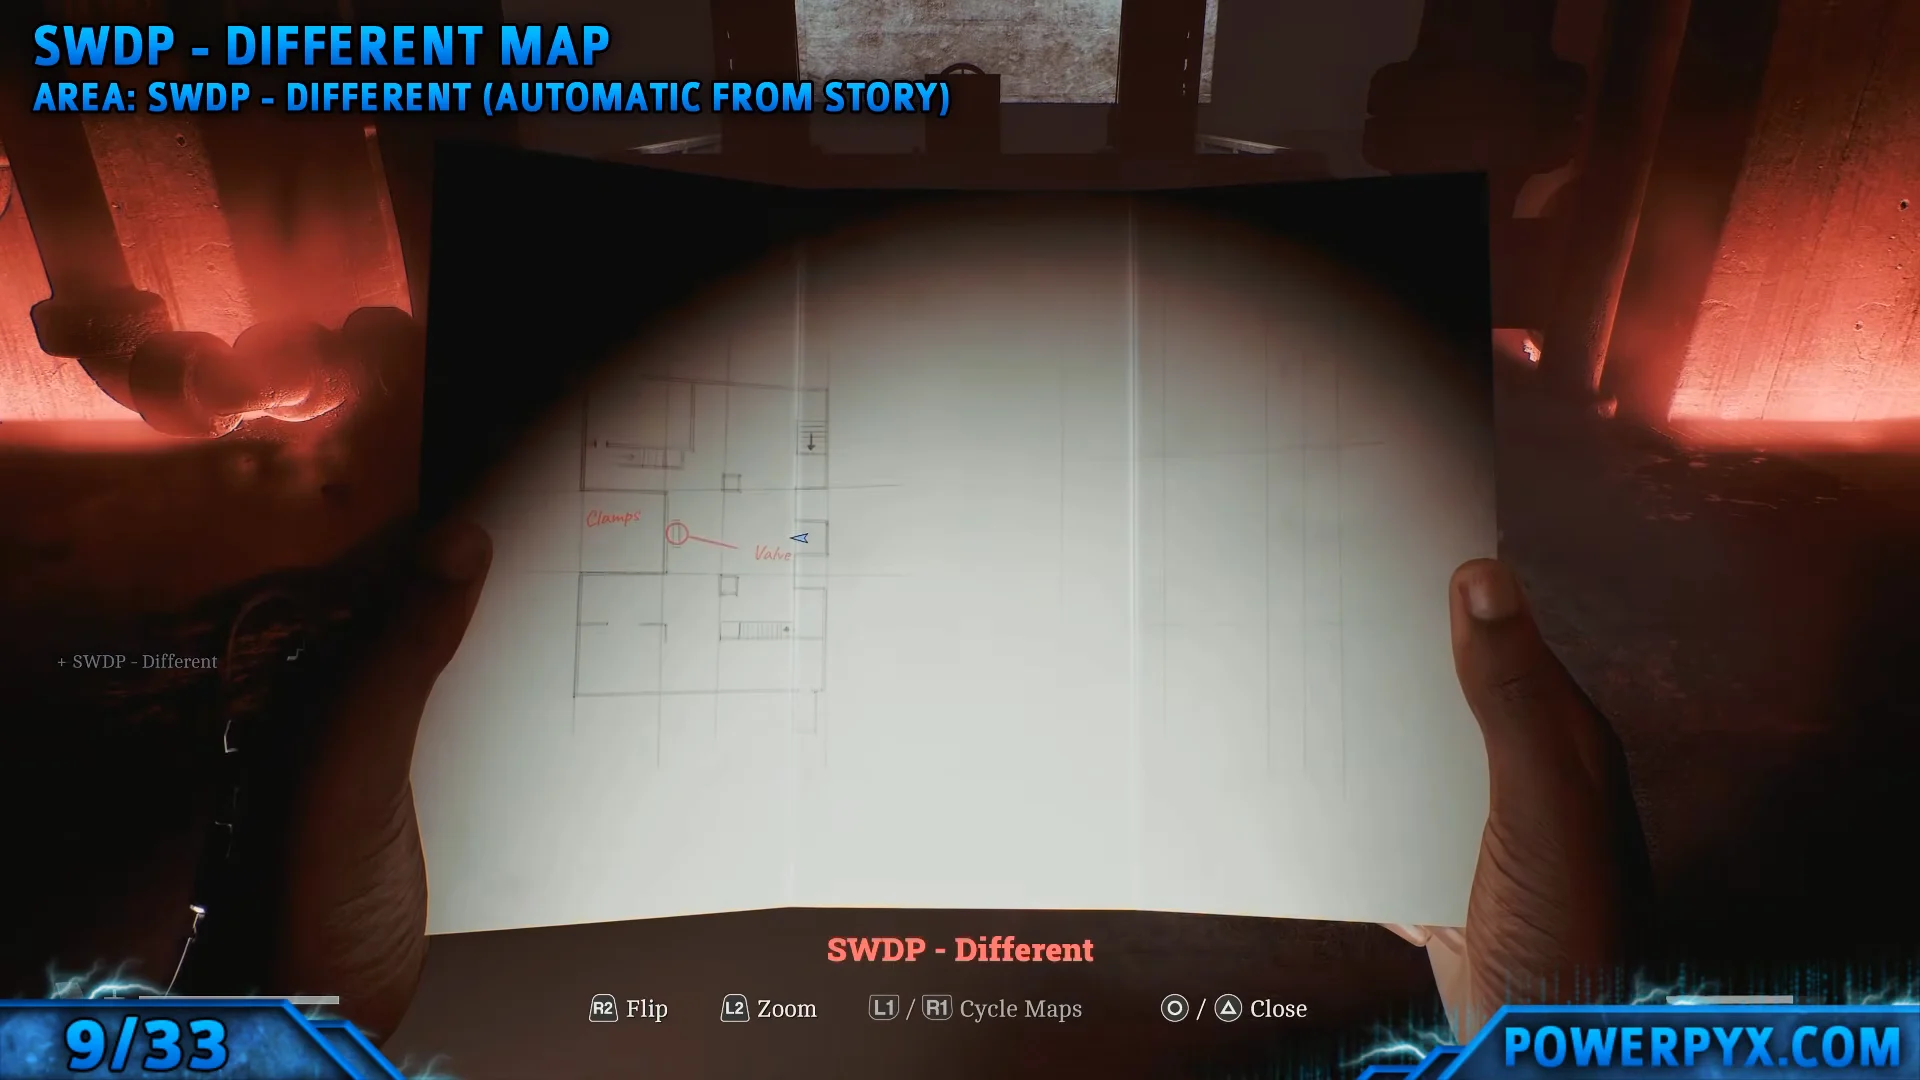
The central red valve here will not turn yet. While exploring, pick up the Lockbox Key, Gauze and an IV Bag from the room right of the second upstairs staircase, plus Gauze and Alcohol from the cabinets and locker room. To progress, take the staircase in the top-right corner of your map down a floor.
Restore power and reach the JOE room
Go to the square room in the bottom-left of the lower floor to find the Backup Generator and a First Aid Kit. Flip the generator switch to restore power, then hide immediately, because the roaming enemies, including the instant-kill monster from earlier, now patrol the area.
The large enemy appears to track your general position. Let it commit to a direction before you cross; don’t waste shots on it. Keep the flare and shotgun ammo for the final fight.
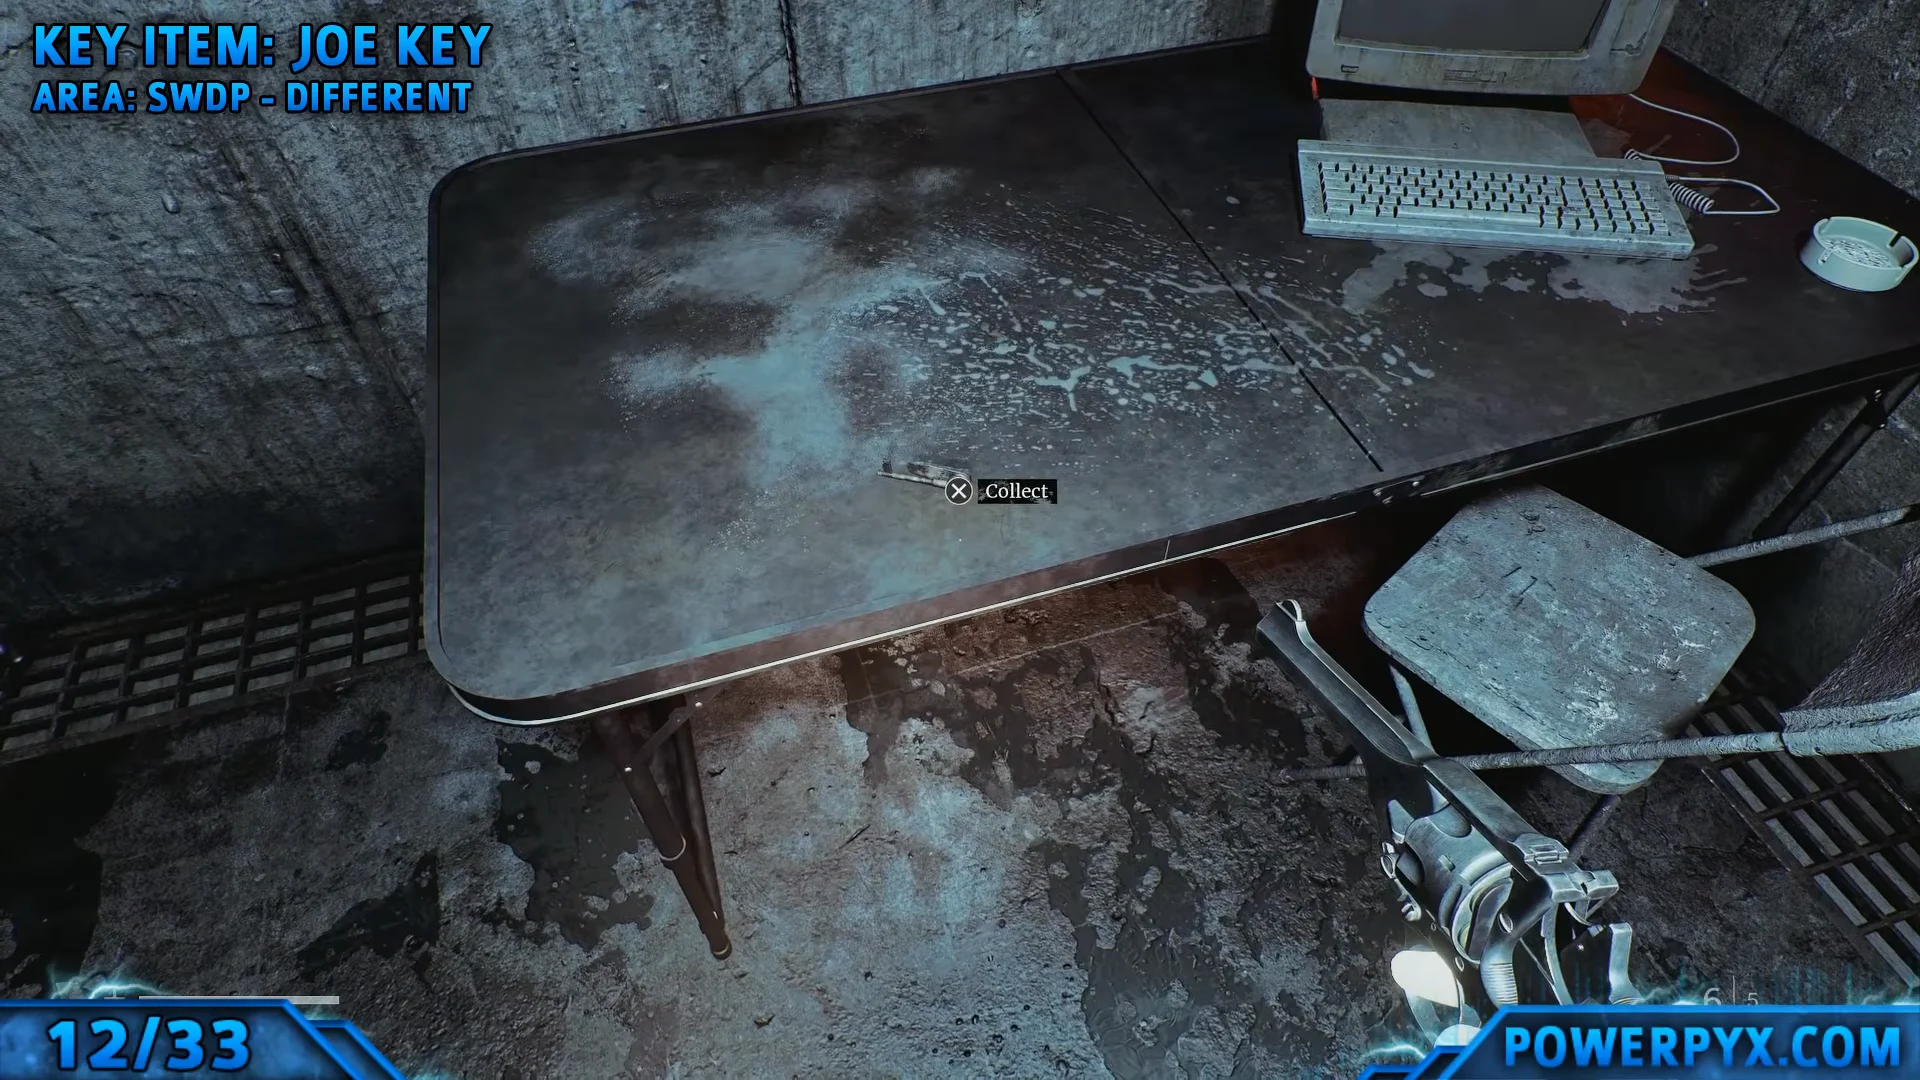
Head back upstairs to the now-powered elevator and ride it to the first floor, which adds a new section to your map. Collect the JOE Key from the desk in the northeasternmost room, then go to the room marked JOE on the map.
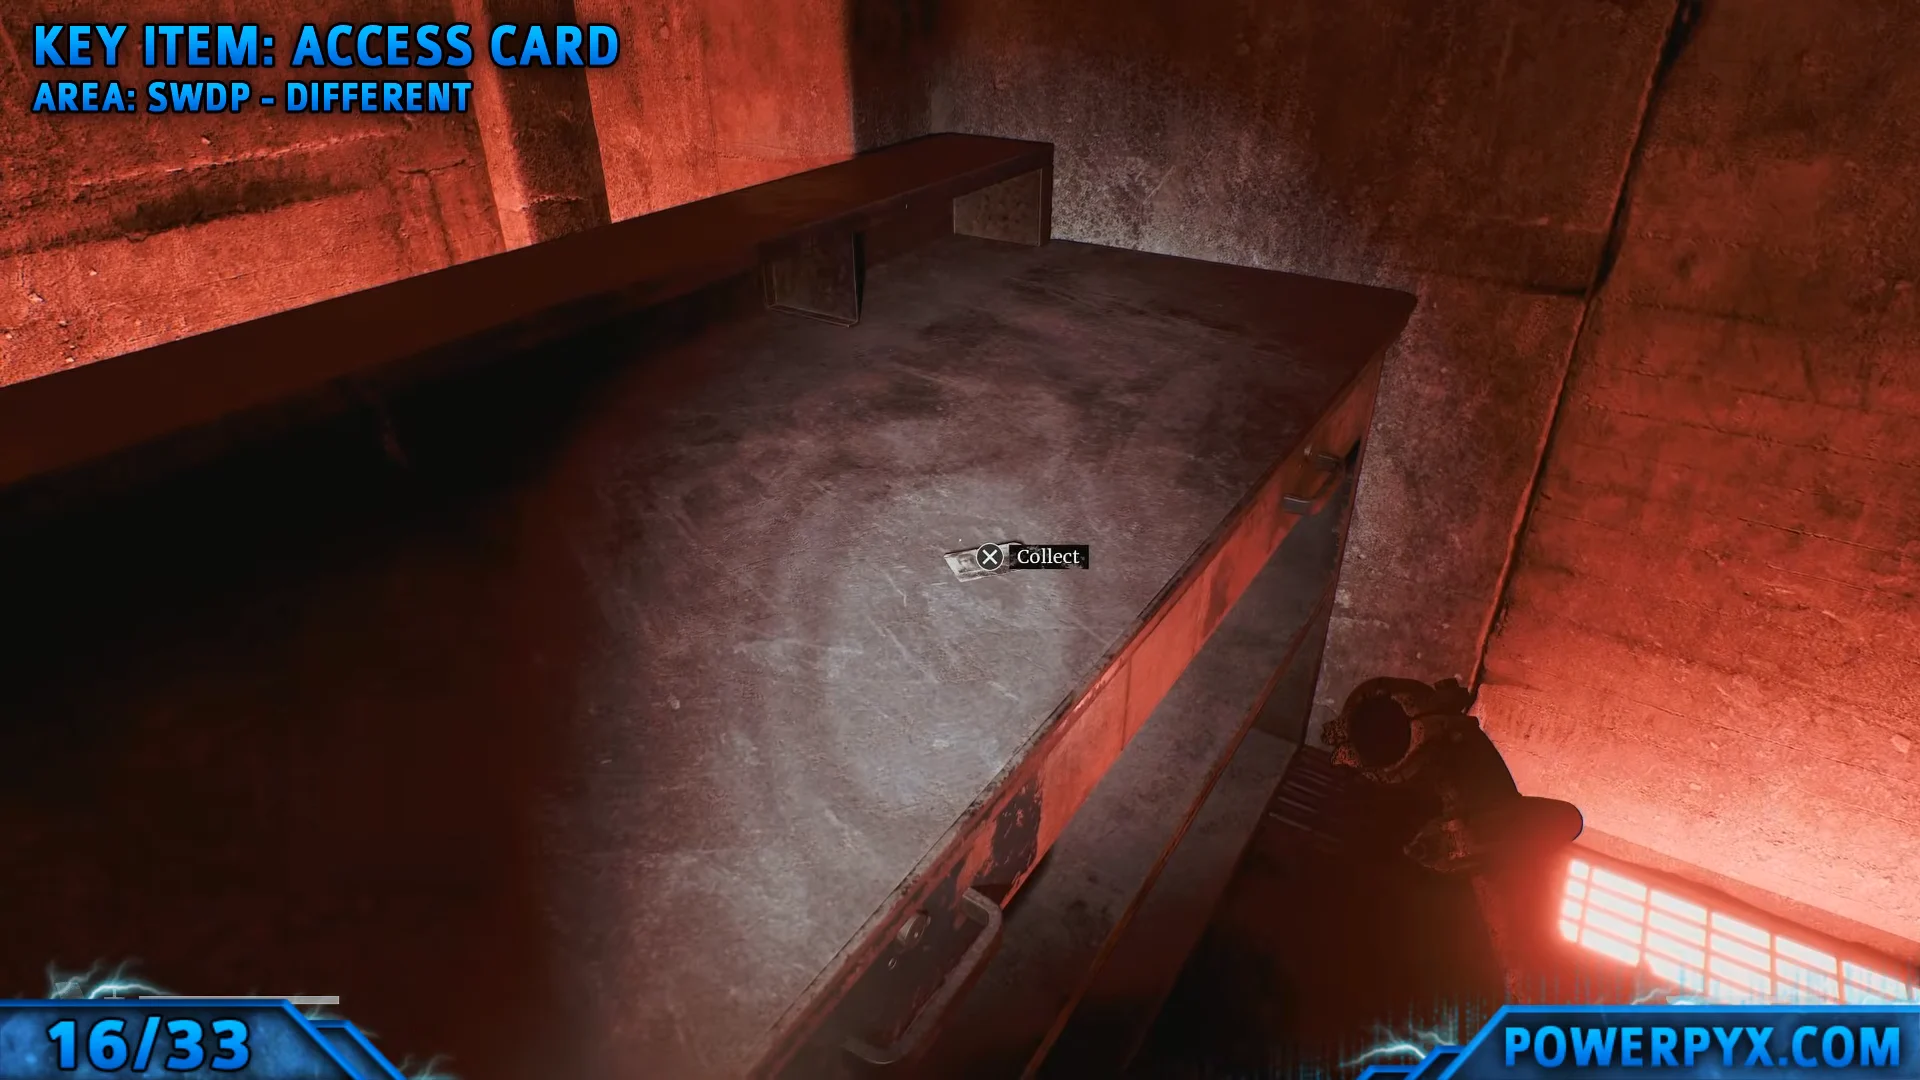
Pick up the Gauze and Alcohol inside the JOE room, then slip through the opening in the corner. In the concealed room, you’ll find a Pipe, the Access Card, the RCU Refit Note, and a Photo of Joe McKenzie. Tune the CRTV to the Radio Signal there as well.
Start the CCTV command console puzzle
Go back to the ground floor and swipe the Access Card at the powered Card Reader to get into the CCTV Room. The intercom voice asks Simon to recount that night’s events one step at a time. You can lock either door, and a save phone is mounted on the wall; use this room as your safe base.
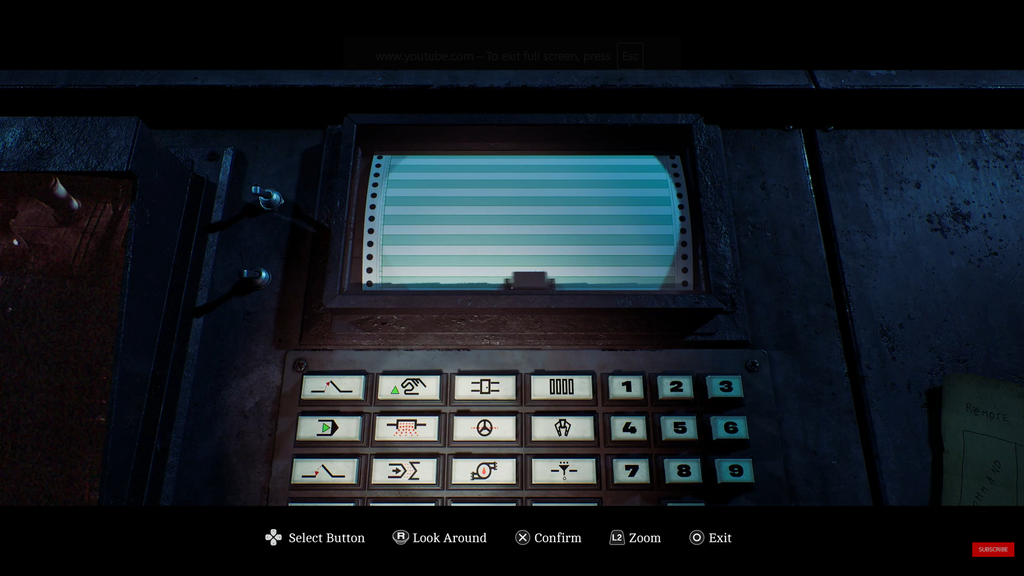
Read the Remote Systems Control Note, which highlights Aux Line B – 246 and the input order: Command, Equipment, ID. Open the Lockbox with your Lockbox Key for a Flare Round, Shotgun Round and Antibiotics, then flip both power switches on the CCTV machine to turn it on.
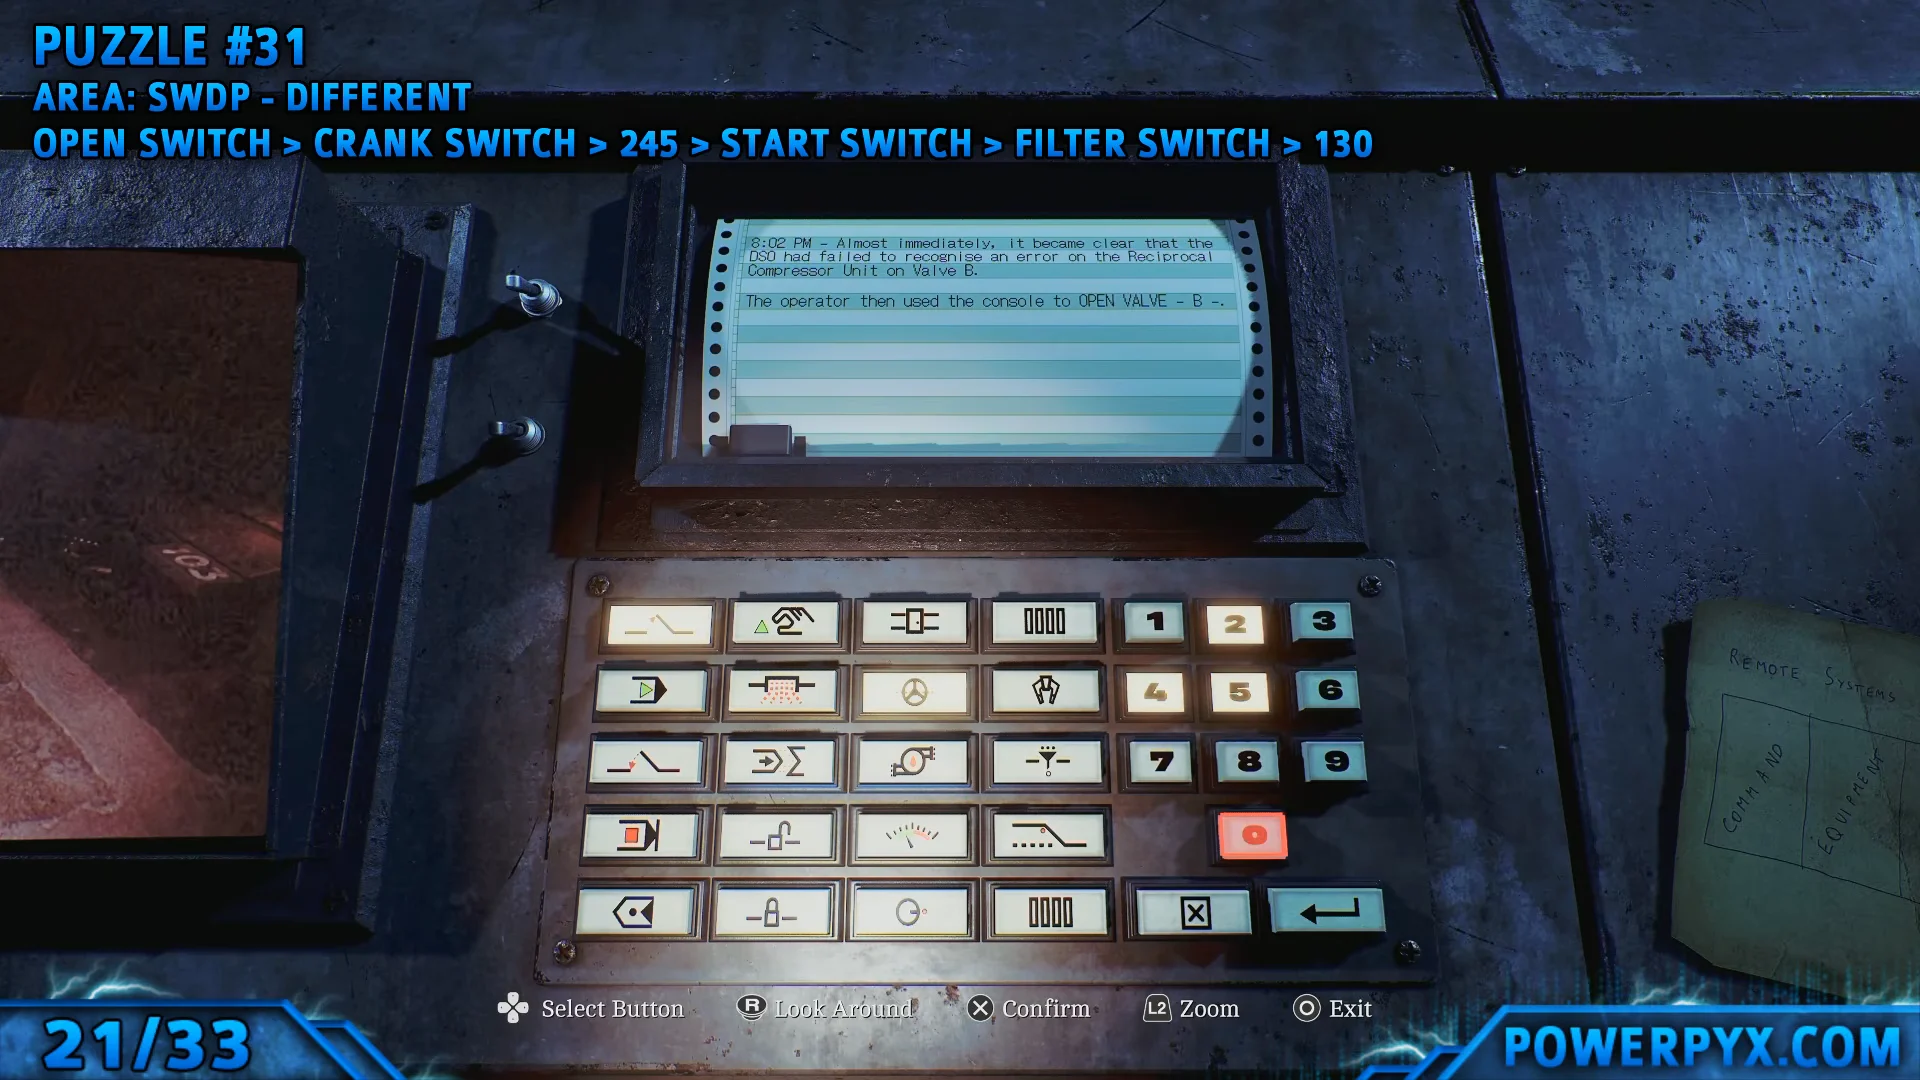
The console prints a message describing an action, and you reproduce it by pressing an action button, then an equipment button, then the equipment ID number, then Enter. A wrong entry shows an error and resets, so you can experiment freely. The IDs for Valve B and the Filter are painted on the equipment, so read them off the matching camera feed to be sure.
Solve the auxiliary line valve puzzle
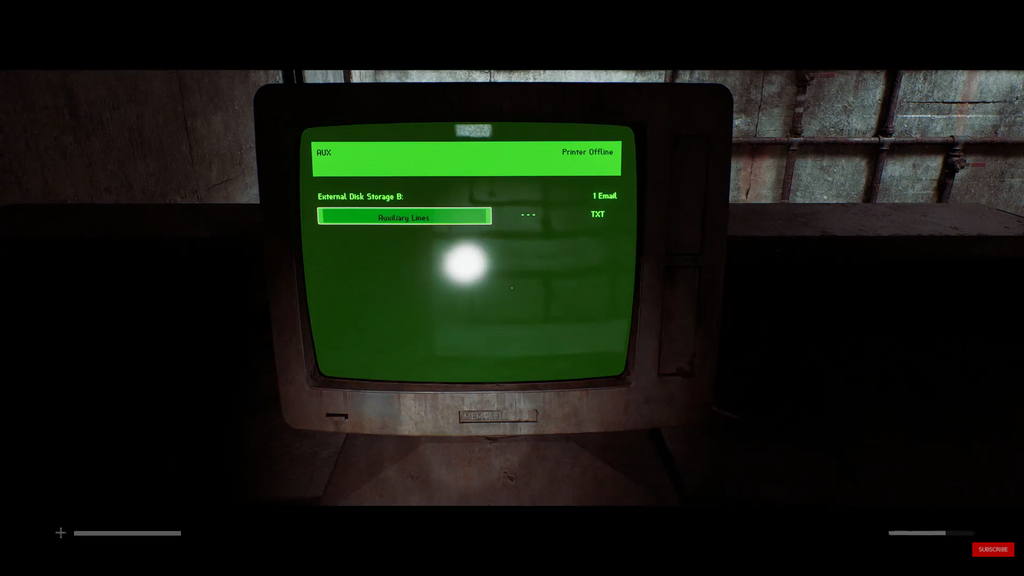
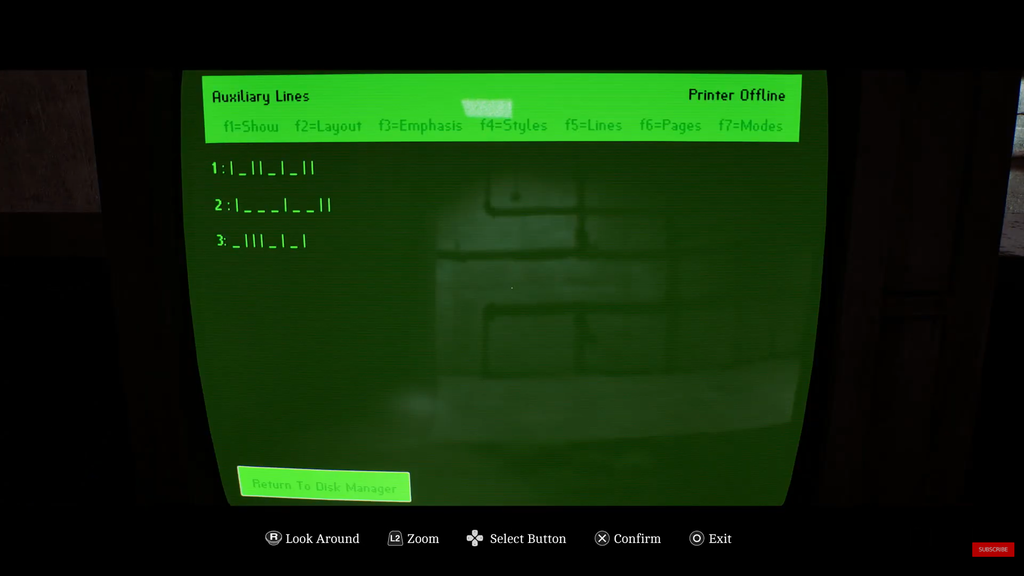
Ride the elevator up, then unlock the AUX Room with the AUX Key; its location is marked on your map. The room contains a PC, a locker holding Alcohol and Gauze, the AUX Disk, and a dozen valves along the walls. Put the AUX Disk into the PC’s disk reader and open the Auxiliary Lines file.
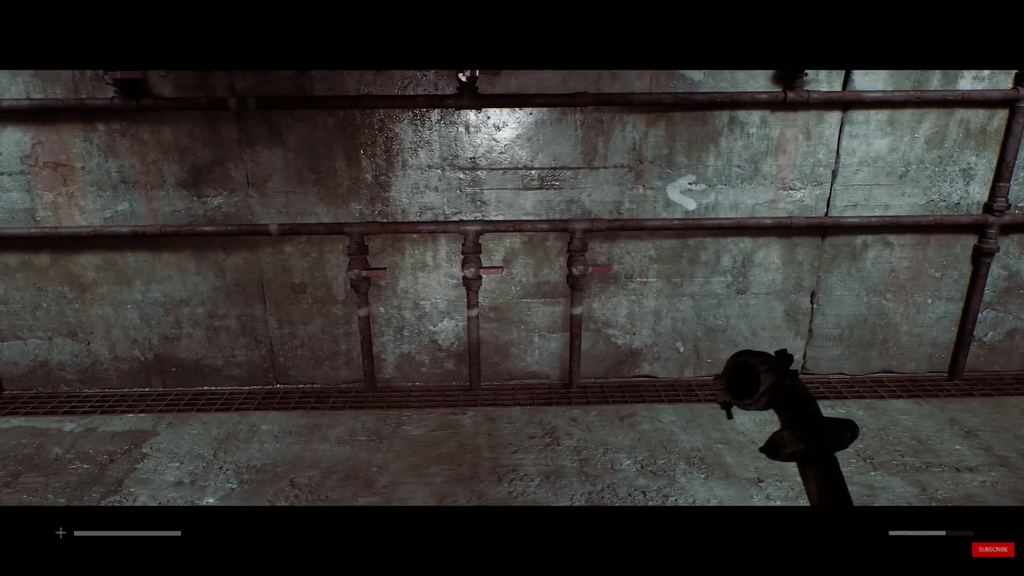
In the pattern, a bar (I) means open the valve and an underscore (_) means leave it closed. Begin at the wall beside the storage cabinet. Follow the painted arrows back and forth as you work through the bottom row (row 1), the middle row (row 2), and then the top row (row 3). Use the white pipe markings to identify each valve’s row.
Row 1: I _ I I _ I _ I I
Row 2: I _ _ _ I _ _ I I
Row 3: _ I I I _ I _ I
The pattern on the disk is the authority, so match your valves to what the file shows on your own screen. You have solved it correctly when the wall indicator lights turn from red to green. With all lights green, return to the CCTV room.
Finish the console sequence and open Valve F
Back at the console, continue the printed sequence. The Aux Line B ID is already known from the Remote Systems Control Note, and the regulator and door IDs are read from the cameras.
Solve the clamp controls puzzle
The console message directs you to the clamp release module across from the control panel. Take the Clamp Release Procedure document from the printer to the console’s left, then use the clamp controls panel. Set it as follows:
- Pressure Control: SET
- Self/All Notifiers: ON
- Tension and Balance for panel model 920CEG: INT / INT
- Run Off: DISENGAGED
- Intubate Flow: NONE
- Clamp Connection ID: D71 (stencilled on the clamp arms)
- For clamp letter D, switch on the first, third and final switches
- Battery 1: B, Battery 2: C
With everything set correctly, the release indicator flashes. Press it, and a large container lowers in the middle of the room. Head downstairs and turn the big red valve so the container drops and the shuttered gates on the right open. Go through and climb down the ladder.
Exit CEG HQ and defeat The Weight
Follow the corridors and ladders down through a room with an intercom message and into a junction. Straight ahead is a red hallway with a door locked until New Game Plus, so take the blue hallway on the right. After the cutscenes, ride the elevator to the ground floor, receive a CRTV Signal from Richard, and exit the building.
Outside, the sky monster drops corpses again. Run straight ahead through it to reach the game’s only boss, The Weight. The brown box by the flower patch on the way is empty, so skip it.
You need to pull a metal bar from The Weight at the end of each of the fight’s three phases to win. He kneels in place after each phase, giving you the chance to remove one. As you damage him, minor enemies appear; clear them quickly or ignore them and defeat him fast.
- In phases one and two, The Weight attacks only at close range and lunges into a grab QTE. Keep moving around the arena while collecting supplies, and use the Flare Gun to stun him; it also seems to deal the most damage.
- Phase three: he gains a ranged IV whip. Use walls to break his line of sight, peek out to fire, and stay careful until you are prompted to pull the final bar.
The screen distorts in the later stages while Simon can still move, so avoid holding a direction blindly into another attack.
Reach the pier to finish the game
Defeating The Weight triggers a cutscene that takes Simon back to the Shorefront where the game began. Continue down the beach to the pier, where Richard appears for a final meeting. The closing cutscenes finish Part 6 and lead into the credits. Townfall has five endings, determined by your choices throughout the run rather than one decision at the end, so getting a different ending doesn’t mean you made a mistake.