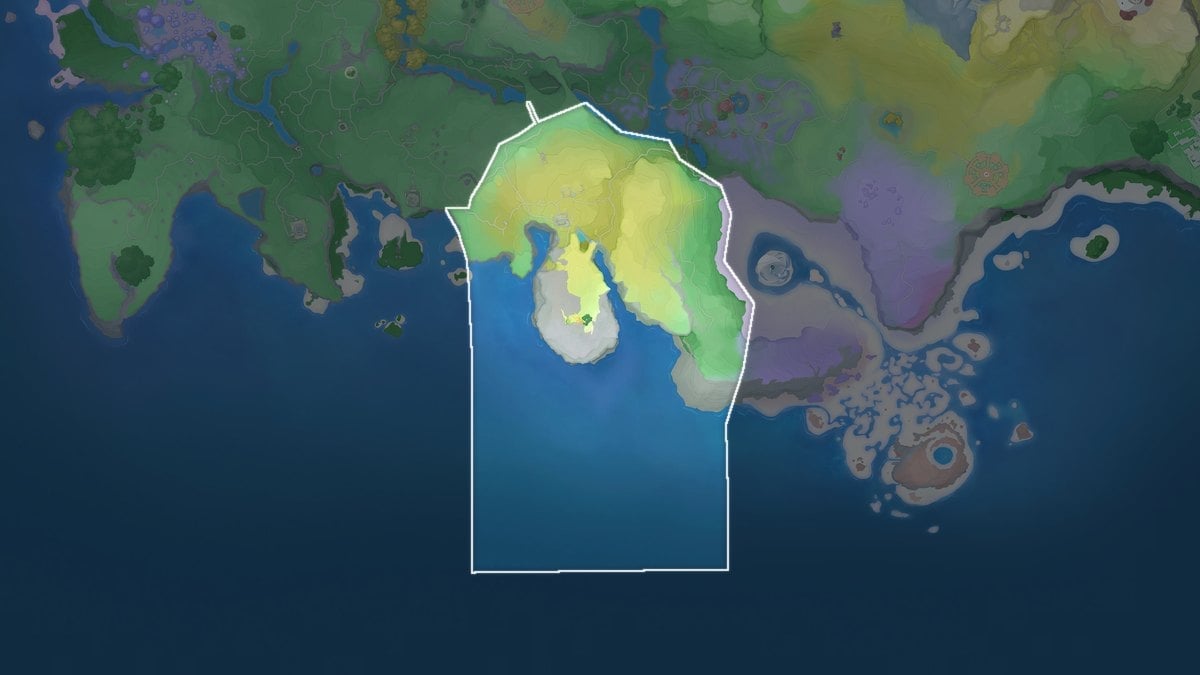
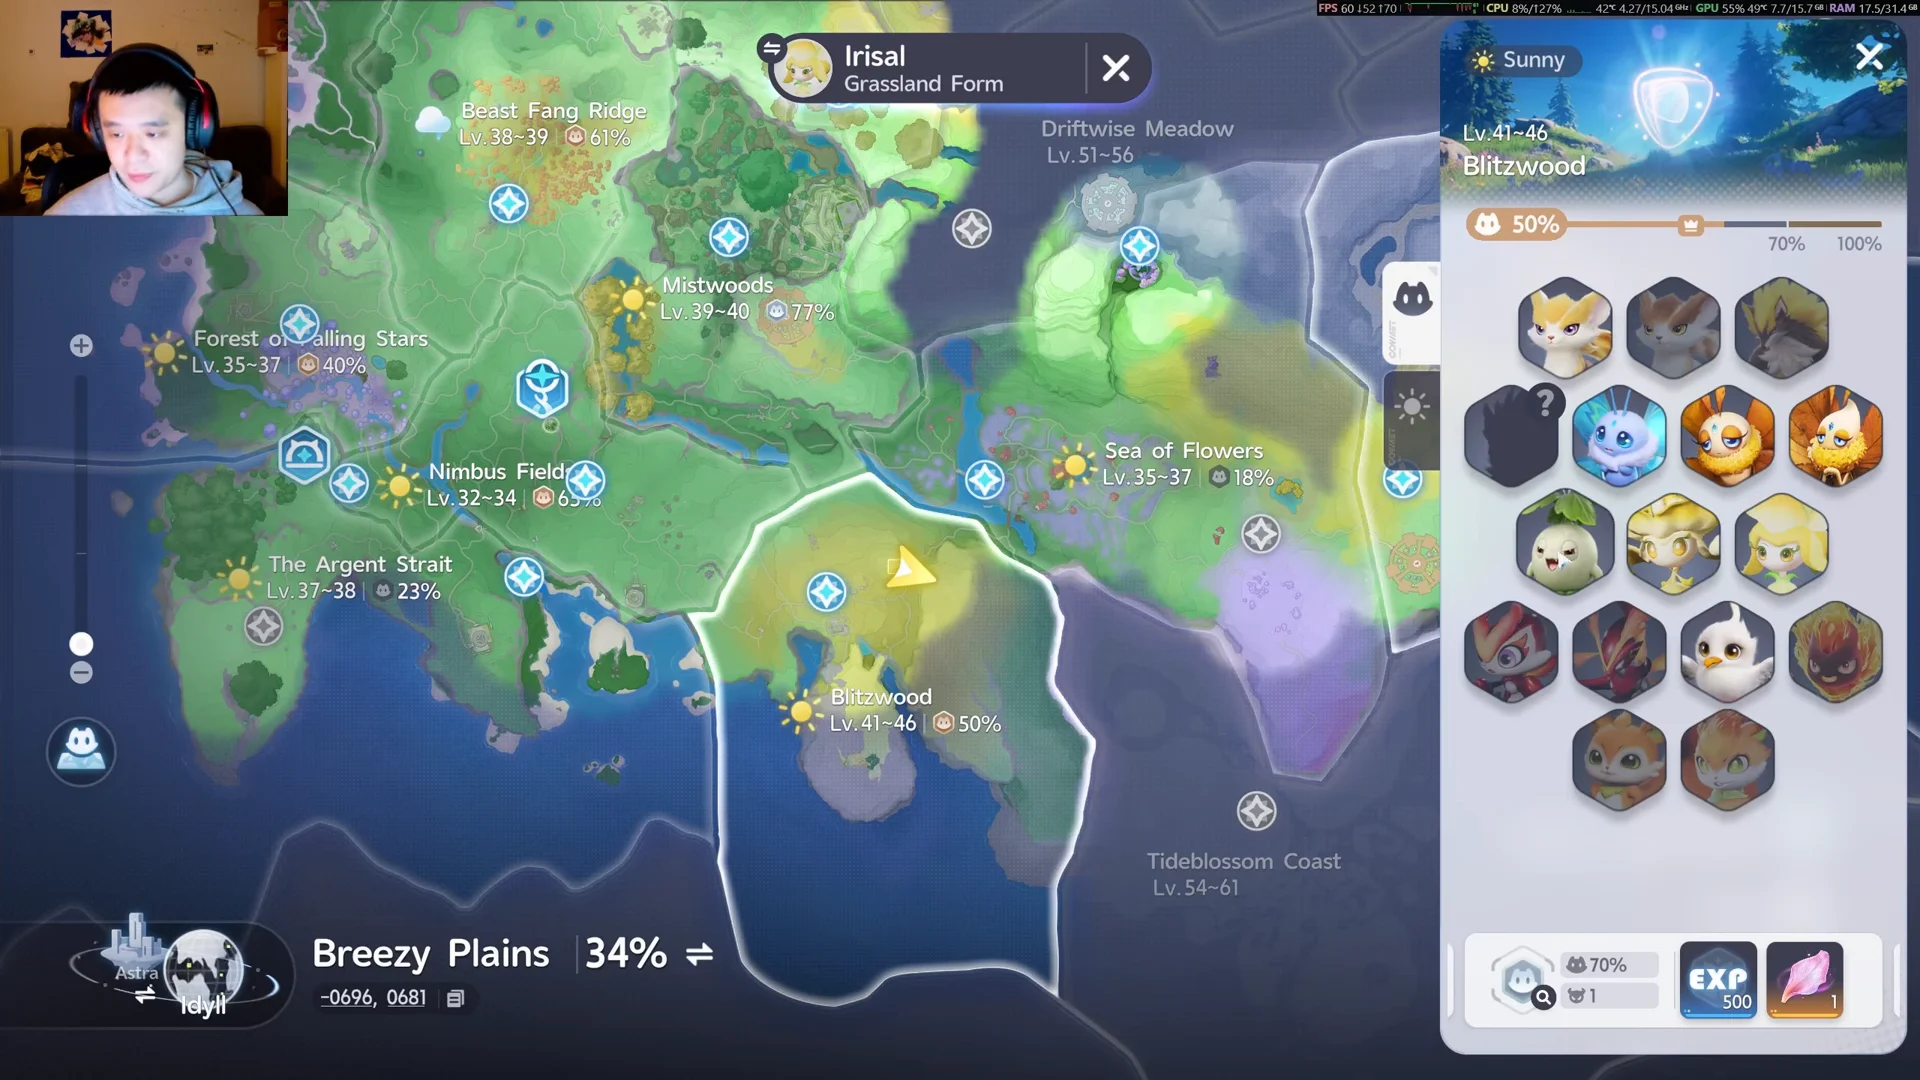
In Aniimo, Alpha Blazen is a stationary open-world encounter on a mountain plateau in Blitzwood, within the Breezy Plains. Before the Level 45 Electric battle can start, you must solve a brief ancient-ruins puzzle; defeating it gives you one chance to recruit Blazen.
Quick answer: Use the Gravity Pull puzzle to reach the plateau south of Blitzwood Bloom, then bring Ice and Dark Aniimo. Break the boss and throw an Aniipod Ultra or Sparkling Cube to guarantee a 100% catch.
Alpha Blazen location and key details
You’ll find Alpha Blazen atop a tall cliff in southern Blitzwood at coordinates -0762, 0467, directly above the Blitzwood Bloom fast travel point. This area ranges from regional level 41 to 46. You can challenge the boss at any time of day, with no requirements other than reaching the location.
| Detail | Value |
|---|---|
| Region |  Blitzwood (Breezy Plains) |
| Level | 45 |
| Element |  Electric |
| Weak to | Ice, Dark |
| Resists | Lightning, Fire |
| Danger level | Medium |
Once you’re in the right section of Blitzwood, use the world map to locate the Alpha marker and set it as your target. First activate Blitzwood Bloom; it makes the return climb to the plateau quick if you run the fight again.
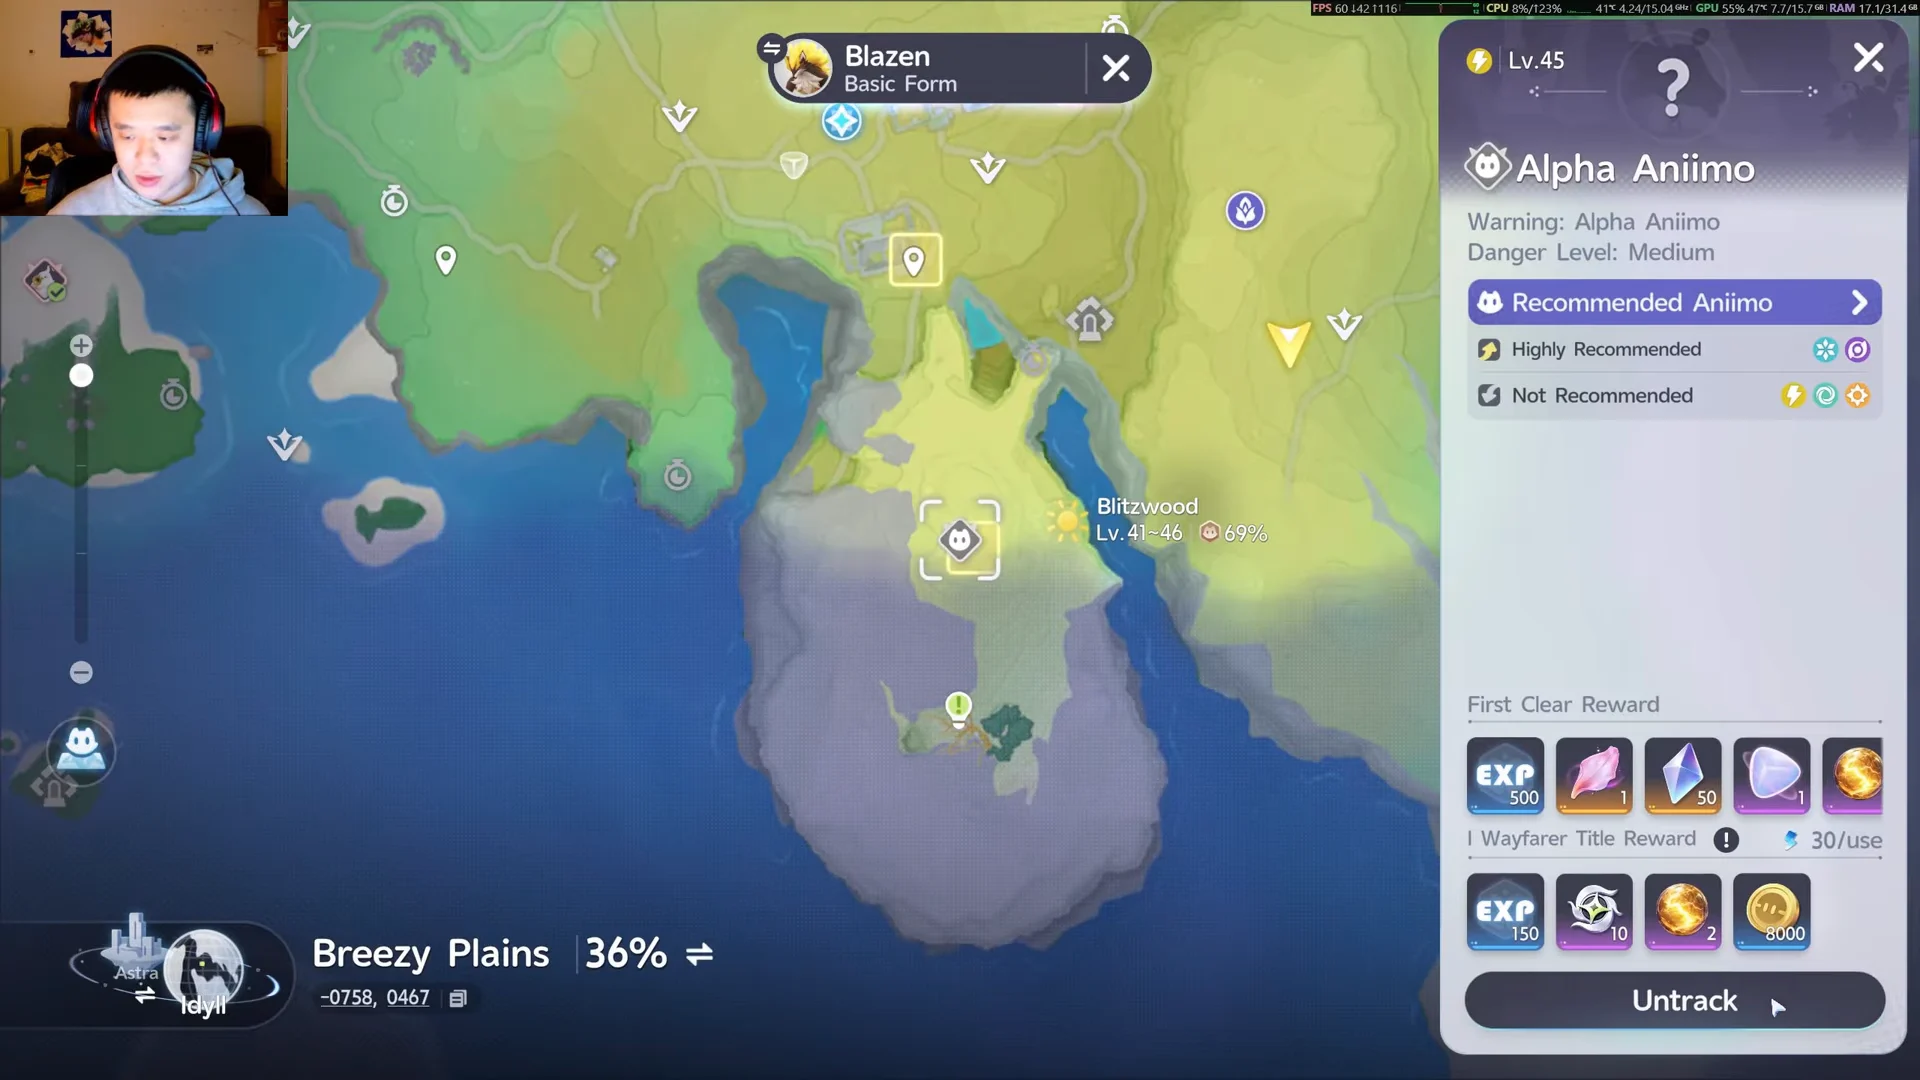
When the marker seems nearby but the boss isn’t visible, look for a way upward instead of treating it as a broken encounter. Alpha Blazen is positioned above the puzzle, so the climb is essential.
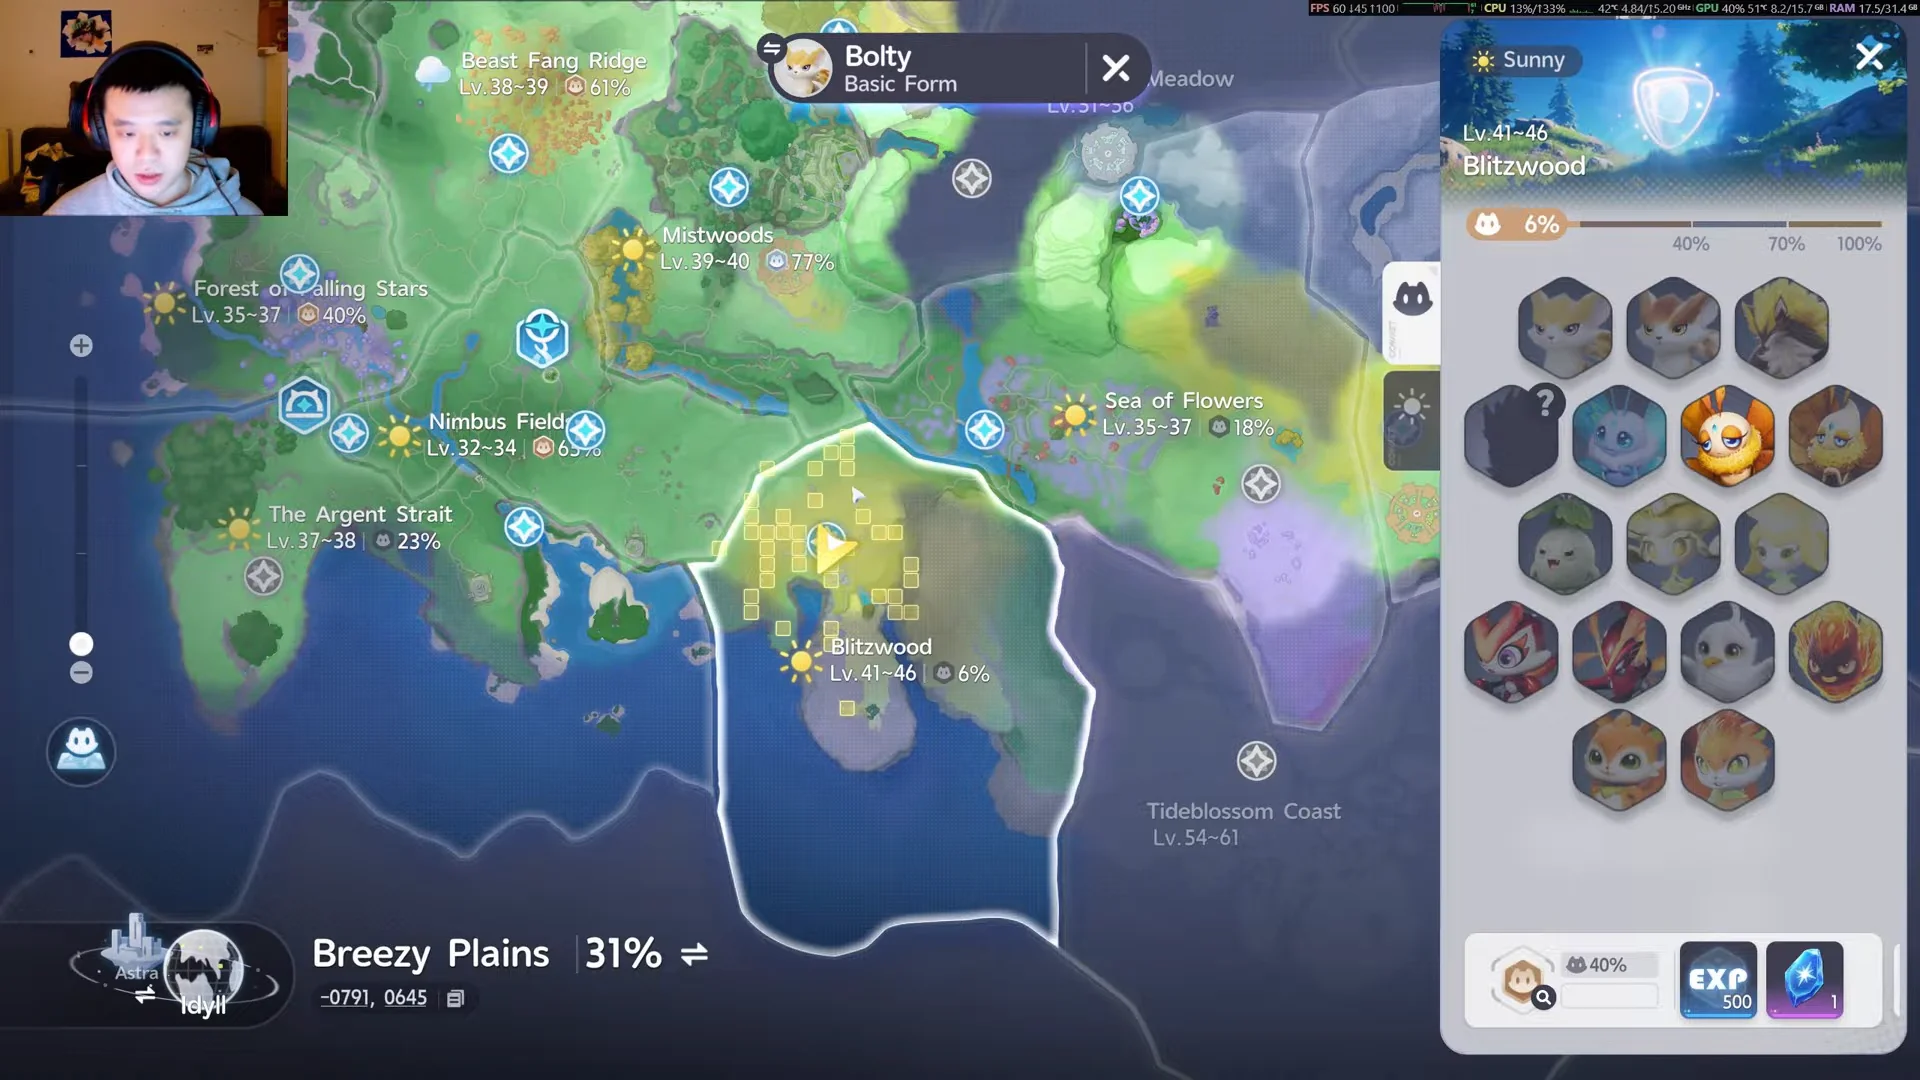
You can drop a custom marker on the plateau from the same map panel to keep your route clear during repeat runs.
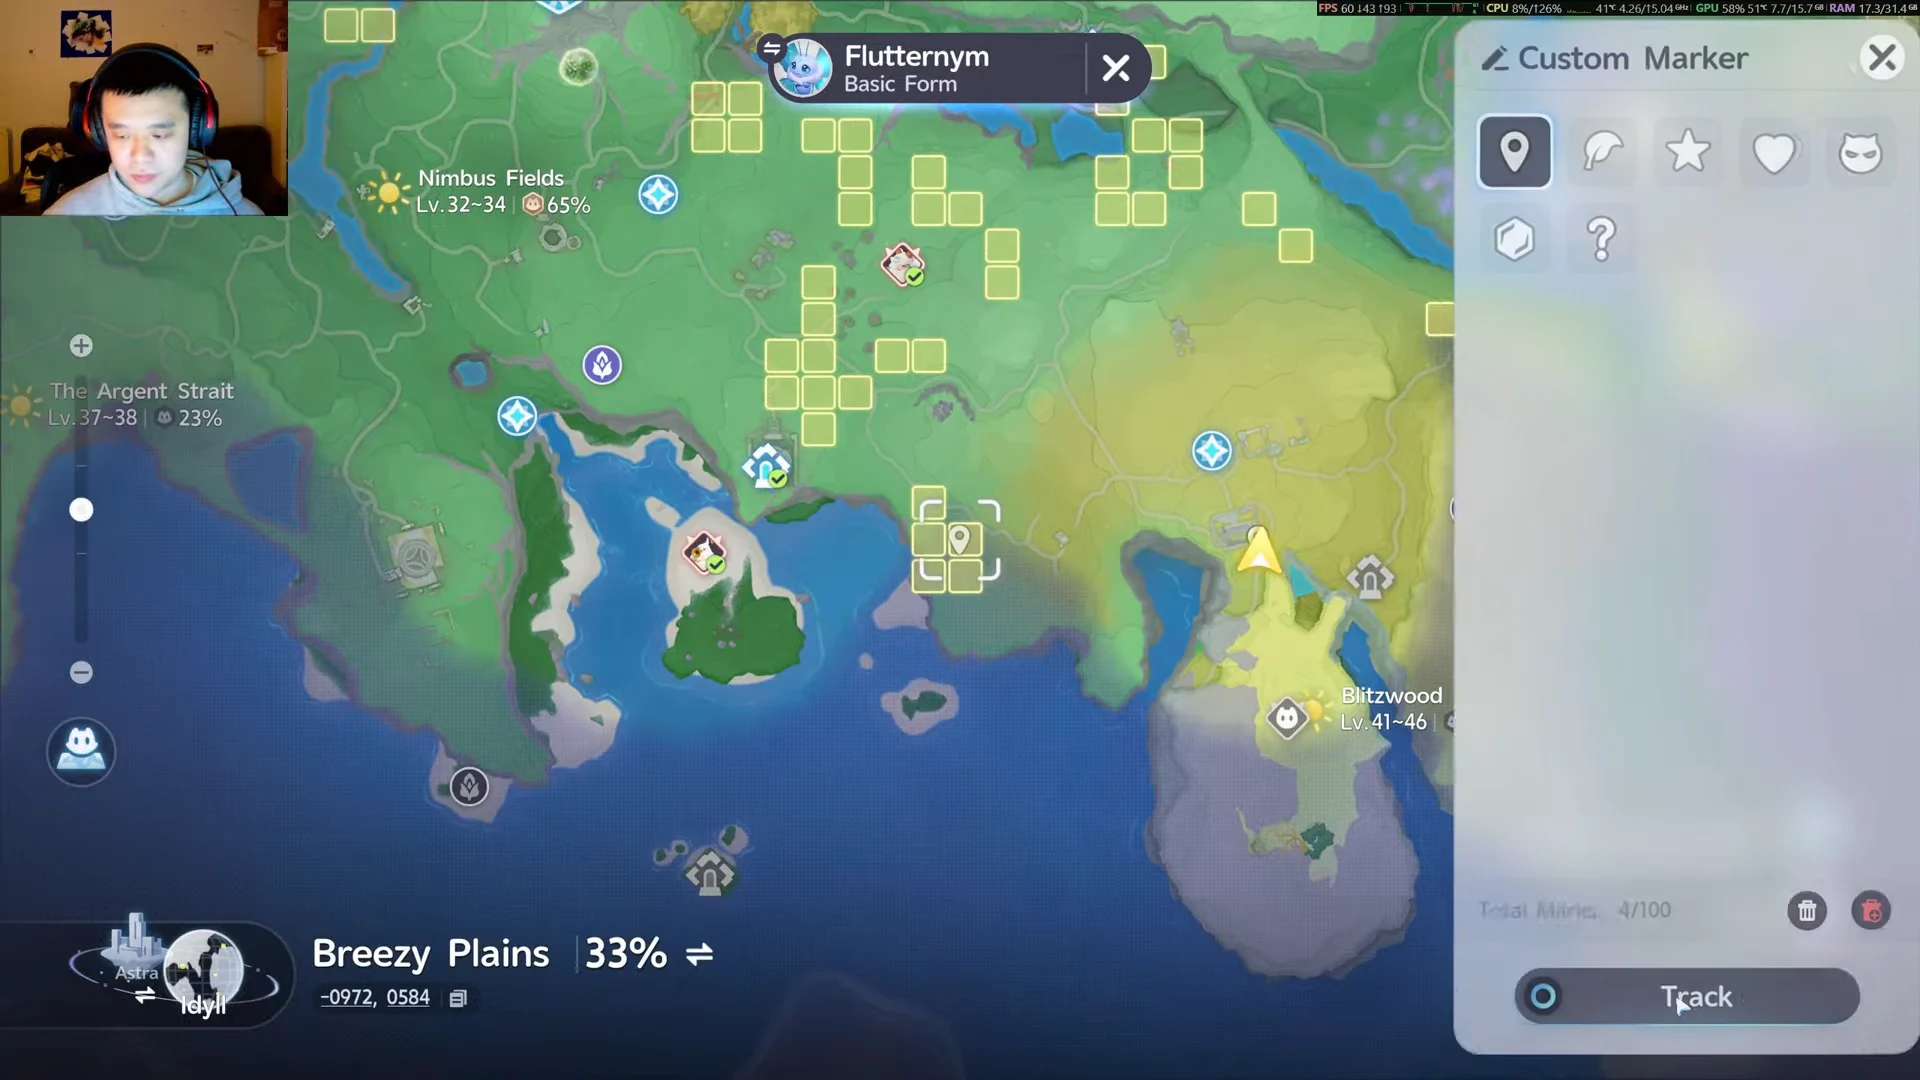
Reach the plateau with the Gravity Pull puzzle
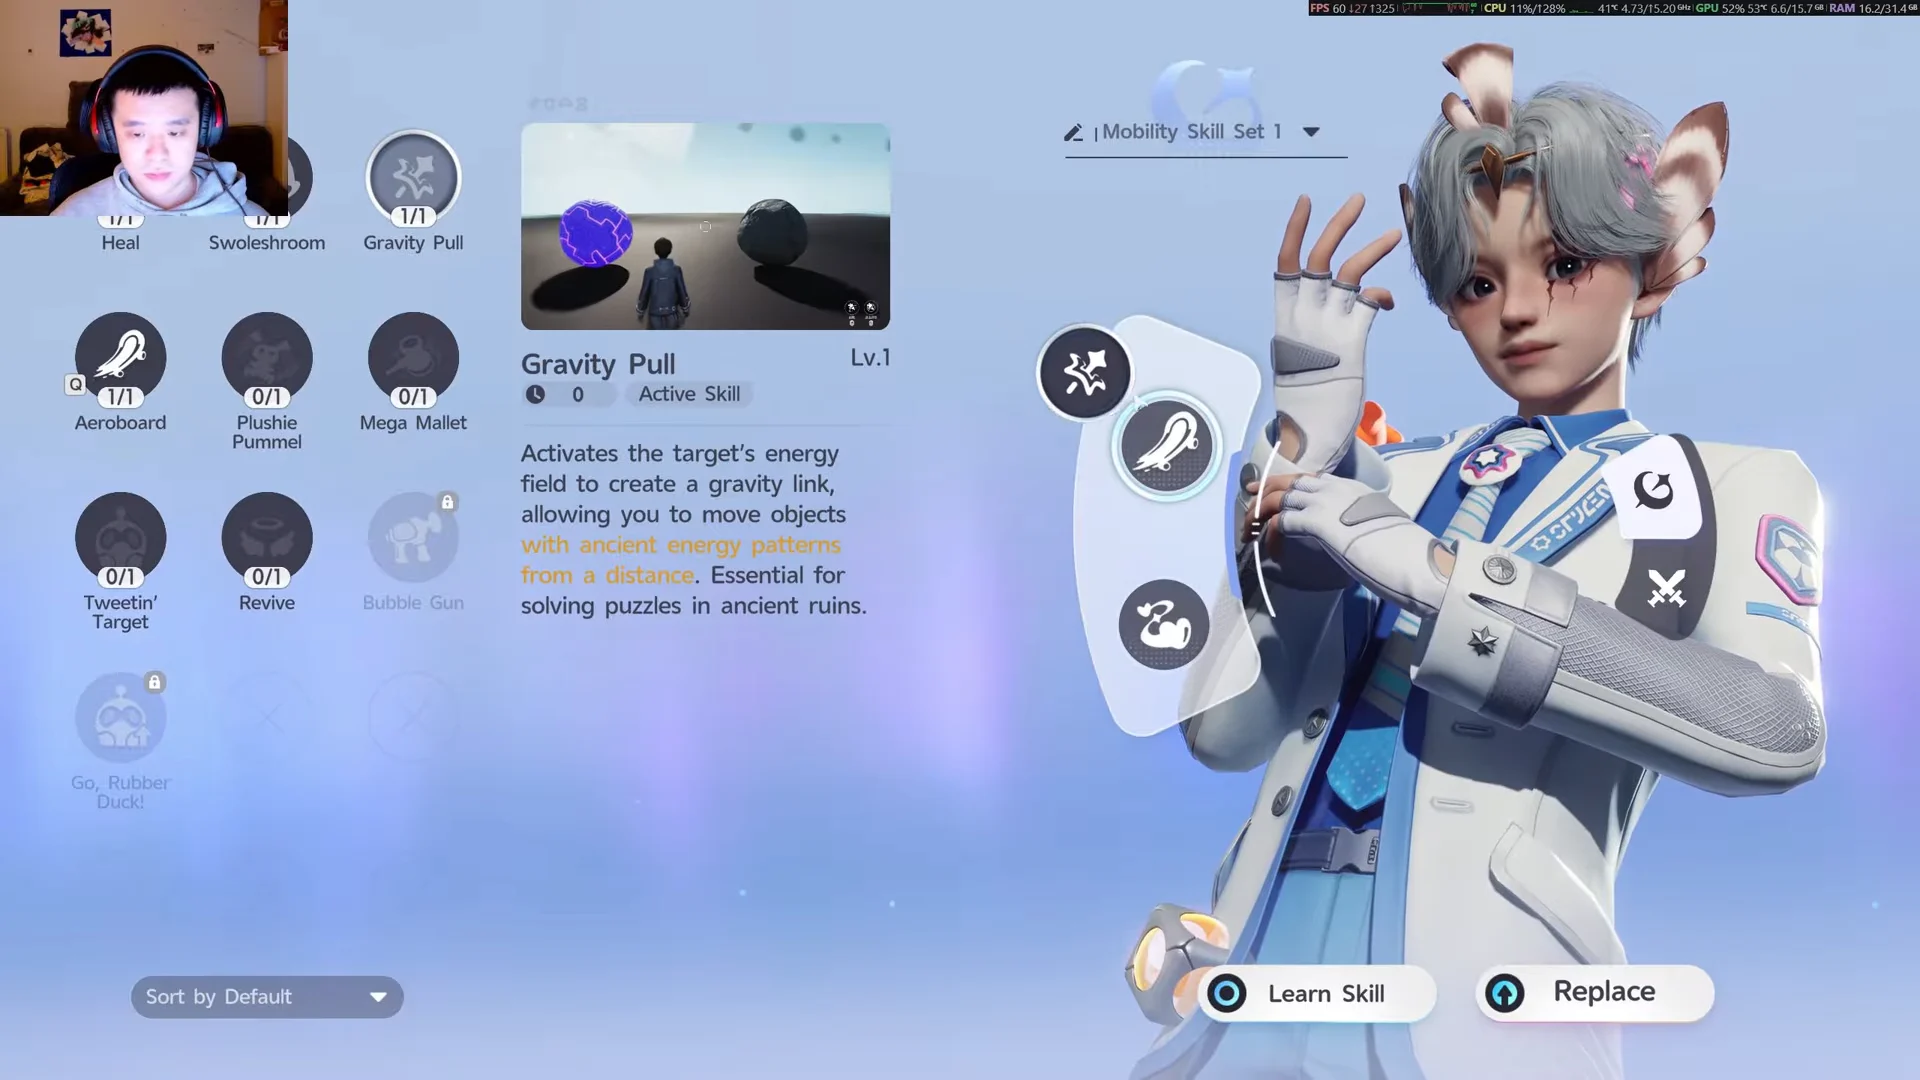
An ancient-ruins mechanism at the cliff’s foot blocks the route upward. Use the Gravity Pull active talent to guide an energy orb into its socket; two launch pads then take you to the summit. If Gravity Pull is already learned and equipped, go directly to placing the orb.
Best team setup against Alpha Blazen
As an Electric Aniimo, Blazen takes Super Effective damage from Ice and Dark attacks. Ice Aniimo make the best choices: their attacks hit hard, and they withstand its Electric damage. Don’t bring Lightning or Fire attackers, because the boss resists both elements.
- Highly recommended: Ice and Dark elements, with Ice as your main damage dealer.
- Avoid Lightning- and Fire-type Aniimo.
- Bring a dependable BREAK partner to create openings for damage.
On the plateau, use the roster screen to switch in your Ice and Dark attackers before starting the encounter. That way, you can target Blazen’s weakness from your opening strike.
Attack patterns and how to beat it
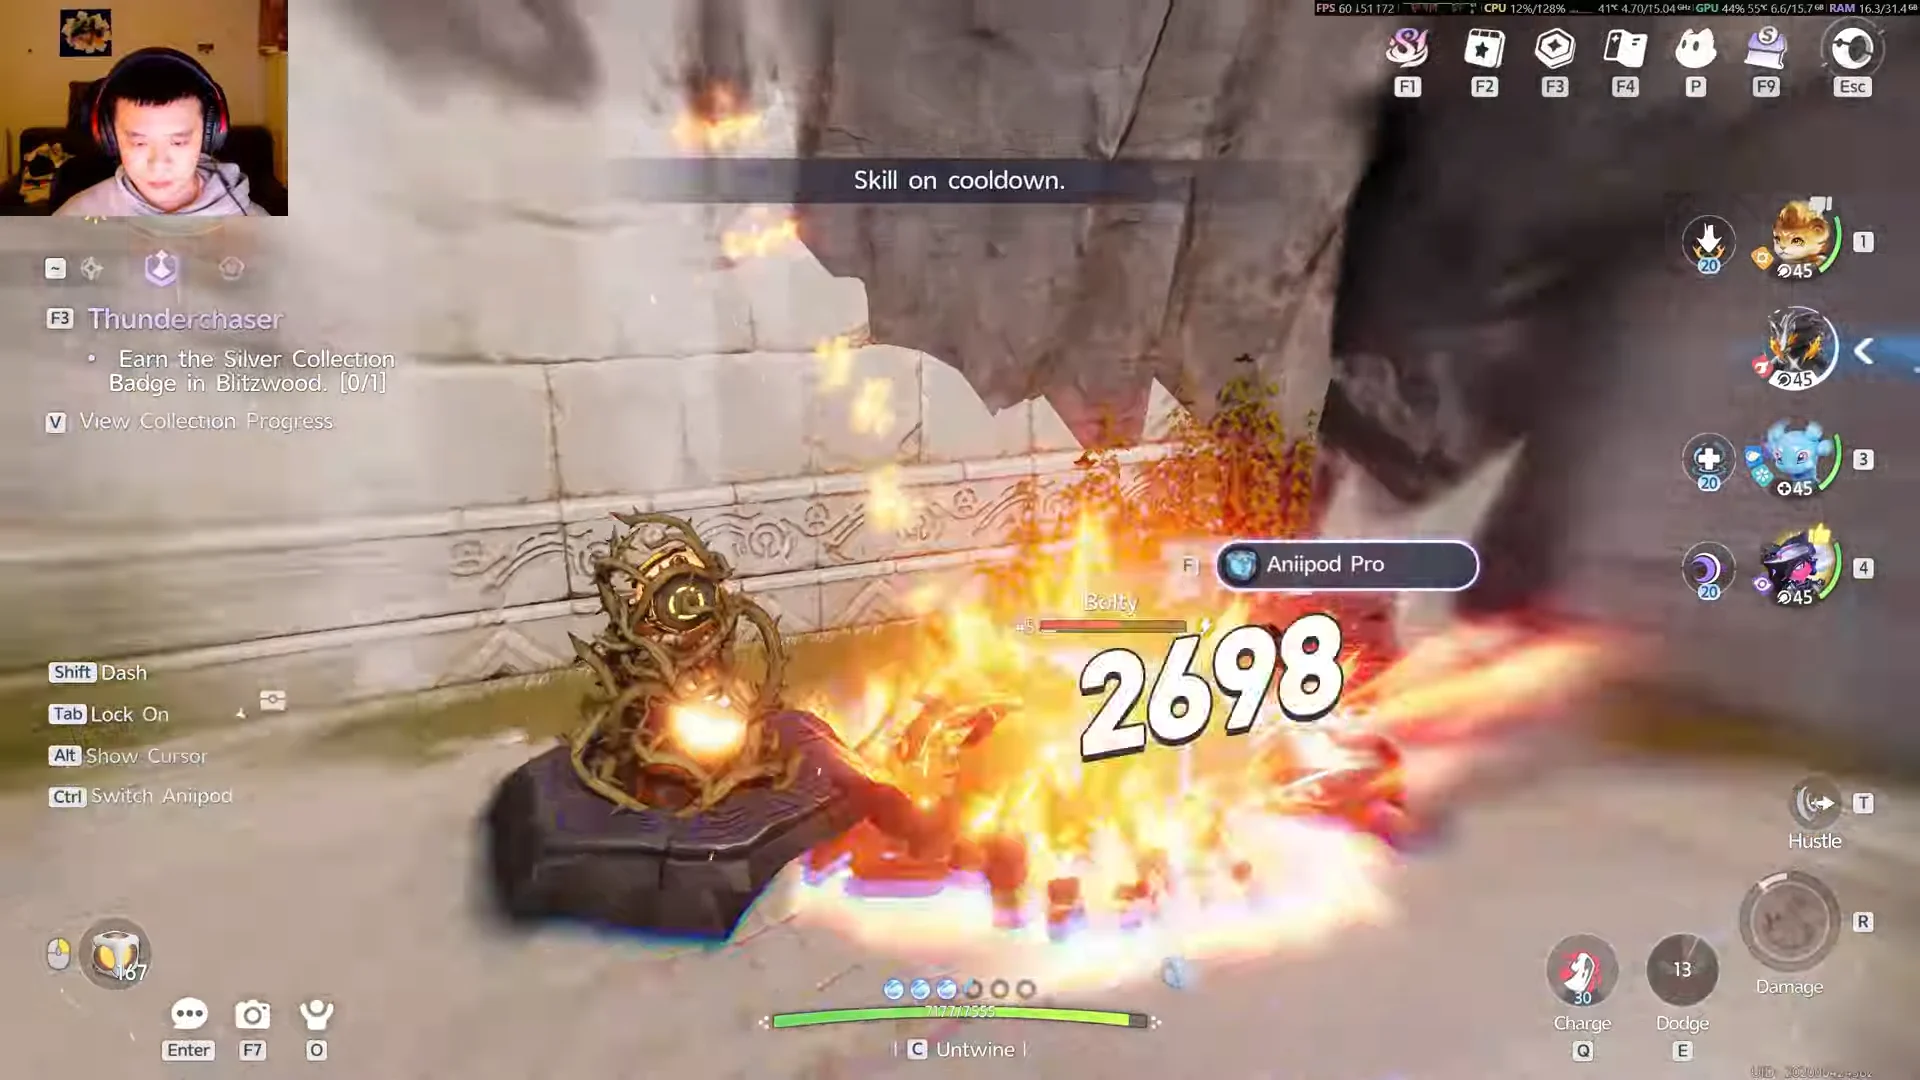
The encounter revolves around a single mechanic: Blazen signals its Overcharged state, then streaks around the arena in rapid dashes, leaving explosive afterimages behind. On seeing the warning, stop dealing damage and concentrate on evasion. After the state passes, Blazen becomes exhausted and its Break resistance falls, giving you an opening.
| Move | How to handle it |
|---|---|
| Flash Charge | After a brief windup, it surges forward along a route marked in red. Get to the edge of that marked path. |
| Claw Swipes | It performs several swipes and finishes with a two-claw strike. Stay back until the sequence ends, then move in again. |
| Overcharge Startup | It heads for the arena’s middle, launches electric charges in a cross pattern, then slams down on your position. |
| Overcharge State | Its speed increases, and it leaves behind afterimages that explode. The timer next to its health bar indicates how long this lasts. |
Build the break gauge while it’s safe, then activate BREAK to raise your damage to a 250% multiplier. Use your best burst attacks and Ultimate skills during that opening. Keep some cooldowns available, though, to respond when the next Overcharged phase begins.
Catch Alpha Blazen after the fight
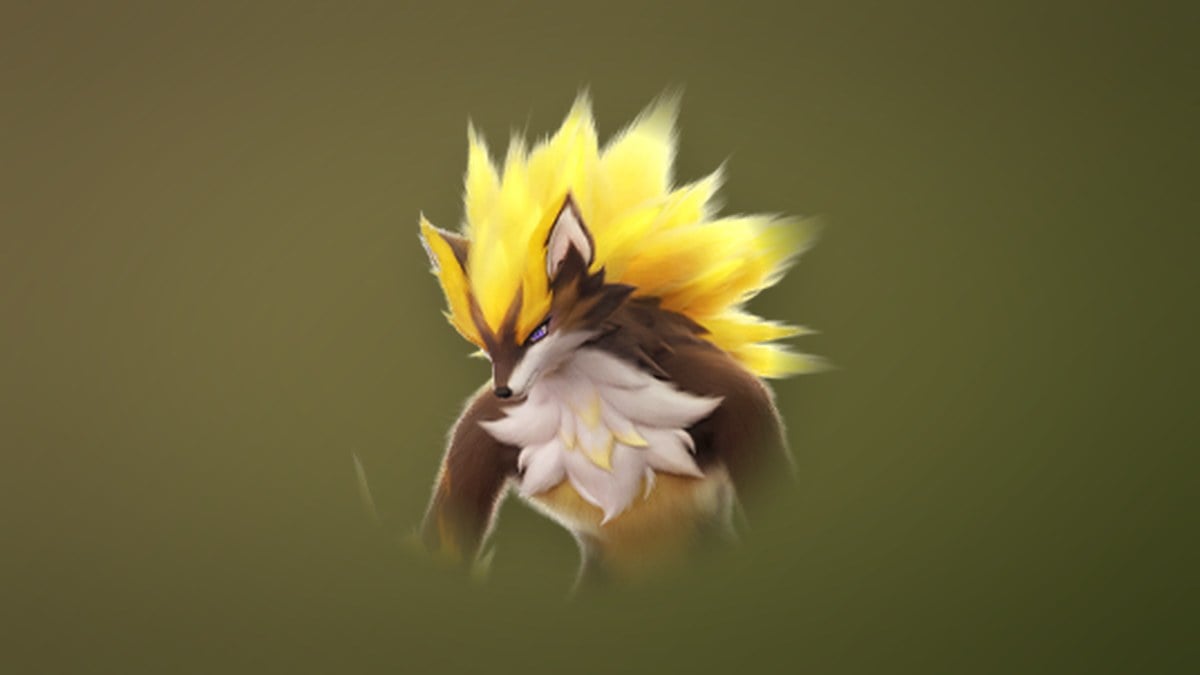
You cannot catch Blazen while it is Twined during combat. When the boss is defeated, a two-minute Catch Countdown starts and gives you a single chance on the post-battle catch screen. Each attempt costs 30 Primegy, and your odds depend on the Aniipod you select.
| Catch item | Catch rate |
|---|---|
| Aniipod (free) | 6.6% |
 Aniipod Track | 13% |
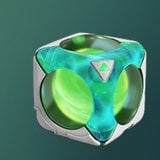 Aniipod Hyper | 13% |
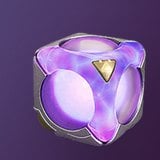 Aniipod Mega | 13% |
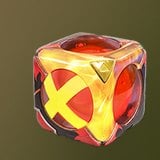 Aniipod Ultra | 100% |
 Sparkling Cube | 100% |
You get only one catch attempt each time you clear the fight, so equip your strongest capture item before throwing. Either an Aniipod Ultra or a Sparkling Cube makes the catch certain. A successful capture adds Blazen and its Nova Stage entry to your roster.
A failed capture doesn’t end your chances permanently; you can come back later and defeat Alpha Blazen again.
First clear rewards
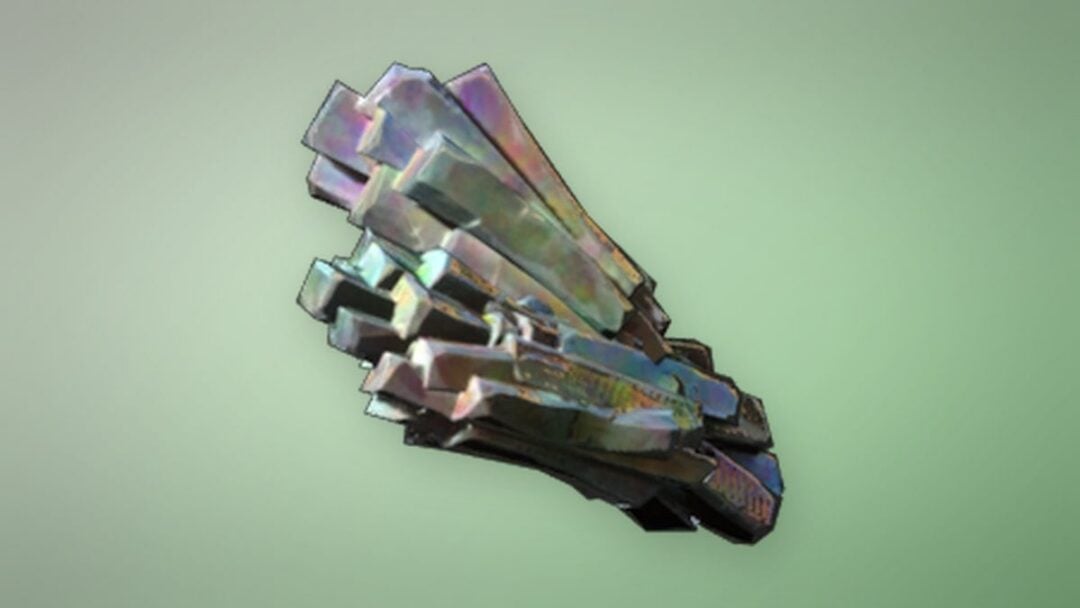
Your first Alpha Blazen victory awards a one-time bundle and a Wayfarer Title. Roar Stone is also a boss drop that you can earn on repeat clears.
- Roar Stone x5
- Glimmer x50
- Safaris x500
- Irisalis Petal x1
- Lumin Amber: Breezy Plains x1
Players often revisit the fight for Roar Stone, which is used in the Bolty-to-Blazen evolution line. Defeat the boss to collect materials, catch the Alpha if you want to add it to your roster, and leave Blitzwood Bloom activated nearby to speed up future runs.