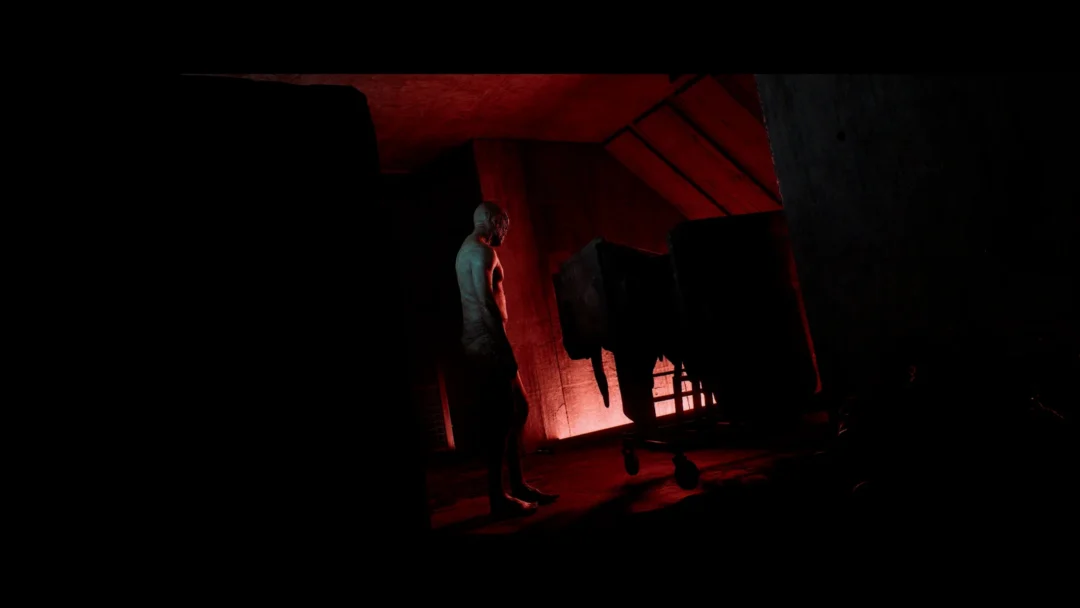
The blood transfusion puzzle in the altered Medical Centre of Silent Hill: Townfall is a long chain with a nasty twist at the end. You need to gather five blood bags spread across the wards, use two of them to open sealed doors, match the last three to the right patients, and then solve a blood-type dial to open the final vault door for Simon Ordell.
Quick answer: Use Alan Duncan and Lesly Greer’s bags to open the wards, place the other three bags by patient symptom, then route the O-, O+ and A+ donors into the central Ordell node.
Collecting the five blood bags
You start in a large central room with a paper map sitting on a counter. Pick it up first, because the wards branch off in every direction and the map is the only reliable way to keep the rooms straight. Two of the five bags (Alan Duncan and Lesly Greer) are consumed at hallway terminals to unlock wards, so you will only carry three bags into the final placement puzzle.
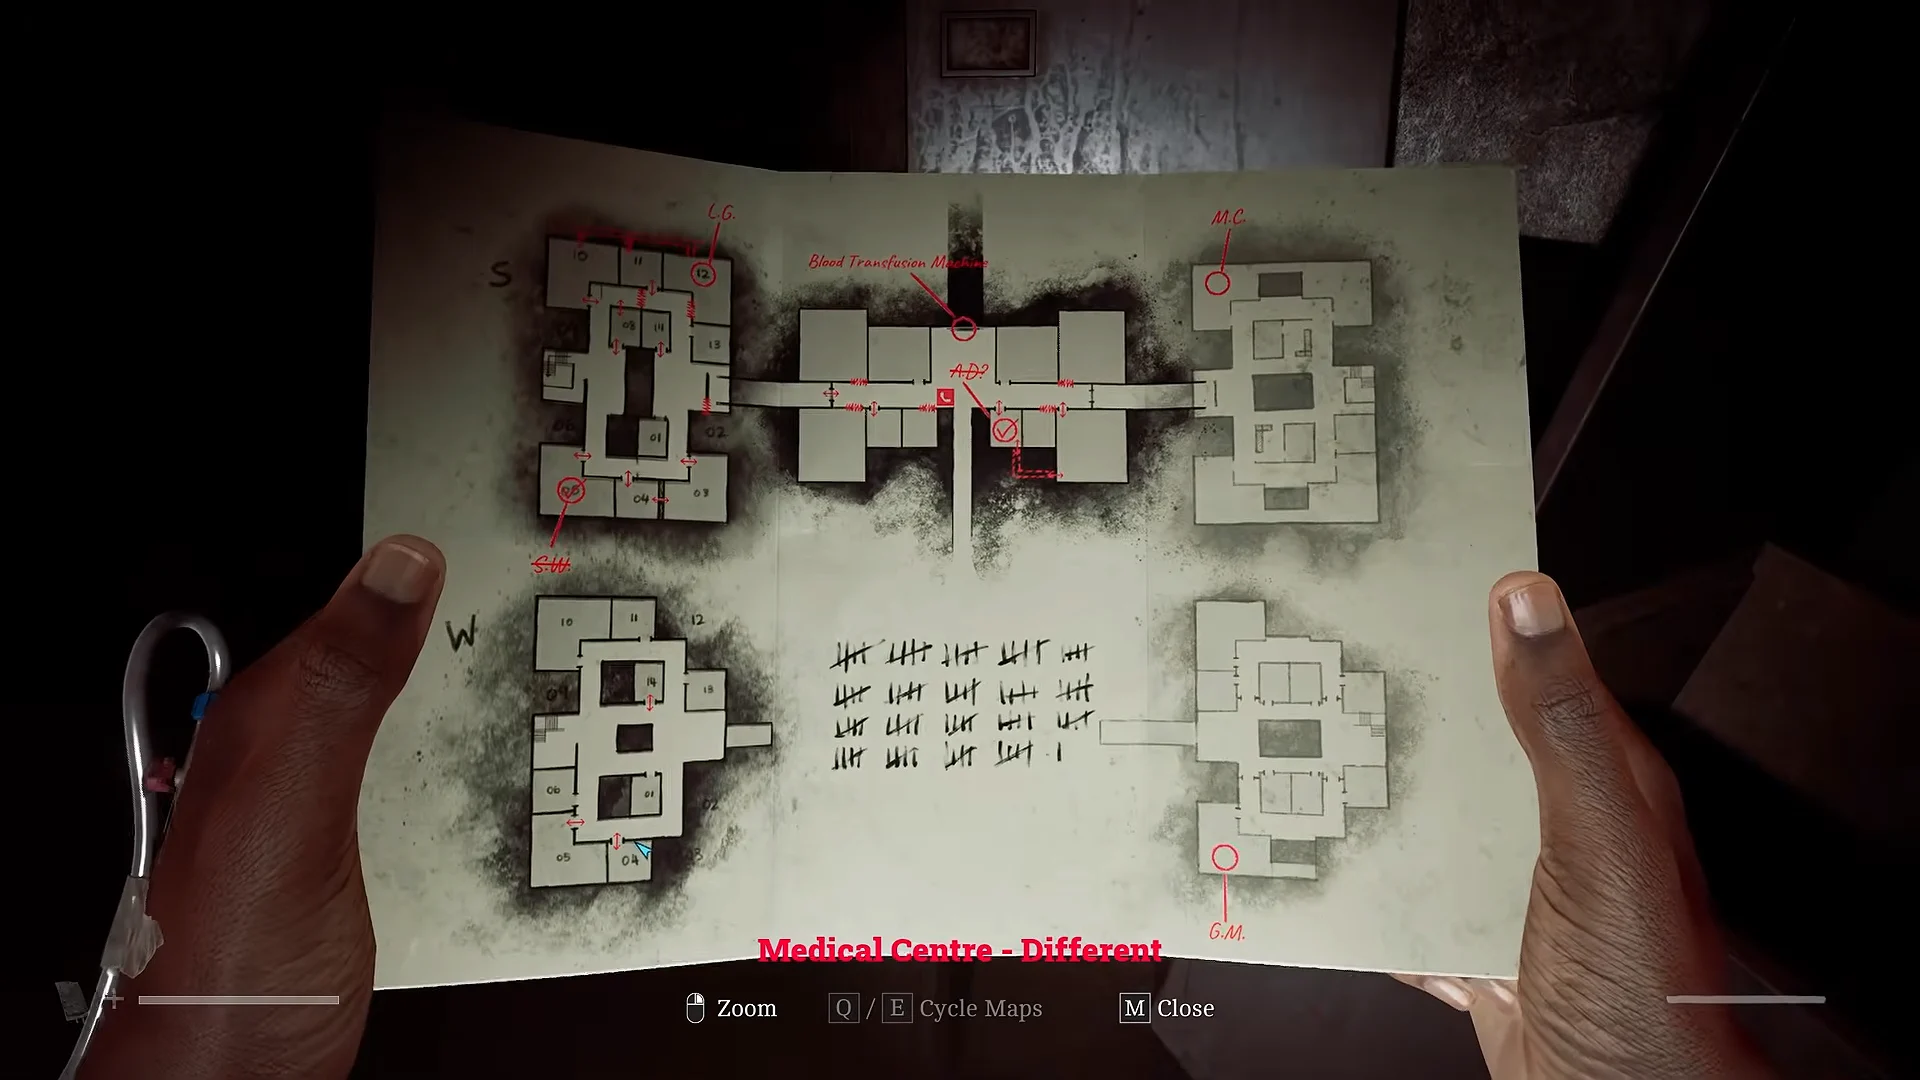
A large enemy called The Weight patrols the lower wards and kills you instantly on contact. Tune him into your radio, stay in stealth, and save at the telephone in the central room after each step so you do not have to repeat a section.
Alan Duncan (opens Wards S and W)
Head down the right-hand corridor to the furthest southeast room and use the vent to reach the locked room beyond it. Inside you will find Alan Duncan’s bag (marked AB−) and Zoe’s patient list, which shows where the remaining bags are located.
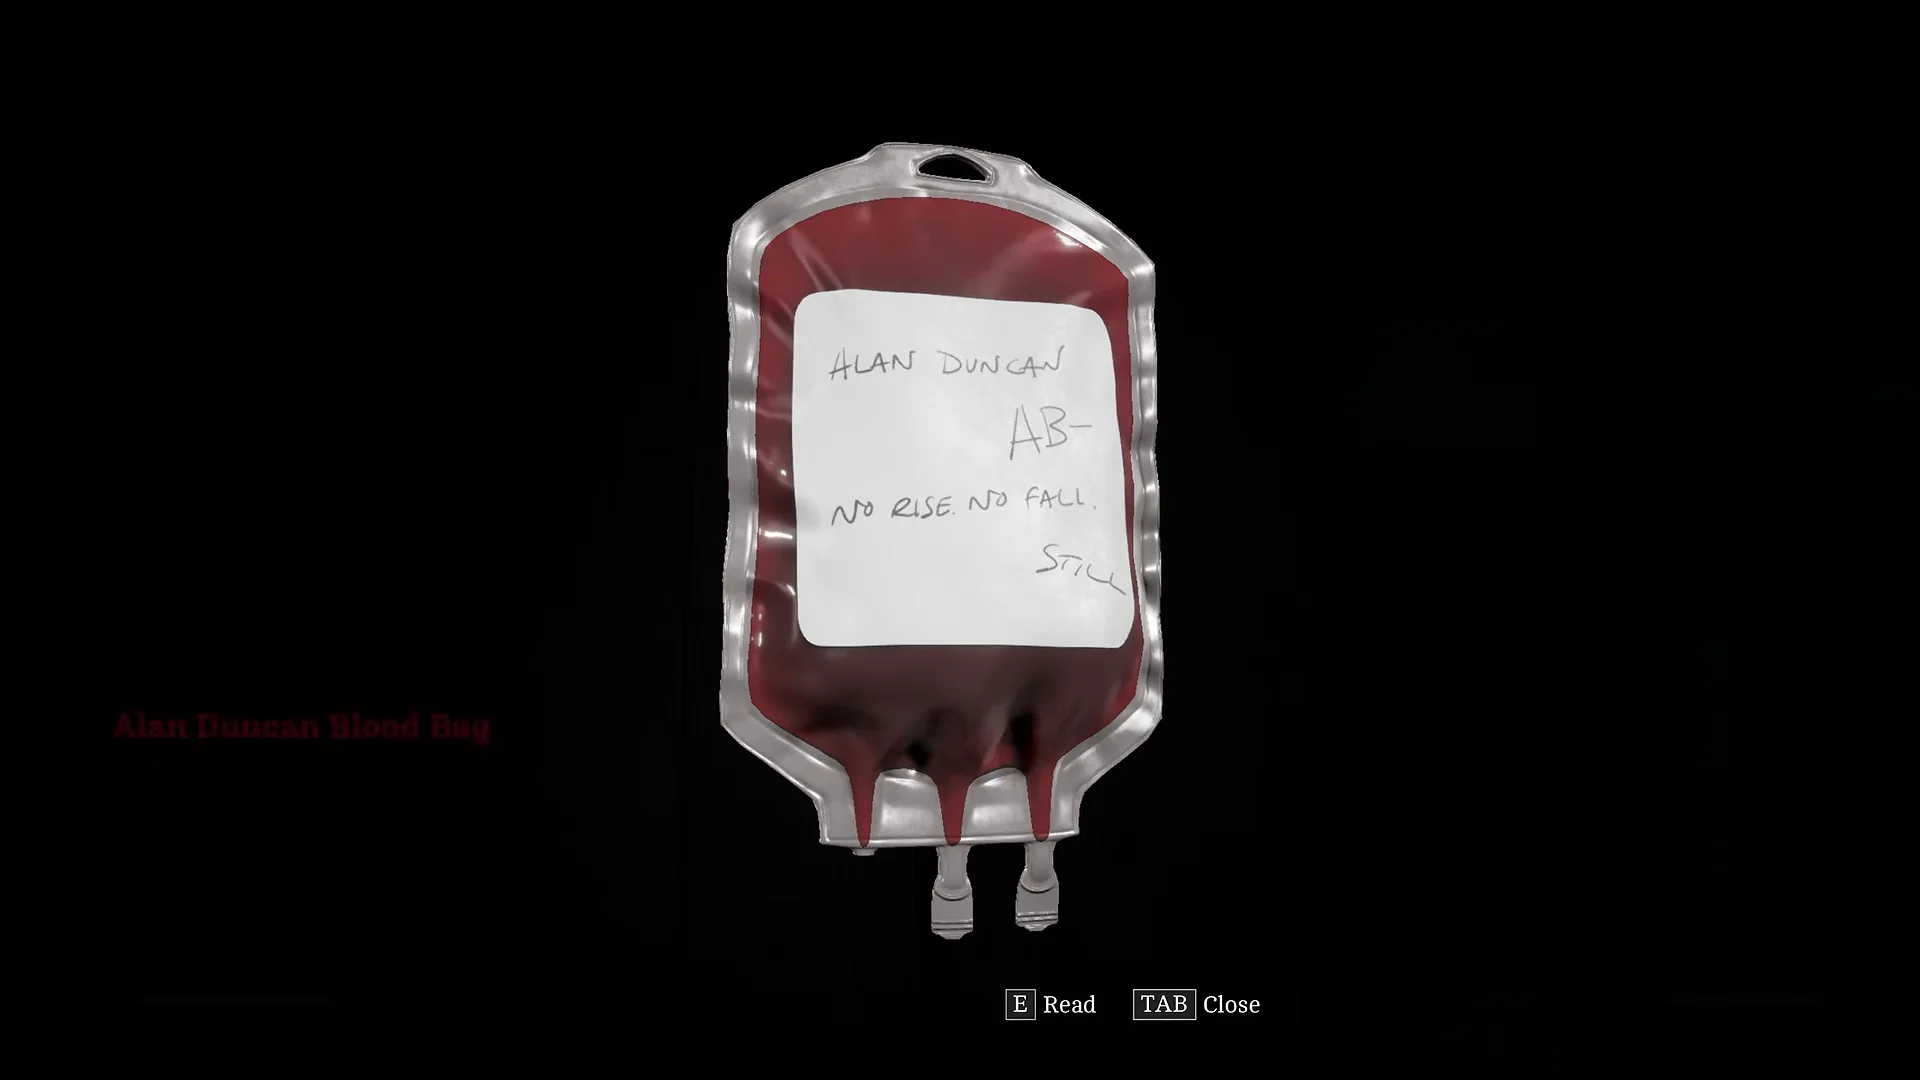
Return to the central room, go down the left hallway, and place Alan Duncan’s bag into the transfusion machine there. Hit the switch to run the transfusion, which opens the door into Wards S and W.
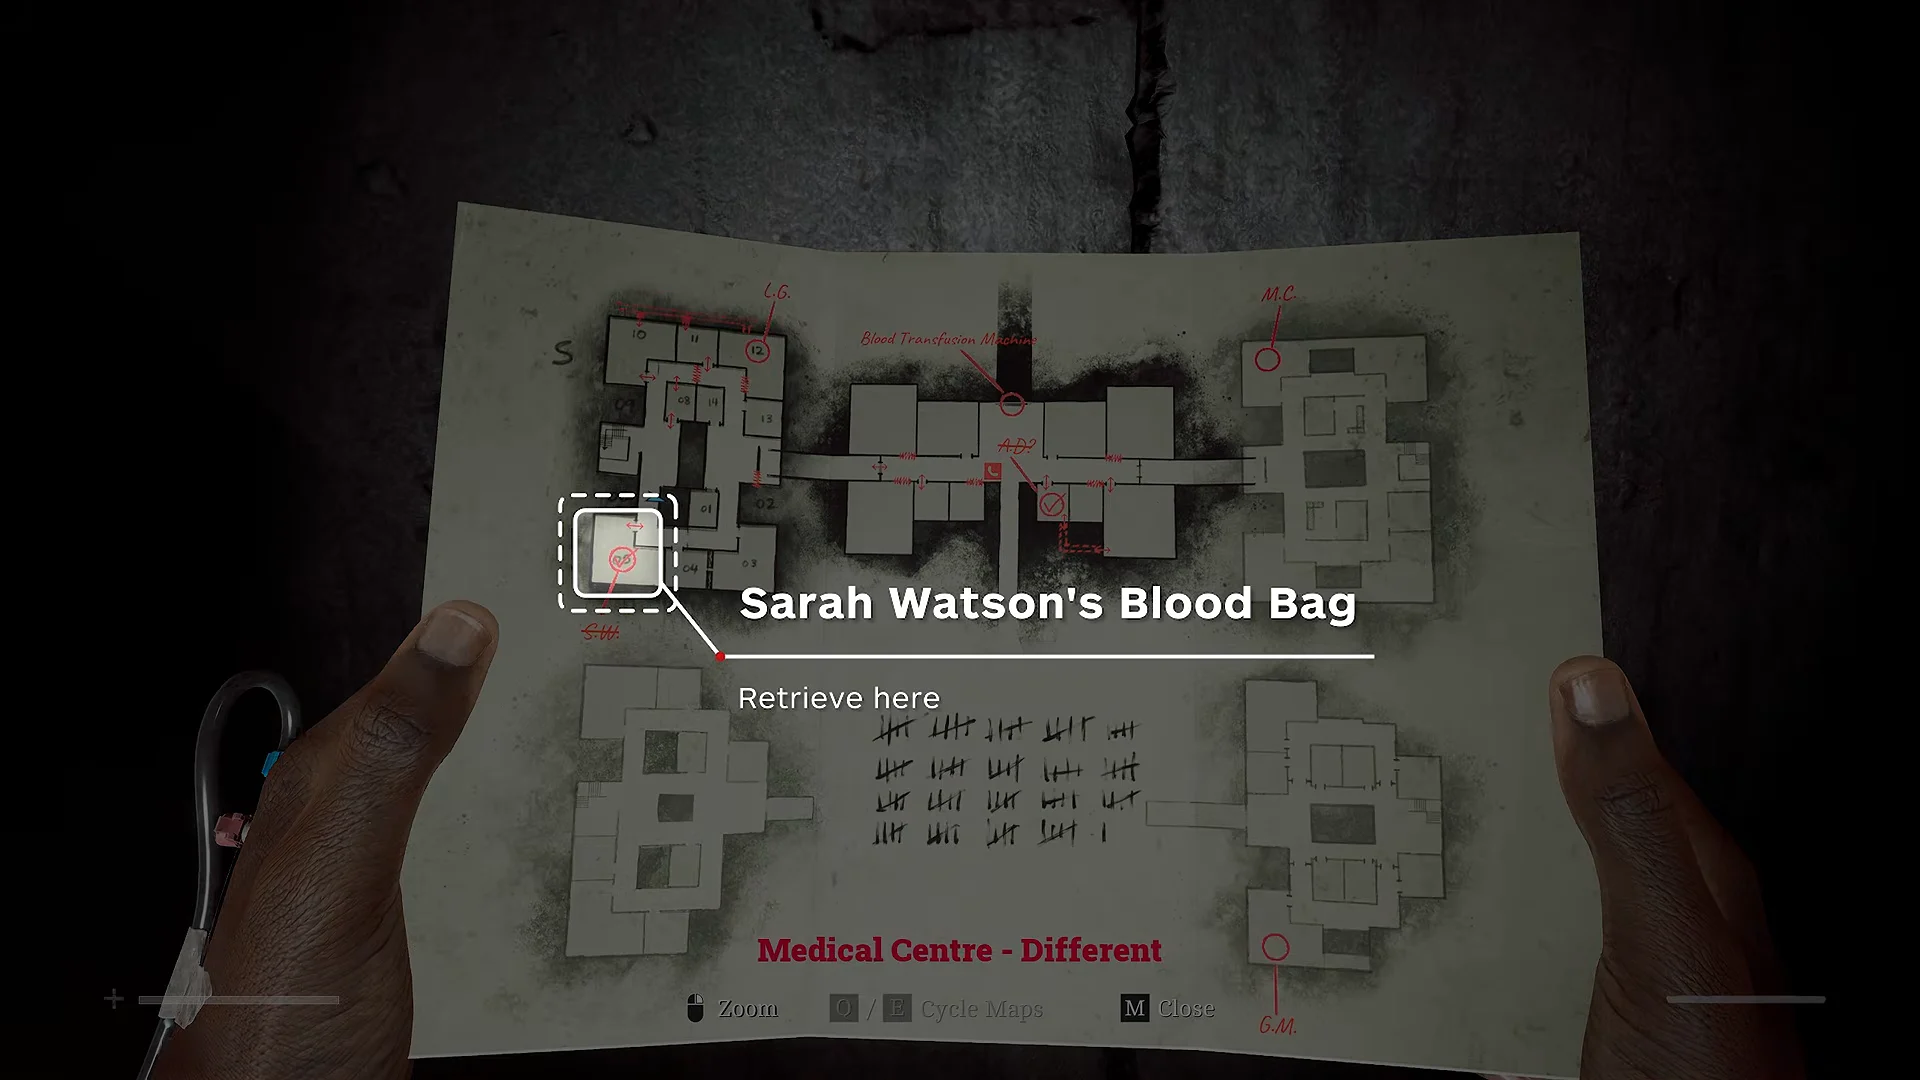
Sarah Watson
Inside Ward S, go to Room 05 and take Sarah Watson’s bag from beside the bed. The recording in the room notes head trauma and a pulse around 90, which you will need for the placement step later. Keep this bag.
Lesly Greer (opens Wards D and P)
Descend the stairs to the ward basement. Begin by retrieving the Ward W Master Key in Room 04; it opens this floor’s doors. Unlock the room containing the wall ladder, climb it, and enter the otherwise sealed upstairs room in Ward S to retrieve Lesly Greer’s bag, labeled B−.
There is a vent in Greer’s room that lets you crawl out on the upper floor and reach the ladder back to the safe central area. Return to the central room, go down the right-hand corridor to the second transfusion machine, and place Lesly Greer’s bag inside. Flip the switch to open the door into Wards D and P.
George McEwan
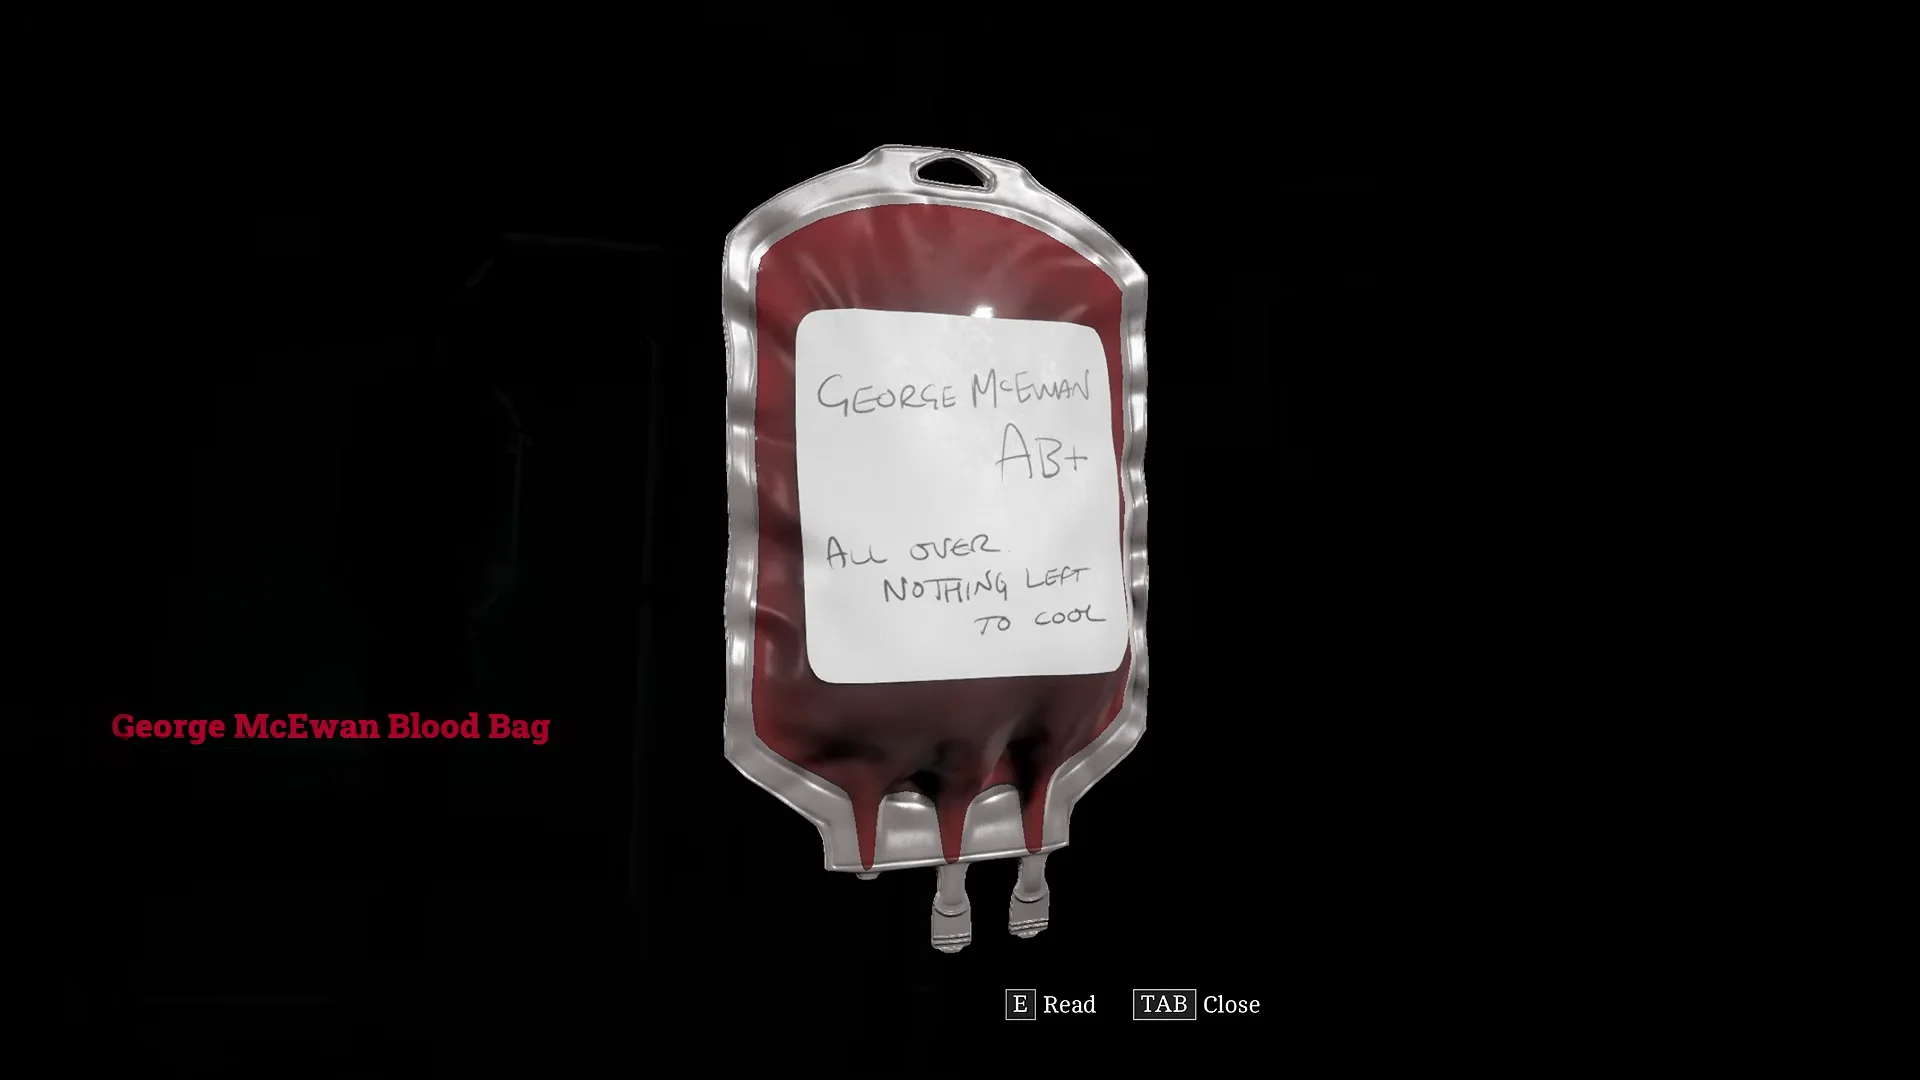
In the east side, find the vent in the hallway wall of Room 06, crawl through into Room 06 and on through Room 07 until you reach a gap in the floor. Drop down to the basement and enter Room 10, where George McEwan’s bag (marked AB+) sits by his body. Picking it up also gives you the Ward P Master Key.
Matthew Clark
Matthew Clark’s bag, labeled B+, is initially stuck inside the broken elevator in Ward D, Room 02. Press the elevator button to send the lift down to the basement. With the Ward P Master Key, unlock basement Room 03, immediately beneath the shaft, and take the bag from the elevator floor.
Picking up Matthew Clark’s bag closes the gates and traps you in the east wing. Turn the two valves upstairs, one in Room 05 and one in Room 10, to reopen the gates, then take the ladder back up to the central room.
Placing the three bags at the central terminals
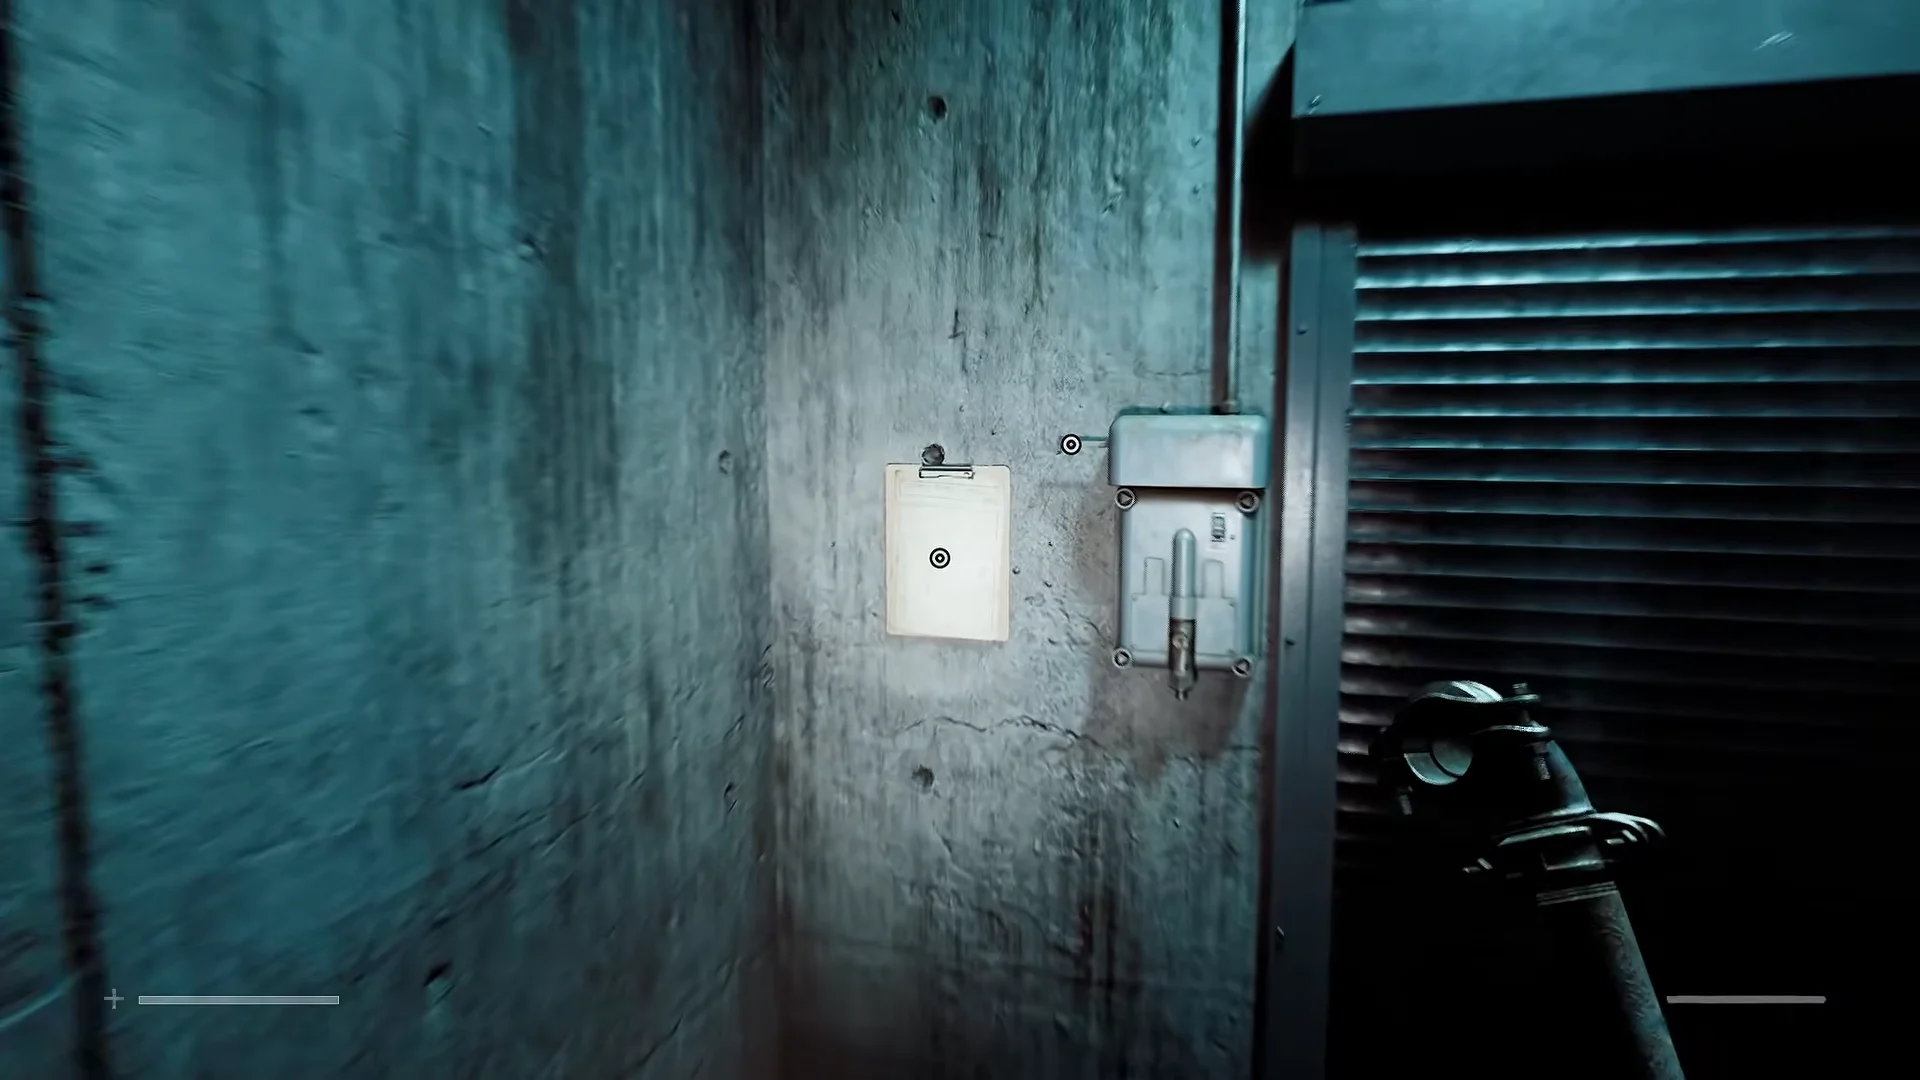
Back in the central room you should now hold Sarah Watson, George McEwan and Matthew Clark. Each terminal has a patient chart beside it, and the correct bag is the one whose symptoms match that chart. Facing the large door in the middle, place them as follows.
| Bag | Chart clue | Terminal |
|---|---|---|
| Sarah Watson | Head wound, “Rhythm holds. Head doesn’t.” | Left wall, 2nd terminal from the entrance |
| Matthew Clark | Cut on the forehead, “Words scatter. Body complies.” | Left wall, 3rd terminal up |
| George McEwan | 2nd/3rd-degree burns, “All over. Nothing left to cool.” | Right wall terminal |
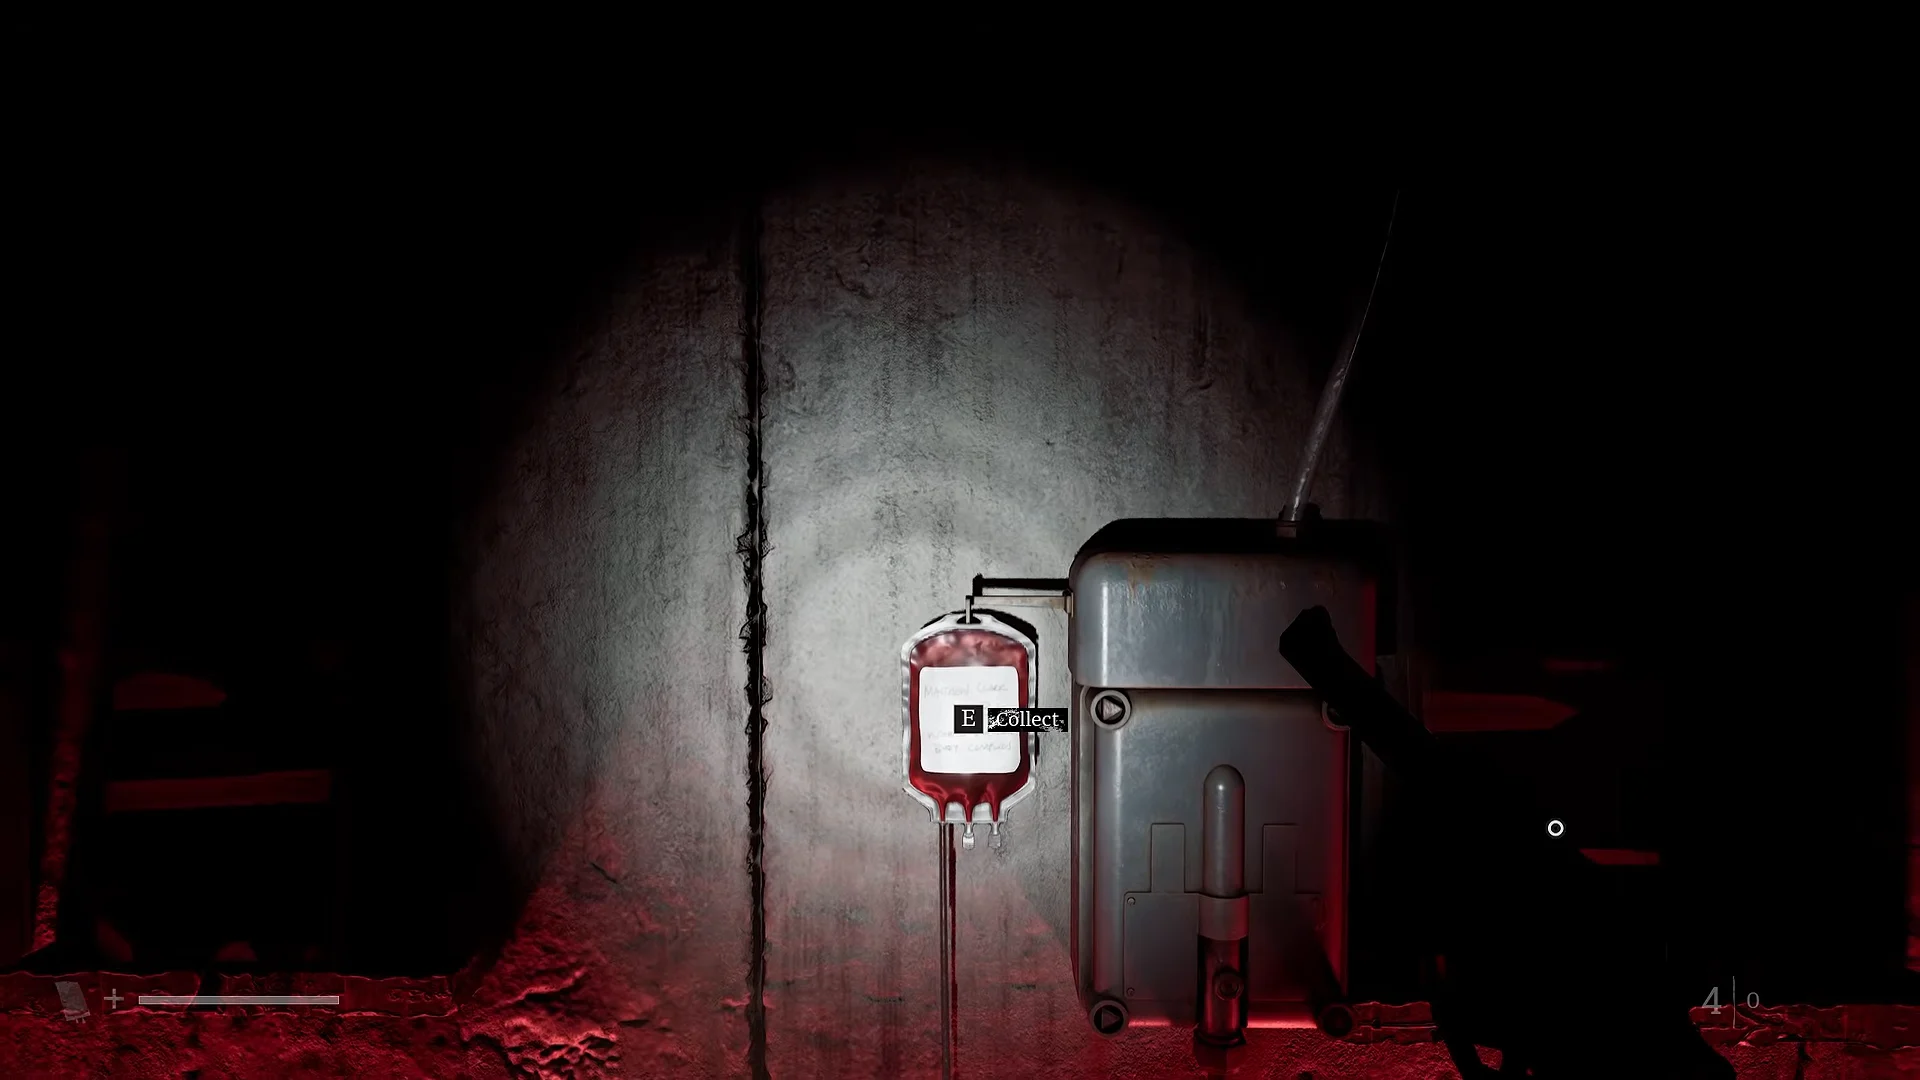
With all three bags placed, flip the lever on the wall beside the double doors. The transfusion runs and the heavy sliding doors open, leading you to the final dial puzzle.
Solving the Ordell blood-type dial door
The final door has a set of rotating rings with patient initials around the edge and an ORDELL node in the centre. The goal is to route only compatible blood into that centre. Check Simon Ordell’s Medical Wristband under the Key Items tab in your inventory, which shows his blood type is A+.
The wall plaque lists O-, O+, A- and A+ as safe donor types for A+. Check the donor bags to find the three that match:
- H.M. (Hannah McGregor) = O-
- T.F. (Thomas Fergusson) = O+
- S.W. (Sarah Watson) = A+
Rotate the concentric rings so the red conduit lines connect only H.M., T.F. and S.W. straight into the central ORDELL node. Leave every other initial disconnected. Once the three routes line up, highlight the Ordell node and interact with it.
Confirming the puzzle is solved
You will know the dial is correct when the central vial fills with blood and the heavy vault door unlocks. From there, Simon squeezes through the opened passage into the next corridor, and the transfusion sequence is complete.