The Wear ‘Em & Wash ‘Em laundromat in Central hides a secret room behind a locked wall, marked by a keyhole symbol. To open it, you switch on a specific set of washing machines and dryers that match a binary note pinned near the back of the store. Get the pattern right and a hidden staircase opens, leading down to a Health Upgrade Point.
Quick answer: Activate the seven machines that correspond to the 1s in the “While You Wait” note, then head into the breakroom to find the wall open.
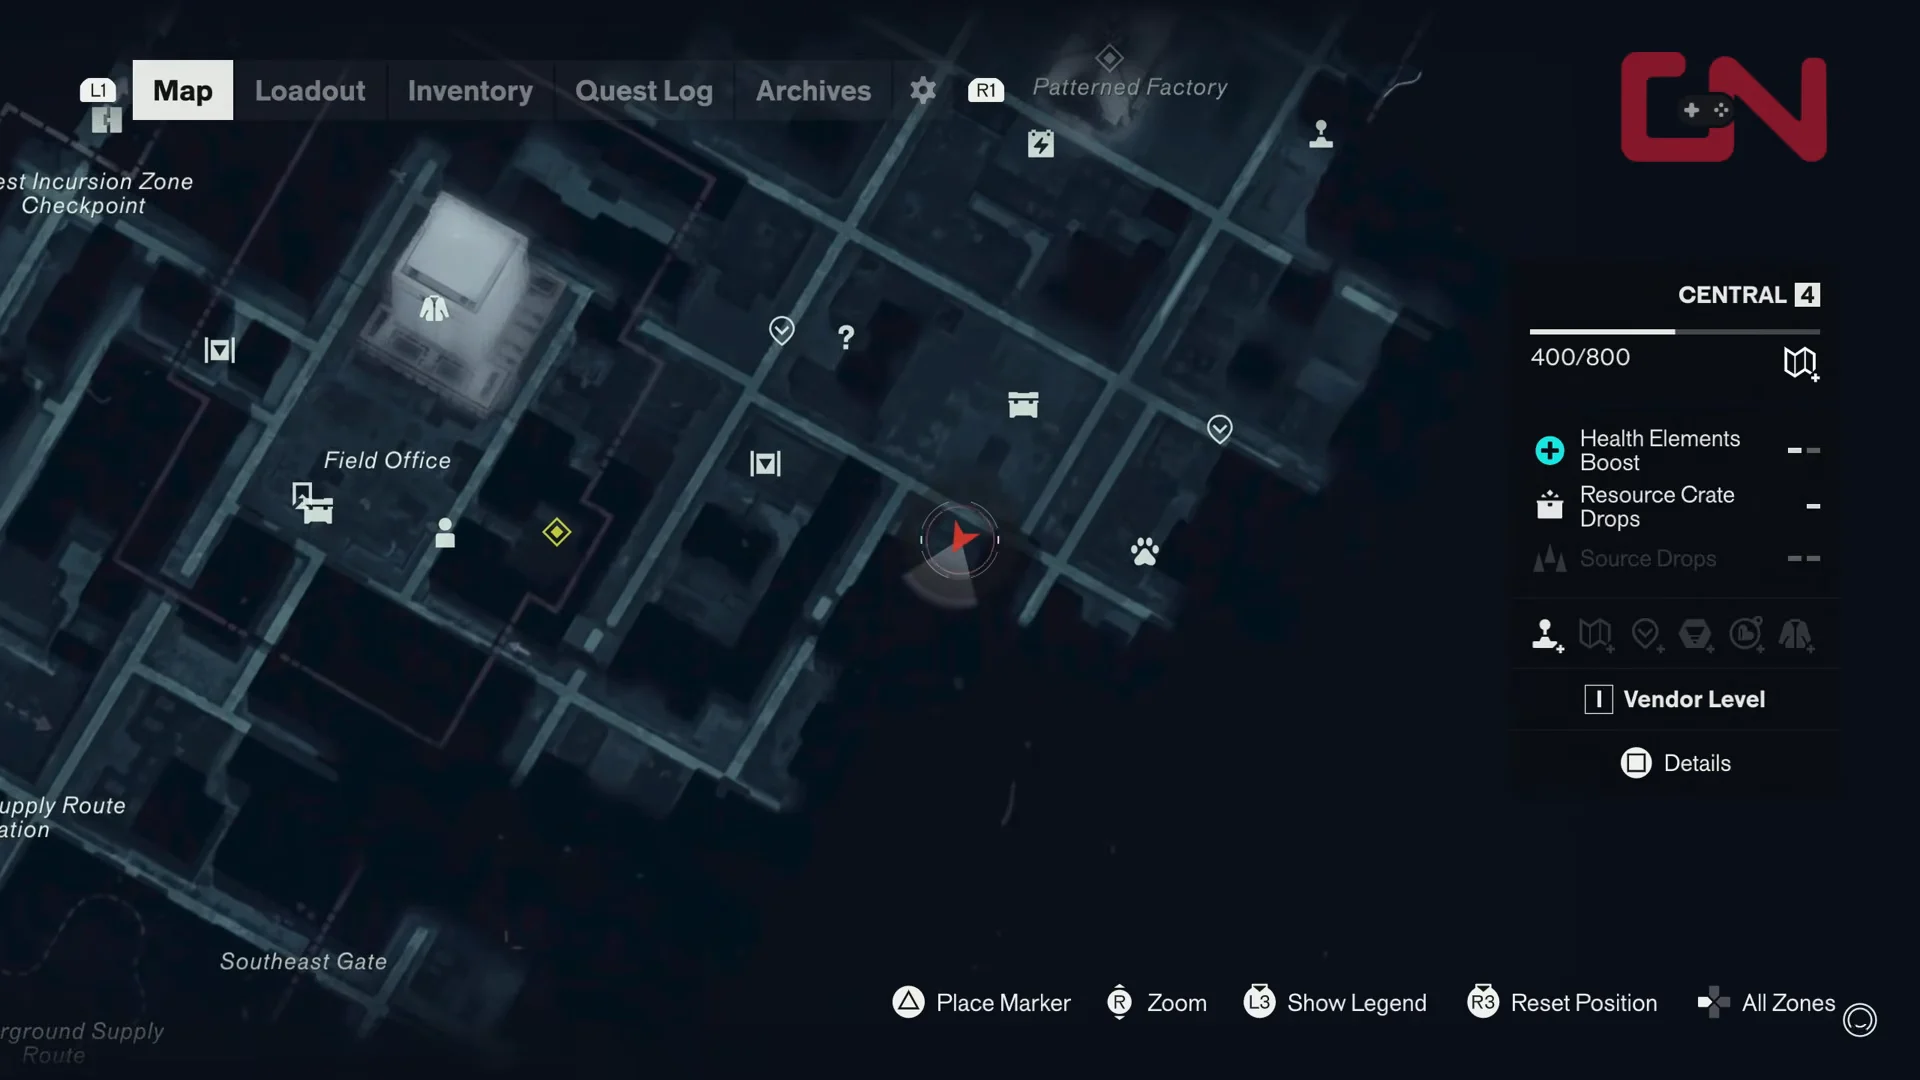
Where to find the laundromat in Central
The laundromat sits in a city square in the Central zone, north of the Field Office and west of the Last Park Station. Look for the storefront signs reading WEAR ‘EM & WASH ‘EM and a window notice advertising 24-hour service.
The door is blocked by the Hiss when you first arrive. Three red tendrils extend from the entrance and lead to three bulbous Hiss blobs. Destroy all three to lower the barrier and reach the interior. Two of the blobs are guarded by Hiss enemies, so being around Aberrant Strength 30–35 makes the fights far easier.
The two notes and what they mean
A corkboard toward the back of the customer area displays two clues. One is titled “Laundry Puzzle / WHILE YOU WAIT” and shows a grid of ones and zeros. The other is an irate customer complaint that reveals the catch: no row has every machine working.
The complaint provides the crucial hint: working machines can be switched on or off, just like the binary values in the note. A 1 marks a machine to turn on, while a 0 marks one to leave off. The grid corresponds to the machine rows in the room.
0001000
001100
100001
000000
000000
000000
100000
Read the top line as the farthest row of machines on the left side of the store, working down to the last line, which is the row on the front right. Within each row, go from left to right.
Machines to switch on to open the secret door
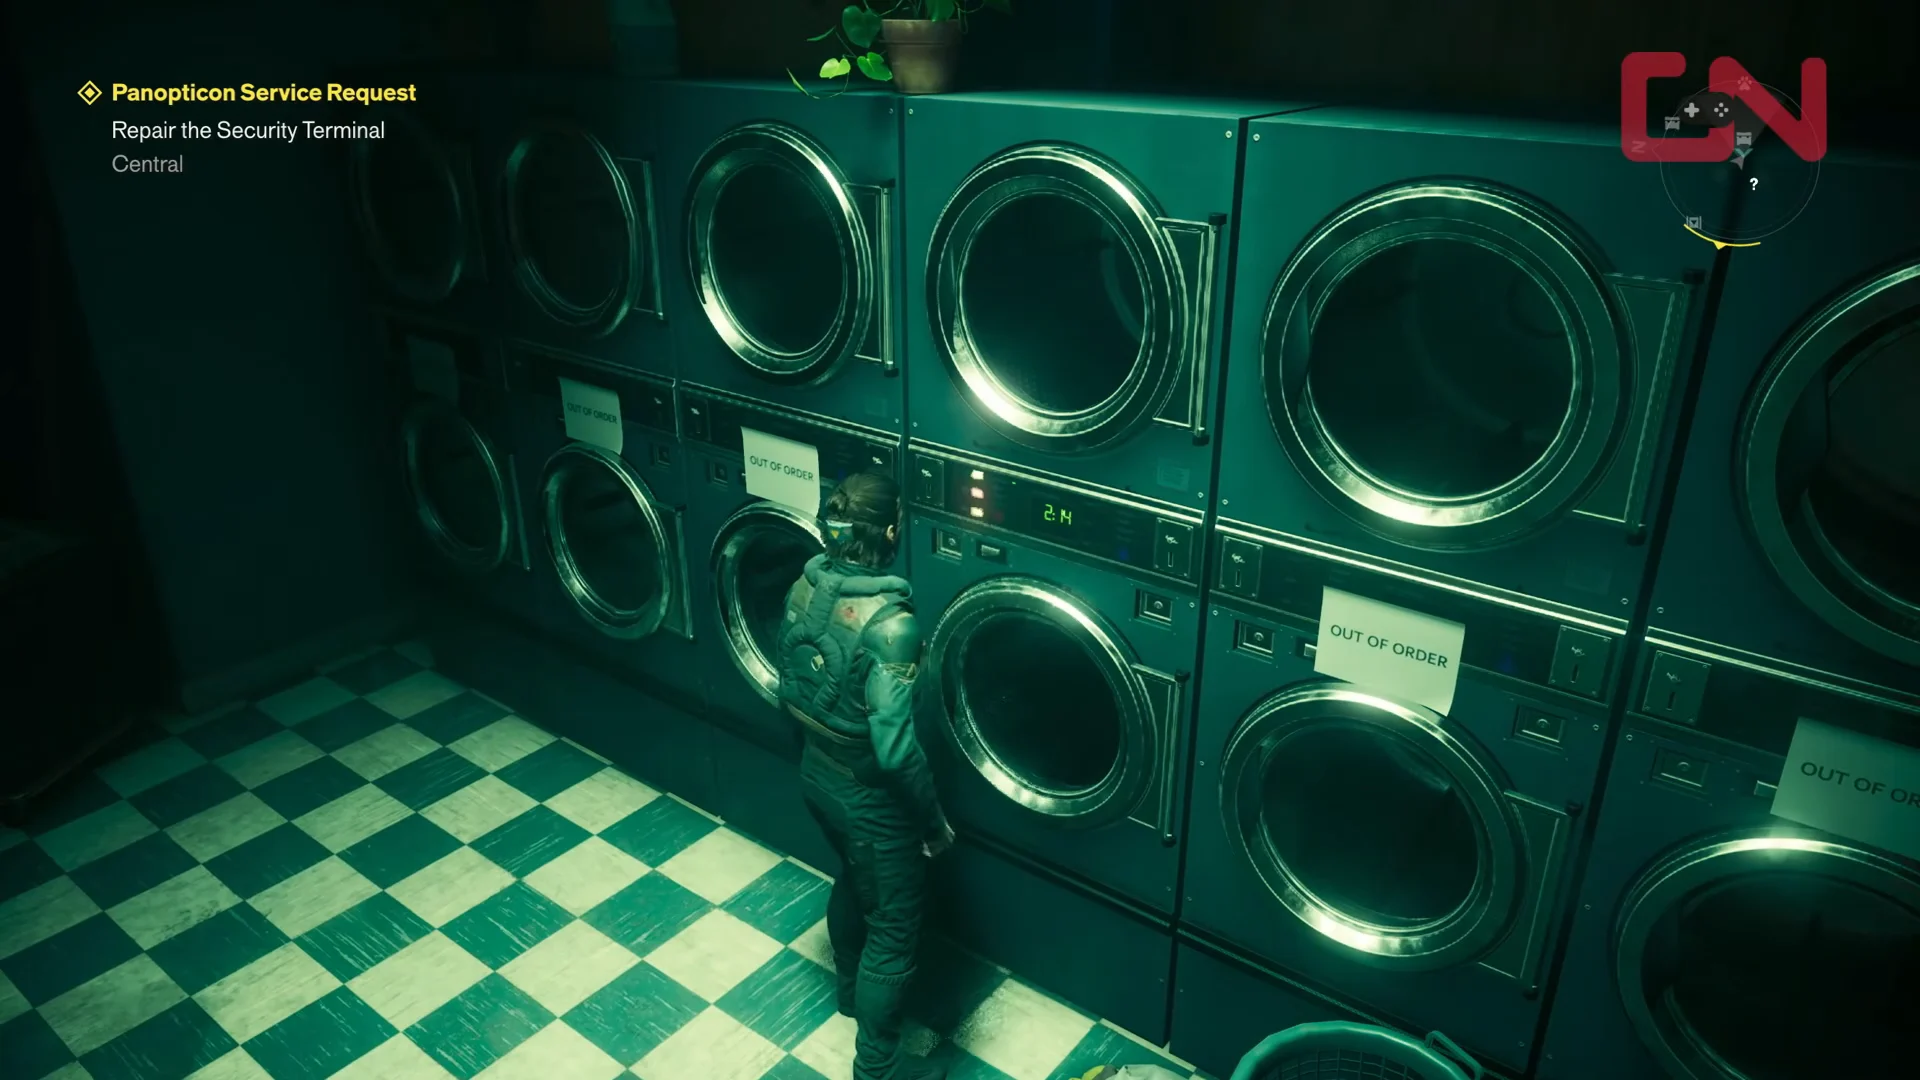
You need to activate seven machines in total. The list below covers every unit you must turn on, in the order you can comfortably reach them as you move through the store.
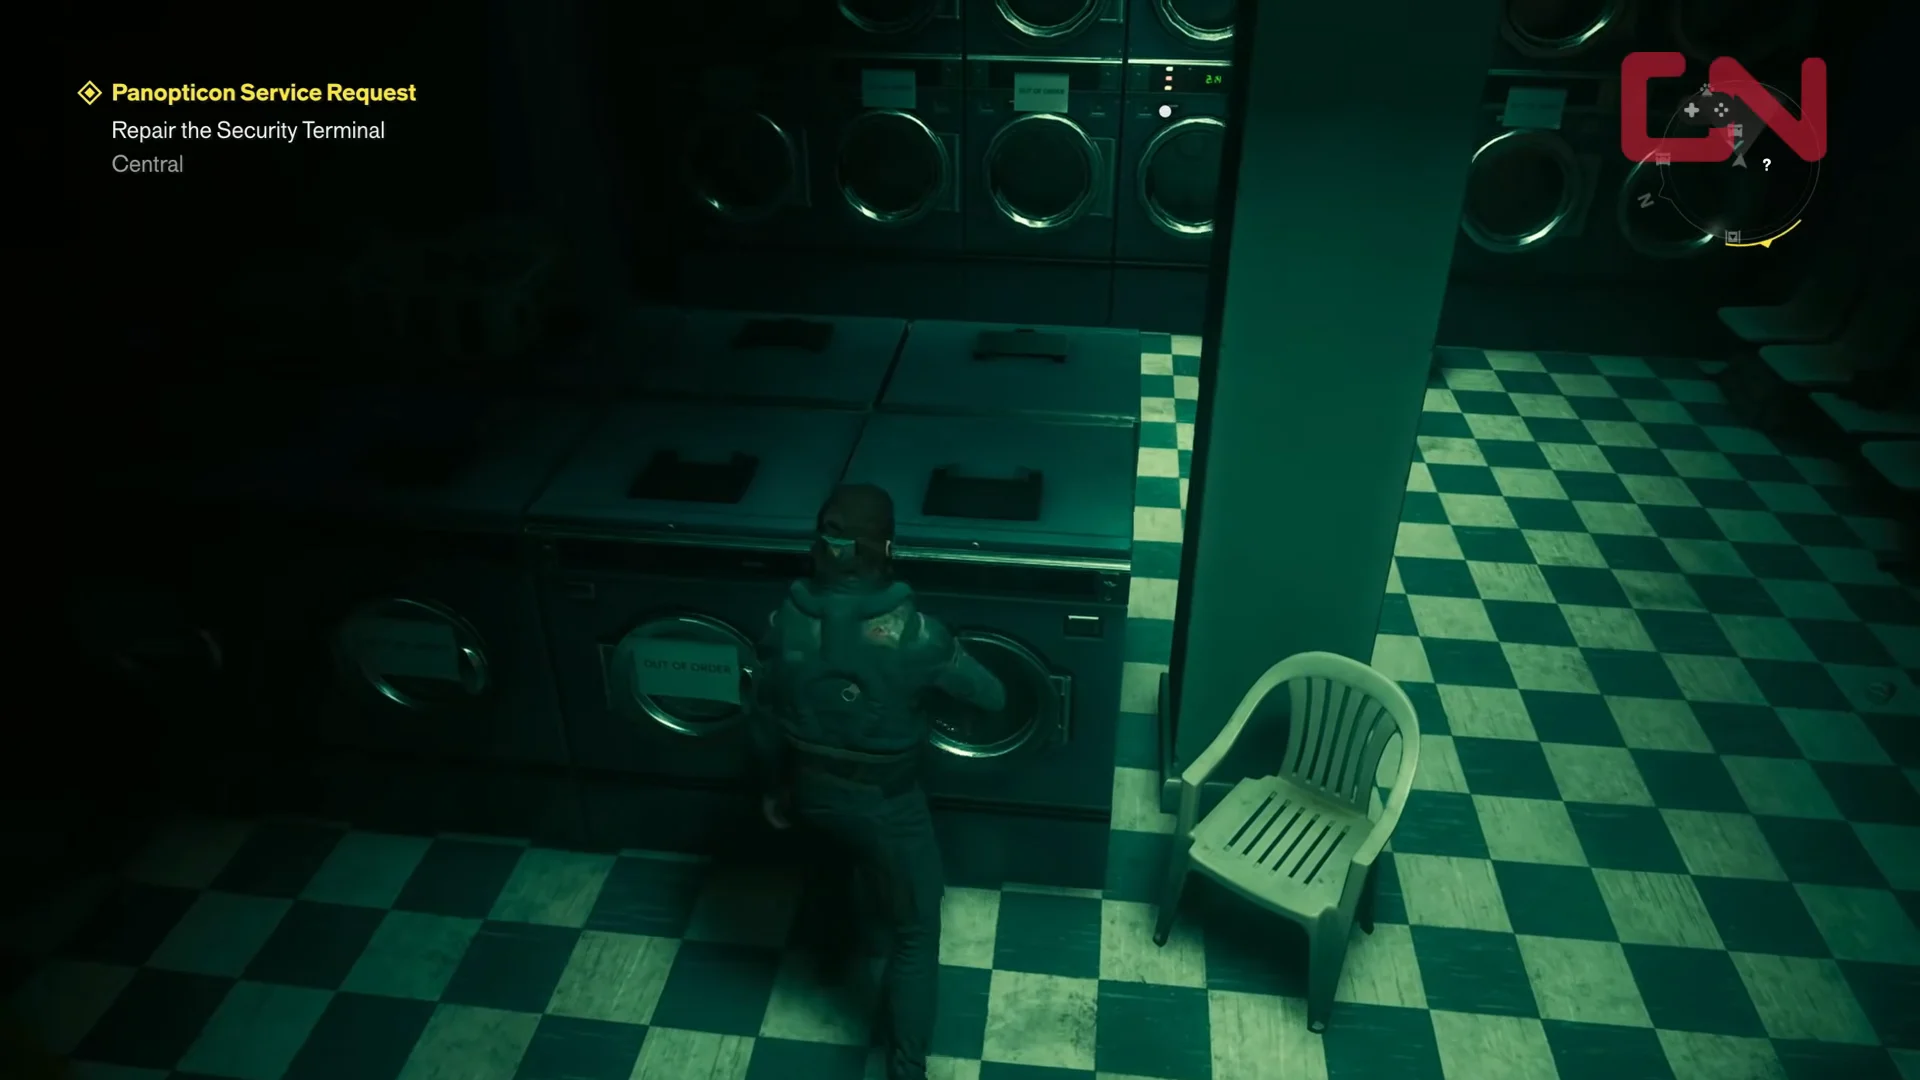
- Enter and check the left wall’s stacked machines; the upper dryer in the third column is the one you need.
- Use the washer at the counter’s front, facing the front windows.
- At the freestanding bank beside the white plastic chair, choose the washer that faces forward.
- Select the washer in the central island row oriented toward the vending machines.
- Choose the island washer positioned by the potted plant and the floor-level trash basket.
- On the corridor’s right wall, use the bottom dryer in the first stacked column.
- Under the green lighting, find the bottom dryer in the third column along the corridor’s left wall.
If you prefer to read it straight off the grid, this table lines up each row of the note with the machines to switch on.
| Row (left to front) | Code | Turn on |
|---|---|---|
| Row 1 | 0001000 | Middle machine |
| Row 2 | 001100 | Two middle machines |
| Row 3 | 100001 | Both end machines |
| Row 4 | 000000 | None |
| Row 5 | 000000 | None |
| Row 6 | 000000 | None |
| Row 7 | 100000 | Leftmost machine |
Leave every out-of-order machine alone. Only the working units respond to the button prompt, and only the seven above should be running when you finish.
How to confirm the puzzle is solved and claim the Health Upgrade
Once the correct seven machines are running, a distinct chime plays and the ambient lighting shifts. The back wall in the breakroom slides open, revealing a hidden staircase down to the basement.
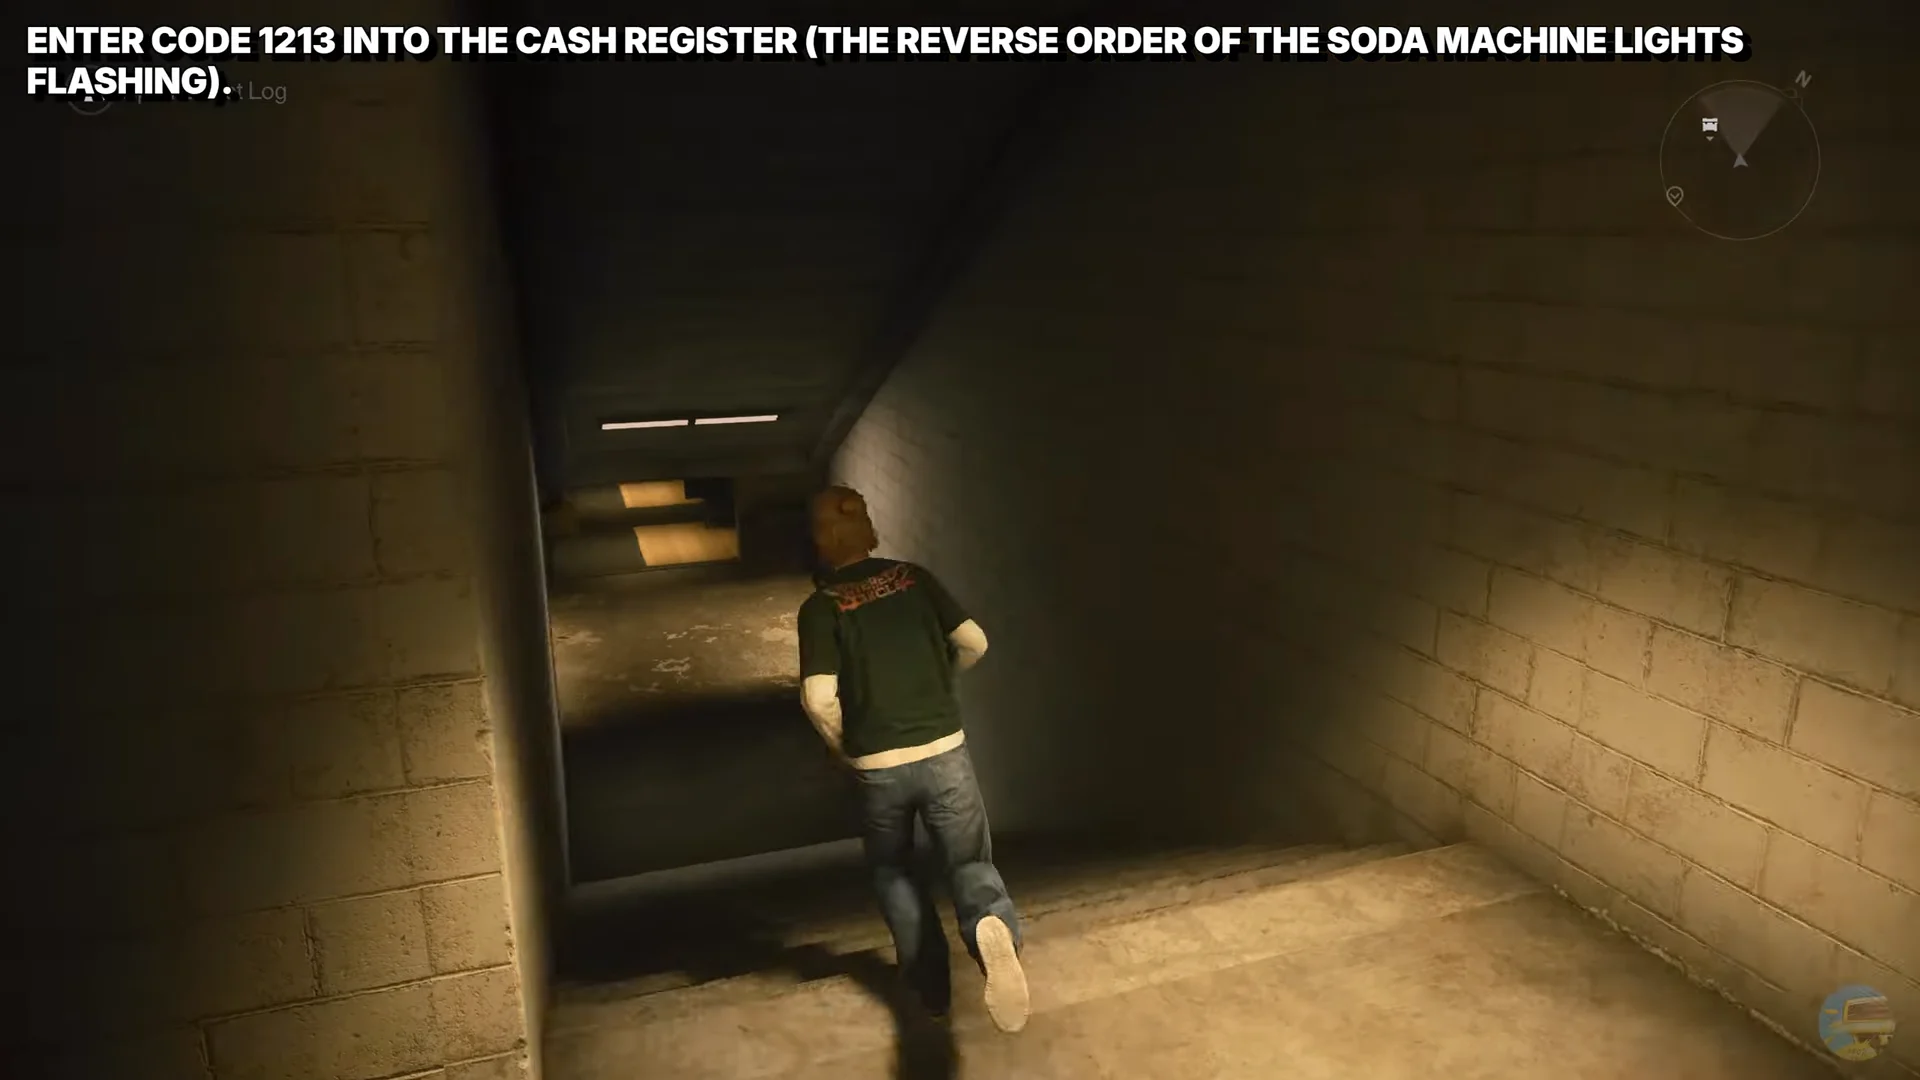
Downstairs, open the Third Ice cooler chest in the room with the beds to collect the Health Upgrade Point 3/3, which raises your maximum health. A room down the hall on the left holds two files that explain the rules of the shelter. That’s everything worth grabbing here, so head back up once you have the upgrade.