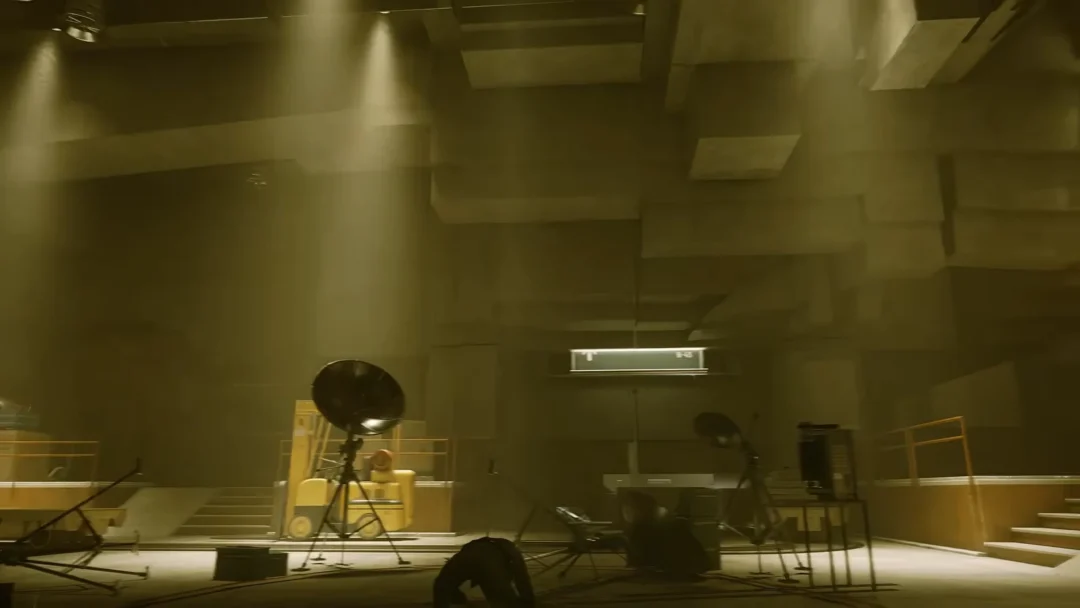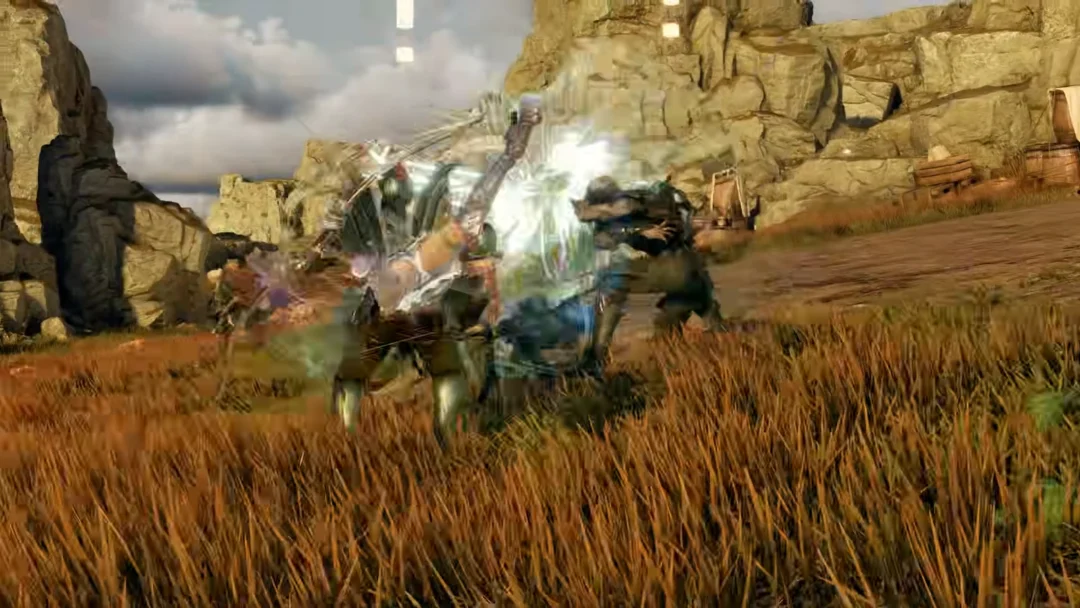
The next rotation of Stygian Onslaught, the hardest permanent combat mode in Genshin Impact, is rumored to swap in a fresh trio of bosses with Version 7.2. Datamined reports name each enemy, pin a recommended element to it, and describe the exact mechanic you have to beat in every fight. Treat all of it as unconfirmed until HoYoverse publishes the official event details, since test builds can change resistances, values, and even the lineup.
Quick answer: Leaks point to three bosses for the cycle running November 11 to December 16, 2026 — Wavecrest Anchor (Electro), Emperor of Fire and Iron (Hydro), and Radiant Moongecko (Geo).
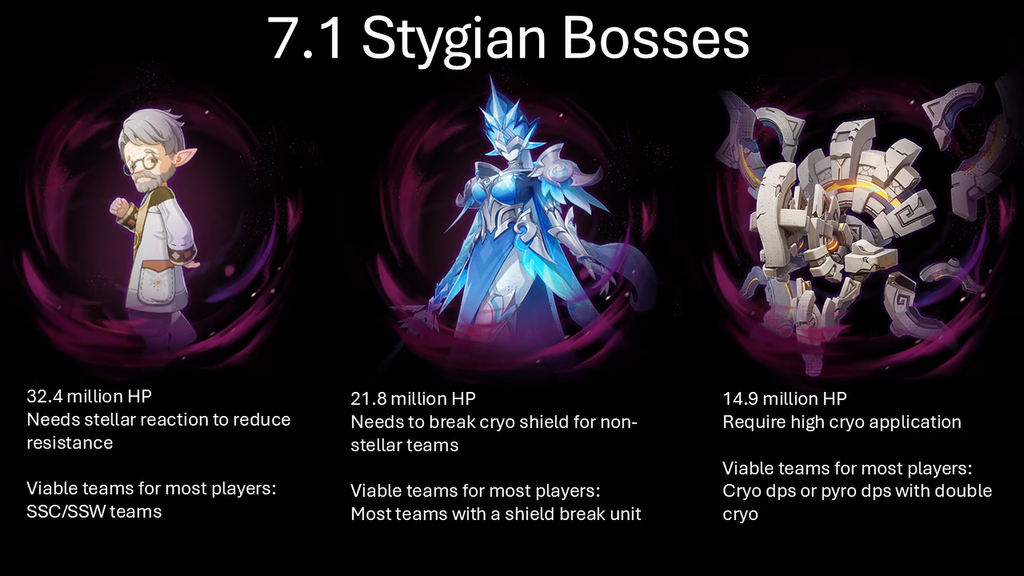
Leaked 7.2 Stygian Onslaught bosses and recommended elements
The mode reportedly includes three enemies, each identified by the element that counters its core mechanic. Their names are provisional translations and could differ in the final English localization.
| Boss | Recommended element |
|---|---|
| Wavecrest Anchor, Frenzied Surge | Electro |
| Ordained Conquest — Hydro: the Fire-and-Iron Emperor. | Hydro |
| Radiant Moongecko, Entangled Fangs | Geo |
Wavecrest Anchor, Frenzied Surge (Electro)
The new addition is a Volkodlak whose fight is built around a Courage gauge. Electro is the recommended element because Electro damage drains that gauge, and Stellar Glimmer interactions drain it far faster.
Courage Against the Cold: Hearty Draught
The Nemesis periodically drinks from a flask to gain a large amount of Courage. Applying Radiance: Stellar Glimmer while it drinks slows that gain. Dealing Electro damage reduces its Courage, and Electro damage counted as the matching Stellar Glimmer reaction reduces it by a significantly greater amount.
Valiant State·Raid
Once its Courage is full, the boss enters the Valiant·Raid state. It attacks more aggressively, generates a shield, and greatly raises every elemental resistance except Electro, plus Physical resistance, while only slightly raising Electro resistance. Courage drains continuously in this state, and Electro damage drains more of it than usual.
The boss takes a massive backlash hit once the state ends. Its size scales with the damage absorbed by the shield during Valiant·Raid; when the shield breaks, Electro Stellar Glimmer reaction damage makes the backlash stronger.
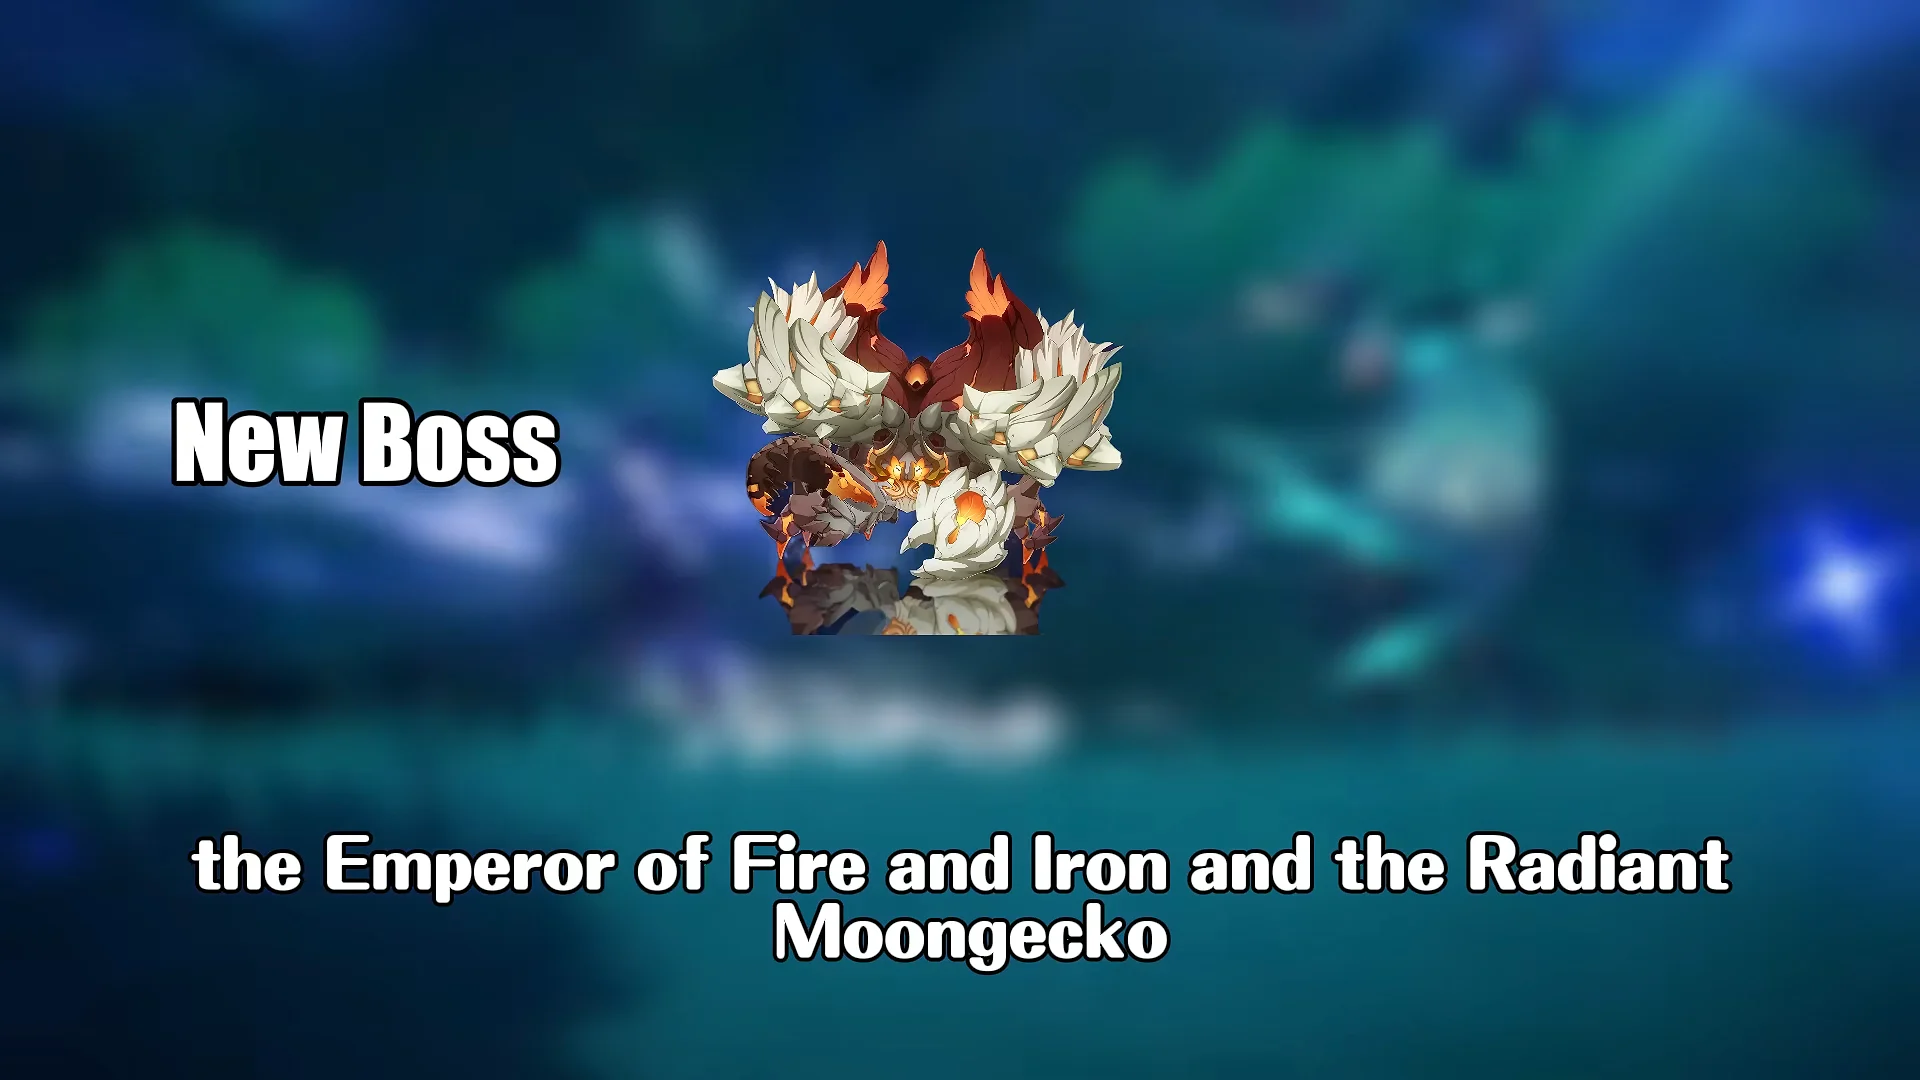
Emperor of Fire and Iron, Ordained Conquest (Hydro)
This returning crab-shaped Fontemer boss is best answered with Hydro, and Pyro is a disadvantage against it. The fight centers on destroying its twin molten horns.
Molten Crown
The twin molten horns are Pyro-aligned organs that power stronger elemental attacks and stronger defense. During certain attacks, the horns stay close to the ground, giving you a window to destroy them with Elemental Reactions. Once the stored Pyro is exhausted, the horns break and the boss takes a single instance of immense damage. Broken horns cannot be restored for a time.
Shield Bearers
The Emperor summons Sternshield Crabs that continuously channel Pyro back into the horns, with a maximum of three on the field at once. Exhaust a crab’s Pyro to defeat it, and the out-of-control crab collides with the Emperor, overloading the horns and dealing damage proportional to the damage that crab itself took.
Radiant Coronation
The boss charges briefly, then unleashes a large area-of-effect attack. Destroying the twin molten horns interrupts the charge before it lands.
Radiant Moongecko, Entangled Fangs (Geo)
The Moongecko fight leans on Geo for breaking a warded object and on reliable healing to escape a debuff. It first introduced a Radiant Cocoon mechanic that punishes low healing output.
Vagrant Reverberation
At the start, the Nemesis leaves a Moonstone Anchor in place and leaps to higher ground to charge a large, powerful AoE strike. Break the Anchor’s multiple Geo ward layers to interrupt the charge and deal massive damage to the boss. The more damage the Anchor takes during the preparation phase, the more the boss takes when it is destroyed, and Geo attacks against the Anchor increase that payoff further.
Unshakable Rock
The Ley Line disturbance toughens the Moonstone Anchor’s layered Geo Ward, so breaking it in time requires more Geo pressure.
Radiant Cocoon
During the battle, the boss places Radiant Cocoon on characters and increases its Geo resistance. A character inside the cocoon deals reduced damage and receives less healing. Bring that character’s HP back to full to free them and give them Disentangled, which briefly enhances their abilities. When any party member breaks free, the boss loses the Geo resistance provided by the Cocoon.
Because the Cocoon reduces healing received, a single strong burst heal is generally more reliable for reaching full HP than several small ticks.
Why an Electro or Stellar enabler matters for the first battle
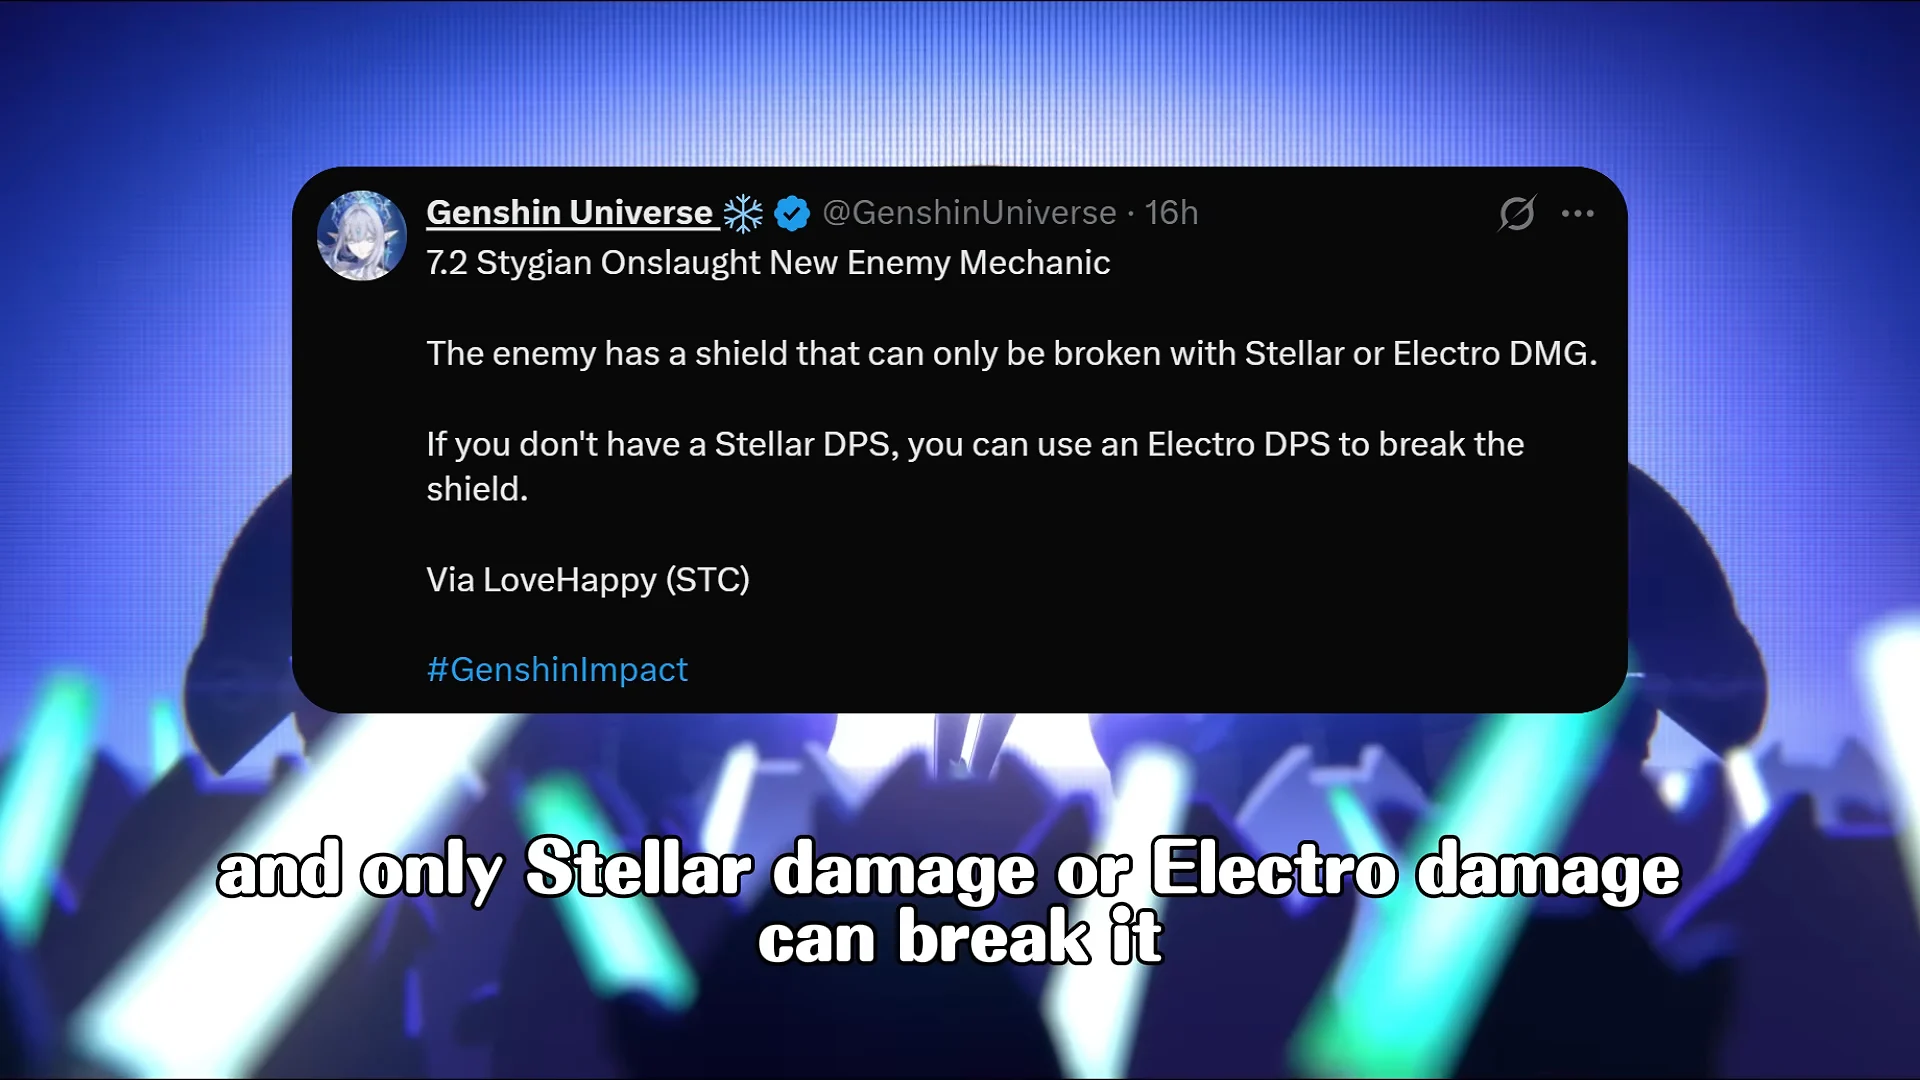
Another leak describes a new enemy with a shield vulnerable only to Stellar or Electro damage. If your team lacks a Stellar DPS, the suggested way to break it is to bring an Electro DPS. That restriction is why Mitya keeps coming up in discussions of this rotation: his kit provides that exact damage type from off-field.
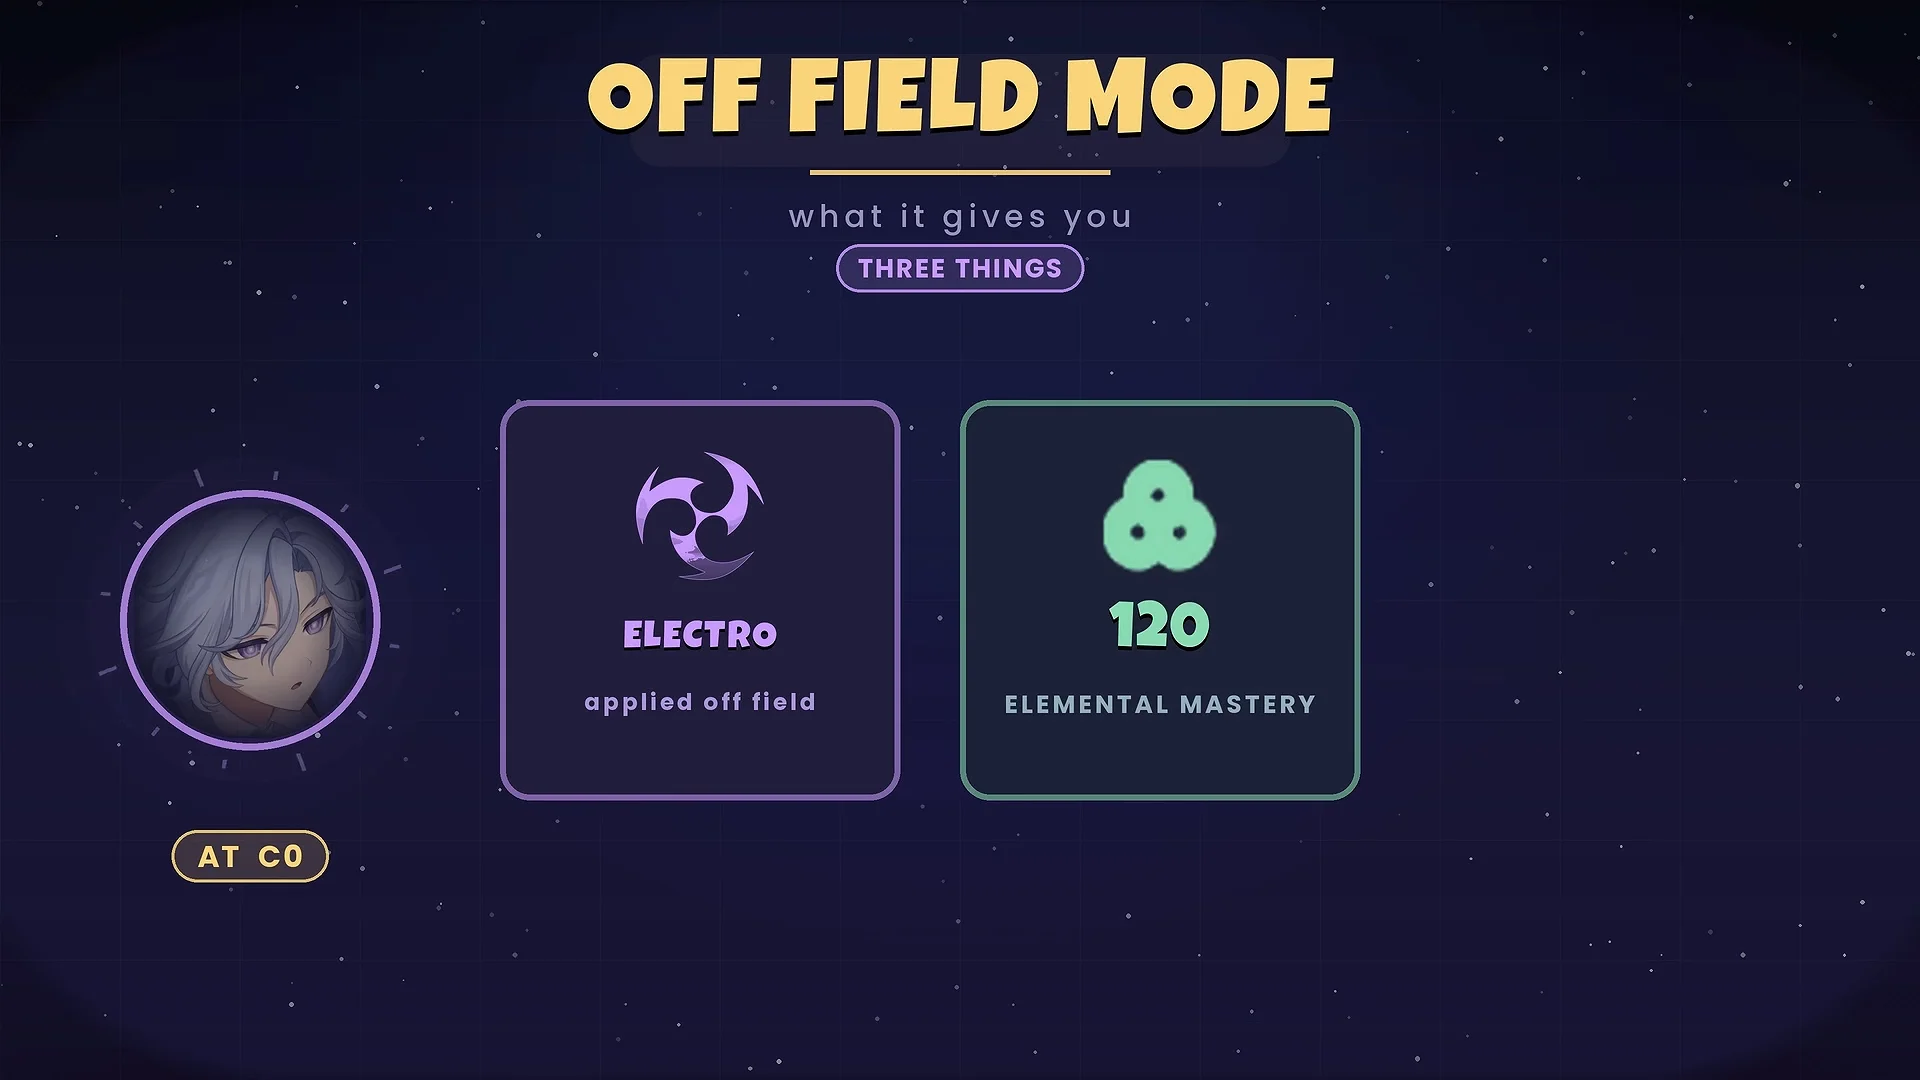
At C0, Mitya works as an off-field support that applies Electro, grants 120 Elemental Mastery to the team, and adds a 14% base damage multiplier to Stellar Conduct damage, while still scaling as an on-field damage dealer if you prefer that role.
At C6, the package shifts toward heavier support. The Elemental Mastery buff rises to 150, and the constellation adds 25% resistance shred and a 20% Elevation buff. The key change is that the Elevation buff now applies to the active on-field character instead of only to Mitya.
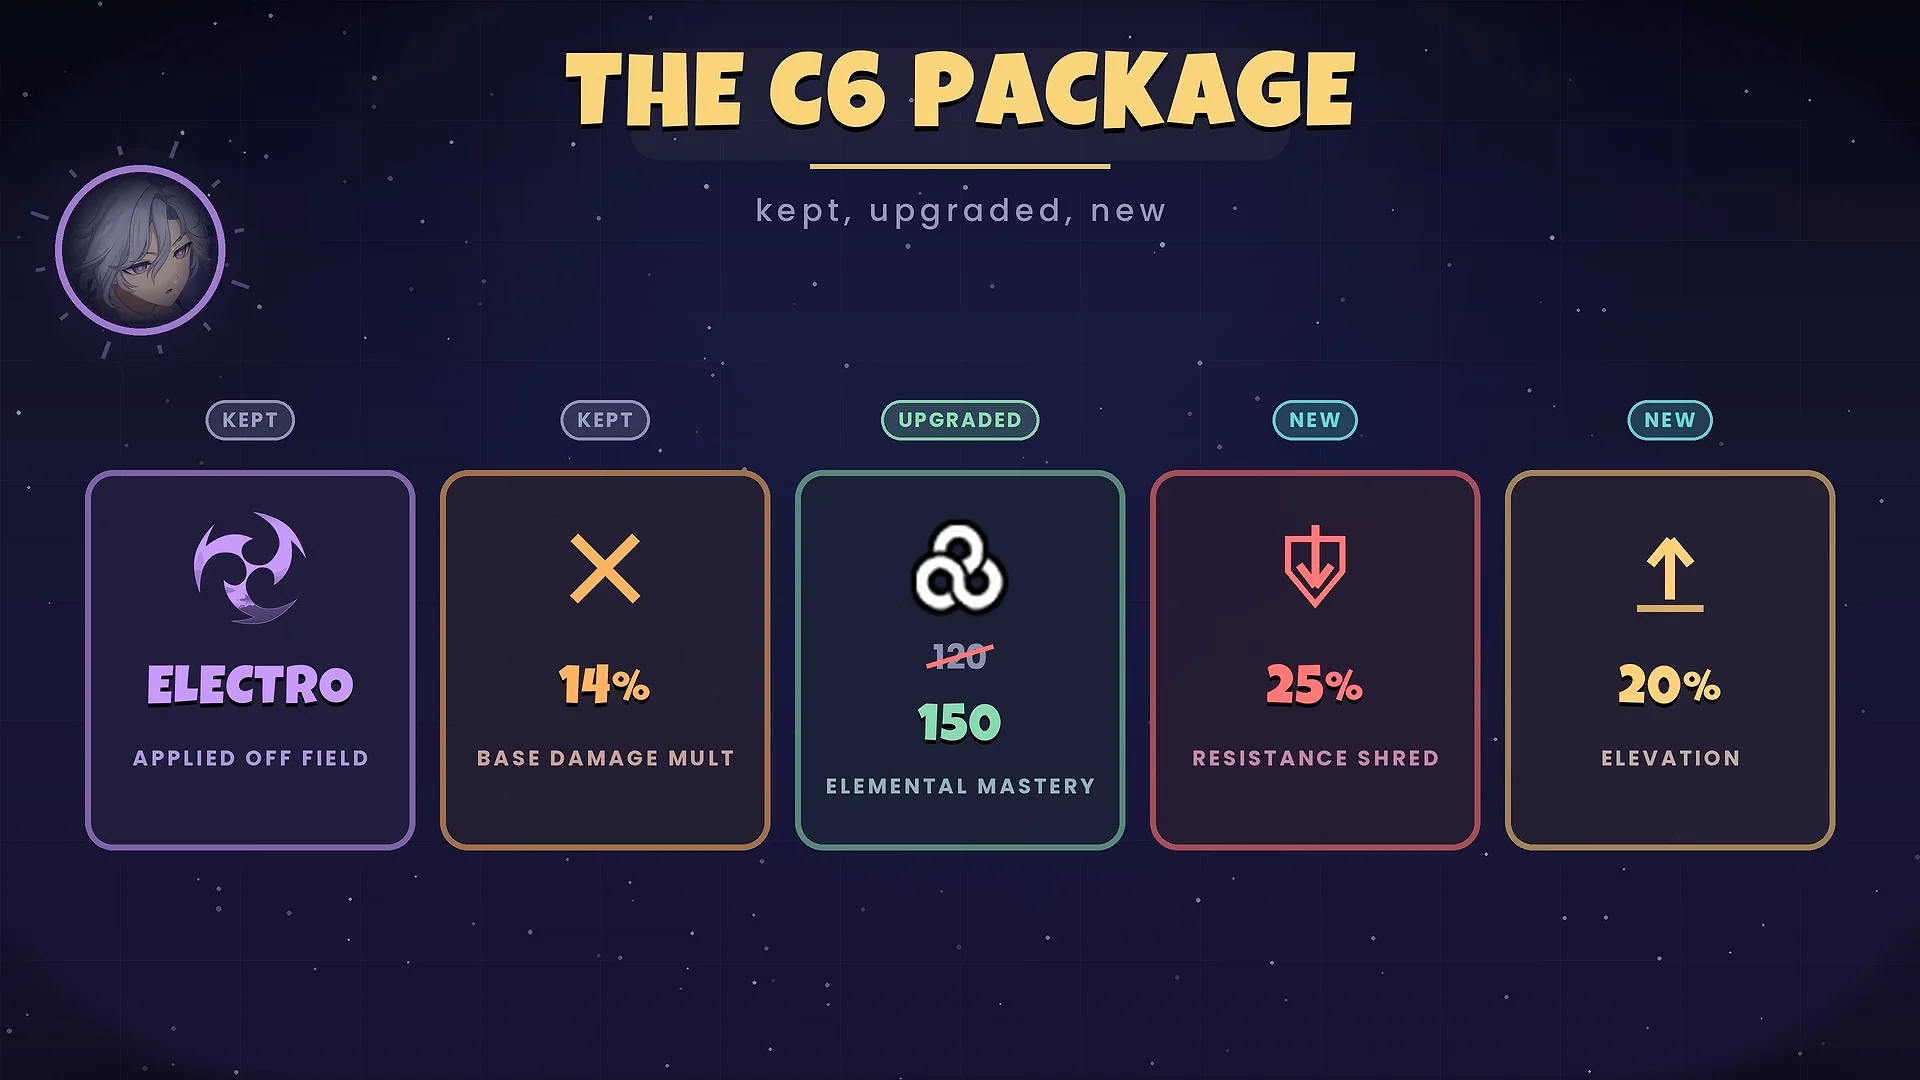
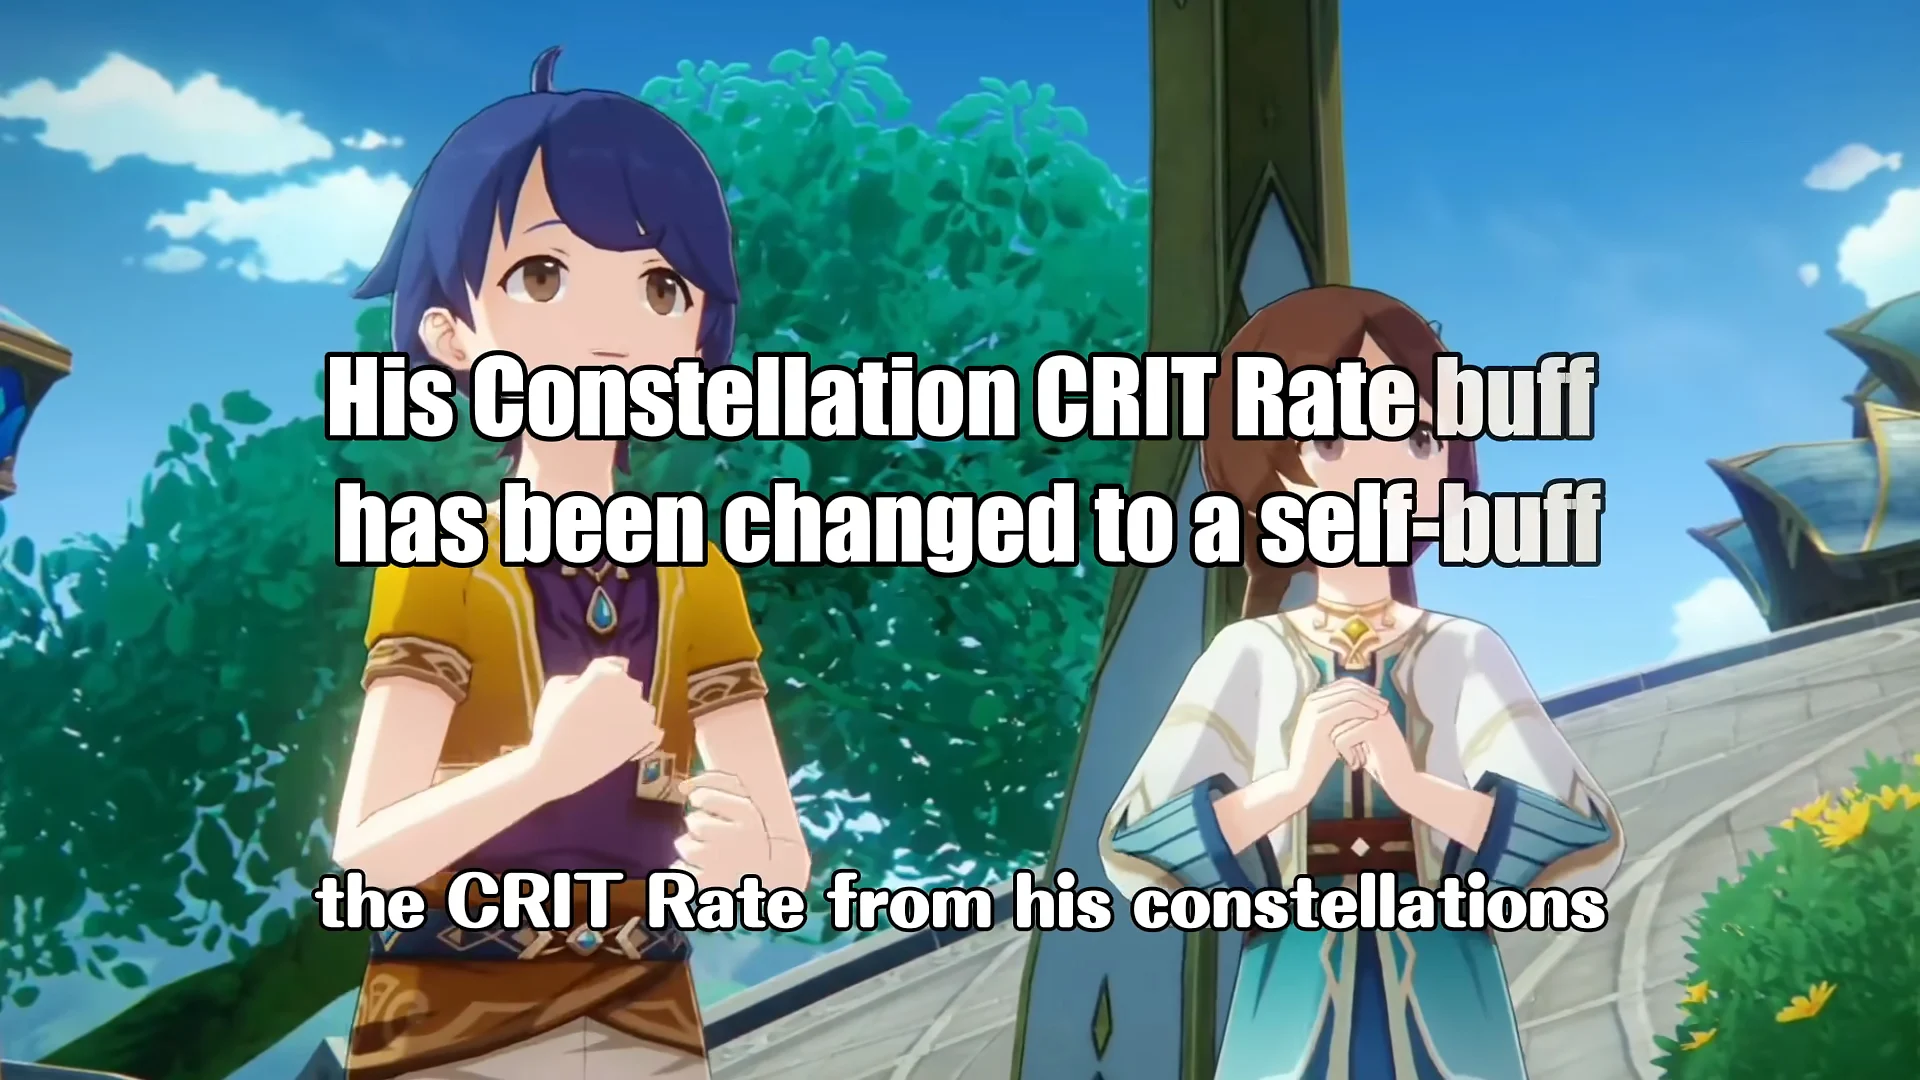
His constellation CRIT Rate bonus, by contrast, was moved to a personal self-buff rather than a team-wide effect. That trade-off keeps the on-field character benefiting from the resistance shred and Elevation while the CRIT Rate stays on Mitya.
Planning around the three-battle, no-reuse structure
Stygian Onslaught runs as three separate timed battles, and the difficulty ladder rises through Normal, Advancing, Hard, Menacing, Fearless, and Dire. From Menacing upward, a character used in one battle cannot appear in the following battles, and the restriction also locks the weapons and artifacts equipped to that character.
Because the leaked rotation demands three different answers — Electro or Stellar control for the Wavecrest Anchor, Hydro-led horn breaking for the Emperor, and Geo pressure paired with strong healing for the Moongecko — a single all-purpose team cannot cover every stage once that no-reuse rule applies. That matters most for the higher-difficulty solo rewards, where you need three functional rosters at the same time.
Everything here reflects leaks rather than published details. The enemy names are unofficial translations, no numerical tuning has been confirmed, and resistances, shield strength, add behavior, or the lineup itself can still shift before HoYoverse posts the official Version 7.2 event notice. Wait for that first-party confirmation before committing to specific teams or investment.