The Echo exhibition inside the Könstig art gallery hides a Health Upgrade Point behind a short lighting puzzle in Control Resonant. It takes about two minutes once you know which four canvases matter, and there is no way to fail it, so it is one of the easier early detours in the Evacuation Zone.
Quick answer: Read the note on the front desk, then light the four paintings named Journey, Windows, Thunder and Tides. The back wall opens to a hidden room holding a Health Upgrade Point.
Where to find the Echo art gallery in Control Resonant
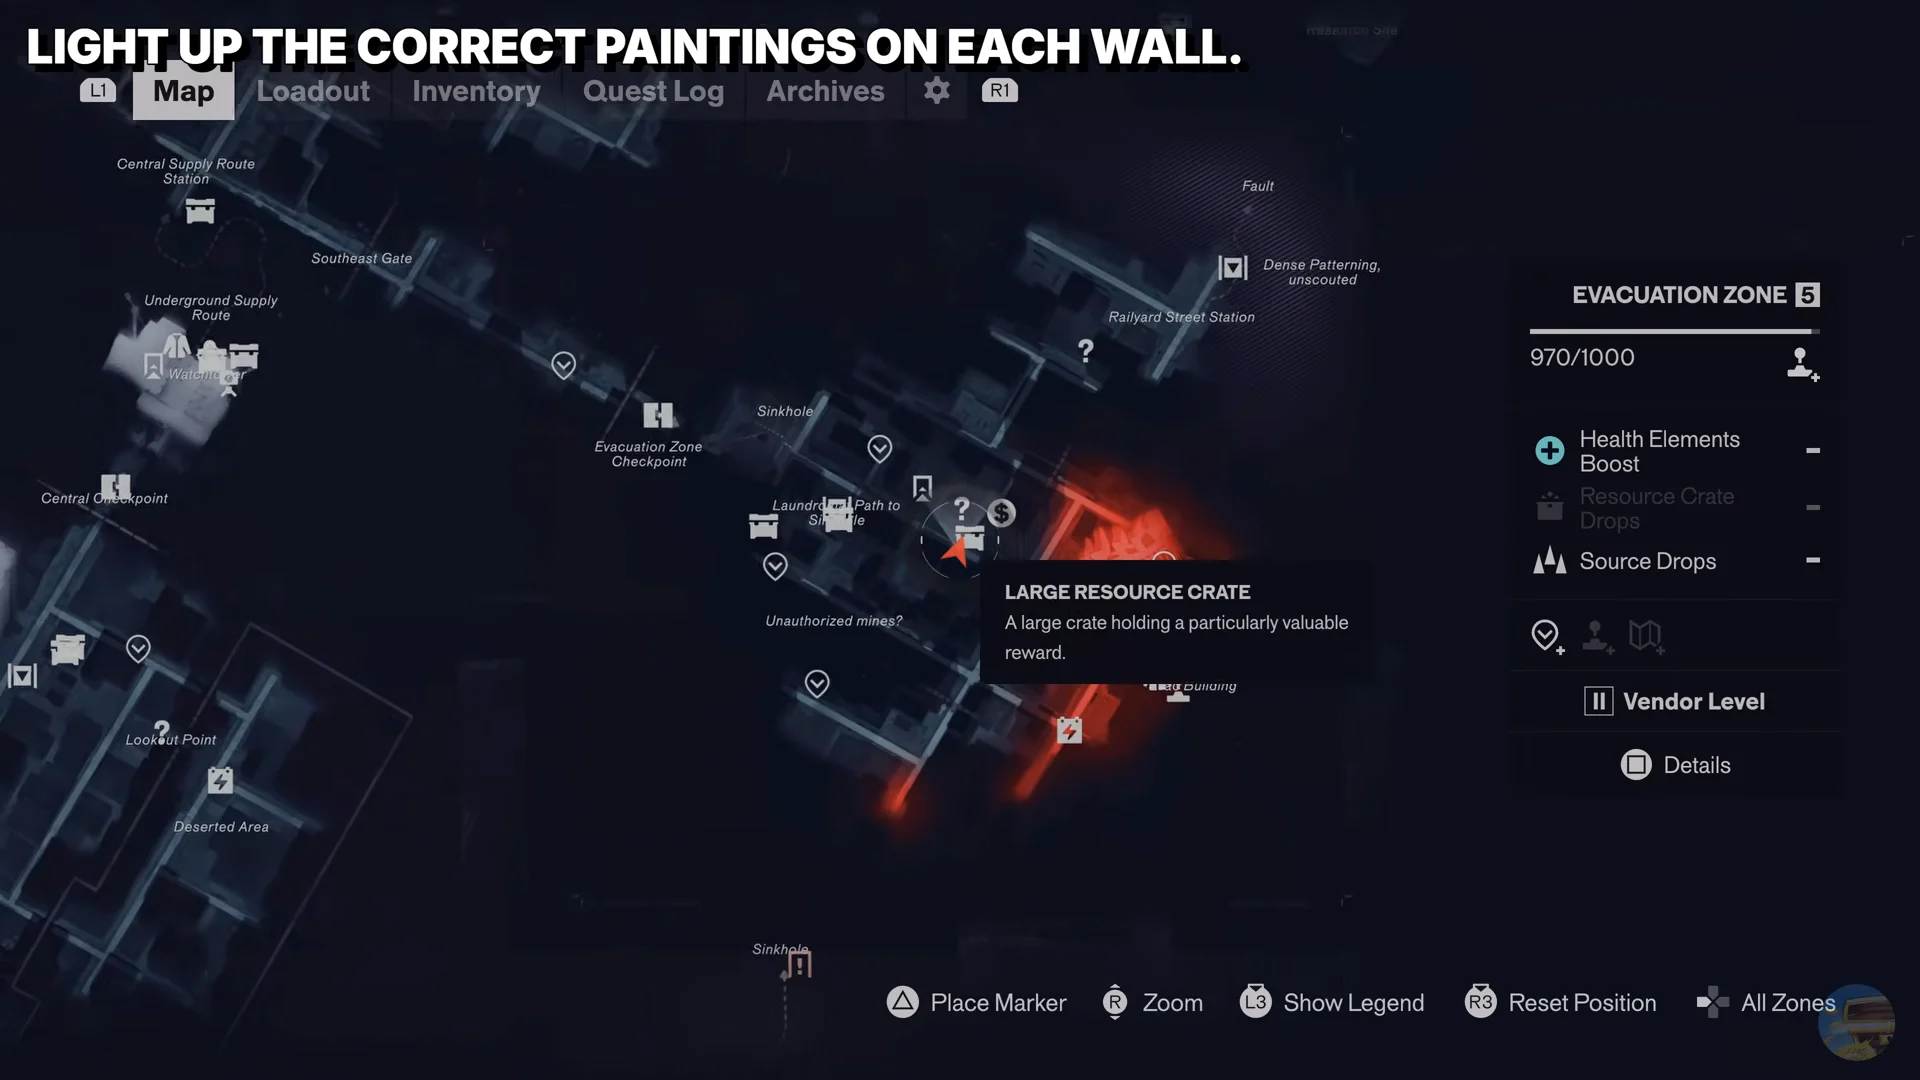
Find the gallery in the Evacuation Zone’s central area, shortly beyond the Fast Travel Door. Könstig translates to “weird” in Swedish, and the Echo exhibition sign can be seen from the street, making the building easy to identify in this part of the zone.
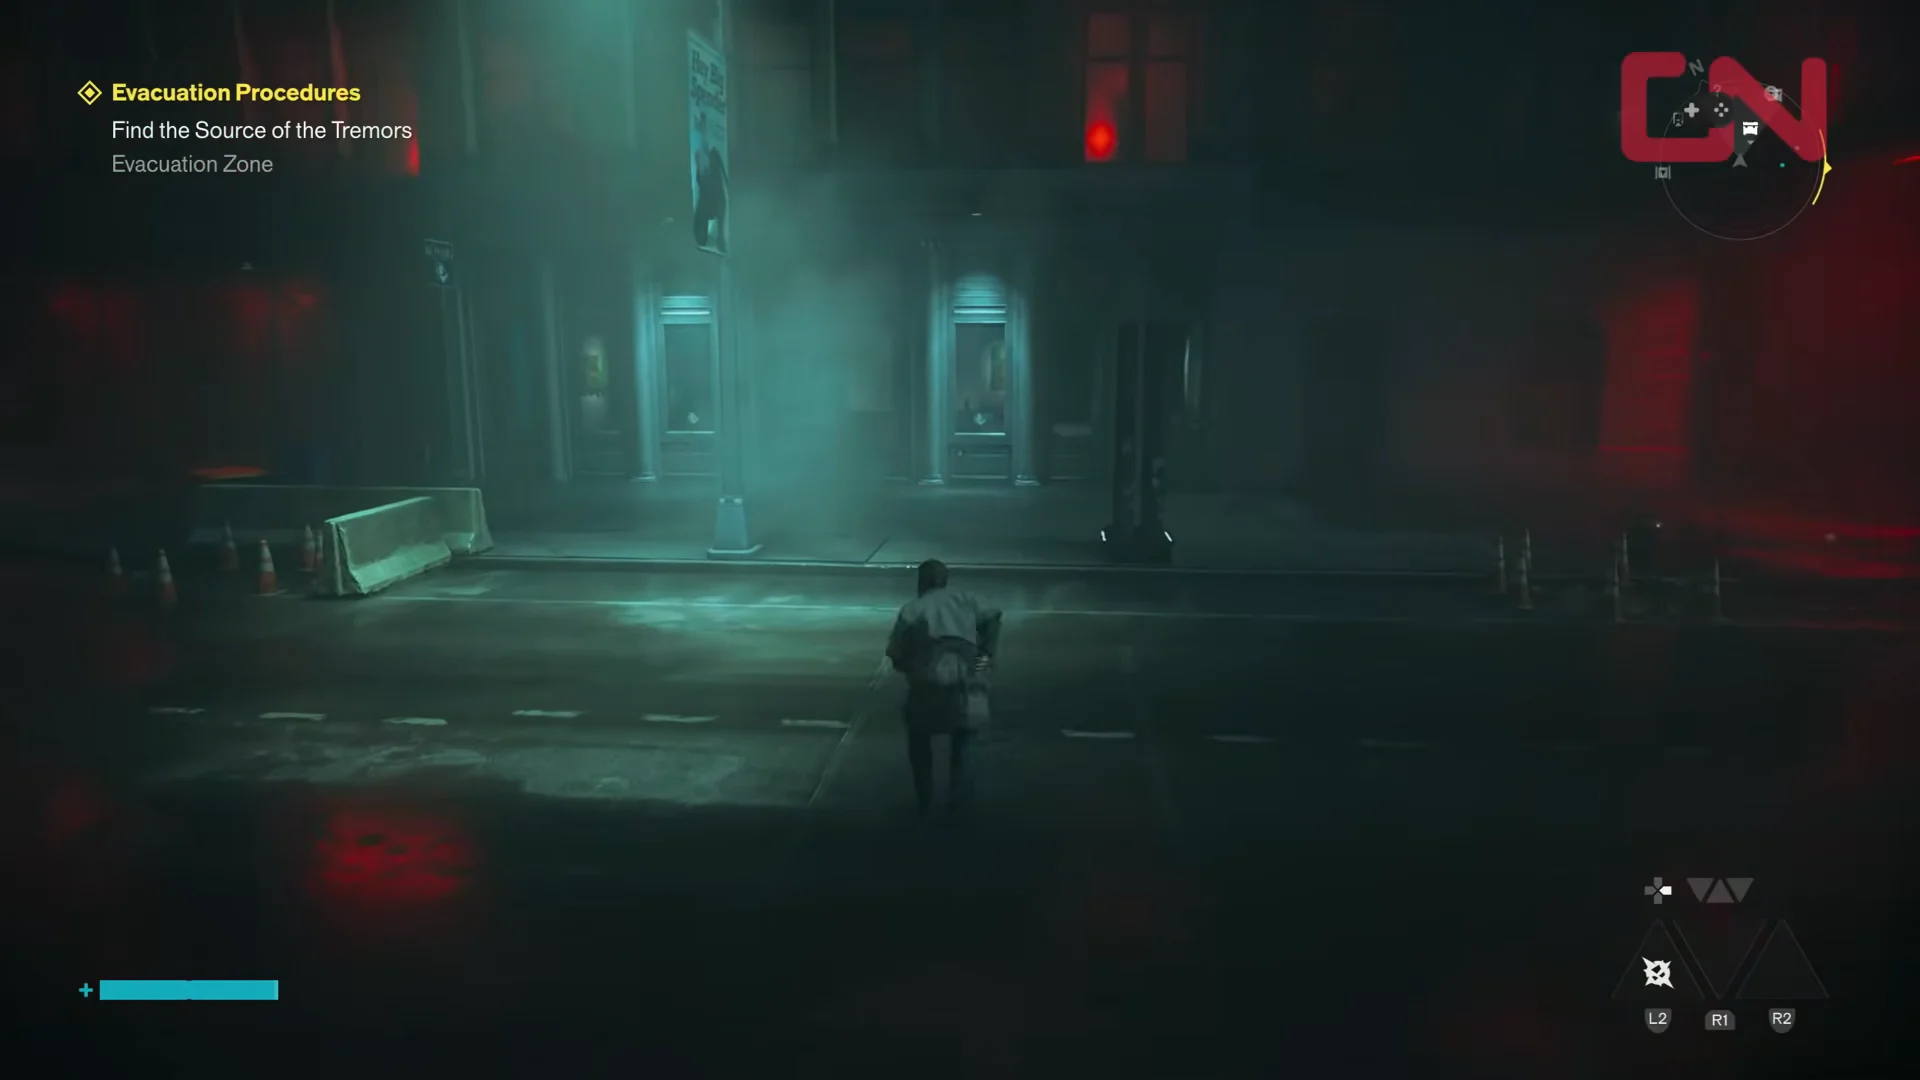
On the map, the location is flagged with a Secret marker, and the reward inside shows as a Large Resource Crate icon. Around the Evac Building, that Secret marker is your cue to look for the Echo exhibition by Charlie Meecham.
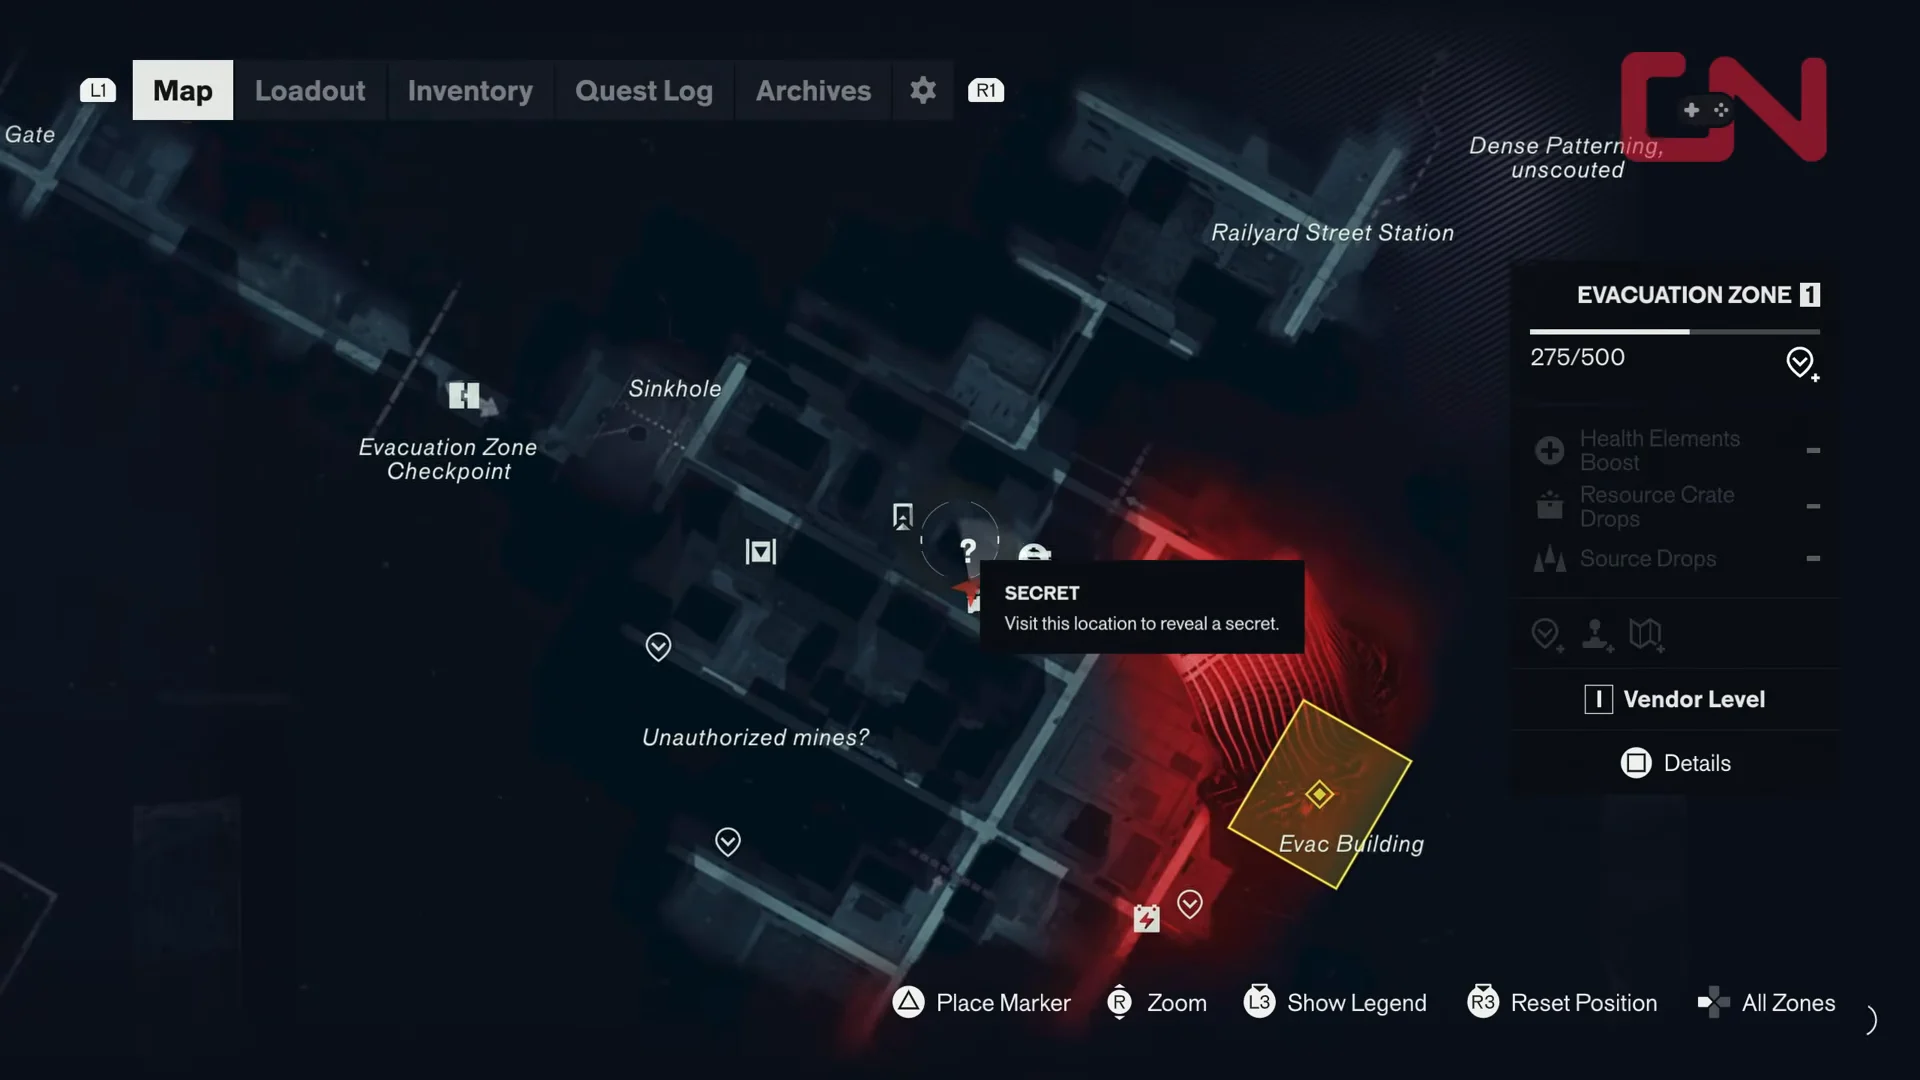
A comparable gallery with the same puzzle also appears elsewhere in the Evacuation Zone, south of the Railyard Street Station, and it feeds into the same Health Upgrade set. Watch for the Secret marker on the map wherever you explore.
How the painting puzzle works
Before interacting with anything, take the note at the front desk. It records the works sold this month at Charlie Meecham’s exhibition: Journey, Windows, Thunder and Tides. Those four titles provide the solution.
The room has four walls, each holding a group of paintings with a switch on a nearby pillar. Working that switch moves a light across the paintings in the group, and your job is to stop it on the one that matches a word from the note. You can also point your flashlight directly at the target painting to light it. There is no fail state, so wrong paintings simply stay dark while you cycle through.
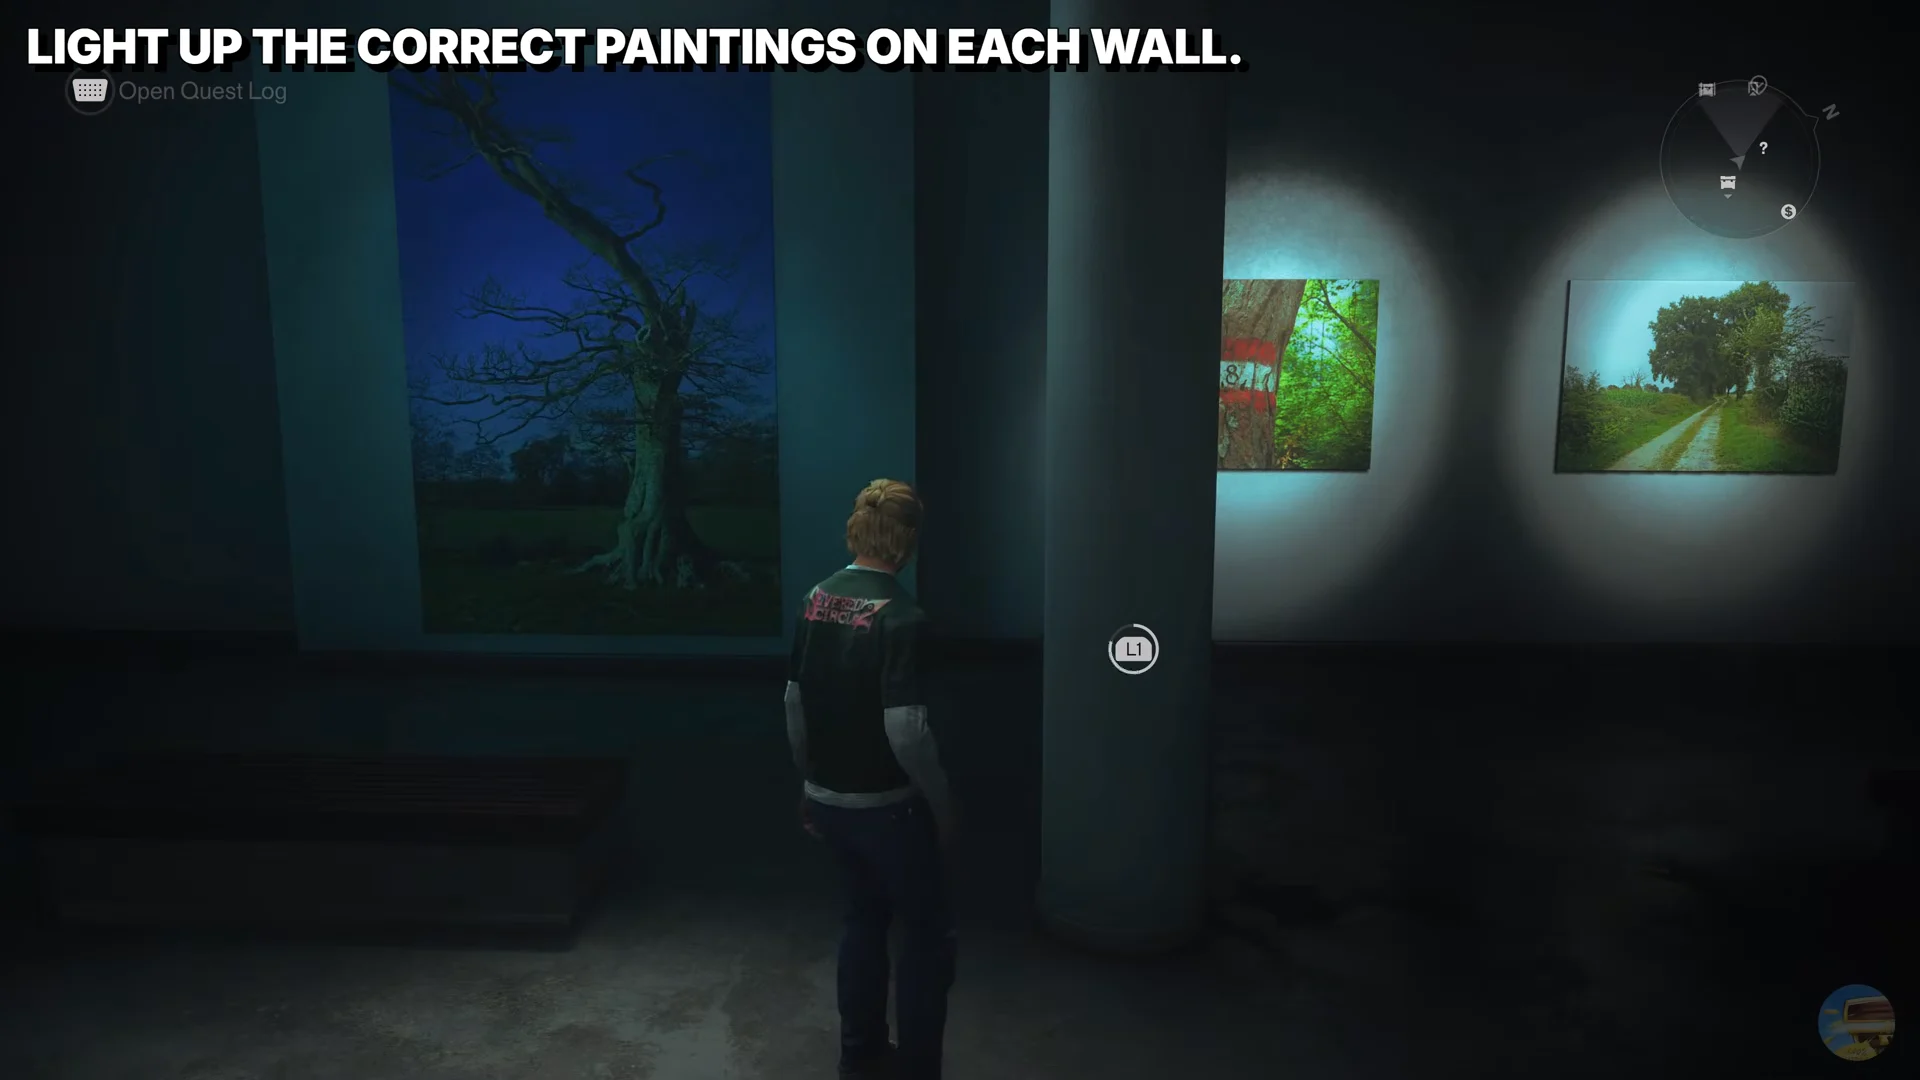
If you lose track mid-puzzle, all four correct paintings feature trees, which is a fast visual check when you are not sure a group is showing the right image.
Which paintings to light and in what order
Move around the room clockwise, starting with the group to the left of the front desk. Match each word from the note to its painting and leave it lit.
| Order | Painting | Position in its group |
|---|---|---|
| 1 | Journey | Middle |
| 2 | Windows | Left |
| 3 | Thunder | Left |
| 4 | Tides | Middle |
Journey is the canvas showing a road running through green countryside. It is the middle painting in the first group you reach.
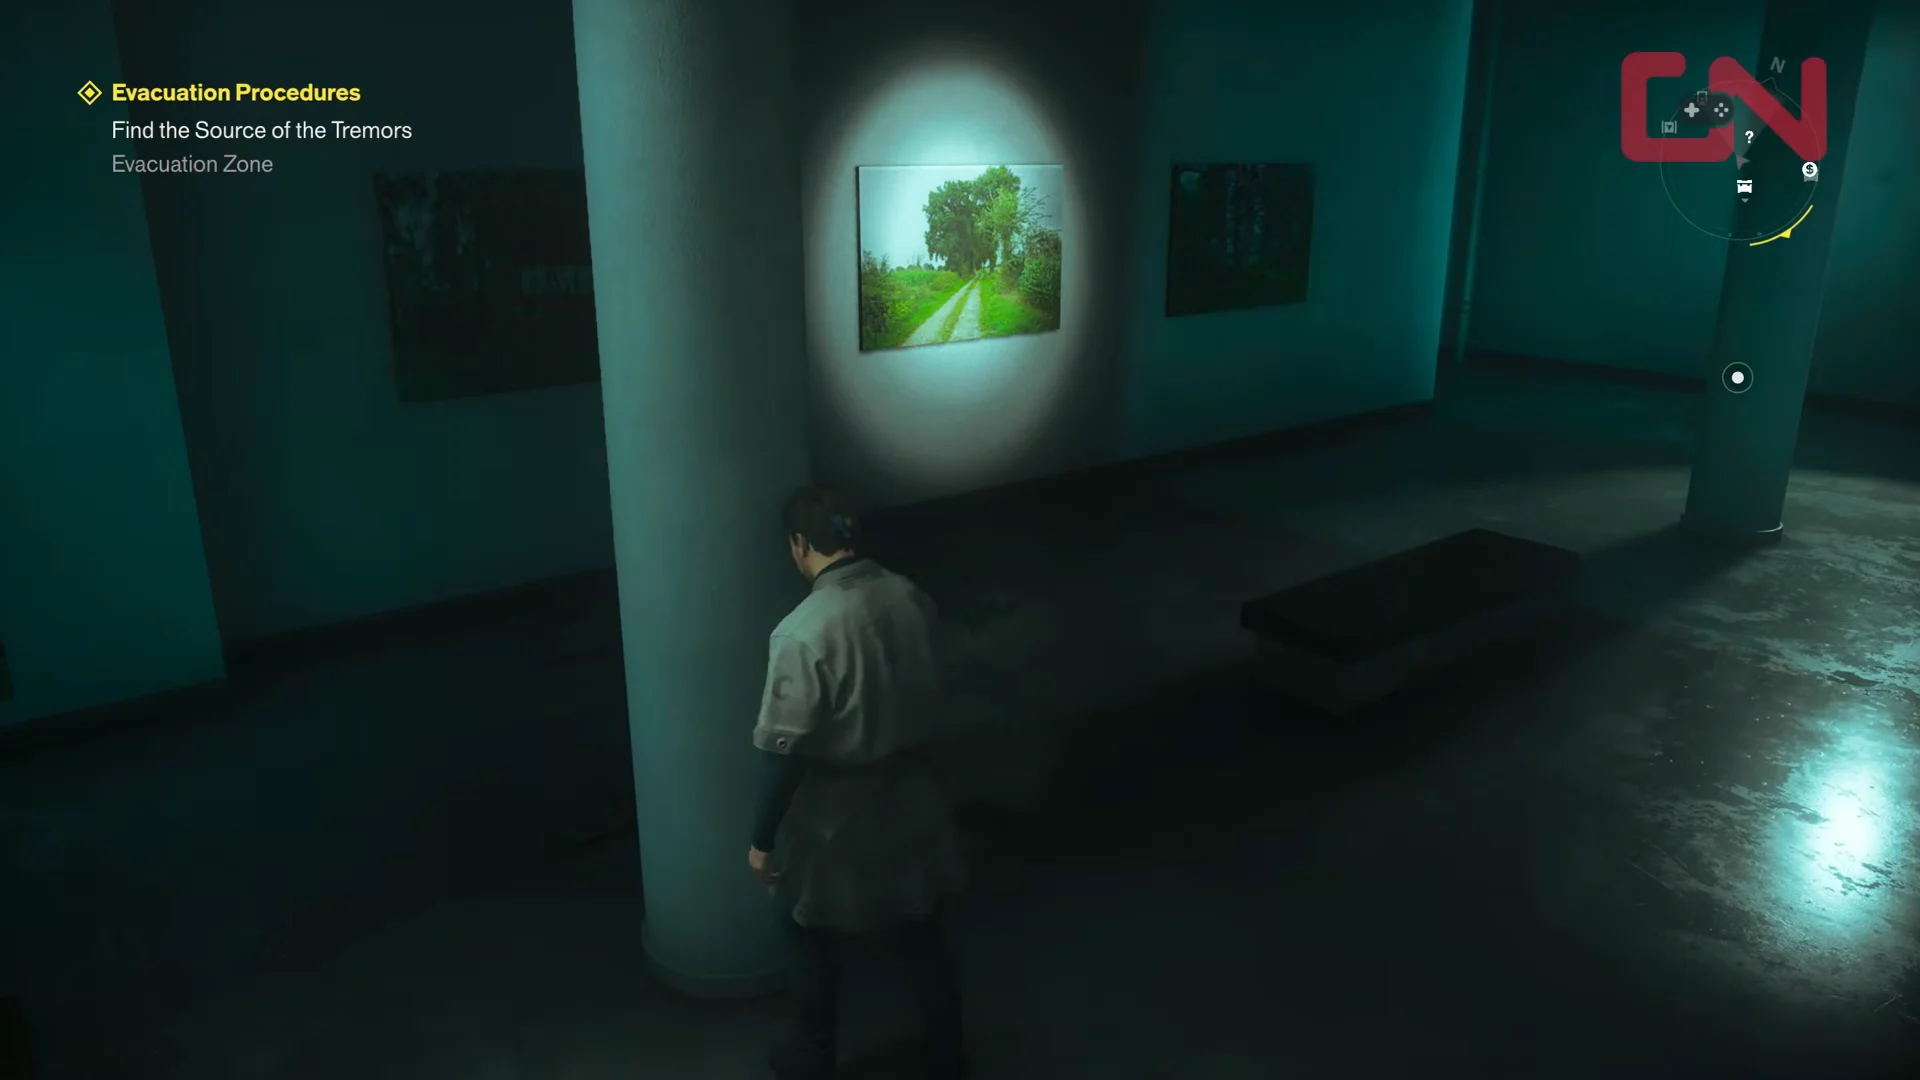
Windows is the dense, leafy canvas on the next wall. Light the left painting in that group.
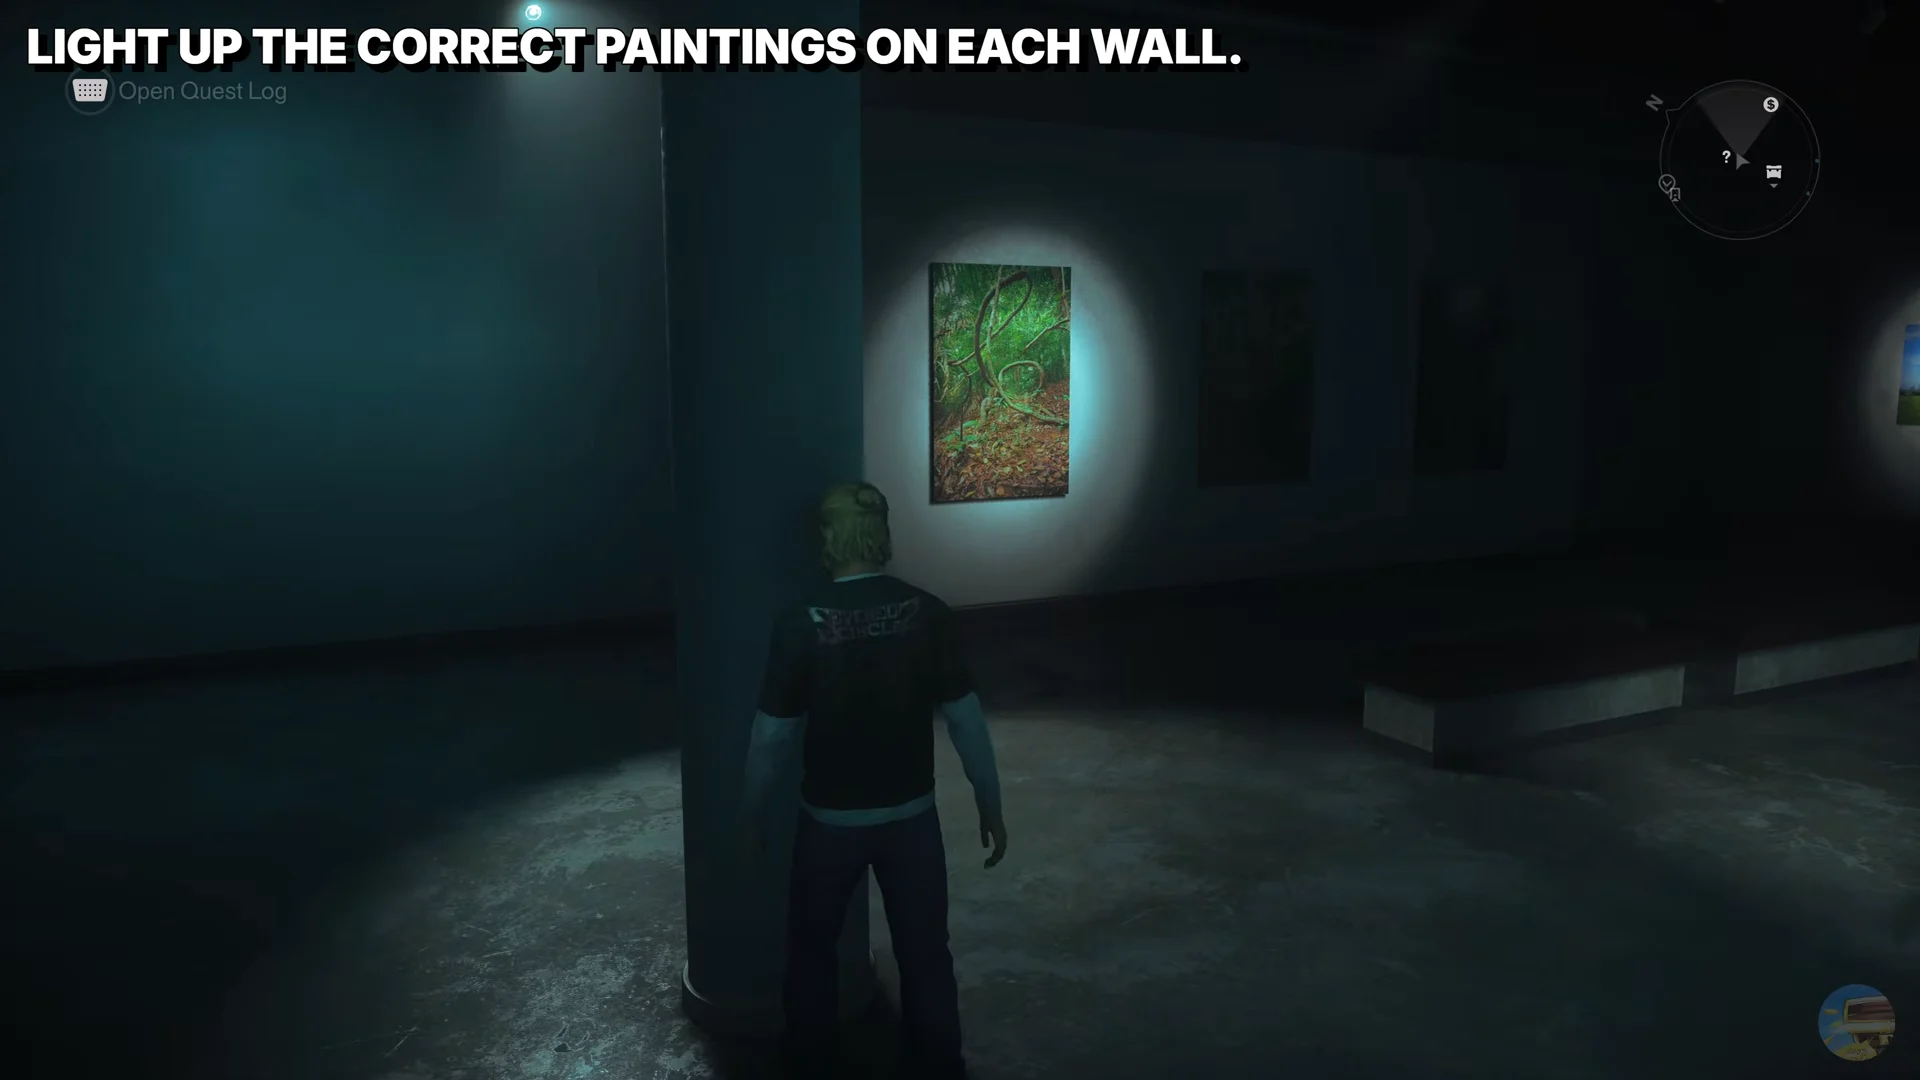
Thunder is the stormy painting with a lone, bare tree standing in an open field. It is the left painting in the third group. Finish with Tides, the water scene with crashing surf and fallen trees, which sits in the middle of the last wall.
Opening the hidden room and rewards
Light all four paintings in the correct order, and the gallery’s rear wall will shift aside to uncover a passage. Concrete stairs descend through it to a basement storage area; the wall’s movement confirms the sequence is correct.
Inside, open the Large Resource Crate to collect a Health Upgrade Point, which raises your maximum health once you have gathered three of them. The shelves also hold two lore documents, Proposed Enforcement and After-Action Summary, both tied to the Echo exhibition story. Grab everything before you head back out and carry on.