The Z20 Lakota turns supply runs into one of the most reliable paydays in WARDOGS. Instead of crawling a truck across the map, you fly a single build pallet to a forward operating base, drop it without landing, and turn straight back for the next one. A clean loop takes under two minutes, and each delivery pays out twice.
Quick answer: Buy a $400 Build Supply Pallet at your safe zone, fly it low to a friendly FOB, press G to release it over the base without touching down, then race back and hover-buy the next one with B.
What a single pallet pays
A Build Supply Pallet costs $400 and holds 1,800 Build Supplies, the resource teammates need to construct everything at a FOB. Bought loose, each unit runs $10, so the pallet is the only sensible way to stock a base. The payout comes in two parts: cash when you drop it, and a second chunk when a teammate unpacks it.
| Event | Payout |
|---|---|
| Pallet cost at the vendor | −$400 |
| Dropped at a friendly FOB | +$2,500 |
| Opened by a teammate | +$1,800 |
| Net per delivered pallet | +$3,900 |
That is why the helicopter beats a ground truck for cash per minute. A Ural hauls two pallets but needs roughly six minutes a round trip. The Lakota carries one pallet in its back slot and completes the loop in under two, so you can push more deliveries into the same match window.
Before you fly: unlock, cost, and gear
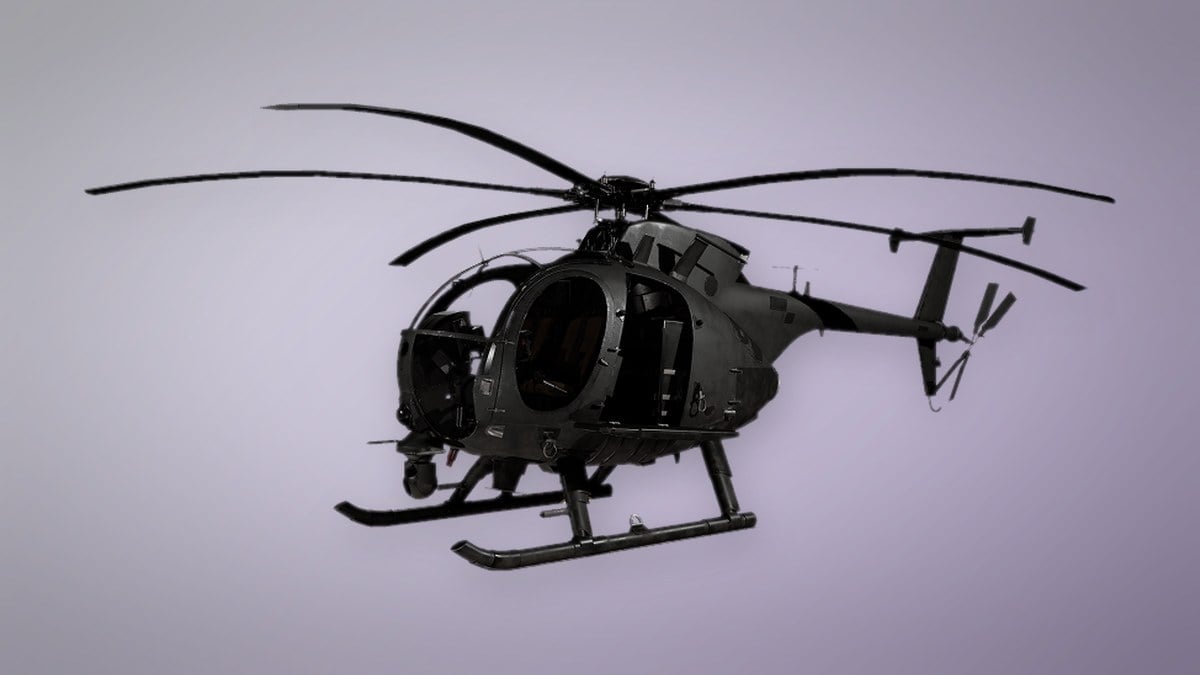
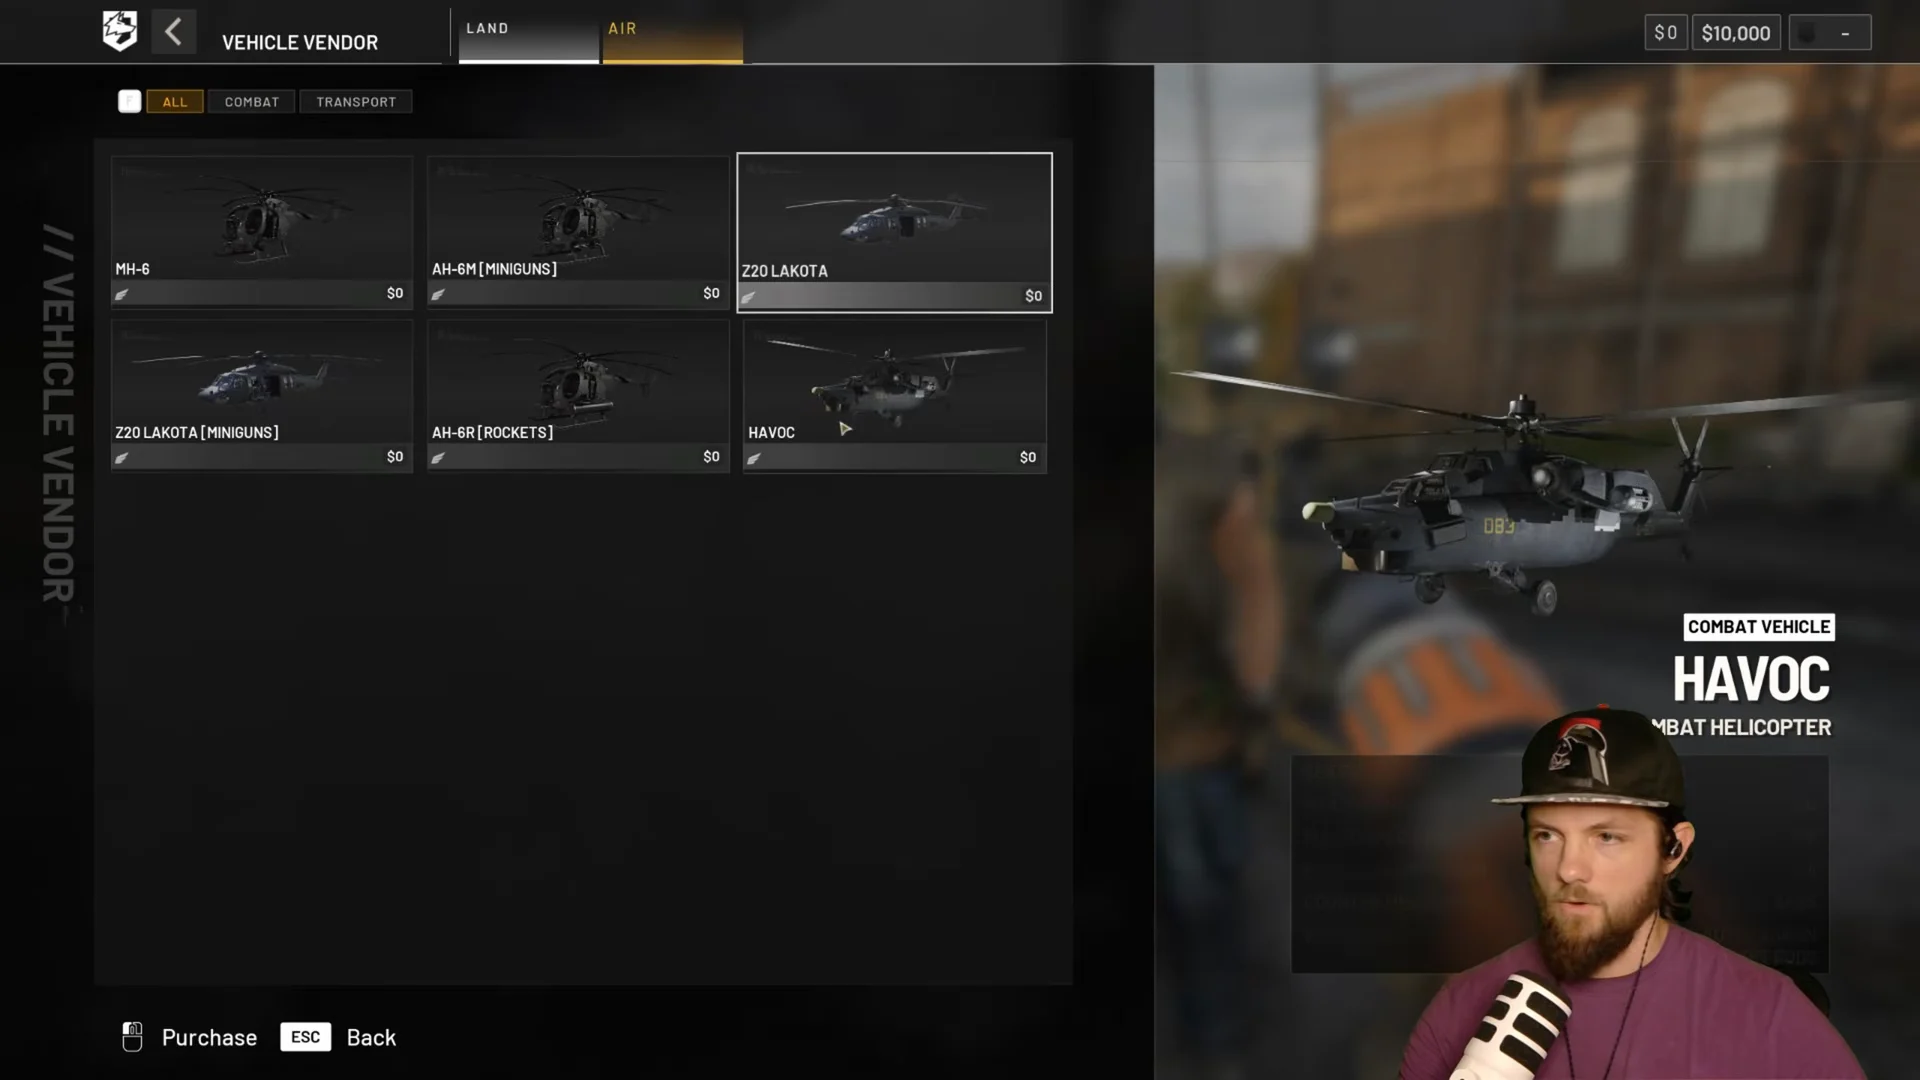
The transport Z20 Lakota unlocks at Pilot level 10 for a one-time fee of $35,000, then costs $7,400 each time you spawn it. It has 13 seats, a top speed of 445 km/h, a 120-litre tank that burns 4.4 litres per kilometre, and flares for countermeasures. This card carries no guns, so treat it as a hauler, not a gunship.
Kit up at the vendor first. Bring a repair tool so you can fix the airframe after a missile hit, and wear armor for the moments you are on foot near a hot FOB. A Light Drill and batteries round out a practical logistics loadout.
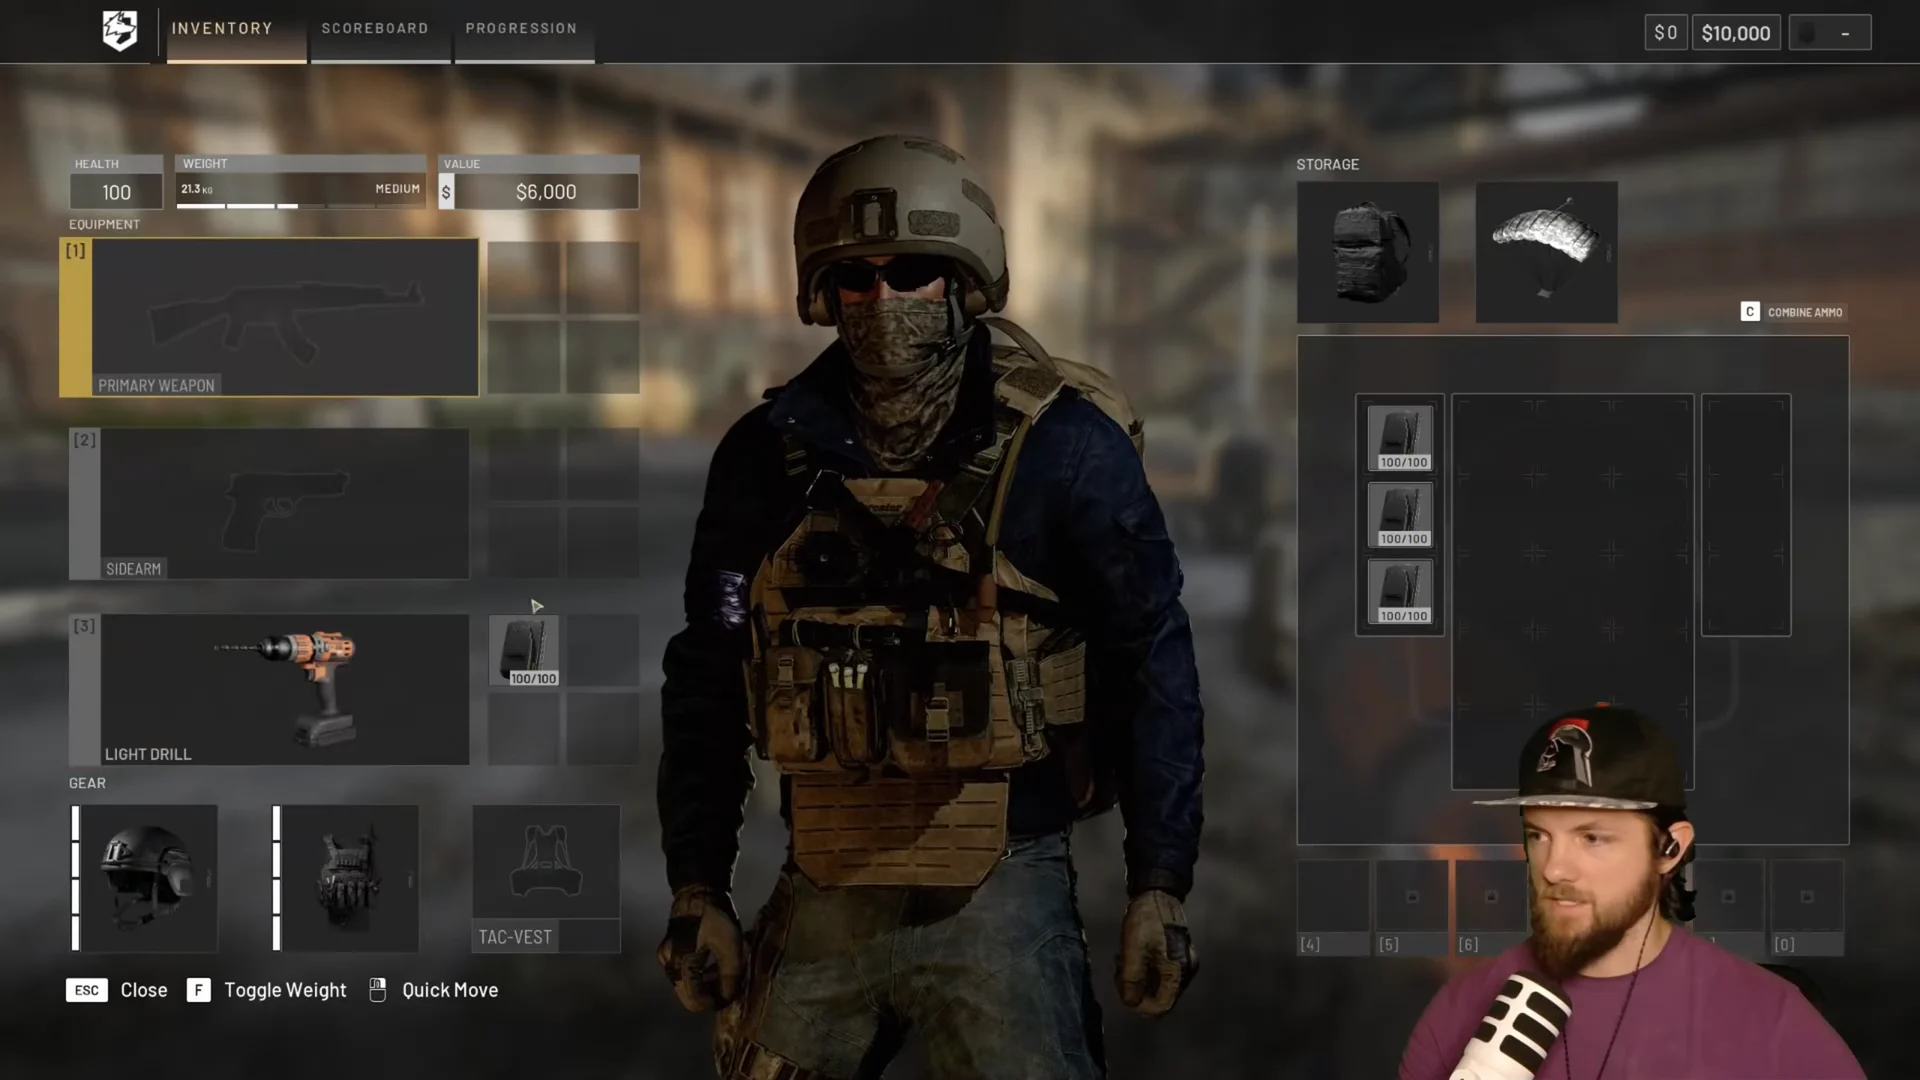
Spawn the airframe from the air vehicle vendor at your faction’s safe zone. It is never placed loose in the world during a match, so the vendor is the only way to get one.
The delivery loop
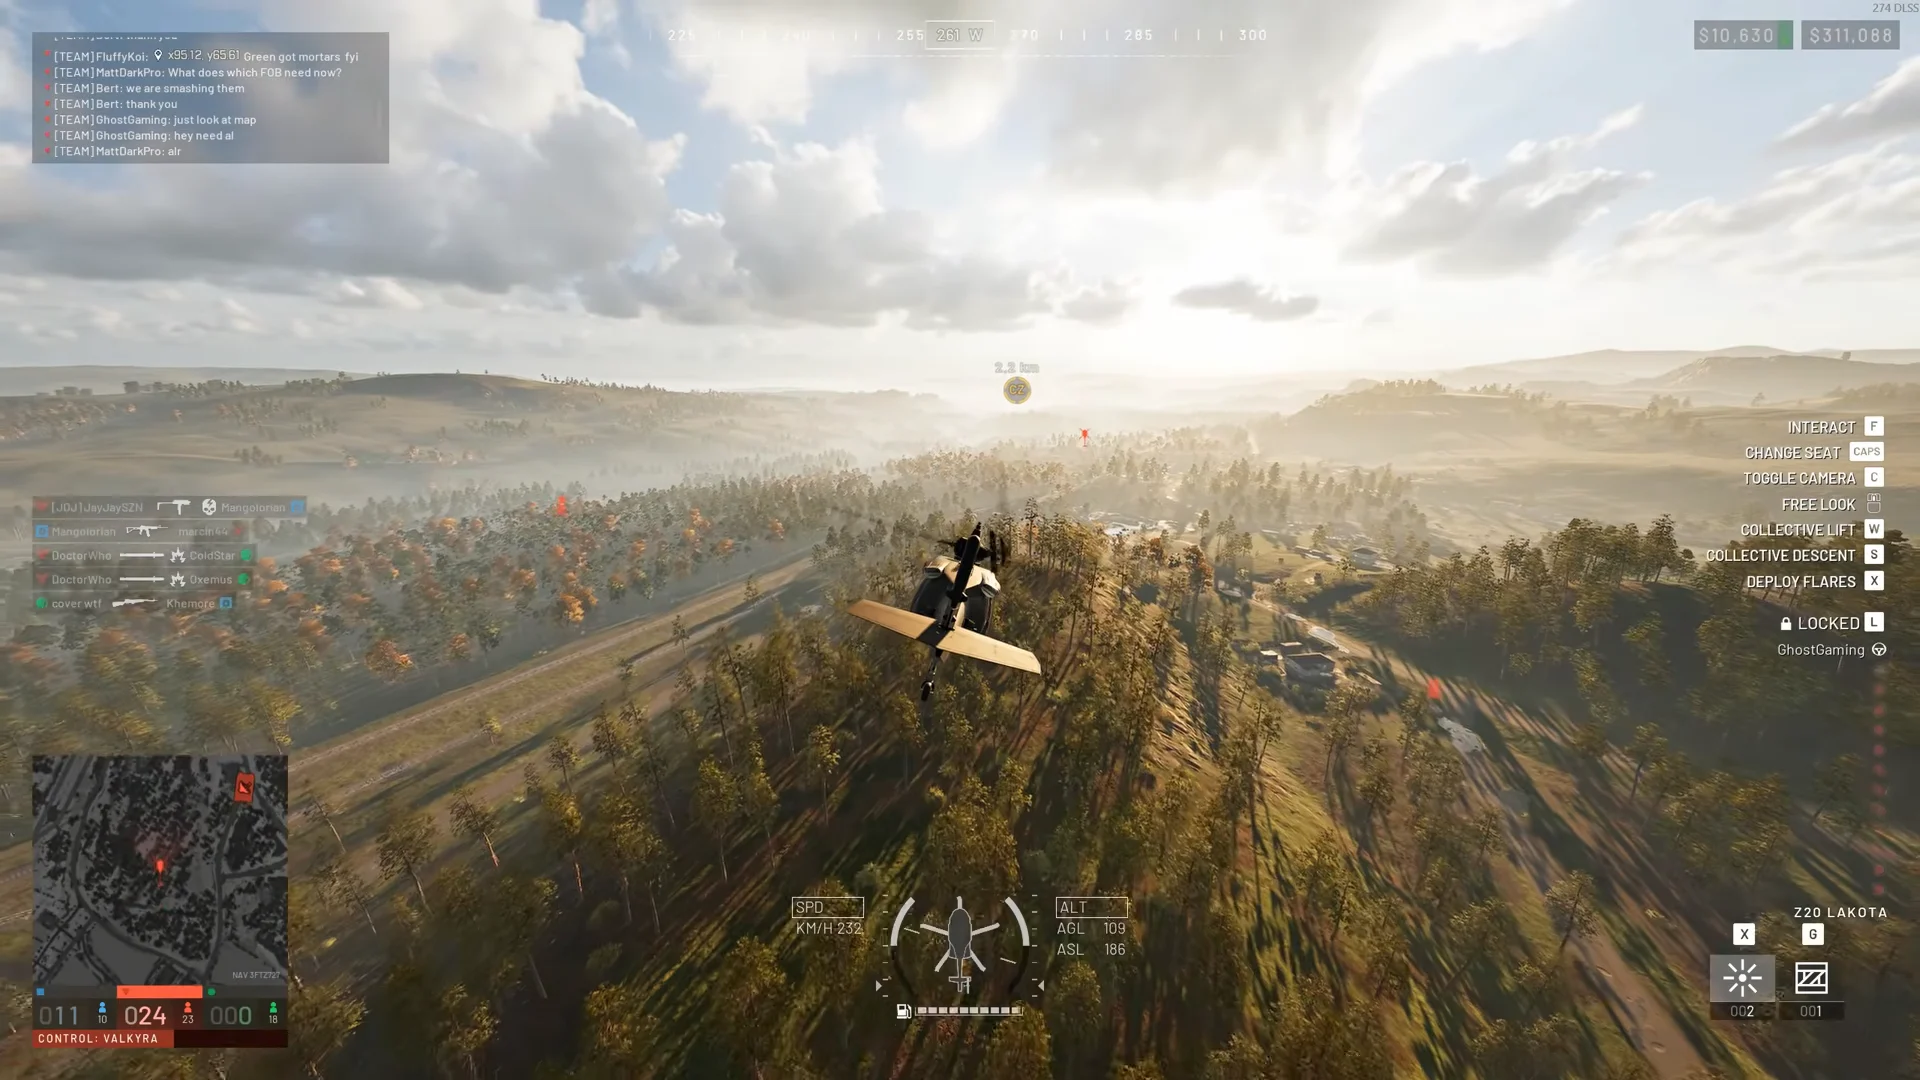
B and buy a Build Supply Pallet for $400. It loads into the back slot. Lift off immediately with Space for collective lift.Left Ctrl) to shed both speed and height. Do this with room to spare, as the Lakota’s weight and sluggish response mean it needs time and distance to decelerate.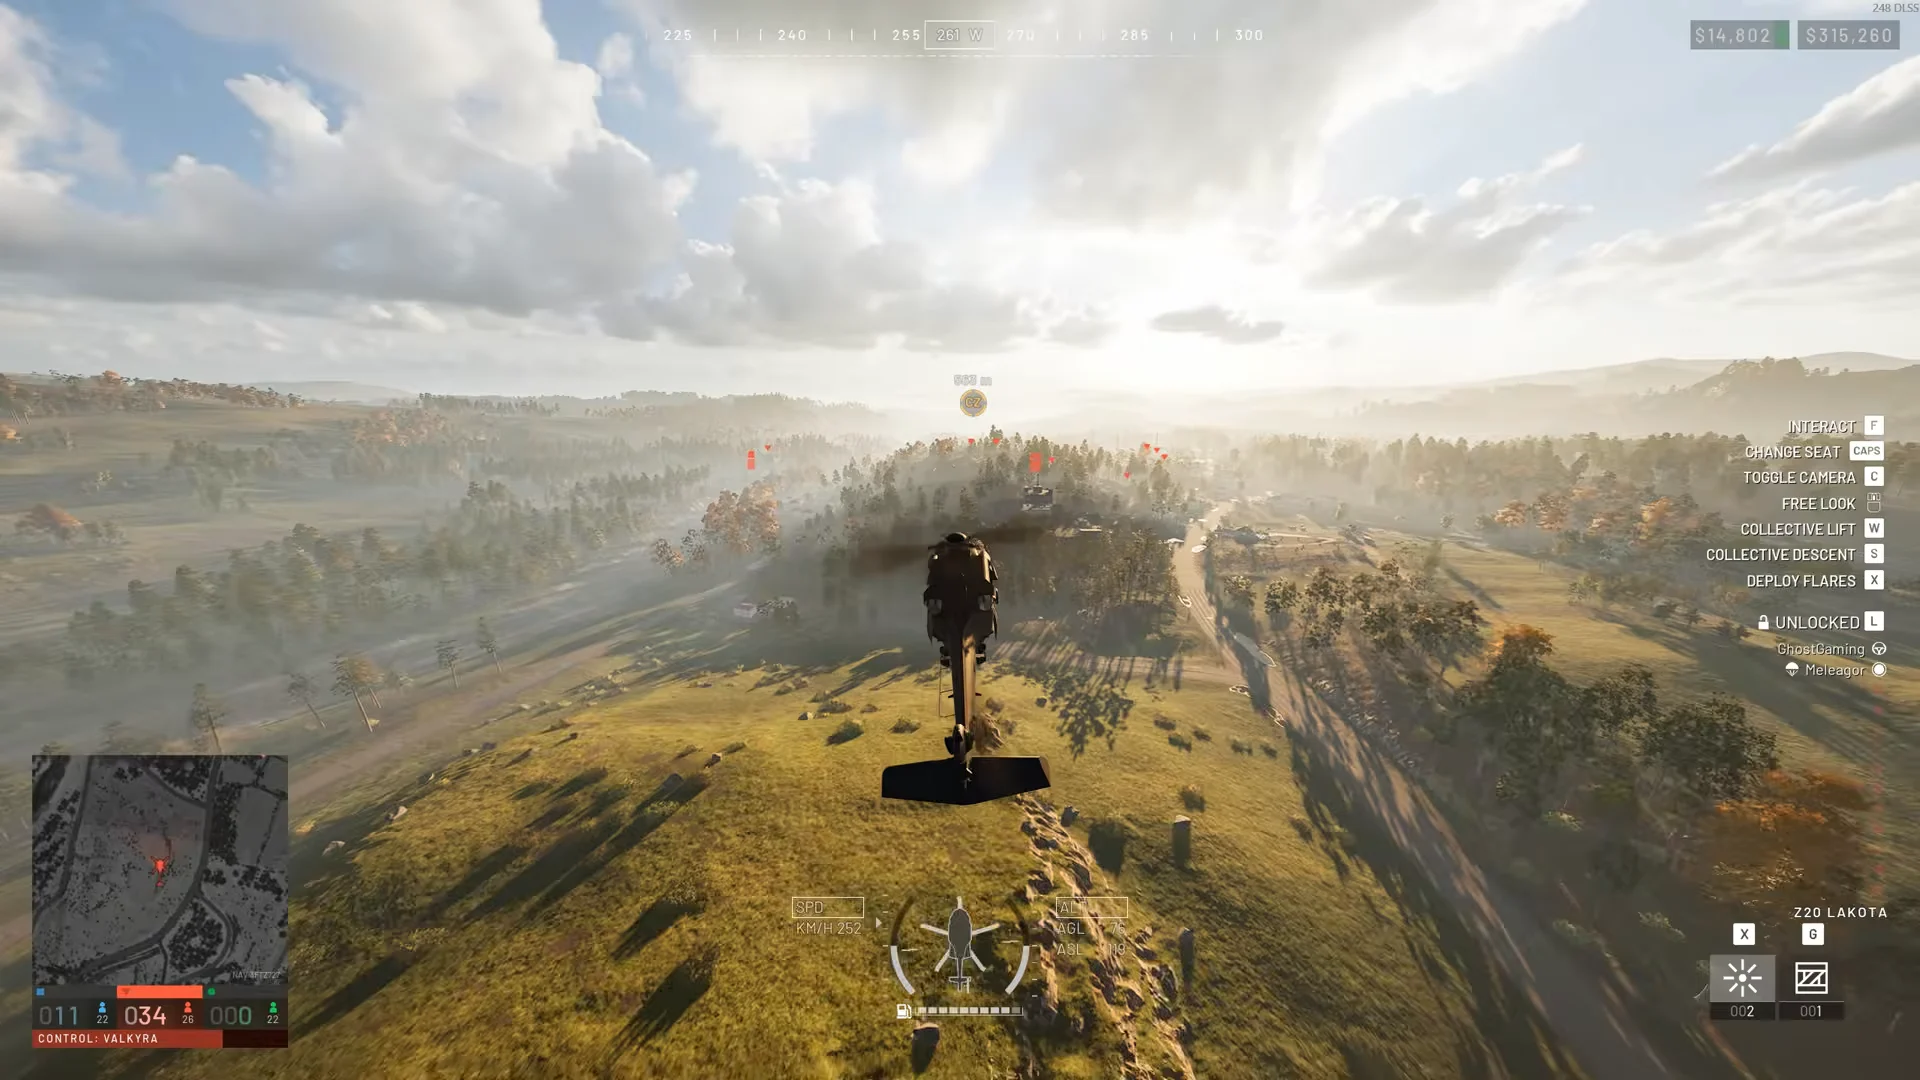
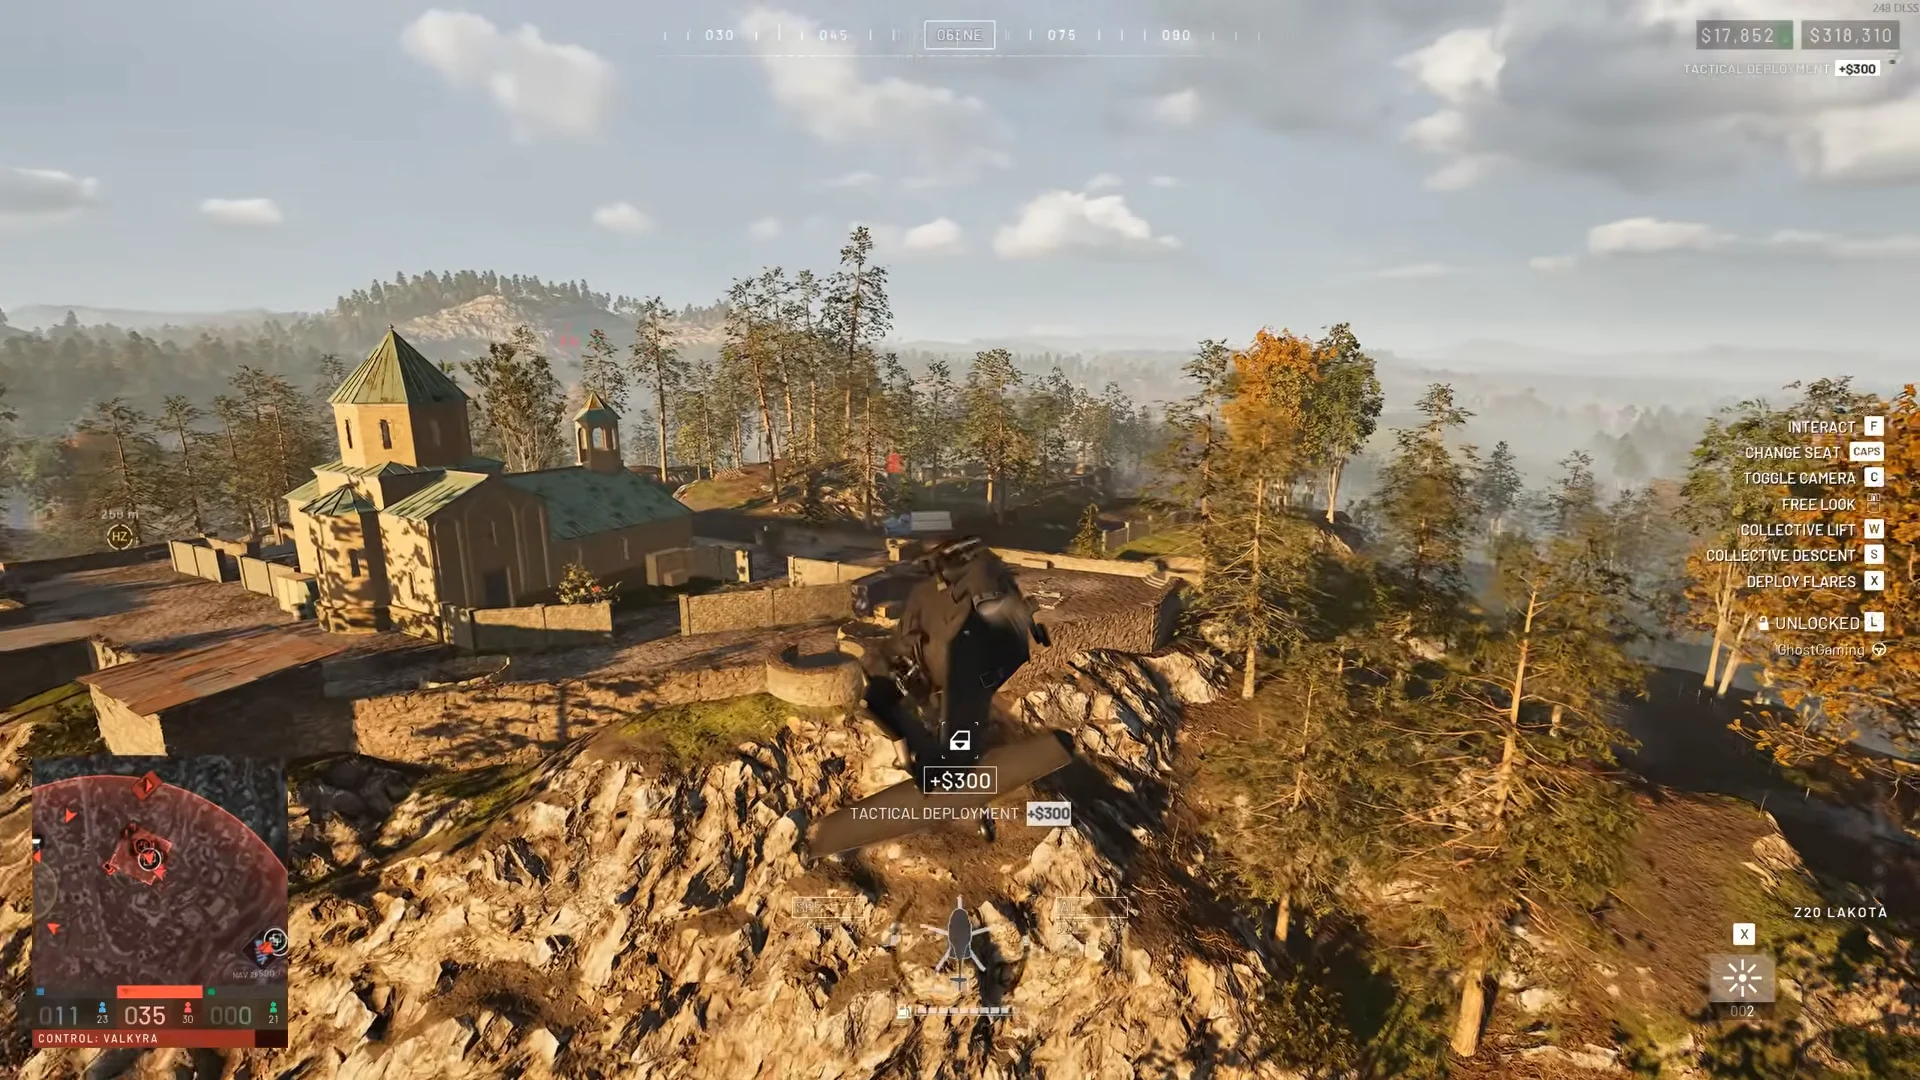
G to drop the pallet; touching down isn’t required. Keep the drop altitude low: after roughly 90 metres of falling, the pallet breaks.B, buy the next pallet, and repeat the loop.The hover-buy is what keeps the run under two minutes. Touching down and getting out to shop wastes the seconds that make this profitable.
Surviving anti-air on the route
Lock-on missiles are the main threat to a loaded Lakota. You have three ways to handle them, and you should pick based on how much warning you get.
- Flare on the tone: when you hear a continuous lock-on tone, count about three seconds, then deploy flares with
X. - Flare on the launch cue: if you catch the missile launch sound, react within 100–200 ms and drop flares immediately.
- Fly under radar: stay below the tree line and locks cannot acquire you at all, which is the safest option on a known route.
The Lakota can absorb one direct lock-on hit, but the tail rotor usually breaks and sends the airframe into a flat spin. If that happens, ride the spin down, crash-land as softly as you can, and use your repair tool (R) to fix the helicopter before flying on.
How to confirm the delivery worked
You know a drop landed when the on-screen reward flashes +$2,500 SUPPLIES DELIVERED. The second half, +$1,800 FOB SUPPLIED ASSIST, appears once a teammate opens the pallet at the base. Both lines show again on the end-of-match scoreboard alongside any deployment assists you earned, which confirms the run paid out in full. Because the unpack bonus only triggers when someone uses the supplies, deliver to a base your team is actually holding rather than an empty marker.