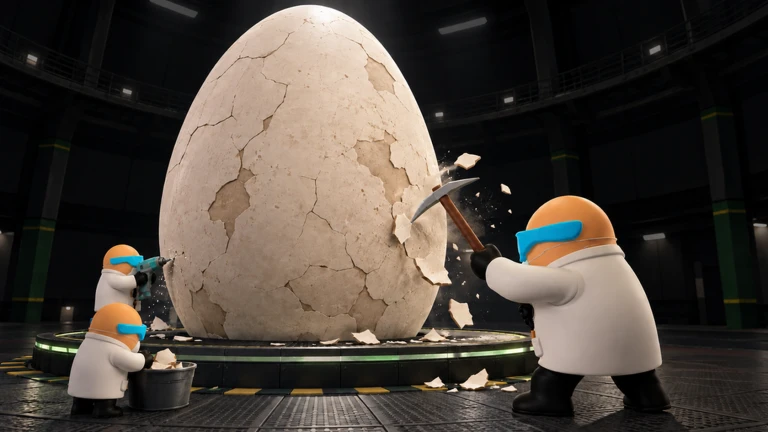
Crack The Egg drops you into a mining chamber with a colossal egg and a simple job: chip away its shell, sell the fragments for cash, and buy stronger tools until you reach whatever is hiding inside. Chapter 1 ends with a timed boss fight against the egg itself, so the whole run is really a race to build enough damage before the shell fights back.
Quick answer: Mine down through the gray, brown, and yellow layers to the orange shell, break all 24 orange shell fragments to wake the eyeball, then destroy the regenerated 26,000 HP boss egg before the 6:00 timer runs out.
The mining and selling loop
Everything in the run feeds one cycle. You break shell panels off the egg with a tool, scoop the loose fragments into a handheld bucket, then drop that bucket onto the Sell conveyor to turn fragments into cash. Cash pays for better tools and larger buckets, which let you strip layers faster and carry more per trip.
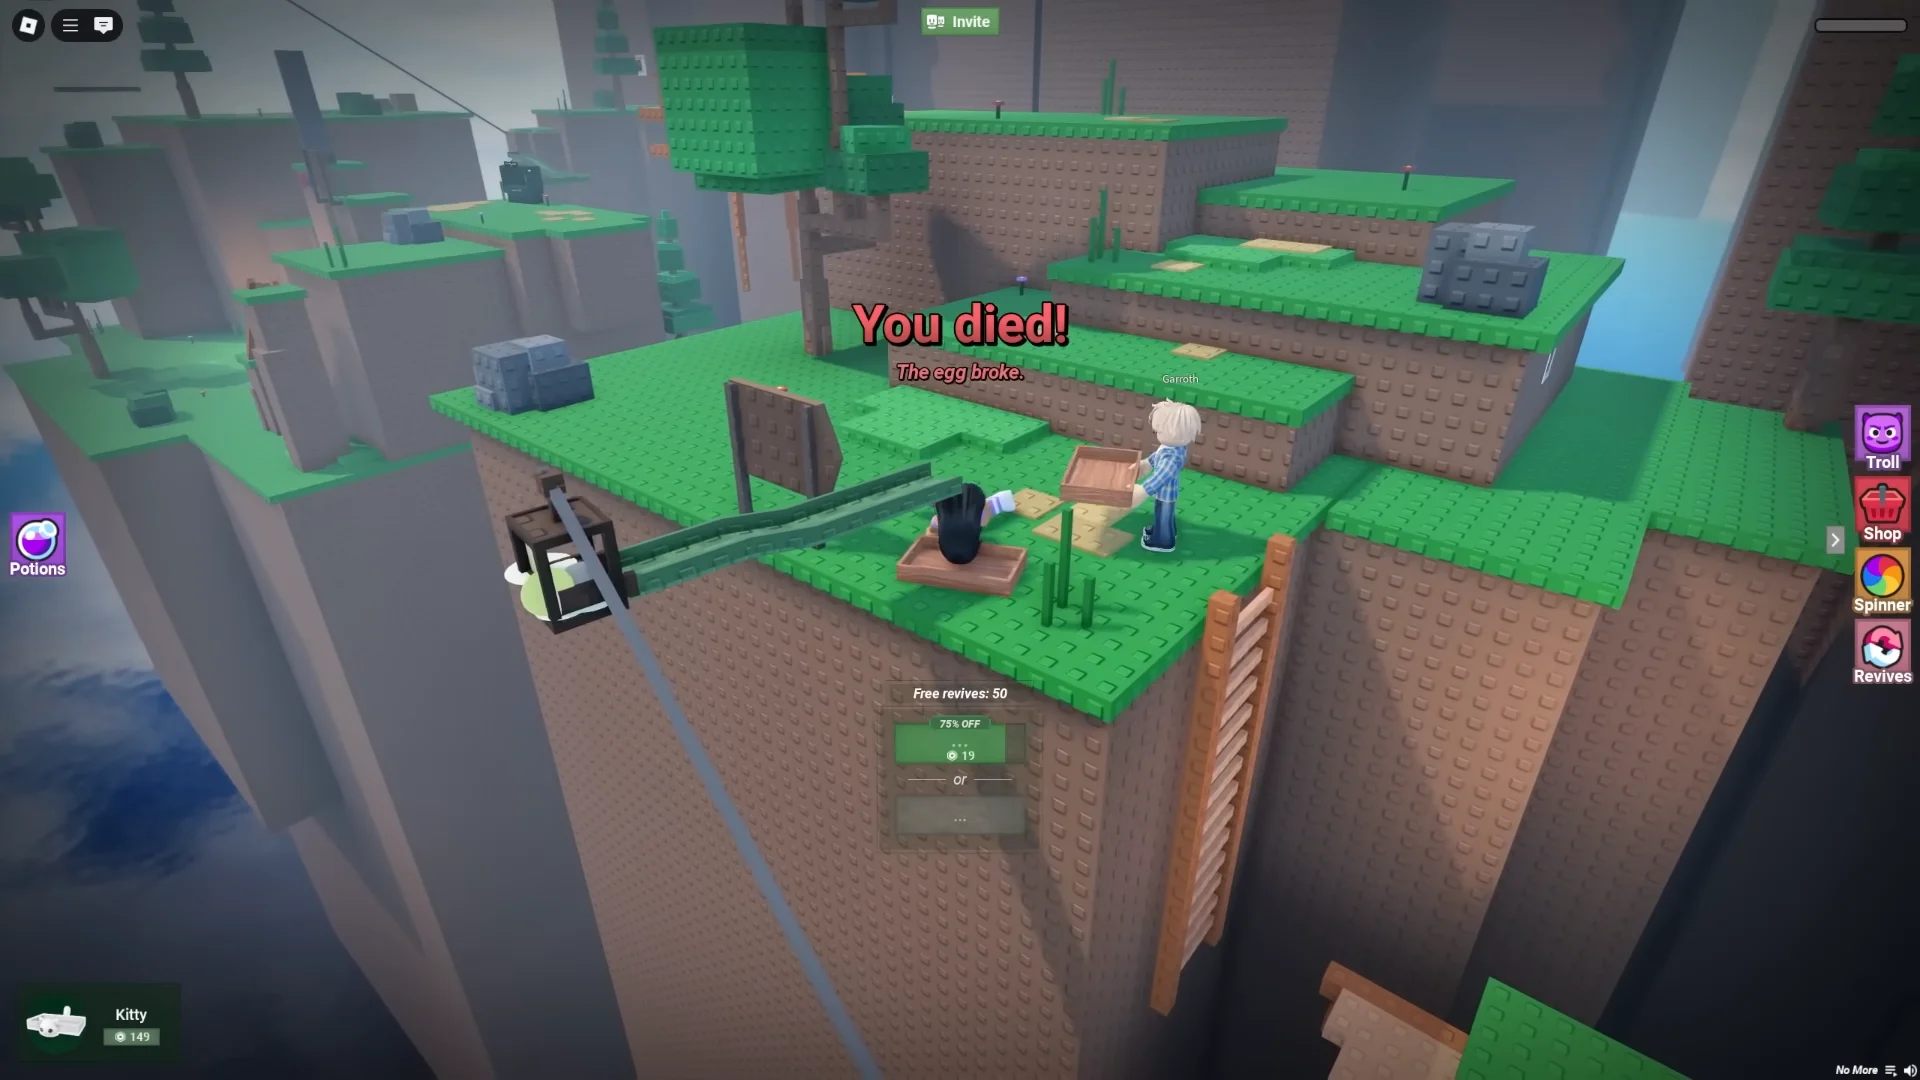
Press the red button at the “BEGIN WORK” door to start, equip the starting Pickaxe, and chip the first shell layer. Grab the bucket to collect the pieces on the floor, then empty it at the Sell station. Side quests on the left of the screen cycle through small goals like breaking shells, filling buckets, and earning cash, and completing them keeps a steady trickle of money coming in.
Tool order, prices, and upgrades
Tools unlock in a fixed price order at the Tool Shop counter. The Screwdriver is free, so claim it as soon as the game points you to the Upgrades room.
| Tool | Cash cost |
|---|---|
| Pickaxe | Starting tool |
| Screwdriver | Free |
| Hammer | $650 |
| Handdrill | $2,000 |
| Dynamite | $5,000 |
| Chainsaw | $12,000 |
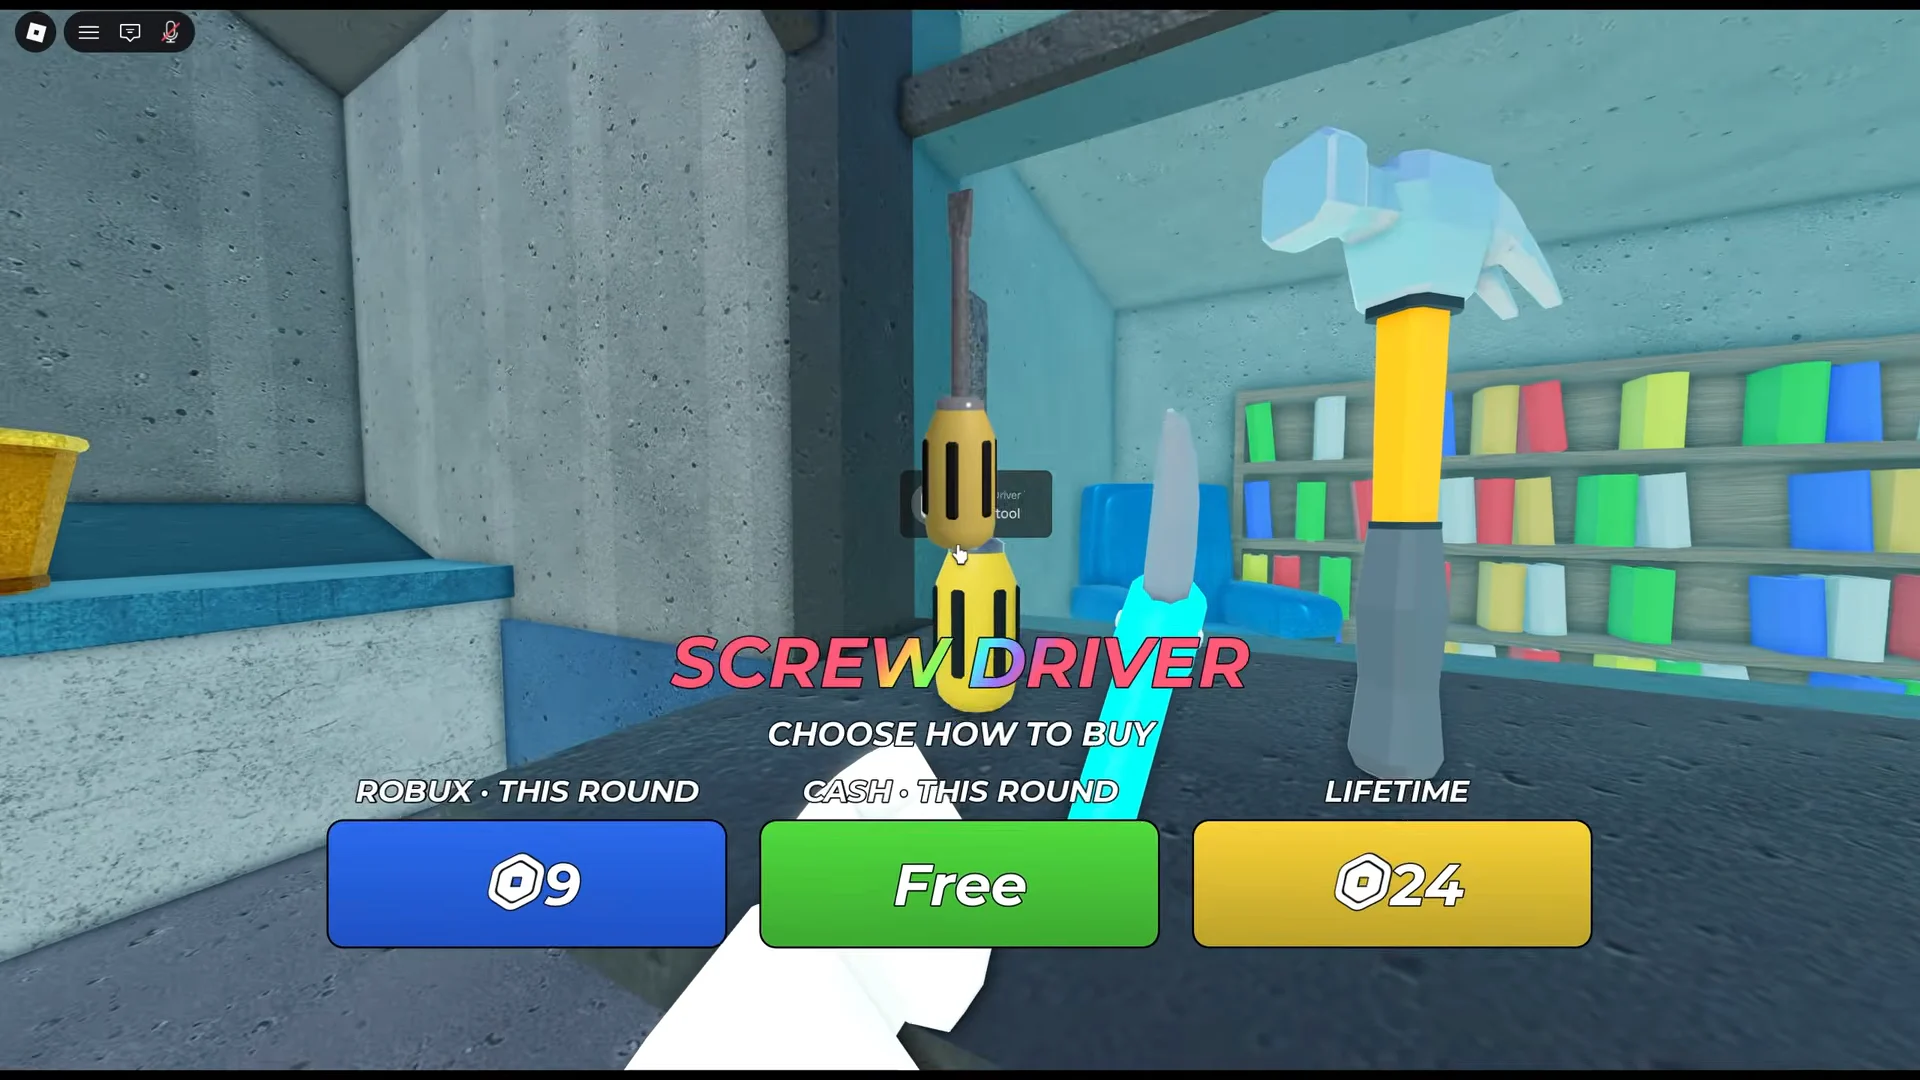
The wall-mounted Egg Layers chart tells you which tool each shell layer wants. Layer 1 wants the Pickaxe, Layer 2 the Screwdriver, Layers 3 and 5 the Handdrill, and the last layer the Dynamite. Match your tool to the layer you are digging into for faster progress.
Each tool has three upgrade attributes in the Tool Upgrades menu, opened with Tab: Power, Cooldown, and Range. Upgrades change performance dramatically. A freshly bought Chainsaw or Handdrill actually feels slower than a fully upgraded earlier tool, because high-tier tools start with low base damage per hit.
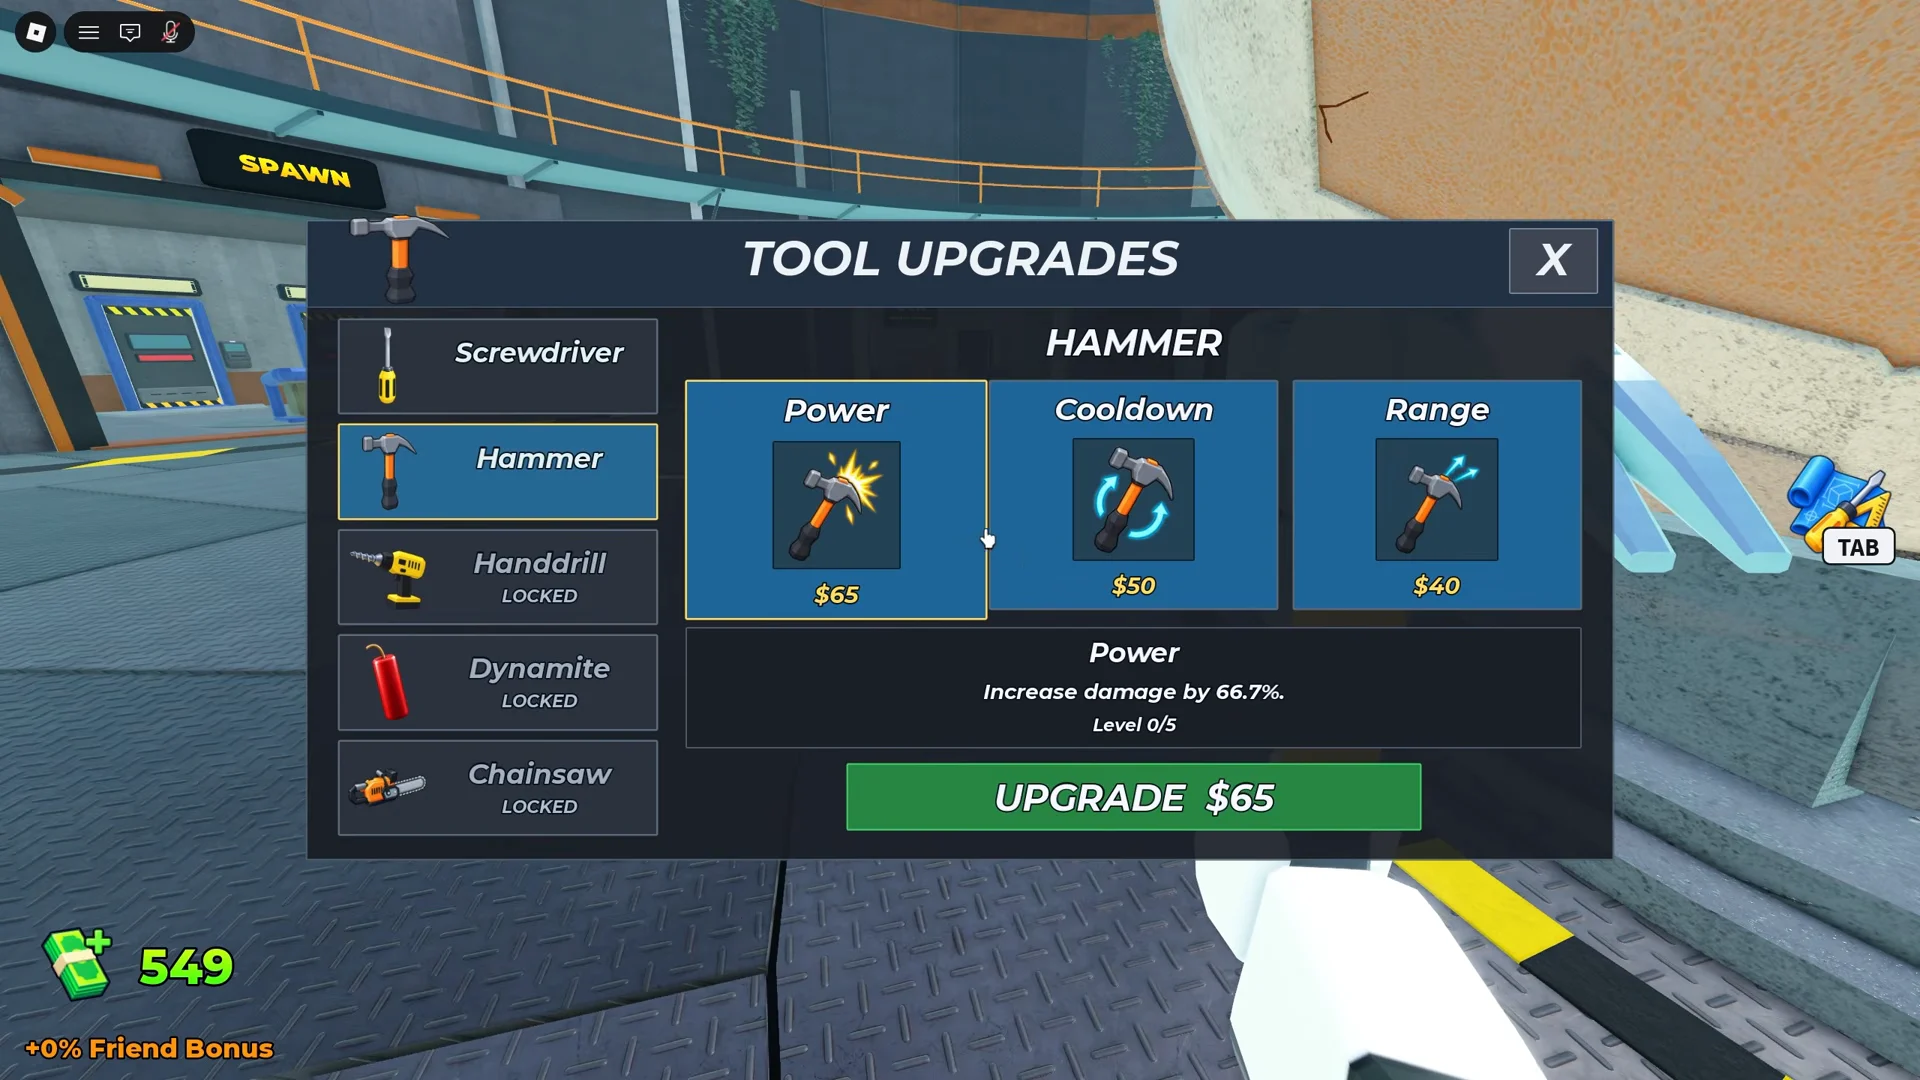
Buy a tool, then immediately pour cash into its Power and Cooldown before judging it. An upgraded Dynamite clears shells and doubles as a way to one-shot the Repair Man from range.
Bucket capacity upgrades
The bucket starts at 5 fragments, which means constant trips to the Sell conveyor. Increase it at the shop counter as soon as you can spare the cash, since a bigger bucket cuts down on wasted walking.
| Capacity | Cost |
|---|---|
| 5 fragments | Default |
| 10 fragments | Free |
| 15 fragments | $333 |
| 20 fragments | $616 |
| 25 fragments | $1,140 |
| Infinite Bucket | Robux (80) |
Mad Egg and Repair Man events
Two random events break up the mining and both are worth reacting to.
- Mad Egg: For 25 seconds, the egg glows pink and becomes hostile, scattering dozens of shell shards over the arena floor. Scoop them up with your bucket to collect free fragments without mining.
- Repair Man: An egg-headed scientist with a spray nozzle spawns on a 45-second timer and has 12 HP. If you let him survive, he restores broken shell sections. Kill him quickly, ideally with Dynamite.
Collectibles and Shards
Some shell tiles hide collectibles such as the Common Rusty Horseshoe, the Rare Jeweled Crown, and the Epic Golden Duck. Mine one out and drop it into the Collectibles bin. A brand-new collectible unlocks a permanent bonus plus Shards, while a duplicate simply awards extra Shards. Shards carry over to the lobby, where you spend them on the Class spin wheel for bonuses like the Shellbreaker Class (+18% tool damage against shells and the boss).
How to wake and defeat the Egg boss
Depleting the boss health bar plays a victory cutscene showing a small stone egg, awards your badges, and grants +100 Shards. The screen then reads “To Be Continued… (Chapter 2)” and drops you back into the lobby, which confirms Chapter 1 is complete. If the timer expires before the bar is empty, you fall short of the clear, so front-load your tool upgrades before the orange layer breaks.