The Electrokinesis Test is a mandatory puzzle in Control Resonant, run into while you explore the testing wing of the Oldest House with Zoe during The House in Distress mission. Striking one of the red Power Cores locks the doors behind you and forces you to match three separate patterns on a wall of electricity boxes before the exit reopens.
Quick answer: Clear three stages in order. Test one powers a triangle (top-left, top-right, bottom-middle). Test two powers the four corners. Test three powers the whole middle column and middle row to form a cross, turning every screen green.
How the electricity boxes work
The room has nine red junction boxes mounted on the walls in a 3×3 layout, along with floor-mounted units and several wall monitors. Strike a box with your melee weapon to change its electrical state; the charge shifts between the box and your weapon, producing red or blue energy arcs. Any box with power counts as a “live” node in the pattern.
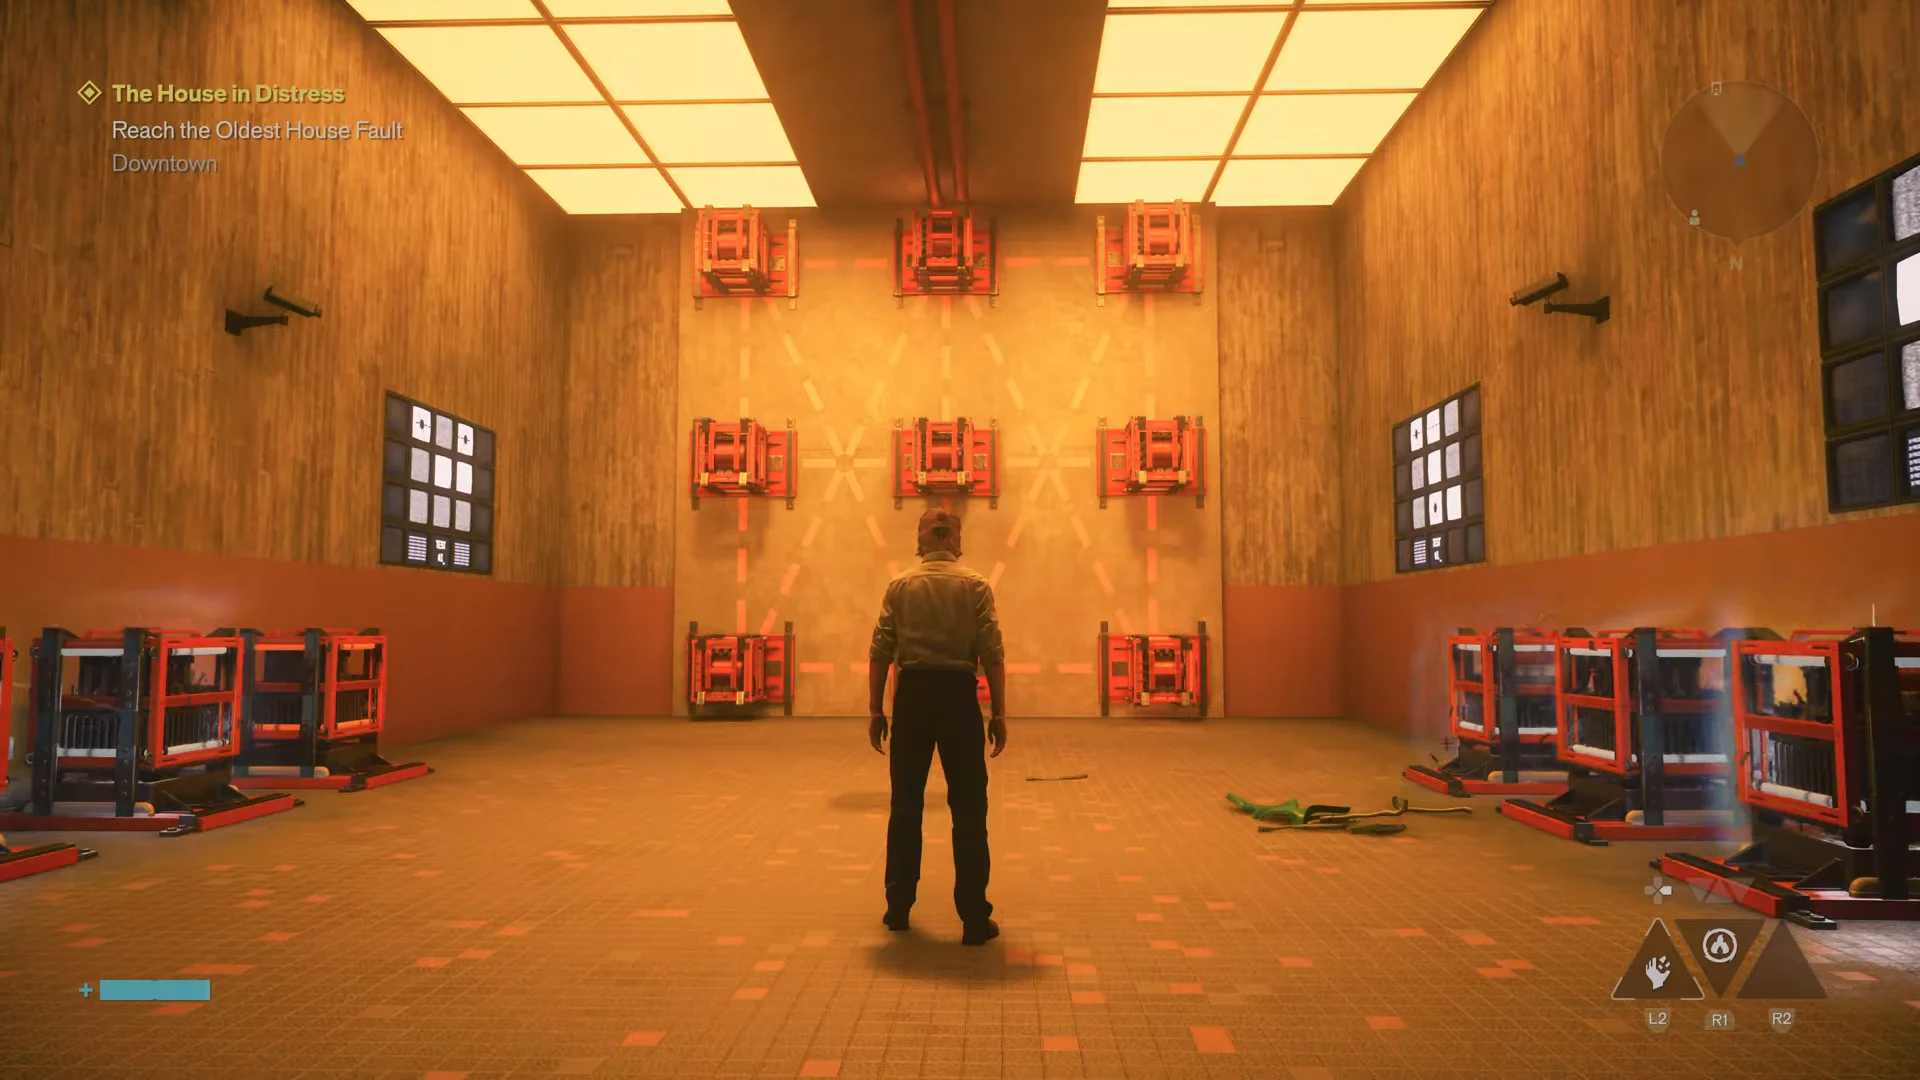
Some wall boxes extend outward when struck, giving you a ledge to stand on. Use those platforms to jump up and reach the higher nodes in the top row of the grid.
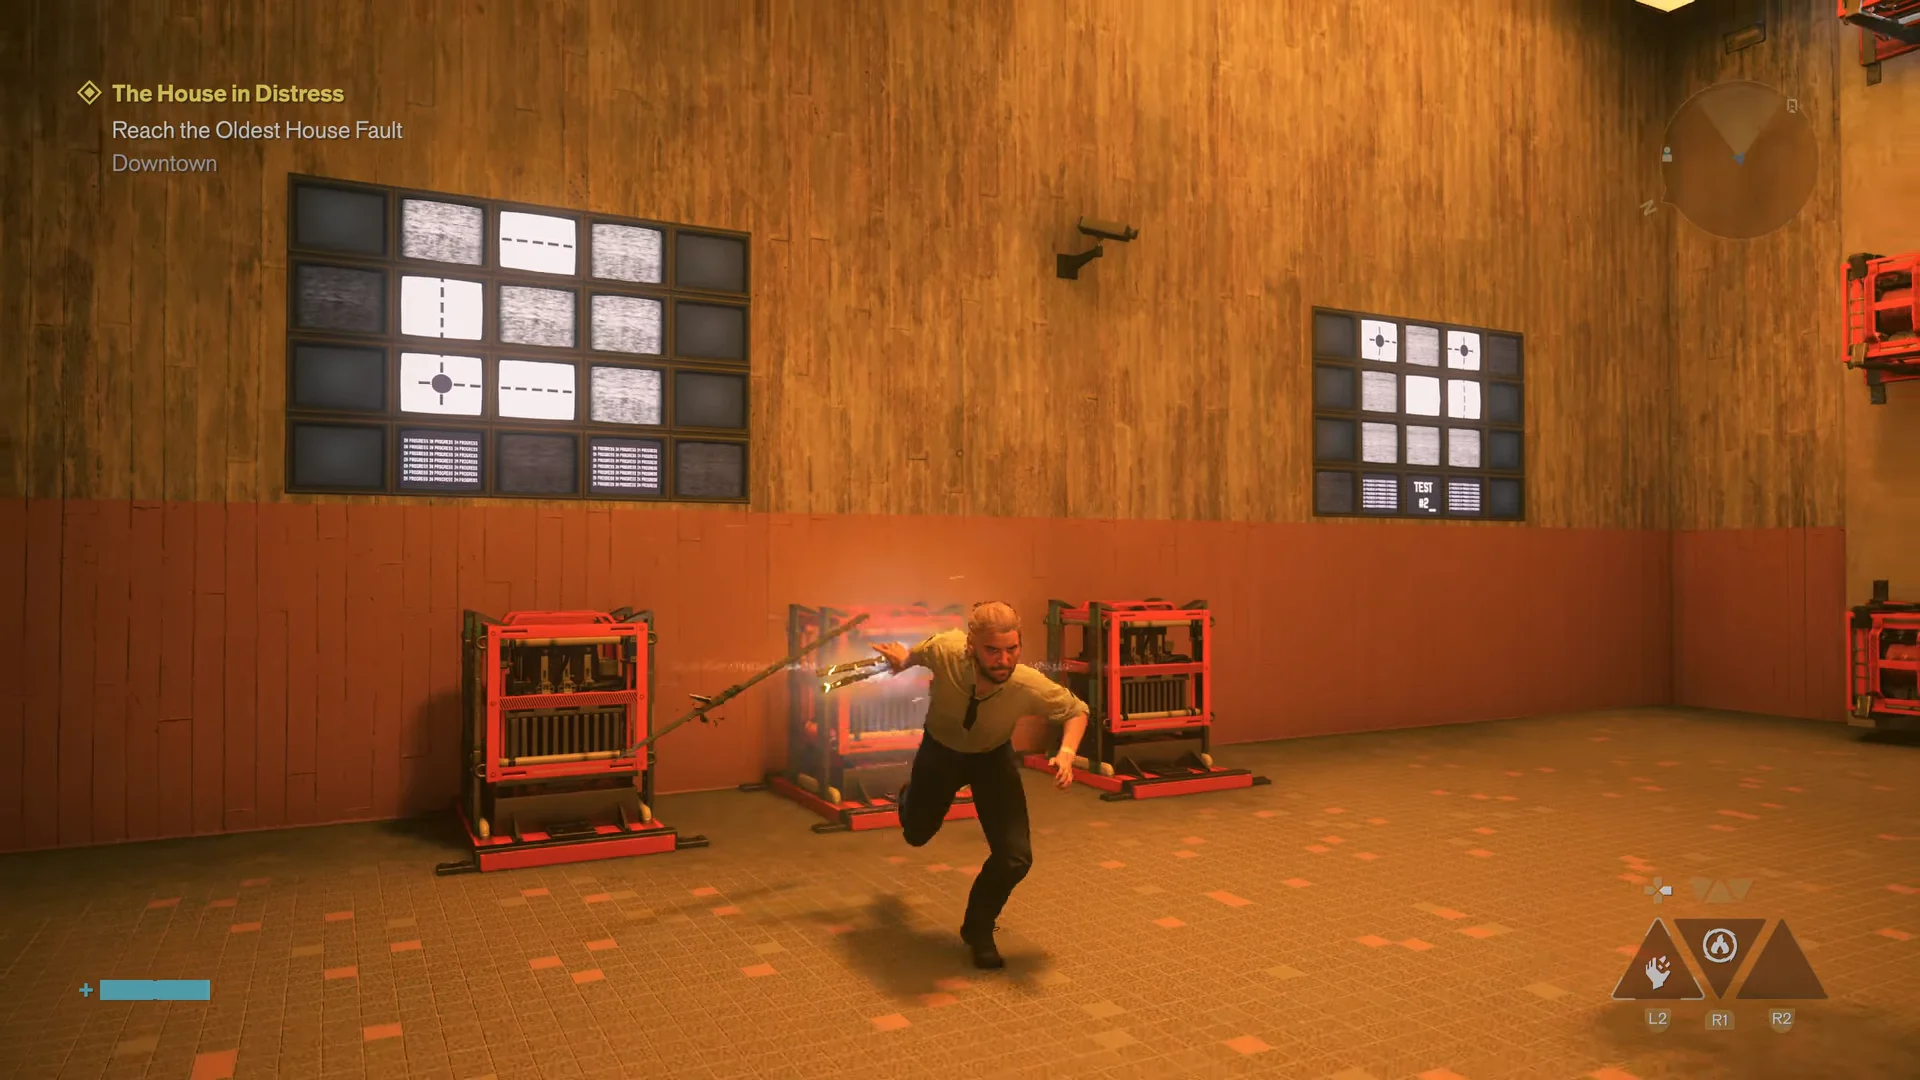
The target pattern is shown on the wall displays above the active cores. Each screen splits into nine sections, and the sections marked with dots or lines are the nodes that must be live for that stage. Combine what the screens show to read the full shape.
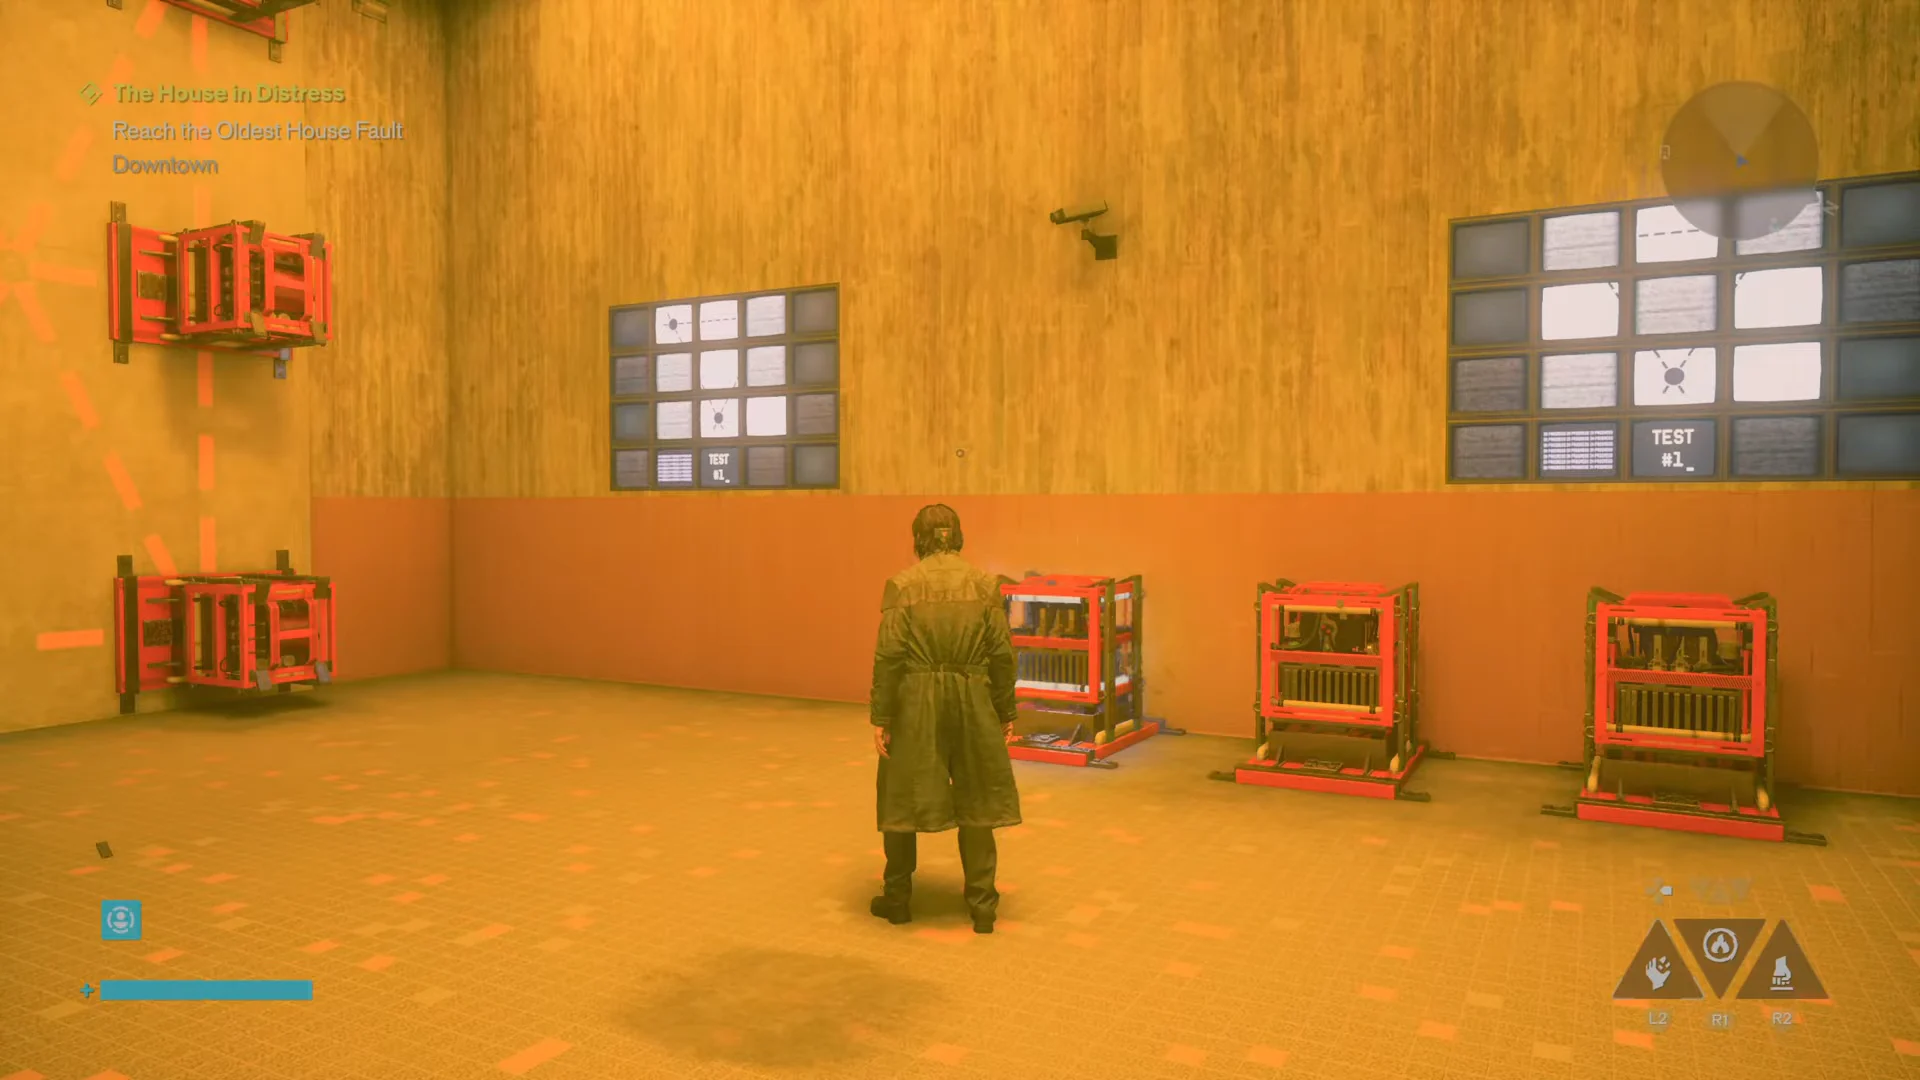
The three Electrokinesis Test patterns
You solve the puzzle in three stages. Completing one pattern changes the monitors to the next required shape, so work through them in order.
| Stage | Boxes to power up | Shape |
|---|---|---|
| Test 1 | Top-left, top-right, bottom-middle | Triangle |
| Test 2 | Top-left, top-right, bottom-left, bottom-right | Four corners (square) |
| Test 3 | Whole middle column and whole middle row | Cross |
Test 1 – Triangle
Activate the top-left, top-right, and bottom-middle nodes to form a triangle. Climb the lower boxes after they extend to access both top corners. Match the pattern and the monitors will show the next one.
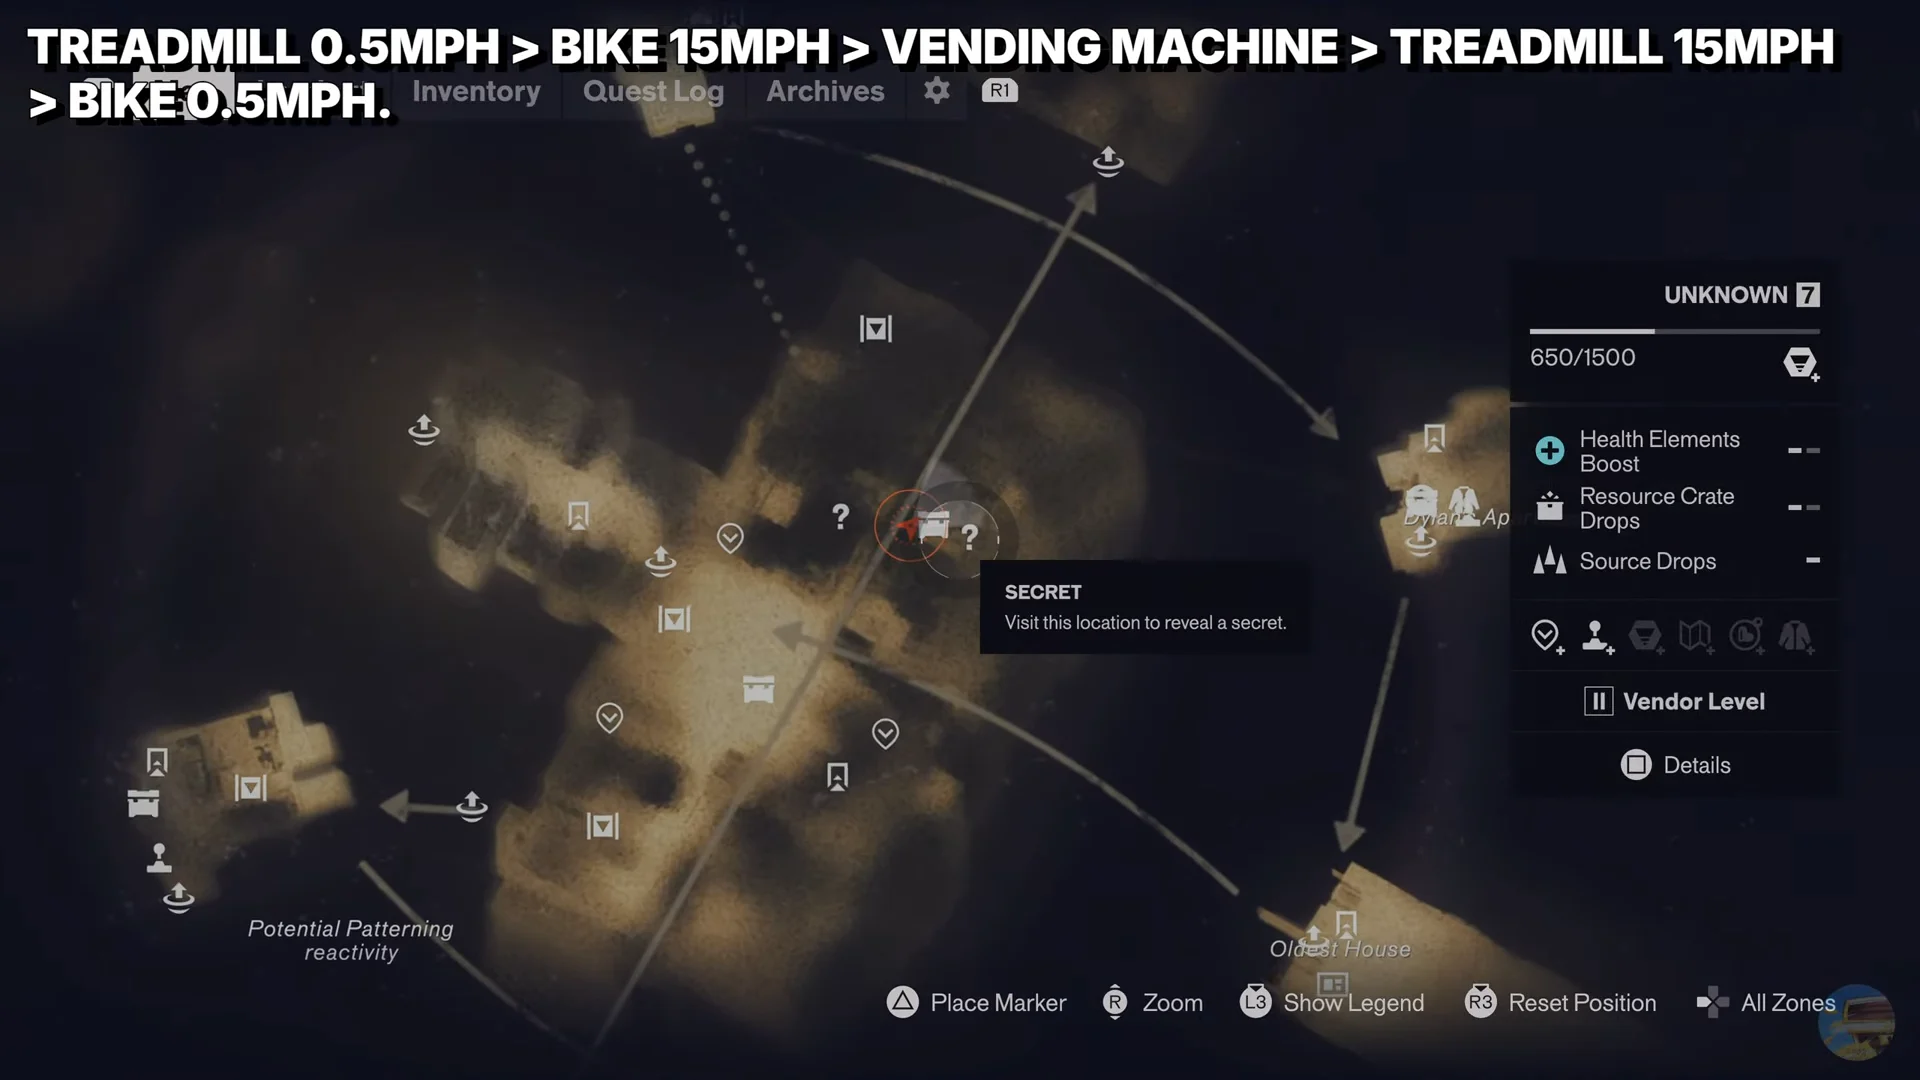
Test 2 – Four corners
Deactivate the bottom-middle node from the first stage, then power up the bottom-left and bottom-right corners. With the two top corners still live, the four corner boxes light up as a square and the screens advance again.
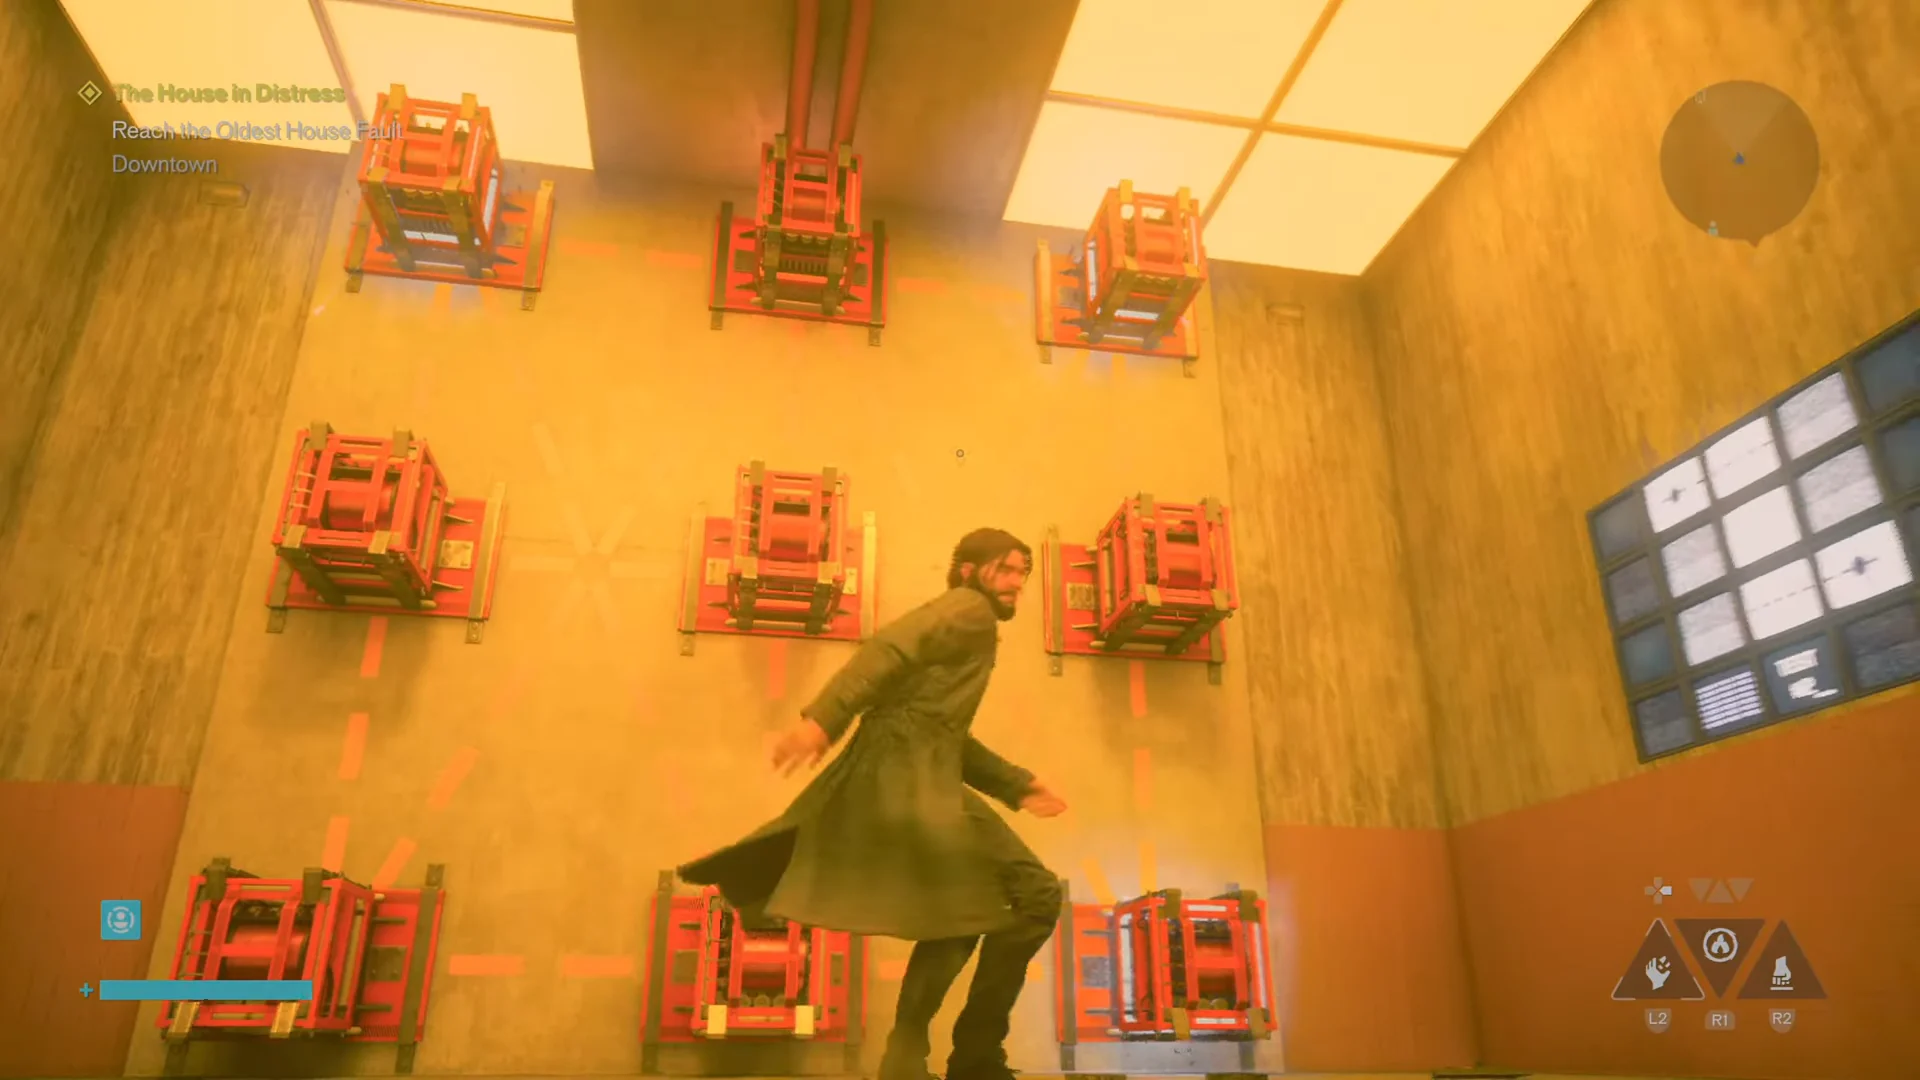
Test 3 – Cross
For the final stage, light every box in the middle column and the middle row. That means the top-middle, center, bottom-middle, left-middle, and right-middle nodes, which together make a cross.
How to confirm the puzzle is solved
When the cross is correct, every wall display turns solid green and the test system confirms the result out loud with “Hey, good job. Test number 82: Success!” The overhead door light flips to green and the security door opens, letting you continue.
Draw power from both cores and carry them downstairs to the breaker room. Activate them there to restore power, unlock the “Perfect” Dr. Darling film, and play a message on the nearby screen. Then head upstairs and leave through the door beside the “High Risk Chamber” sign to continue The House in Distress.