Winning in Command an Army comes down to positioning, counters, and command timing rather than owning one overpowered troop. You fight on the battlefield yourself while directing a loadout of up to four units, so the players who top the scoreboard are the ones who move fast, protect their weak troops, and pick fights they can win. The tactics below cover attacking, defending, lineups, and progression.
Quick answer: Rush (B) doubles unit movement speed, flank archers with Scout Riders, hold capture points with Spartans in a tight circle, and break shield turtles with Mace units.
The unit counter system
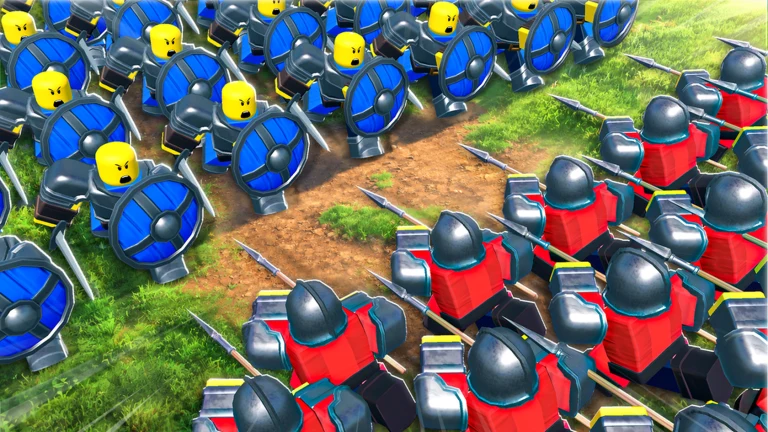
Every matchup follows a fixed rock-paper-scissors loop. Learn it and you stop feeding units into fights they are built to lose. Each type has one class it punishes and one class that punishes it.
| Unit type | Strong against | Weak against |
|---|---|---|
| Shields | Hammers | Spearmen |
| Spearmen | Shields | Cavalry |
| Cavalry | Spearmen | Archers |
| Archers | Cavalry | Hammers |
| Hammers | Archers | Shields |
The practical read is simple. Send cavalry at spearmen and archers, keep spears in front of charging riders, and put hammers on ranged clusters. When you can, review the enemy loadout on the pre-match screen and build a lineup that answers what they field.
Attacking tactics that win capture points
Attacking is about controlled momentum. You want to reach objectives quickly, break weak spots, and keep fighting alongside your troops so you earn shared damage and score.
Rush the first capture points
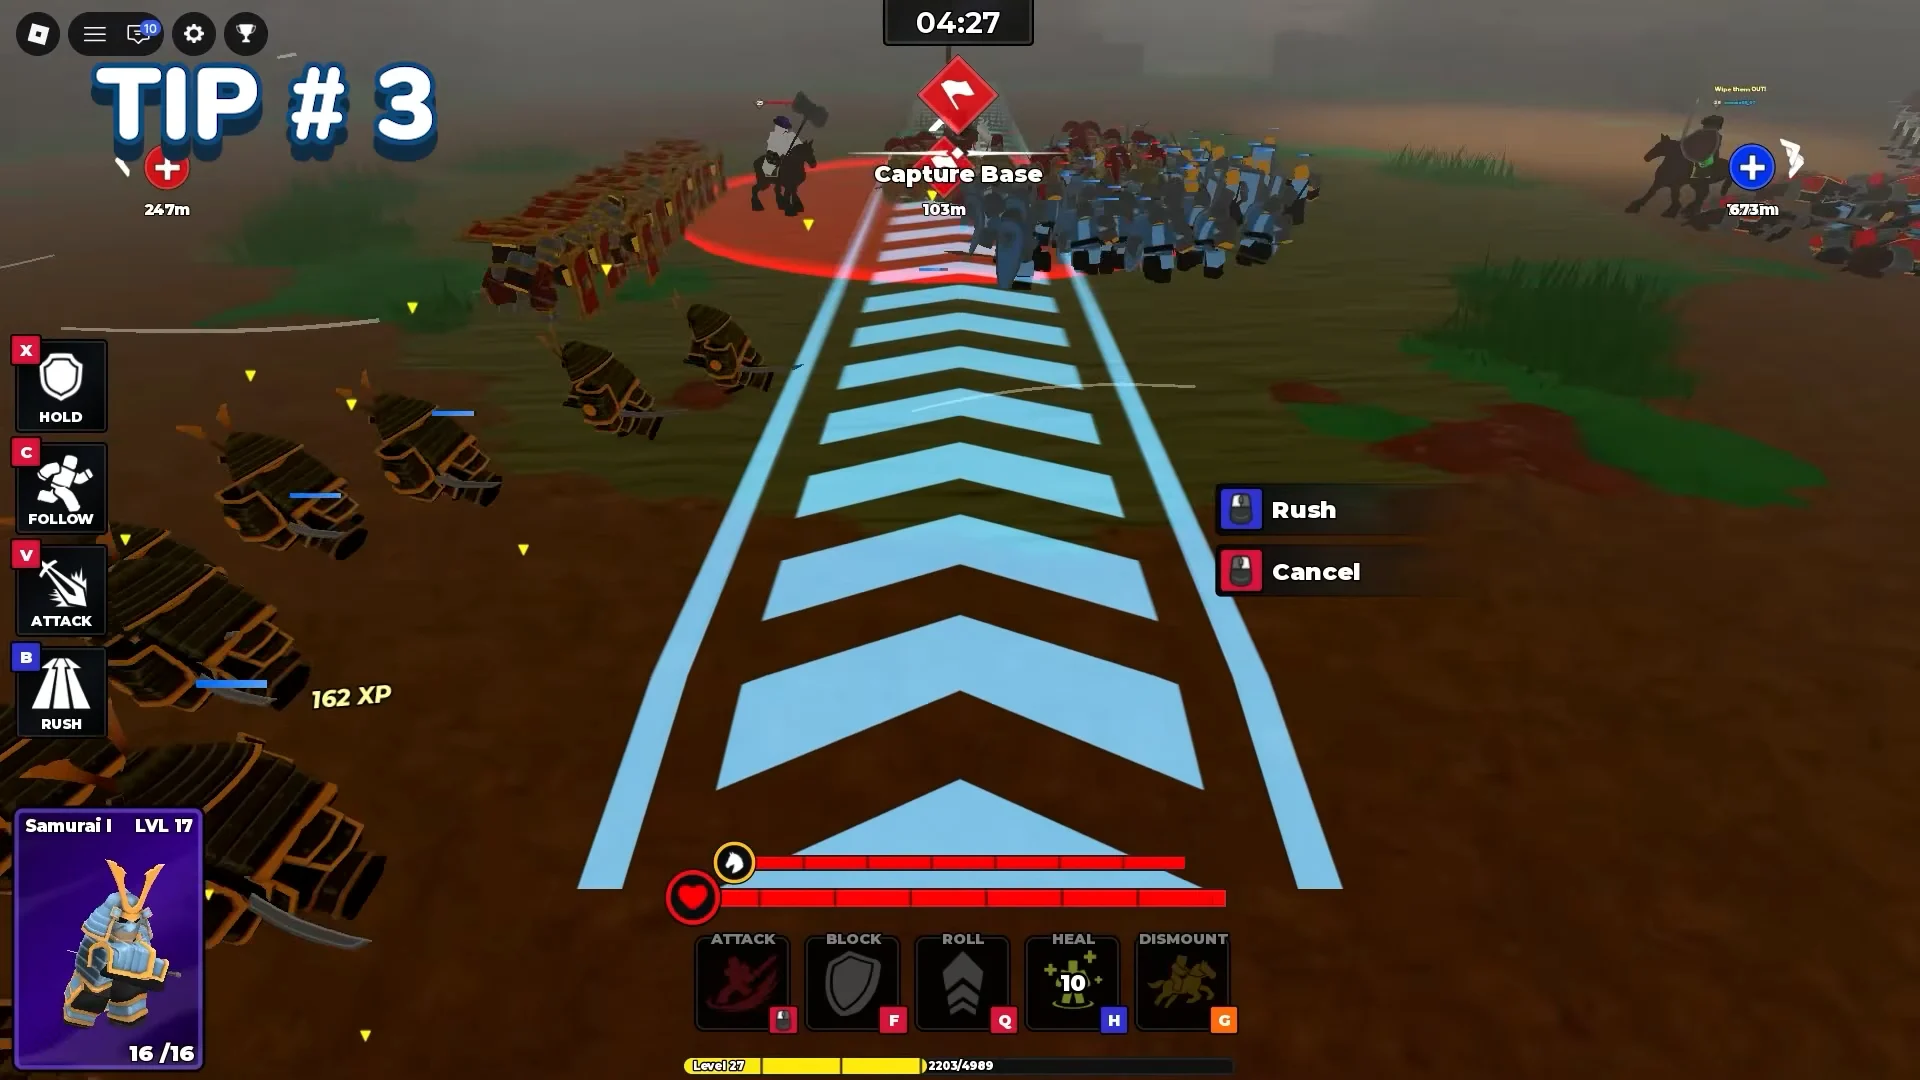
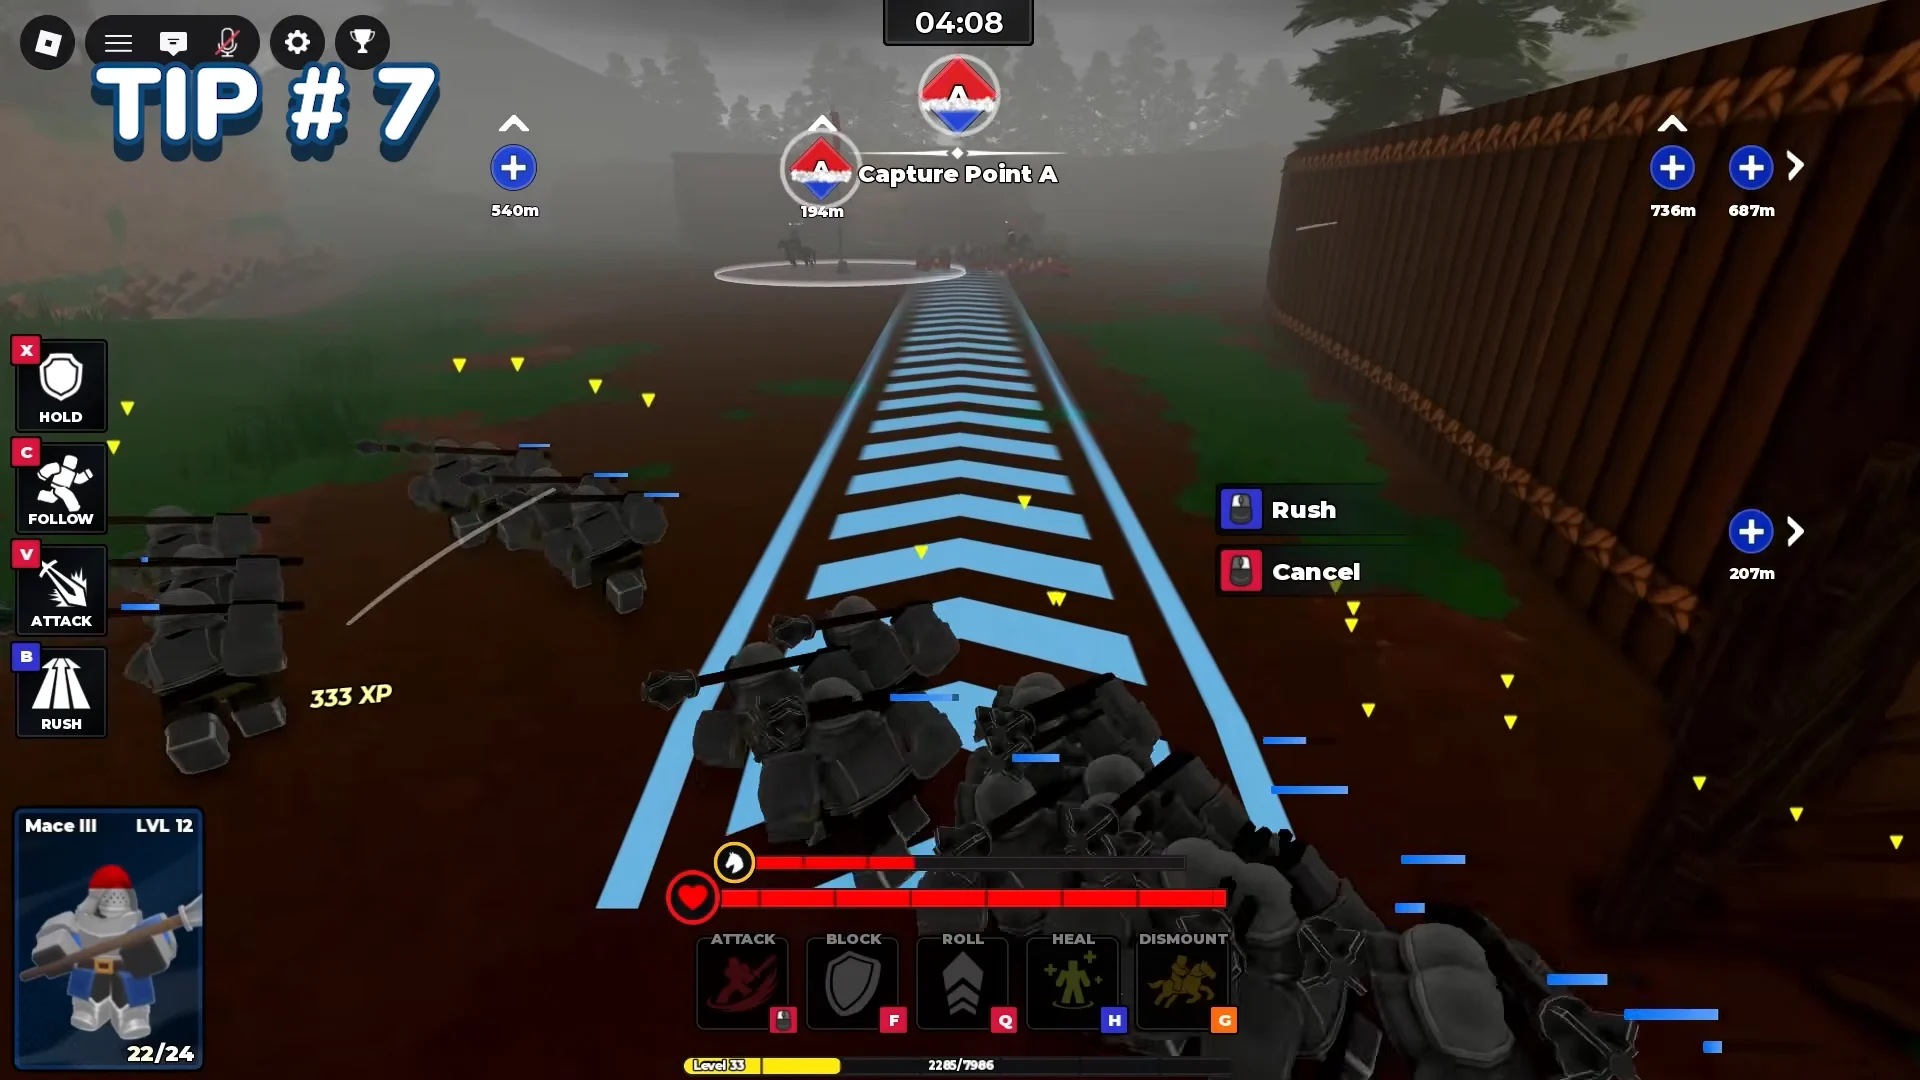
The Rush command (B) moves units at roughly double their normal follow speed. Spam it at the start of a round to beat the enemy to the opening capture points before they can set up. Standard Follow is C, Hold is X, and Attack is V.
Flank with Scout Riders
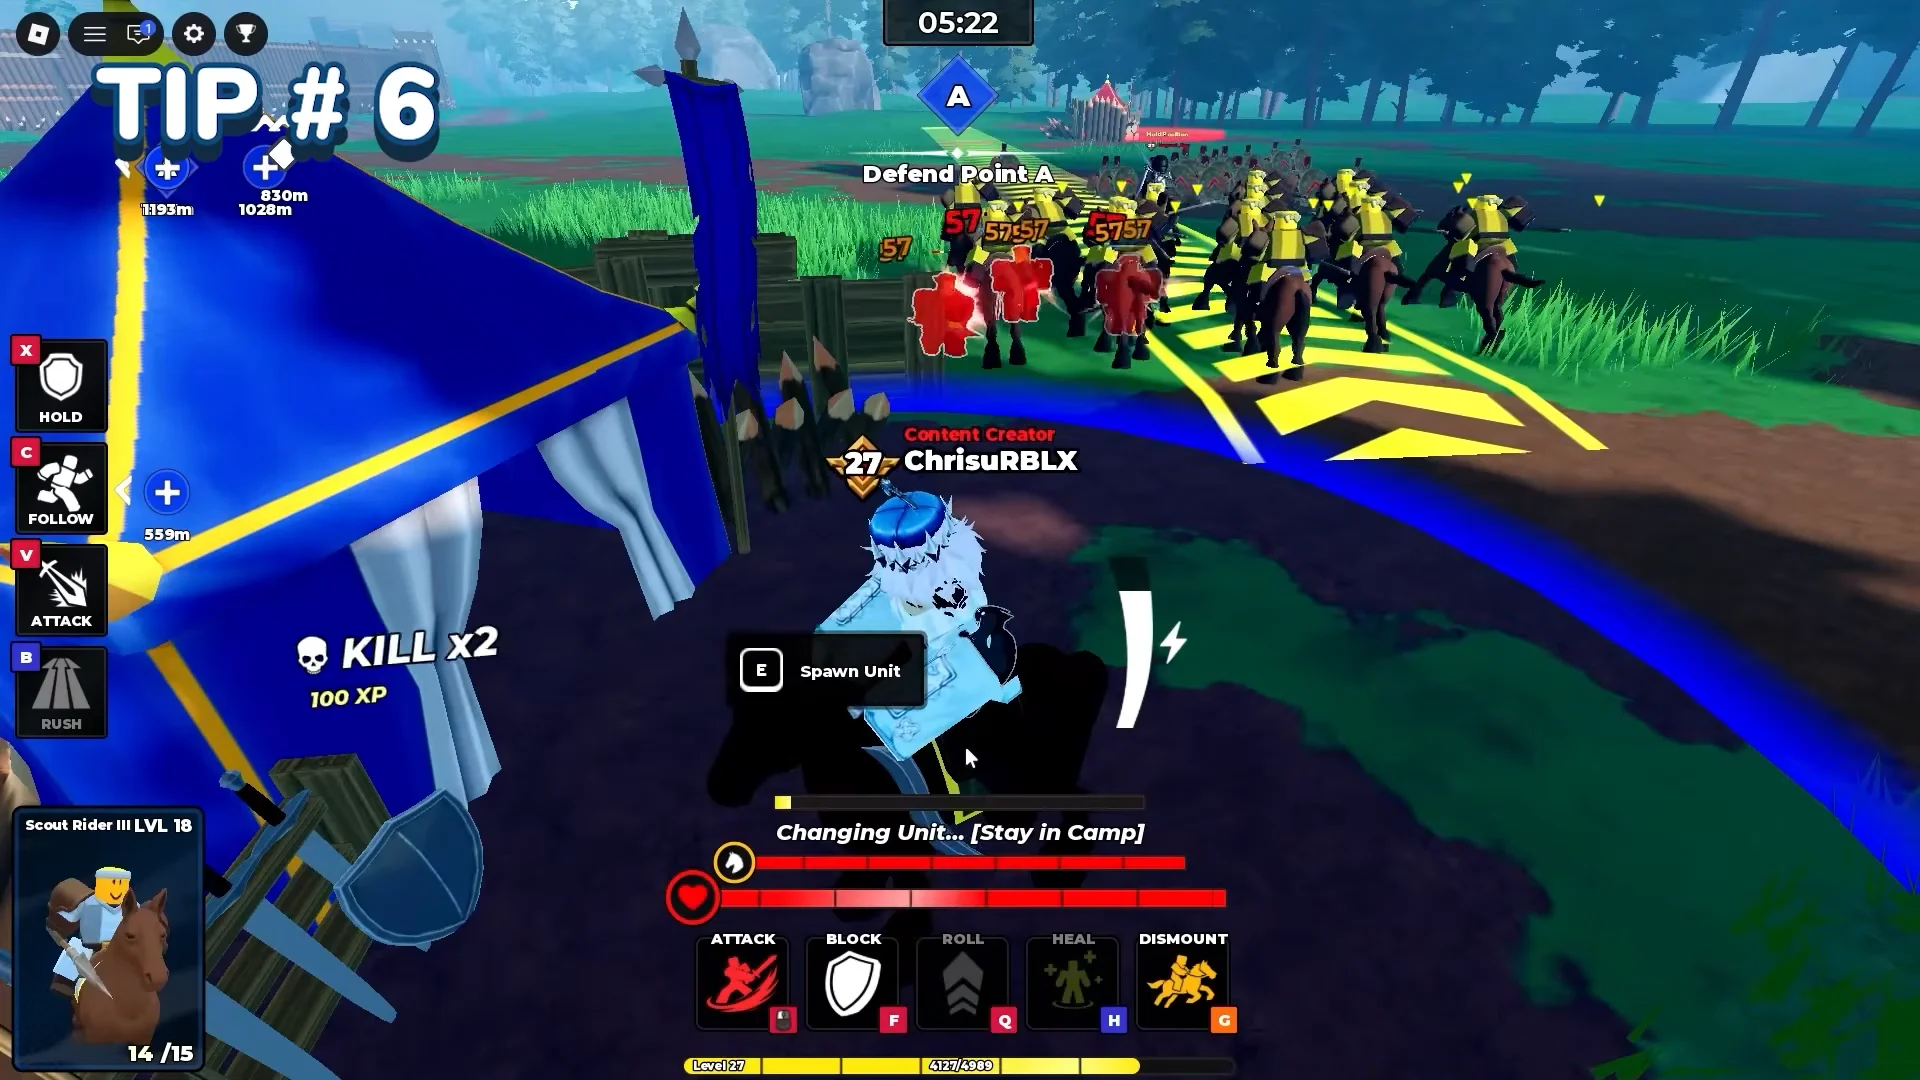
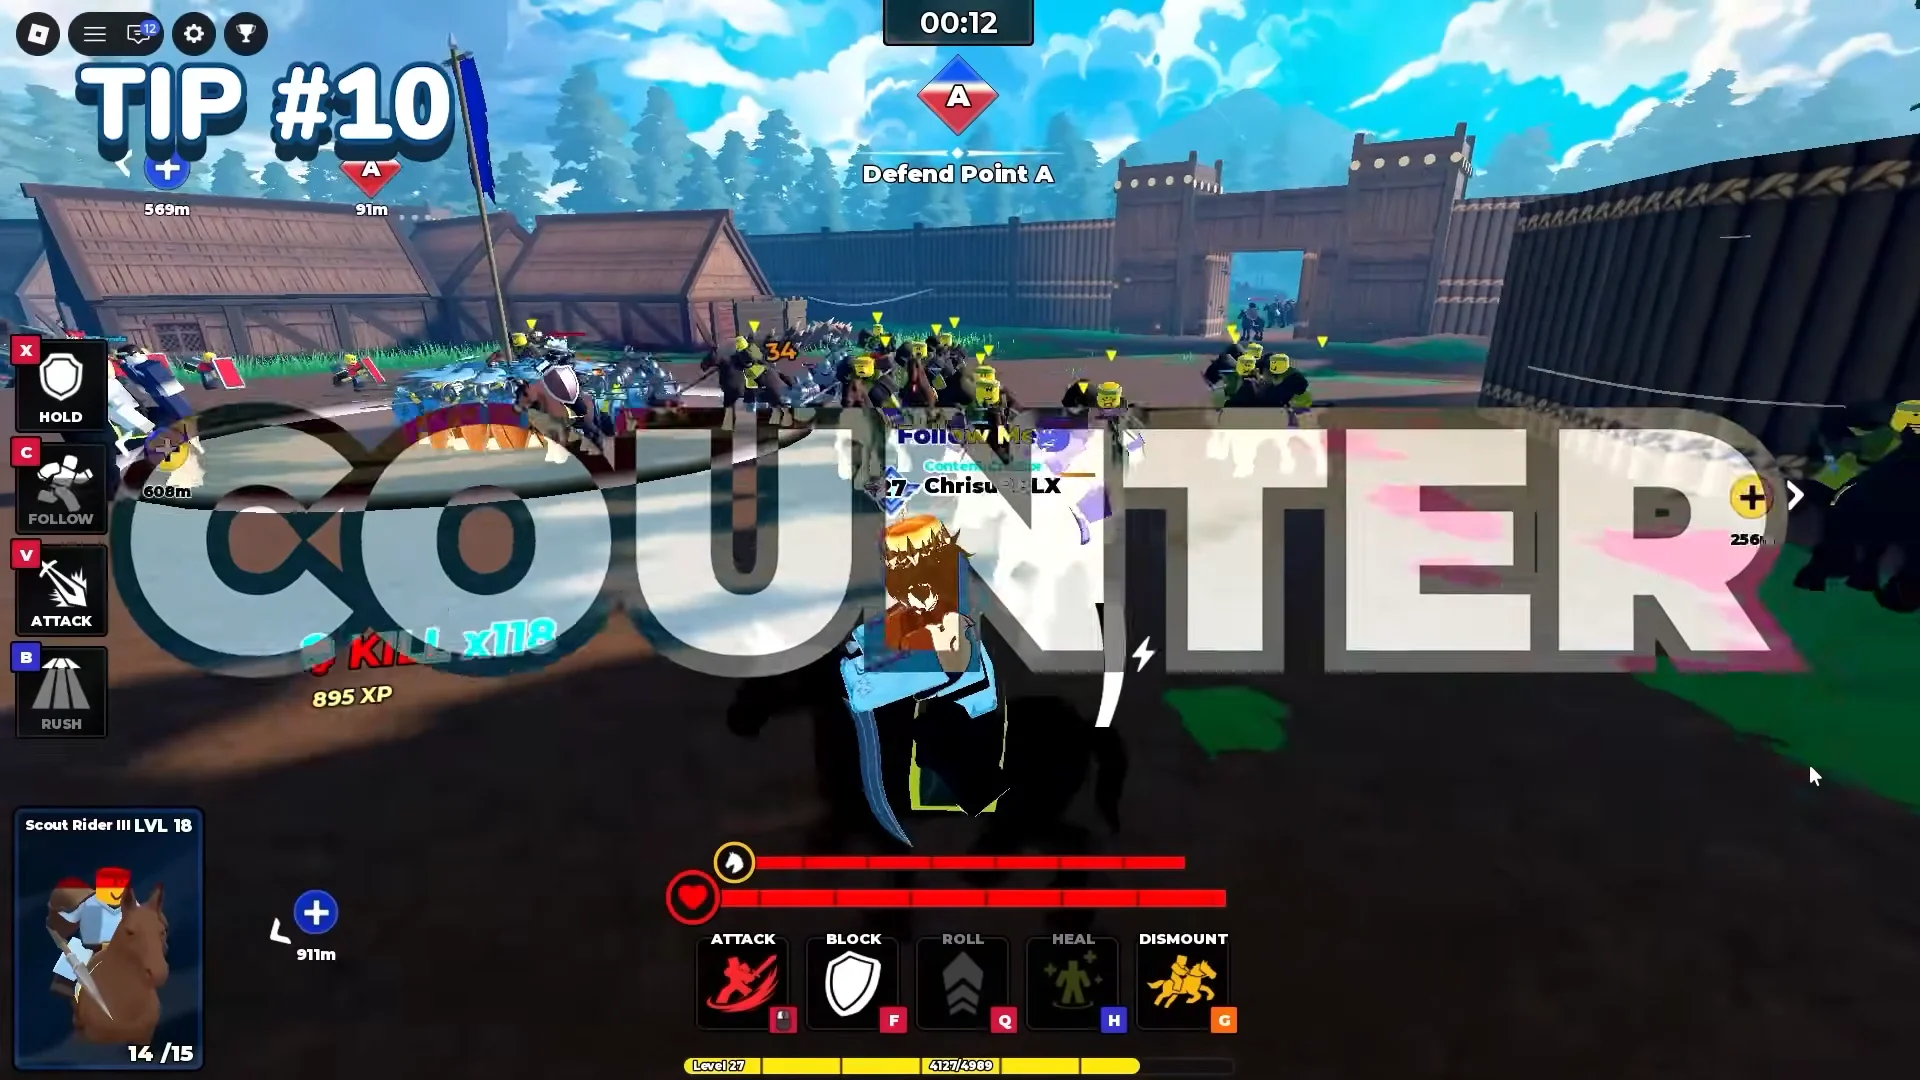
Spawn Scout Riders first and swing them around the sides of walled and castle maps. Charging from a blind angle lets 4-star lance riders one-hit exposed archers and other ranged troops before they react. Cavalry burst damage is highest when the charge lands from behind.
Never attack alone
Do not throw single units into a defended point. Wait for NPC militia or teammates to group up, then push together. Suiciding troops one at a time just feeds the enemy score and reinforcements.
Capture enemy camps
Taking an enemy camp cuts their reinforcements and turns the camp into a forward spawn point for your side. Standing inside a camp’s red boundary circle also pauses the enemy’s respawns, so holding that space delays their whole army even before you fully secure it.
Commit to an all-in push
A coordinated assault beats a trickle of units. Lead with Mace troops to shatter shields, bring Immortals for damage, and send lances around the flank at the same time. When the frontline breaks and your flank hits at once, defenses collapse fast.
Retreat from losing fights
Preserving units matters as much as scoring kills. Pull back from hard-countered matchups and losing brawls instead of trading your whole loadout for nothing. A live army that regroups wins the next objective; a dead one hands the enemy the map.
Defensive tactics for holding objectives
On defense, field tanky units over pure attackers. Spartans, Shieldmen, Archers, and Guardmen hold ground far better than glass-cannon troops that die on contact.
Use wall cannons on fortress maps
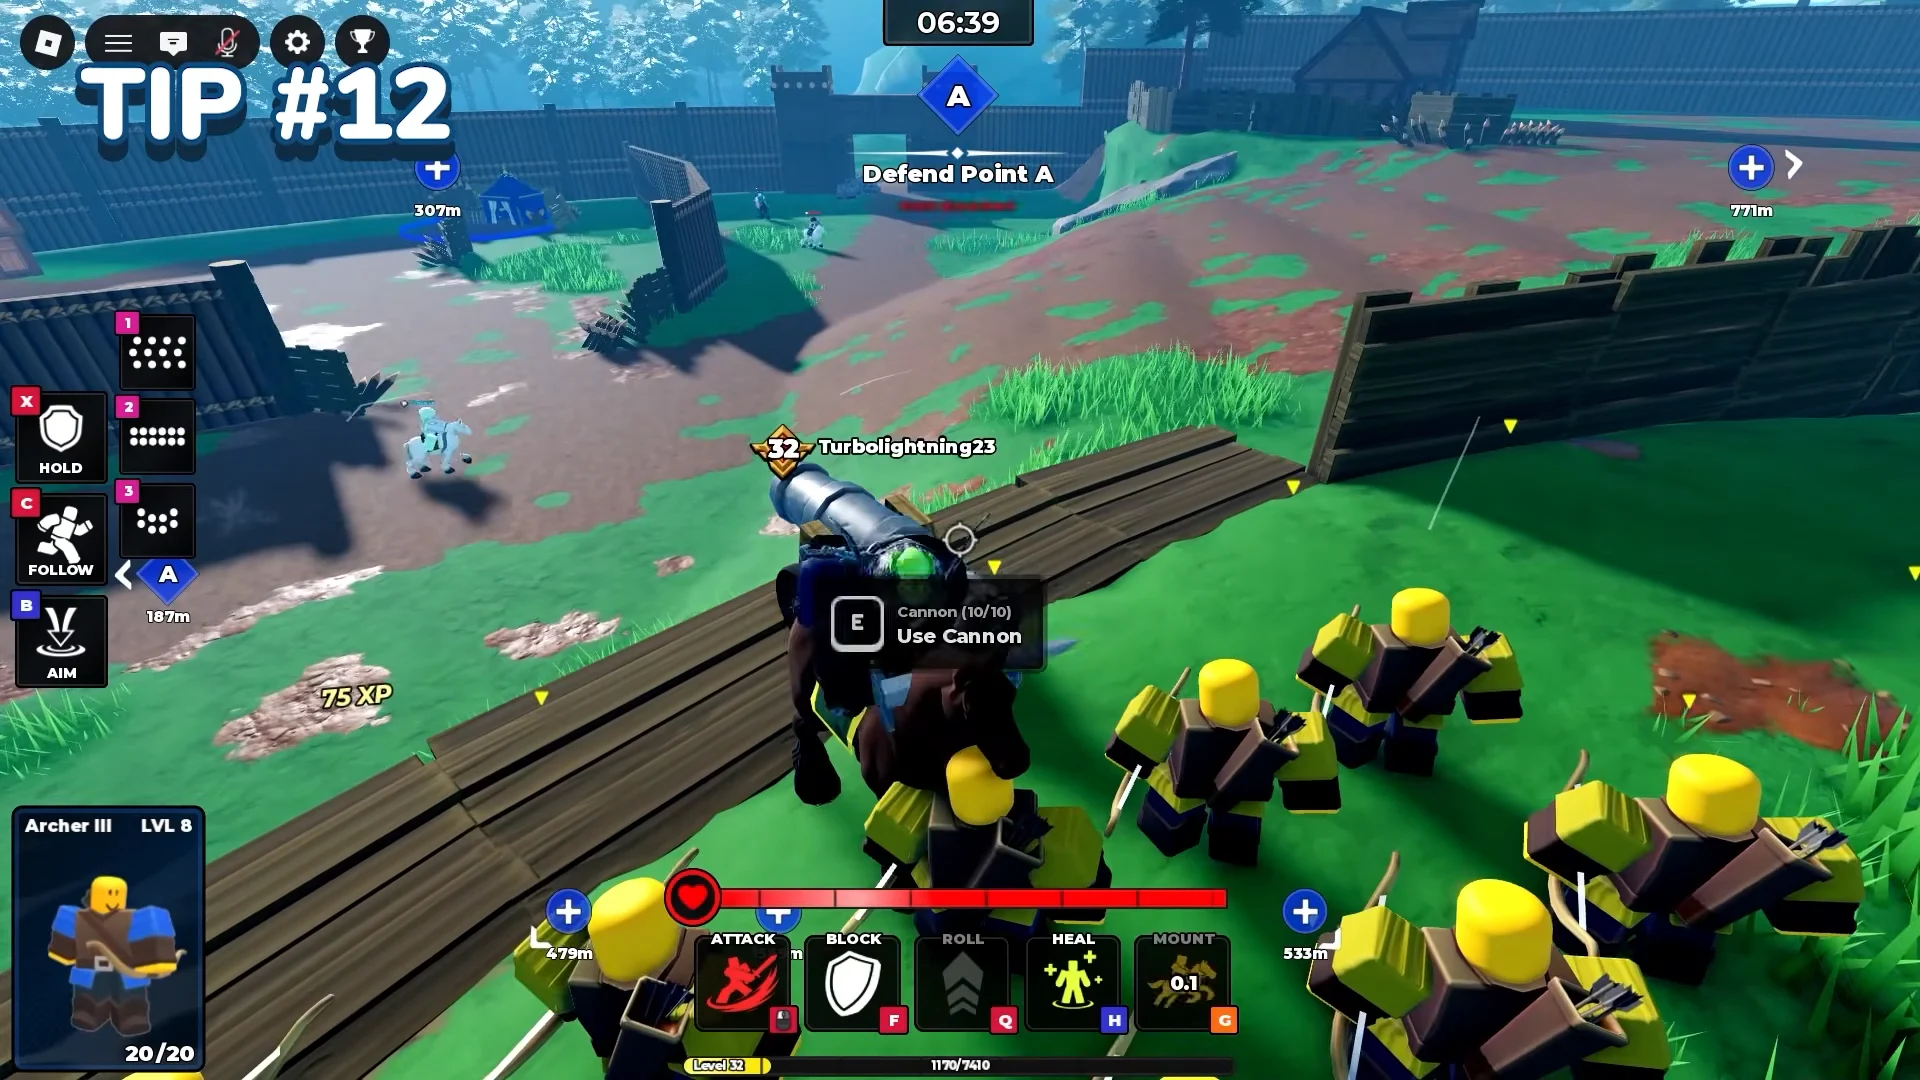
Castle and wooden-wall maps have mounted cannons that fire area artillery. A direct hit wipes clustered troops in about three shots, so man them whenever the map provides one and aim into packed enemy pushes.
Protect your archers
Ranged units melt in close combat, so keep them in safe rear positions behind a frontline. Their biggest threat is flanking Scout Riders, so watch the sides and never leave archers standing alone at the edge of a formation.
Hold a defensive circle
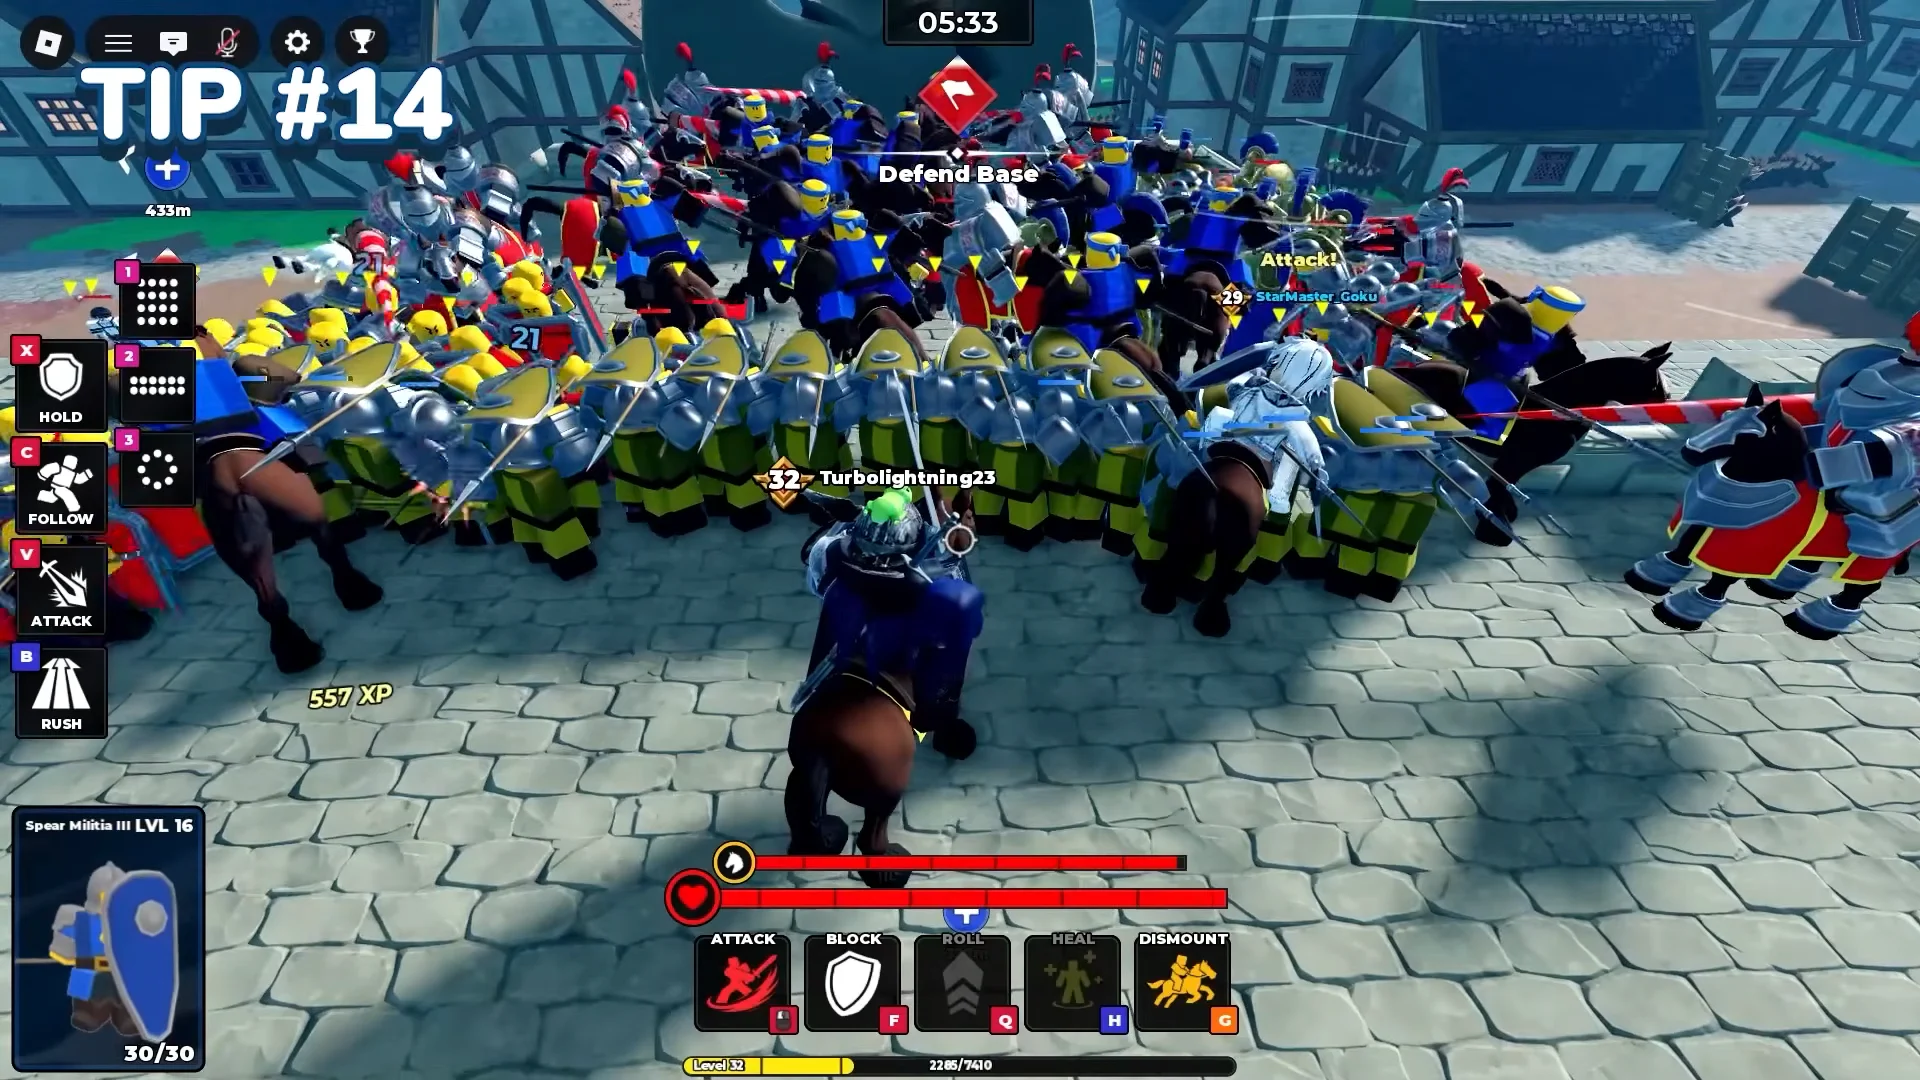
Order Spartans and spear units to Hold Position on a capture point and they pack into a tight circular phalanx. That formation absorbs swarming attacks and keeps the objective contested while your damage dealers work from behind it.
Block Scout Rider charges
Spear and shield formations stop charging cavalry cold. Line them up facing the direction riders come from, and keep scanning your stronghold flanks and blind spots so a rush never catches you side-on.
Best units and lineups
These are the standout picks for each role. Match the unit to the job rather than stacking one archetype.
| Unit | Role | Standout stat |
|---|---|---|
| Samurai I | Balanced attack and defense | 38.1 DPS |
| Spartan | Defensive frontline | 126 block, 23.4 DPS |
| Scout Rider III | Cavalry flanker | 28.8 speed, 14 rush damage |
| Mace III | Anti-shield | 176 block damage |
| Immortal | Dedicated attacker | High damage output |
Samurai I is the top all-rounder, with enough damage to carry both attack and defense from one slot. Spartan is the premier turtling unit for holding positions, while Scout Rider III owns open maps thanks to its speed and burst rush damage. Immortal is the pick when you just want raw offense.
Mace III is the specific counter to shield turtling. Its high block damage shatters shielded formations and deals bonus damage to shields and Spartans, so keep one ready whenever an enemy leans on a wall of defenders.
There is no single loadout that wins every match. Terrain, objectives, and the enemy’s units all change the right answer, so adjust your four slots per map.
Beginner setup and progression
Early on, focus on a small pool of units that are easy to evolve and cover the core roles. These three give a beginner a flexible, low-cost foundation.
- Scout Rider III — fast cavalry that evolves into high-damage lance units for flanking.
- Archer III — safe ranged damage that evolves into Longbowman III.
- Halberdier III — dependable infantry that counters cavalry and guards against flanking attacks.
Evolutions unlock at a set mastery level. Archer III becomes Longbowman III once the unit reaches Level 20, and the same threshold gates other evolution paths, so level your core picks before chasing new ones.
When you move to advanced units, split your investment across roles. Immortal covers attack, Spartan anchors defense, and Samurai handles everything in between. With the counters memorized and your commands tight, staying calm and reading each objective is what turns those picks into consistent MVP finishes.