Chapter 7 of Silent Hill: Townfall drops Zoe into the trauma bay of St. Amelia Medical Center, where an unidentified patient lies under a green surgical sheet wired to a cluster of vital sign monitors. Dr. Glenn is working the shorefront triage site and can only talk you through the assessment over the wall intercom, so the whole check comes down to reading the correct numbers off the right screens and calling them back.
Quick answer: Give a blood pressure reading of 70 over 40, a pulse of 162, and SpO2 at 80%. Once the pager provides the PIN, enter 7103 at the X-ray room door.
Start the assessment at the intercom
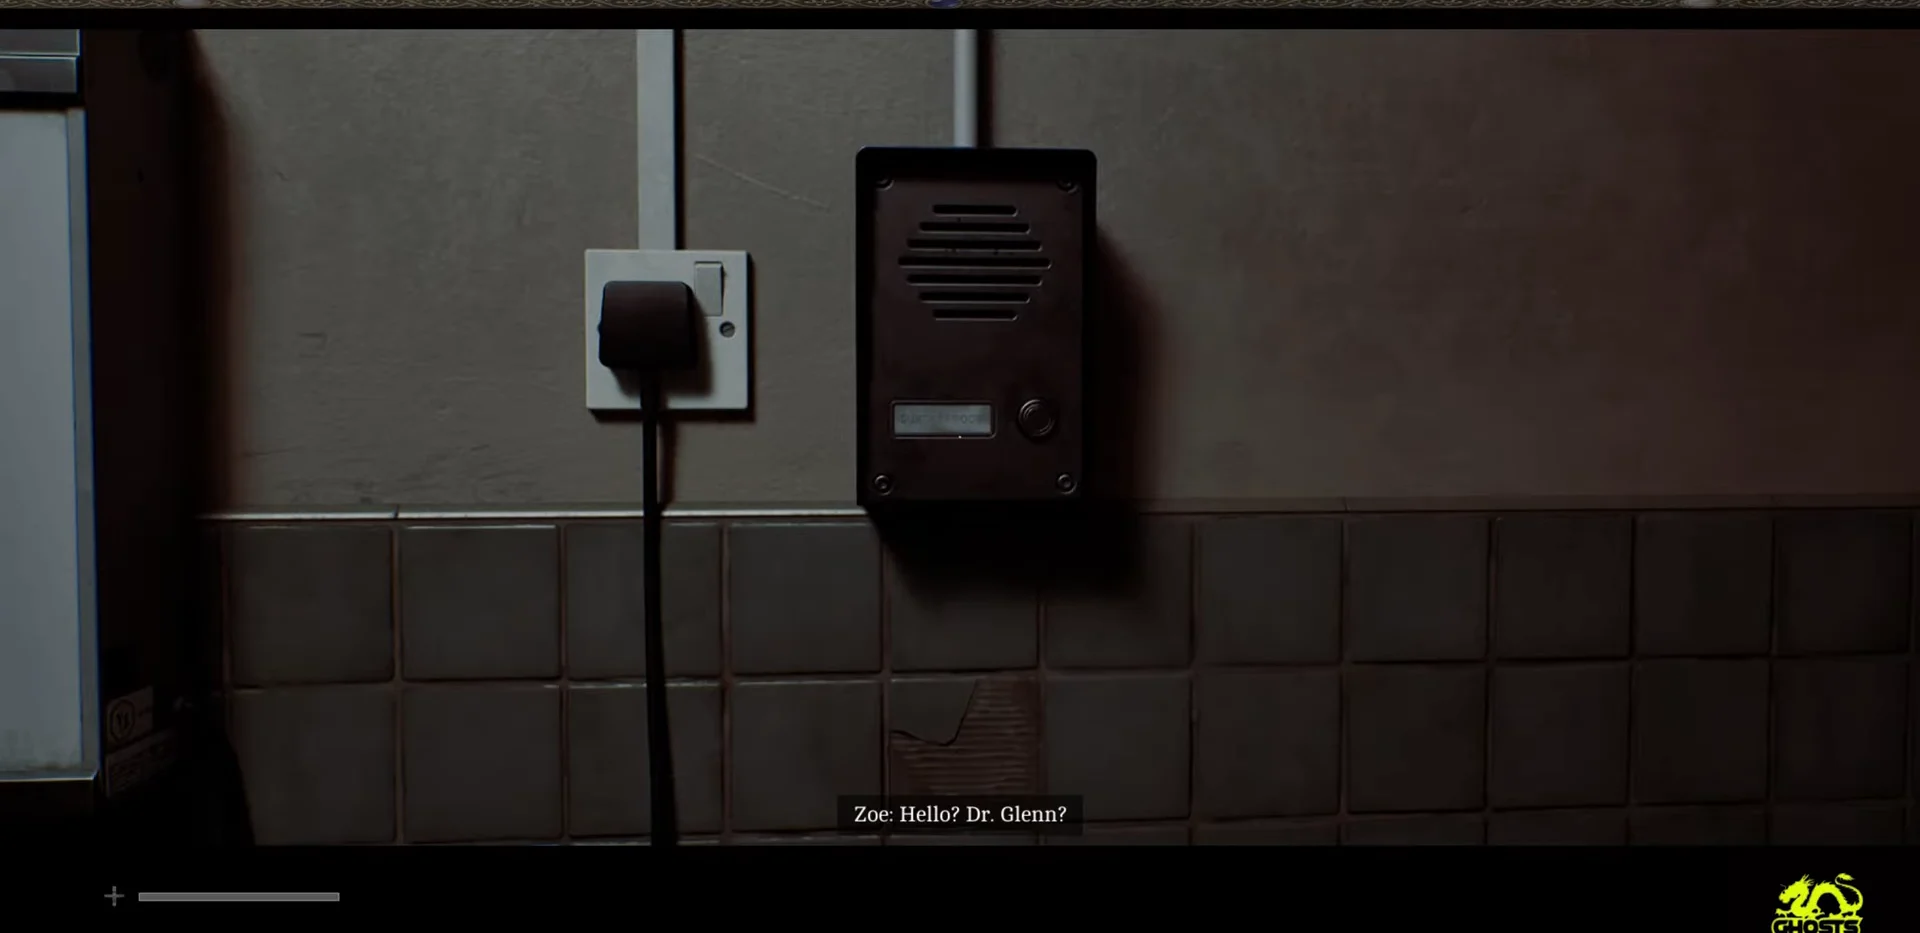
Grab the St. Amelia Medical Center map from the wall to your left when the chapter opens, then walk to the wall intercom and press E to reach Dr. Glenn. He explains he is dealing with an influx of casualties off-site and needs you to run the patient’s vitals for him.
The patient is on the stretcher in the middle of the bay, covered by a green sheet and hooked to several monitors. Three of those screens hold the numbers Dr. Glenn asks for, and each answer comes from a different monitor around the bed.
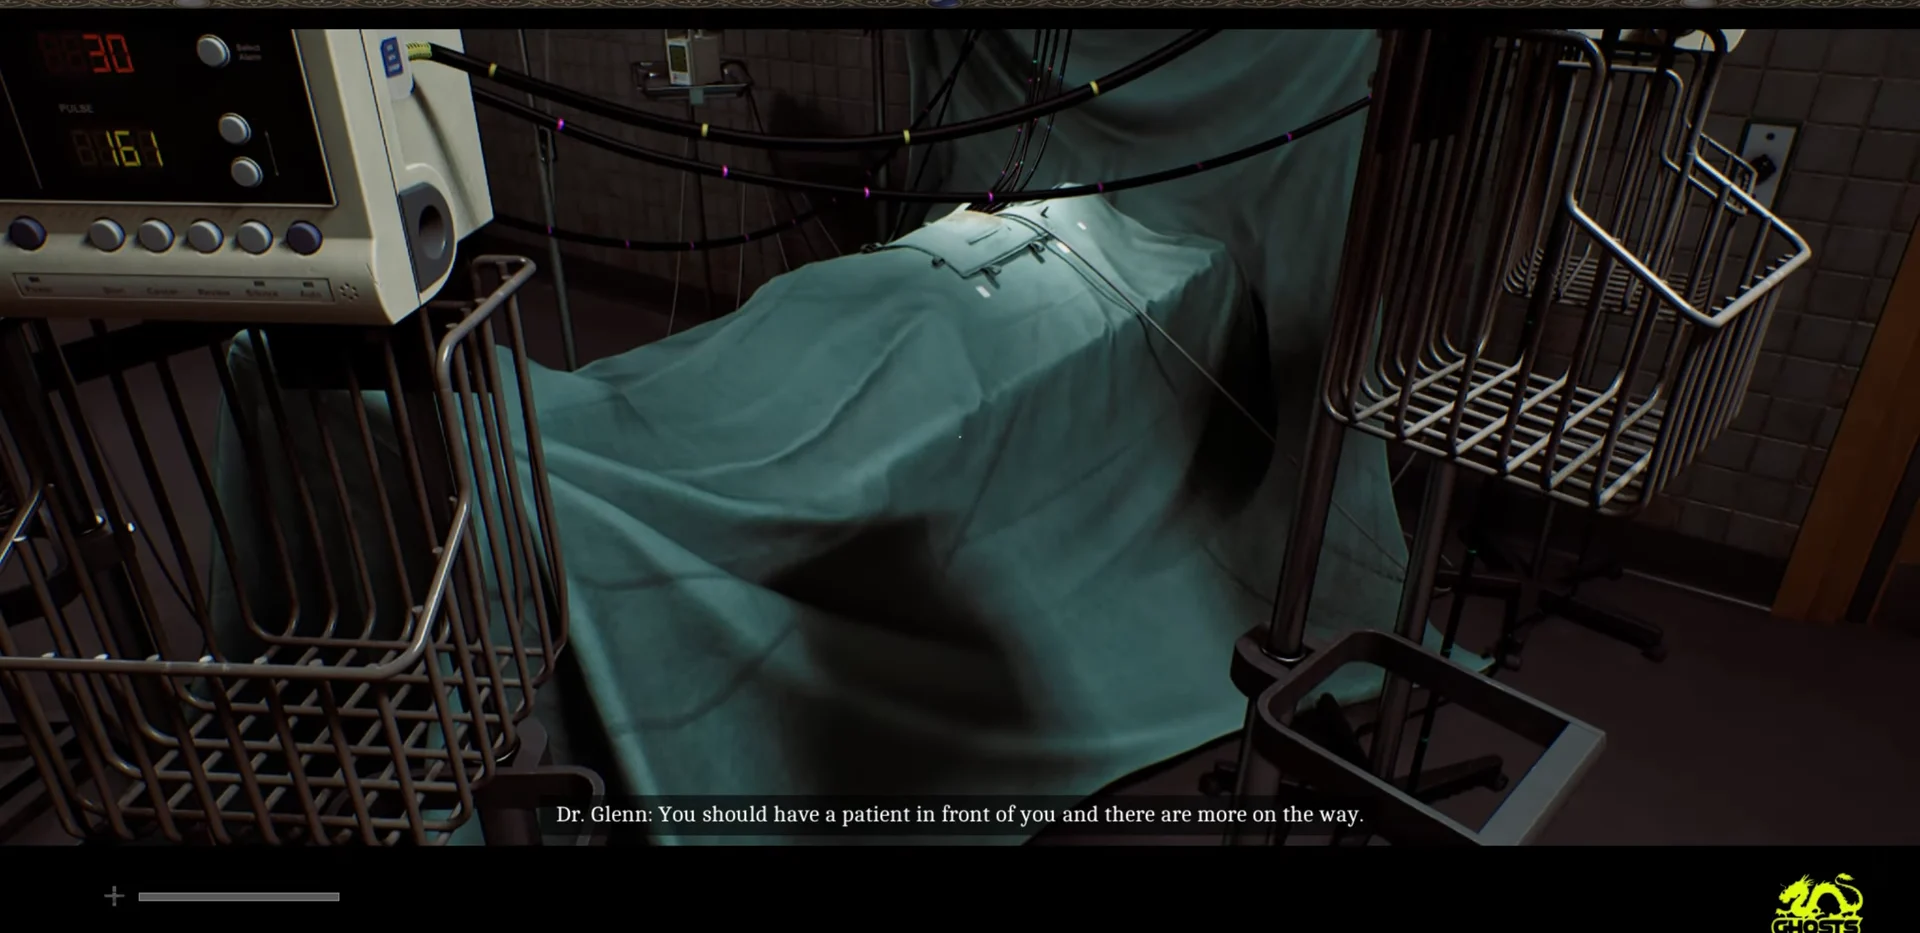
The three vital readings to report
The displays flicker and each monitor also shows junk figures in the fields it is not measuring, so read only the value that matches the vital Dr. Glenn requests. These are the correct answers to give back.
| Vital | Reading | Response |
|---|---|---|
| Blood pressure | Systolic 70 / Diastolic 40 | “It’s low – 70 over 40” |
| Pulse | 162 (drifts 161–162) | “162” |
| SpO2 | 80% | “Ok, very low – 80%” |
Because the numbers fluctuate, always pick the response closest to the values above. The blood pressure monitor shows a clean Systolic 70 and Diastolic 40, while the pulse monitor settles on 162 and the oxygen monitor drops to 80%.
Read each monitor and respond in order
E to examine it, then use E to respond with “It’s low – 70 over 40.”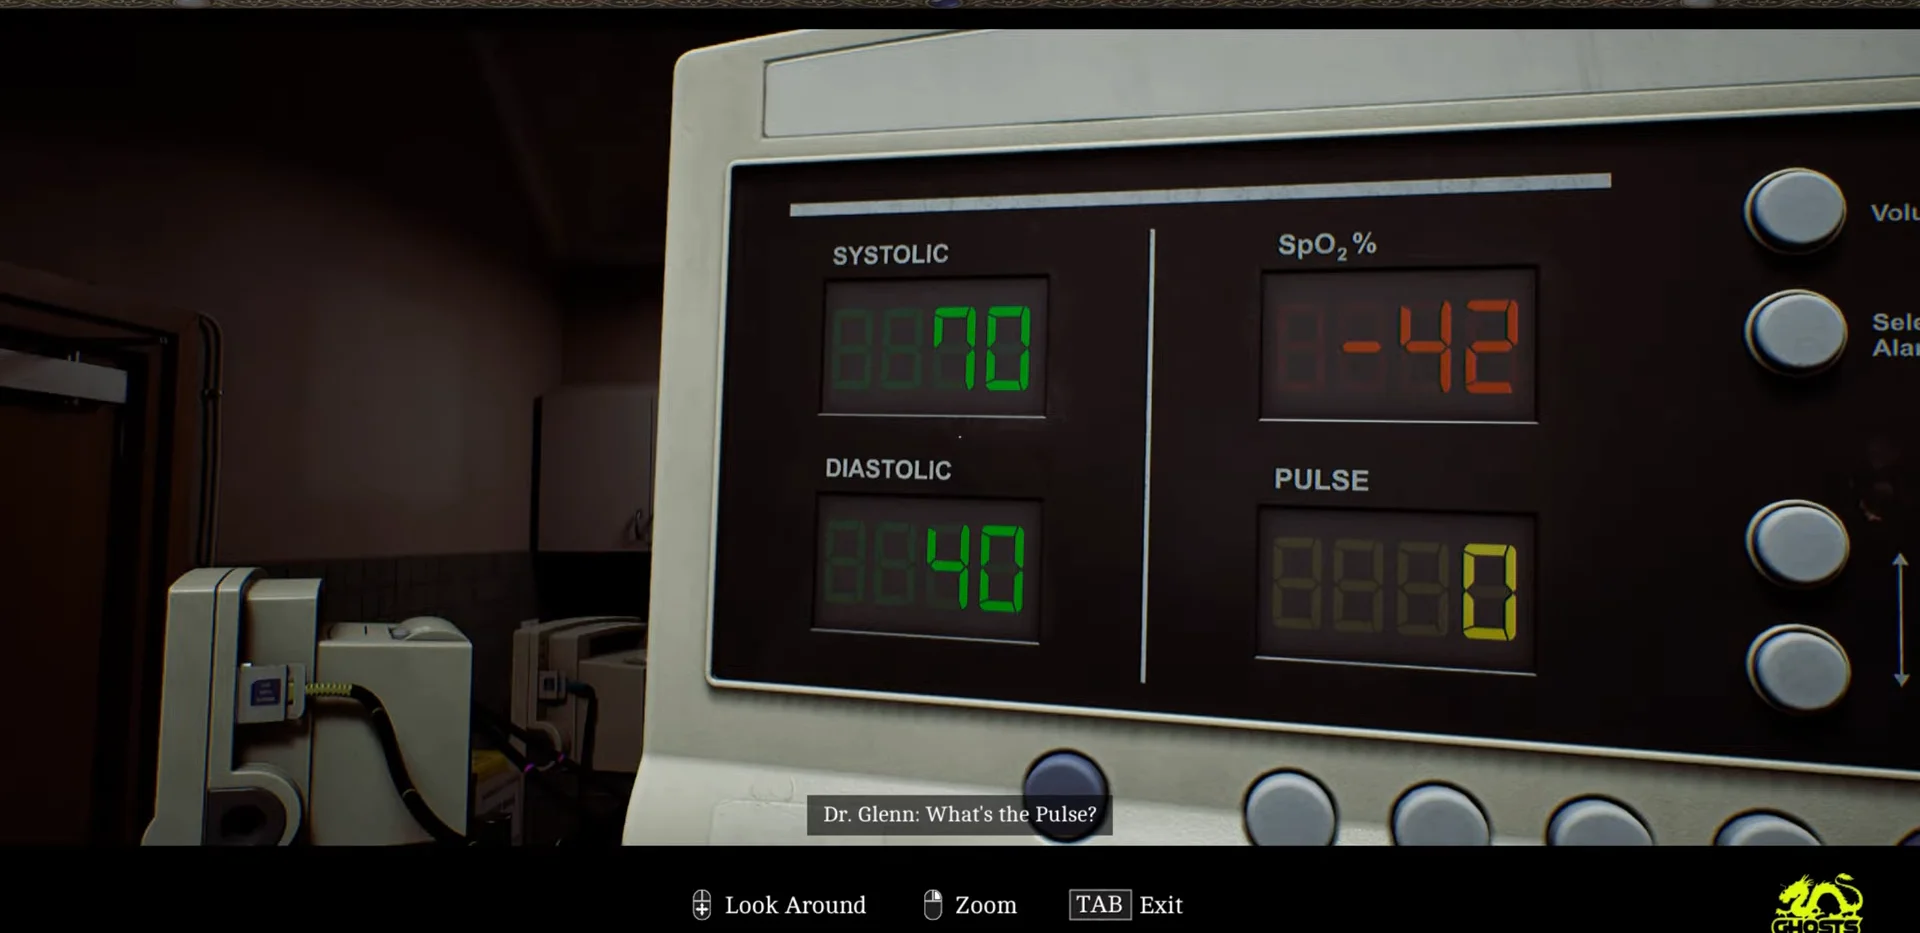
You can tell the sequence succeeded when Dr. Glenn gives his diagnosis over the intercom: he suspects a serious chest injury, with blood collecting in the pleural space. He directs you to take images of the patient’s head and chest in the neighboring X-ray room.
Open the X-ray room door with PIN 7103
The door into the adjacent X-ray room is locked behind a keypad. The code arrives on the pager after your report, and it is 7103. Enter it to continue into the imaging stage of the chapter, where you align the patient’s skull and chest and take the two X-rays Dr. Glenn ordered.
What the vitals lead into: the intubation kit
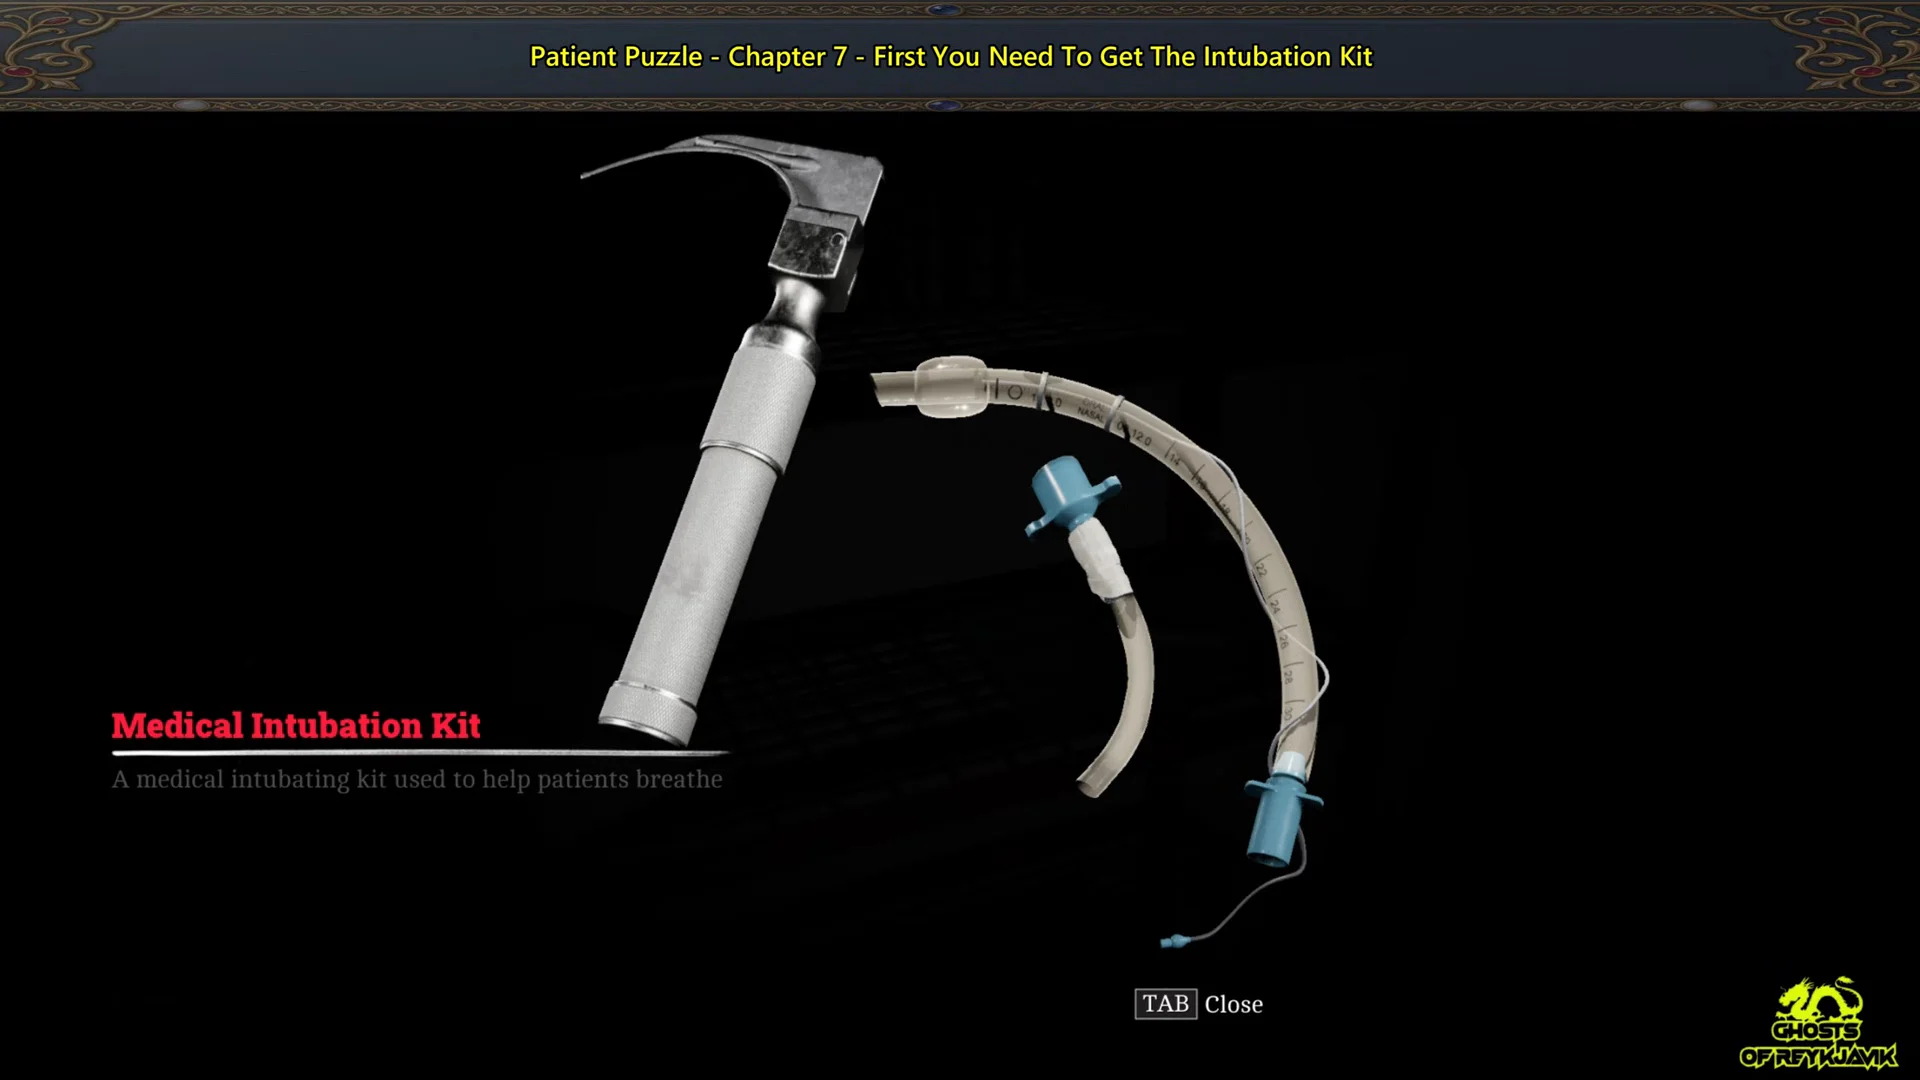
Once the imaging and medication steps are done, Dr. Glenn pages you the number 5353 to call from Reception, which unlocks Hospital Storage. You then head to the Victoria Ward Basement to collect the Medical Intubation Kit, moving past a roaming humanoid creature in the dark corridors and ducking through the staff kitchen to stay out of sight.
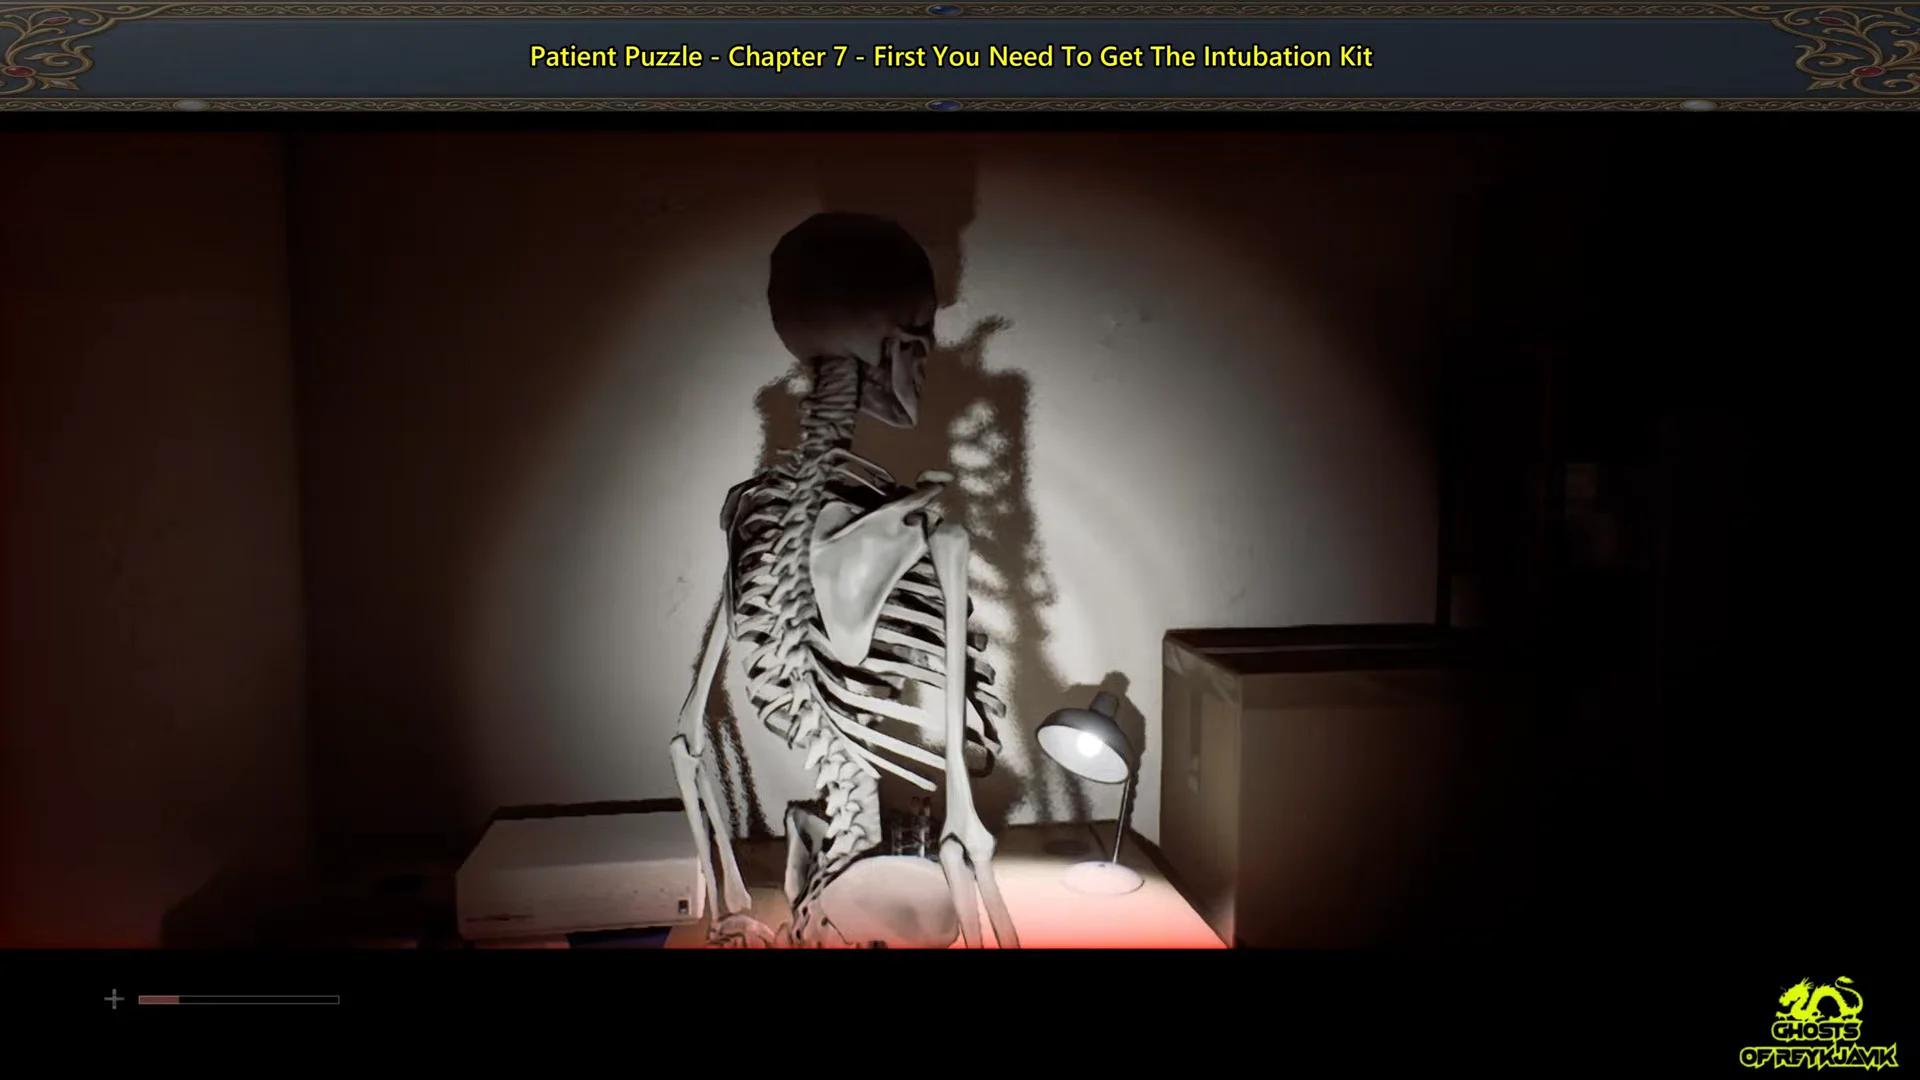
The storage room itself sits behind a door marked on the basement map, with an anatomical skeleton model standing beside a lamp-lit desk.
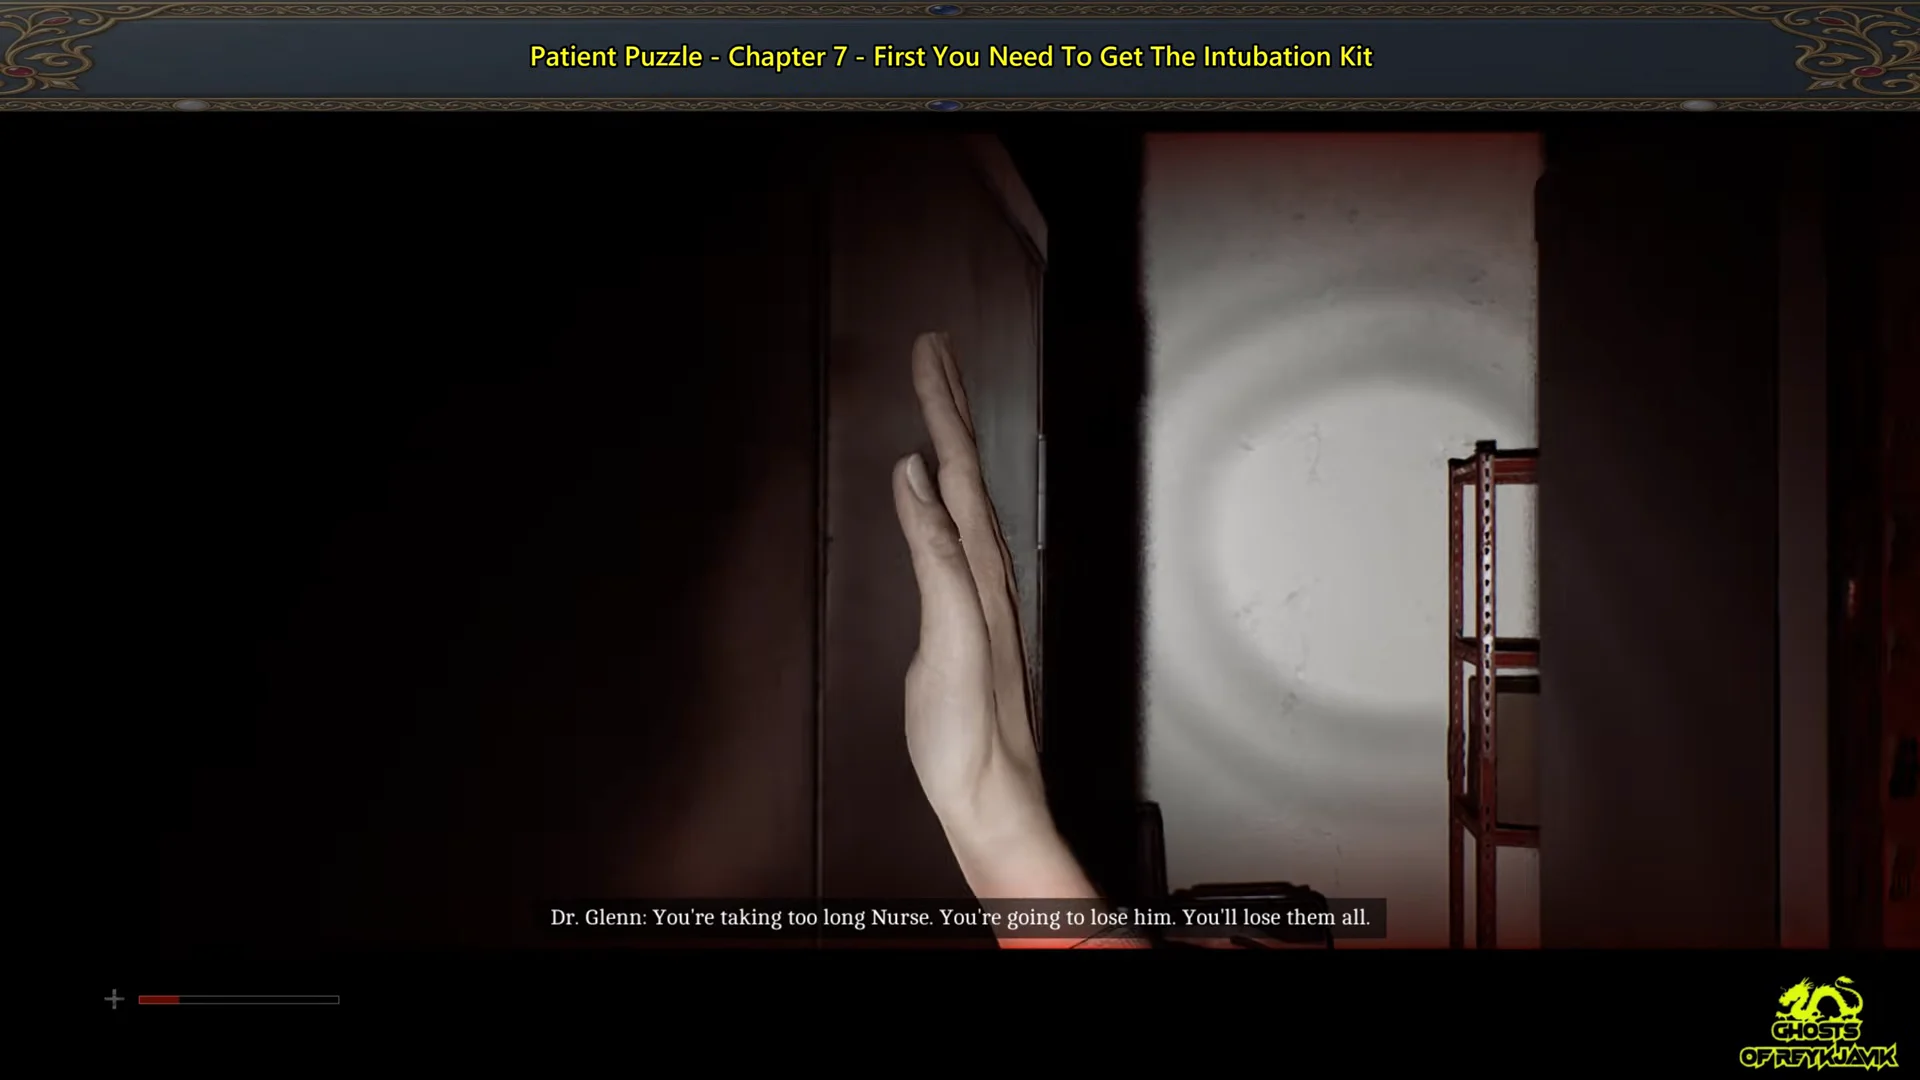
A hallucination starts as you pass through the metal shelves: an oversized, pale hand crashes into the wall while Dr. Glenn speaks over the PA system. This event is scripted and harmless, so continue toward the wall cabinet.
Open the wall cabinet to pick up the Medical Intubation Kit. With it in hand, return to the operating table, press E to intubate, and complete the three timing inputs Dr. Glenn calls out — align and hold to insert the laryngoscope, lift the epiglottis, then advance the tube between the vocal cords.
Getting the vitals right is what puts the rest of that chain in motion. Report 70 over 40, 162, and 80% in the order Dr. Glenn asks, punch 7103 into the X-ray door, and the patient thread of Chapter 7 opens up from there.