Chapter 6 of Silent Hill: Townfall holds two CRTV Signals, and they use the two different tuning methods the game leans on throughout Simon’s run. The first is a straight frequency tune on your handheld CRTV. The second is a physical receiver box that forces you into the RGB alignment puzzle before it plays back its recording. Both count toward the Sweeping Signals trophy.
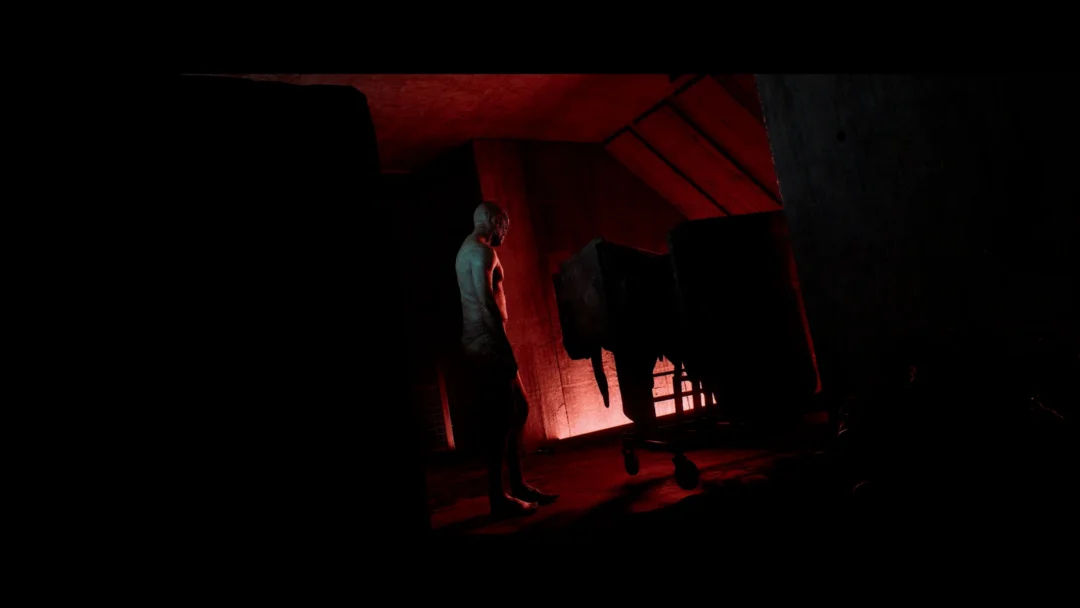
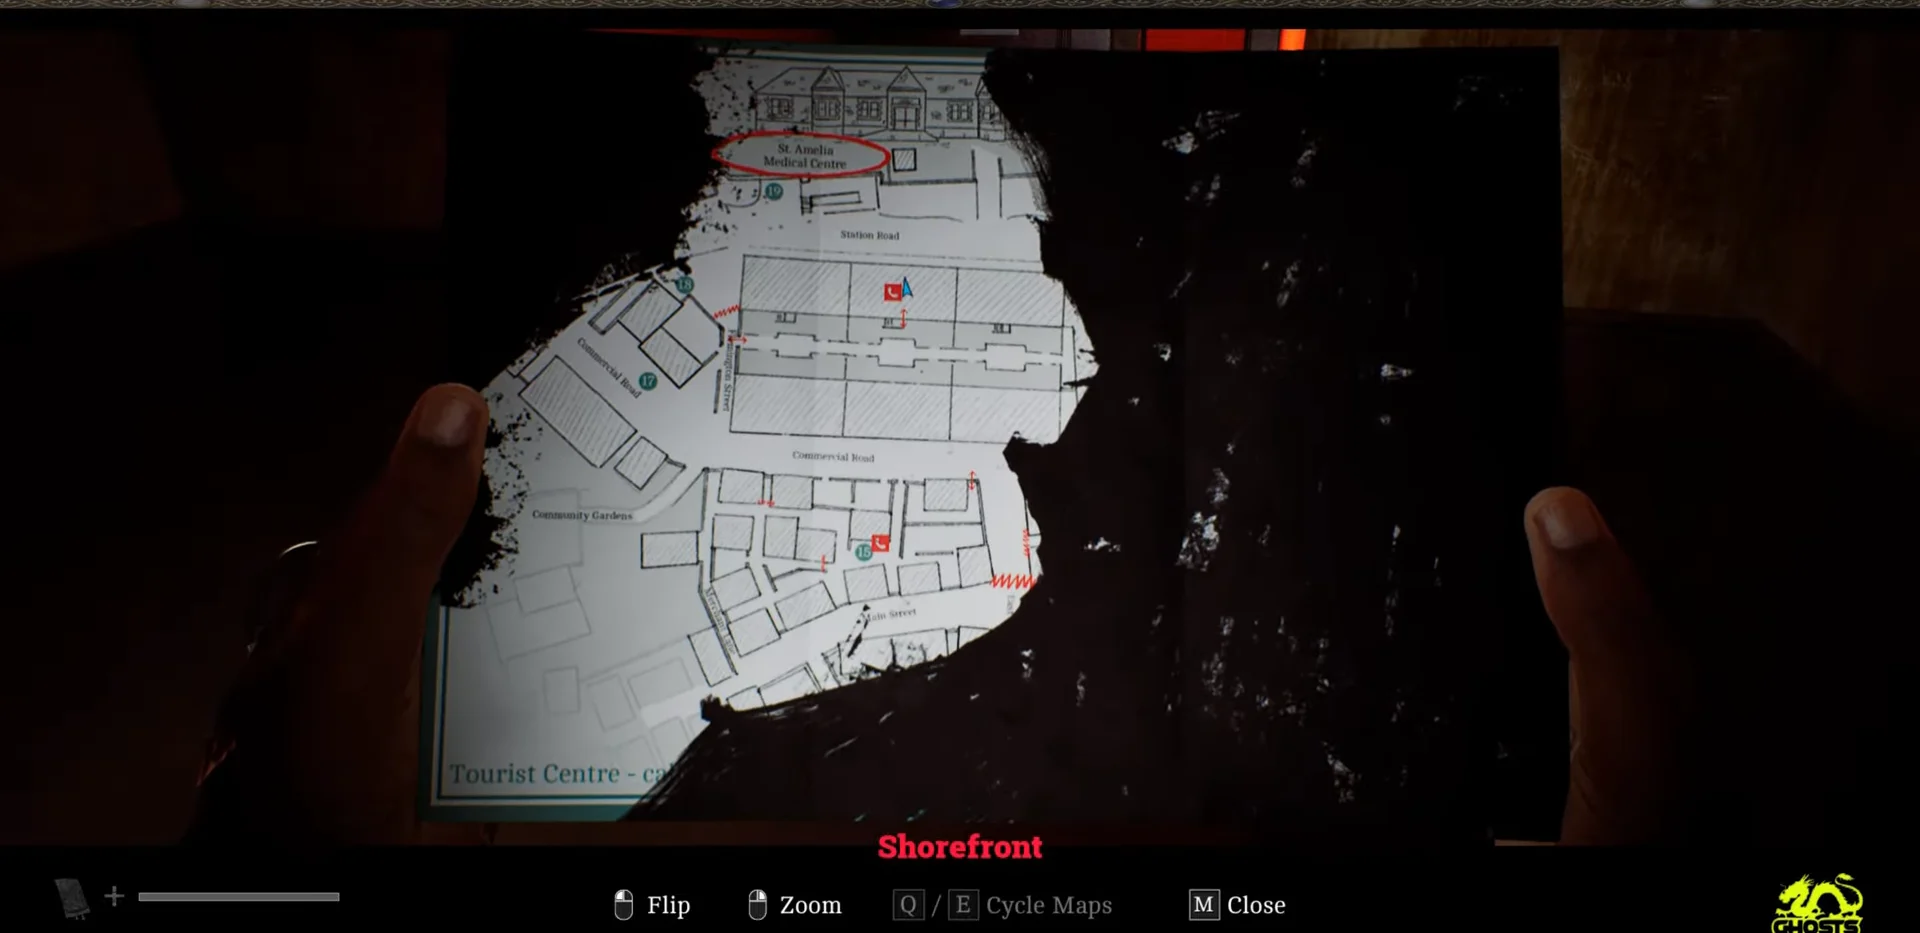
Quick answer: In the red-lit corridor, raise the dial setting on your handheld CRTV to tune signal one (01/02) and receive Zoe’s broadcast. For signal two (02/02), use the desk receiver upstairs in the Shorefront residential building and finish aligning the RGB channels.
CRTV Signal 01/02 – Zoe’s broadcast
The first signal is picked up entirely on your portable device, so there is no radio box to hunt down. You just need to stop in the corridor and check the airwaves before moving on.
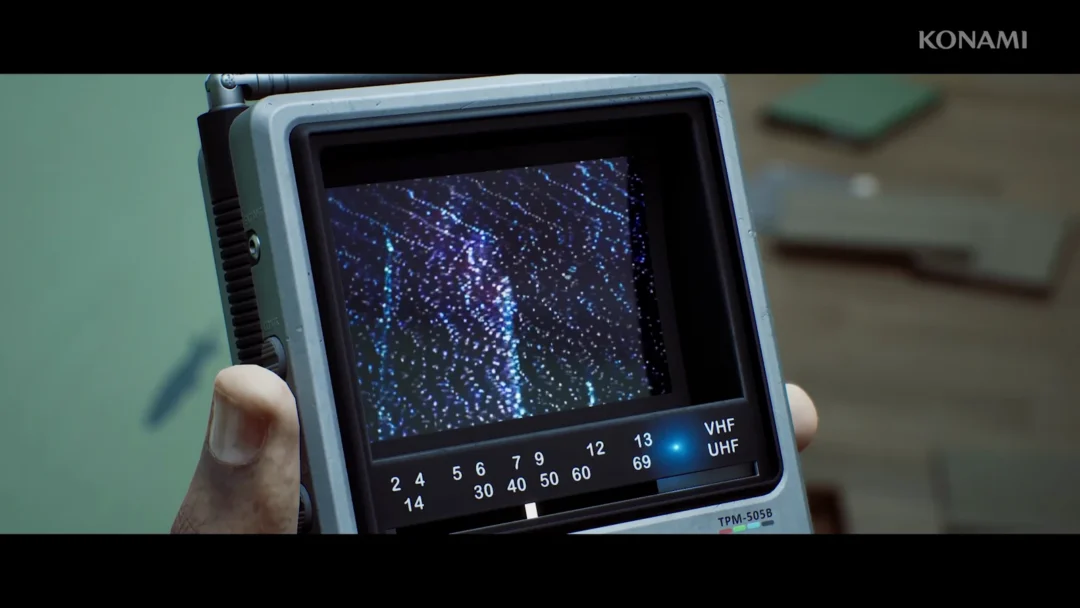
Q / E quick tuning to sweep toward the higher end of the dial (around Channel 63). Slide it to the right until the FINE TUNE - SEARCHING status settles inside the reception window.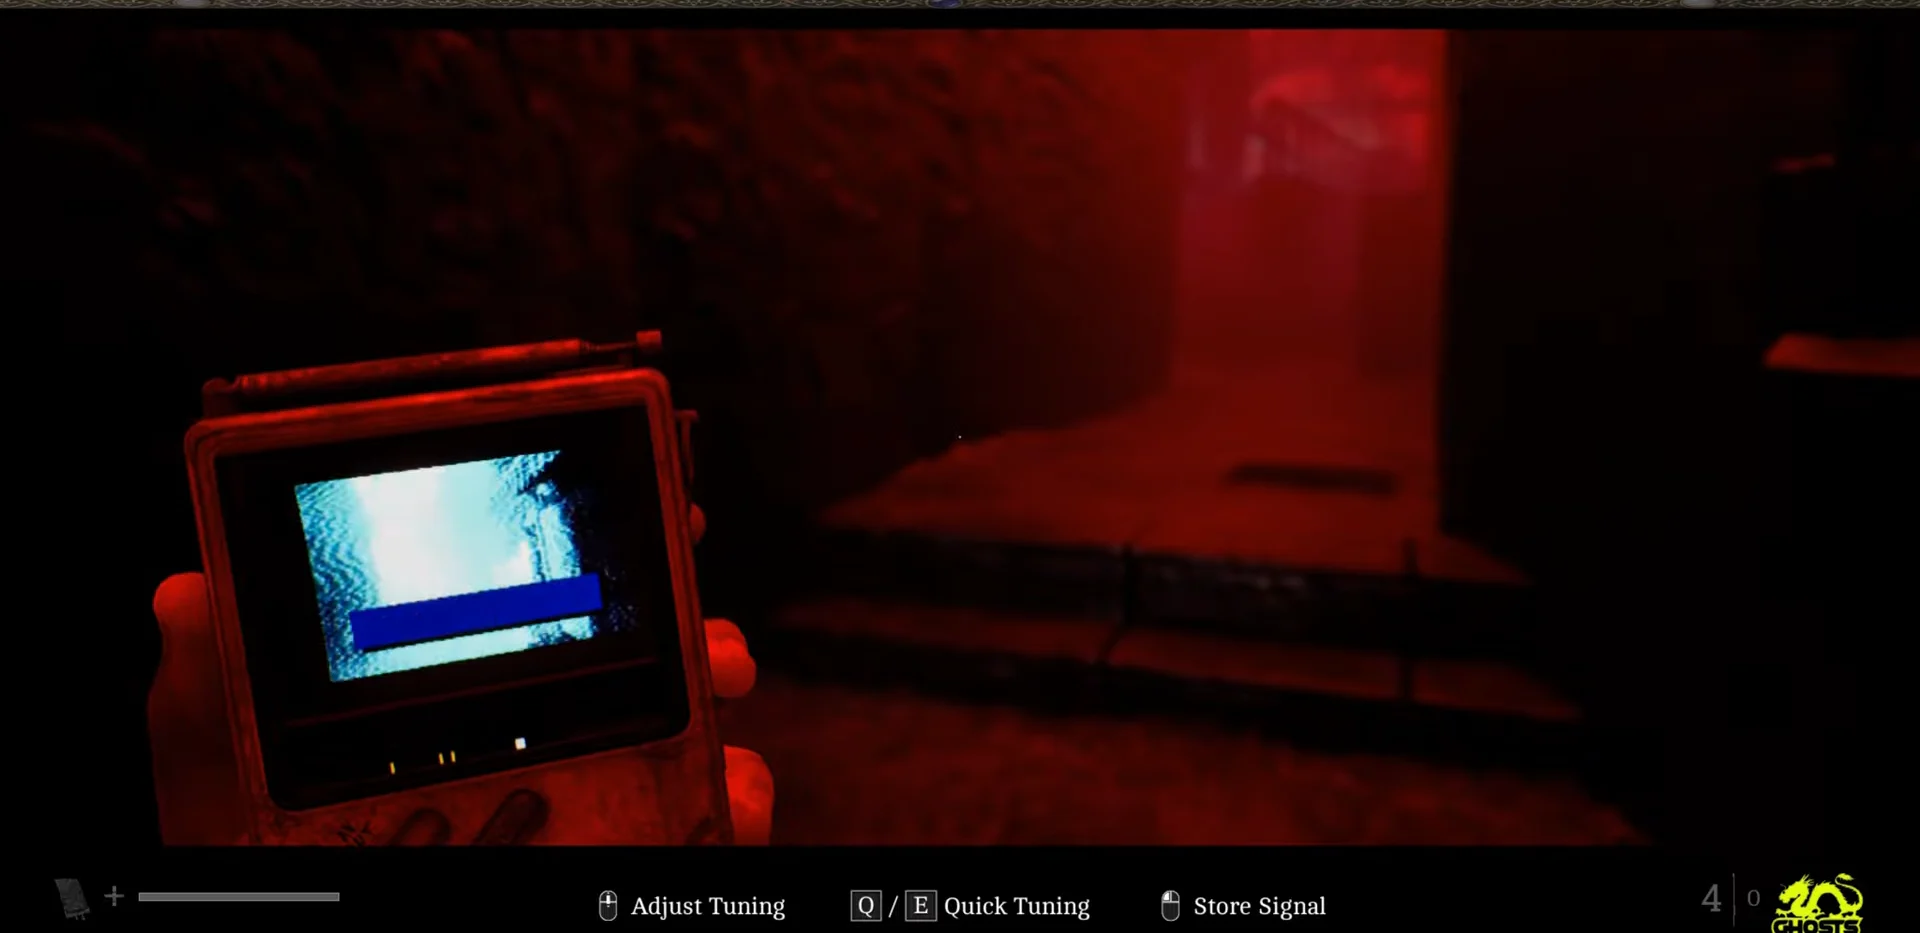
Store Signal prompt to save it. The device shows a video feed while Zoe repeats her line: “He shouldn’t have come back. Now I need to try again. I need to do it all again. Why did you come back?” Once the broadcast plays, signal 01/02 is banked.CRTV Signal 02/02 – Hospital transmission
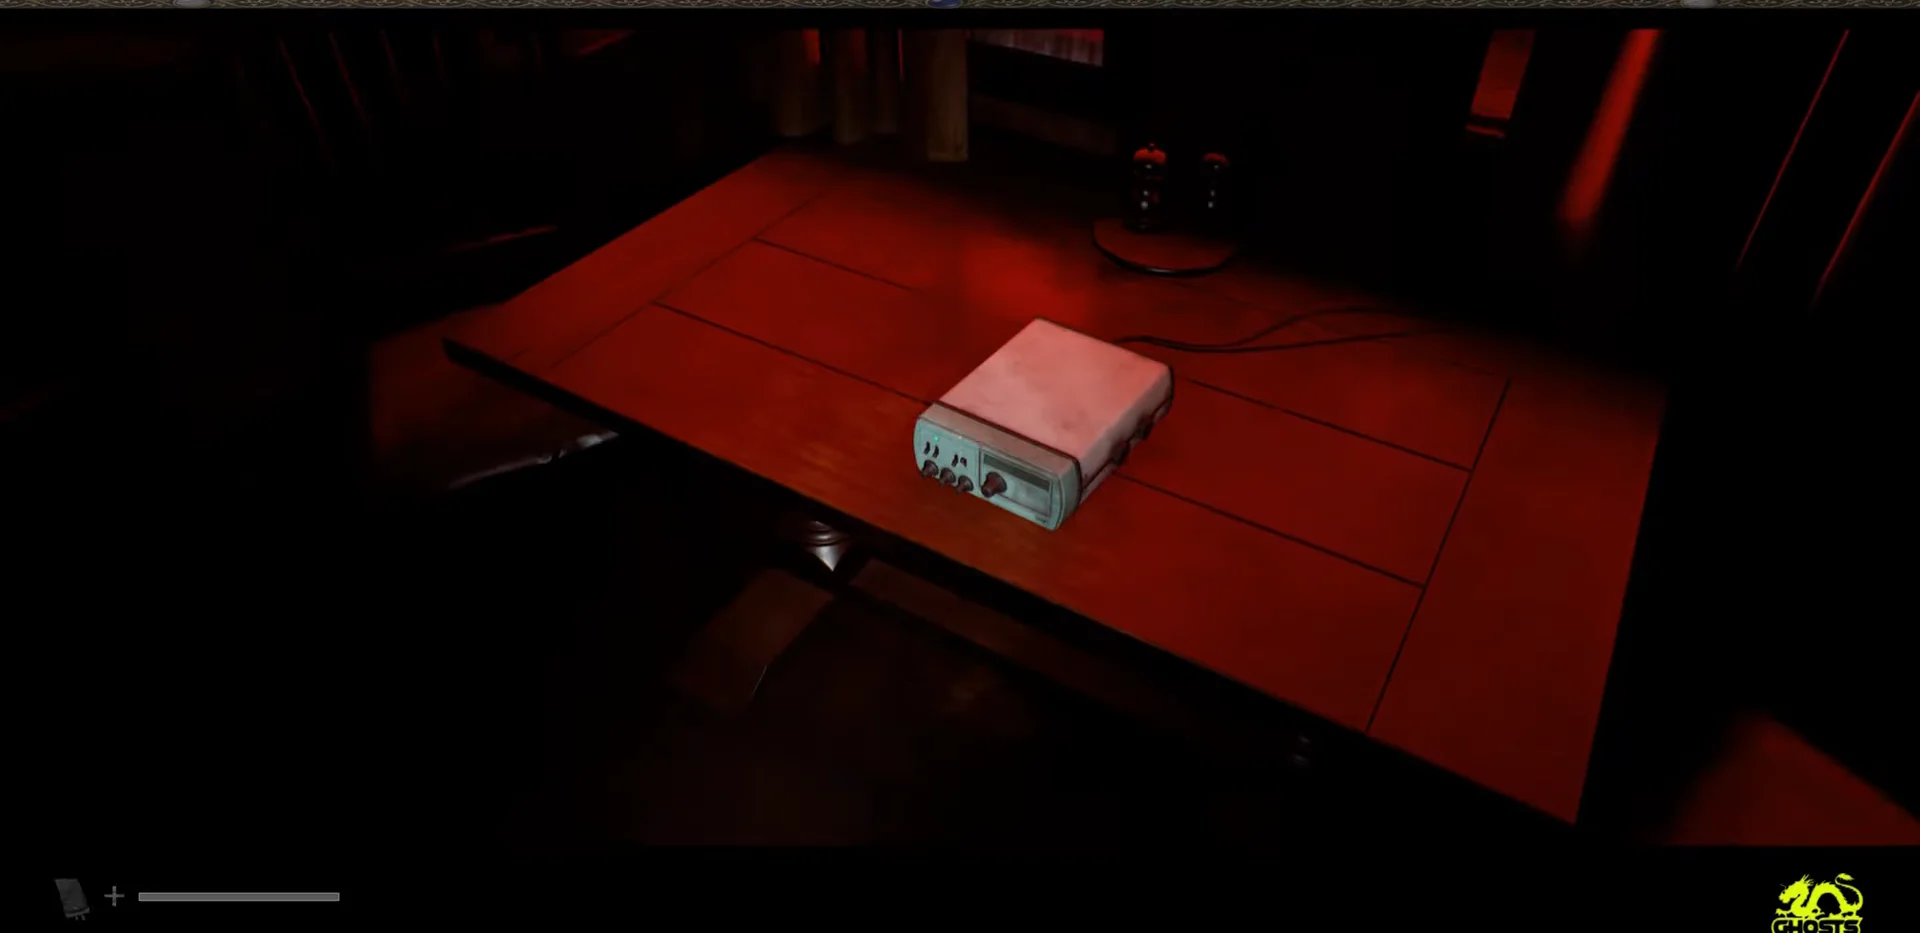
You’ll find the second signal on a separate receiver rather than your dial. In an apartment on the Shorefront residential building’s upper floor, complete the entire calibration sequence at the desk receiver to play its recording.
[E] Tune to start calibration.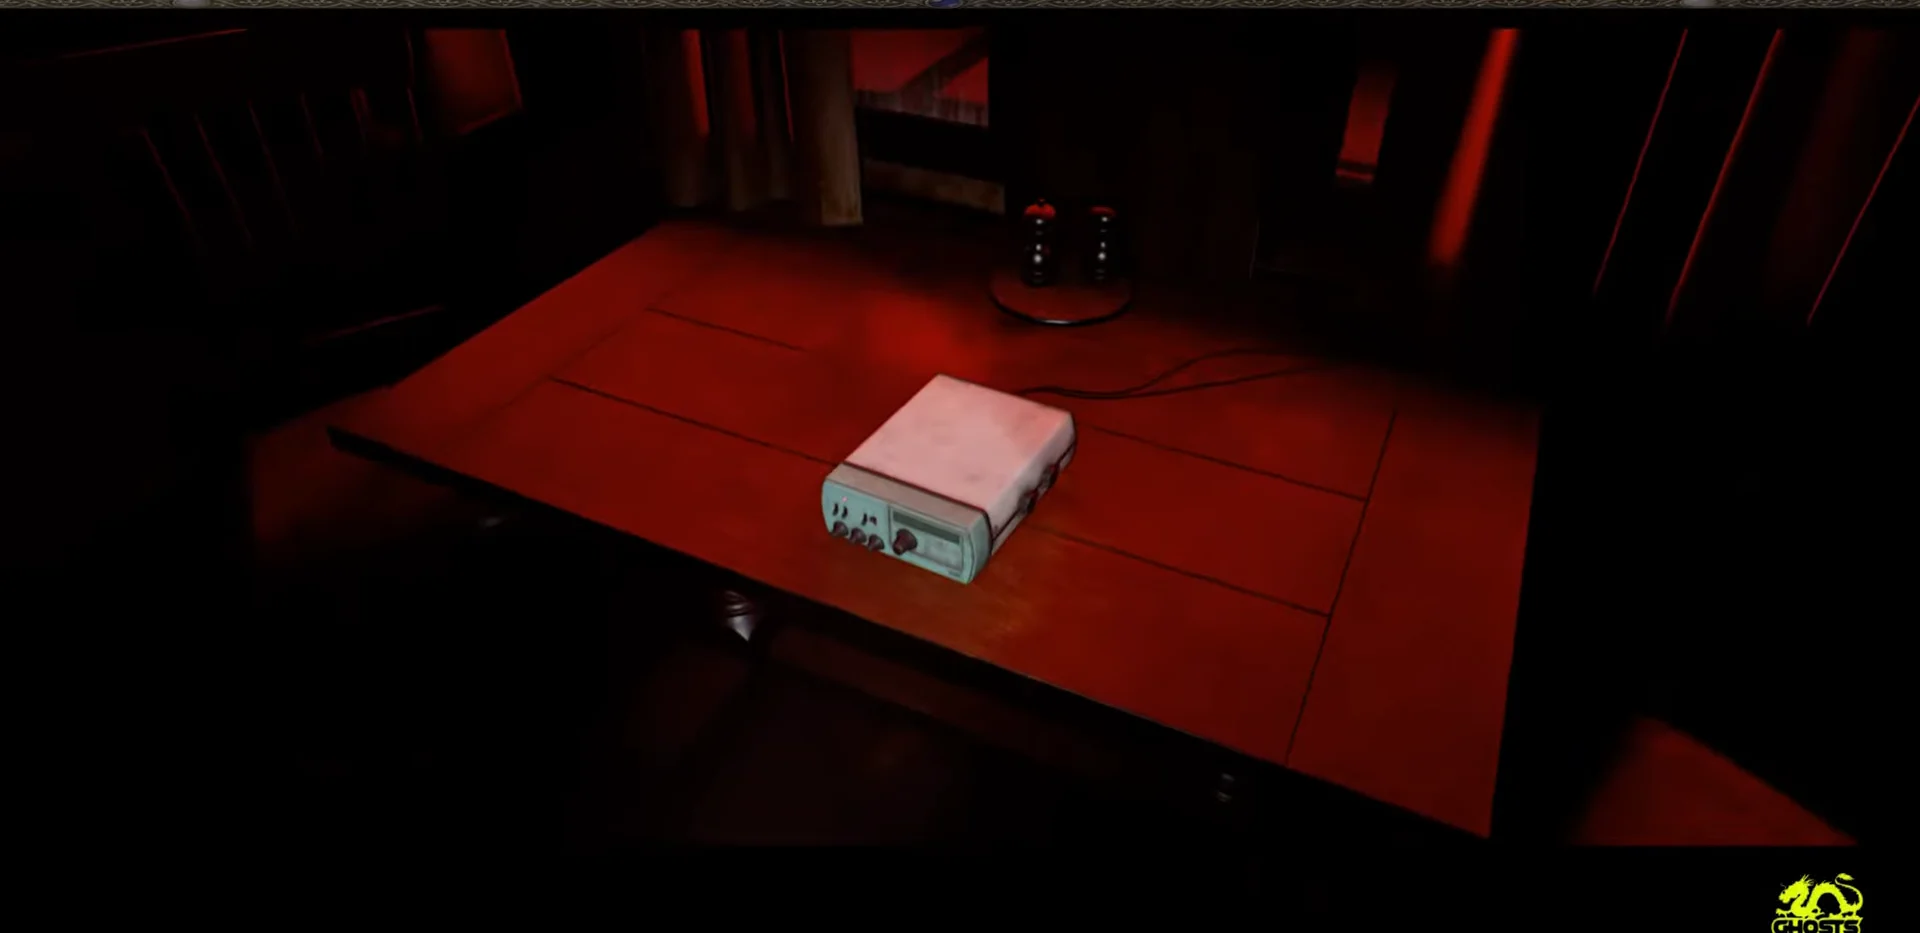
CALIBRATION REQUIRED.Align RGB Signals bar to bring the red, green, and blue blocks into alignment. A successful match changes the display to CALIBRATION COMPLETE. Hold the interact key (HOLD [E] TO STORE) to save the setting. When aligned, the signal is near Channel 25.On PS5, the receiver’s tilt uses DualSense motion controls by default. If the alignment feels awkward, turn off Enable CRTV Motion Sensor Controls in the settings so the right stick handles the tilt instead.
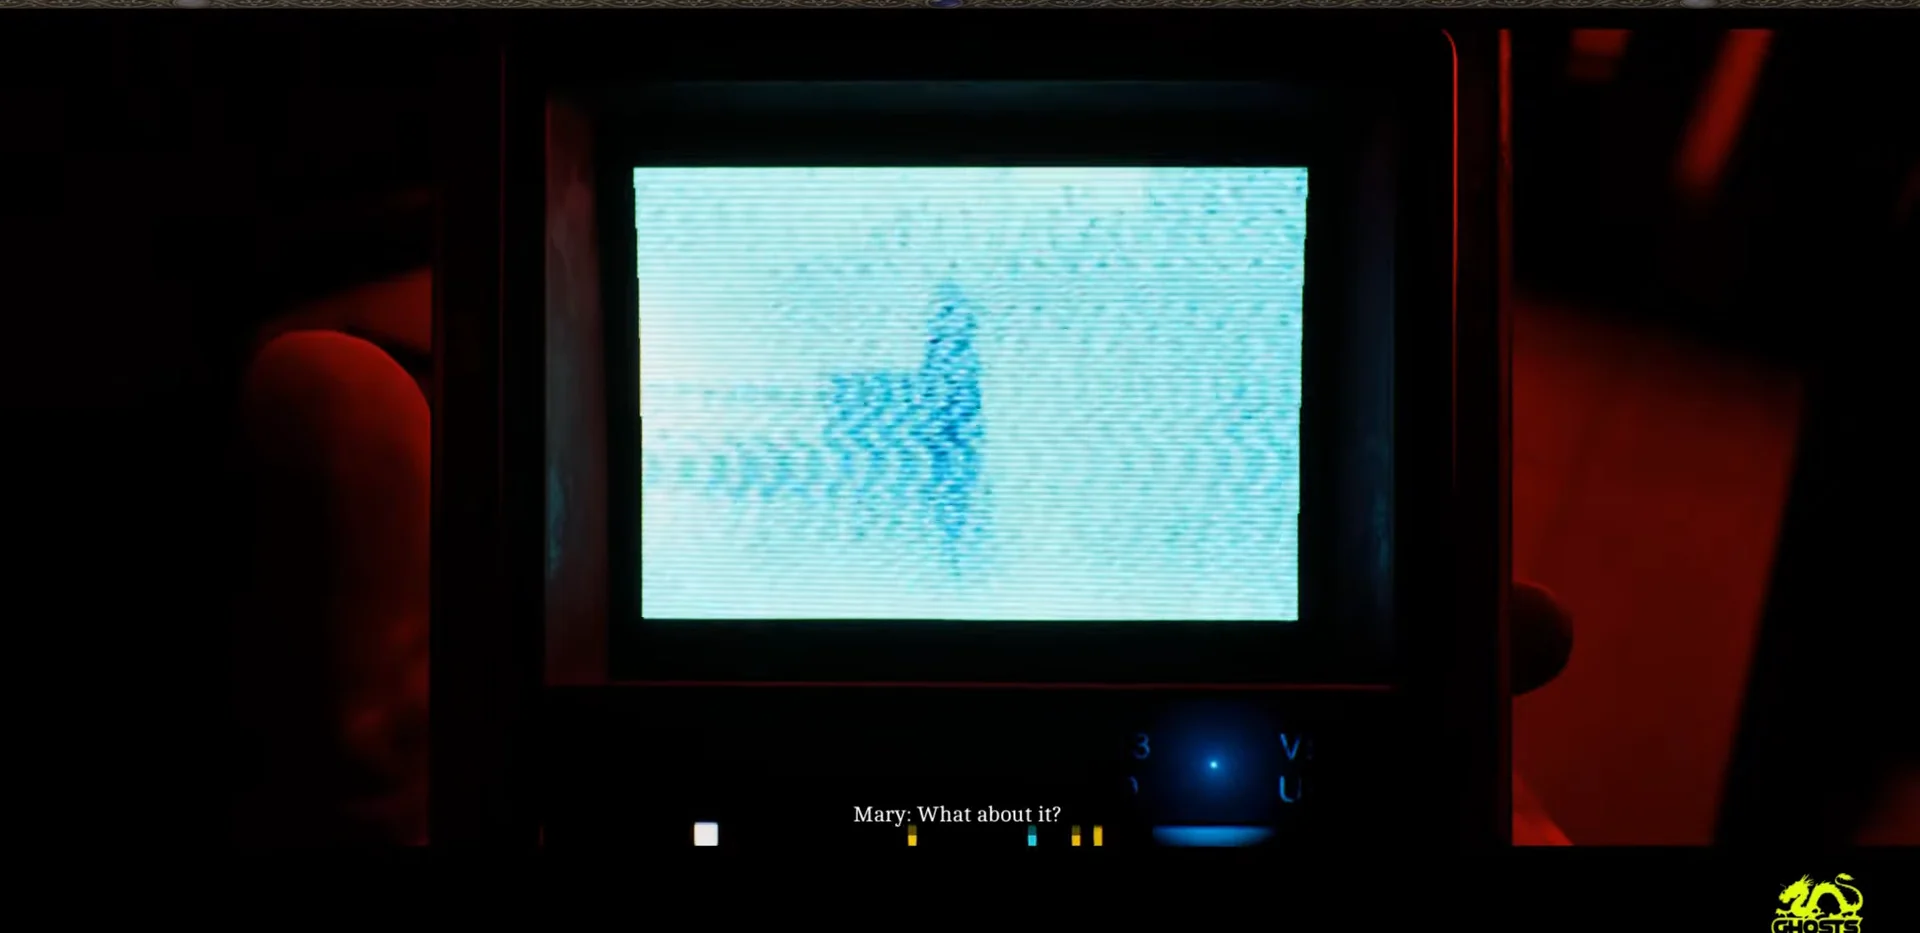
Confirming both signals are stored
A signal counts as collected once its recording finishes and the device returns to its usual view. After the second broadcast ends, the handheld monitor drops away to show the desk and receiver again, confirming the signal was saved. Logging both Zoe’s broadcast and the hospital transmission completes all Chapter 6 CRTV Signals.
Signal progress carries over between playthroughs, so if you missed either one you only need to grab the missing signal on a later run rather than collecting the whole set again.