The Evacuation Zone in Control Resonant starts out clouded on the world map, hiding fast travel doors, resource crates, and the named substations spread across the district. Bringing the area online works the same way every FBC Map Kit does: line up three satellite dishes, then use the central relay tower to switch the local map data on.
Quick answer: Go to the center of the Evacuation Zone, east of the Sinkhole, climb onto the rooftop tower, activate all three red satellite dishes so they turn green, then interact with the tower base to reveal the map.
Find the Evacuation Zone Map Kit tower
Open the world map and select the Map Kit waypoint inside Evacuation Zone 1. The tooltip labels it as An FBC Map Kit that reveals the Zone map, so you know you are heading to the right marker. The kit sits in the center of the region, just east of the Sinkhole.
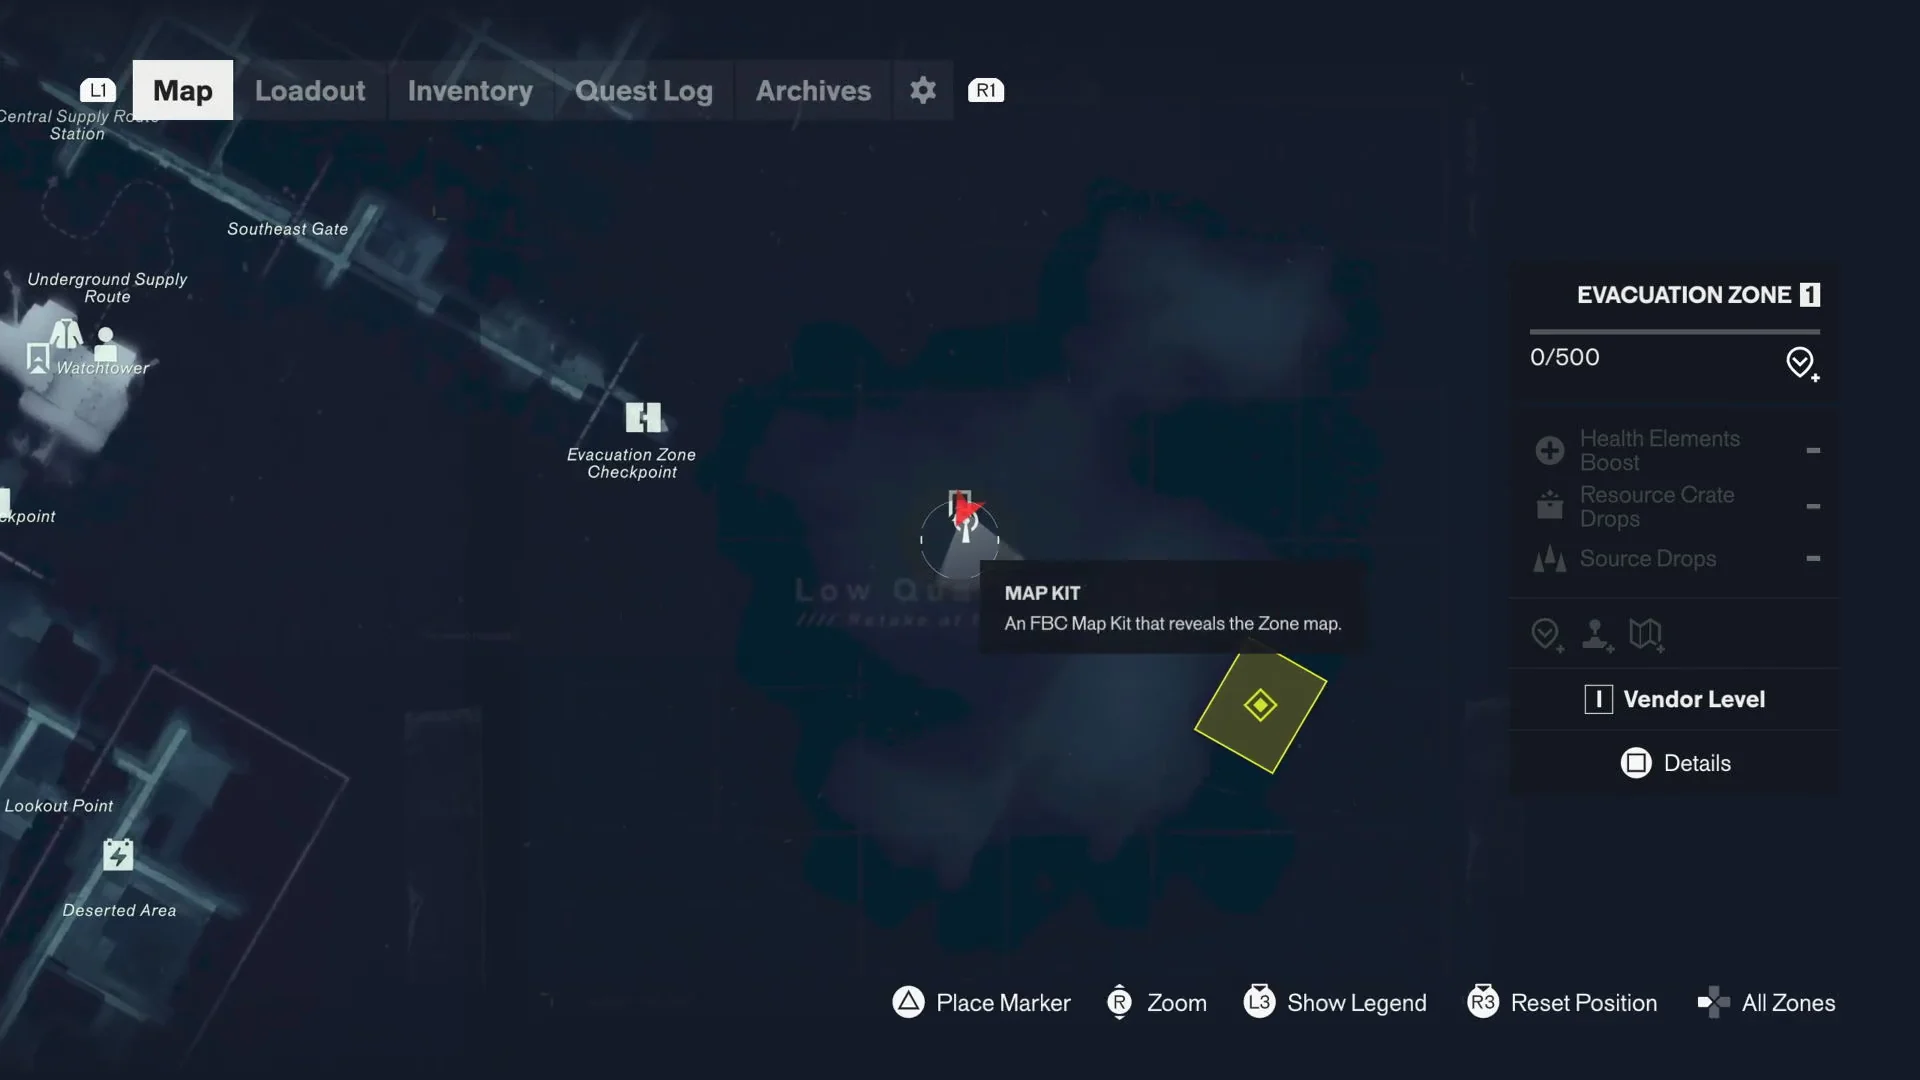
When you arrive, climb onto the roof holding the tall dish-covered tower. A fast travel point sits up here too, so activate it while you are on the roof. From this vantage point all three satellite dishes are within easy reach.
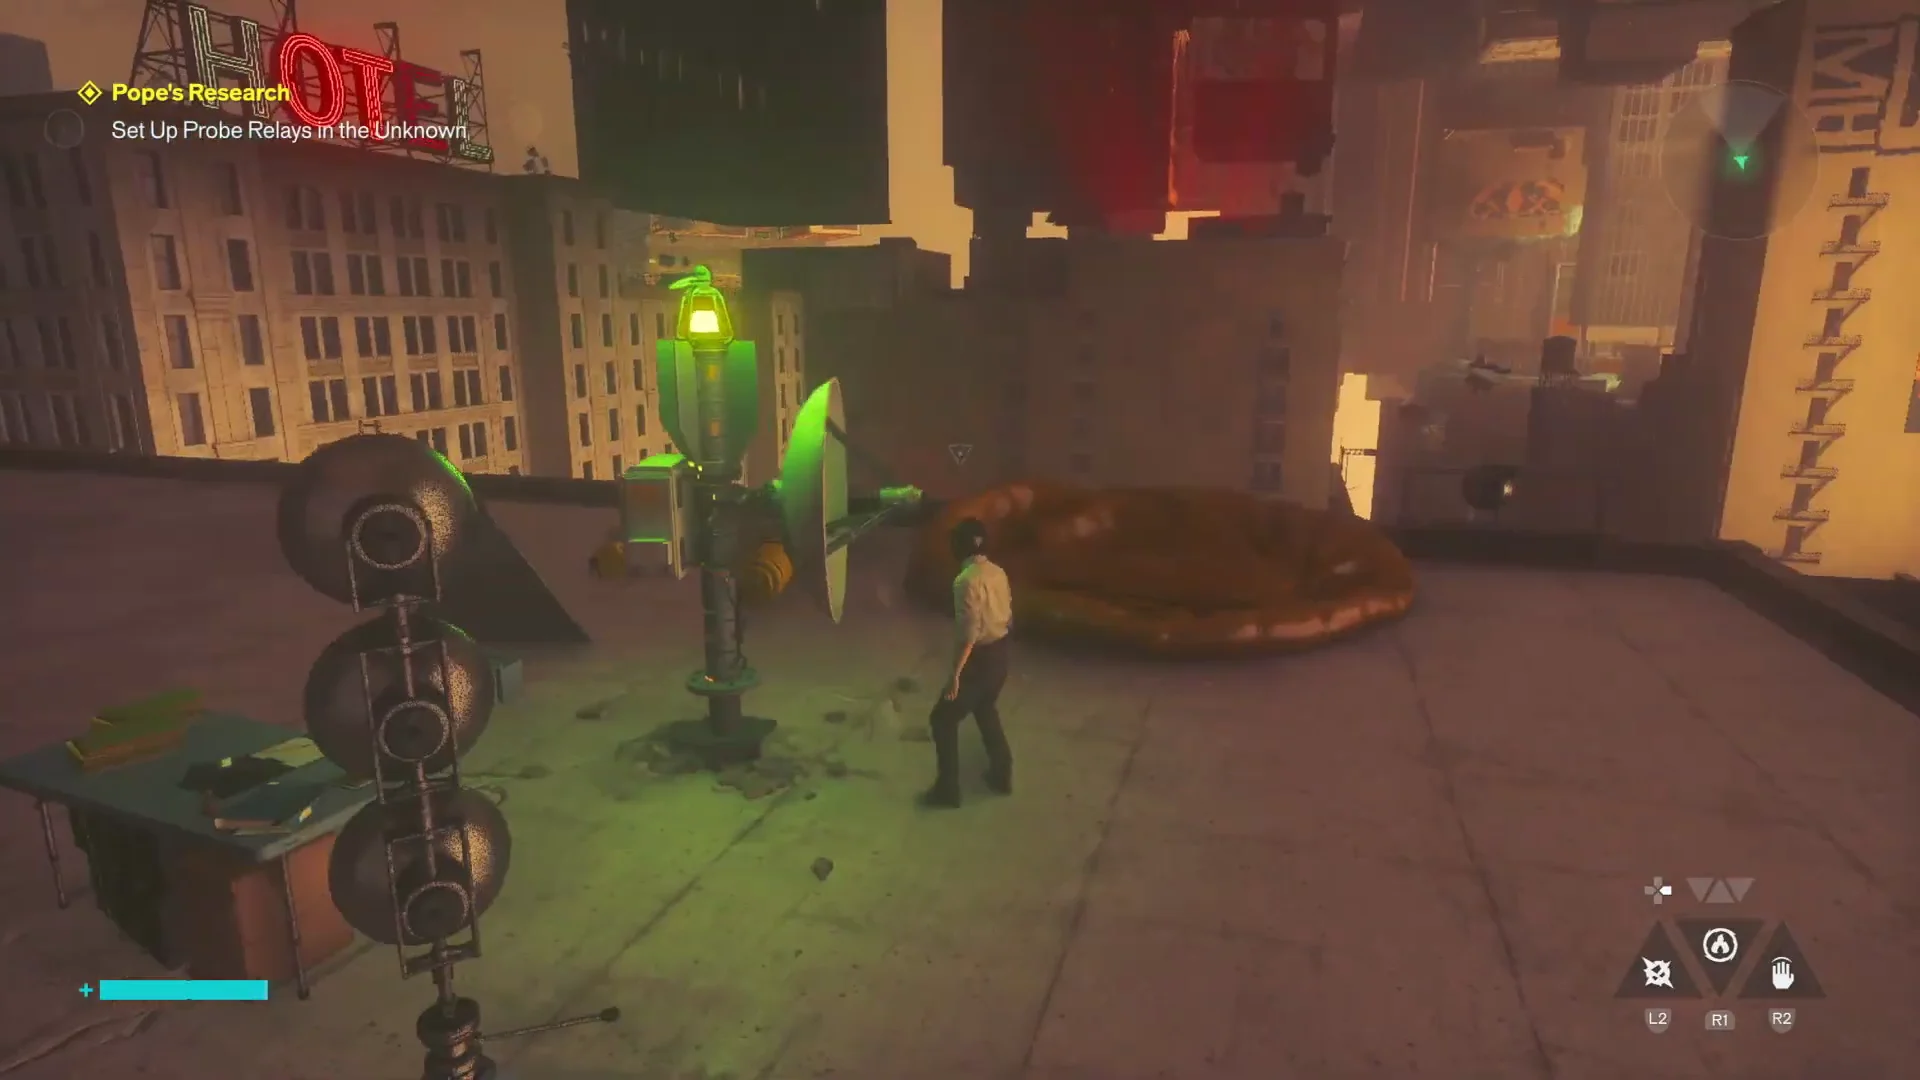
Each dish sits beside a yellow parachute draped over the edge of a building, so scan for that cloth if a beacon is hard to spot.
Activate the three satellite dishes
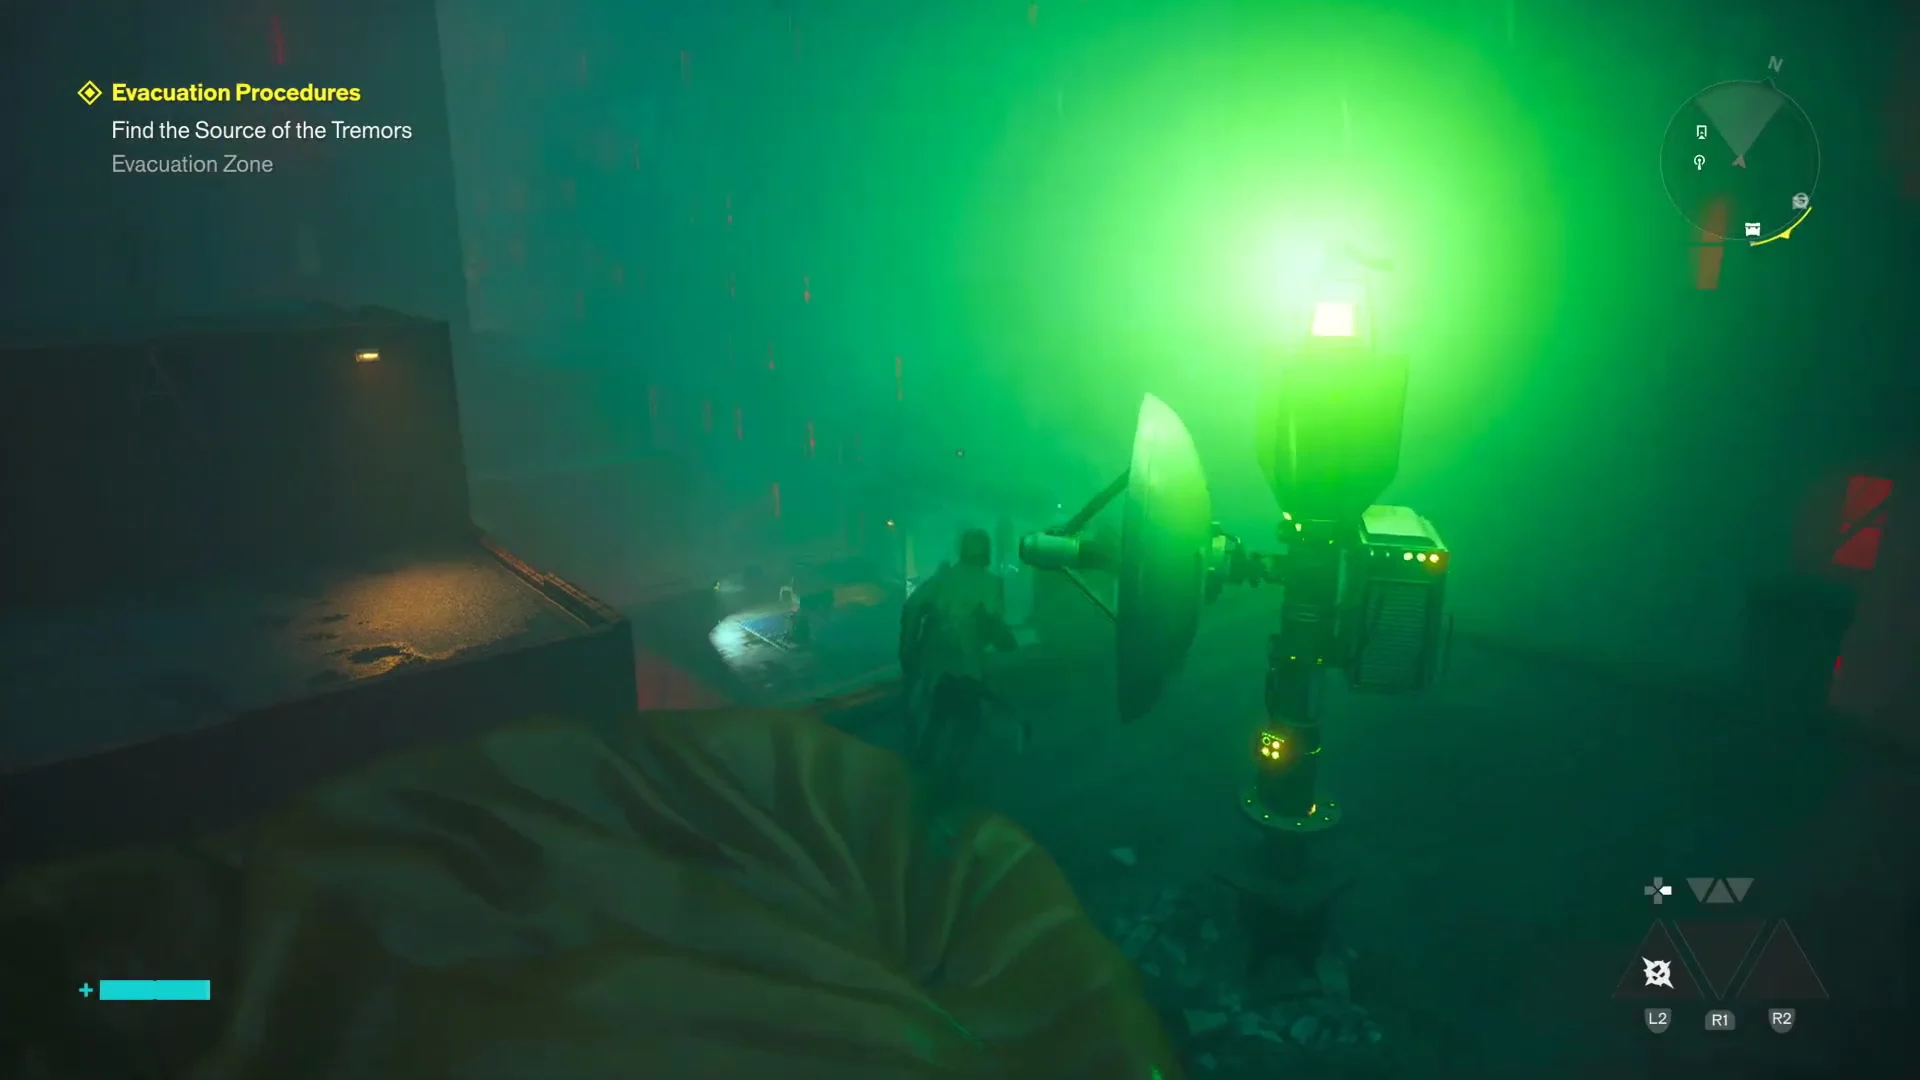
Each dish shows a blinking red beacon light. Interacting with it using the Square button turns the light bright green and aligns the dish toward the tower. All three sit close to the tower, arranged like this:
| Dish | Location relative to the tower |
|---|---|
| First | Directly north, only a few meters away |
| Second | East, on the rooftop right next to the tower |
| Third | Across the street to the southeast |
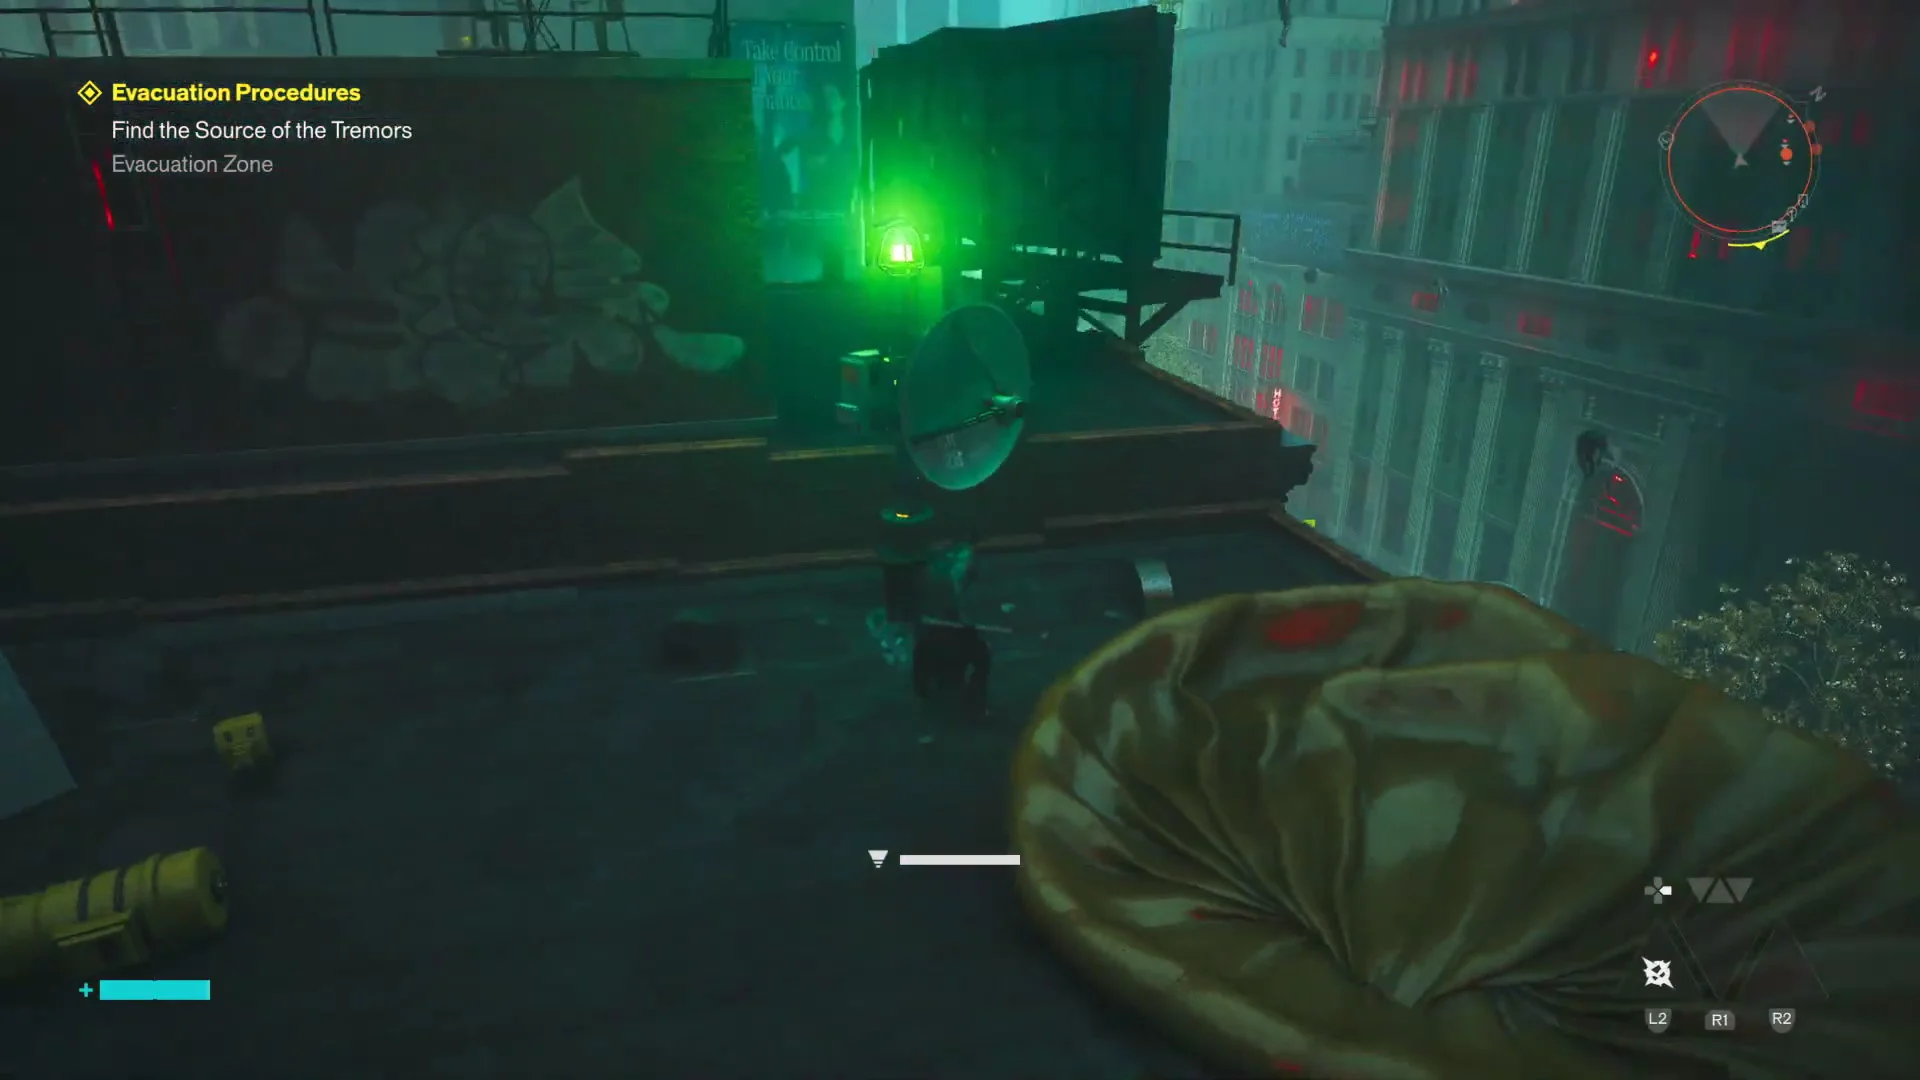
Return to the relay tower to reveal the map
Touching all three dishes does not finish the job on its own. You have to go back to the central communications relay tower and use it again. Jump and glide across the street gap to land on the rooftop holding the main tower.

Use the Square prompt on the terminal at the relay tower’s base to bring the surrounding map data online.
How to confirm the map unlocked
You will know it worked immediately. Using the tower base awards +1 Undefined Reading, grants EVACUATION ZONE 1 +100 exploration points, and pops the Zone Map Unlocked alert on screen.
Re-open the map to check the result. The clouded area is now fully revealed, showing the sector layout, points of interest, fast travel doors, and resource crates spread across the Evacuation Zone.
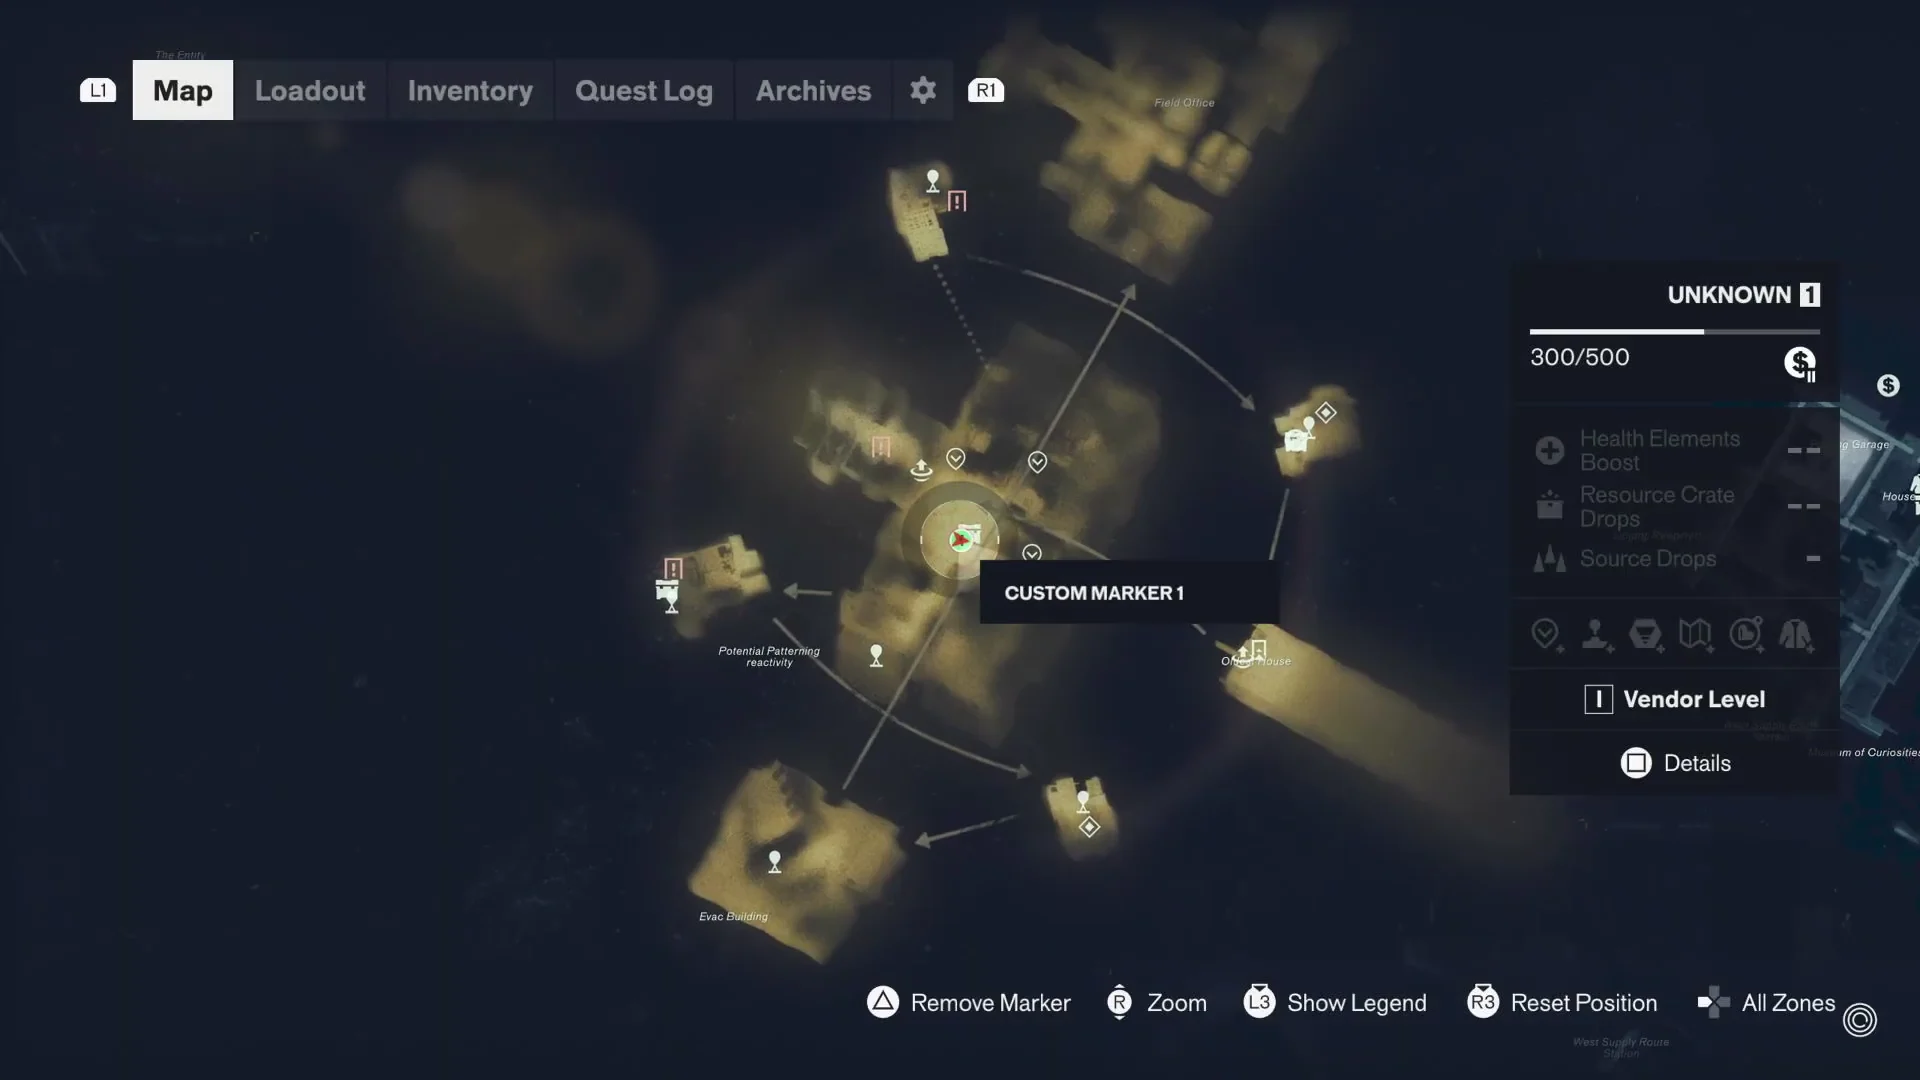
Every district in Manhattan uses the same Map Kit setup, so clearing the Evacuation Zone here teaches the exact routine you will repeat elsewhere: three dishes, then the tower. Since there is no resource cost, it is worth handling the kit as soon as you enter the zone, before the Sinkhole route pulls you deeper underground.