Control Resonant: How to Unlock the Underpass 1 Map Kit
Activate all three satellite dishes, then power the central relay tower to reveal the full Underpass 1 zone layout.
Activate all three satellite dishes, then power the central relay tower to reveal the full Underpass 1 zone layout.
by AllThingsHow Staff
Image: Remedy Entertainment
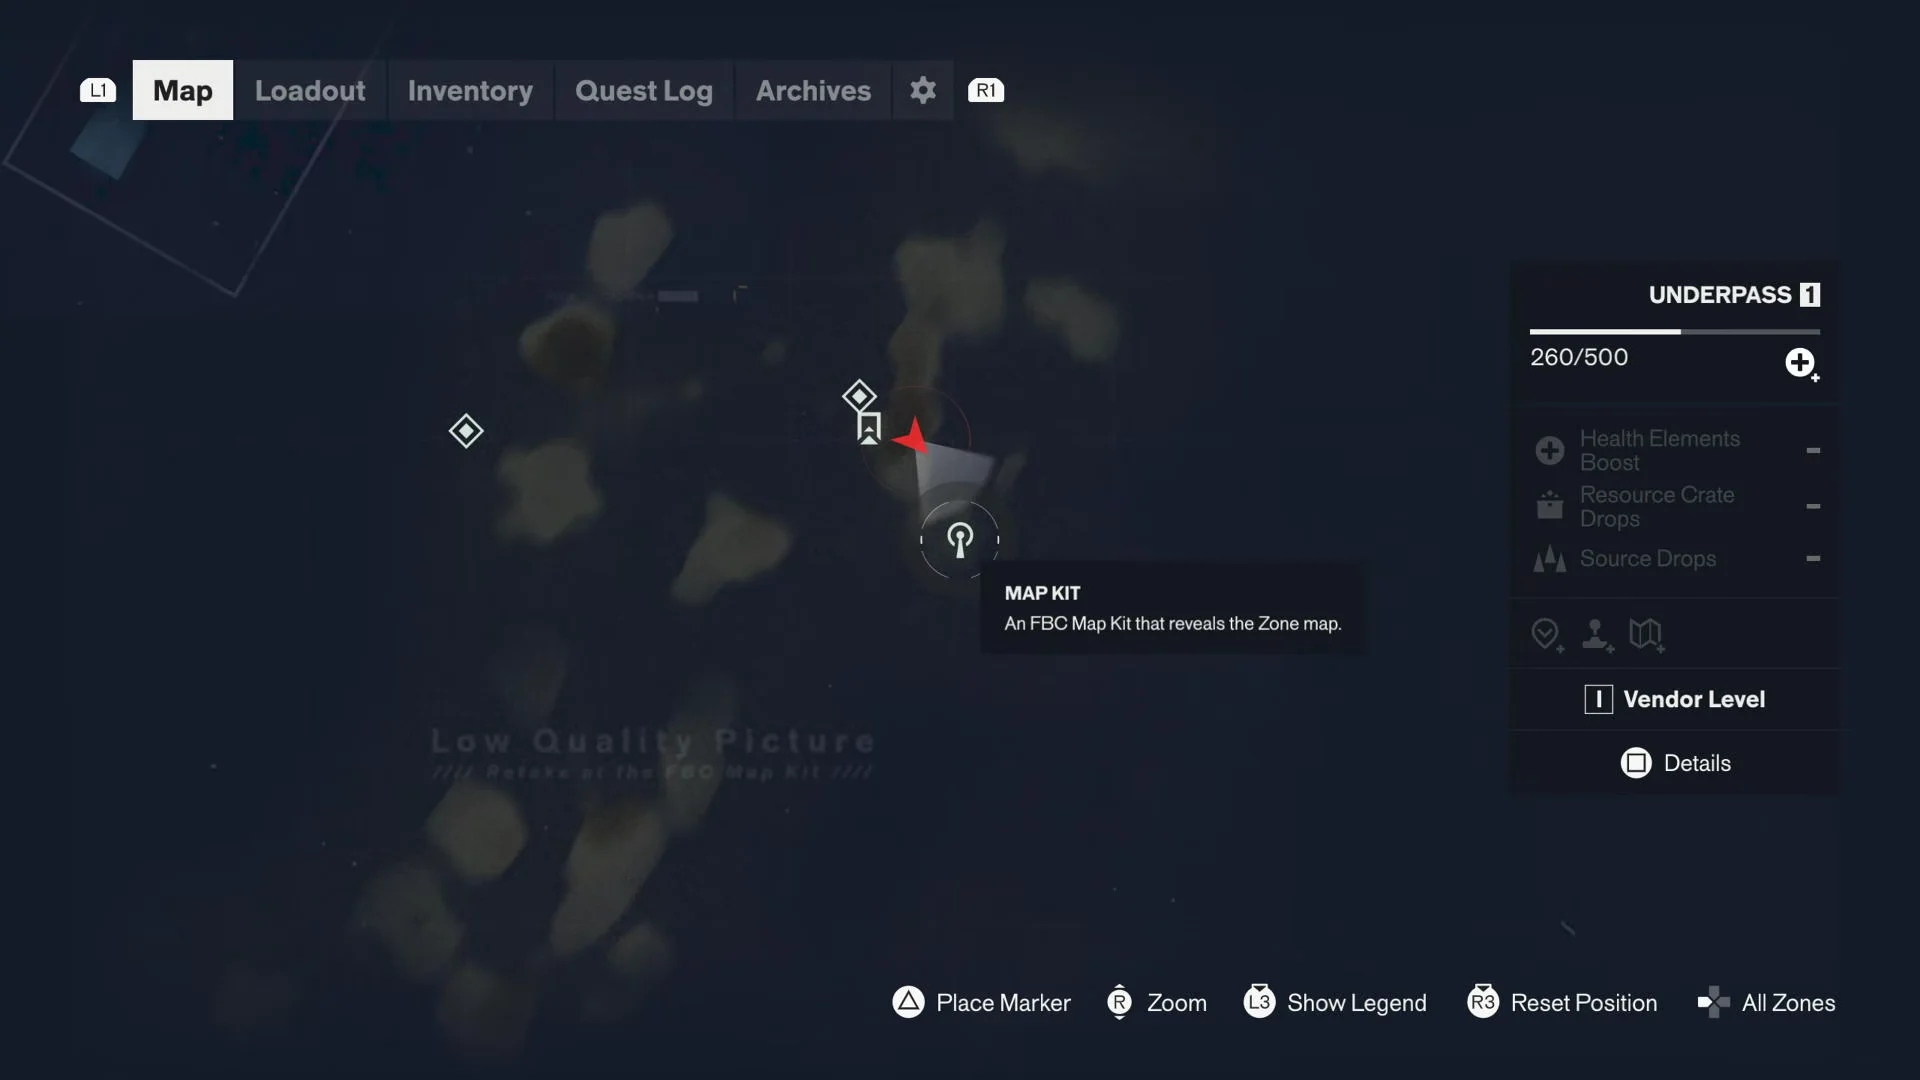
Underpass 1 opens as a blank grid of floating concrete pillars, with only the Fast Travel Door and a locked Map Kit marked on the screen. The zone map stays hidden until you repair the FBC Map Kit built into the area. That means calibrating three separate satellite dishes and then activating the transmission tower that ties them together.
Quick answer: Interact with all three satellite dishes until each indicator turns from red to green, then use the control panel at the base of the central relay tower to trigger “Zone Map Unlocked.”
What the Underpass 1 Map Kit requires
The Map Kit is exploration hardware, not an upgrade you buy. There is no resource cost. You only need to reach and activate each part of it in the right order.
Three satellite dishes spread across the floating pillar platforms.
Each dish activated at close range with the interact button (Square).
The central relay tower on the red-carpeted platform, powered only after all three dishes read green.
Flying and ground enemies spawn around the platforms and near the dishes. Clear or avoid them so you can interact without being interrupted.
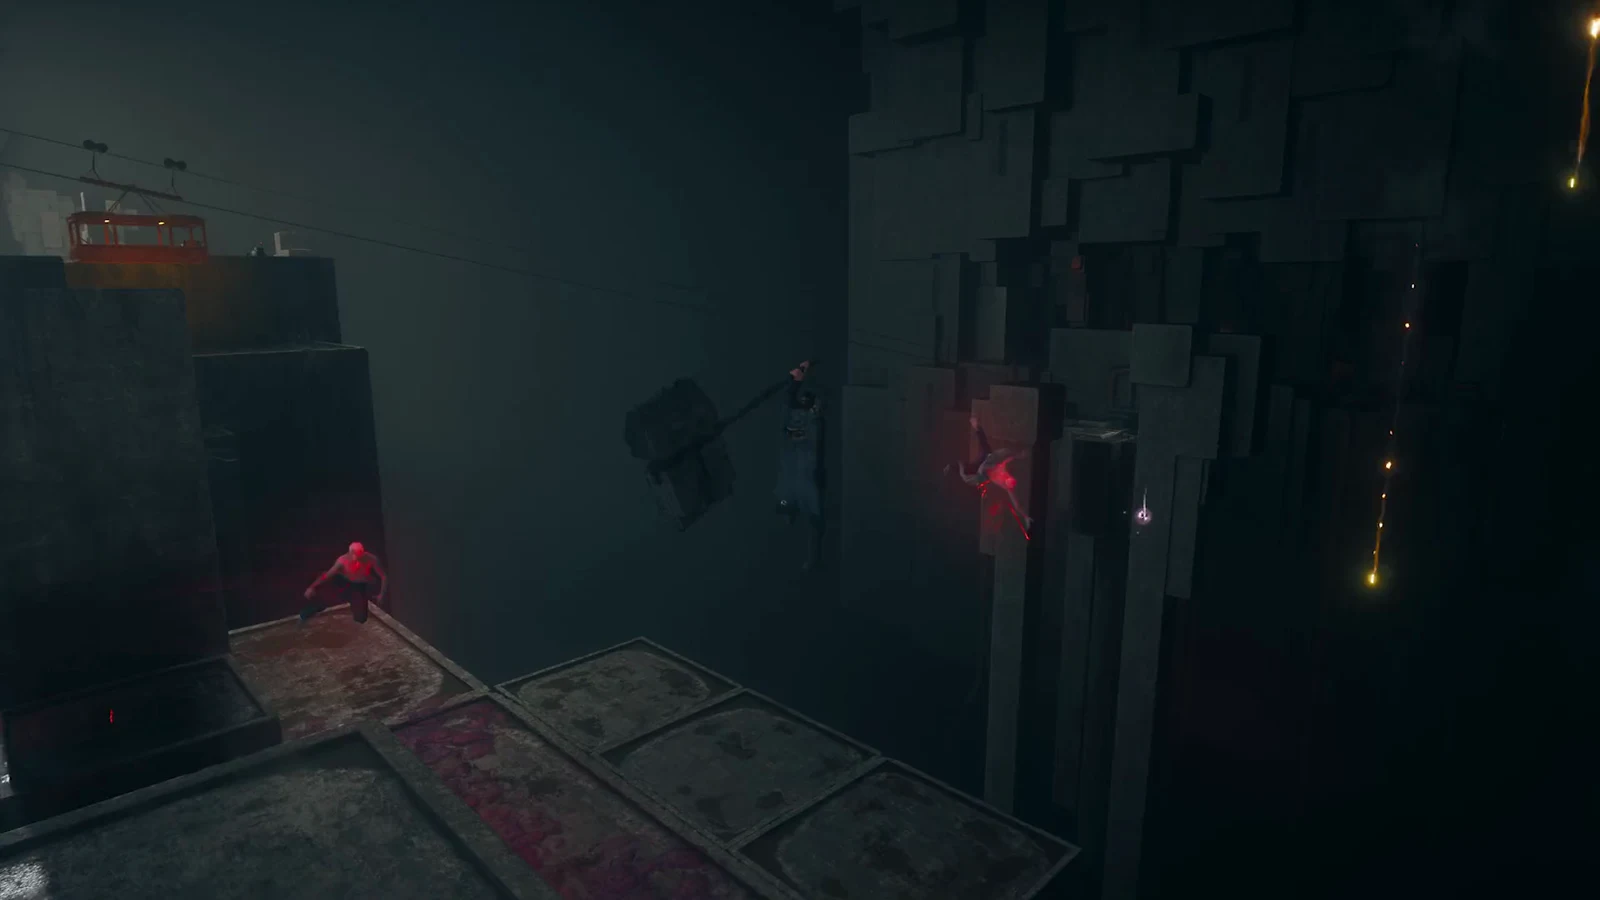
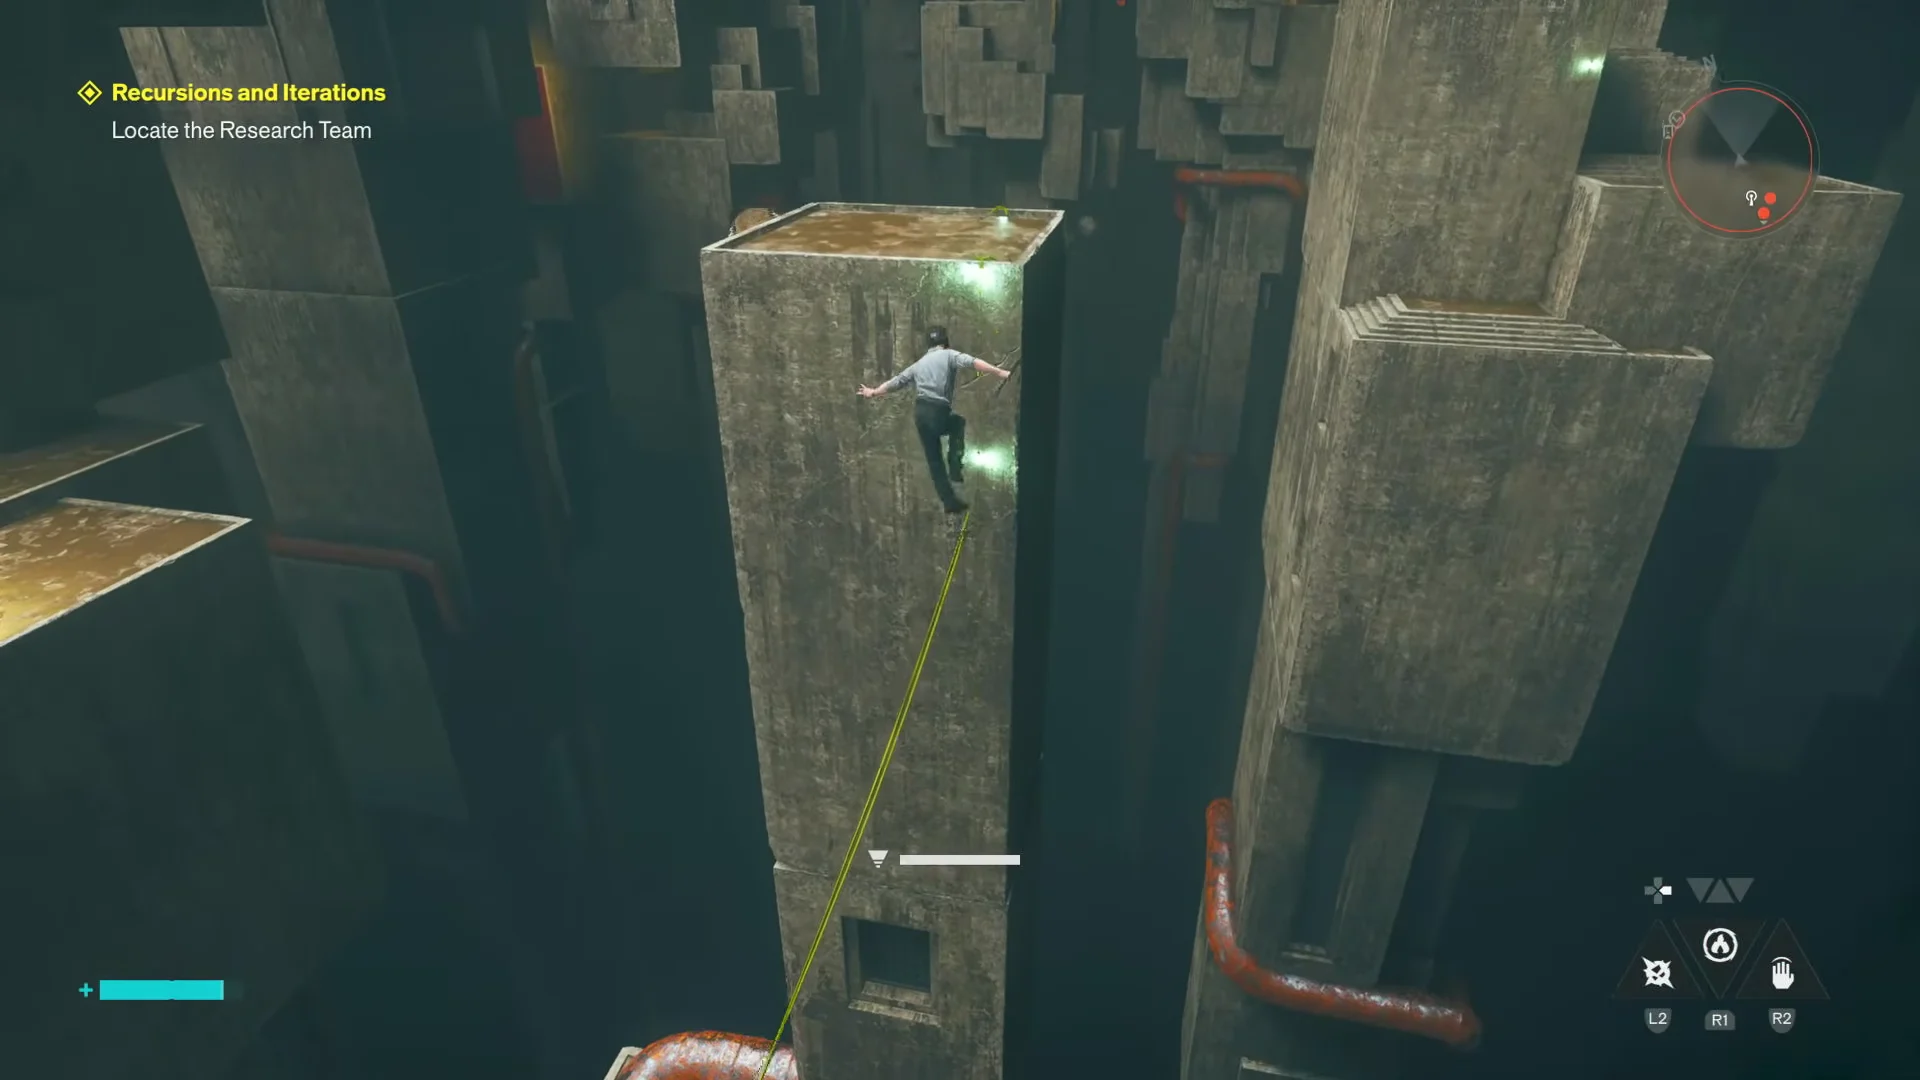
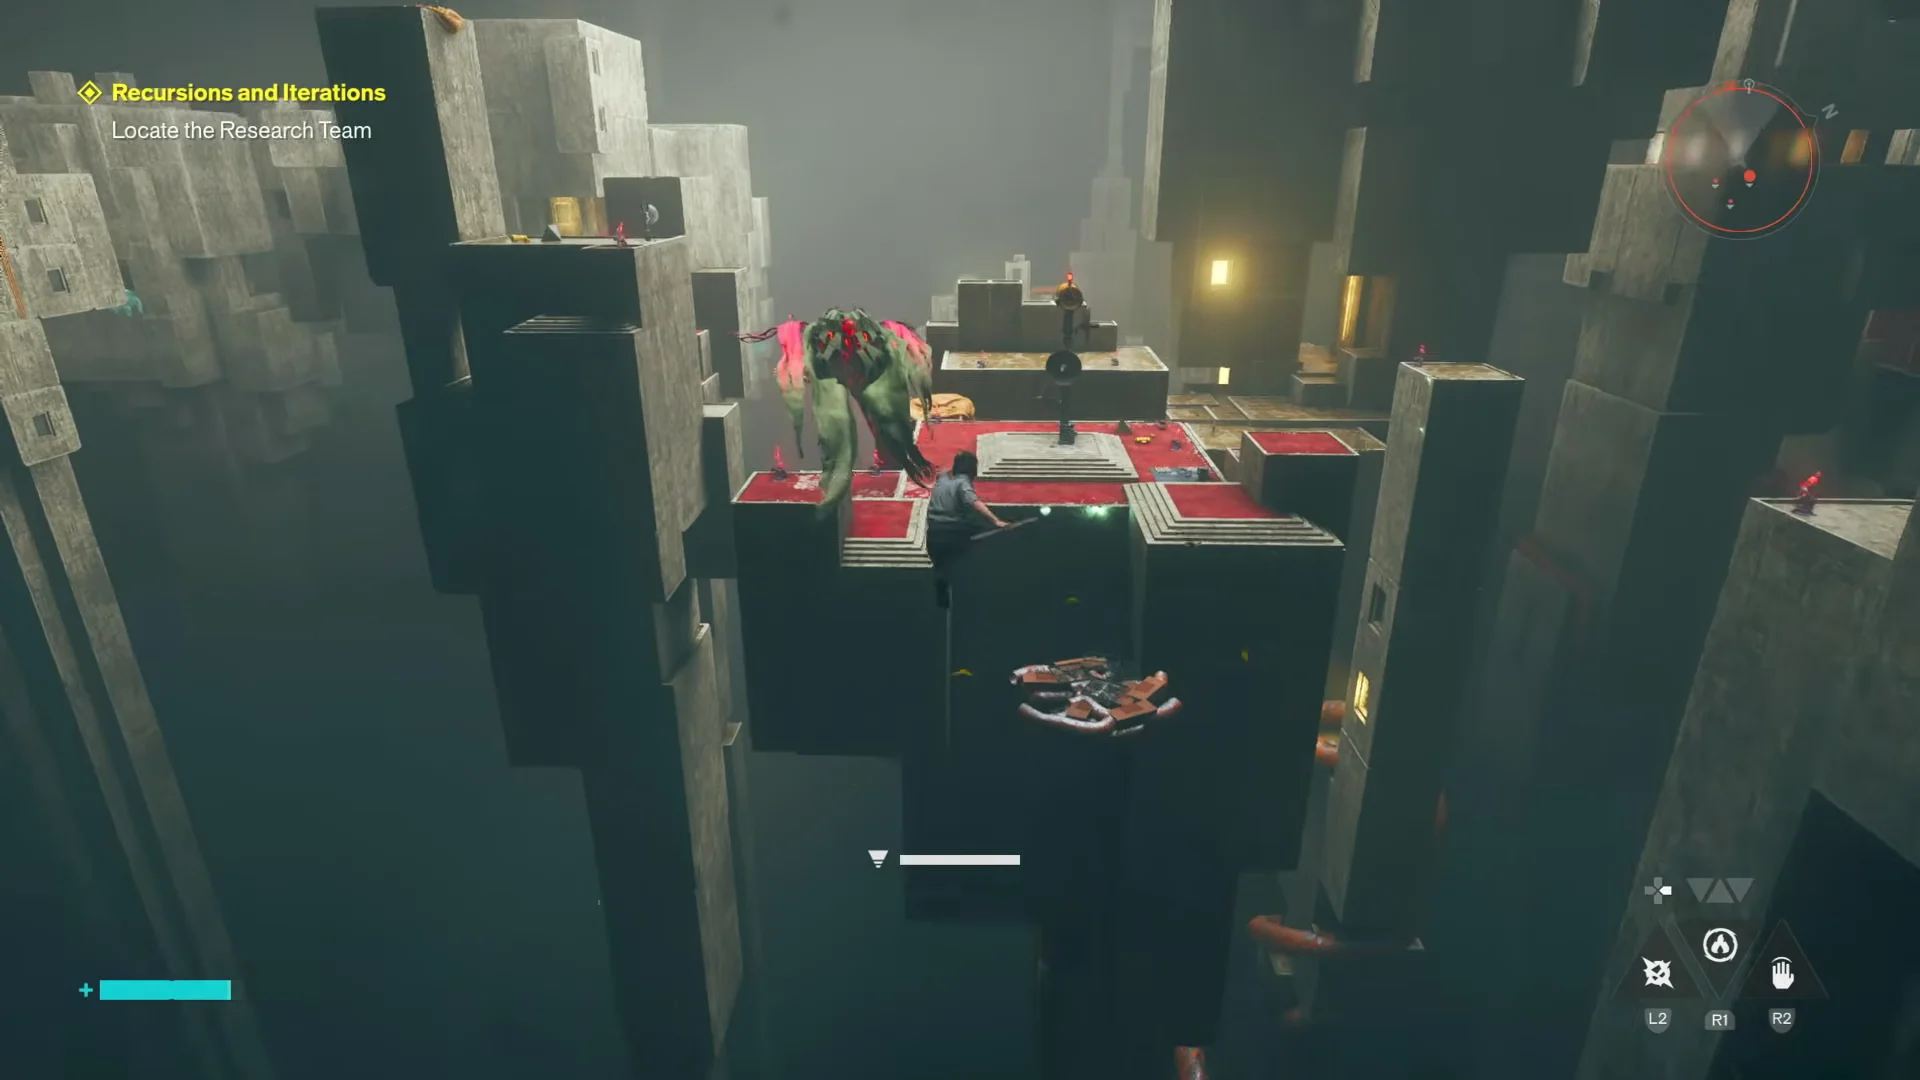
From the starting platform, look out over the pillar landscape and pick out the first dish on a nearby elevated ledge. Jump across the concrete pillars to reach it.
00:30Traversing to first dishCrossing the pillars toward the first satellite dish means committing to jumps over long drops. Shown at 00:30 in WoW Quests’s video. Image: Remedy Entertainment
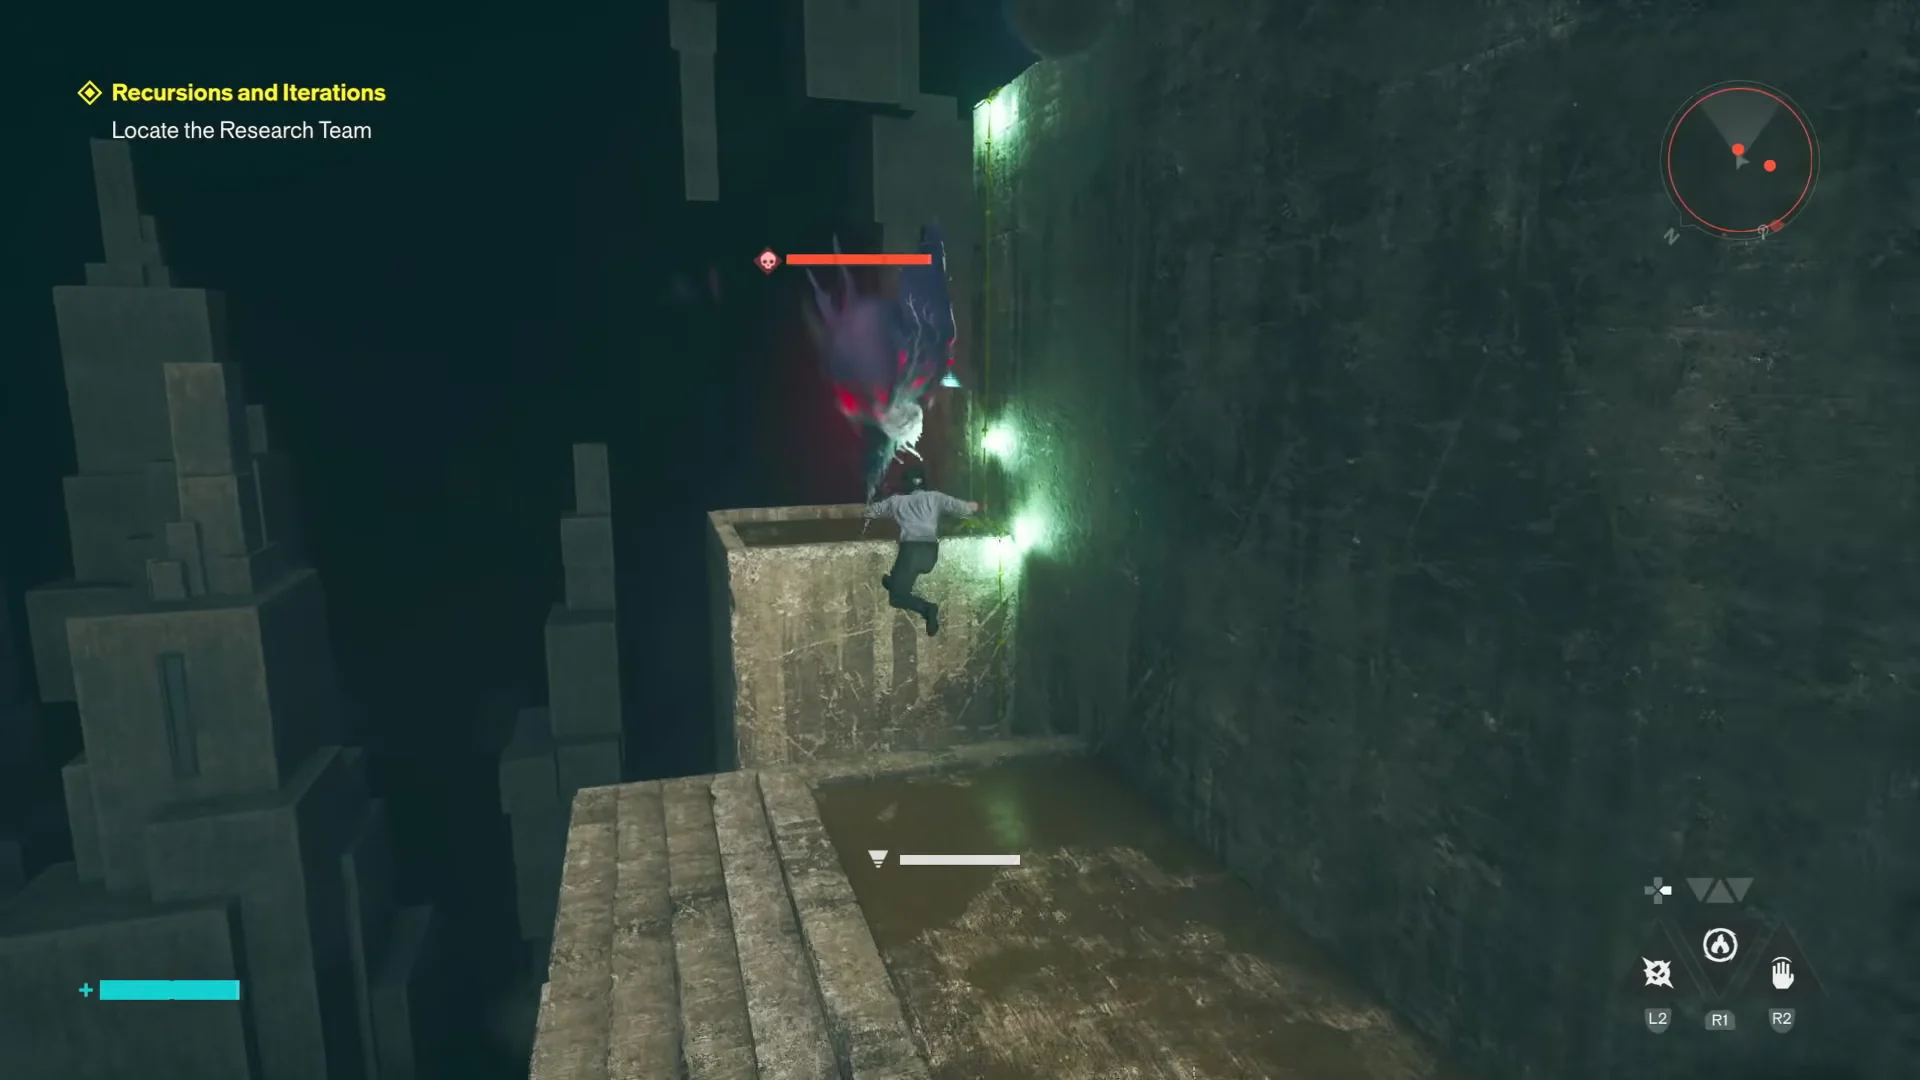
Move across the pillar network toward the second dish. Deal with the flying enemies that appear along this stretch so you are not knocked off mid-jump.
Clear the enemies on the middle platform with red carpeting, taking out those in the air and on the ground. The relay tower is on this platform, so deal with the enemies here now.
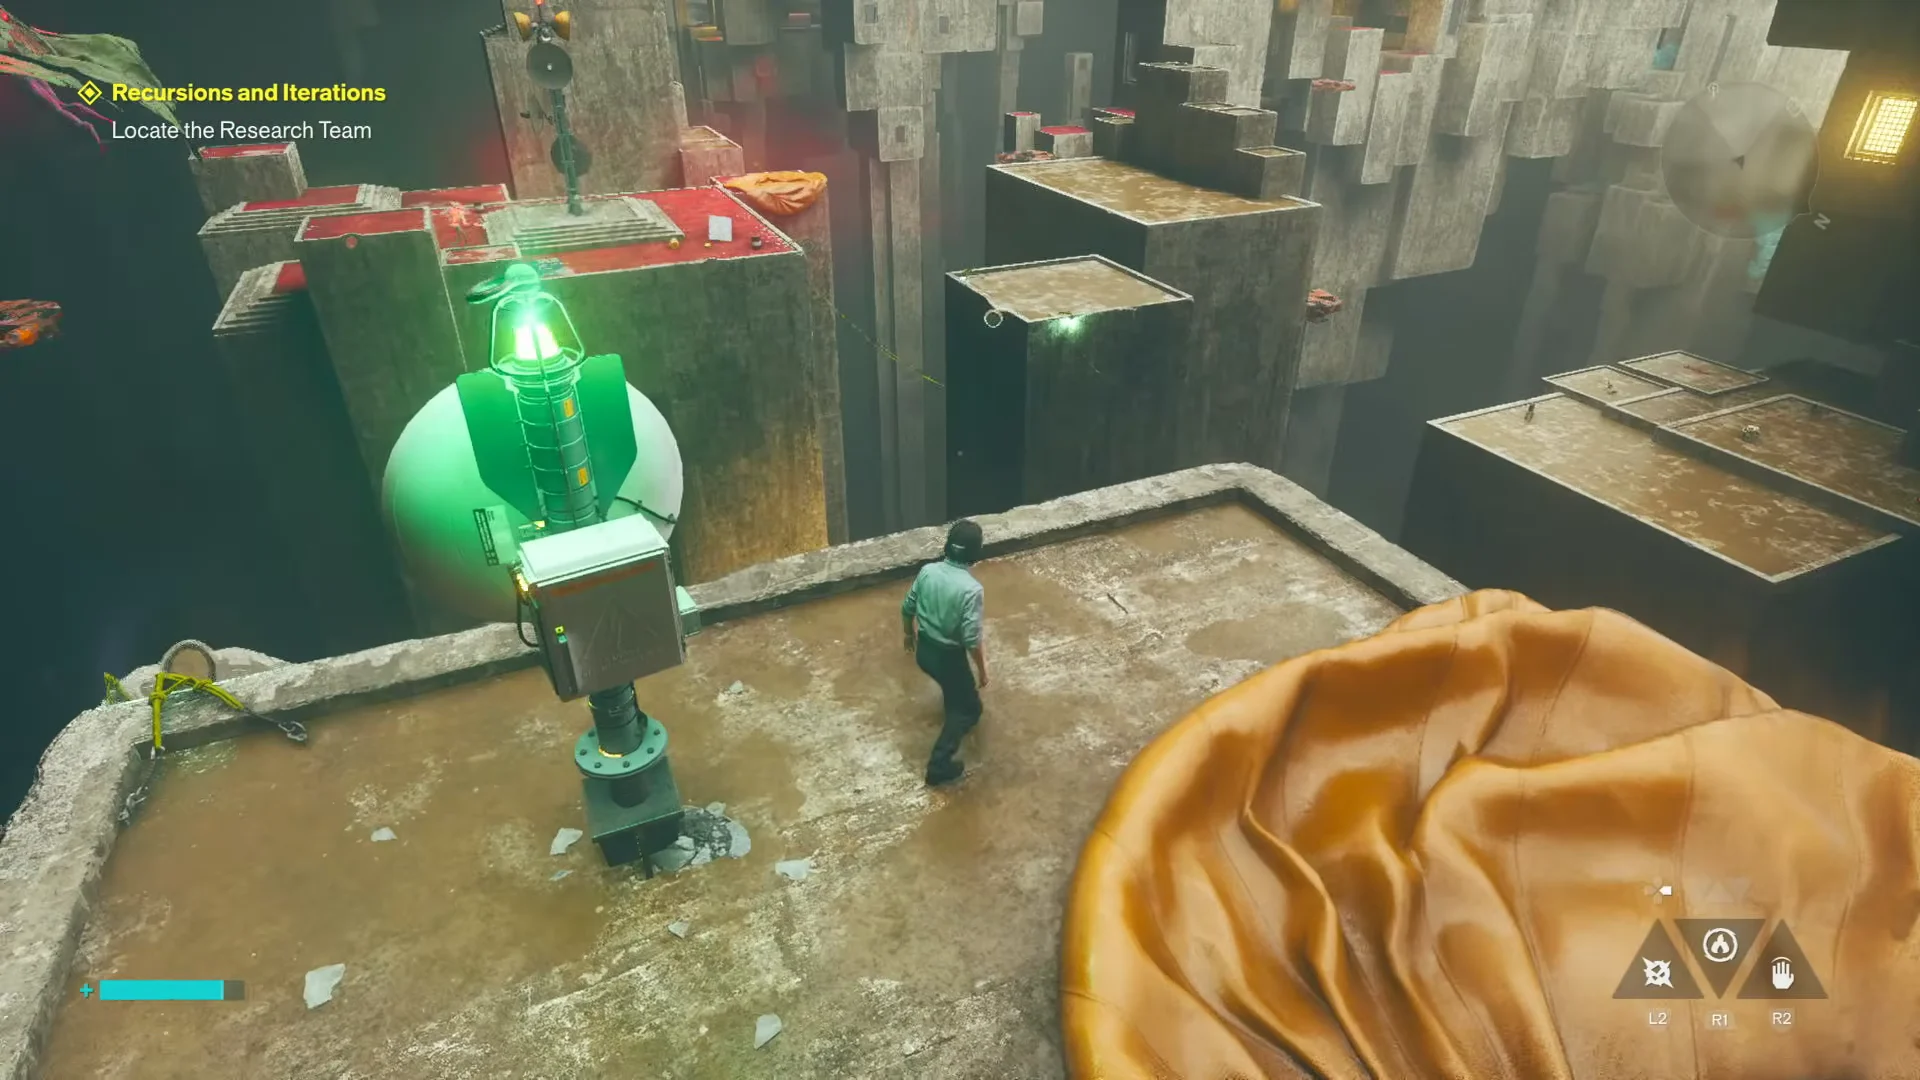
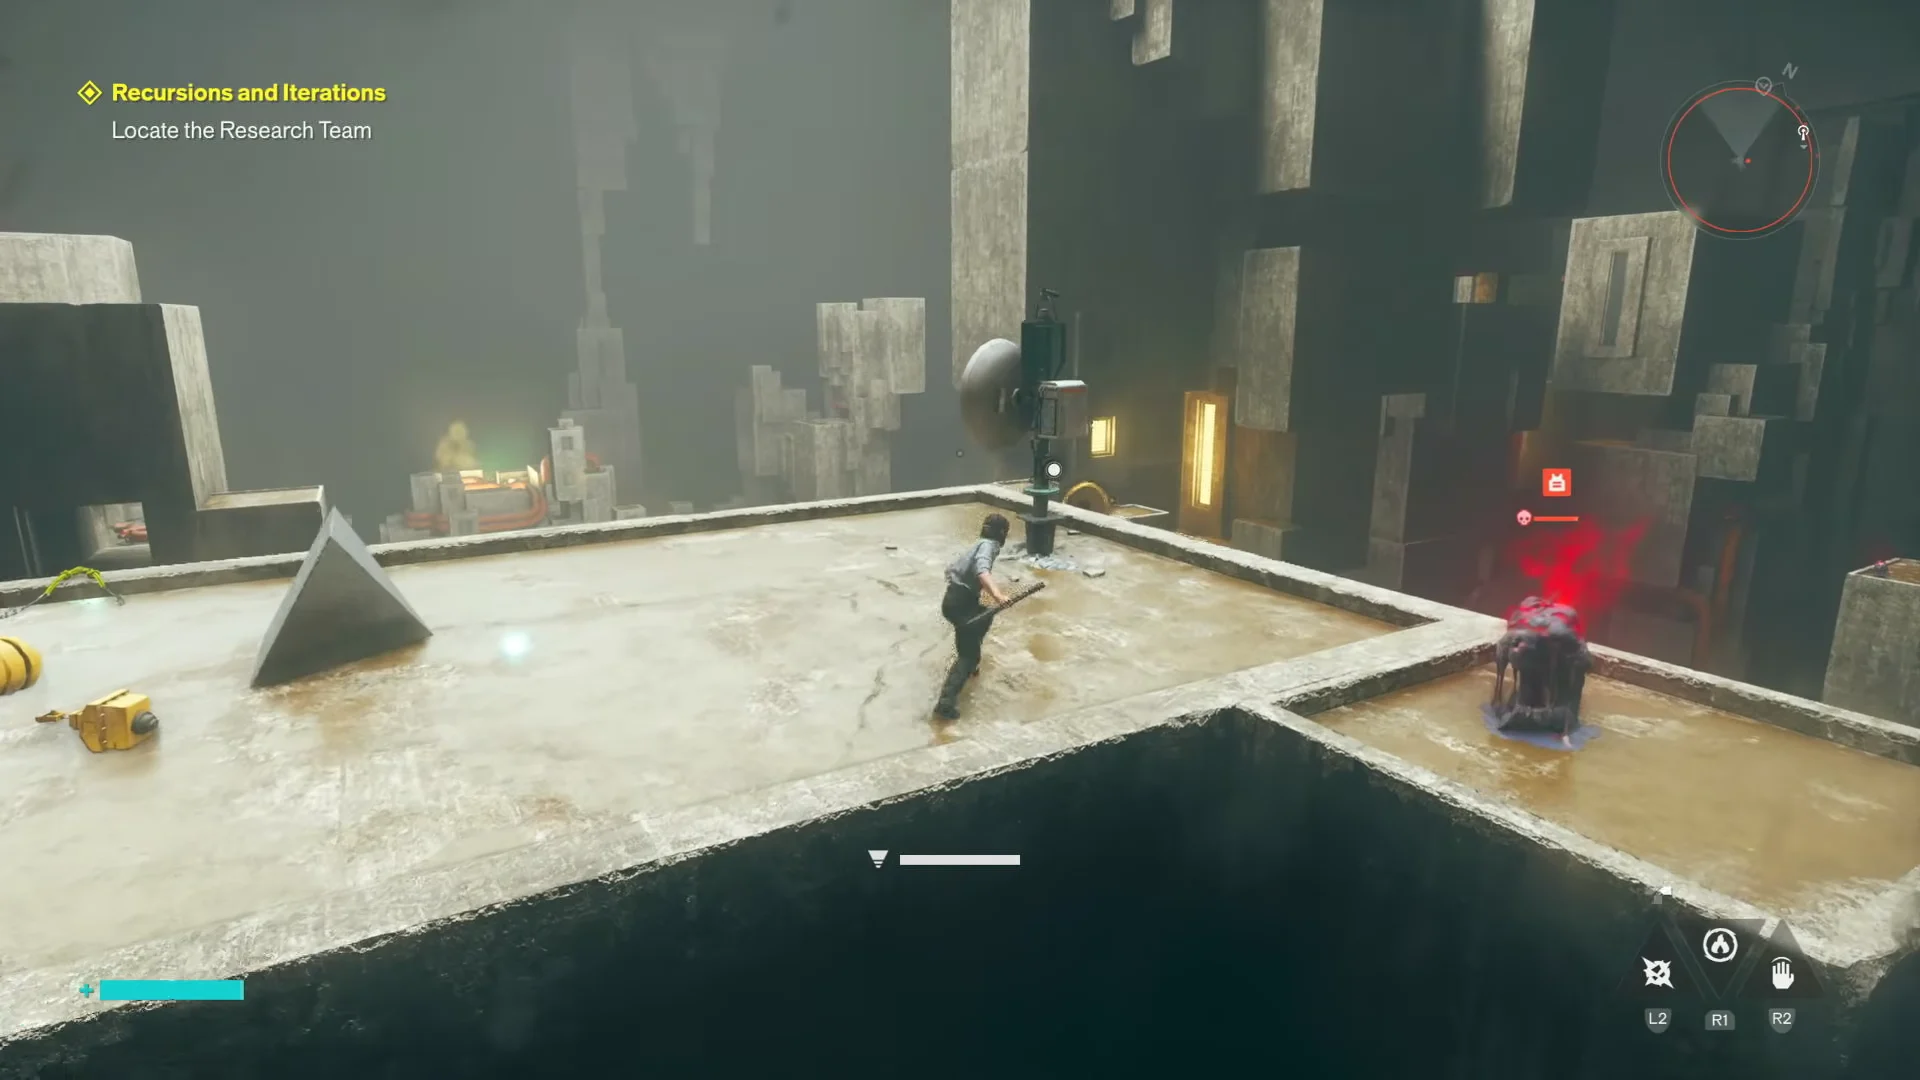
Follow the concrete staircases and ledges up to the third dish. Defeat any enemy guarding it, then interact with the dish to turn its light green.
01:52Moving to third dishThe third dish sits up a set of concrete stairs and ledges past the central platform. Shown at 01:52 in WoW Quests’s video. Image: Remedy Entertainment
Power the central relay tower
The tower terminal only responds once every dish reads green. If you interact with it early, nothing happens, so confirm all three lights first.
Interact with the control panel at the base of the tower. This powers the Map Kit and brings the local map data online.
How to confirm the map unlocked
Activating the tower panel rewards +1 Undefined Reading and displays the “Zone Map Unlocked” notification. Open the map (Touchpad) and Underpass 1 now appears fully revealed instead of blank, with its routes and icons visible.
If you have touched all three dishes but the map is still empty, go back to the central tower and interact with its panel again. That return trip to the Pylon is the final step and is easy to skip.
With the zone visible, Underpass 1 becomes far easier to navigate, which matters here because the deeper routes shift and stack overlapping states. Handling the Map Kit before pushing further into the area saves more time than it costs.
00:06Map overviewThe Underpass 1 map screen before unlocking, with the Fast Travel Door icon and the locked Map Kit entry. Shown at 00:06 in WoW Quests’s video. Image: Remedy Entertainment