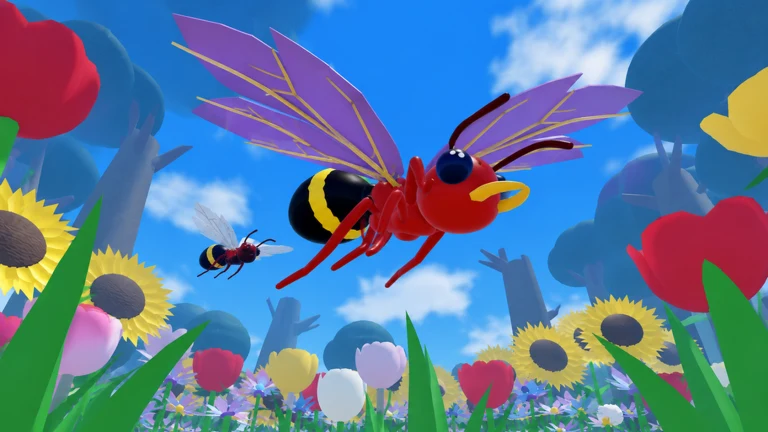
Mutations in Ant Evolution are the passive effects you roll for and equip on your ant, like Winged for flight or Honeypot for extra Power from food. Everything happens in the MUTATE menu on the left side of the screen. You pay for each roll with Tokens or DNA, and you can only use as many mutations at once as you have open equipment slots. There are 31 mutations in the Collection, and rolling one you already own isn’t wasted, because the copy upgrades it with a star.
Quick answer: Open MUTATE and press ROLL (1 Token, or 120 DNA with no Tokens) or ROLL x5 (5 Tokens or 600 DNA), then select EQUIP on the result. Rebirth 2 unlocks a second slot.
Mutation roll cost in Tokens and DNA
Each Mutation Token covers one roll. When you run out, DNA pays instead, at a flat 120 DNA per roll. A five-roll batch can mix the two: the game spends whatever Tokens you have and fills the gap with DNA. The roll buttons show the exact payment for your current balance, so read the button before you press it.
| Roll | Tokens you have | What you pay |
|---|---|---|
| ROLL | 1 or more | 1 Token |
| ROLL | 0 | 120 DNA |
| ROLL x5 | 5 or more | 5 Tokens |
| ROLL x5 | 4 | 4 Tokens + 120 DNA |
| ROLL x5 | 3 | 3 Tokens + 240 DNA |
| ROLL x5 | 2 | 2 Tokens + 360 DNA |
| ROLL x5 | 1 | 1 Token + 480 DNA |
| ROLL x5 | 0 | 600 DNA |
Rolling one at a time costs no less DNA: five single attempts use the same 600 DNA as ROLL x5. With single rolls, you can stop to equip each result; the batch only gets through the attempts faster.
How to roll and equip a mutation
You’ll know it worked when the mutation’s icon shows in an equipment slot and its effect is active on your ant. Winged is the easiest one to check. Once it’s equipped you can take off with G FLY, hold Ctrl to drop lower while in the air, and press G LAND to land. Take Winged out of its slot and the flight goes with it.
ROLL AGAIN and ROLL x5 AGAIN charge you immediately. Press OK first if you want to look at your collection or change your loadout before spending more.
Epic+ and Legendary+ pity counters
MUTATE has two pity counters, and they count down separately. Epic+ begins at 25 rolls, while Legendary+ starts at 100; each counter shows the attempts remaining until a result of that rarity or higher is guaranteed. Every roll reduces both by one. If you do five rolls without a reset, Epic+ goes from 24 to 19, and Legendary+ goes from 99 to 94.
Getting a result of the right rarity resets only its own counter. If you pull Exploding Ant, which is Epic, the Epic+ countdown jumps back to 25 while Legendary+ keeps counting down from wherever it was. That’s why it’s worth reading both numbers after every result rather than assuming they move together.
Duplicate mutations and star upgrades
A mutation you’ve never had shows up as a new Collection entry. Roll another copy and it shows +1 STAR or STAR UP! instead, and the result screen shows the upgraded effect. The star goes on the existing entry, so your count of distinct mutations doesn’t change. It can happen inside a single five-roll batch, too: a mutation can appear as NEW and then pick up a star from a second copy in the same batch.
Quick Healer at two stars, for example, heals 80% faster and shows +20% star power. Once a mutation hits its cap, any further duplicate shows MAX STARS. You can press EQUIP right on an upgrade result to put the stronger version in a slot, and the effect description on that screen is what you should compare when deciding if it’s worth the space.
How to unlock more mutation slots
Everyone starts with one equipment slot, which means only one mutation’s effect is active until you open another. There are two more to unlock, and with more than one open you can run mutations side by side and stack their effects.
| Slot | How you get it |
|---|---|
| Starting slot | Open from the start |
| Slot marked REBIRTH 2 | Reach your second rebirth |
| +1 Mutation Slot pass | 249 Robux |
The pass is reached from the +1 SLOT button in MUTATE. The Rebirth 2 slot takes two full rebirths, and the first one alone needs 1,080,000 Power. Rebirthing sends you back to Ant Egg with an empty Power bar, but you keep your mutations, DNA, pets, breeds, passes, ladders and Codex, so nothing you’ve rolled is lost along the way.
If you only want flight from Winged, the Flying Wings pass (299 Robux) gives you flight without using a mutation slot. It also adds 4 seconds of flight time, leaving that slot free for something else.
Free mutation rolls and where to claim them
Most free rolls come from the REWARDS menu, and they arrive as Tokens, so claim everything you can before spending DNA on rolls.
| Source | Requirement | Rolls |
|---|---|---|
| Daily | Day 3 | 2 |
| Daily | Day 5 | 3 |
| Daily | Day 6 | 2 |
| Daily | Day 7 | 5 |
| Playtime | 10 minutes online | 1 |
| Group | Join group and like the game | 2 |
| Quest | ROLL 2 MUTATIONS | 1 |
| Quest | BITE 12 BUGS | 1 |
| Quest bonus | FINISH ALL 3: BONUS | 2 |
| Kill streak | 8 player kills | 1 |
| Records | Growing Up III | 1 |
| Records | Collector IV | 1 |
| Records | Lucky Roller (100 rolls) | 1 |
| Records | Royal Feeder (20 Queen’s Feasts) | 1 |
Several of these pay DNA as well. The Group reward adds 1,000 DNA, and you get it by joining the tiny ants to big ants group on Roblox, liking the game, then pressing CLAIM under Rewards → Group. ROLL 2 MUTATIONS pays 300 DNA on top of its roll and BITE 12 BUGS pays 500 DNA. The quest bonus needs DEFEAT 2 ANTS, ROLL 2 MUTATIONS and BITE 12 BUGS all finished and claimed, and it adds 2x Power for 10 minutes. Growing Up III, Lucky Roller and Royal Feeder each come with 300 DNA, and Collector IV comes with 600 DNA. For the Playtime roll, open Rewards → Playtime and claim the 10-minute tier once it says READY.
Mutation luck boosts
Three things double your mutation-roll luck, and the only free timed one is a server event.
| Source | Luck | How long |
|---|---|---|
| Lucky DNA pass | 2x | Permanent while owned |
| Lucky Hour | 2x | 4-minute event timer |
| Daily Day 7 reward | 2x | 30 minutes |
If you don’t own Lucky DNA, holding onto Tokens until Lucky Hour starts and rolling while its four-minute timer runs gets you the same doubled luck for free. Claiming Day 7 gives you five rolls and a 30-minute luck boost at the same time, so it makes sense to spend those rolls right away.
Mutation Roll packs for Robux
Roll packs are under STORE → ROLLS, or you can tap the ROLLS shortcut inside MUTATE. Each pack adds Mutation Tokens, which you spend the same way as free ones.
| Pack | Price | Per roll |
|---|---|---|
| 1 Mutation Roll | 35 Robux | 35 Robux |
| 5 Mutation Rolls | 149 Robux | 29.8 Robux |
| 15 Mutation Rolls | 399 Robux | 26.6 Robux |
The store tags the five-pack +17% MORE and the 15-pack +33% MORE and BEST VALUE. The single roll costs the least up front if you only want one more shot at a pity counter.
Which mutations to equip in Ant Evolution
With just one slot, pick the mutation that matches how you earn most of your Power. With two or more, you can pair effects that cover each other’s gaps.
| Mutation | Effect | Good for |
|---|---|---|
| Honeypot | 15% more orb Power, heals from food | Food farming |
| Hunter Ant | 30% more Power from kills | Fighting |
| Swift | Faster ground collection | Farming |
| Winged | Flight while equipped | Reaching high spots, escaping |
| Razor Jaws | Stronger bites | Bite combat |
| Vampire Ant | Heals 20% of bite damage dealt | Bite combat |
| Phoenix Ant | Revives you instead of dying | Survival |
Honeypot fits a first slot if you spend most of your time eating orbs, since you get more Power from them and heal while you collect. Hunter Ant is the pick if bugs and other players are where your Power comes from.
Once a second slot is open, Swift speeds up a ground farming route, and Winged lets you reach high food and get out of fights. Razor Jaws and Vampire Ant work as a pair for long bite fights, because the harder bites feed the healing. Vampire Ant only heals on bites that do damage, though, so it does nothing while you’re running away. Both halves of any pair need to be owned and equipped, which means two open slots.
Phoenix Ant stops a death by reviving you, then goes on a 120-second cooldown, so there’s no second revive for two minutes after it fires. Use the revive to get away rather than staying in the fight.