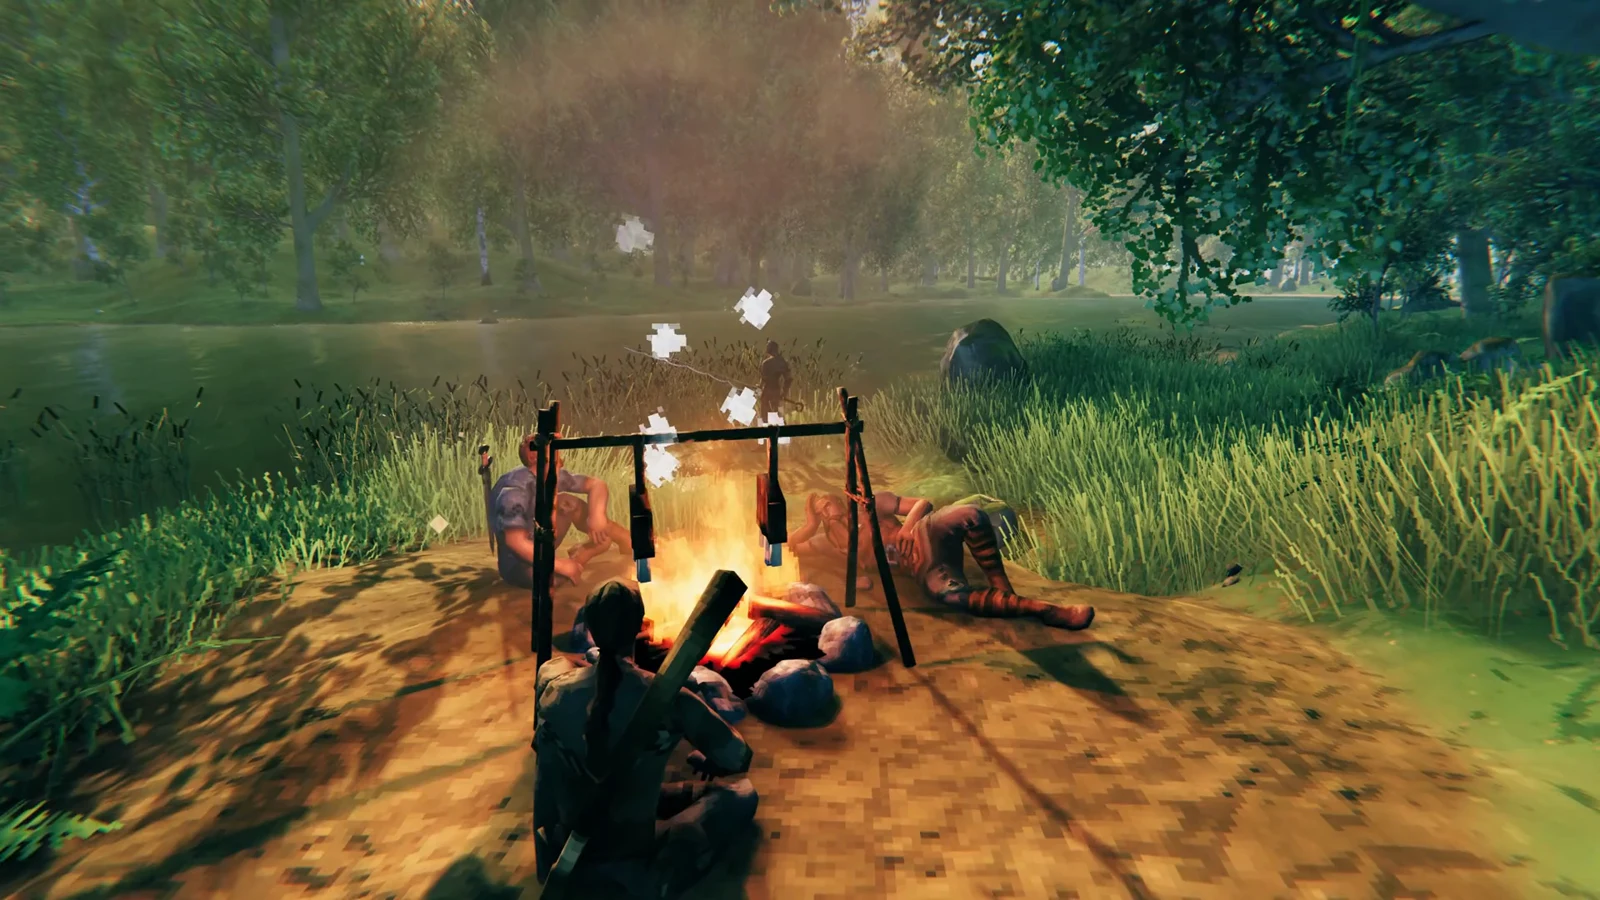
Growing your own food in Valheim starts with one tool and a patch of prepared ground. Once you can plant carrots, turnips, and onions at home, you stop relying on lucky finds in the wild and build a steady supply of cooking ingredients. The process is short, but every crop needs the right soil, the right biome, and enough breathing room to grow.
Quick answer: Craft a Cultivator, use it to turn flat ground into dark tilled soil, then open its menu, pick a seed, and plant each one roughly 1 meter apart so it reads “Healthy” instead of “Needs more room to grow.”
What you need before planting
Planting is locked behind the Bronze Age, since the tool that does all the work is made from Bronze. Before you can put a single seed in the ground, gather these three things.
- A Hoe to flatten and level the ground first.
- A Cultivator to till soil and place seeds.
- At least one seed of the crop you want, picked up in the world.
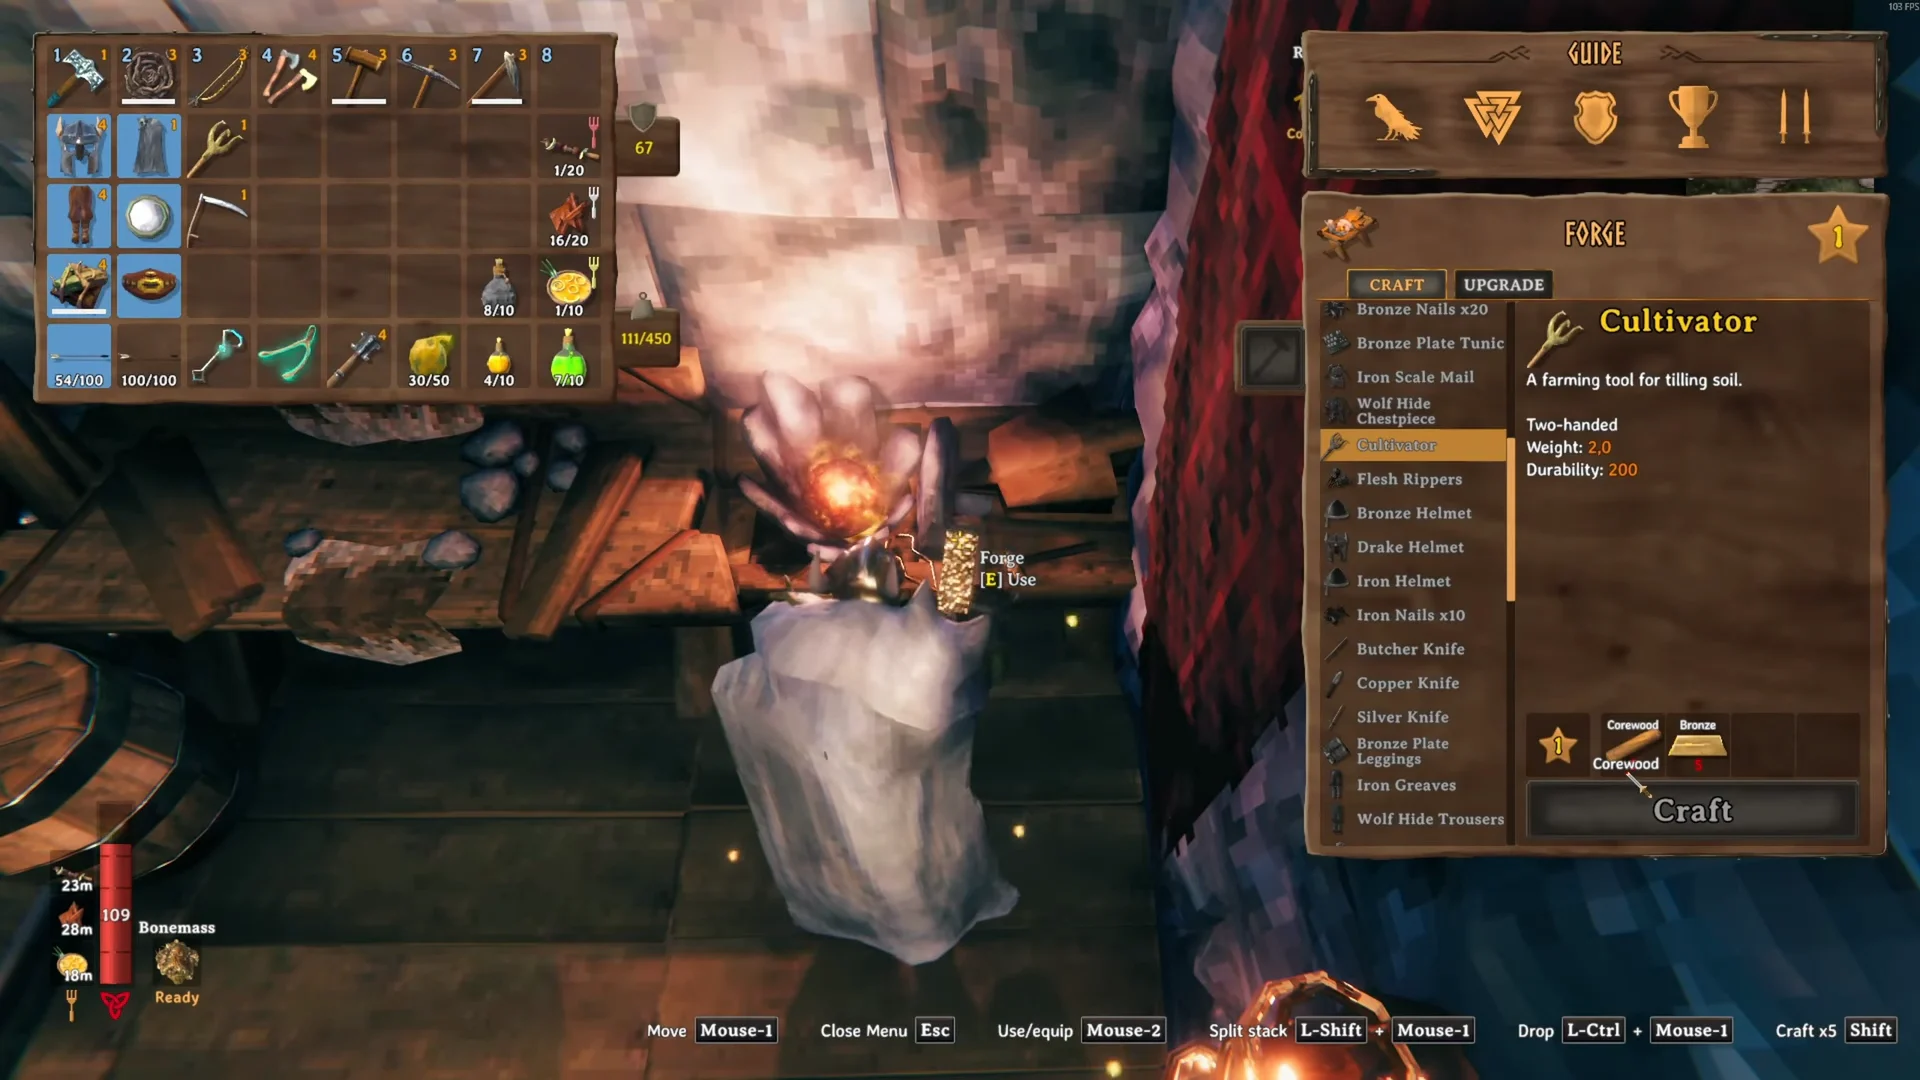
Craft the Cultivator at a Forge
The Cultivator is built at a Forge once you can smelt Bronze from Copper and Tin found in the Black Forest. The recipe is 5 Core wood and 5 Bronze. It is a two-handed tool with 200 durability, and every cultivate or planting action wears it down, so keep a Forge nearby for repairs as your fields expand.
Where to gather each crop seed
You cannot plant a crop until you have carried at least one of its seeds home. Each type comes from a specific biome, and two of them are tied to where they grow permanently.
| Crop | What you plant | Where to find it |
|---|---|---|
| Carrot | Carrot Seeds | Black Forest, white-flowered plants |
| Turnip | Turnip seeds | Swamp, yellow-flowered plants |
| Onion | Onion Seeds | Mountain chests in stone ruins |
| Barley | Barley itself | Plains, Fuling villages |
| Flax | Flax itself | Plains, Fuling villages |
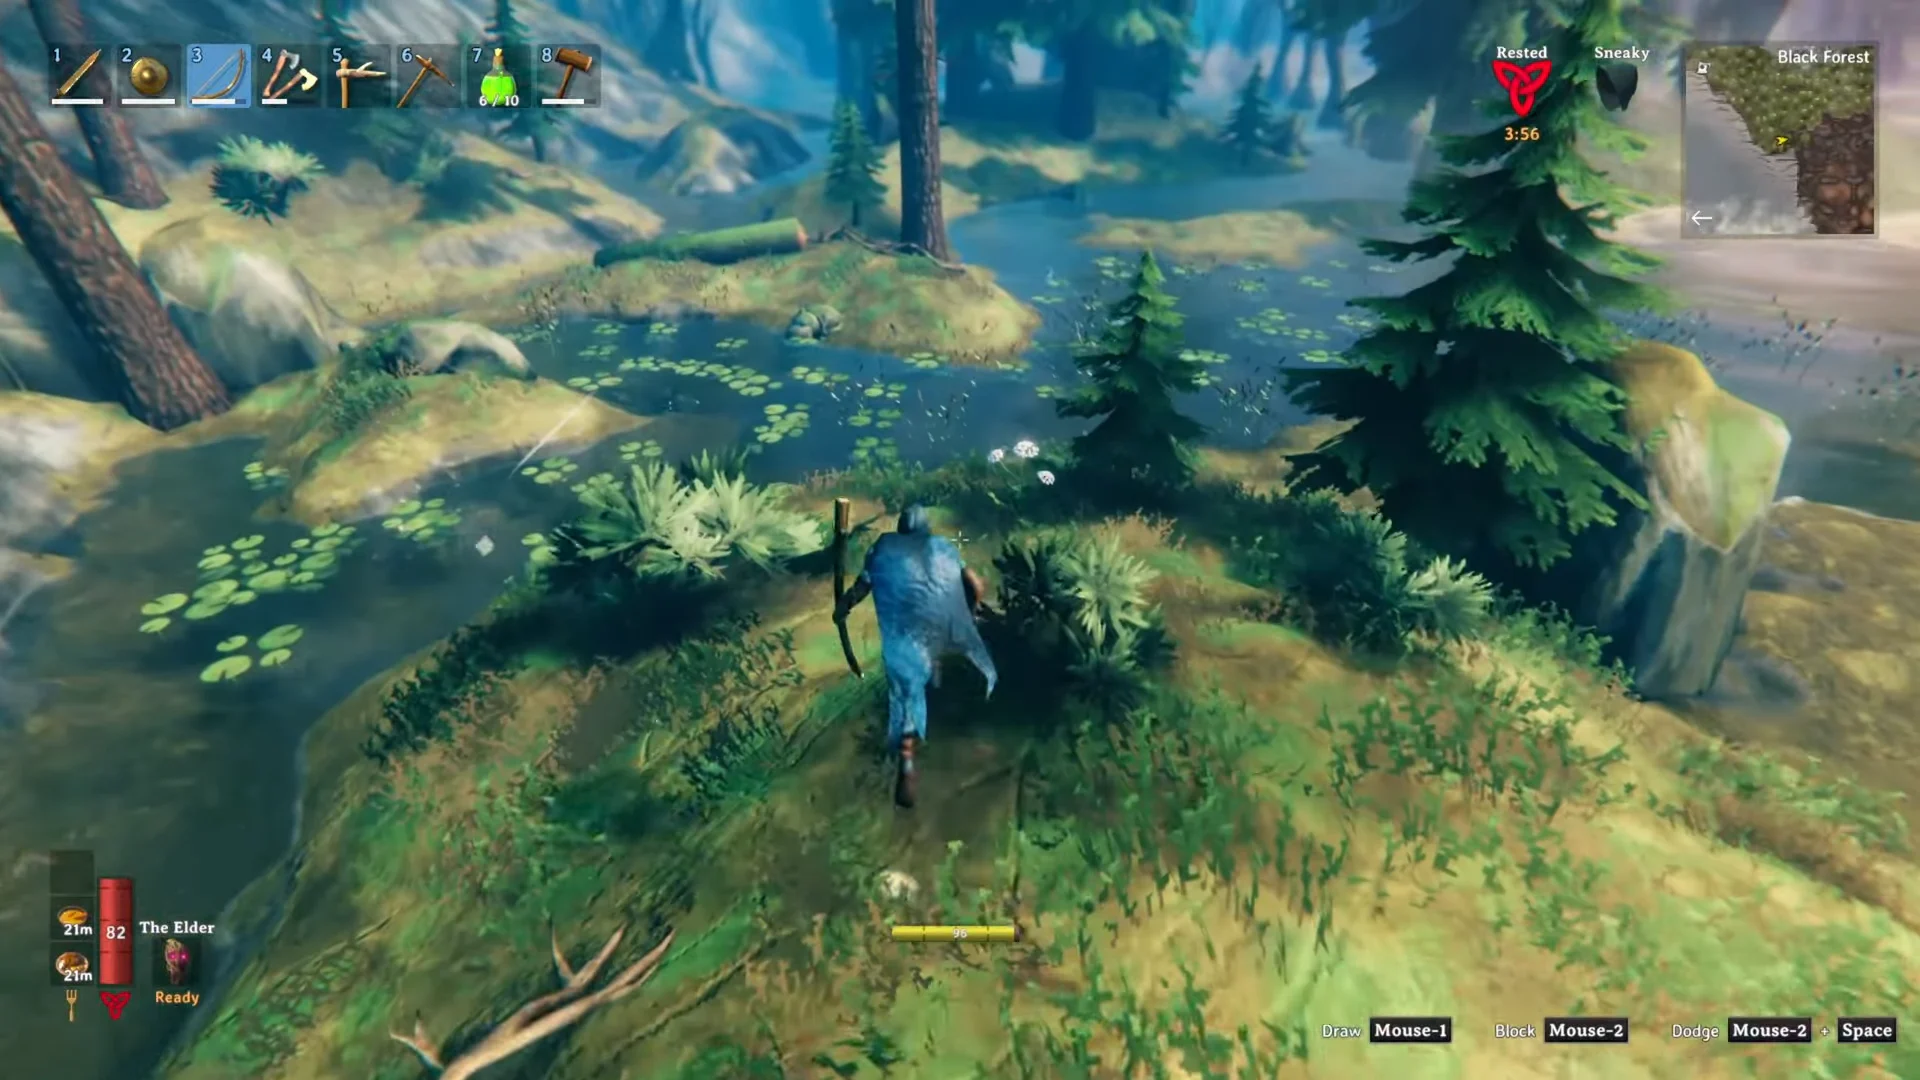
Onion Seeds are the exception, since you loot them from chests inside the ruined stone buildings on the Mountains rather than picking them off the ground. Open every container you pass up there.
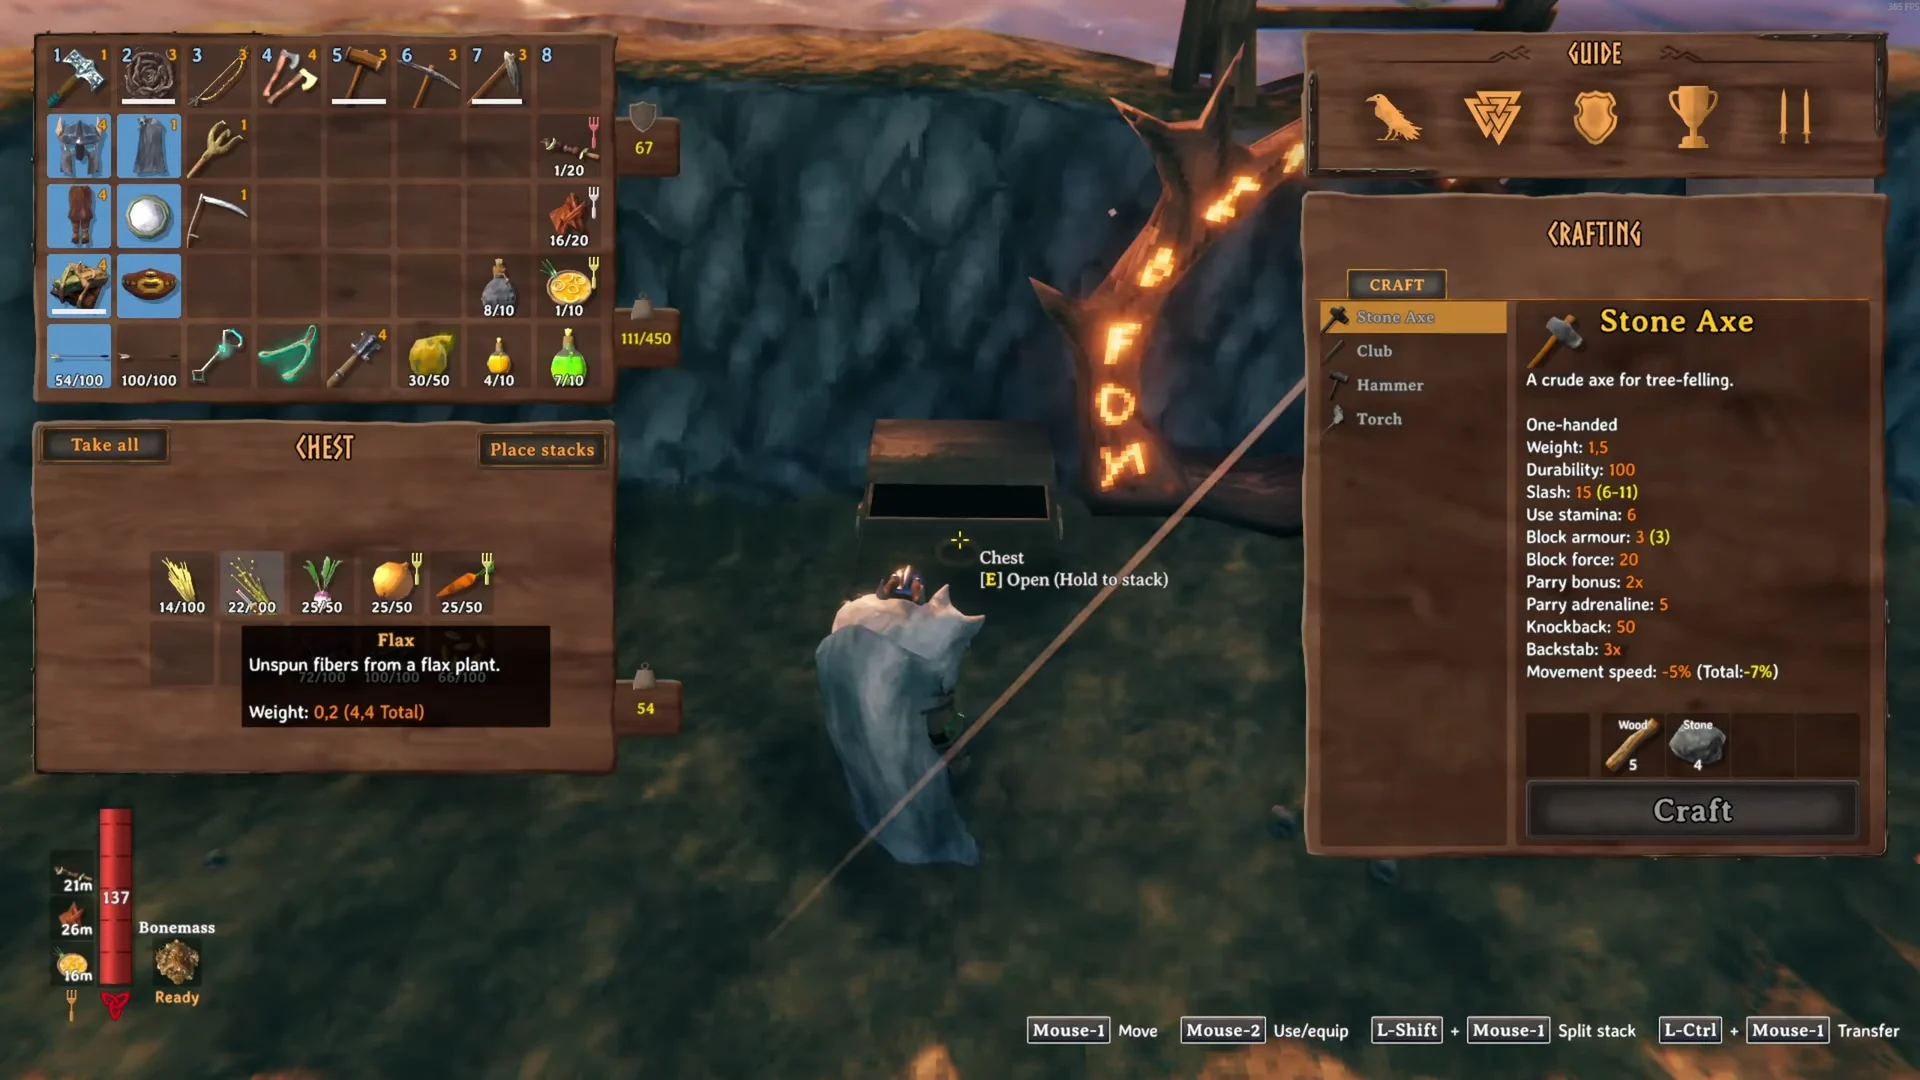
Barley and Flax are crops exclusive to the Plains. Plant the crop directly instead of using a separate seed item; neither can grow on a Meadows farm, regardless of spacing.
Turn ground into cultivated soil
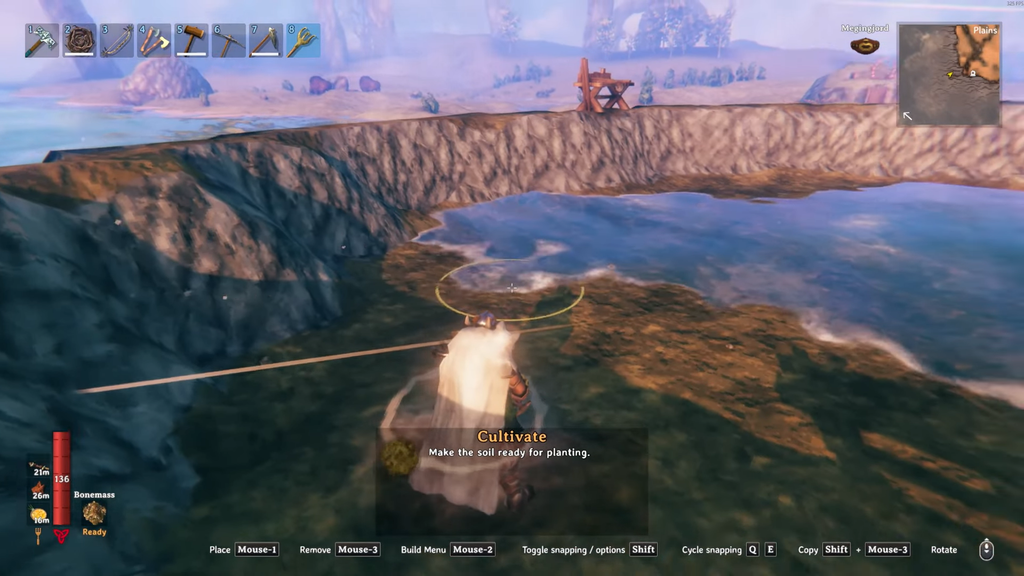
Vegetables need dark, tilled soil before they will take. Trees are the only planting that skips this step. Prepare your plot in two quick actions.
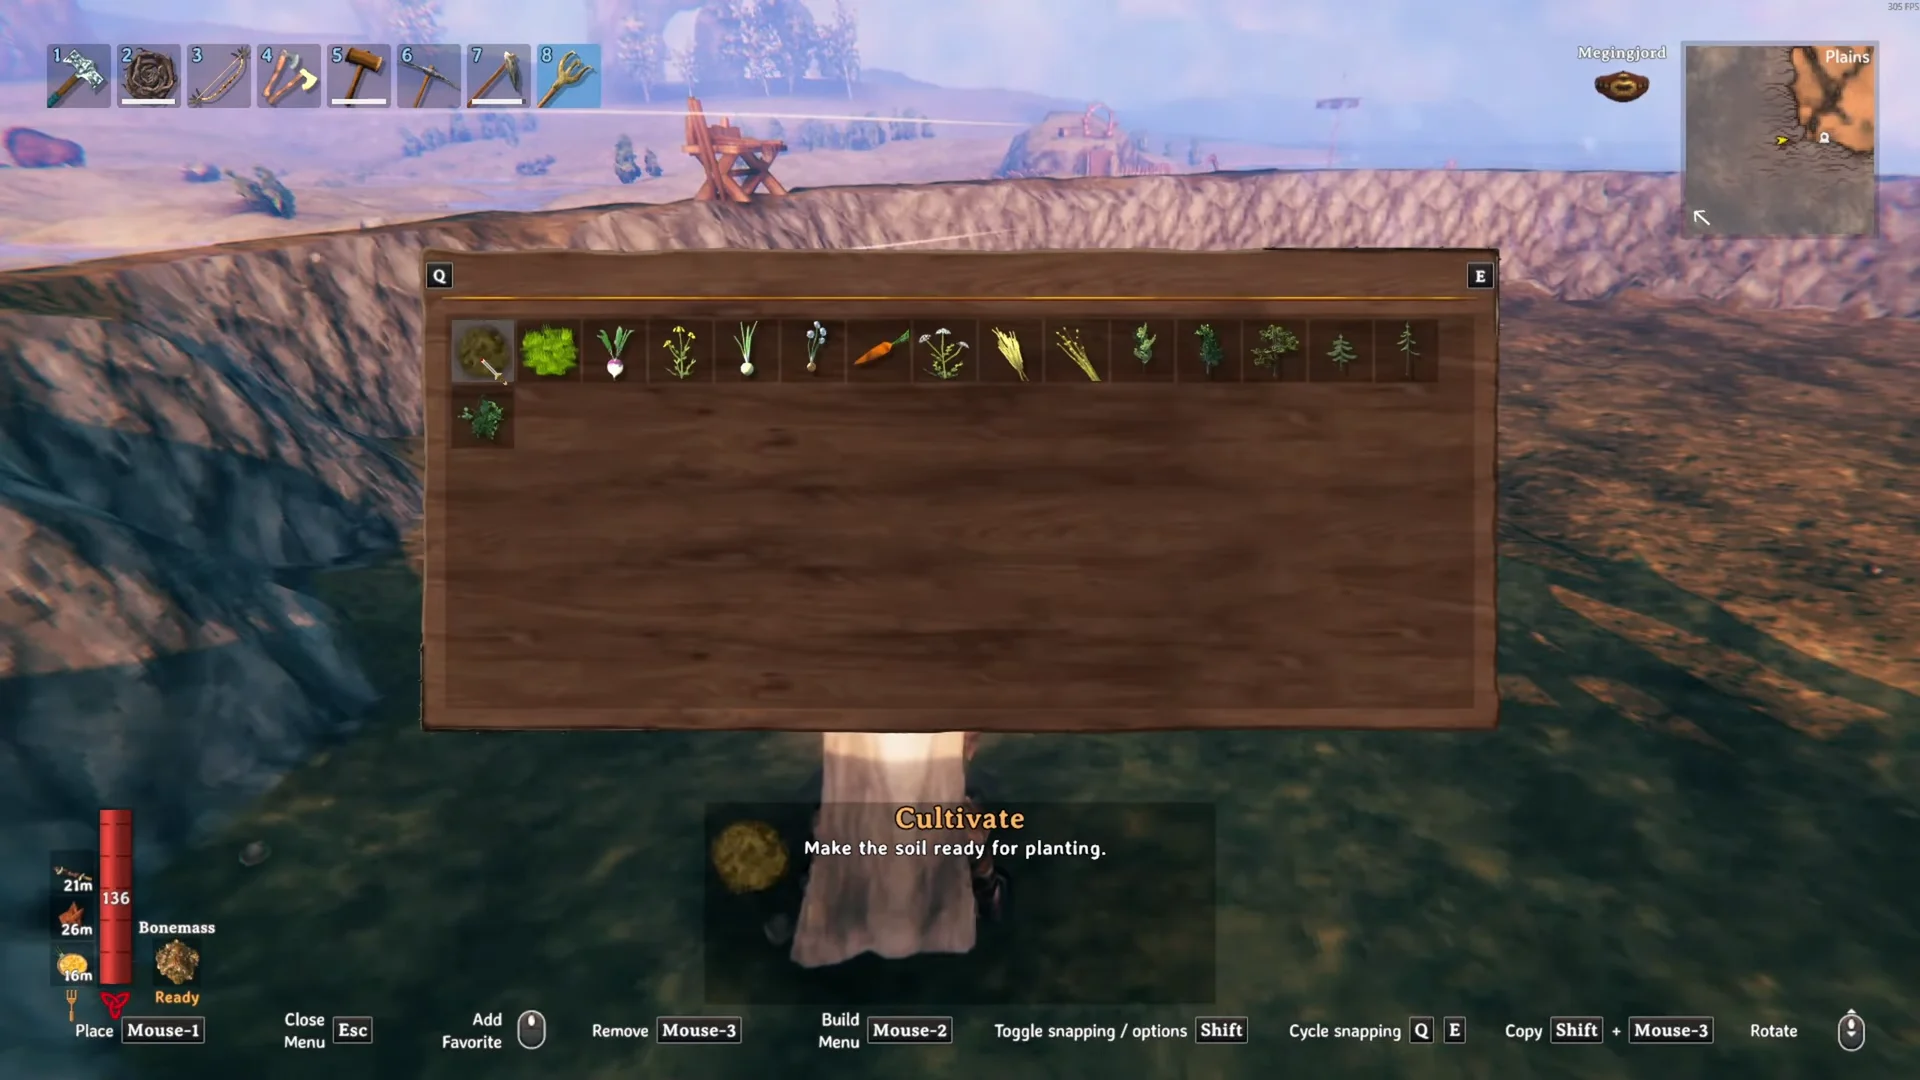
Plant seeds and keep them one meter apart
With soil prepared and seeds in your pockets, the last step is placement. Crowded plants refuse to grow, so spacing matters as much as biome.

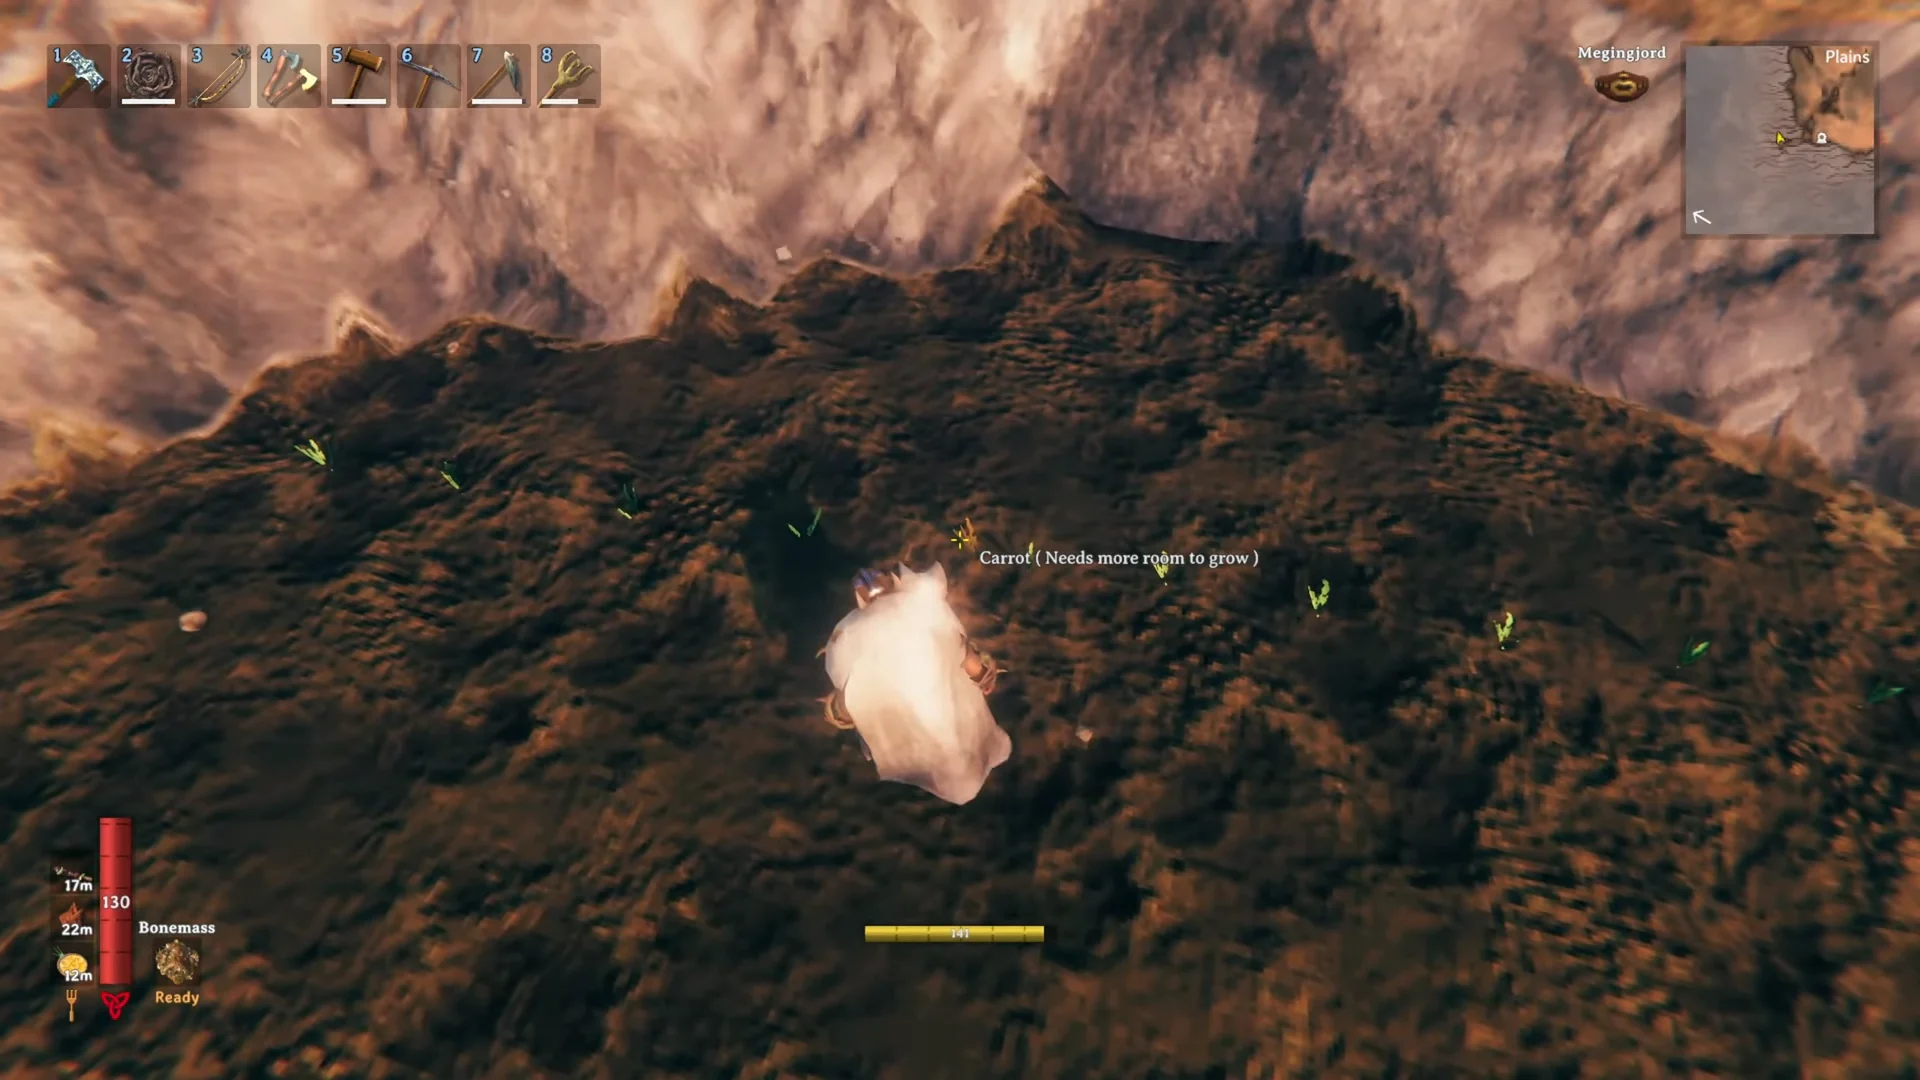
The “Healthy” prompt is your confirmation that planting worked. From there, carrots take about three in-game days to fully mature, and you interact with a grown plant by pressing ‘E’ to harvest it. Spread your seeds out, check the status text on anything that looks cramped, and a small tilled plot quickly becomes a reliable source of home-grown food.