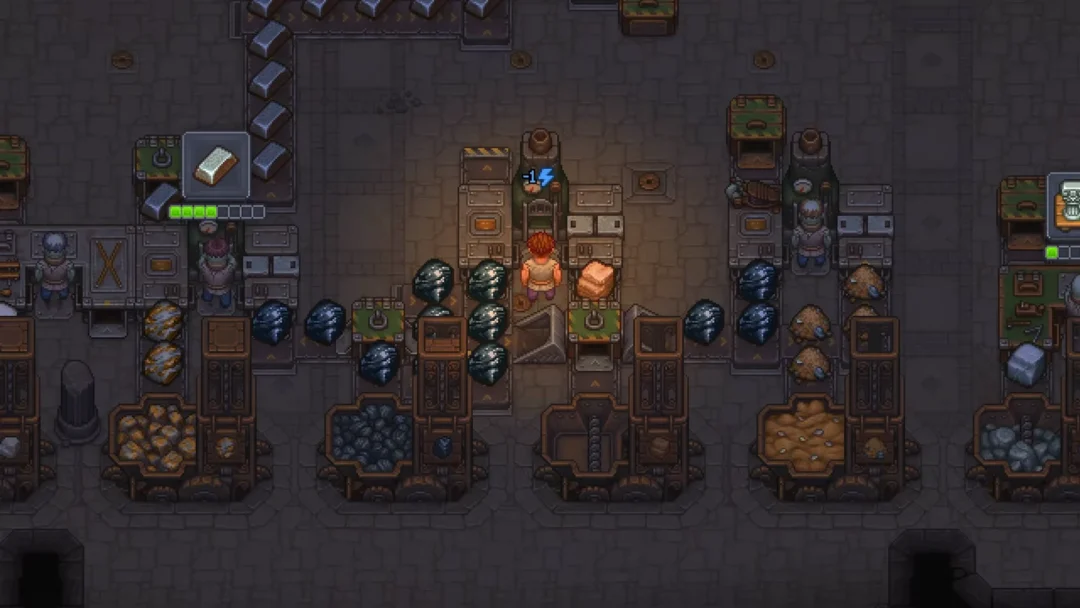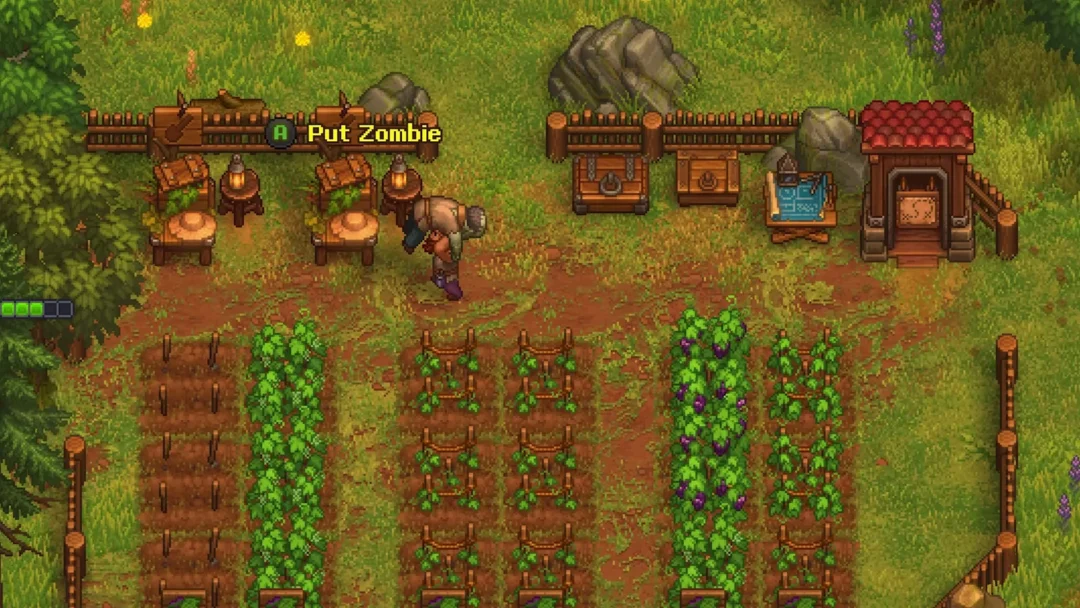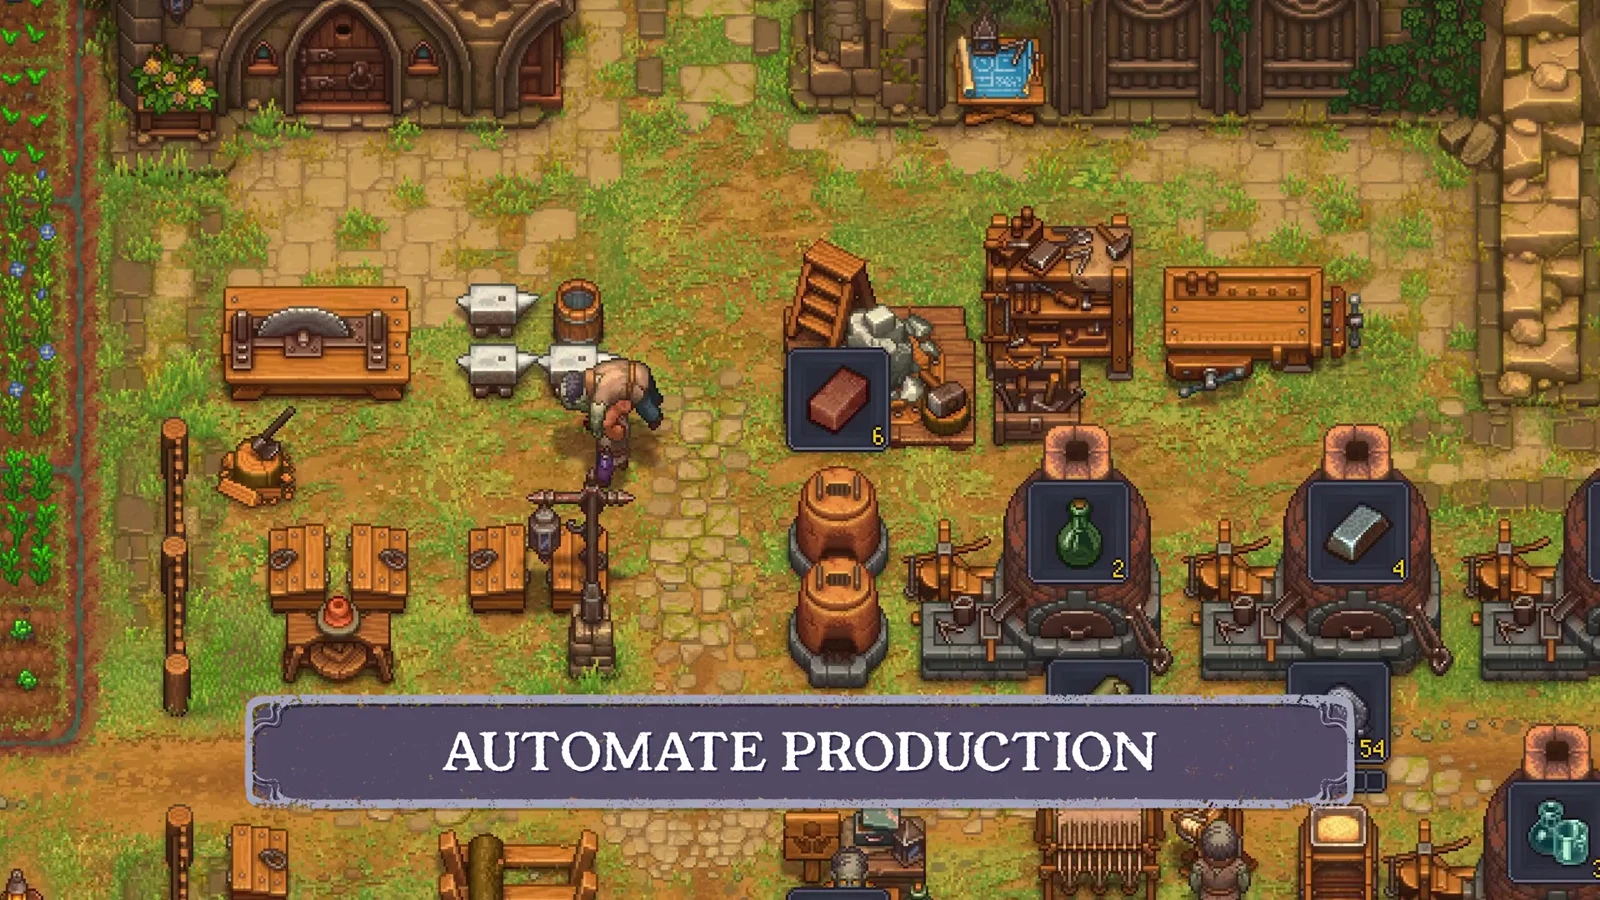
Sand and clay feed some of the most demanding production chains in Graveyard Keeper 2. Clay drives pottery and construction, while river sand becomes the raw material for glass and, later, alchemy. Digging both by hand drains your energy fast, so the long-term fix is a fully automated line that lets zombies excavate the material and carry it back to your base for you.
Quick answer: Build a Sand Digger Stand and Clay Digger Stand in the Riverside area, staff each with a shovel-equipped zombie, place chests and a Porter Station beside them, then clear the rubble at the north end of the Old Mine so porters can deliver into the basement stockpiles.
What you need before automating sand and clay
Automation is a mid-game system, not something you can set up on day one. Two conditions have to be met before the line will actually deliver anything.
- Access to the Riverside digging area located south of the quarry, where the sand and clay deposits are found.
- Enough zombies to work the digger stands and porter route, each digger needing a shovel.
- Mine access unlocked through the refugee camp storyline, plus the ability to clear the rubble blocking the Old Mine corridor.
- Build materials for the digging structures: Flitch, Wooden plank, Nails, and Complex iron parts for the upgraded chest.
Zombie Digging build menu costs
Every structure in the automated line comes from the Zombie Digging build menu you open at the Riverside site. Have these materials ready before you start placing anything.
| Build | Materials |
|---|---|
| Simple Chest | Flitch x2, Wooden plank x4, Nails x4 |
| Chest | Wooden plank x4, Nails x4, Complex iron parts x2 |
| Porter Station | Flitch x4, Wooden plank x8, Nails x6 |
| Clay Digger Stand | Flitch x4, Wooden plank x8, Nails x6 |
Build the digger stands in the Riverside area
[R] Build. This is where you place both the digger stands and the chests that catch the harvested material.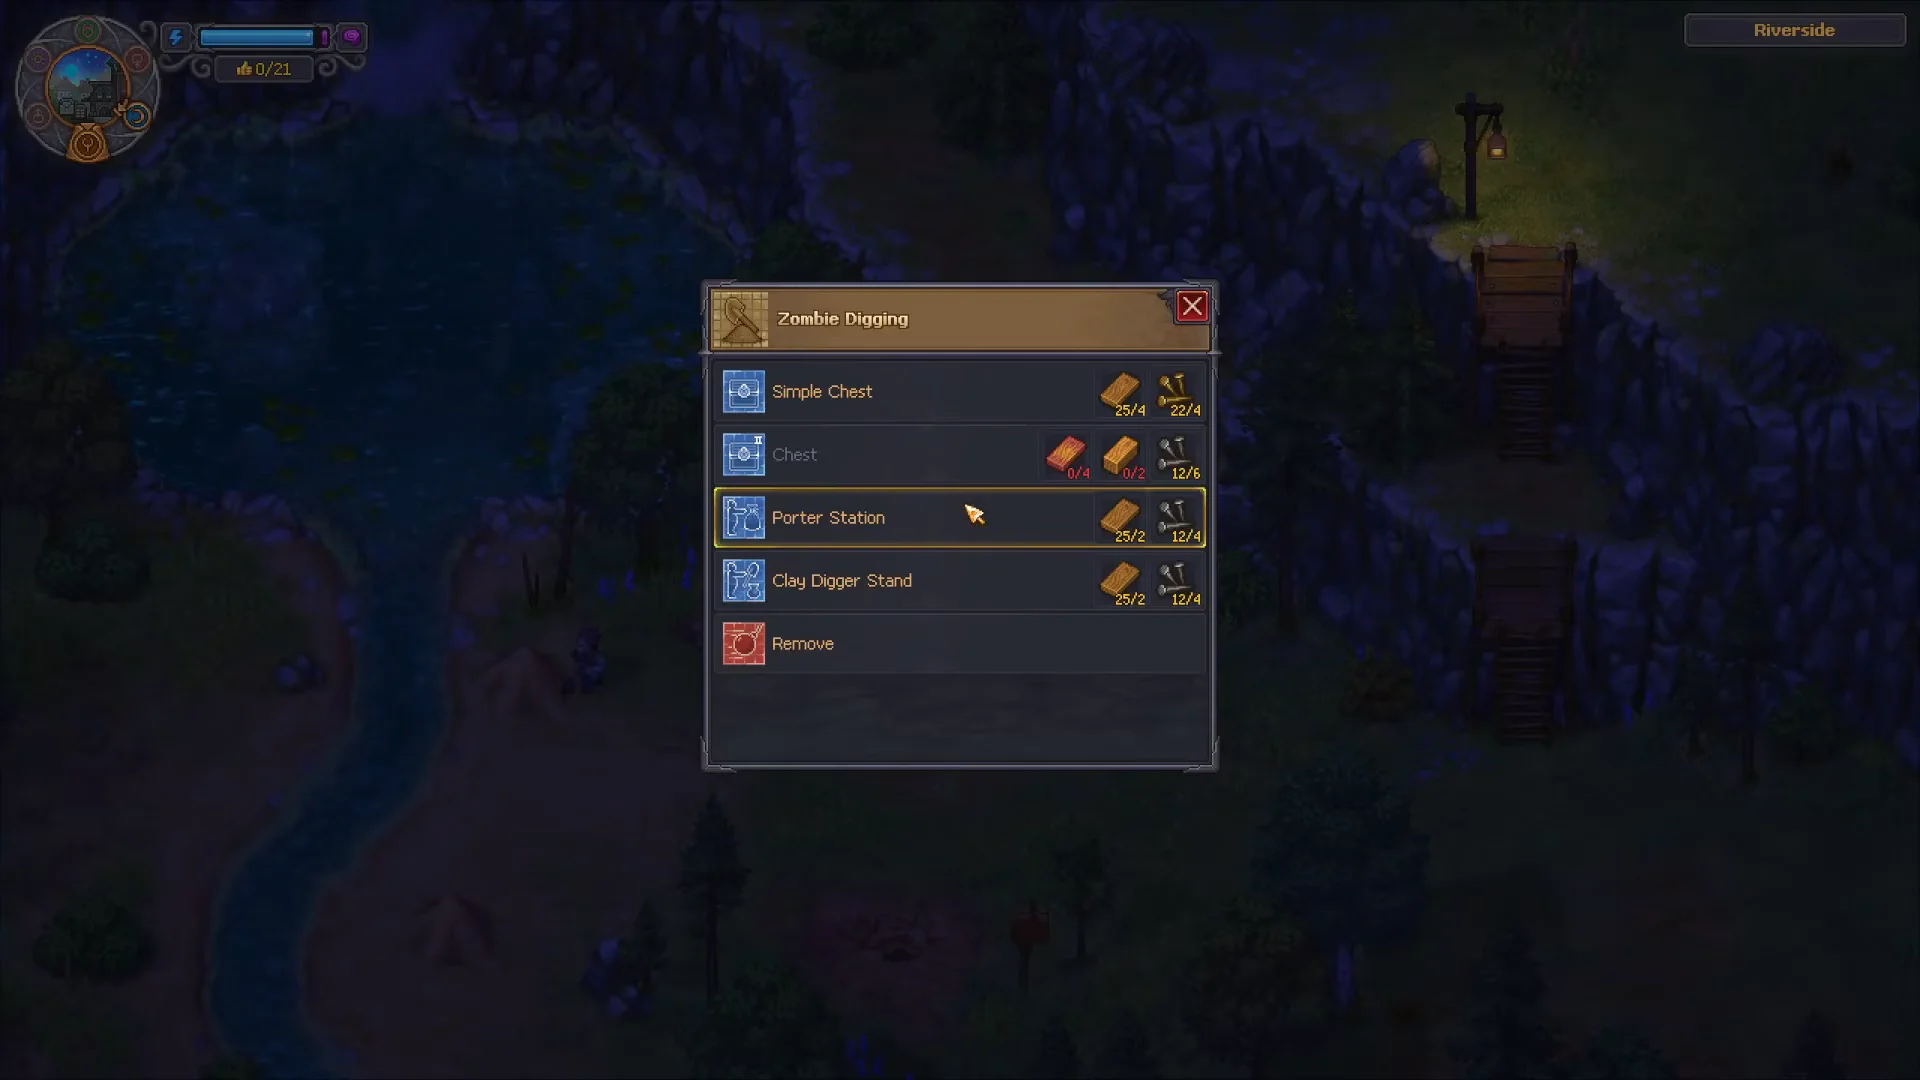
A Simple Chest works for early output, but the upgraded Chest holds more and is worth the Complex iron parts once your diggers are producing steadily.
Add a Porter Station to move the material
Diggers only fill the local chests. To carry that stock back to your base, build a Porter Station next to the digging area from the same Zombie Digging menu. Staff it with a zombie, and the porter picks up the harvested sand and clay and hauls it toward your base stockpiles through the mine tunnel.
The porter route runs from the Riverside site up to the quarry mine entrance and into the Old Mine. Until the passage inside that mine is open, however, the porter has nowhere to deliver.
Clear the Old Mine blockage so porters reach the basement
This is the trigger that turns a set of stands into a fully automated supply line. The porter needs an unblocked path from the mine into the basement Factory area.
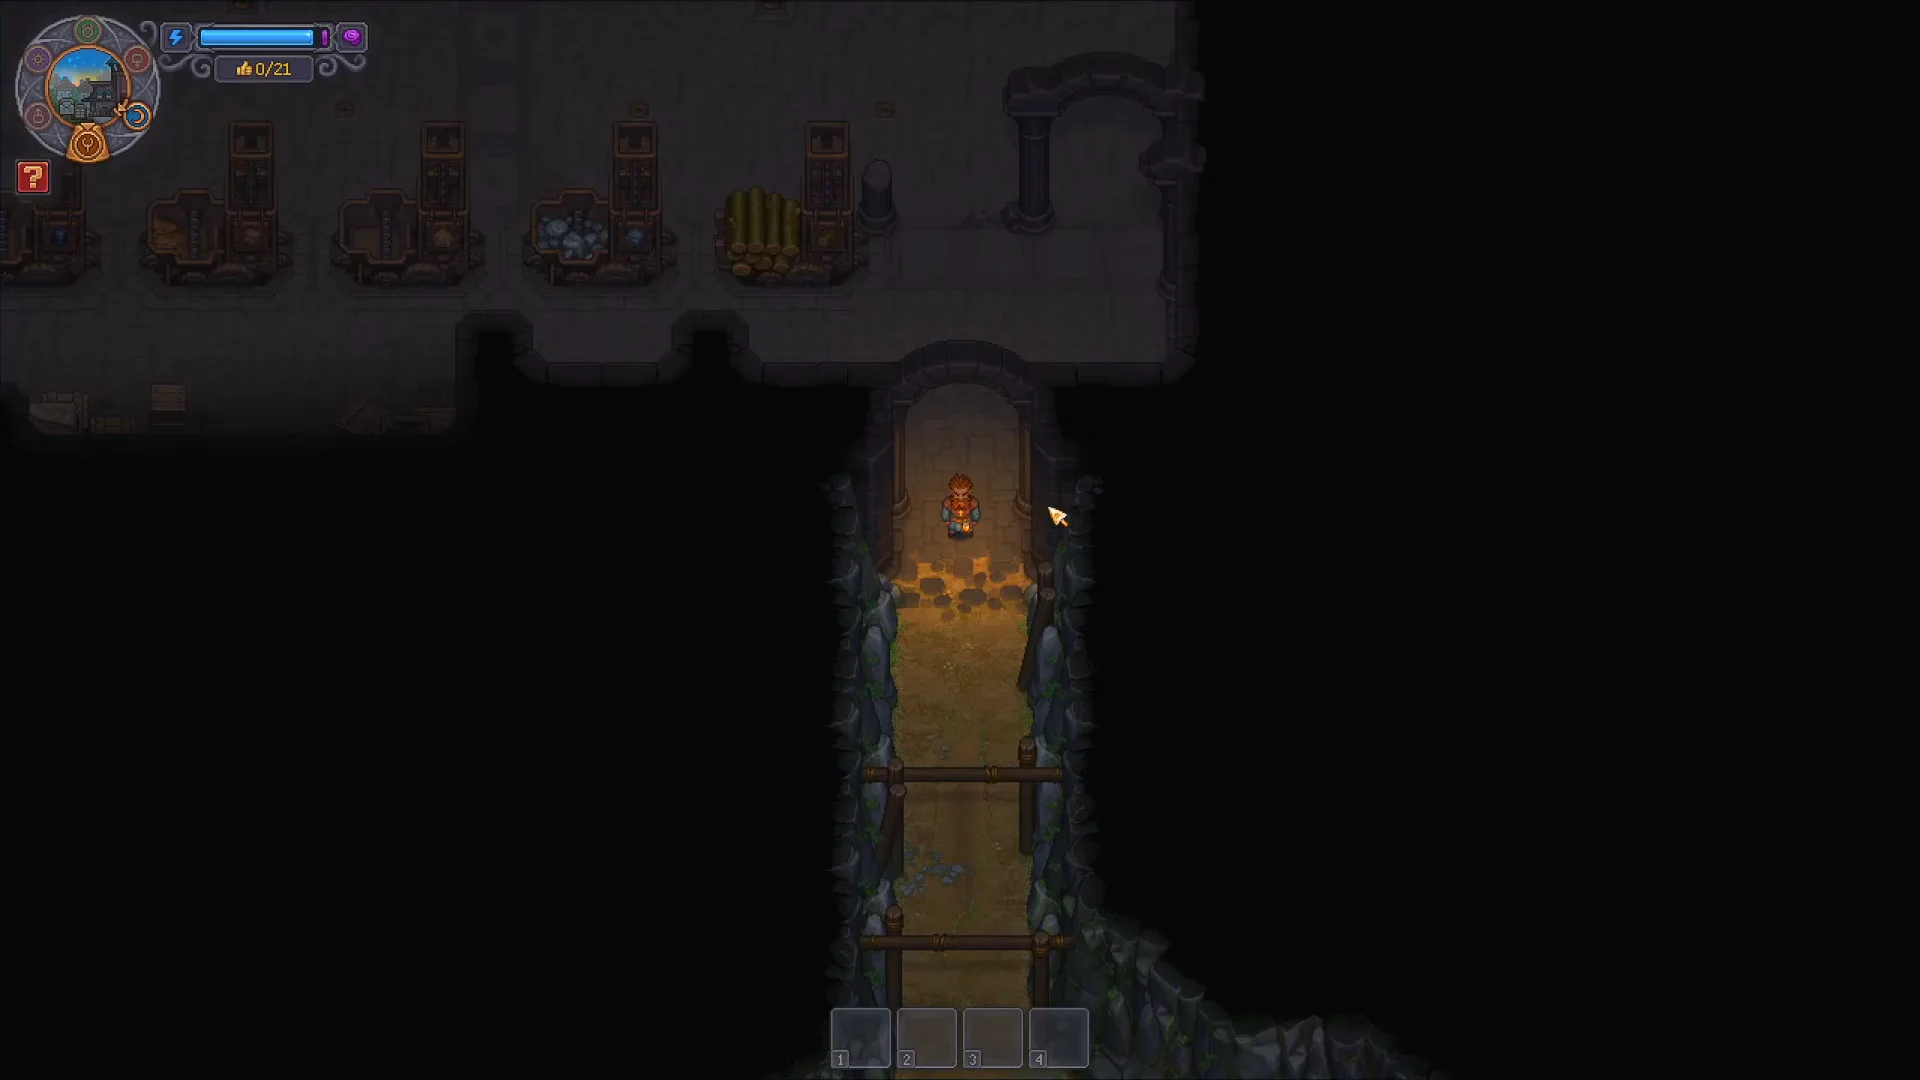
Mine access itself is tied to the refugee camp storyline. If the corridor is still sealed, progress that questline first, then return to clear the rubble.
Confirm material reaches the Factory stockpiles
With the passage open, walk into the Factory basement and watch for the porter delivering to the material stockpiles. Once the route is working, sand, clay, stone, and wood all flow directly into their dedicated storage in the base. Seeing the counts rise in the basement stockpiles is your confirmation that the line is fully automated.
The Factory already provides these raw-material stockpiles, so you do not build them yourself. The sand and clay bins are generous, which means your diggers can run for a long time before anything backs up.
| Stockpile | Slots | Capacity |
|---|---|---|
| Sand | 2 | Sand x198 |
| Clay | 2 | Clay x198 |
| Stone | 2 | Stone x60 |
| Wood | 9 | Log x9 |
Once the diggers, chests, Porter Station, and cleared passage are all in place, the whole chain runs on its own. Your character keeps its energy for pottery, glass, church upgrades, and everything else that actually needs your attention, while the zombies handle the endless digging.