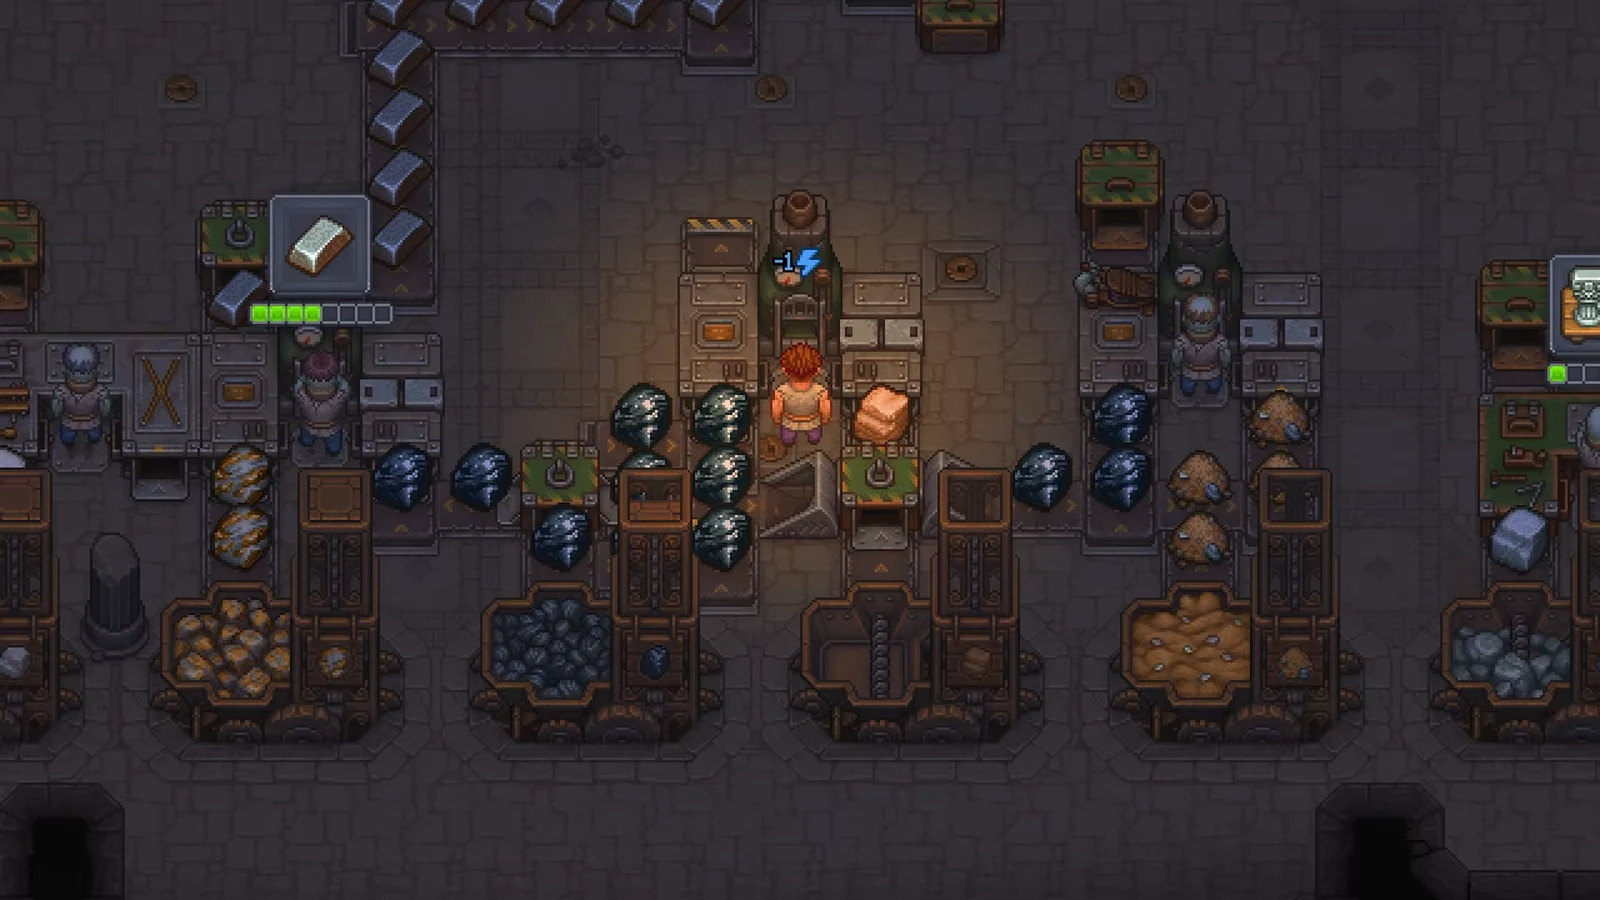
The production Smithy in Graveyard Keeper 2 is a Factory workstation that turns raw materials into ingots, bricks, glass and tableware, all worked by zombies on a conveyor line. It is not placed beside your house like a normal work yard station. It goes inside the large underground Factory area, which is why many players research the blueprint and then cannot find anywhere to build it.
Quick answer: Research Smithy I in the Metallurgy tech tree, then build it at the Factory Builder inside the underground Factory for 6 Reinforced Plank, 4 Bronze Detail and 4 Bronze Gear.
Two different Smithies, and which one this is
Before building anything, confirm which Smithy you actually want. The game has two separate things that share the name, with different unlocks and locations.
- Town Smithy — a shop built on a Workshop Courtyard plot, unlocked by Artisans I, that opens a blacksmith trader and Town orders.
- Factory Smithy — the production workstation built inside the underground Factory and used for automated crafting.
If you are trying to process ore into ingots and craft materials in bulk, you want the Factory Smithy. Everything below covers that version.
Unlock Smithy I in the Metallurgy tech tree
Open the Character screen and go to the Tech Tree, then the Metallurgy branch. The Smithy I node sits here alongside its Blueprint: Smithy I tooltip. Orange (Factory) nodes mark structures that can only be placed inside the underground Factory, which is the key detail that trips people up.
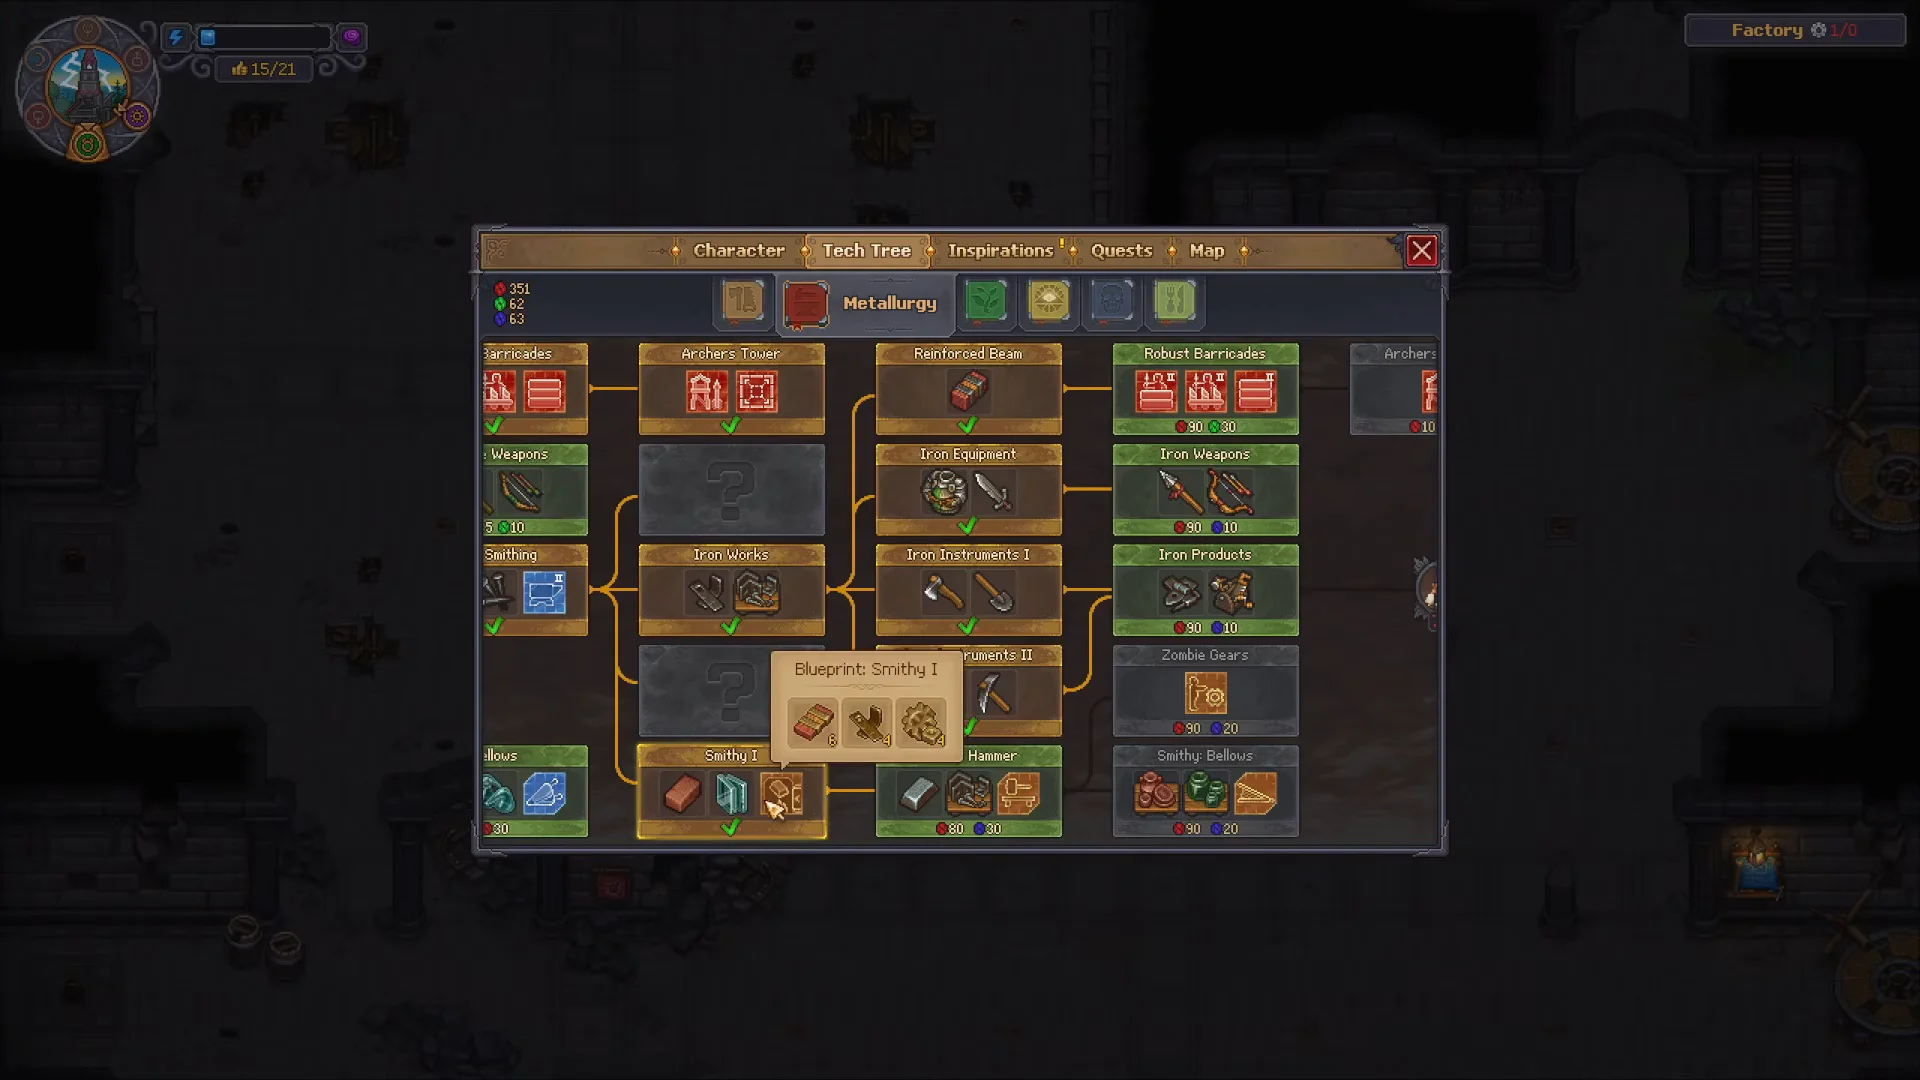
You reach Smithy I after unlocking Iron Smithing and the Iron Anvil earlier in the branch. Researching the node costs 75 Red and 20 Blue tech points and unlocks the Smithy I building plus its Brick and Glass recipes.
Research alone does not place the station. It only makes the blueprint available at the Factory build menu, so expect to travel underground before you can build it.
Smithy I build cost
Gather the following materials before heading down. They are consumed when you place the frame at the Factory Builder.
| Material | Quantity |
|---|---|
| Reinforced Plank | 6 |
| Bronze Detail | 4 |
| Bronze Gear | 4 |
Build the Smithy inside the underground Factory
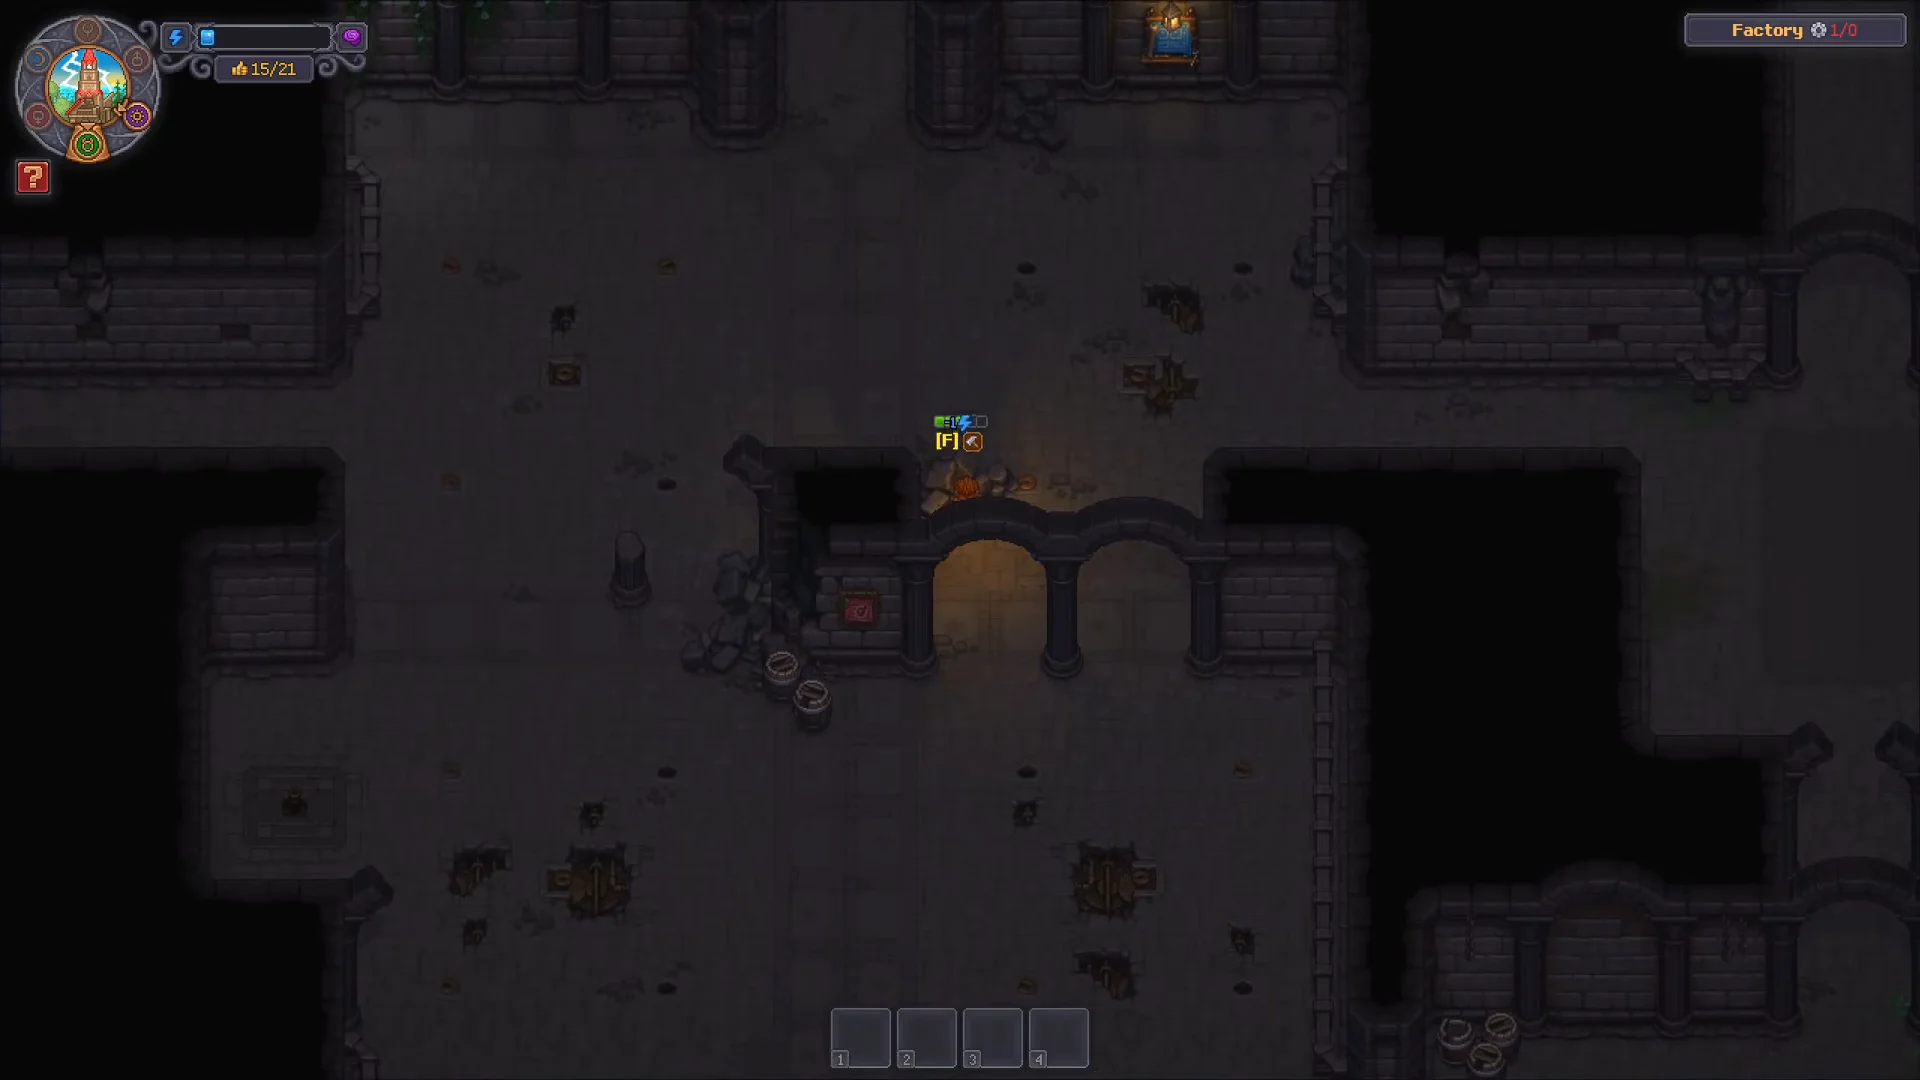
Confirm the Smithy is built and running
You know the build succeeded when Smithy I appears in the Factory as a finished station on the conveyor line rather than an empty build slot. The Smithy does not work on its own. It relies on zombie workers and the Factory’s transport network to feed materials and remove finished goods, so place it near conveyors, ore, clay and sand supplies for the best throughput.
Resources reach production through the Factory’s resource nodes, porter stations, and conveyors; don’t place items directly into the station. Porters transport collected materials, including Zombie Mining output, to the starting nodes at the workshop’s southern end, while conveyors carry them through production.
Add extensions to unlock more recipes
Several Smithy recipes need an extension built next to the station through the Factory build menu. Research the extension technology first, then place it beside the Smithy.
| Extension | Materials | Enables |
|---|---|---|
| Smithy: Hammer | 2 Wooden beam, 2 Iron Detail, 1 Iron Ingot | Iron Ingot, Iron Kit I |
| Smithy: Bellows | 4 Leather Scroll, 2 Iron Detail, 4 Wooden Plank | Tableware, Glass Containers |
The Hammer extension is the most useful early add-on because it turns your Smithy into an ingot and Iron Kit producer. The Bellows extension opens the Tableware and Glass Containers lines.
Smithy I recipes
Smithy I has six recipes, and every one is conveyor-compatible for fully automatic bulk production. Two of them require an attached extension.
| Recipe | Ingredients | Extension |
|---|---|---|
| Iron Ingot | Iron Ore ×1 + Coal ×1 | Smithy: Hammer |
| Iron Kit I ×4 | Iron Ingot ×1 | Smithy: Hammer |
| Brick ×2 | Clay ×2 + Coal ×1 | None |
| Glass | Sand ×3 + Coal ×1 | None |
| Tableware | Clay ×2 + Coal ×1 | Smithy: Bellows |
| Glass Containers | Sand ×2 + Coal ×1 | Smithy: Bellows |
Once the station is placed, the extensions are attached, and the conveyor network is feeding it ore, coal, clay and sand, your Smithy runs on its own while zombies work the line. That turns a single underground workstation into a steady supply of ingots, kits, bricks and glass for the rest of your production chain.