Control Resonant: Power Lines Walkthrough for Every Station Reroute
Solve the calibration puzzles at Perimeter, East Park, Factory, and the Vanished Station to restore power and rescue the survivors.
Solve the calibration puzzles at Perimeter, East Park, Factory, and the Vanished Station to restore power and rescue the survivors.
by AllThingsHow Staff
Image: Remedy Entertainment / via @JBGamingExp
Power Lines sends Dylan Faden deep into the Central sector subway to bring four stations back online. Each stop is a self-contained puzzle built around the same three tools: portable calibration units, wall-mounted power batteries, and Mold that carries an electric charge. Get the pattern right once and the rest of the mission falls into place.
Quick answer: Reroute Perimeter, East Park, and Factory Station by placing their calibration units on the yellow floor squares and pulling the Tuning Device lever, then calibrate both Station A and Station B at the Vanished Station to finish and rescue Dr. Florez.
How the reroute puzzles work in Power Lines
Every station reuses the same rules, so learning them once saves time at all four stops. You are always moving heavy calibration units onto marked floor tiles and then flipping a switch.
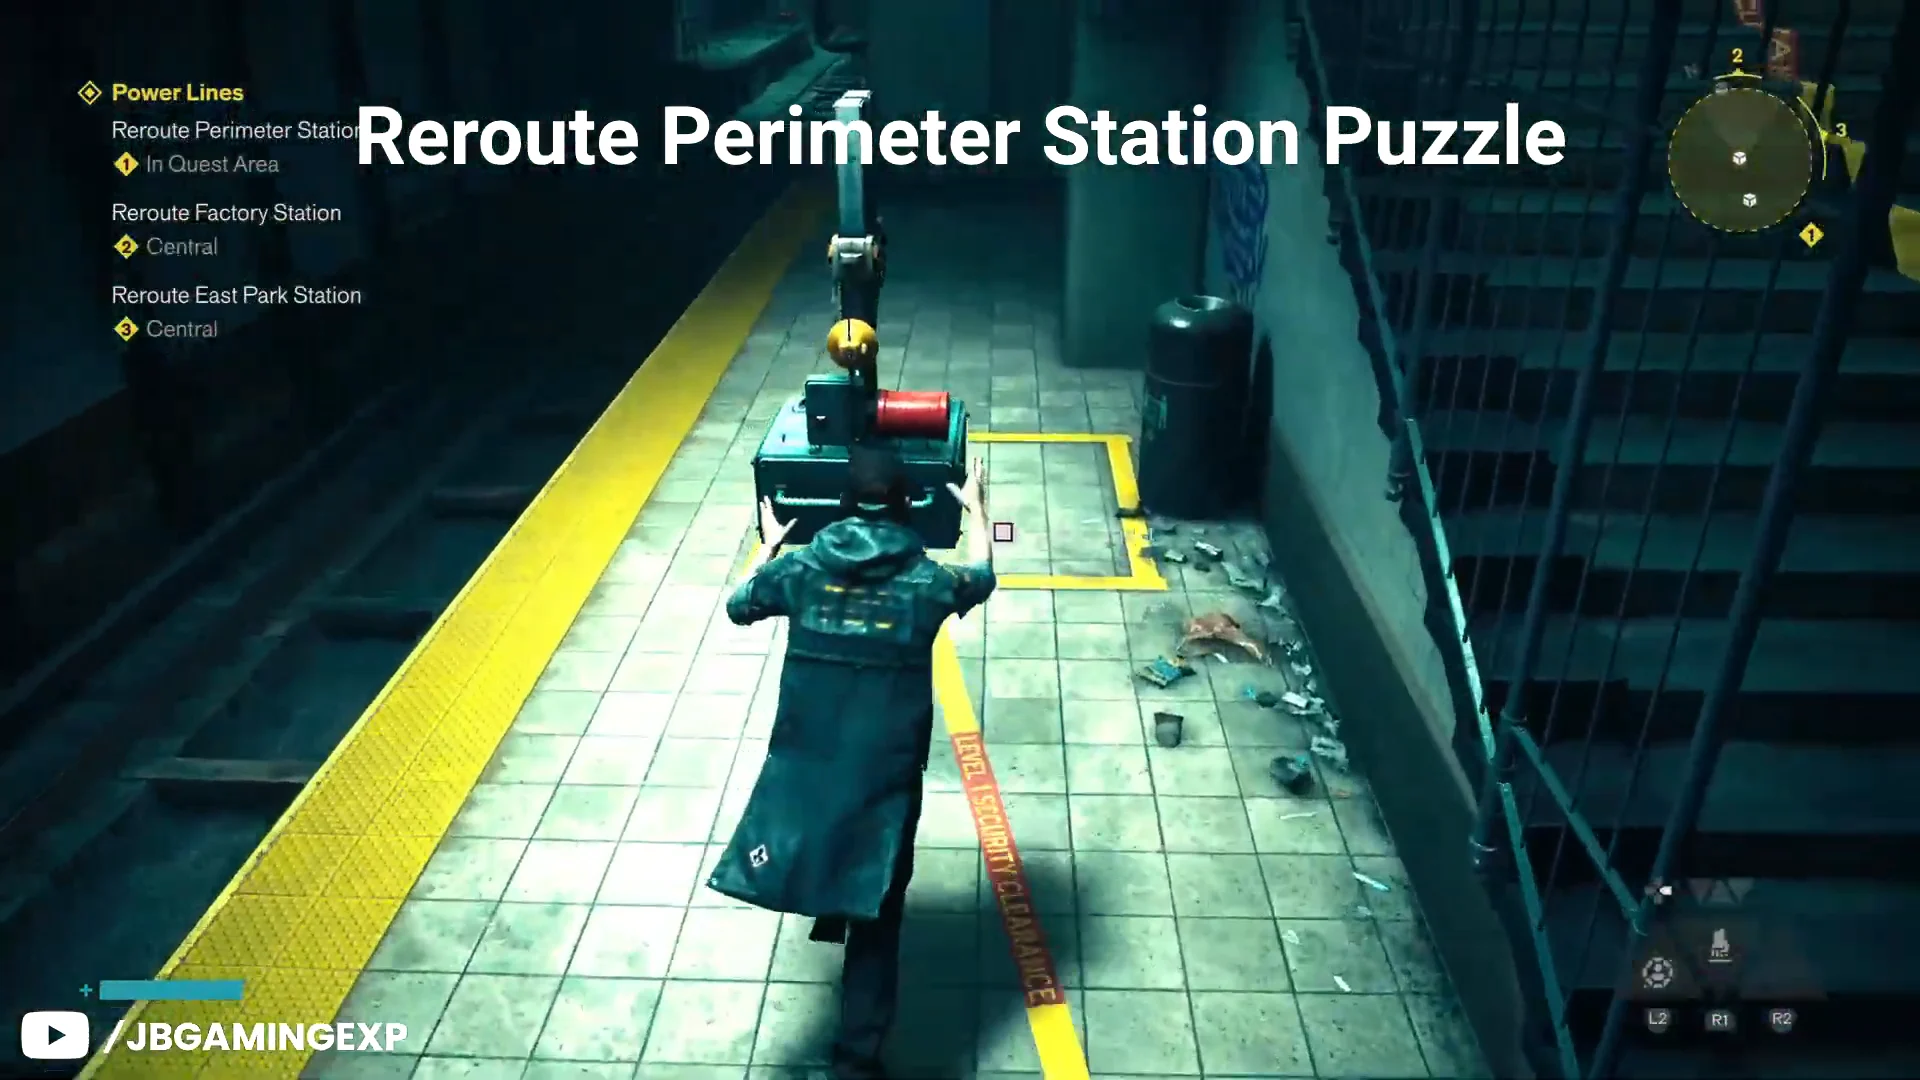
Calibration units are tall towers with magnets on top. Each one must sit inside a square outlined in yellow with diagonal warning stripes.
Once every unit is on its square, use the Tuning Device. The indicator lights turn green when the placement is correct.
Locked shutters and gates open when you carry a red power battery and slot its charge into the nearby wall terminal.
Mold conducts electricity. Feeding a live current into a Mold node lets the charge travel through the growth and destroy larger Mold blocking your path.
Unlocking the Extended Rush ability from the skill tree makes shuttling units and charges across each platform far quicker.
Reroute Perimeter Station
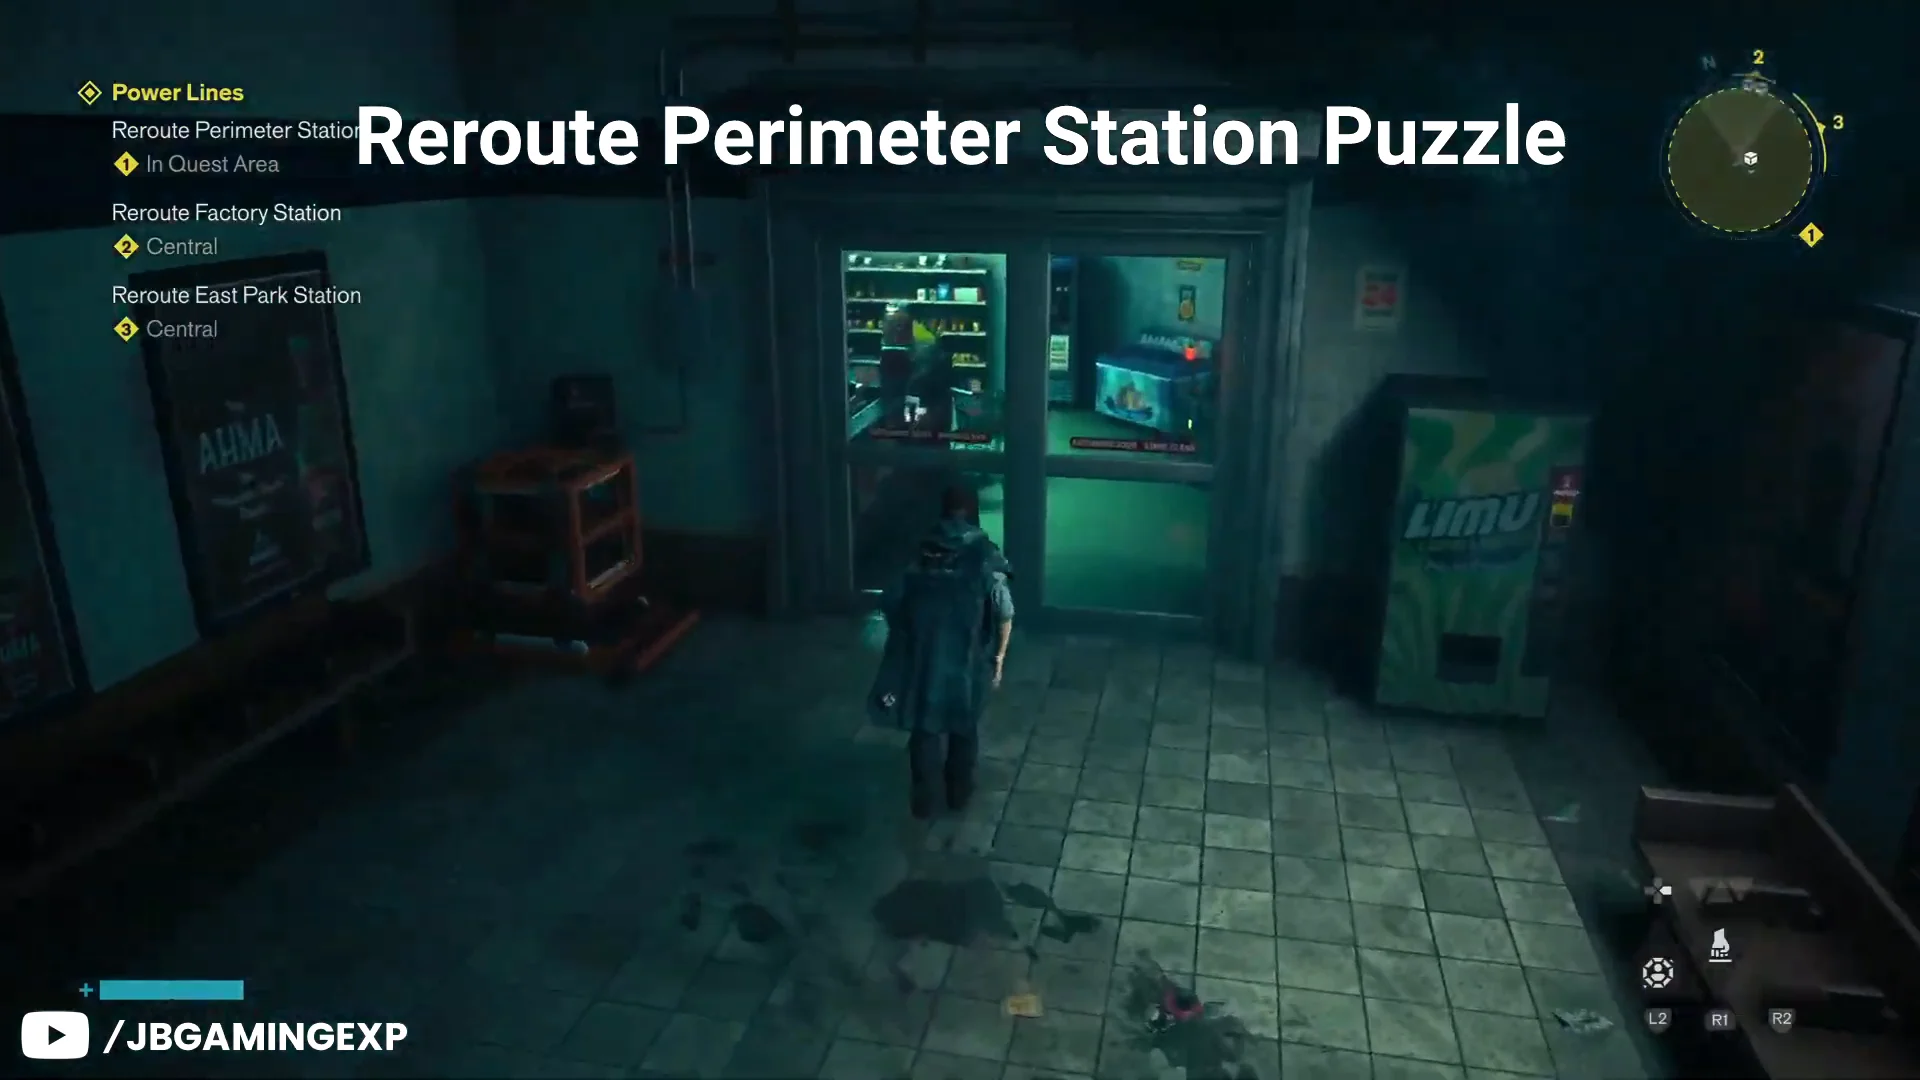
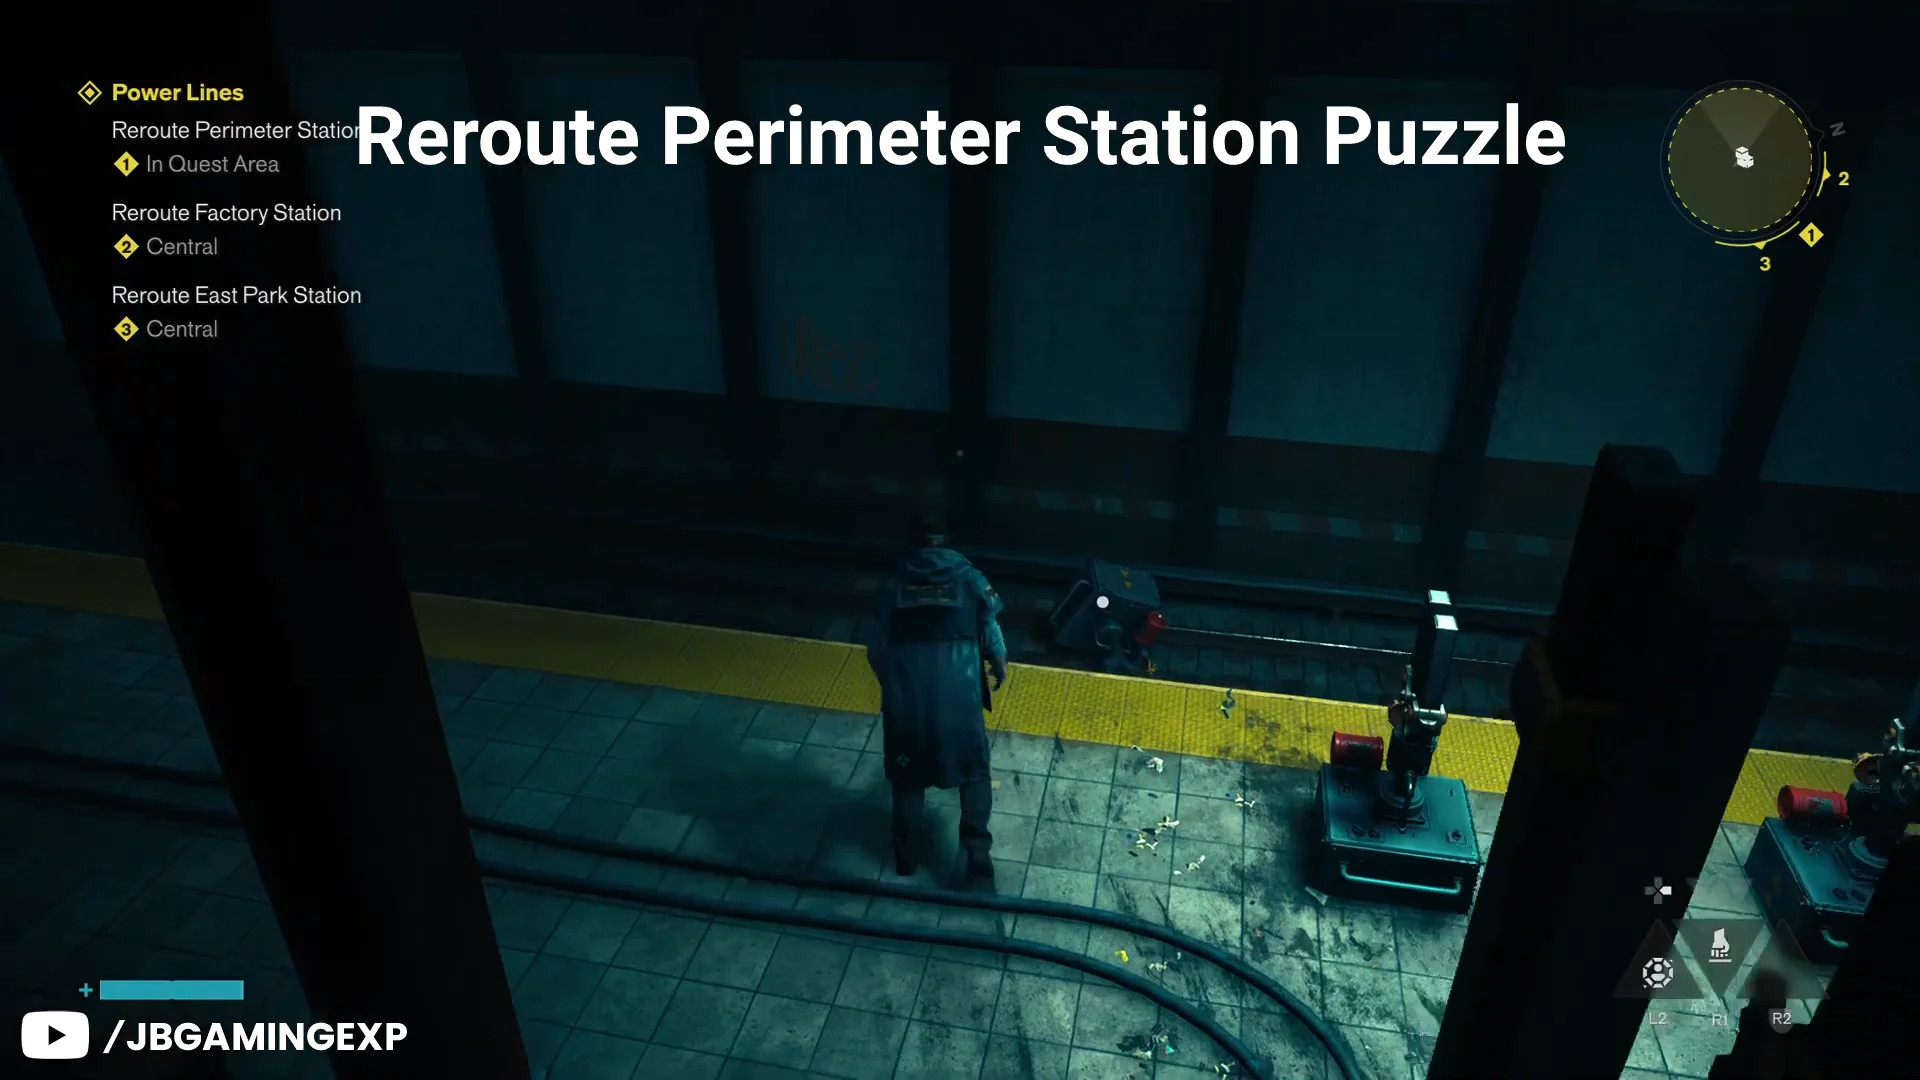
Perimeter Station sits east of the Field Office near a Gravity Anomaly wall. Two waves of Hiss lock the entrance when you arrive, so clear them before heading below. You need three calibration units here.
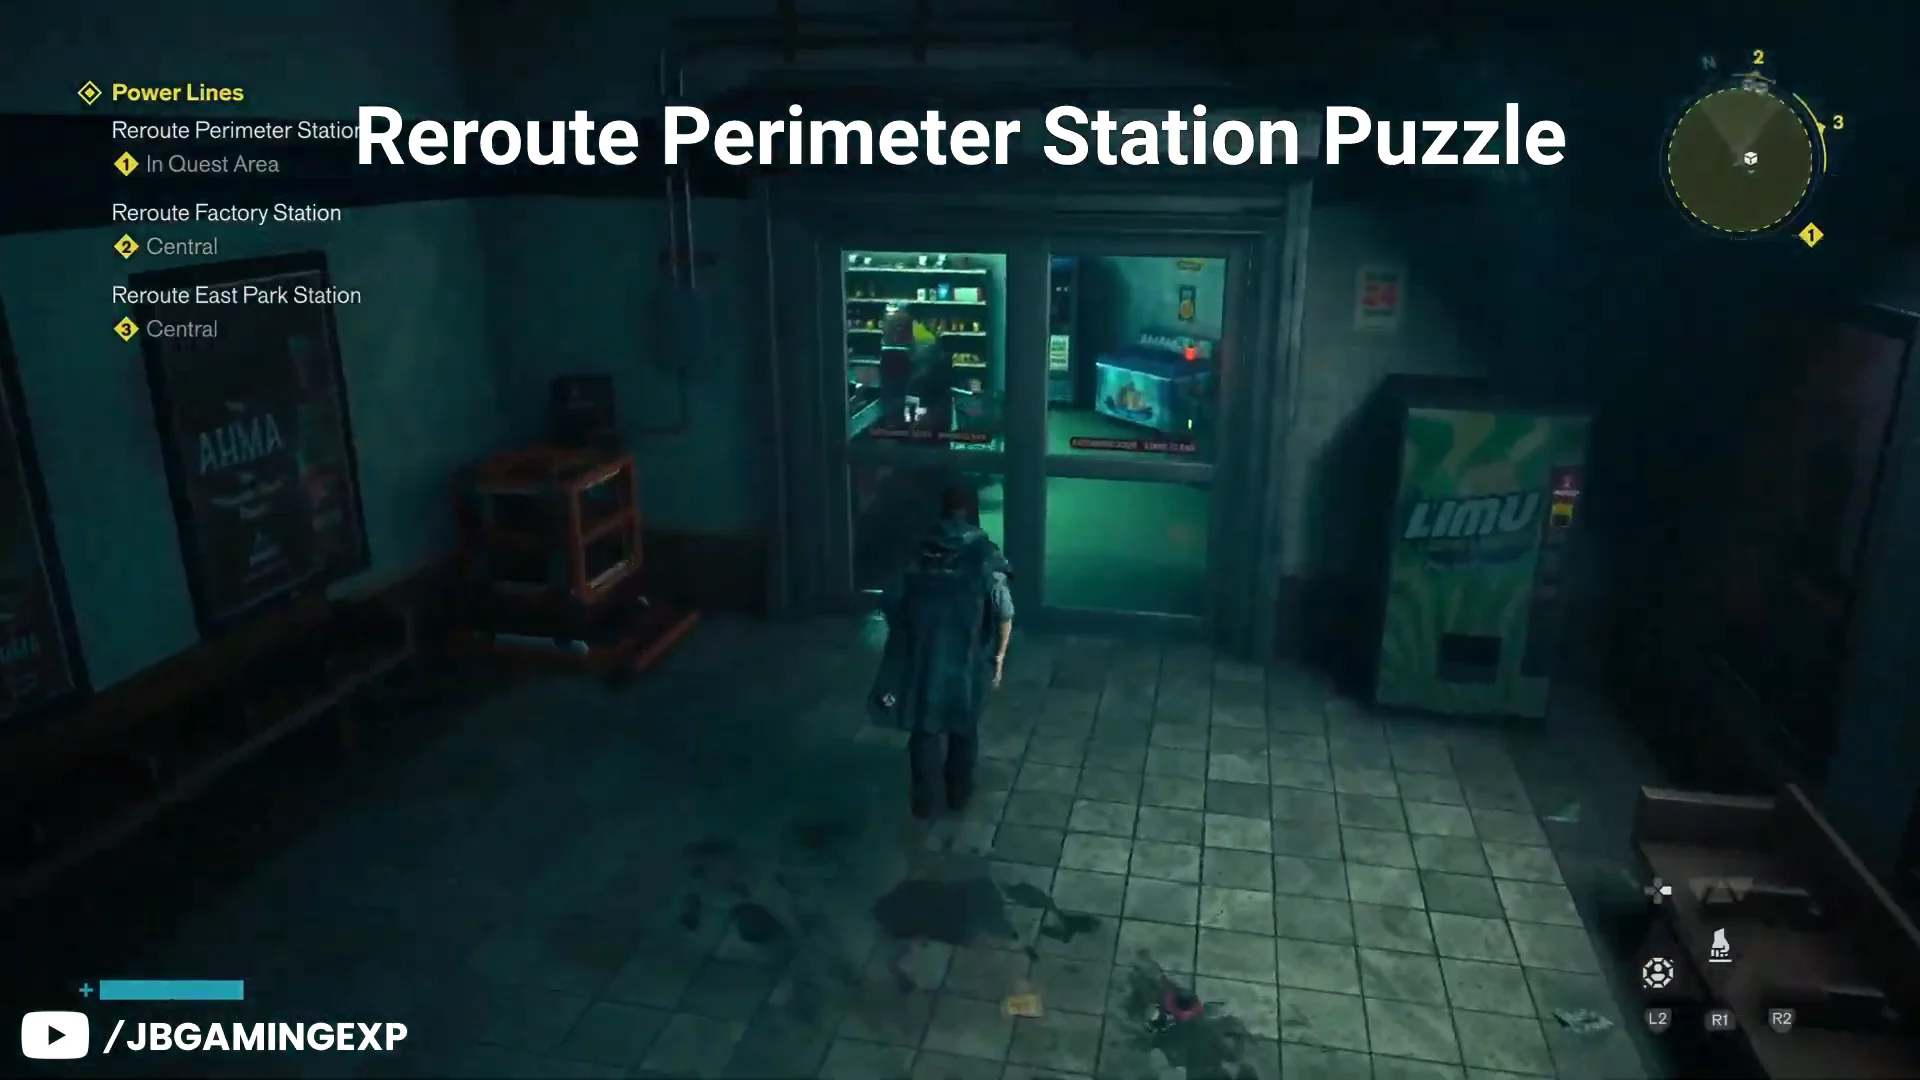
On the concourse, strike the charged battery outside the open shop and carry the current into the shop terminal to raise the rolling door. Grab the chest and the material inside.
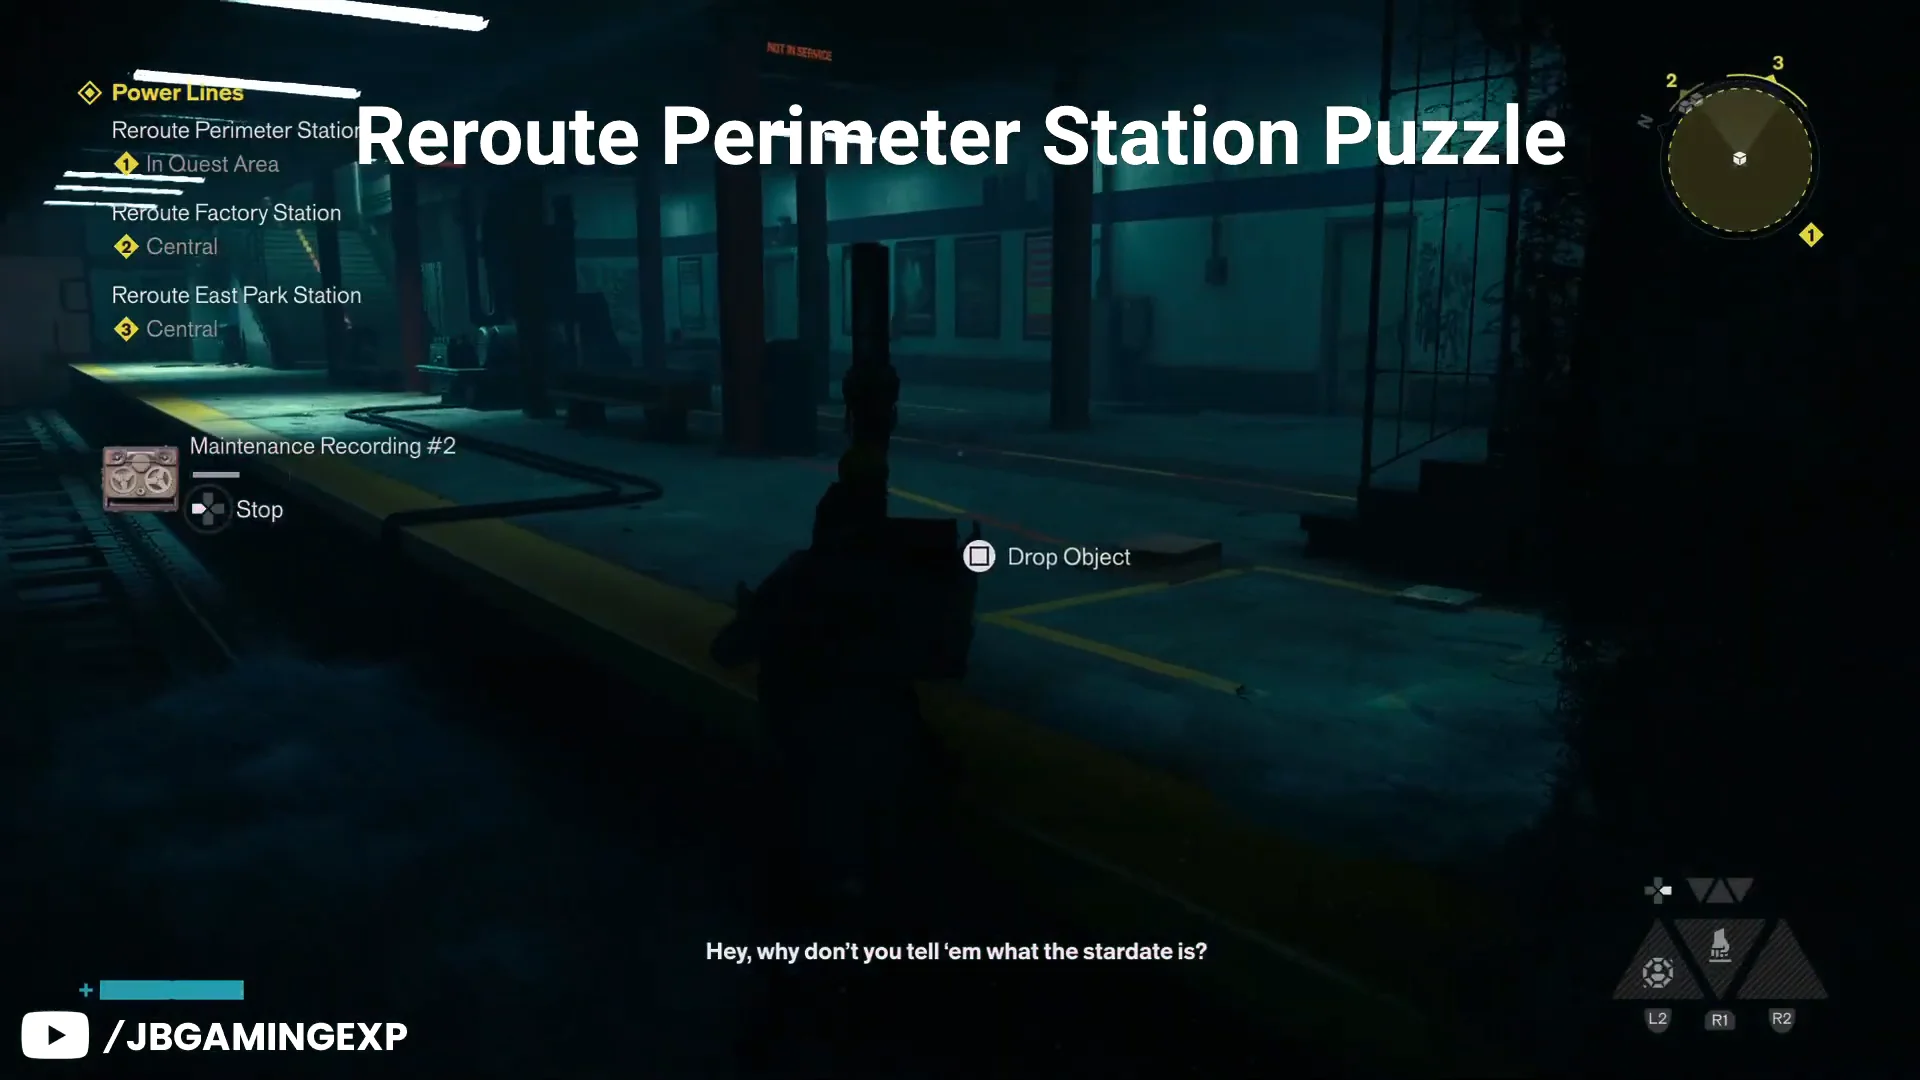
Descend to the platform, then jump down onto the tracks. Bring the charge over to the trackside battery to activate the service door, and retrieve the calibration unit from behind it.
The final square sits inside the upper-corridor shop, which locks once the tracks battery is powered. Move the charge back to the shop battery, reopen the door, then place the last unit in its square.
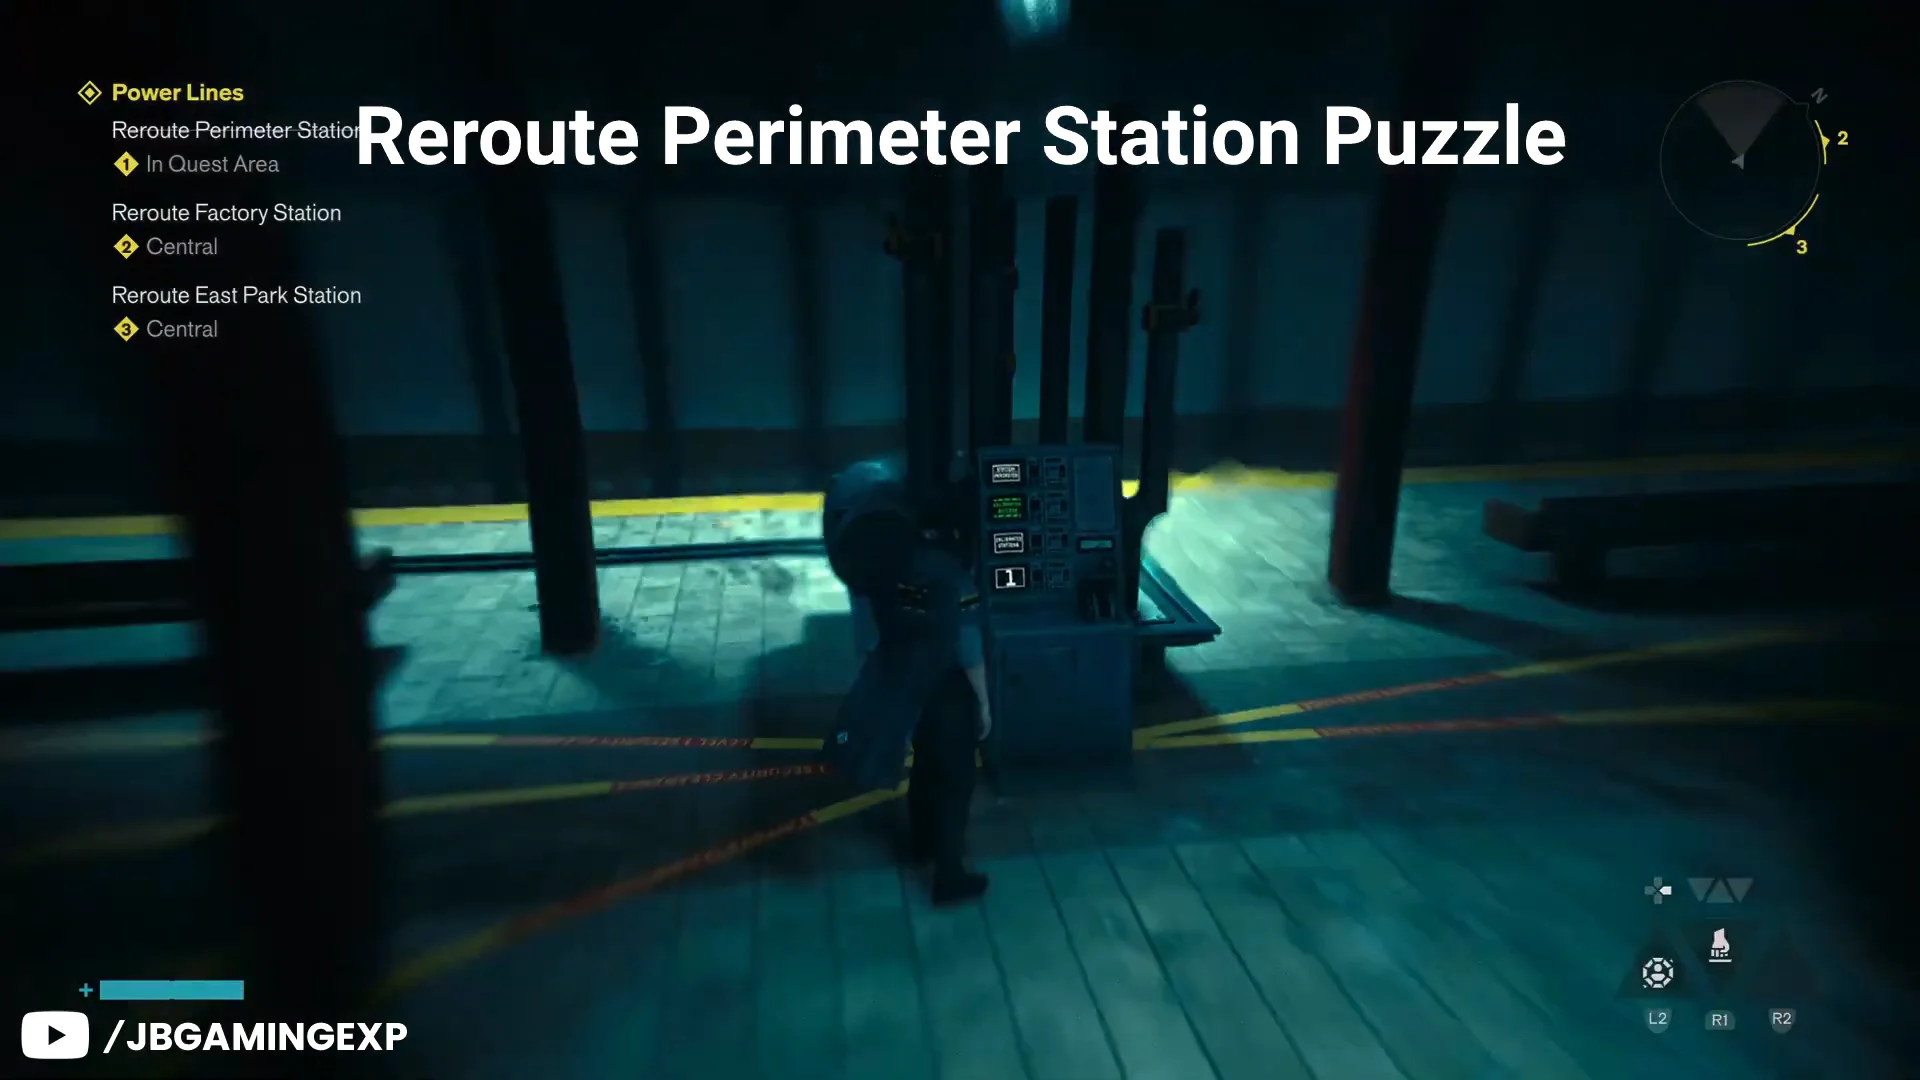
With all three units placed, pull the Tuning Device lever. The console circuits turn green to confirm Perimeter Station is rerouted. Use the intercom on the way out to hear Dr. Florez before the line cuts.
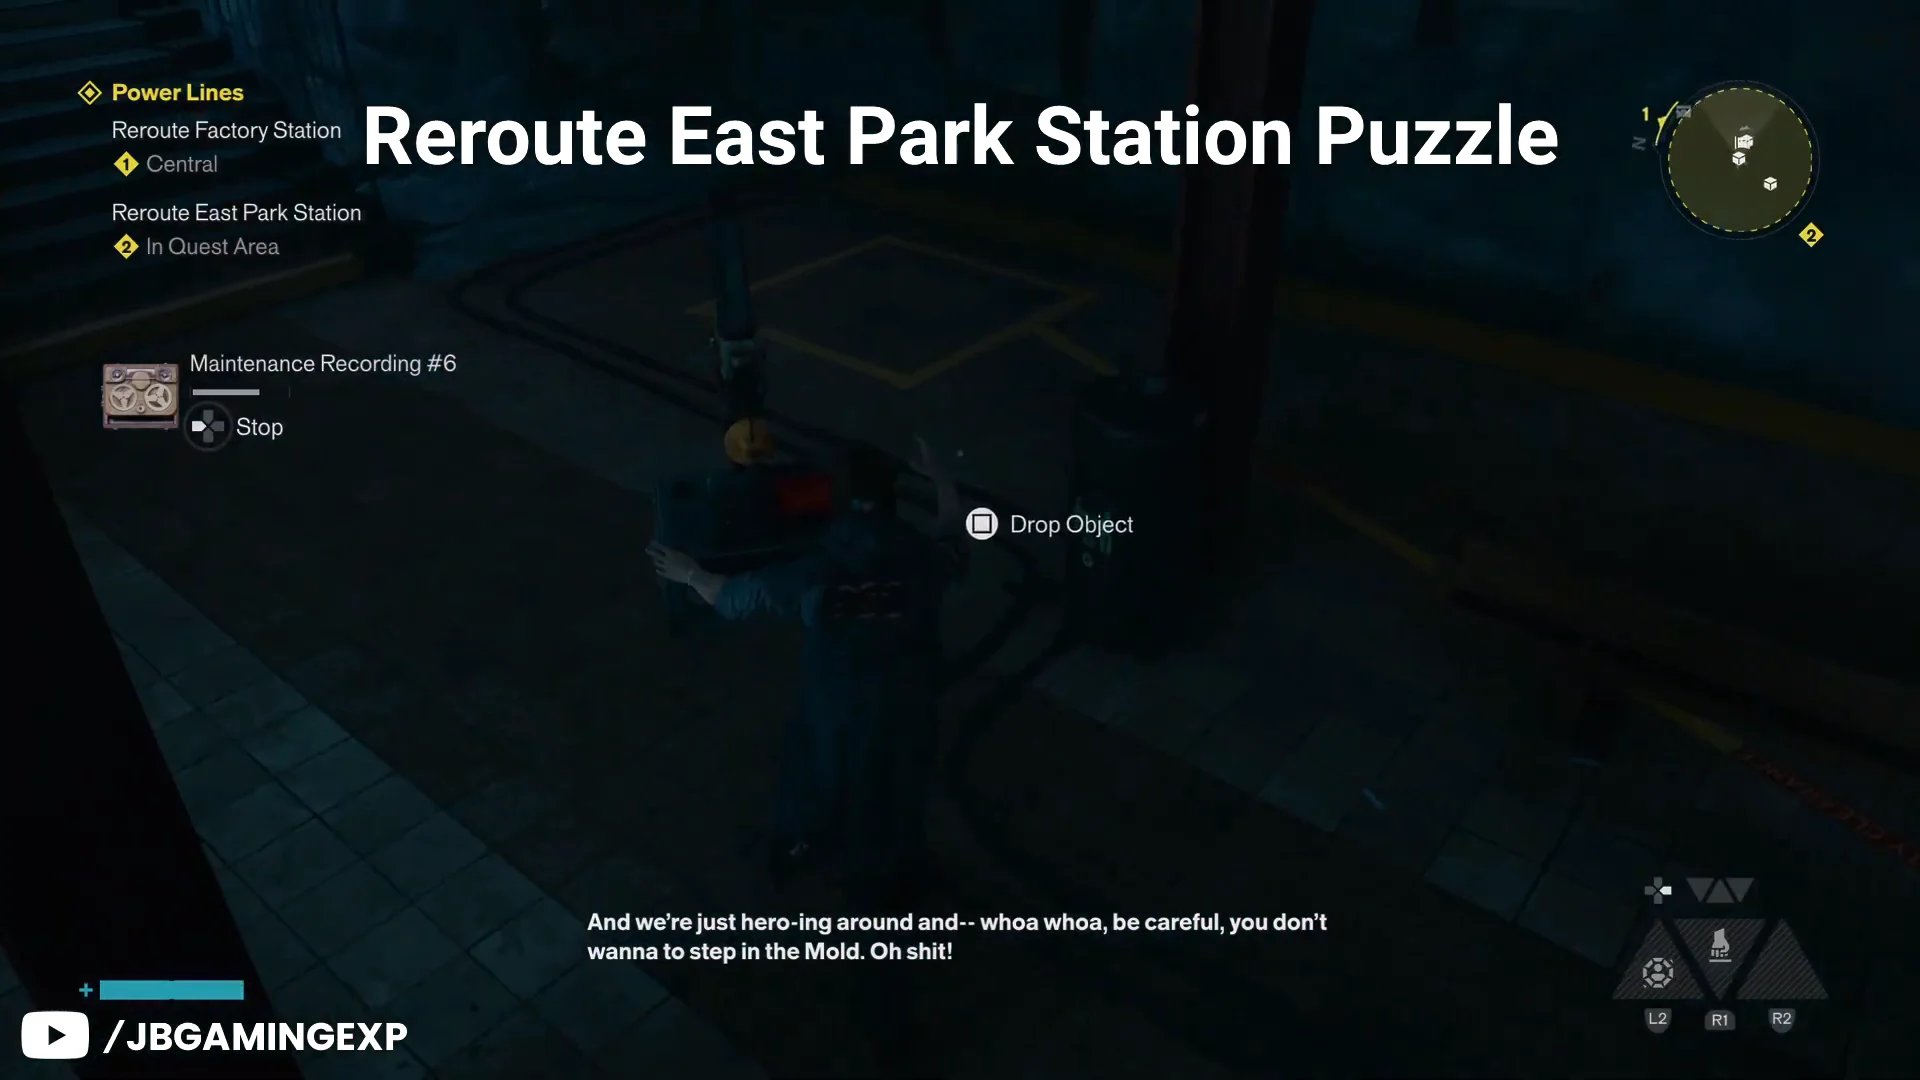
East Park Station lies east of Perimeter. Another two Hiss waves guard the entrance, and the Hiss Cluster heals the group, so break it first. This puzzle also uses three units, but the yellow squares start buried under Mold.
The third unit is locked inside the shuttered shop opposite the first. Activate the Tuning Device three times in a row. The first two presses teleport Dylan to random spots, and the third drops him inside the sealed shop.
Pull the lever to turn the indicators green. Speak on the intercom afterward, where Dr. Florez appears before Agent Clarke takes over the radio.
Reroute Factory Station
Factory Station sits north of both earlier stops, just past the Patterned Factory. Approach along the factory’s left wall until you reach the wall of Mold, and the entrance is on the corner. Expect Hiss mixed with fire-weak Mold enemies before you can enter, and note that the concourse air is thick with lethal Mold spores.
Place all three units on the yellow squares leading up to the Tuning Device so they form a straight line. Lined up correctly, they read as a single unit when you look at the device.
Activate the device. It triggers a short psychic resonance episode for Dylan and a brief cutscene. If the device shifts instead of locking, interact with it again and recheck the alignment.
Once the stairs have sealed behind you, head back down. Enter the tunnel on the staircase’s left and follow the tracks to the final station.
Through the tunnels: Clarke’s ID Badge
The tunnel between Factory Station and the Vanished Station walls off at a corner and spawns a group of Mold enemies. The armored Mold Scrappers need a blunt weapon or a Combat Ability to crack their shells, so chain Executions and use the damage boost to focus them down.
Keep moving along the tracks and you will find Agent Burt Clarke’s body. Loot it for Clarke’s ID Badge, then continue to the Vanished Station concourse.
Reroute the Vanished Station (Station A and Station B)
The final stop has two Tuning Devices, marked A and B, and needs four calibration units in total. Power routing is the real challenge here, because switching a battery on regrows Mold and switching it off clears it. Interacting with the Platform A device teleports Dylan over to Platform B.
Collectibles at the Vanished Station
Sweep the concourse before you get lost in the power routing. Three pickups are here, and the intercom reward is easy to miss.
Notes on Mold and Electricity — a handwritten note confirming the Mold conducts current.
Health Upgrade Point 1/3 — inside a golden container tucked in the green Mold. Collect three across the game to raise maximum health.
Talent Point +1 — earned at the intercom beside the Ahma beer poster, near Station B.
Interact with the Platform A Tuning Device to teleport to Platform B. Head up the stairs and move the charge from the left battery to the right one to open the locked shop and grab the first unit.
With the central corridor battery drained, the UV light dies and the Mold stops growing. Destroy the Mold clump on the shutters to reach the survivors, and take the two calibration units from their room.
Go outside and destroy the wall power panel on the right to open the shutters into Platform A. Move the charge from the battery by the shop into the empty Platform A battery.
Climb the staircase beside that battery to collect the fourth and final unit. Then shift the Platform A charge up to one of the two batteries upstairs so it is ready for Station B.
Take a charge from one of the upstairs batteries and power the one inactive battery on Platform B. The UV lights switch on and Mold grows in several spots across the platform. Then carry both Platform B charges, one at a time, up to the two empty upstairs batteries to turn the UV lights off again. On the way back down, bring the remaining two calibration units with you.
Destroy only the two Mold blobs sitting on the black metal surfaces to expose their yellow squares.
Do not destroy the Mold blobs on the white main-platform surface. Those carry the current that powers the Station B Tuning Device, so breaking them cuts your connection.
Set the two units on the black metallic squares and activate the Station B device. This brings all relays online and spawns a wave of Mold enemies along with the mini-boss Sandra.
Clear the corridor ambush and return to the secured room. Talk to Dr. Mia Florez to close out the mission.
Confirming Power Lines is complete
You know each station is done when its console indicators flip to green and the Tuning Device stays locked in place. The mission itself wraps once you speak with Dr. Florez after the Station B fight. That conversation awards +1 Living Shard and shows the “Quest Completed: Power Lines” prompt, freeing you to head back to the surface.