Combat is the largest addition Graveyard Keeper 2 makes over the first game, and it is not optional. Liberating the Town happens battle by battle, and each fight is a small tower-defense scenario you win by preparing at home and then holding ground on the field. You choose when to fight, but you cannot skip fighting to reach later story chapters, more of the map, or new technology.
Quick answer: Fight at guard posts on Sloth days. Equip a sword and armor, meet the battle’s defense power requirement, then capture and hold every flag before the timer ends without dying or losing your base.
When and where you can fight
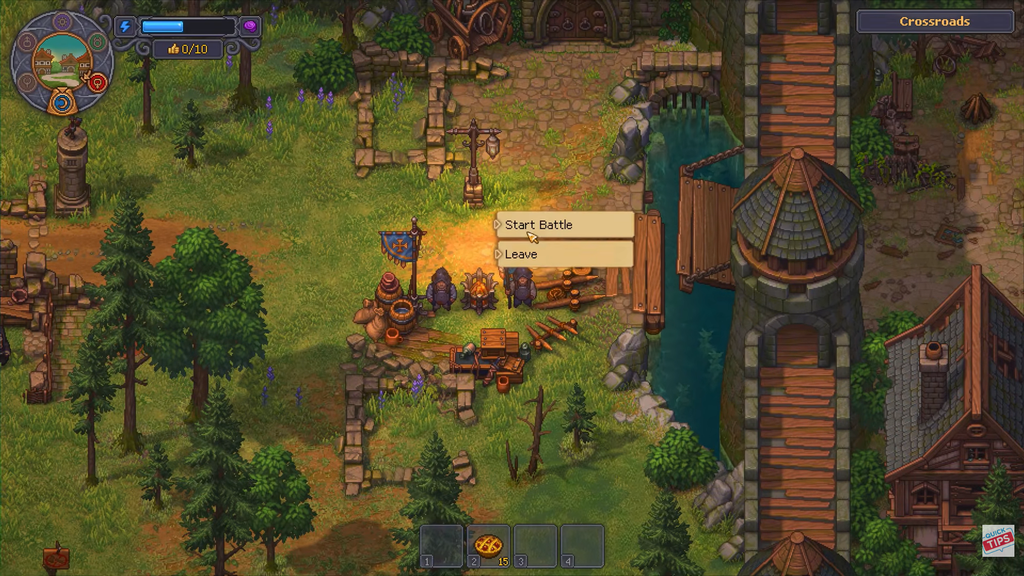
Most town battles can be launched only on Sloth day, marked in the weekly calendar by a gold moon on blue. Use the other days to prepare, then start the fight when Sloth day arrives. Blue shield markers indicate battle locations, most often in town or nearby; talk to the soldier at the guard post to open the battle window.
Some fights are available outside the Sloth-day schedule: the opening battle, both Sewer Brawls, and encounters begun at the sewer guard post, including the bathhouse breakthrough and sewer arena. The Town sewers remain accessible for combat on all six days without battles, giving you something to fight even while street encounters are unavailable.
Take your time: if you are not prepared, wait for the next week and continue building. Health and stamina are relevant only during a battle, and the clock pauses when you enter the battlefield and stays paused until you leave.
The defense power gate
The battle window shows your available squad count and the required defense power. You must meet that power threshold before starting. If your total is too low, add stronger or more squads, upgrade your fortifications, or improve your gear.
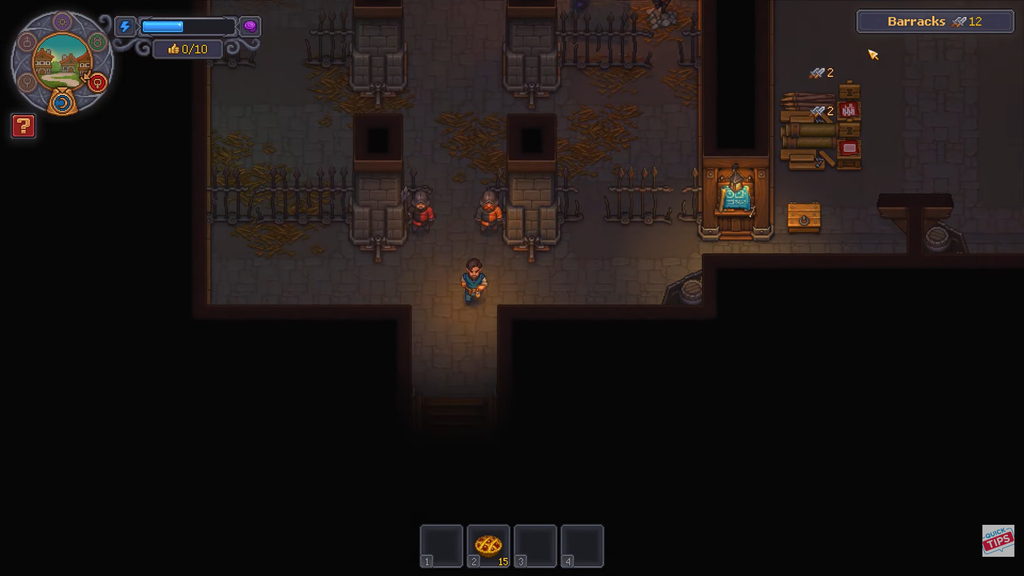
Your defense power combines the quality of all barricades and towers in your Barracks with the power of the squads you select for the fight. A structure contributes to the requirement once built in the Barracks; it does not need to be placed on the battlefield.
You must have both armor and a sword equipped on your hotbar to enter. Without them the character refuses with “I must equip sword and armor,” and a bow cannot stand in for the sword. Once you are on the field, though, the bow is the stronger weapon.
Preparing at the Barracks
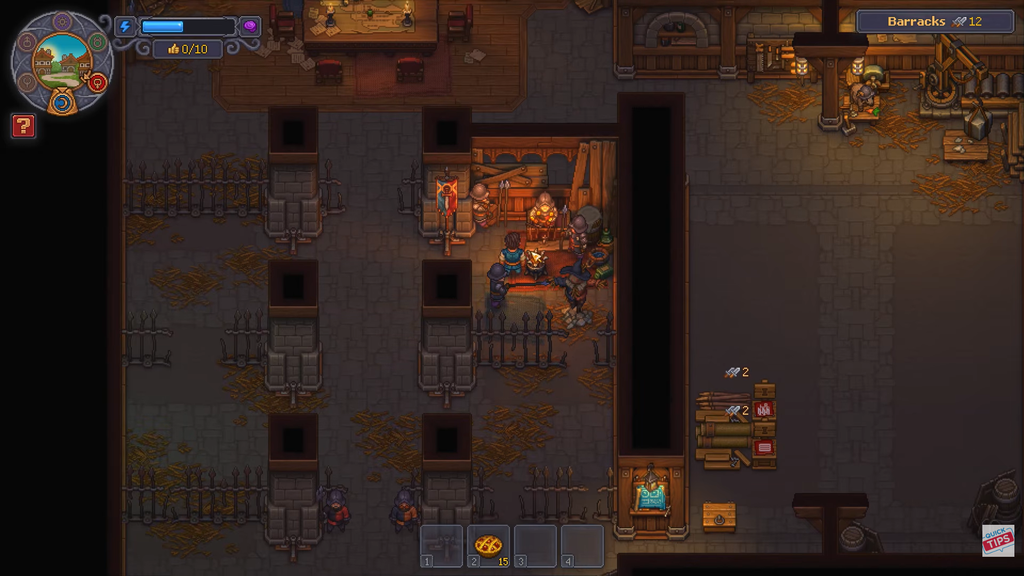
Battles are mostly won before they begin, and almost all of the preparation happens at the Barracks. A solid economy, a workforce of zombies, and unlocked technology all feed directly into how strong you can show up.
Fortifications
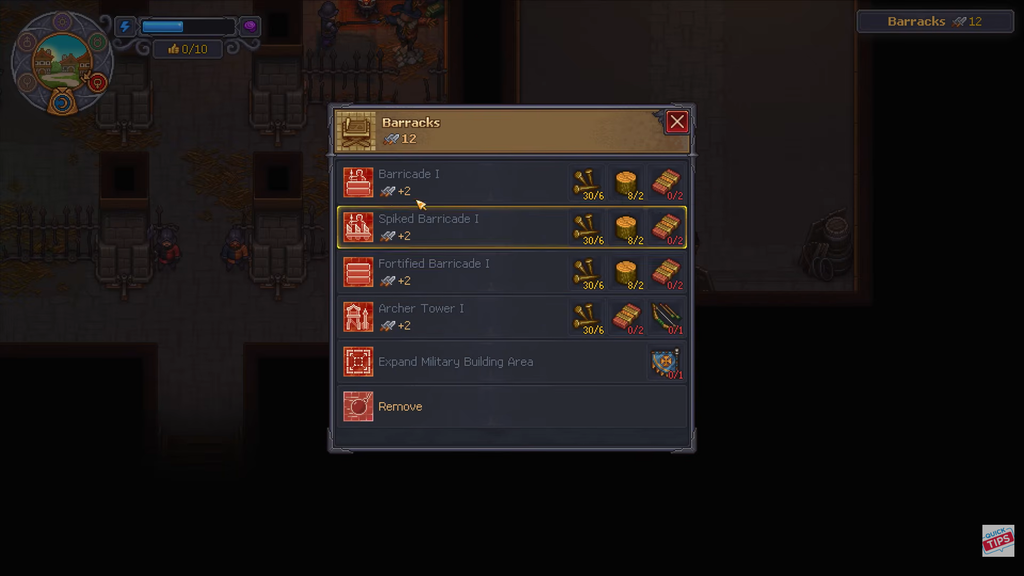
Use the blueprint table in the Barracks to build barricades and towers. Space is limited at first and holds about two archer towers and two barriers, and you extend that area with Victory Banners earned from certain battles. Each structure comes in three levels, unlocked through the Barricades and Towers technologies, and taking one down refunds everything it cost.
| Structure | Quality (I / II / III) | Health (I / II / III) | Extra effect |
|---|---|---|---|
| Barricade | 2 / 4 / 6 | 400 / 600 / 800 | — |
| Spiked Barricade | 2 / 4 / 6 | 250 / 450 / 600 | Hurts attackers 3 / 5 / 7 |
| Fortified Barricade | 2 / 4 / 6 | 600 / 800 / 1000 | — |
| Archer Tower | 2 / 4 / 6 | 150 / 300 / 450 | Shoots for 8 / 16 / 24 |
The War Supplier and War Engineer perks boost structure health, spike damage, and tower damage. Stronger defenses use a lot of iron, so keep the mine operating. Barricades and towers are prohibited in two fights: the Sewer Brawls.
Zombie squads
A battle allows one to four squads. To make a zombie fighter, equip it with armor and either a pike or a bow through the Inspect function, then carry it to a squad slot in the Barracks. A zombie cannot hold a sword. What deploys is a copy, so a zombie that falls in battle is not lost, and you can freely swap fighters, upgrade their gear, and unlock their combat talents such as Impaler for pikes and Blindseye for bows.
A squad’s power comes from adding together the weapon and armor quality of each zombie that fights in it. To unlock extra squad slots, give Defender’s Emblems to the Battle Ram in the Barracks. Four battles each grant one emblem, one for each of the four available slots.
Mercenaries
The Merc Leader rents four fighters: two pike users and two bow users. They occupy a single squad slot, leaving no space for zombies in a one-squad battle. You pay for one victory; if you lose or leave before the fight begins, that payment remains for your next attempt. Their starting power is 8. The Merc Leader can upgrade their equipment twice, first for 3 Iron Ingots and then for 3 Steel Ingots, bringing their power to 16 and then 24.
The fee rises as you win: it goes through 5, 7.5, 10, 15, and 20 silver, followed by 1 gold. Once the Inflation quests change the payment, each battle costs 3 bottles of 3-star Wine. Mercenaries won’t join the second fight in a paired battle because their fee is spent on the first victory.
Battle potions and personal gear
Make combat potions at the Laboratory in the Alchemy Tower. Their recipes are listed in the Folio, but you must first unlock them through the Alchemy tech tree. Each level of the Fighter potion adds 3 damage; Berserk removes stamina costs from attacks; and the sermon buff God’s fury adds 2 damage to swords and 3 to bows. Put potions on your hotbar before the fight. Food and drink are unnecessary for battle stamina.
Potions can only be drunk once you are in a battle, and the frozen preparation phase already counts as being in the fight. Do not waste a short-duration potion before the wave starts. Also replace the starting Rusty gear as soon as you can and craft a bow, since your personal sword, armor, and bow are the only equipment you carry into combat.
How damage and weapons work
Combat is deterministic. Every hit deals the attacker’s damage minus the target’s armor, never below 0, with no critical hits and no random rolls. Your armor value is fixed by what you wear, and the six kinds of zombie you face have no armor. Most enemies hit for 4 to 7, while the Barrel Zombie hits for 10 and has 100 health. In Master Armor the common Wild Zombie cannot hurt you, but a dying Stinker’s burst ignores armor.
| Armor | Armor value |
|---|---|
| Rusty | 0 |
| Bronze | 1 |
| Iron | 2 |
| Steel | 3 |
| Master | 4 |
Use a sword or bow to attack; when both are on your hotbar, you can switch between them. Your stamina pool is 100, and a sword swing uses 20 while firing an arrow uses 10. The bow deals more damage for half the stamina and works at range. A sword lunges forward, and the Sword Master perk adds 2 damage to it (3 with the Master Sword).
| Level | Sword damage | Bow damage |
|---|---|---|
| Rusty / Simple | 4 | 4 |
| Bronze / Reinforced | 5 | 8 |
| Iron / Battle | 7 | 15 |
| Steel / Heavy | 10 | 22 |
| Master | 13 | — |
You have 100 health, restored to full after every battle whether you win or lose. With a brain and strong damage, you are easily the field’s strongest fighter, so keep fighting and drinking healing potions to stay alive. If a fight is giving you trouble, some Metallurgy perks focus on combat.
Fighting the battle: banners, flags, and lanes
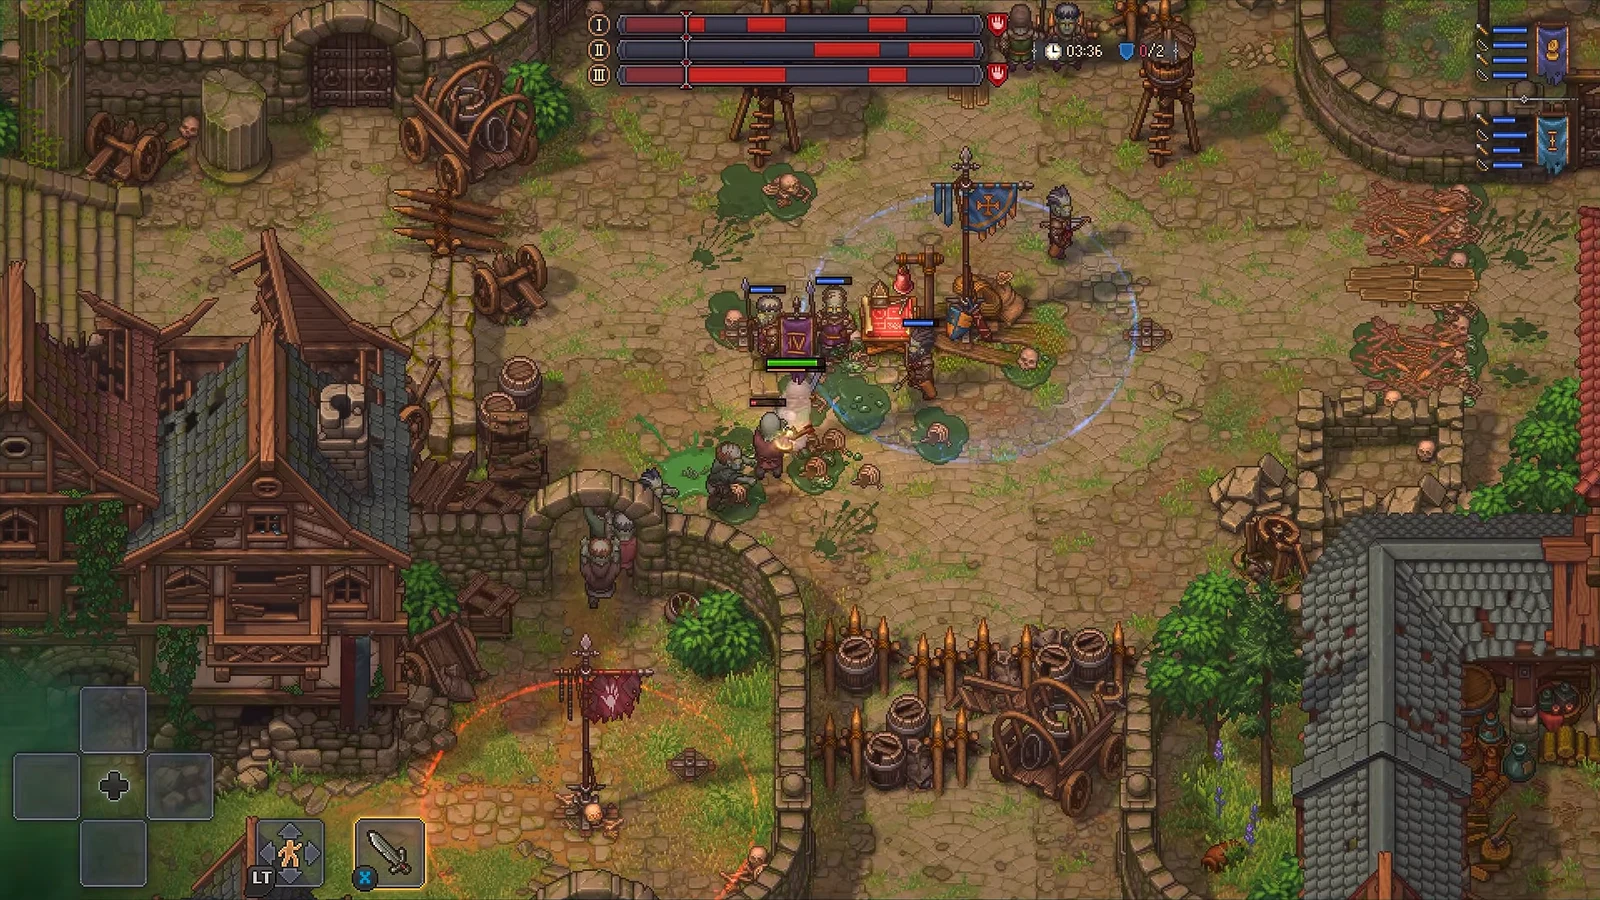
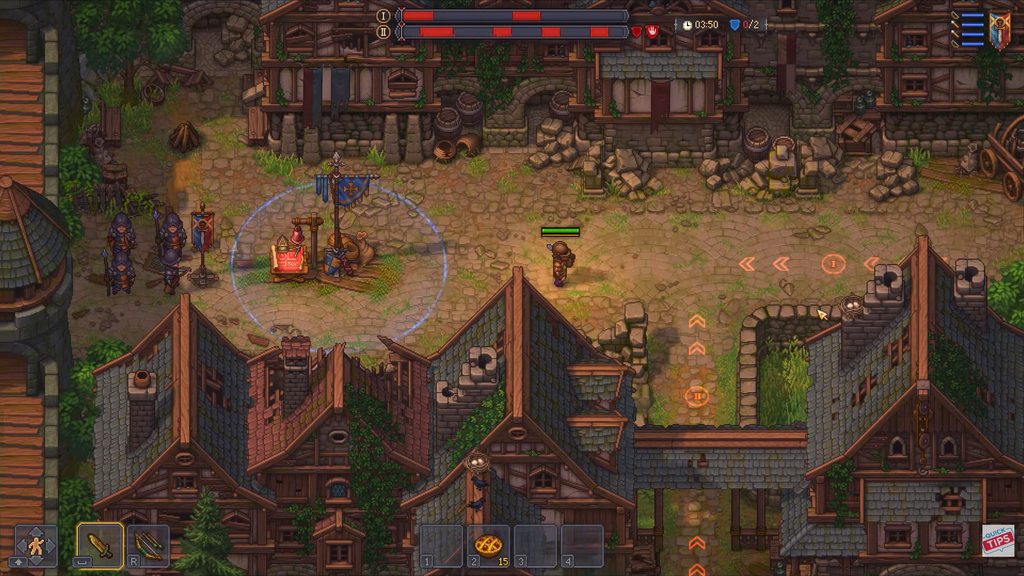
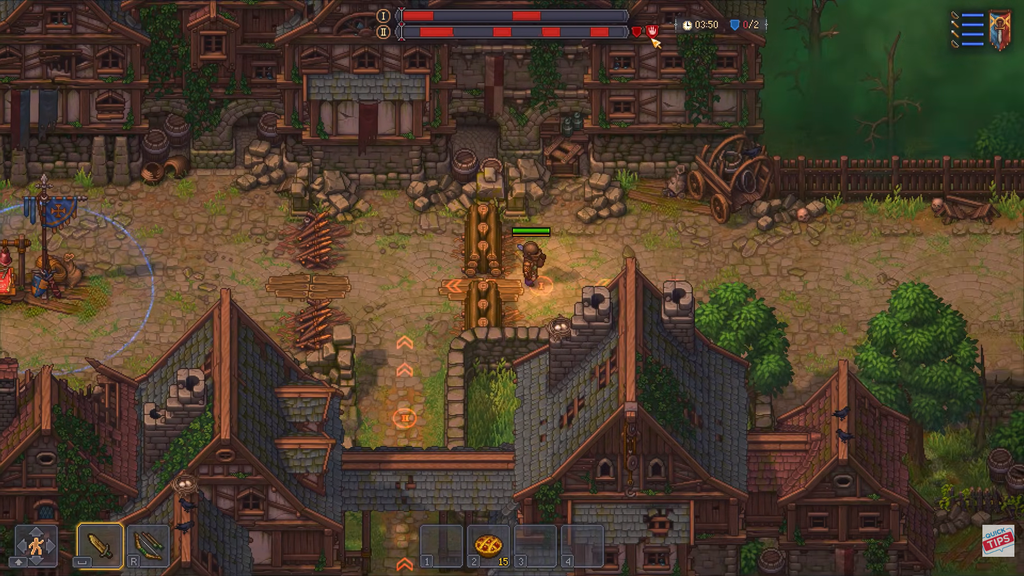
When a battle loads, time is frozen. Head to the red build table to place the barricades and towers you built in the Barracks. Barriers and towers snap to predefined spots, though you can swap in more towers where a barricade would sit. Face barricades the right way so your soldiers stand on the defensive side, and after the fight all structures return to the Barracks on their own.
Every squad follows its banner to the death. Set one at an objective to keep the squad there, or carry it to direct the squad elsewhere; you may carry only one banner at a time. Use the bars at the screen’s top to plan: a battle can have up to three lanes, and red sections mark when zombies attack each lane and how long the attack lasts.
Objectives are usually about three flags you must hold when the timer ends. Capture a flag by clearing every enemy inside its red circle, at which point it turns blue and its spawn cloud stops. More nearby troops capture faster. There is no rush to grab flags immediately, and the sooner you take them, the longer you hold them. A common approach is to let enemies wear themselves down on your defenses, then push during lulls, splitting squads when two lanes attack at once.
- Do not send archers into a melee brawl.
- Protect your archer towers.
- Watch for the UI warning that you are losing a flag.
- Do not wade in with low combat stamina.
- You can set banners atop Barricades or Spiked Barricades.
Winning, losing, and rewards
To win, finish the final wave and hold every base flag. You do not have to kill every zombie; any survivors are defeated when you win. The enemy capturing your base or your health dropping to zero will cost you the battle. Both conditions matter, so surviving yourself is not enough if you leave the base undefended. A “Win!” screen signals victory, and your reward appears at your feet after you return home.
Some fights are linked in pairs: winning round one starts round two immediately, while losing round two sends you back to the first fight. After some victories, a further defense follows and you can rebuild your fortifications. Losing costs only the potions you used; your items and money remain, and you can make another attempt.
Rewards vary per fight and are shown before you start. They include Town Gratitude, Zombie goo, Keys for Looters, Victory Banner, and Defender’s Emblem. Some victories also open more of the Town, letting you repair houses and industry, which raises the population and the Town Gratitude limit. One thing battles never give is tech points, so treat them as story and resource progression rather than a source of research.