In Control Resonant, advancement is tied to the world rather than Dylan. Manhattan is split into seven zones, each with a separate level track spanning 1 to 15; activities award XP only to the zone where you complete them. Every time a zone gains a level, its track grants a permanent upgrade and Dylan receives a Talent Point to use at The Gap.
Quick answer: XP costs scale the same way in every zone, from 500 XP at Level 2 up to 4,500 XP at Level 15. The rewards attached to each level differ by zone, and only Downtown, Central, and The Unknown reach Level 15.
How Zone Levels work in Control Resonant
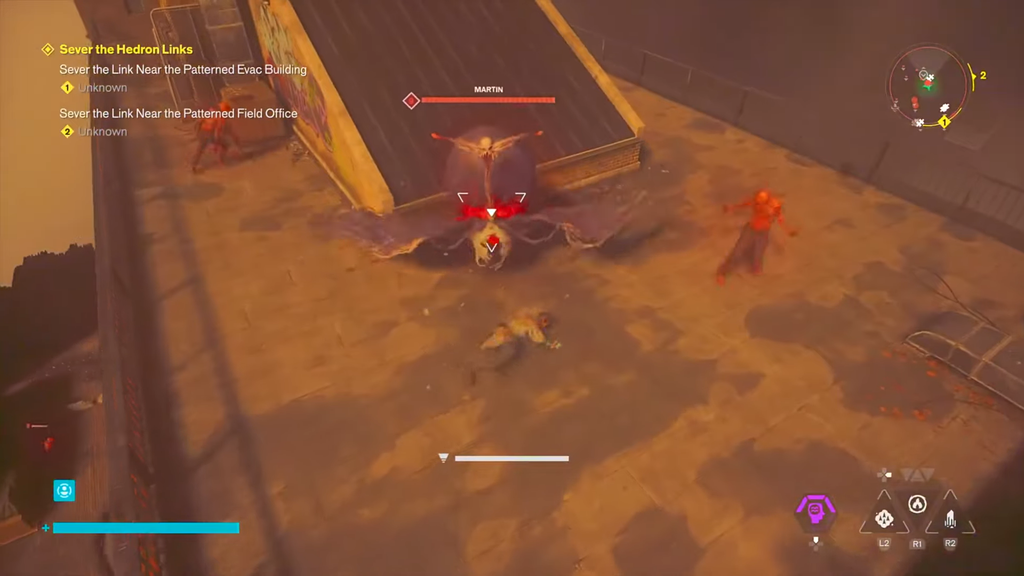
Clear World Feats, complete quests, take down enemy groups, open loot, or solve map puzzles to earn XP for the zone you are in. That XP stays local: gains in Central will not advance The Park. The Map shows each zone’s level and how far it is from its next level.
These two levels measure different things: Zone Level determines the rewards provided by a zone’s upgrade track, whereas Power Level reflects enemy difficulty and increases as you put resources into abilities and Aberrant upgrades at The Gap.
The XP curve is identical across all seven zones. Each new level costs more than the last, following this pattern:
- Levels 2–5: 500, 600, 700, 800 XP
- Levels 6–9: 1,000, 1,200, 1,500, 1,800 XP
- Levels 10–12: 2,200, 2,600, 3,000 XP
- Levels 13–15: 3,500, 4,000, 4,500 XP
Raising a zone’s level also buffs the enemies inside it, so expect tougher fights as the rewards get better.
Zone Level rewards for every region
Each zone unlocks one upgrade per level, and the order changes between regions. Recurring rewards include Vendor Level increases for better vendor stock, Source Boost for +20% extra Source, Health Elements Boost, Enemy Drop Boost, the SHÜM Arcade Machine, Command Charge spawns, and World Feat Cap increases that add more Feats in the next Resonant cycle. Higher tiers also grant new outfits and Artifacts.
Downtown Zone Levels
| Level | Required XP | Reward |
|---|---|---|
| 2 | 500 | Health Elements Boost |
| 3 | 600 | Vendor Level 2 |
| 4 | 700 | Enemy Drop Boost |
| 5 | 800 | Marks large Resource Crates on the map |
| 6 | 1,000 | Arcade Machine (SHÜM) |
| 7 | 1,200 | World Feat Cap increase |
| 8 | 1,500 | Source Boost (+20%) |
| 9 | 1,800 | Health Elements Boost |
| 10 | 2,200 | World Feat Cap increase |
| 11 | 2,600 | New outfit |
| 12 | 3,000 | Vendor Level 3 |
| 13 | 3,500 | Source Boost (+20%) |
| 14 | 4,000 | New artifact |
| 15 | 4,500 | Command Charge spawns |
Central Zone Levels
| Level | Required XP | Reward |
|---|---|---|
| 2 | 500 | Enemy Drop Boost |
| 3 | 600 | Health Elements Boost |
| 4 | 700 | Arcade Machine (SHÜM) |
| 5 | 800 | Marks large Resource Crates on the map |
| 6 | 1,000 | Vendor Level 2 |
| 7 | 1,200 | World Feat Cap increase |
| 8 | 1,500 | Source Boost (+20%) |
| 9 | 1,800 | Health Elements Boost |
| 10 | 2,200 | World Feat Cap increase |
| 11 | 2,600 | Command Charge spawns |
| 12 | 3,000 | Vendor Level 3 |
| 13 | 3,500 | New artifact |
| 14 | 4,000 | Source Boost (+20%) |
| 15 | 4,500 | New outfit |
West Incursion Zone Levels
| Level | Required XP | Reward |
|---|---|---|
| 2 | 500 | Health Elements Boost |
| 3 | 600 | Arcade Machine (SHÜM) |
| 4 | 700 | Vendor Level 2 |
| 5 | 800 | Enemy Drop Boost |
| 6 | 1,000 | World Feat Cap increase |
| 7 | 1,200 | Marks large Resource Crates on the map |
| 8 | 1,500 | Source Boost (+20%) |
| 9 | 1,800 | World Feat Cap increase |
| 10 | 2,200 | Vendor Level 3 |
Evacuation Zone Levels
| Level | Required XP | Reward |
|---|---|---|
| 2 | 500 | World Feat Cap increase |
| 3 | 600 | Health Elements Boost |
| 4 | 700 | Vendor Level 2 |
| 5 | 800 | Source Boost (+20%) |
| 6 | 1,000 | Arcade Machine (SHÜM) |
| 7 | 1,200 | World Feat Cap increase |
| 8 | 1,500 | Marks large Resource Crates on the map |
| 9 | 1,800 | Enemy Drop Boost |
| 10 | 2,200 | Vendor Level 3 |
The Park Zone Levels
| Level | Required XP | Reward |
|---|---|---|
| 2 | 500 | World Feat Cap increase |
| 3 | 600 | Vendor Level 2 |
| 4 | 700 | Arcade Machine (SHÜM) |
| 5 | 800 | Enemy Drop Boost |
| 6 | 1,000 | Health Elements Boost |
| 7 | 1,200 | Vendor Level 2 |
| 8 | 1,500 | Marks large Resource Crates on the map |
| 9 | 1,800 | World Feat Cap increase |
| 10 | 2,200 | Source Boost (+20%) |
Underpass Zone Levels
| Level | Required XP | Reward |
|---|---|---|
| 2 | 500 | Health Elements Boost |
| 3 | 600 | Vendor Level 2 |
| 4 | 700 | World Feat Cap increase |
| 5 | 800 | Arcade Machine (SHÜM) |
| 6 | 1,000 | Source Boost (+20%) |
| 7 | 1,200 | Vendor Level 3 |
| 8 | 1,500 | World Feat Cap increase |
| 9 | 1,800 | Marks large Resource Crates on the map |
| 10 | 2,200 | Enemy Drop Boost |
The Unknown Zone Levels
| Level | Required XP | Reward |
|---|---|---|
| 2 | 500 | Vendor Level 2 |
| 3 | 600 | Health Elements Boost |
| 4 | 700 | World Feat Cap increase |
| 5 | 800 | Arcade Machine (SHÜM) |
| 6 | 1,000 | Enemy Drop Boost |
| 7 | 1,200 | Source Boost (+20%) |
| 8 | 1,500 | Command Charge spawns |
| 9 | 1,800 | Marks large Resource Crates on the map |
| 10 | 2,200 | World Feat Cap increase |
| 11 | 2,600 | Enemy Drop Boost |
| 12 | 3,000 | New artifact |
| 13 | 3,500 | New outfit |
| 14 | 4,000 | Vendor Level 3 |
| 15 | 4,500 | Health Elements Boost |
Which upgrades to prioritize
Unlocks occur at different levels in each zone, so point to one on the Map and open its Details panel to review all 15 entries before farming. Two upgrades offer the quickest returns. Vendor Level 2 boosts the stock at that zone’s vendor, while the World Feat Cap increase puts additional World Feats in the zone. This helps accelerate every later level, since each Resonant cycle refreshes a bigger selection of high-value objectives.
Fastest ways to raise Zone Levels
Stay in one zone and stack activities rather than spreading effort across the map. Work through the highest-value XP sources first:
- World Feats—including Suspended Extermination, Hold the Line, Hiss Hive, and Apex Hunt—grant Zone XP, Source, and upgrade materials.
- Main and side quests inside the zone, with side quests adding materials, outfits, and Artifact recipes.
- Enemy groups cleared along your route between objectives.
- Loot boxes and resource crates you pass.
- Question-mark puzzles, Secret Hideouts, and Dylan’s Drawings, saved for topping off a level.
Killing a Resonant triggers a fresh Resonant Cycle: World Feats return across all zones, and defeated enemies reappear. Use the period after the kill to advance levels, when every zone’s XP activities have been replenished. Choose a zone suited to Dylan’s strength, tackle its renewed World Feats first, then complete quests and fight enemy groups along the way.
Pushing past Level 8 and 9
The early levels come quickly from quests and World Activities, but progress slows after Level 8 or 9. To keep climbing in each zone, solve the remaining “?” markers, complete the FBC Task Board objectives and Zone-specific side quests, finish any leftover World Activities, and return to the zone’s Resonant location to farm mobs. Clearing every large enemy and the Arcade mini-games adds more XP.
Equip the Novelty Magnet Artifact so nearby crates are marked on the radar, since each crate you open gives 25 XP. That Artifact comes from scoring high on the Arcade game in Dylan’s apartment after the main story.
Reaching a zone’s top level on a first playthrough is close to impossible. Finish the main story and start New Game+, which keeps your Zone Level progress, then repeat the zone tasks to earn the remaining XP.
How to confirm a level went through
When a zone fills its XP meter, an on-screen banner shows the zone name and its new level, the next upgrade unlocks on that zone’s track, and a “Talent Point +1 Received” prompt appears. You can verify the current level and remaining XP at any time by opening the zone’s entry on the Map. Reaching Level 5 in all seven zones also completes the Field Control trophy, giving you a clear checkpoint that a full sweep worked.